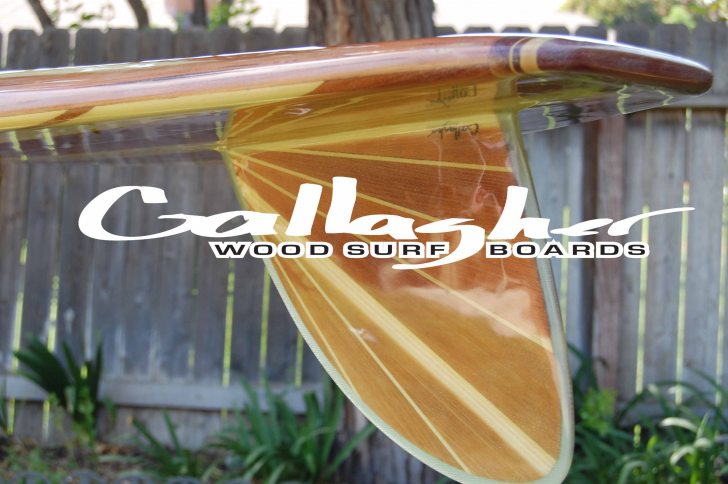
Whew! - that is a real beaut Austin. Love that contoured strip layup. I also have to agree with you on the integrity of those beads once they're all glassed and done. I've done some pretty high-tech impact testing on some cast epoxy bead samples (hammer, prybar, sidewalk, bb-gun (not really)) and they can take it - no problem.
Howzit Honolulu, I used to get roving at Ace hardware and the trick to wetting it out is to use the milking technique which is where you dunk the glass in the resin and pinch it between you thumb and finger and pull downward. It wets out the glass really easy and gets rid of air at the same time. There was a time when I did use 71/2oz or 6 oz and did it the way you do but decidedI liked using the roving and save a little time. I knew one pro board maker that just buys a box of chopper gun glass. Aloha,Kokua
austin: your work is epic! pure inspiration!
I agree it’s the easiest way of doing it. However, by doing it this way you’re altering your fin foil (if that really matters).
I'm not sure the terms ''foil'' and ''D-fin" should be used in the same sentence.
Does anyone else use the method Bill showed in his fin thread from a few years back? with the glass rovings in between the glass.
My last one came out pretty clean. no pics though, long story...
I agree with Mike, that’s the way we did it in the 60’s. We had a guy that would come in in the evening tack on a dozen or so wood fins then go through the process of using glass rope (unwound) saturating and pulling through the fingers to get excess resin and air out then laying it between the layers of glass (on the sides) and forming it with the fingers to get the desired bead. It was also used for the fillet on the base of the fin. It really was an art and it took time to learn to do it properly.
I personally don’t like the crystal clear beads being used by some people today. I like the milky look like the original photo in this thread.
I agree that a “D” fin should not be used on a DN Noserider. The noserider glass on fin was 15 layers of 6oz pigmented red, then 4 layers of black, followed by another 15 layers of red.
I think Bing really sums up the issue here:
"I personally don't like the crystal clear beads being used by some people today. I like the milky look like the original photo in this thread."
Your bead method is going to ultimately be defined by the aesthetics you're shooting for. Fill the bead with a lot of glass rope or build up with cloth and ya can't get around it being hazy or milky. I personally prefer a solid colored pigmented bead on mine, but am really liking that tinted transparent bead on Austin's fin above.
So many options brought to light. . .who else feels lucky to be living in the information age (not to mention here on Sways)?
You’re right, my mind was focused on the glass bead and I forgot it was for a D fin.
Pierre, I should have put a smiley on that comment. Thanks for taking it the right way...
Awareness of foil sections came along with the high-aspect ratio fins in about '66. Since Bing himself is on this thread (how cool is that?), he can date it very accurately.
The way i have always done it is to foil the timber laminate to 80% and support from underneath so you can lay two or three layers of cloth over it leaving a two iinch overhang and let it go off. Turn over and lay in the roving and lay the glass on top. After it gels turn back over and put another layer on the edge only because this edge will have more curve on it than the other side and will need that bit of thickening before it is trimmed and foiled.
Hey Guys,
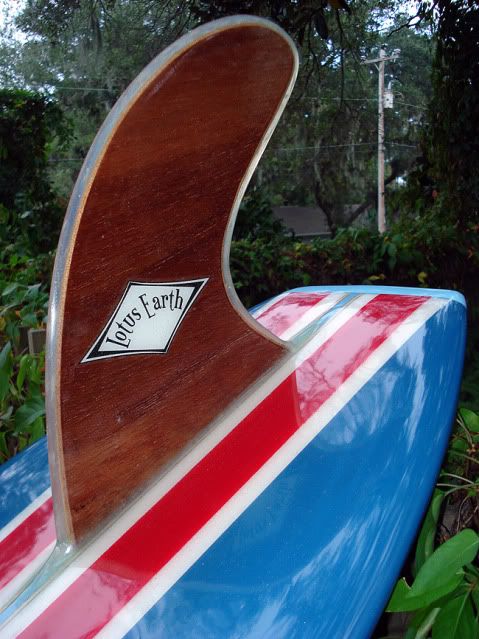
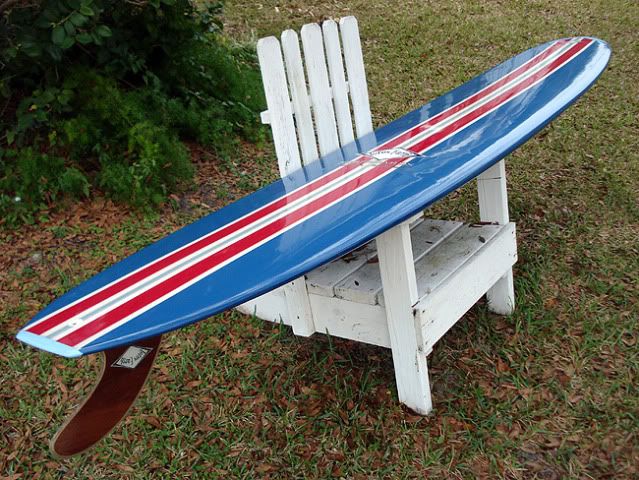
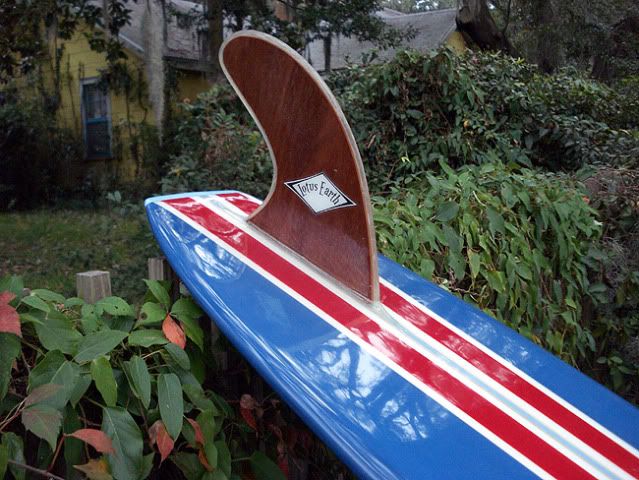
I wanted to follow-up and share the finished fin. Much thanks to everyone for their advice.
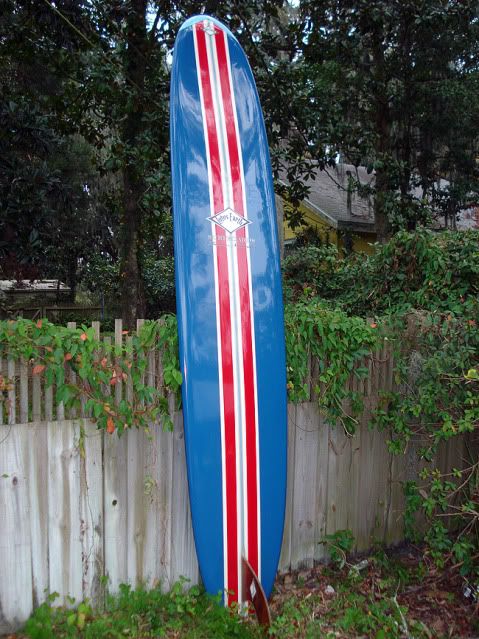
The board rides wonderful with this fin set-up and I am stoked. Not a “D” fin, but it does have the halo effect I desired. I’ll probably try a similar shape in the 10’3" range w/o the concave and a classic “D” soon.
I made the halo on this fin by placing some thumb tacks on a small piece of ply to use as a mini-glassing table. I then cut two sheets of 6 oz. sheets of cloth about 3/4" larger than the fin and laminated with UV resin to the top side only. I exposed this to the sun for a few minutes and the 3/4" didn’t sag very much at all, so I have a nice little recess to lay my roving after flipping the fin. Laminated the other side encapsulating the wet roving the same way. Then did a quick cheater hot coat and fine tuned the fin before laminating to the board.
This system worked well for me and produced the correct result in a very controlled enviroment and I liked the idea of being able to fine tune the fin before laminating on the board.
-Tommy
Awesome thread!
Fin and Board look great.
Can’t wait to try this method.
Hi Austin -
That fin is beautiful. Nice bead, grain direction and curved glue-up! Not exactly a 'D' fin... Looks like it's on a traditional triple stringer board?
One shaper of that era told me…two layers VOLAN CLOTH on either side of the wood…then glass rope around the perimeter. That is all. Maybe 61-62, then the D fins came in all glass for a year or two, then “dolphin” shaped fins came around and D fins were mostly obsoleted. The glass rope was not for aesthetics but because you would break through the glass and the wood would take on water without it if you ran the fin into anything like a rock.
I know there are better/different methods today, but this is how it was done then at least if the old shaper’s memory holds.
hth