Thx BB30
And thx Mr Baggett, never wax again…
Thx BB30
And thx Mr Baggett, never wax again…
Hey BB30,
How low do you think one can go on EPS density on a board with glass-cork-glass sandwich skins?
I am thinking about a low density EPS Compsand with perimeter stringers done in a mold with some cork rails…
I would appreciate to hear your experiences, before i start doing test pieces ![]()
Hope you have been doing fine in the meantime
Litez,
I would start light at 0.75lb density and increase by 0.25Lb increments if failure occurs. I am predicting 0.75lb will work fine. If that not available start with lowest density foam you have available. Don’t bother with test pieces just build the board. Not a fan of built out cork rails if that’s what you mean by “perimeter stringers done in a mold with some cork rails”. I would have fiberglass between each layer of cork for rails if I am understanding what you are doing correctly
aloha,
Charlie
Agree with BB30 on cork rails. I’ve made several boards with cork rails (not molded), I glued several layers of cork to get about 1/2" width. Cork is noticeably heavier than balsa wood, and it’s harder to get a nice cleam smooth finish. If I make a perimeter rail these days, I use either Balsa or XPS (blue Dow foam), usually XPS.
I don’t make cork veneer boards, but I do make balsa veneer boards. For .75 lb EPS, I’d use 1/8" thick balsa for better dent resistance. Not sure how that equates to cork. For 1lb EPS, I do a layer of glass, then 1/16" balsa then glass.
Im just worried about the impact resistance of a sandwich on low density eps foam, with which i have no experience…
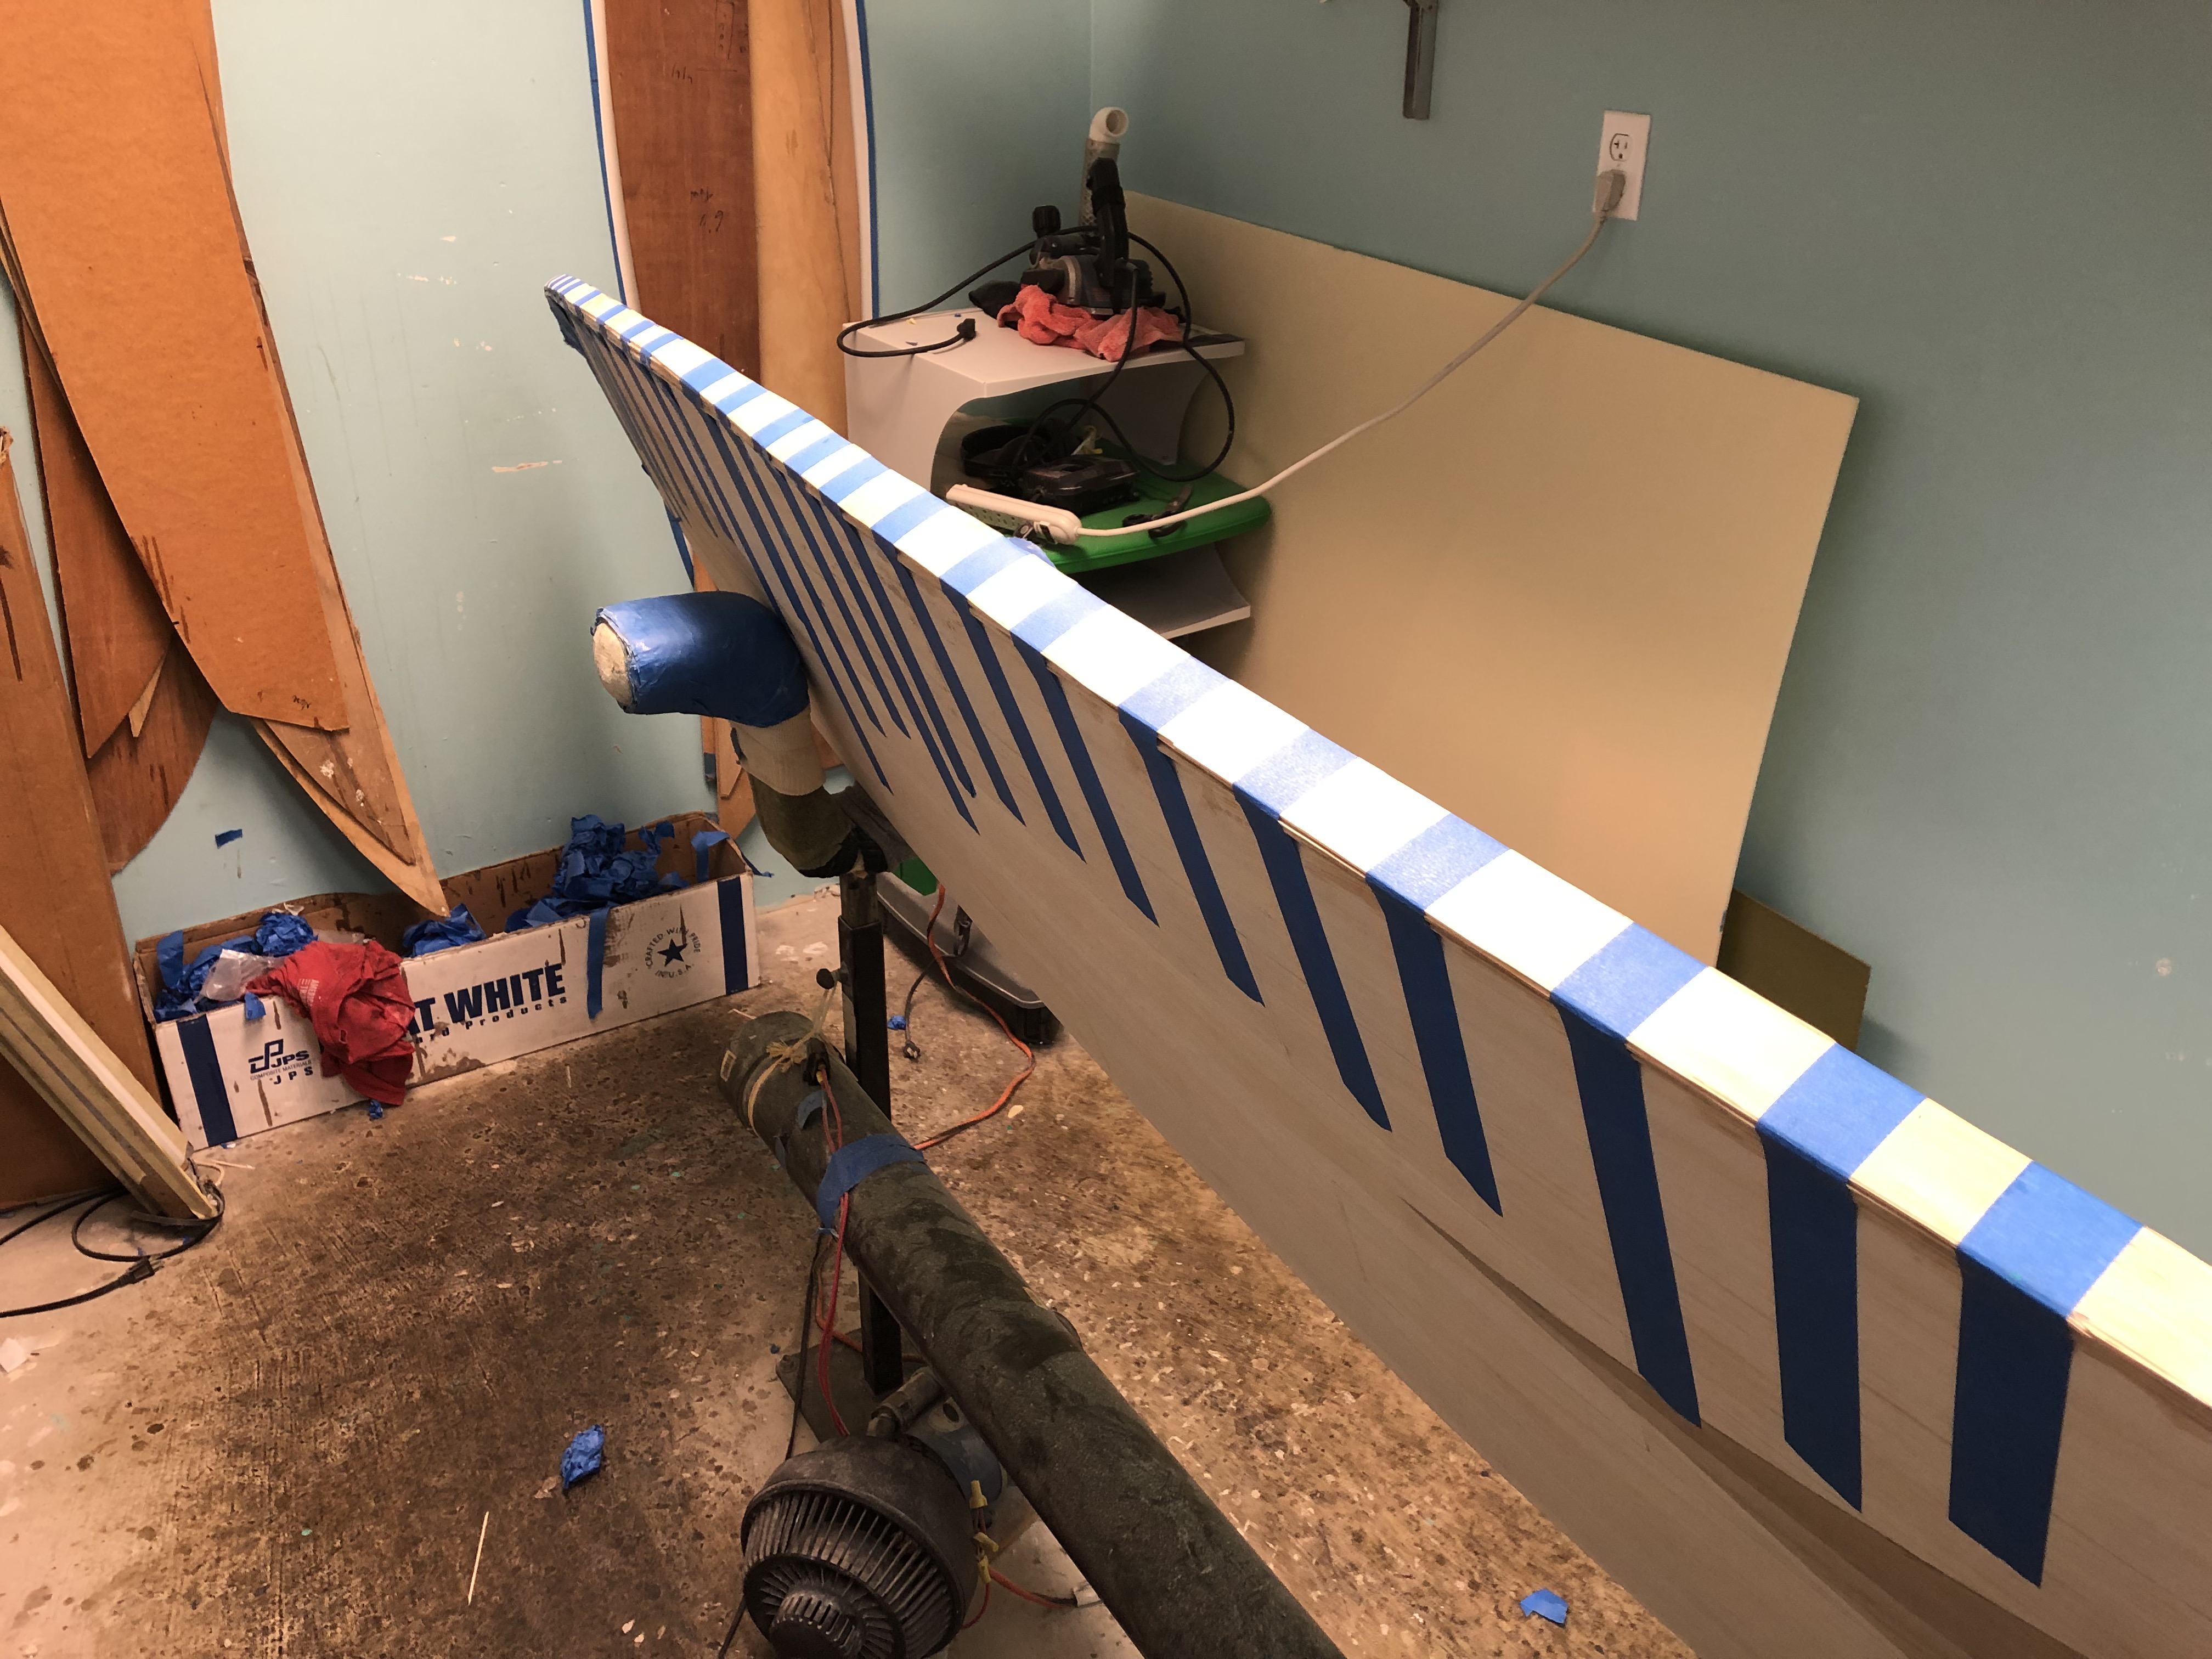
My Plan was to build something like this:
For another midlength
Rocker Slices hot wired from EPS
Cut outline
Glue poplar ply perimeter stringers
Shape the bottom or shape bottom and deck + building up the rails by cork/foam/balsa/etc
And this why i was asking… Put on glass - wood/cork - glass on the bottom
6? Build the rails now
Something like this for a longboard as well… But probably with a center stringer as well
P.s: Failure is not an option ![]() Safety first, these are my whole summer boards and i dont want to create too much trash…
Safety first, these are my whole summer boards and i dont want to create too much trash…
Thank you,
I was thinking about the cork rails because its easy to glue on…
Balsa is kind of not easy to obtain in good lengths around here. Only poplar ply basically.
Yeah i know, i went through some old threads researching and saw some beautiful works of yours, if i remember correctly…
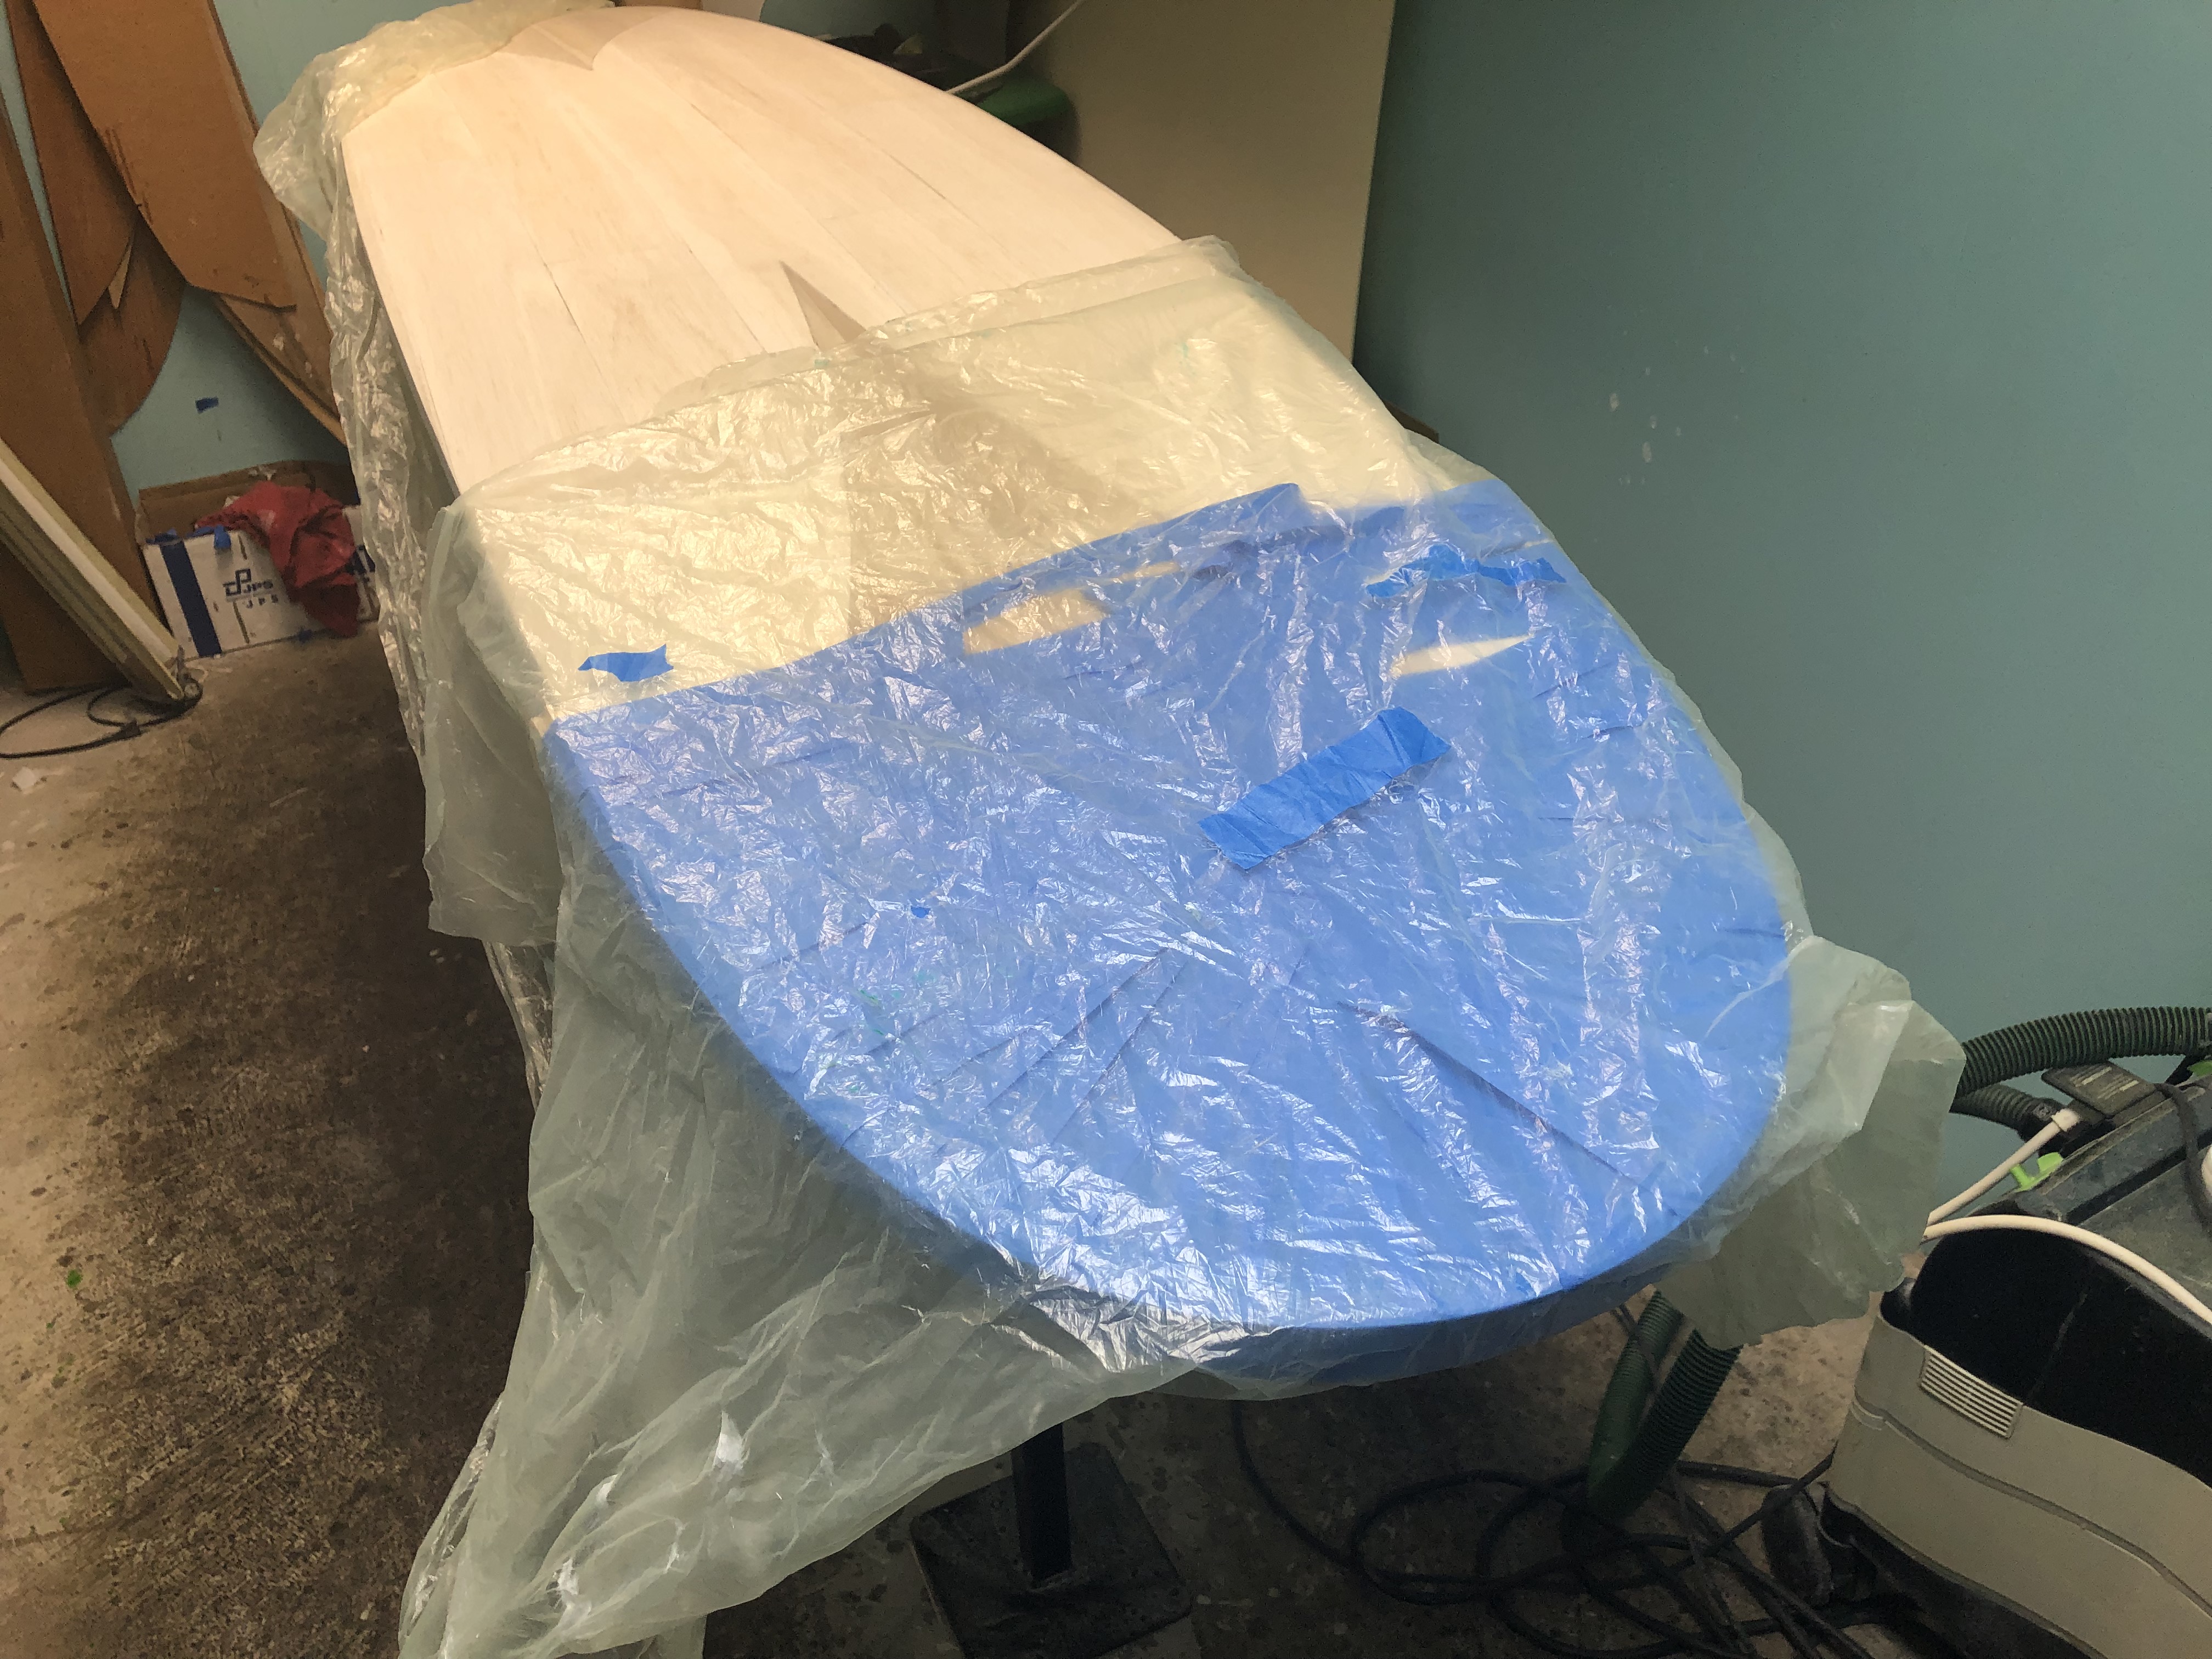
Depending on the thickness of the rocker slices, you may end up with something stonger than expected. I’ve been using foam in widths that allow for half a board, 6" strips, 4" strips, 3" and 2". I’ve found that more glue lines equals more strength longitudinally, and a little more strength on the surface, but I am seeing more pressure dents in the boards that do not have a veneer deck. More glue lines also means more chance for problems when shaping. Hard glue tends to come off and tear into the softer foam. You need to be careful and watch for that, especially when you get down towards a finished shape. Softer EPS tends to tear out more as well, you need to go slower when you shape and not be agressive with the sanding. If I use a lot of rocker slices to make a blank I like to add a 1" perimeter band of foam to get a cleaner rail shape. Attached photo shows the XPS perimeter band.
I usually glue up the blank pieces then clean up the bottom surface to get a starting point. Then I cut out the outline and get the bottom rocker dialed in. I do the outline early because I prefer to cut through less foam. If I add a veneer skin to the bottom, I’ll do it at this time. Now I work off the bottom rocker to get the profile or deck thickness. Once the deck profile is set I’ll cut rail bands, then add the first band of perimeter rails if I want them. That will allow me to use less material for the rails, and less to cut through. Then I’ll finish the deck contours (crowning) and add the deck skin. After the deck skin is on I clean up the rail, add the last pieces and turn the rails.
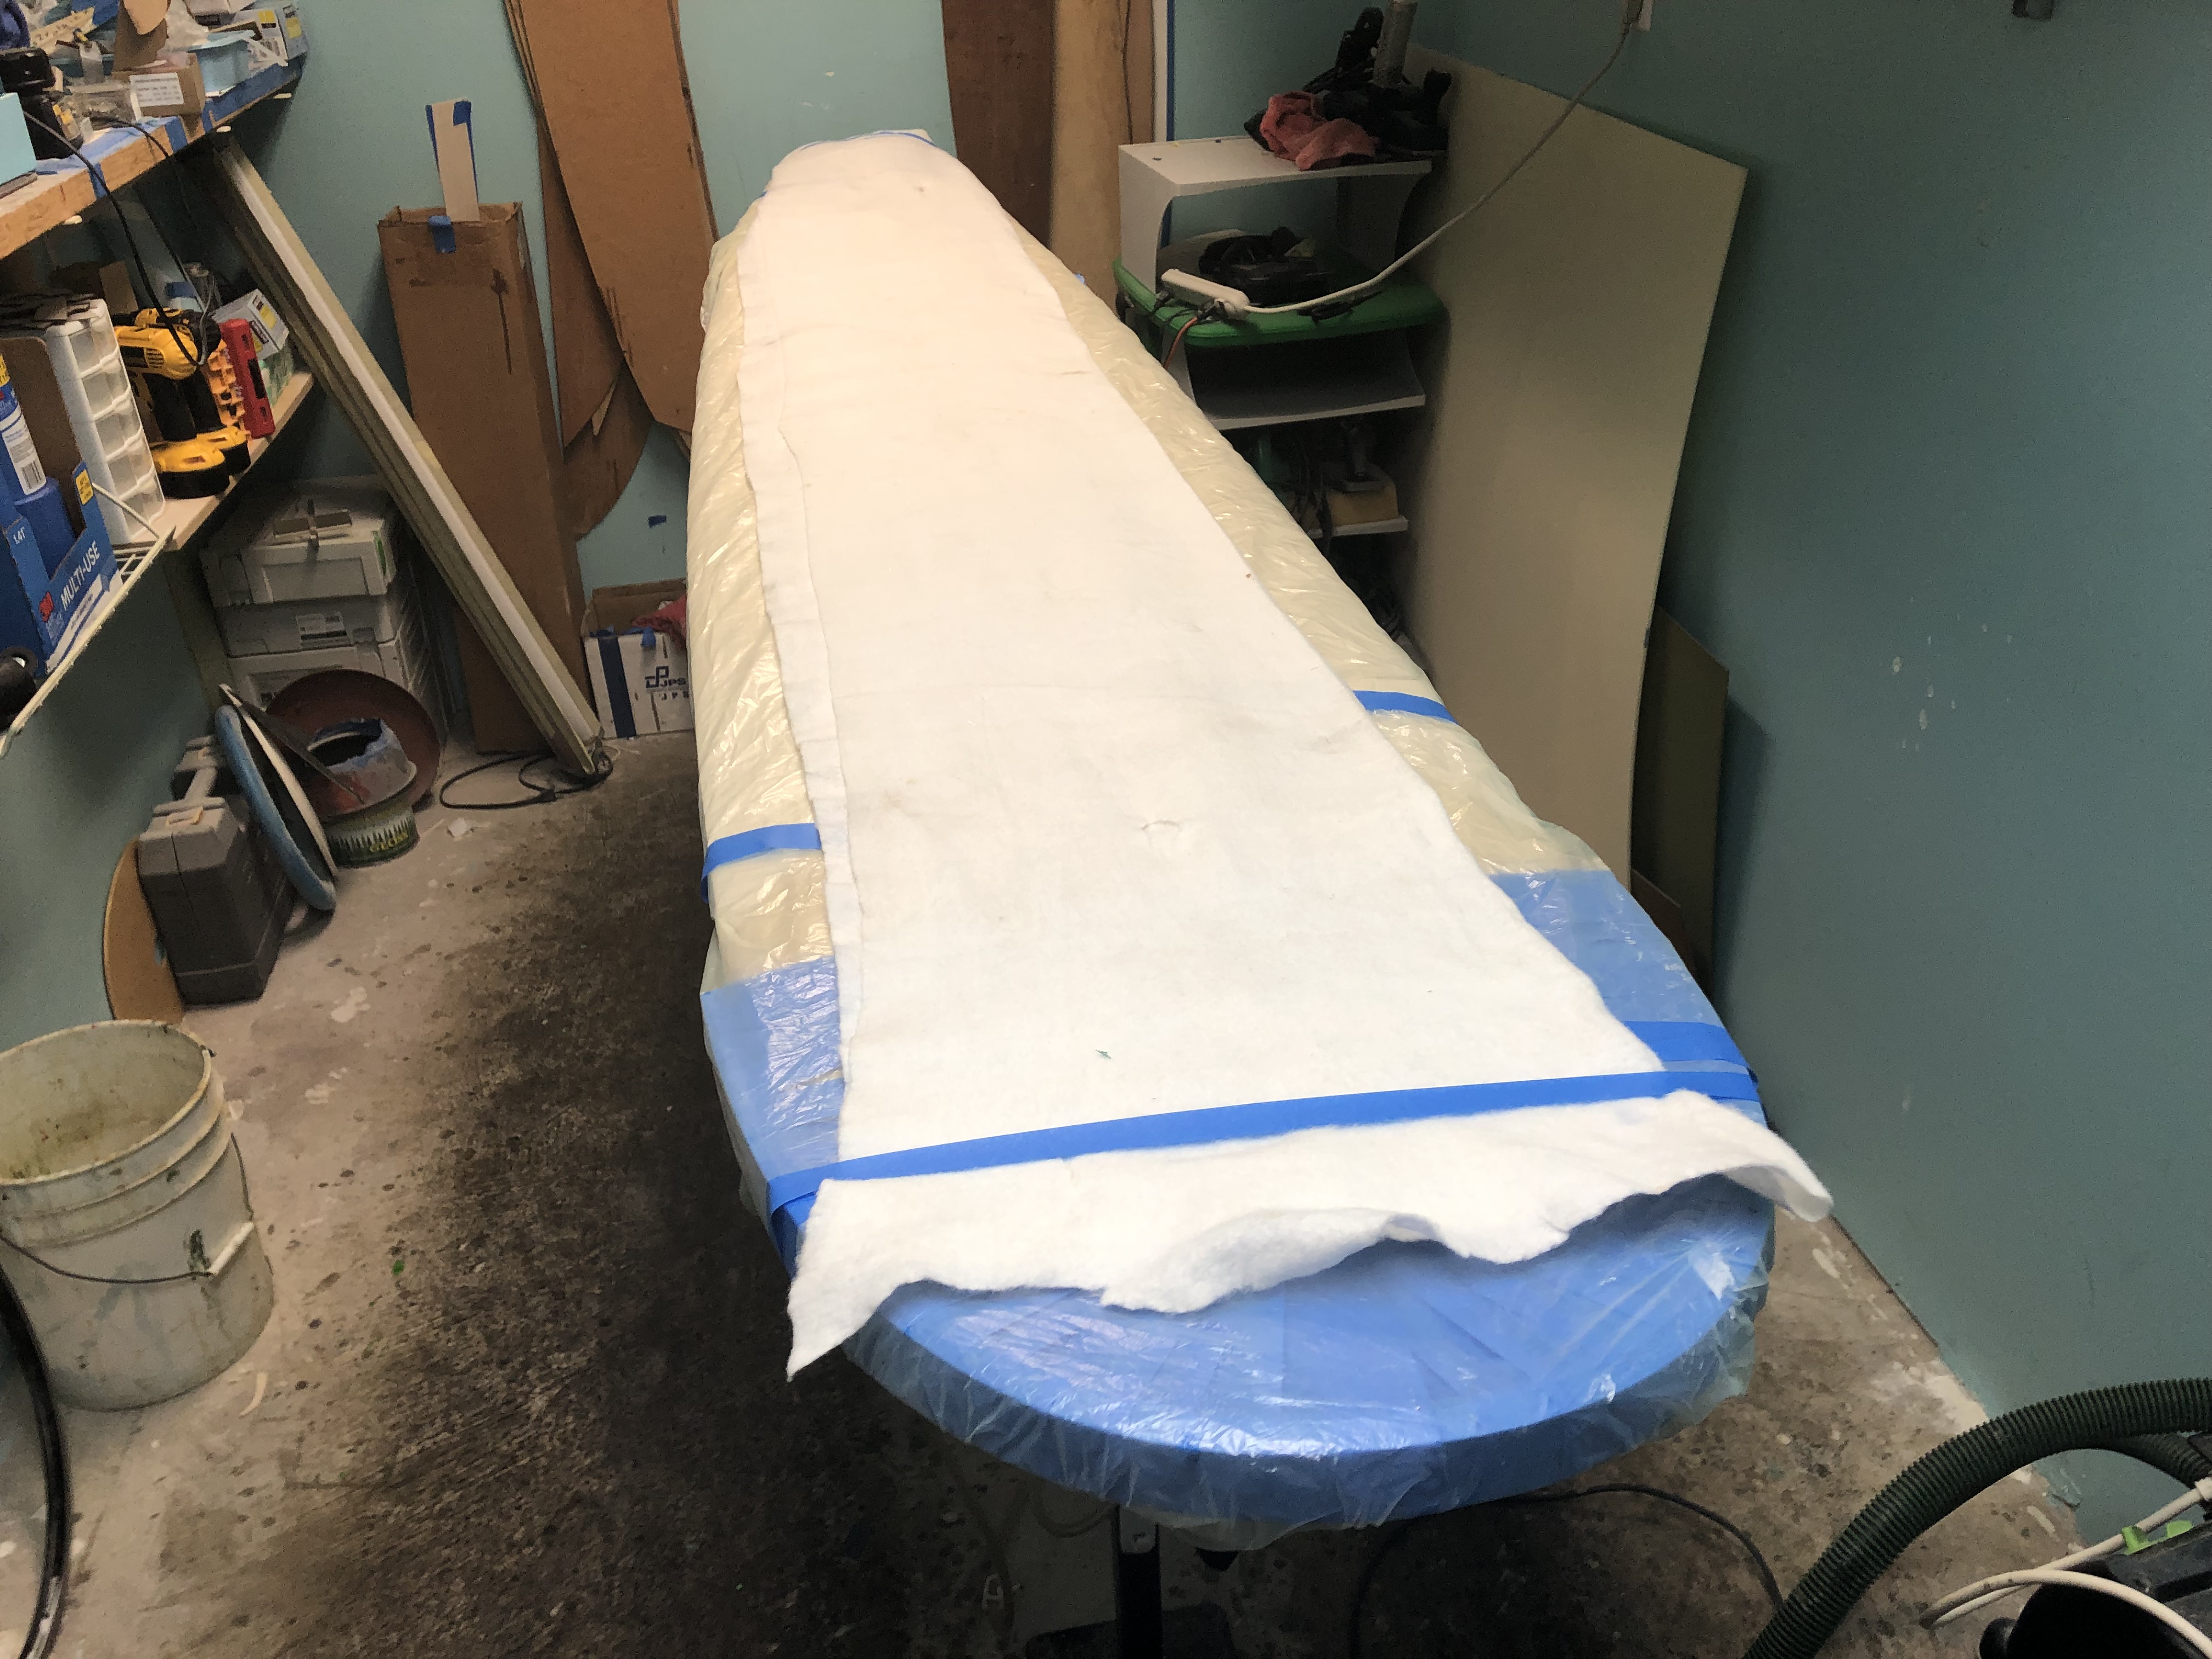
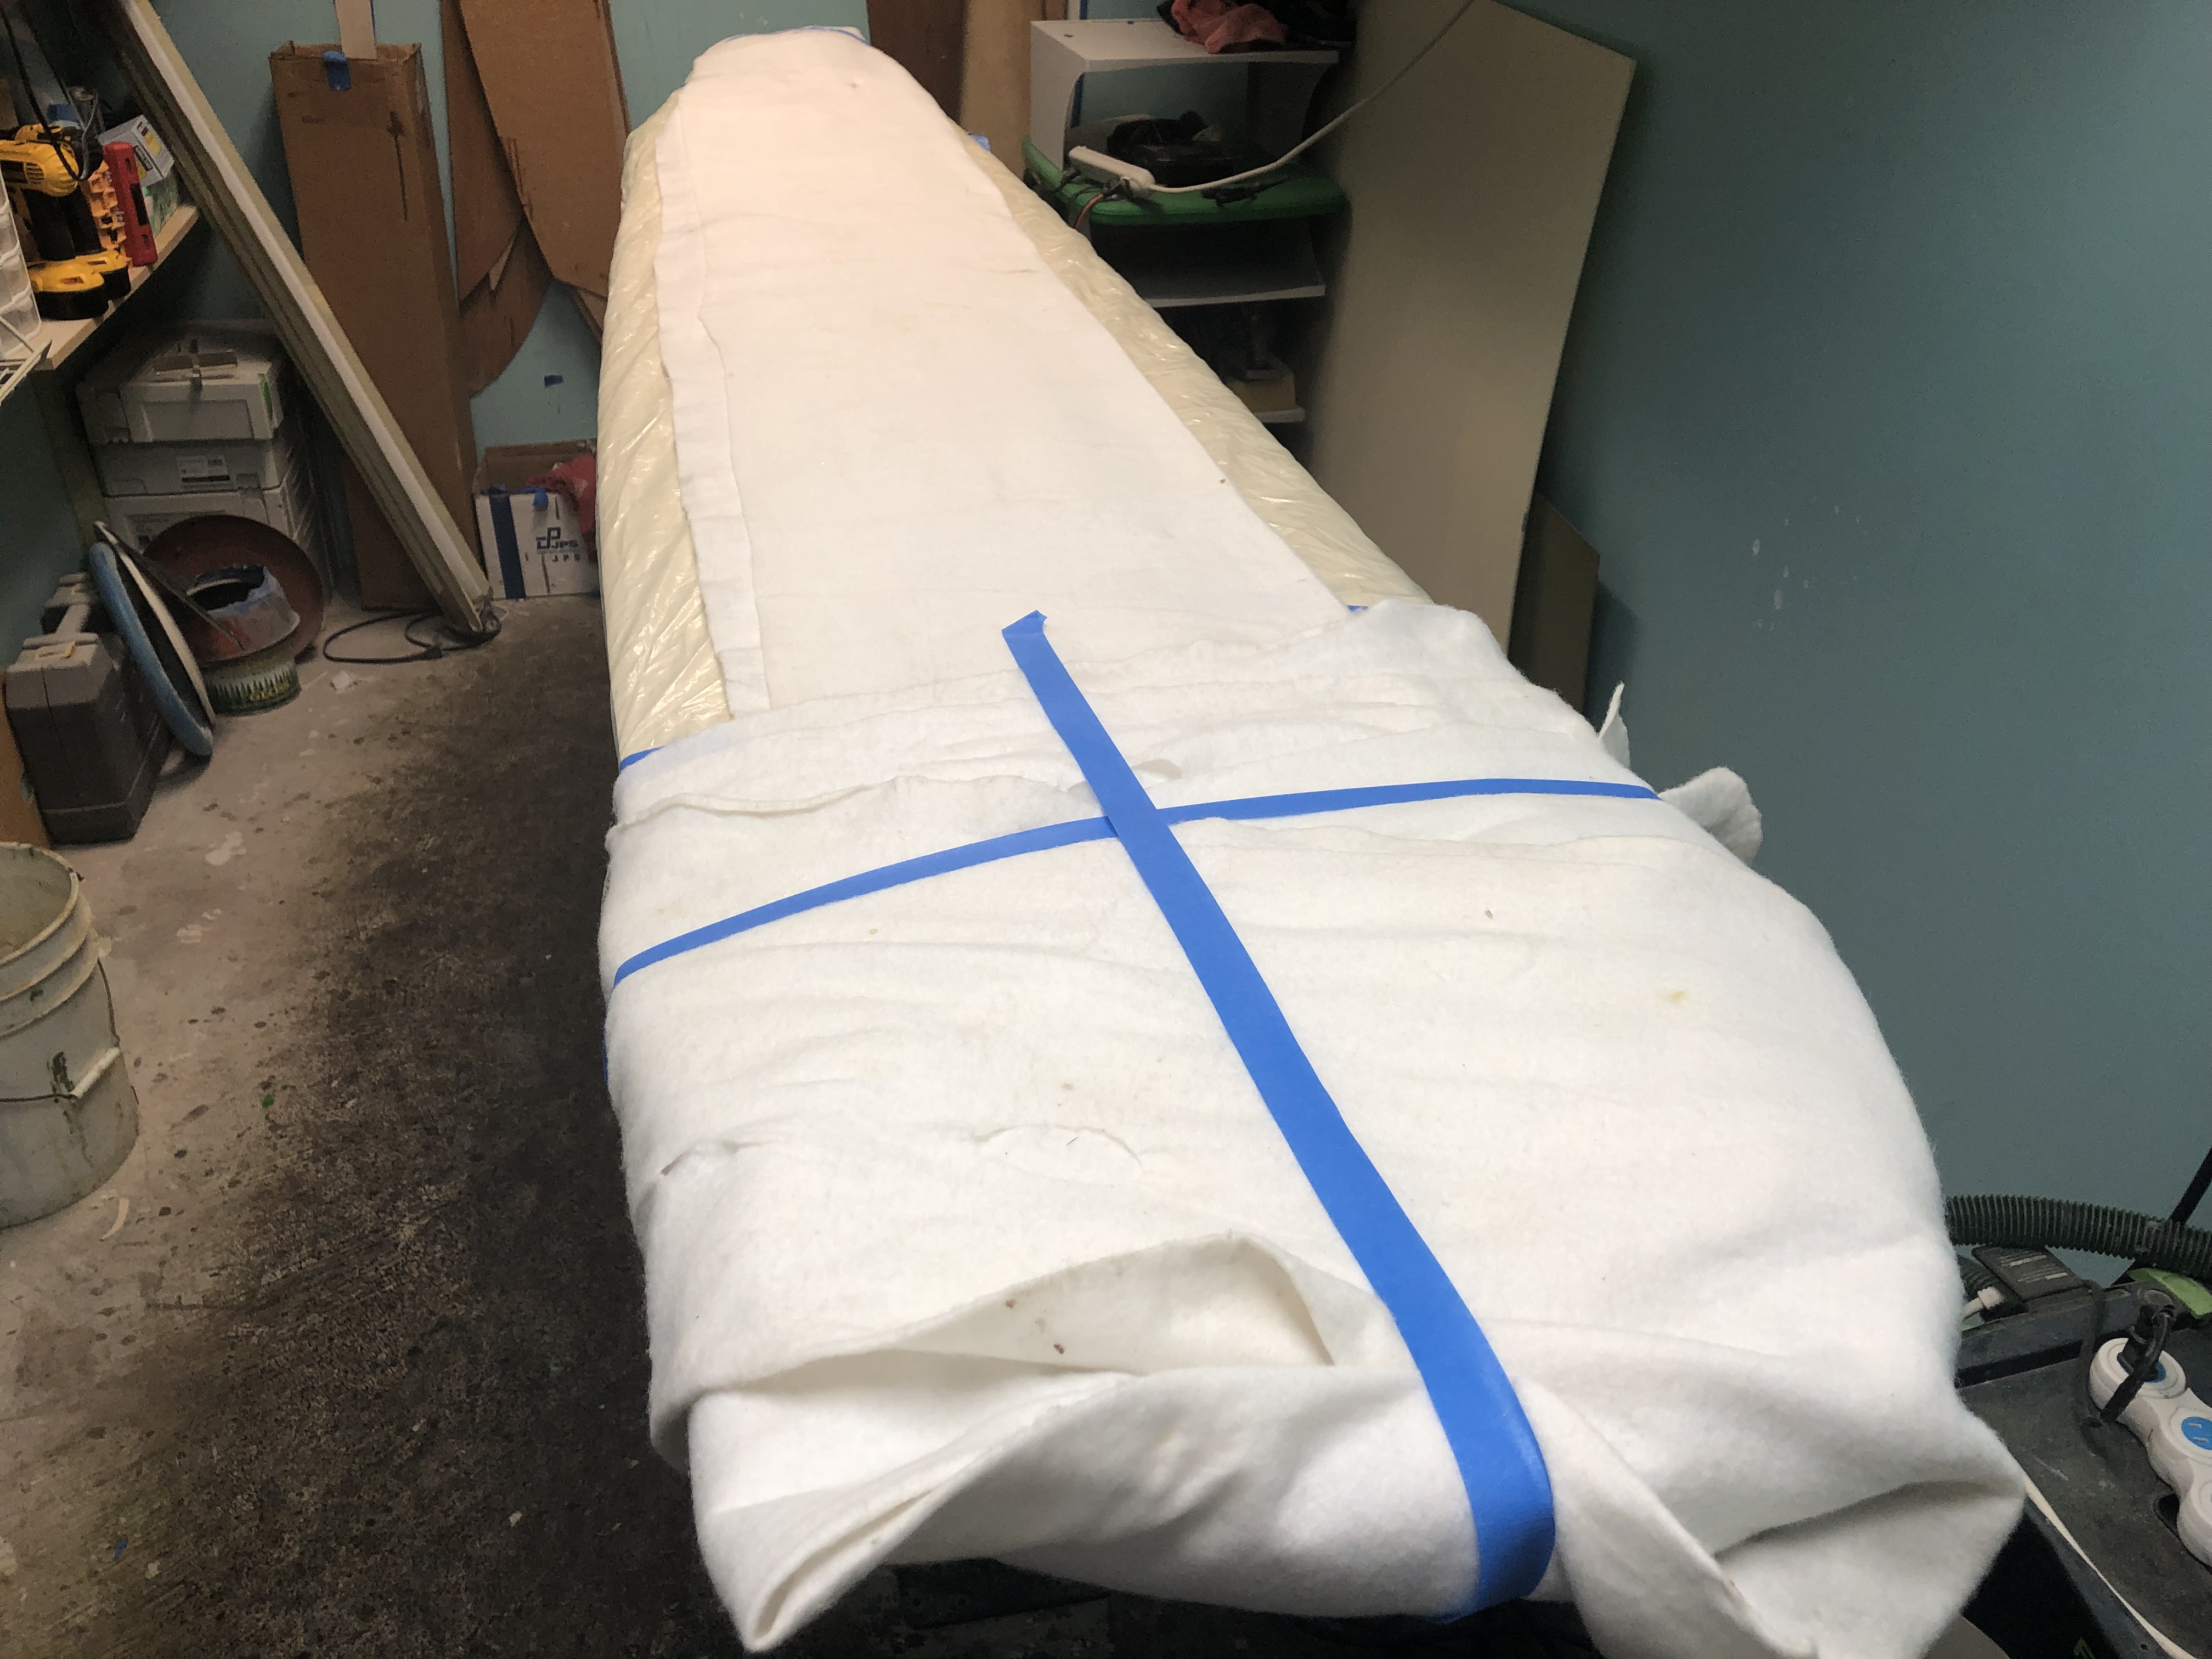
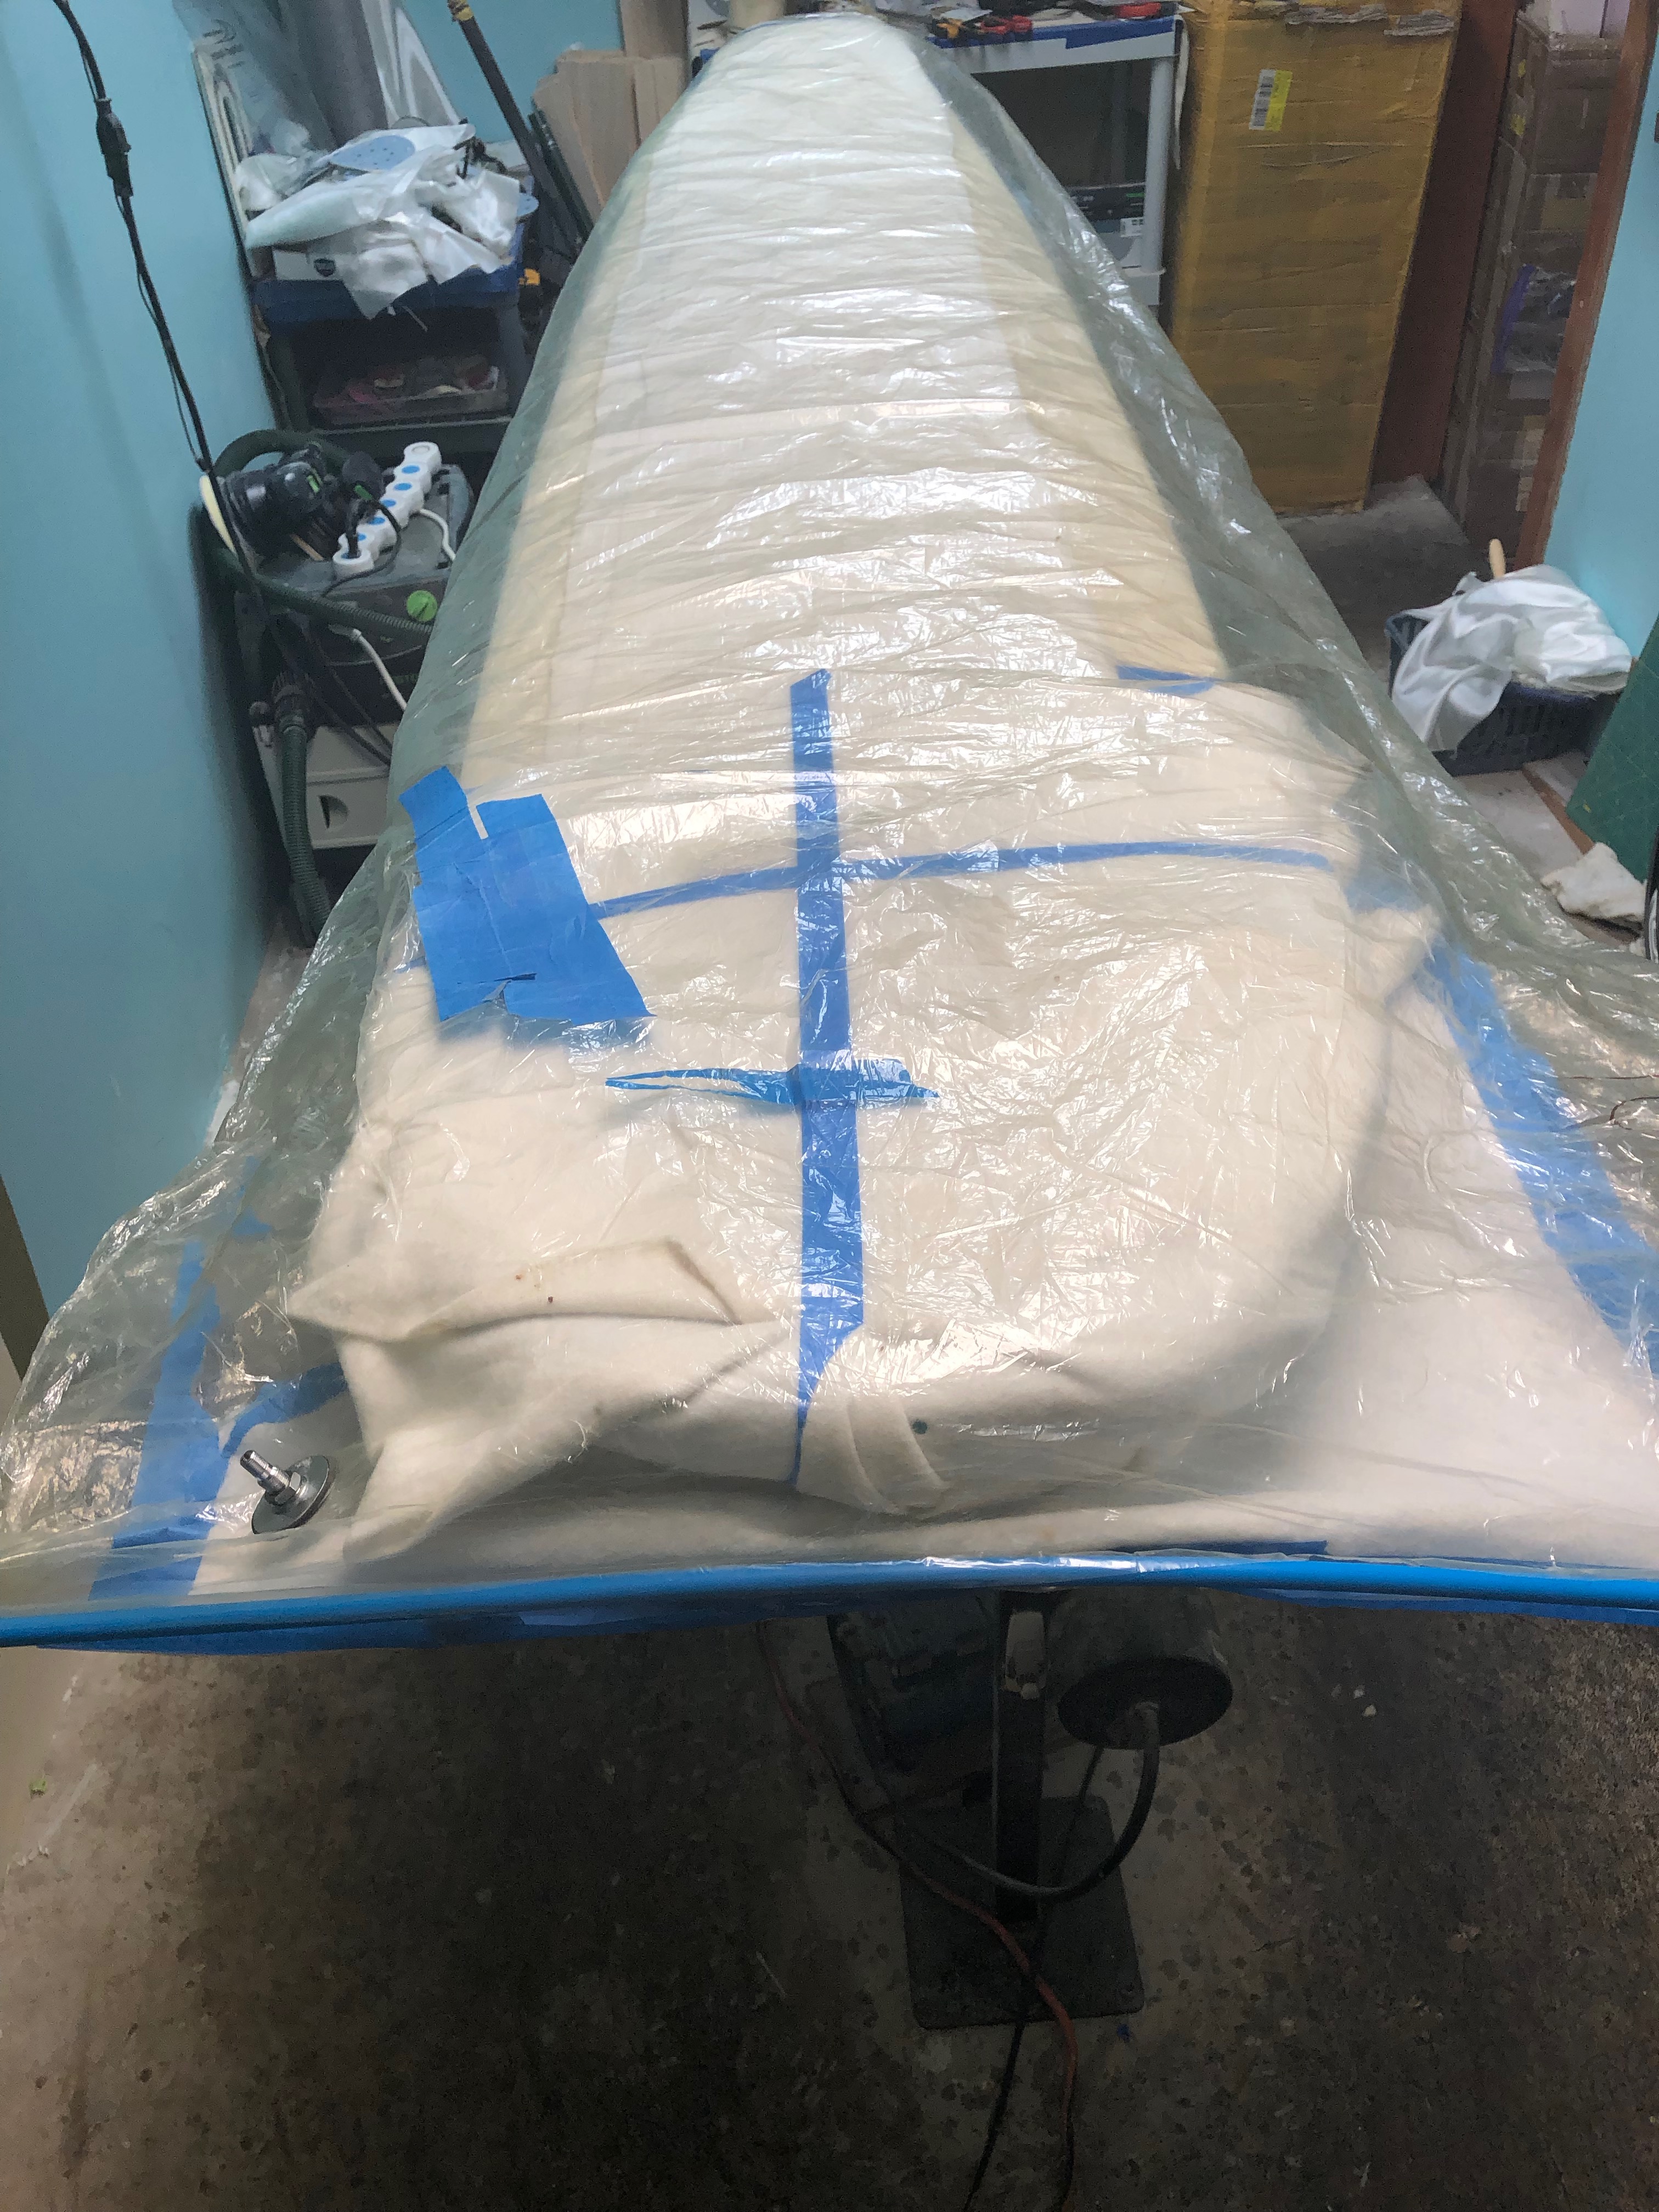
Without the perimeter rails, I’ll shape the whole board, then add any prelam fin boxes. I do a single layer of glass next. I wrap the bottom like I normally do, but I may only wrap the deck to the rail edge where I tend to have a hard tucked edge. I add the deck veneer with vacuum, and I try my best to cut the veneer to fit what would be a clean deck inlay. After it comes out of the bag, I clean up the edge of the veneer and do a second layer of glass (because I use balsa wood veneers). I’ll add my center box and any post lam fin boxes, then I do a second layer of glass on the bottom wrapping around to the top where the deck veneer edge is to lock in the boxes. Fill coat, sand and finish with a thin resin coat, or a floor sealer. After each lam, I’ll do whatever cleaning up on the edges before I lam the next layer. I end up with 4 layers of glass around the rails and 2 layers of glass on the bottom, it seems to be good enough.
For sandwich skin on 1 to 2 lb eps i try 3mm pvc foam (herex), 2mm cork nl20, around 1mm bulker(sphere core and home made one) and wood (0.6mm hard wood to 1.5mm balsa) mostly with 4oz glass under and over. buckling and dents strength is proportional to skin stiffness, at stiff/weight ratio Pvc foam is the best but puncture (ding) fragile, 2sd light Wood but rot sensible, near equal hard wood, bulker and cork even if it’s far thicker. bulker is very dings résistant. Cork let skin very flexible for is thickness, at same weight a balsa or pvc foam skin is considerably stiffer but cork dampen flex return a lot. it’s a really durable fatigless material.
i mostly do deck and deck+rail sandwich, i made 5 boards à la Bert full sandwich, start with bottom sandwich then add rails then shape and sandwich deck, work on rocker bed to keep rocker correct.
Hey Litez,
Making balsa rails does not need long lengths of balsa. My normal length is 4 feet length but 2 feet would work also. all my panks are milled to 2.5mm thickness. Anywhoooo,I alternate from nose to tail then tail to nose and usually the layered seams of the joined wood in built out rail will be staggered. If the are not staggard I will chop a piece in such a way so the to make it staggered. So I build out nose to tail making rail pieces to use as templetes for cutting additional pieces . Then go tail to nose and use those pieces to make more of that same size. So to add .75 inches of rail to each side of of board…I will need 12 total of each piece I cut. label, tape joining ends together and i will have six rail pieces alternating every other one where rail seam is. If you really wanted to stagger seam on rail you could make three sectios with no seam matching. I always vac bag the rails also. Only epoxy between layers because I fiber glass board when finished.
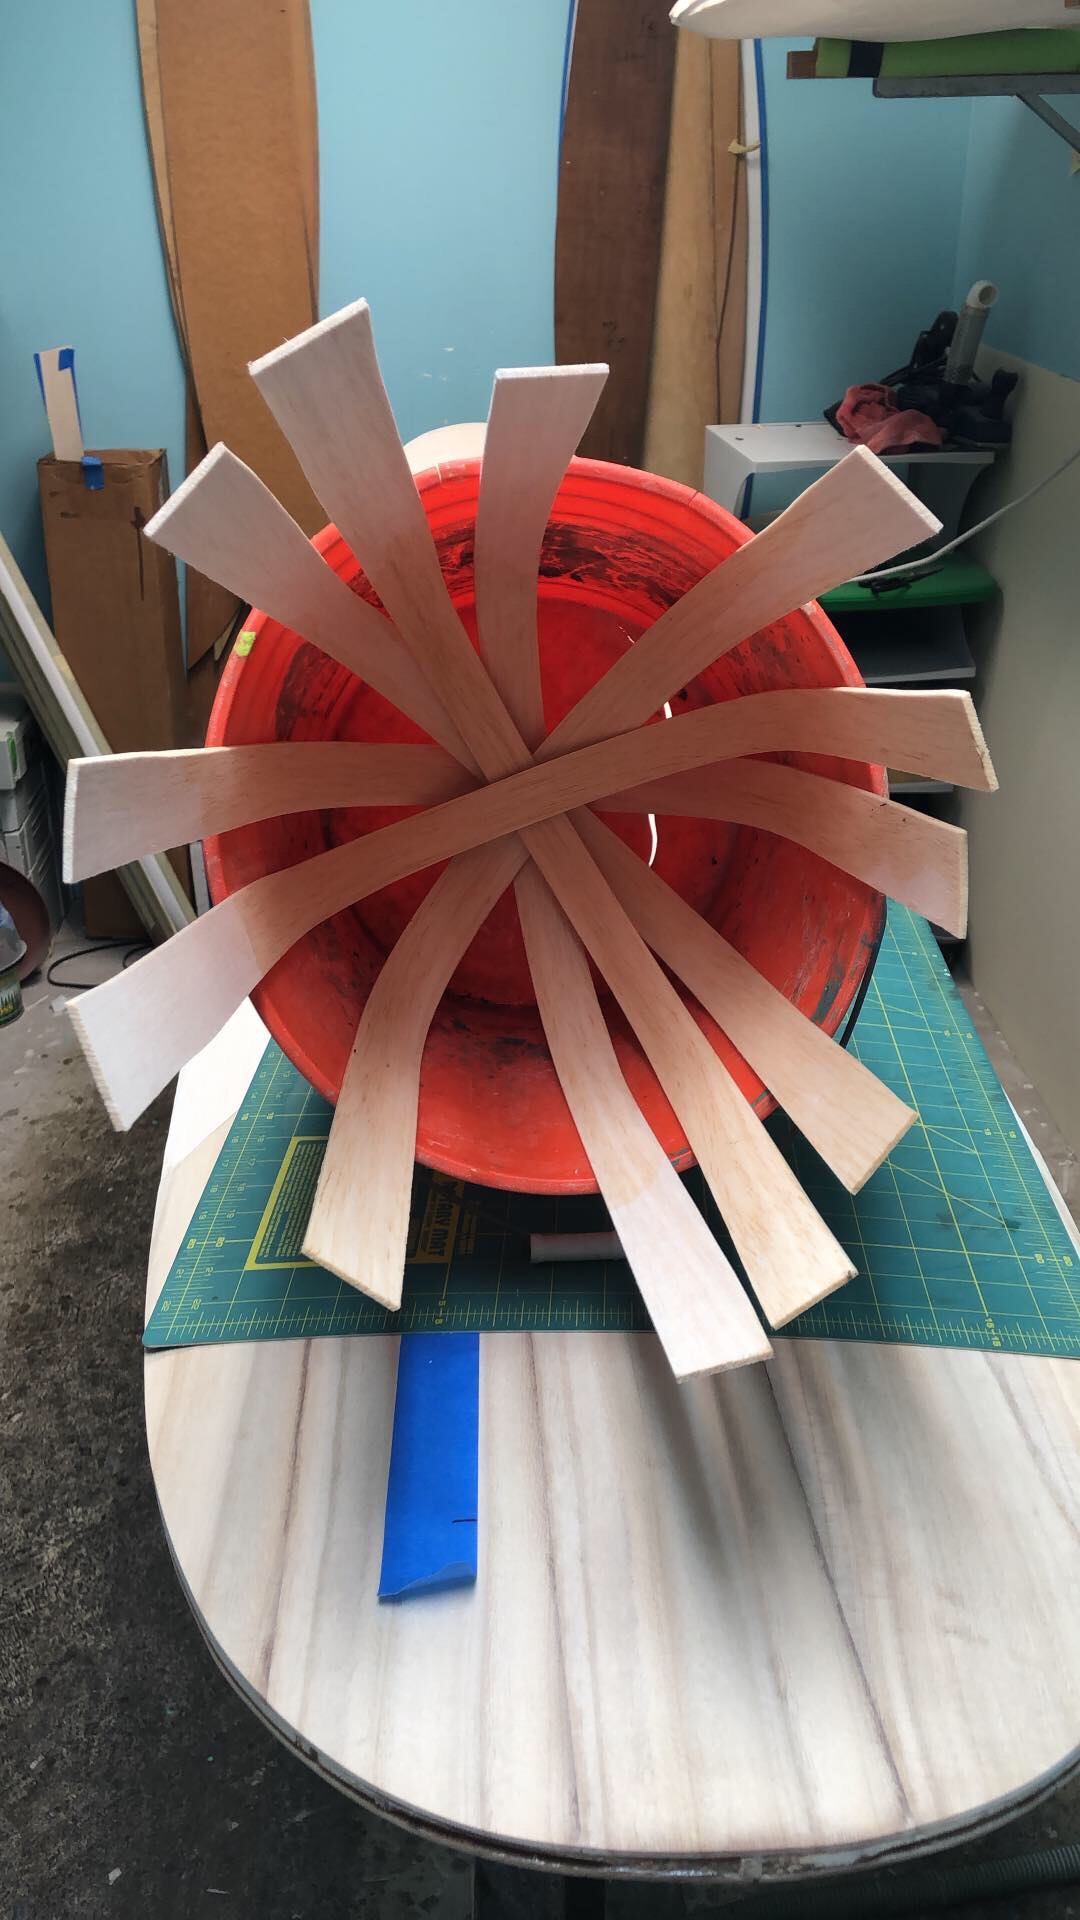
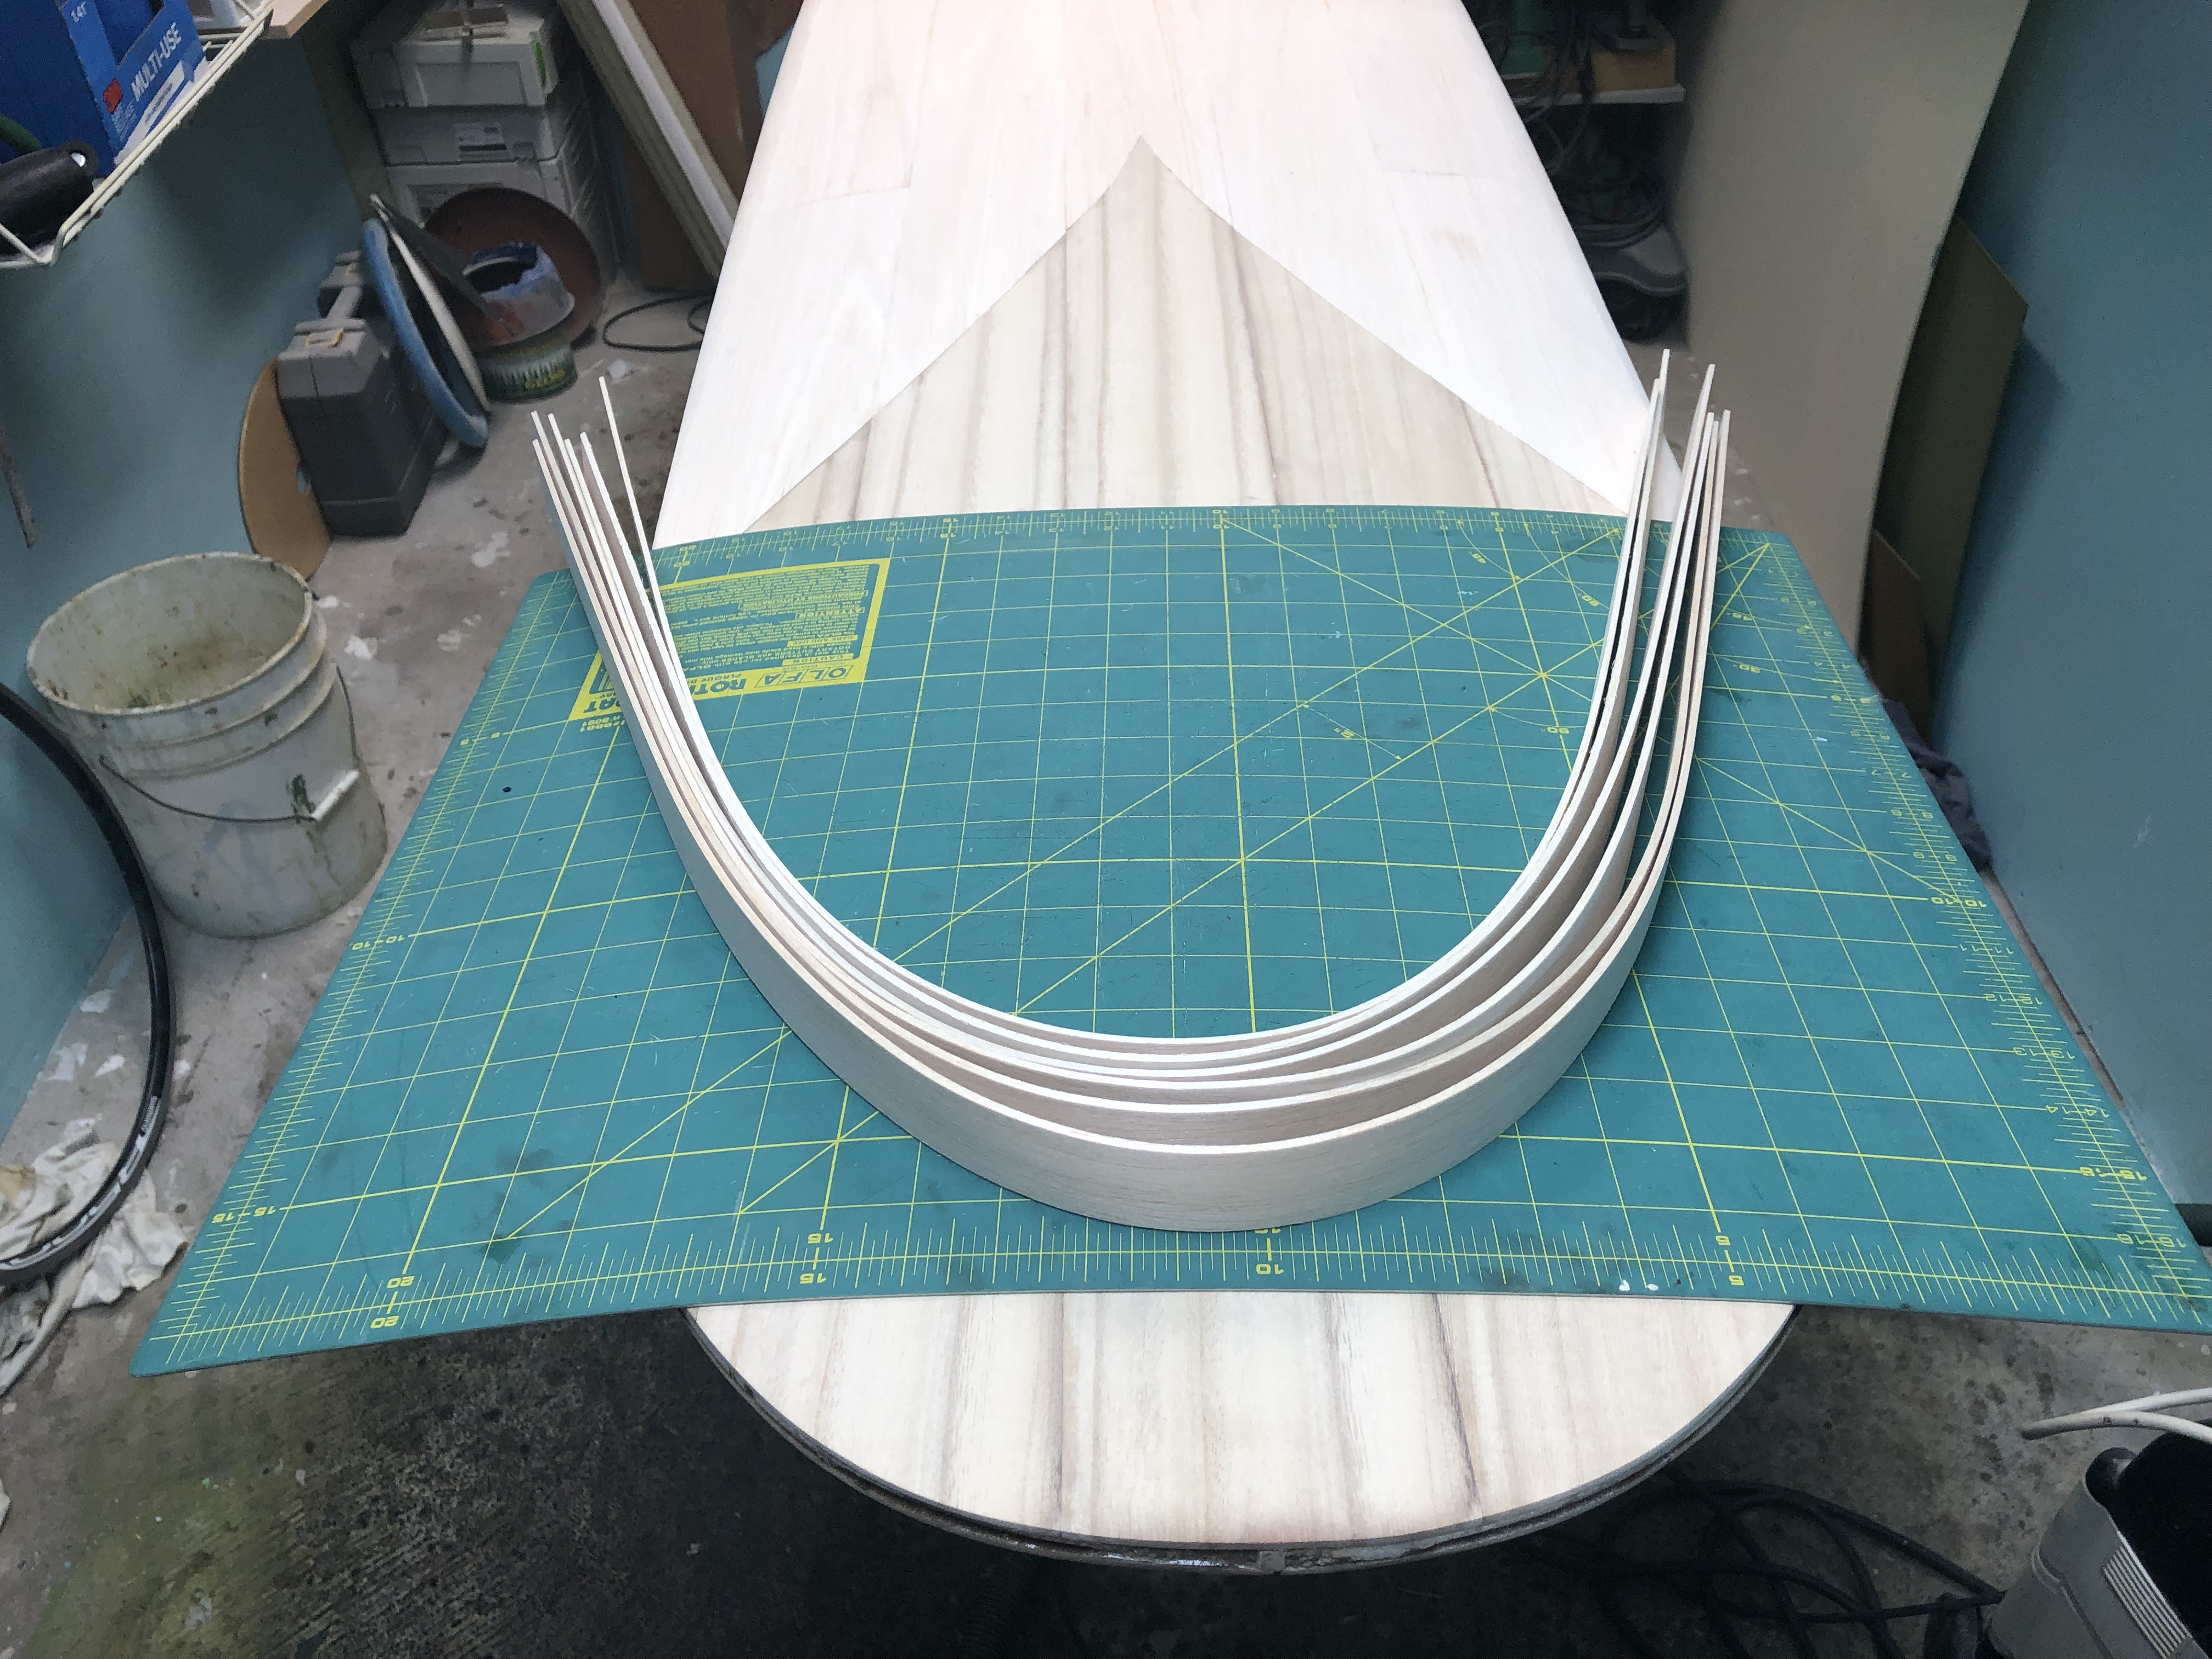
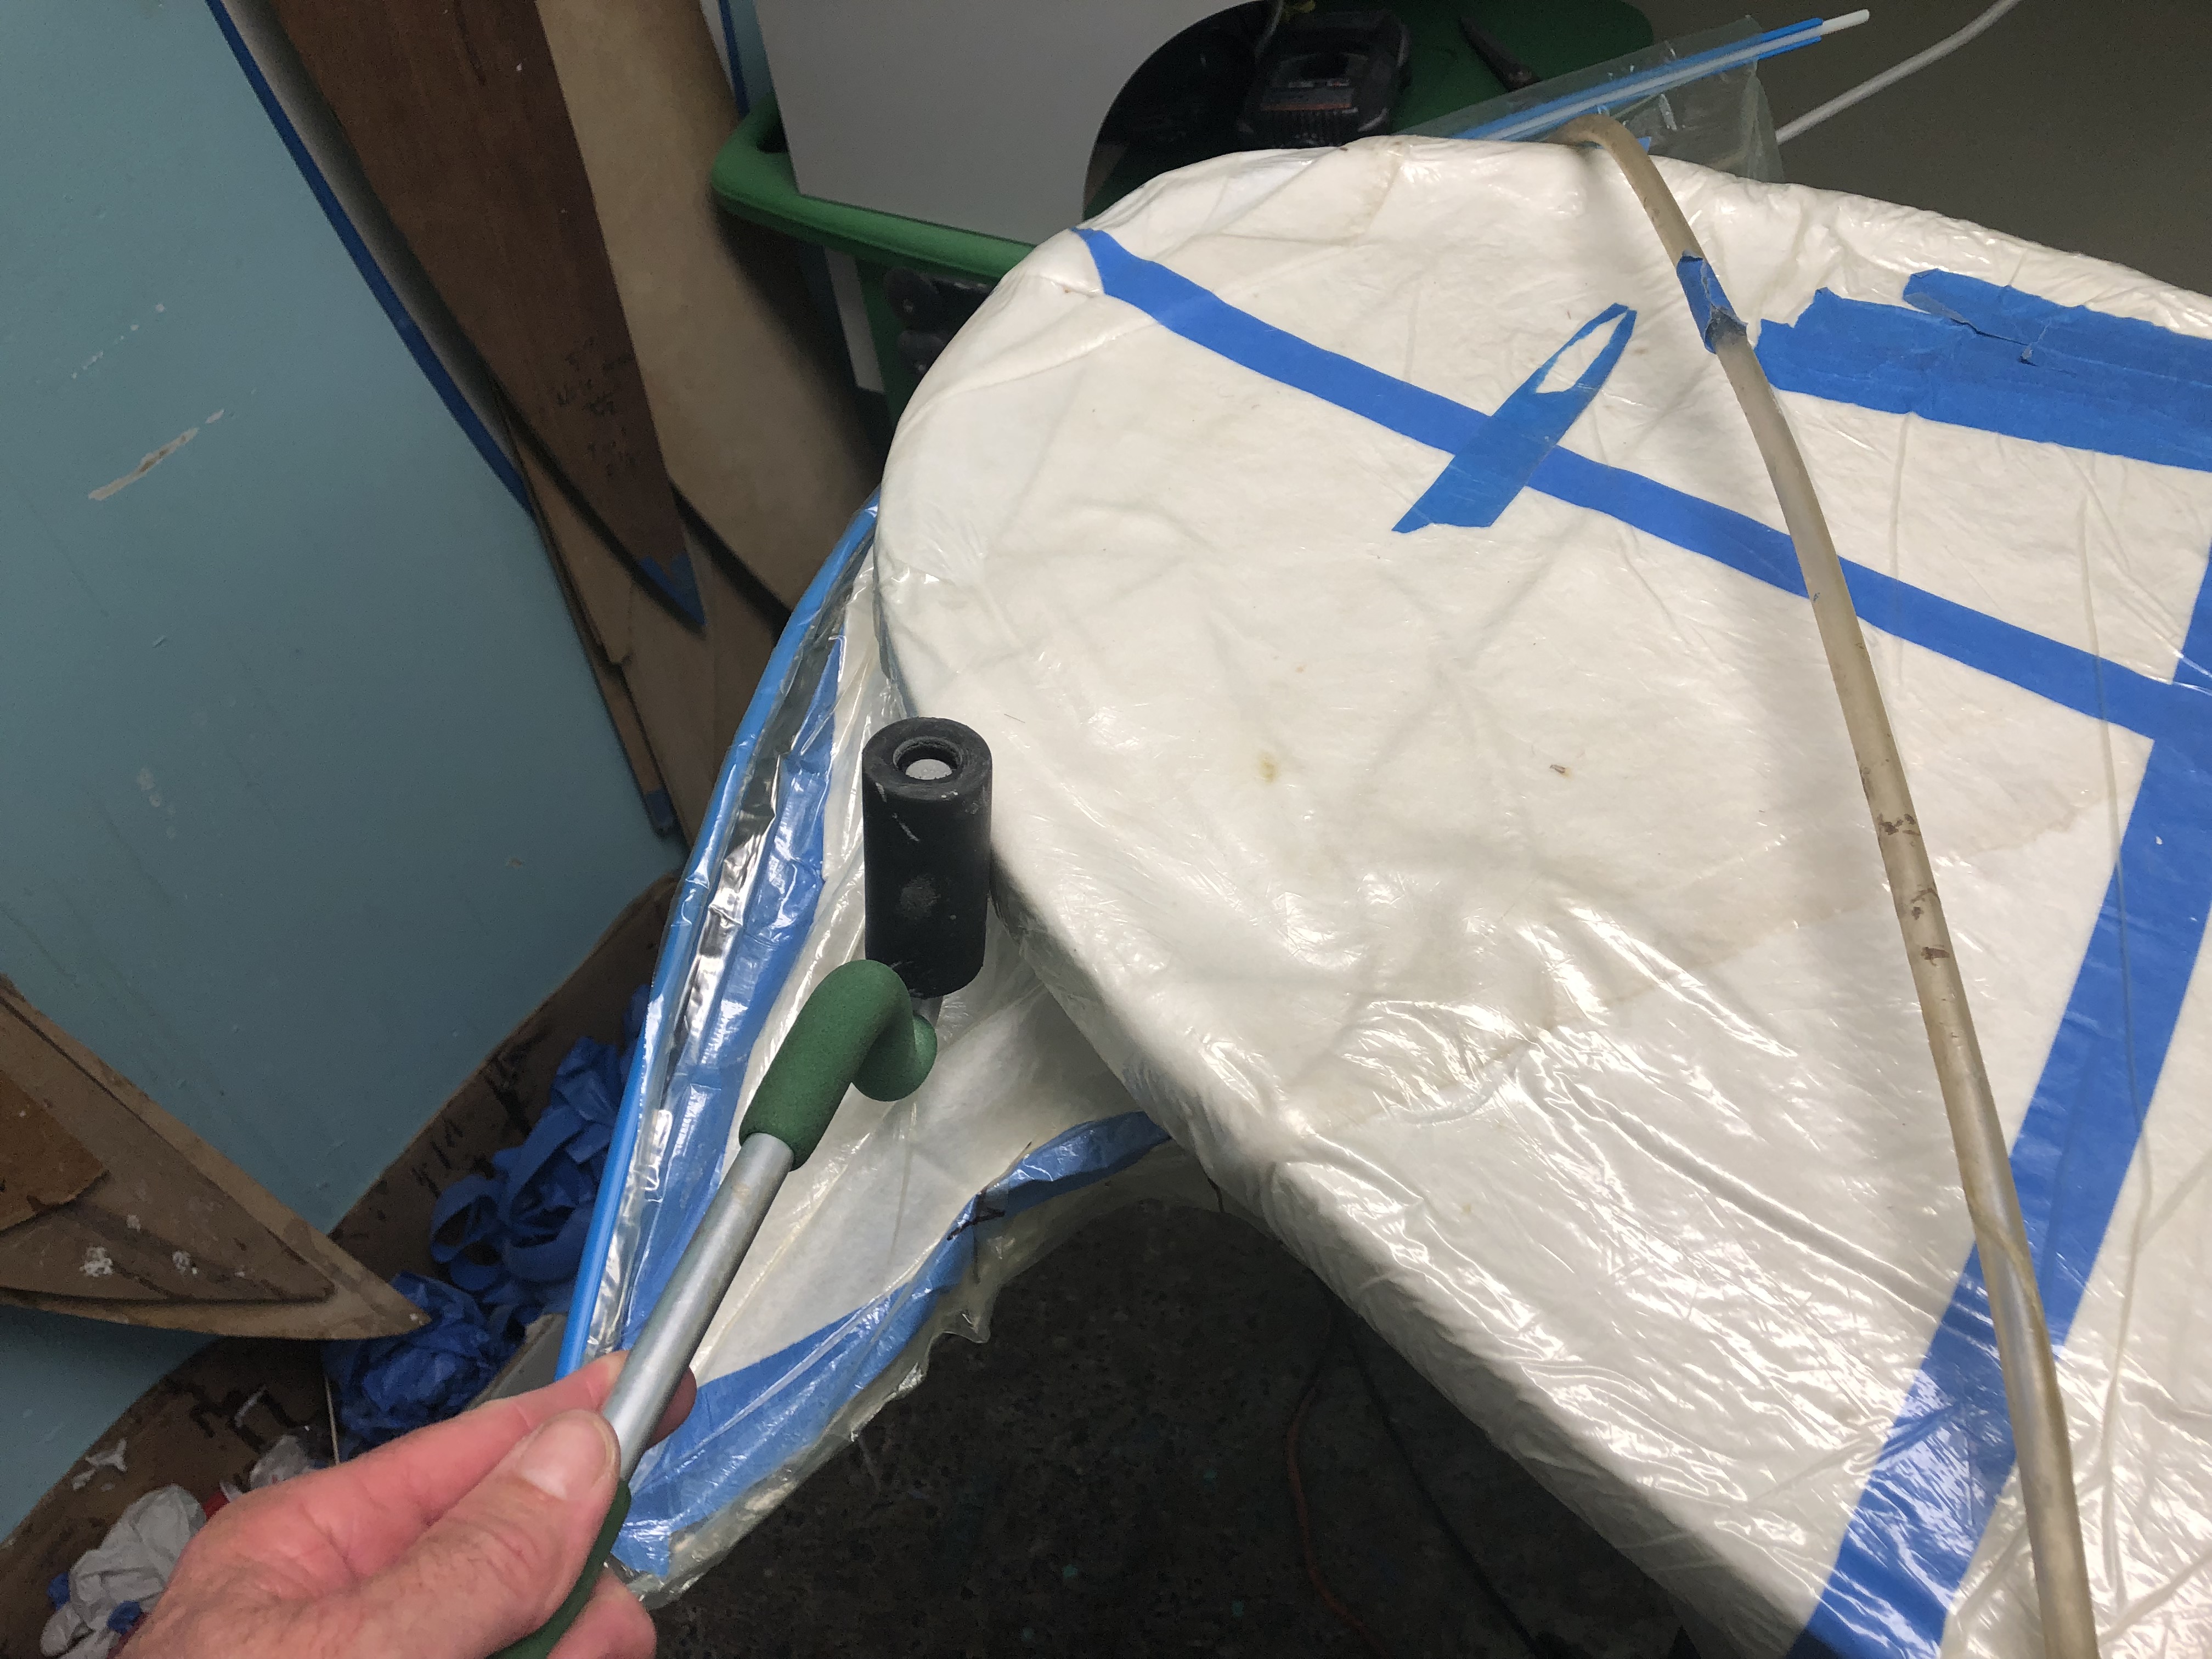
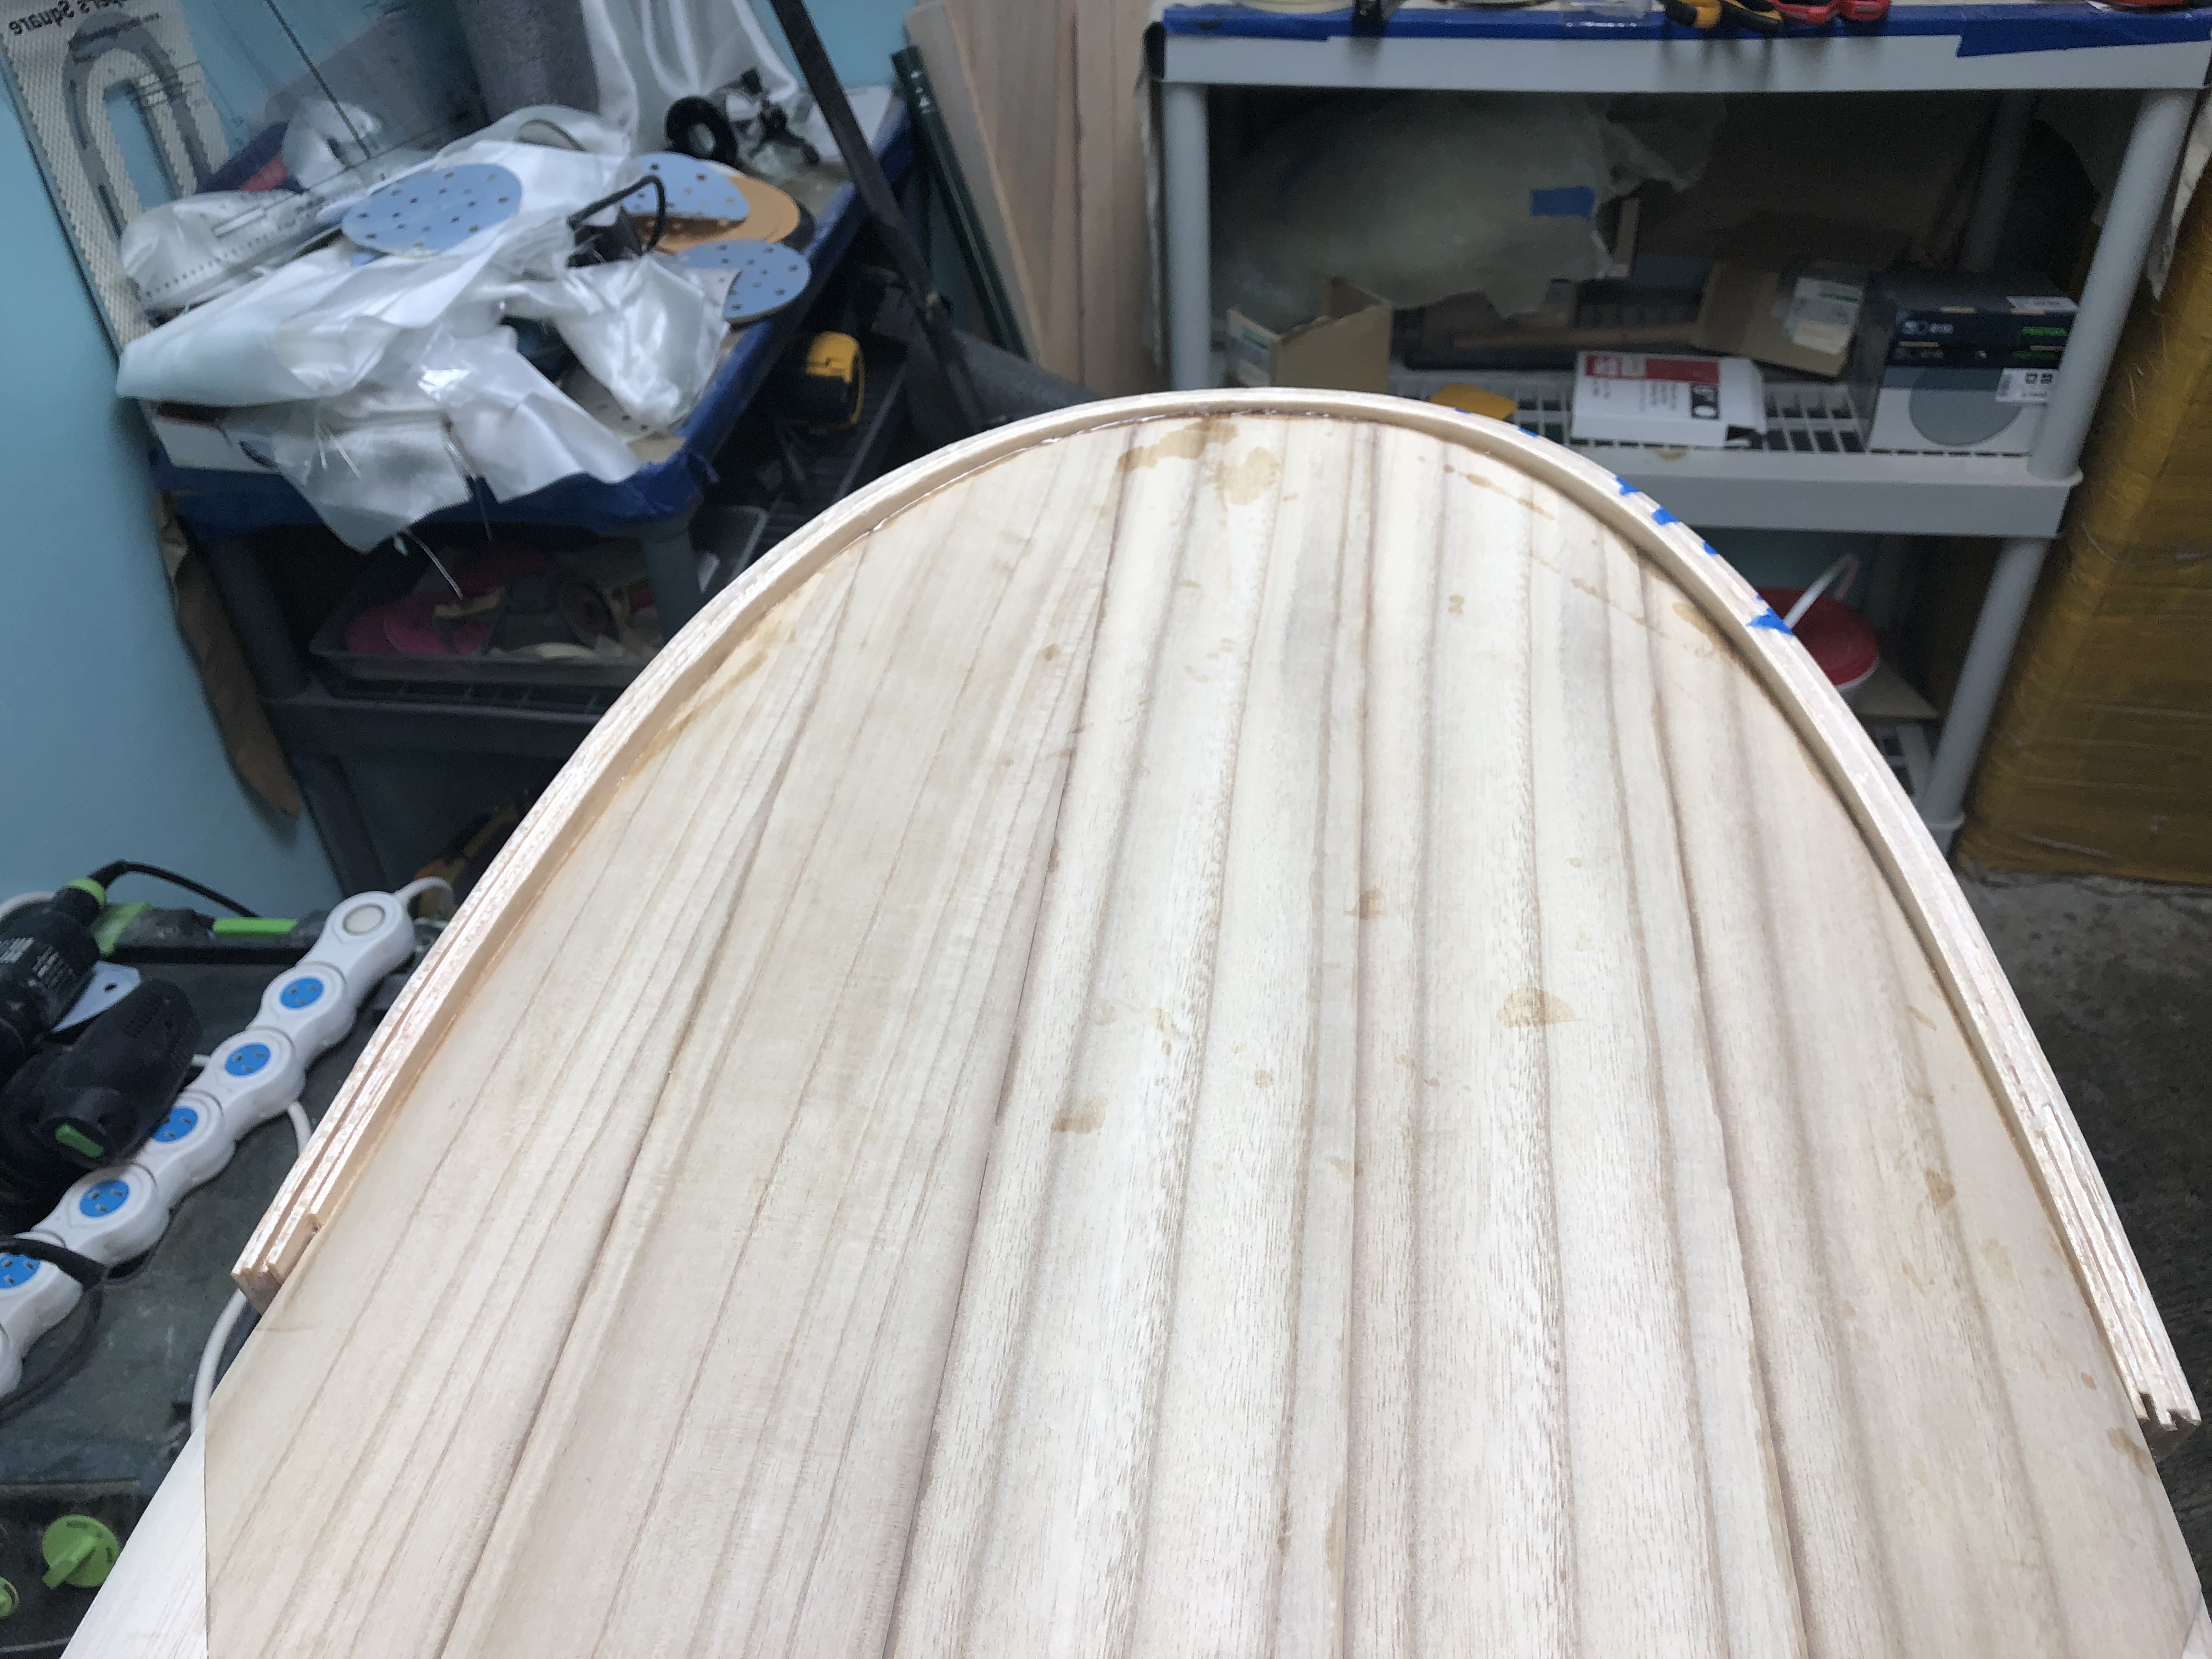
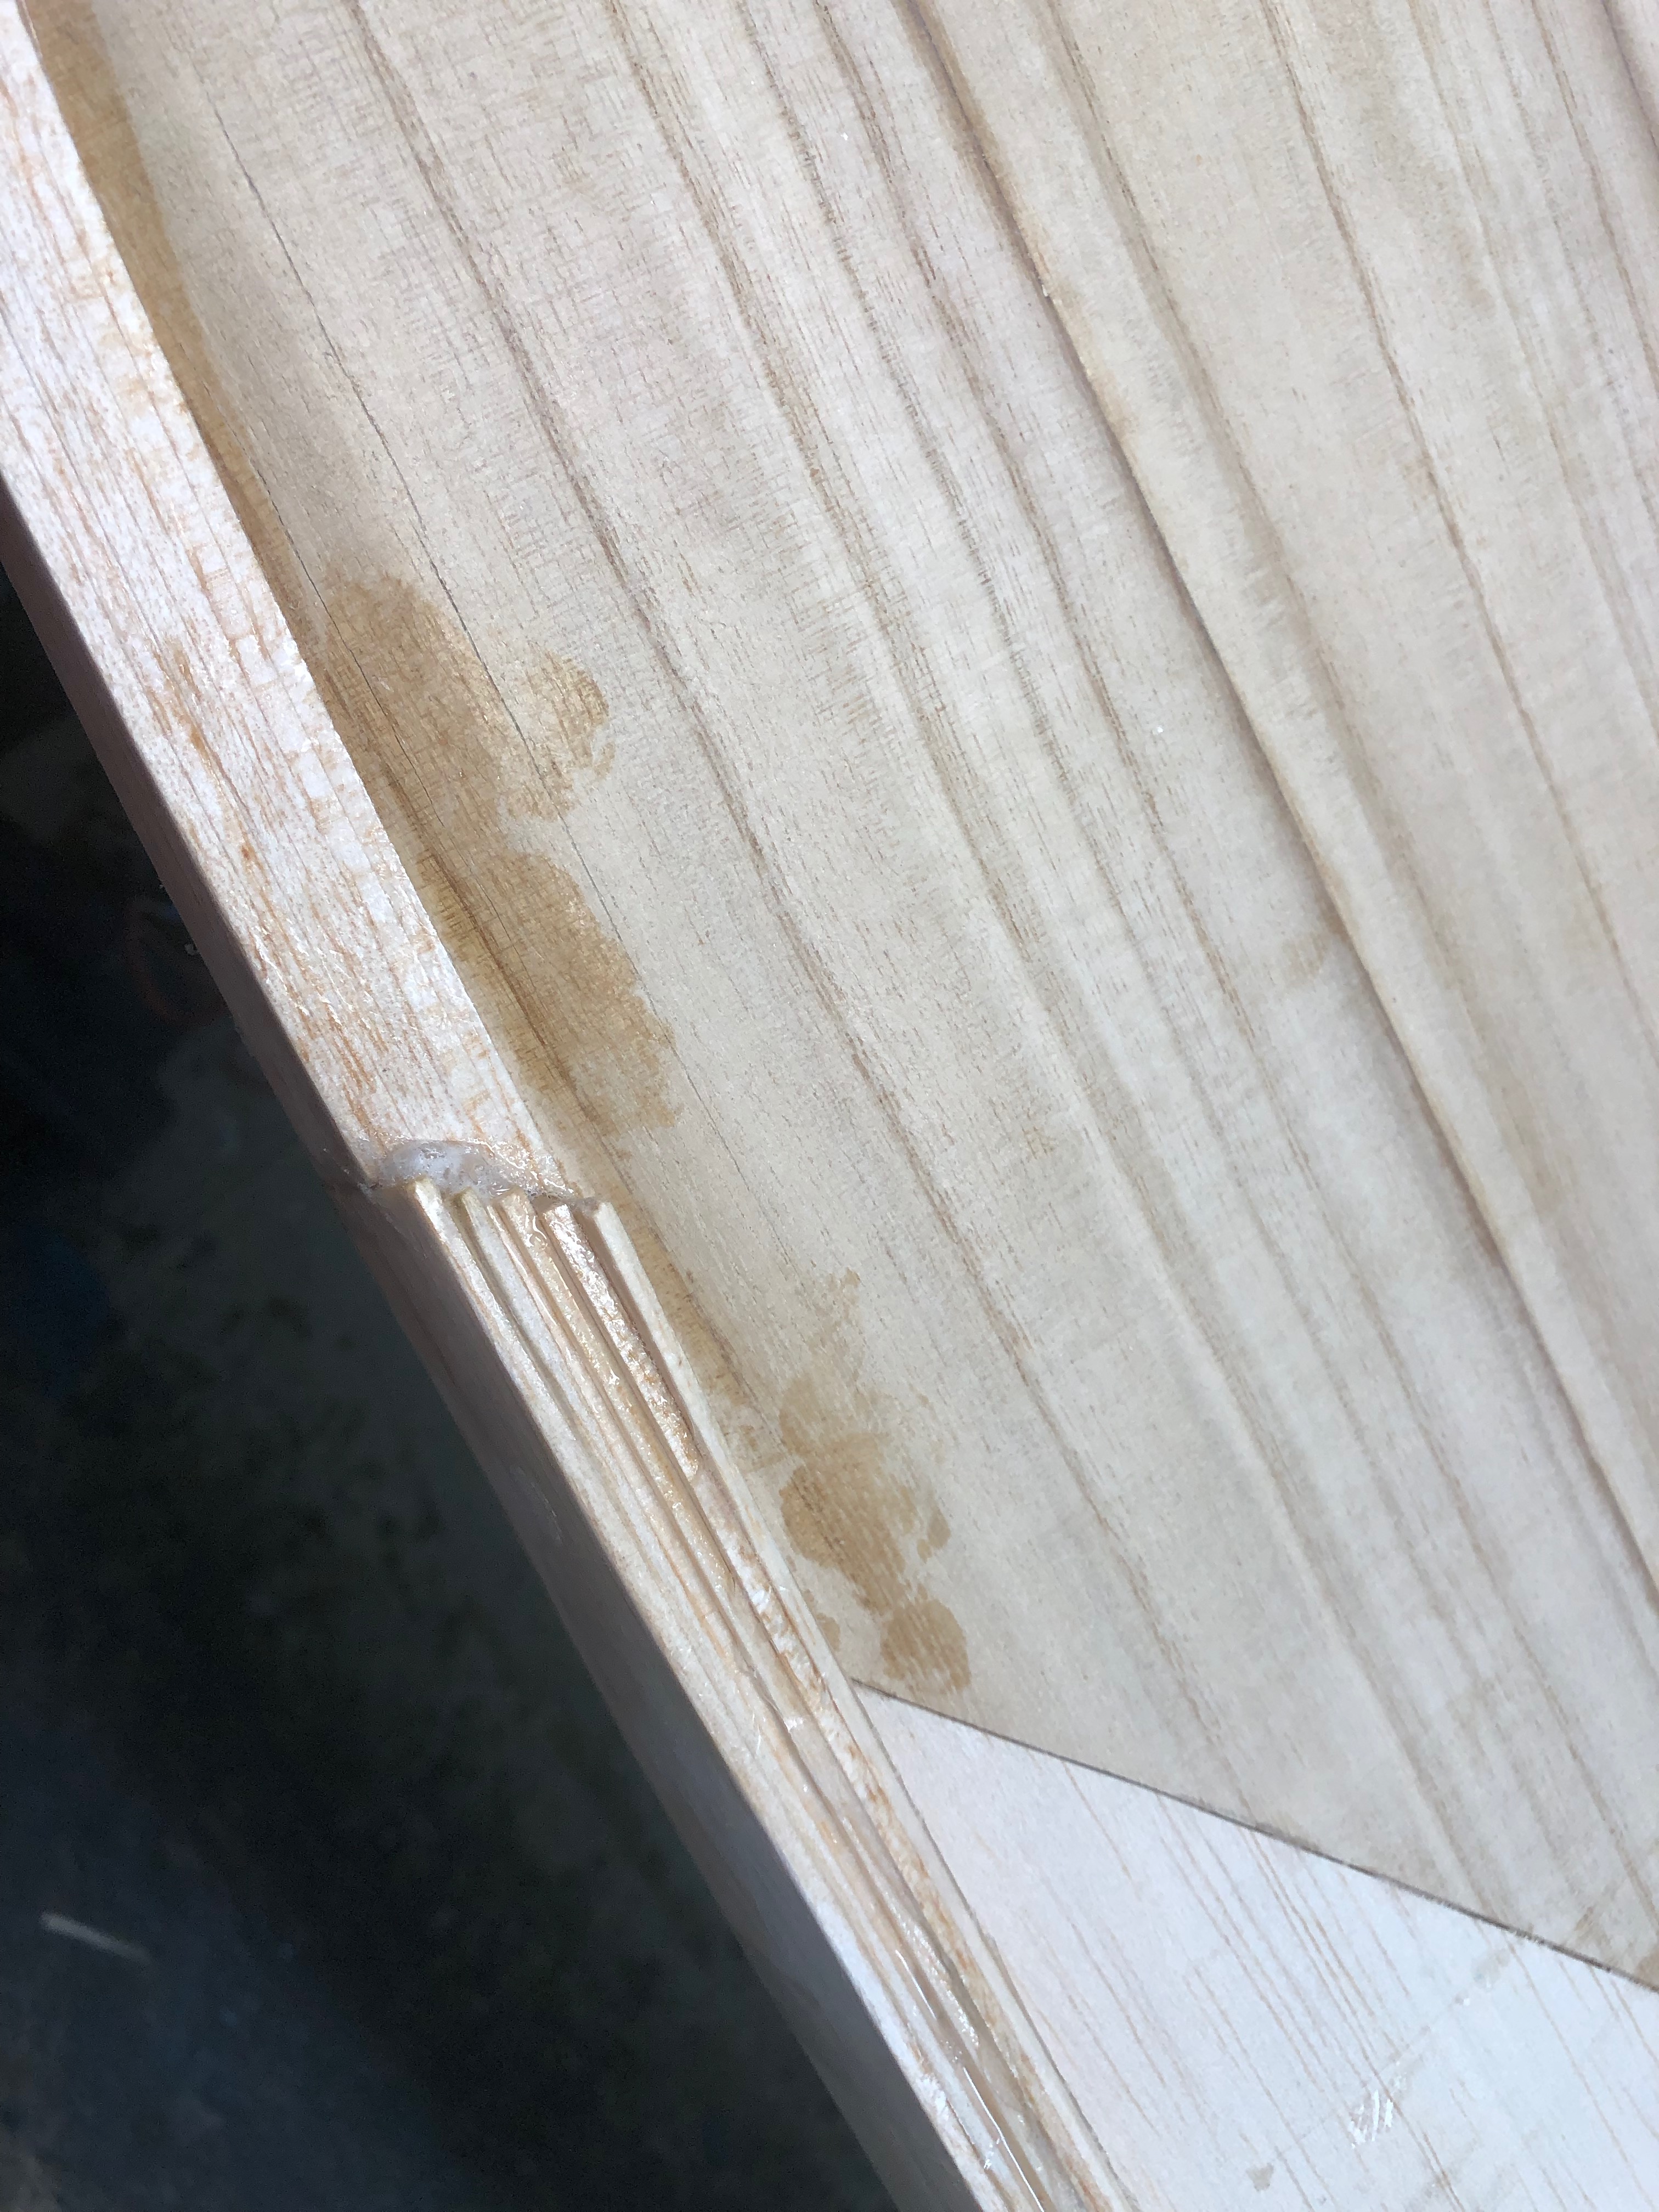
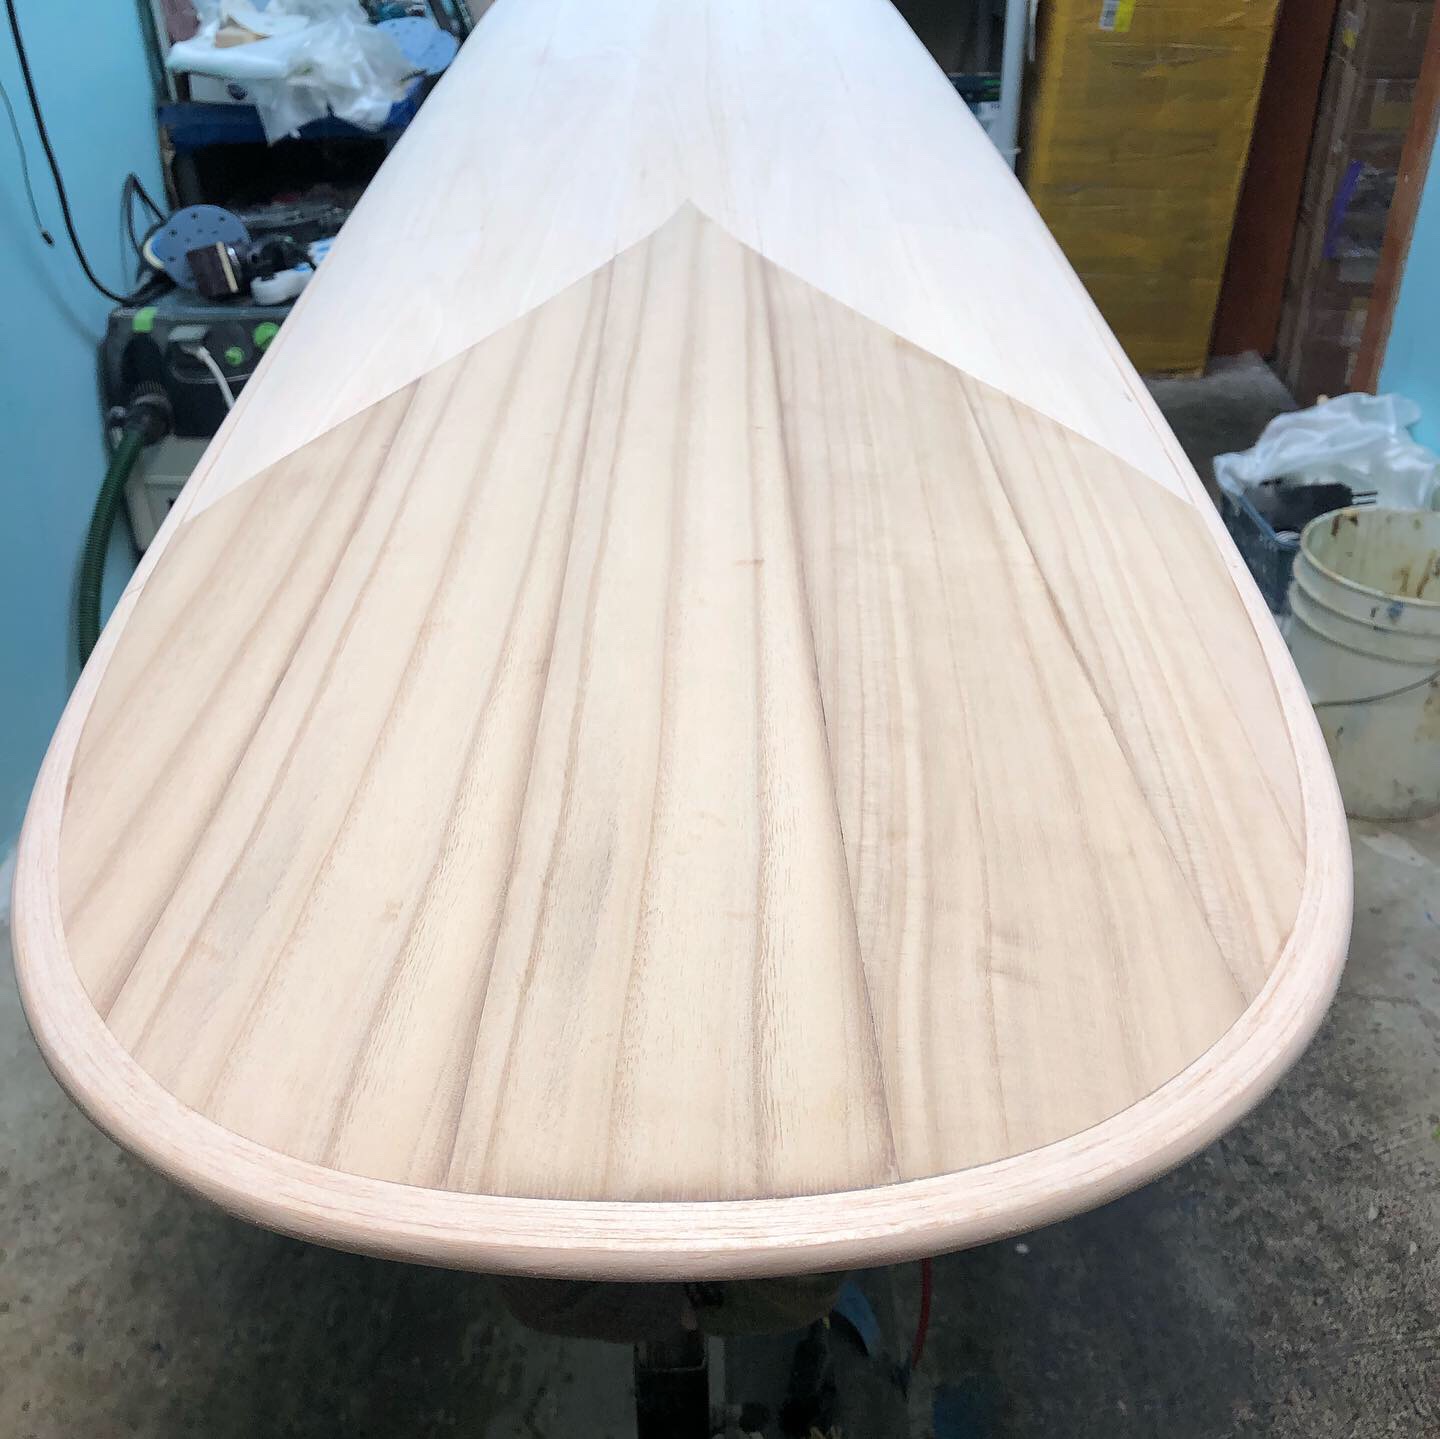
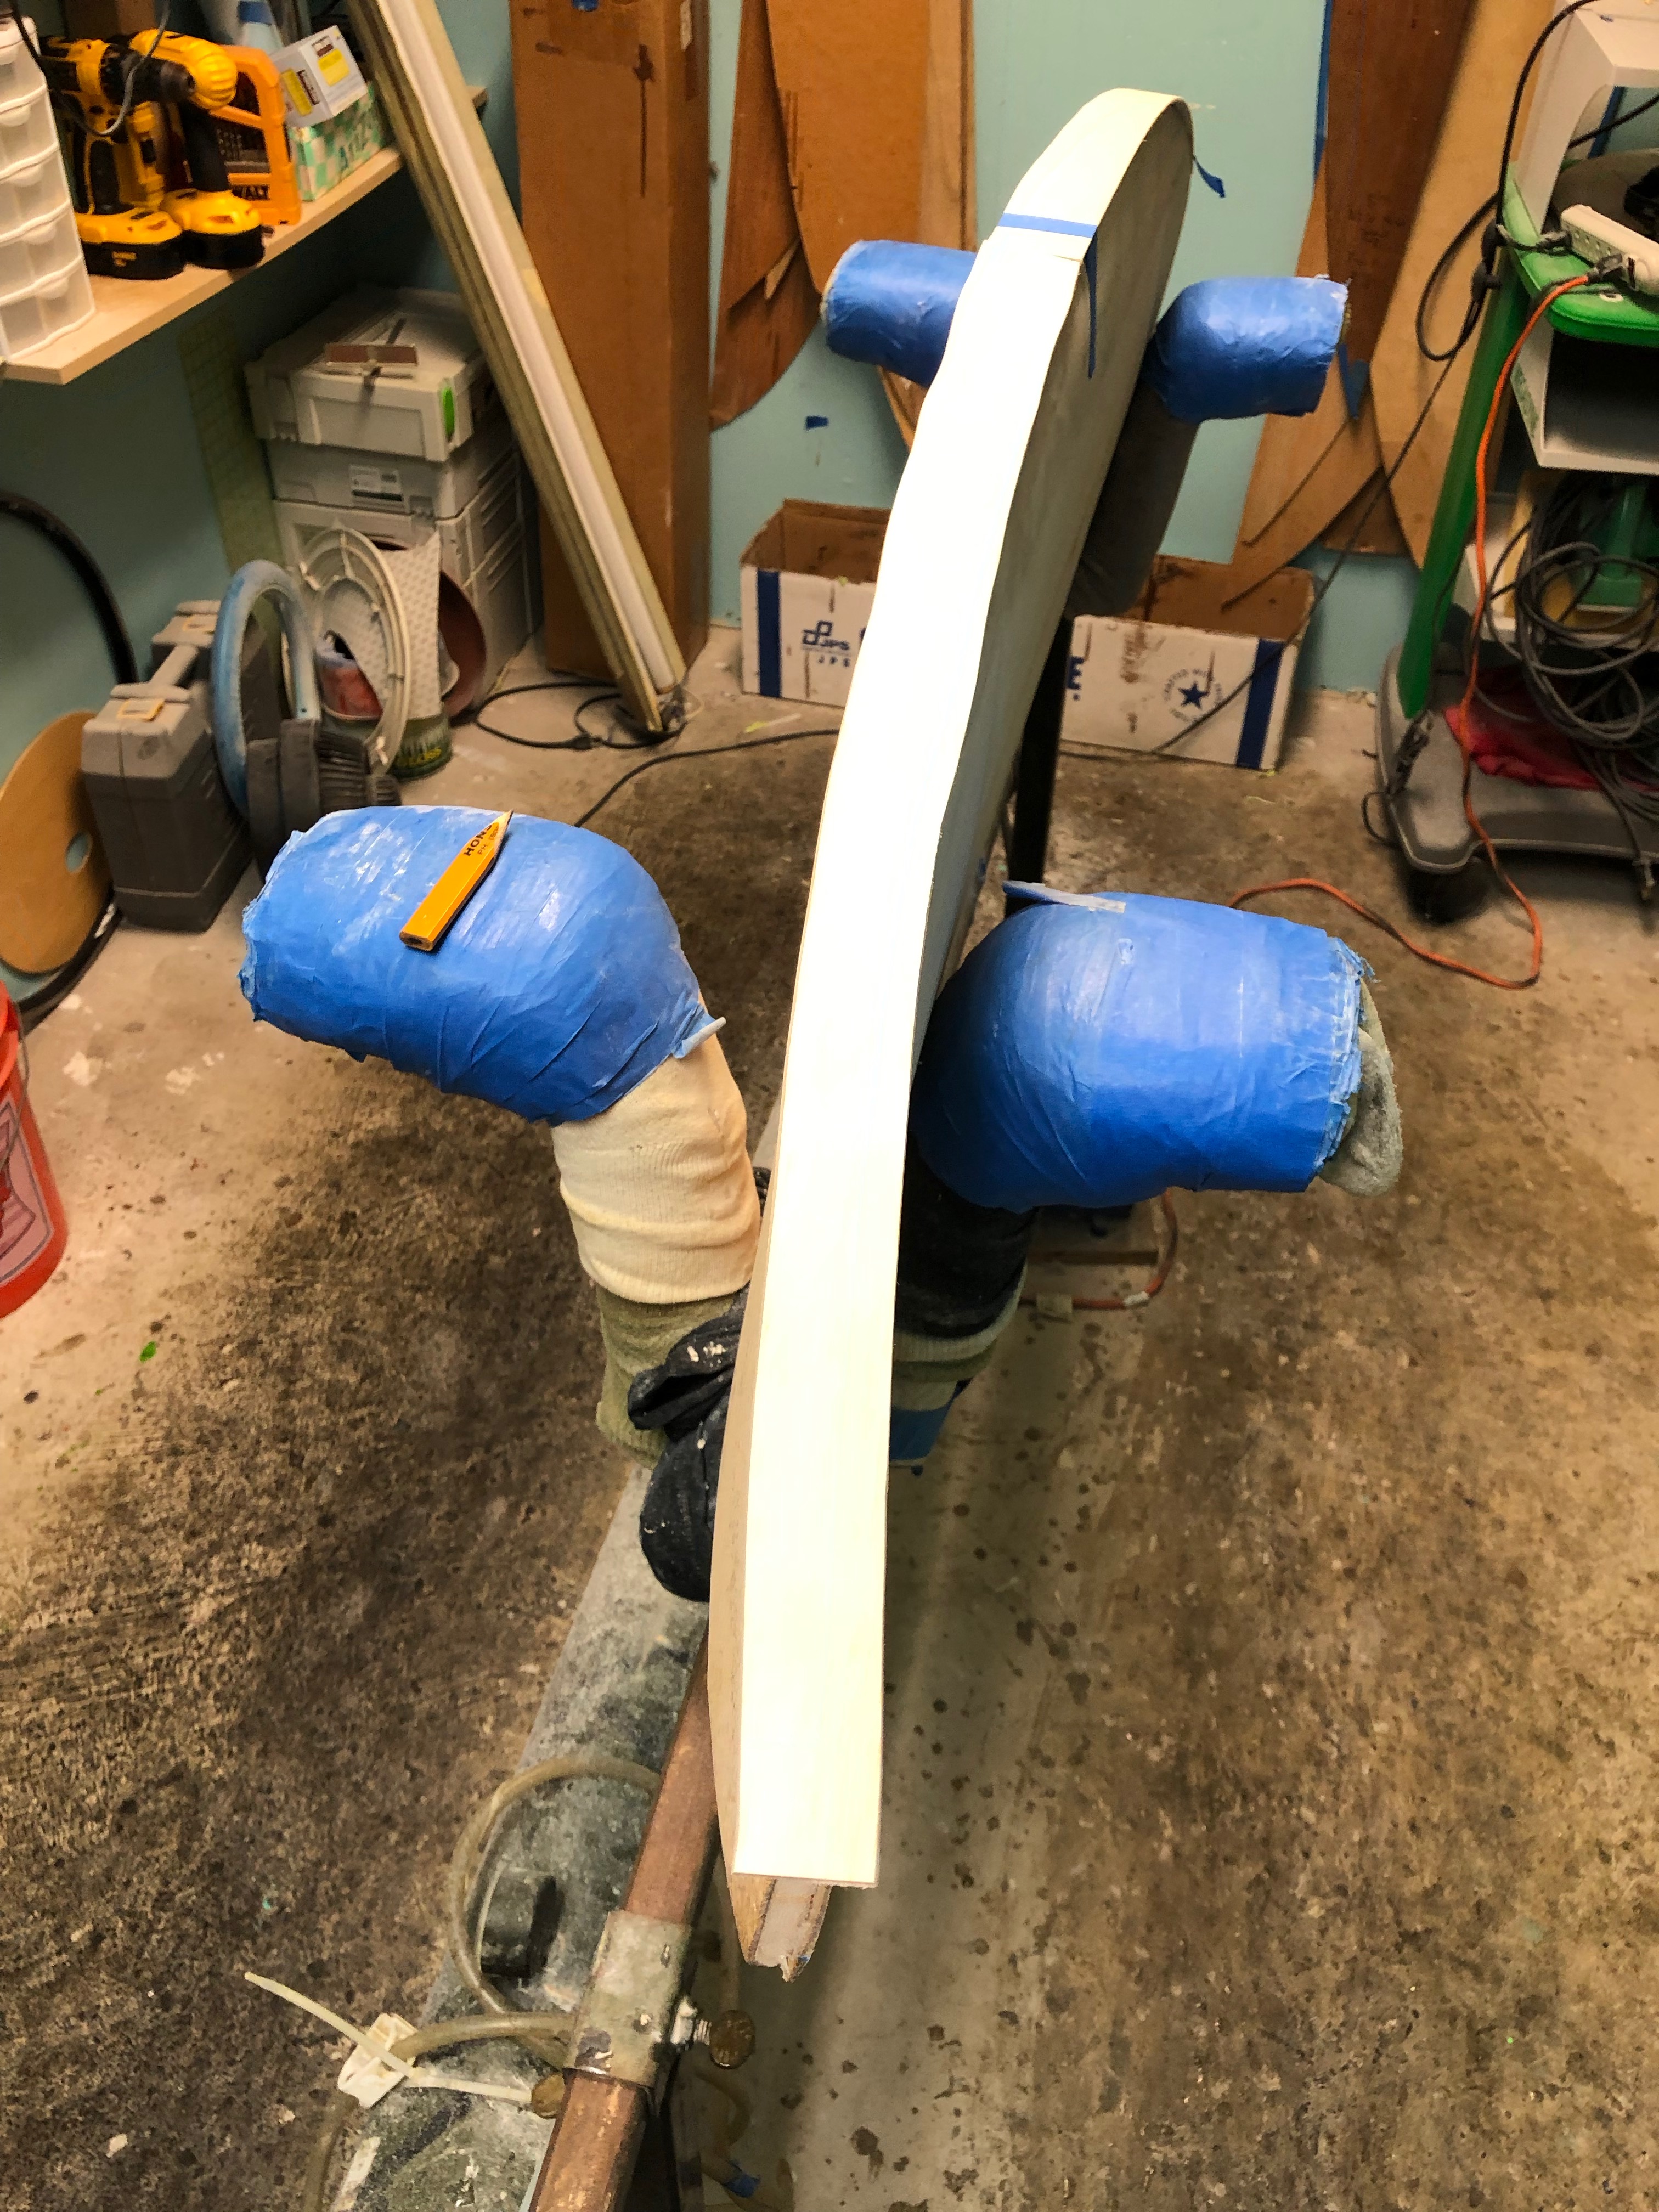
First set of pics showing Bending 6 pieces of balsa for the nose. 6 layers on nose because I have 6 layers on each rail. Wet planks in hot water and stuff in 5 gallon bucket. When dry take out sort to work best for situation. tape down, throw in bag and roll out. last pics out ouf bag result on nose… THESE ARE FULL LENGTH PIECES FOR NOSE
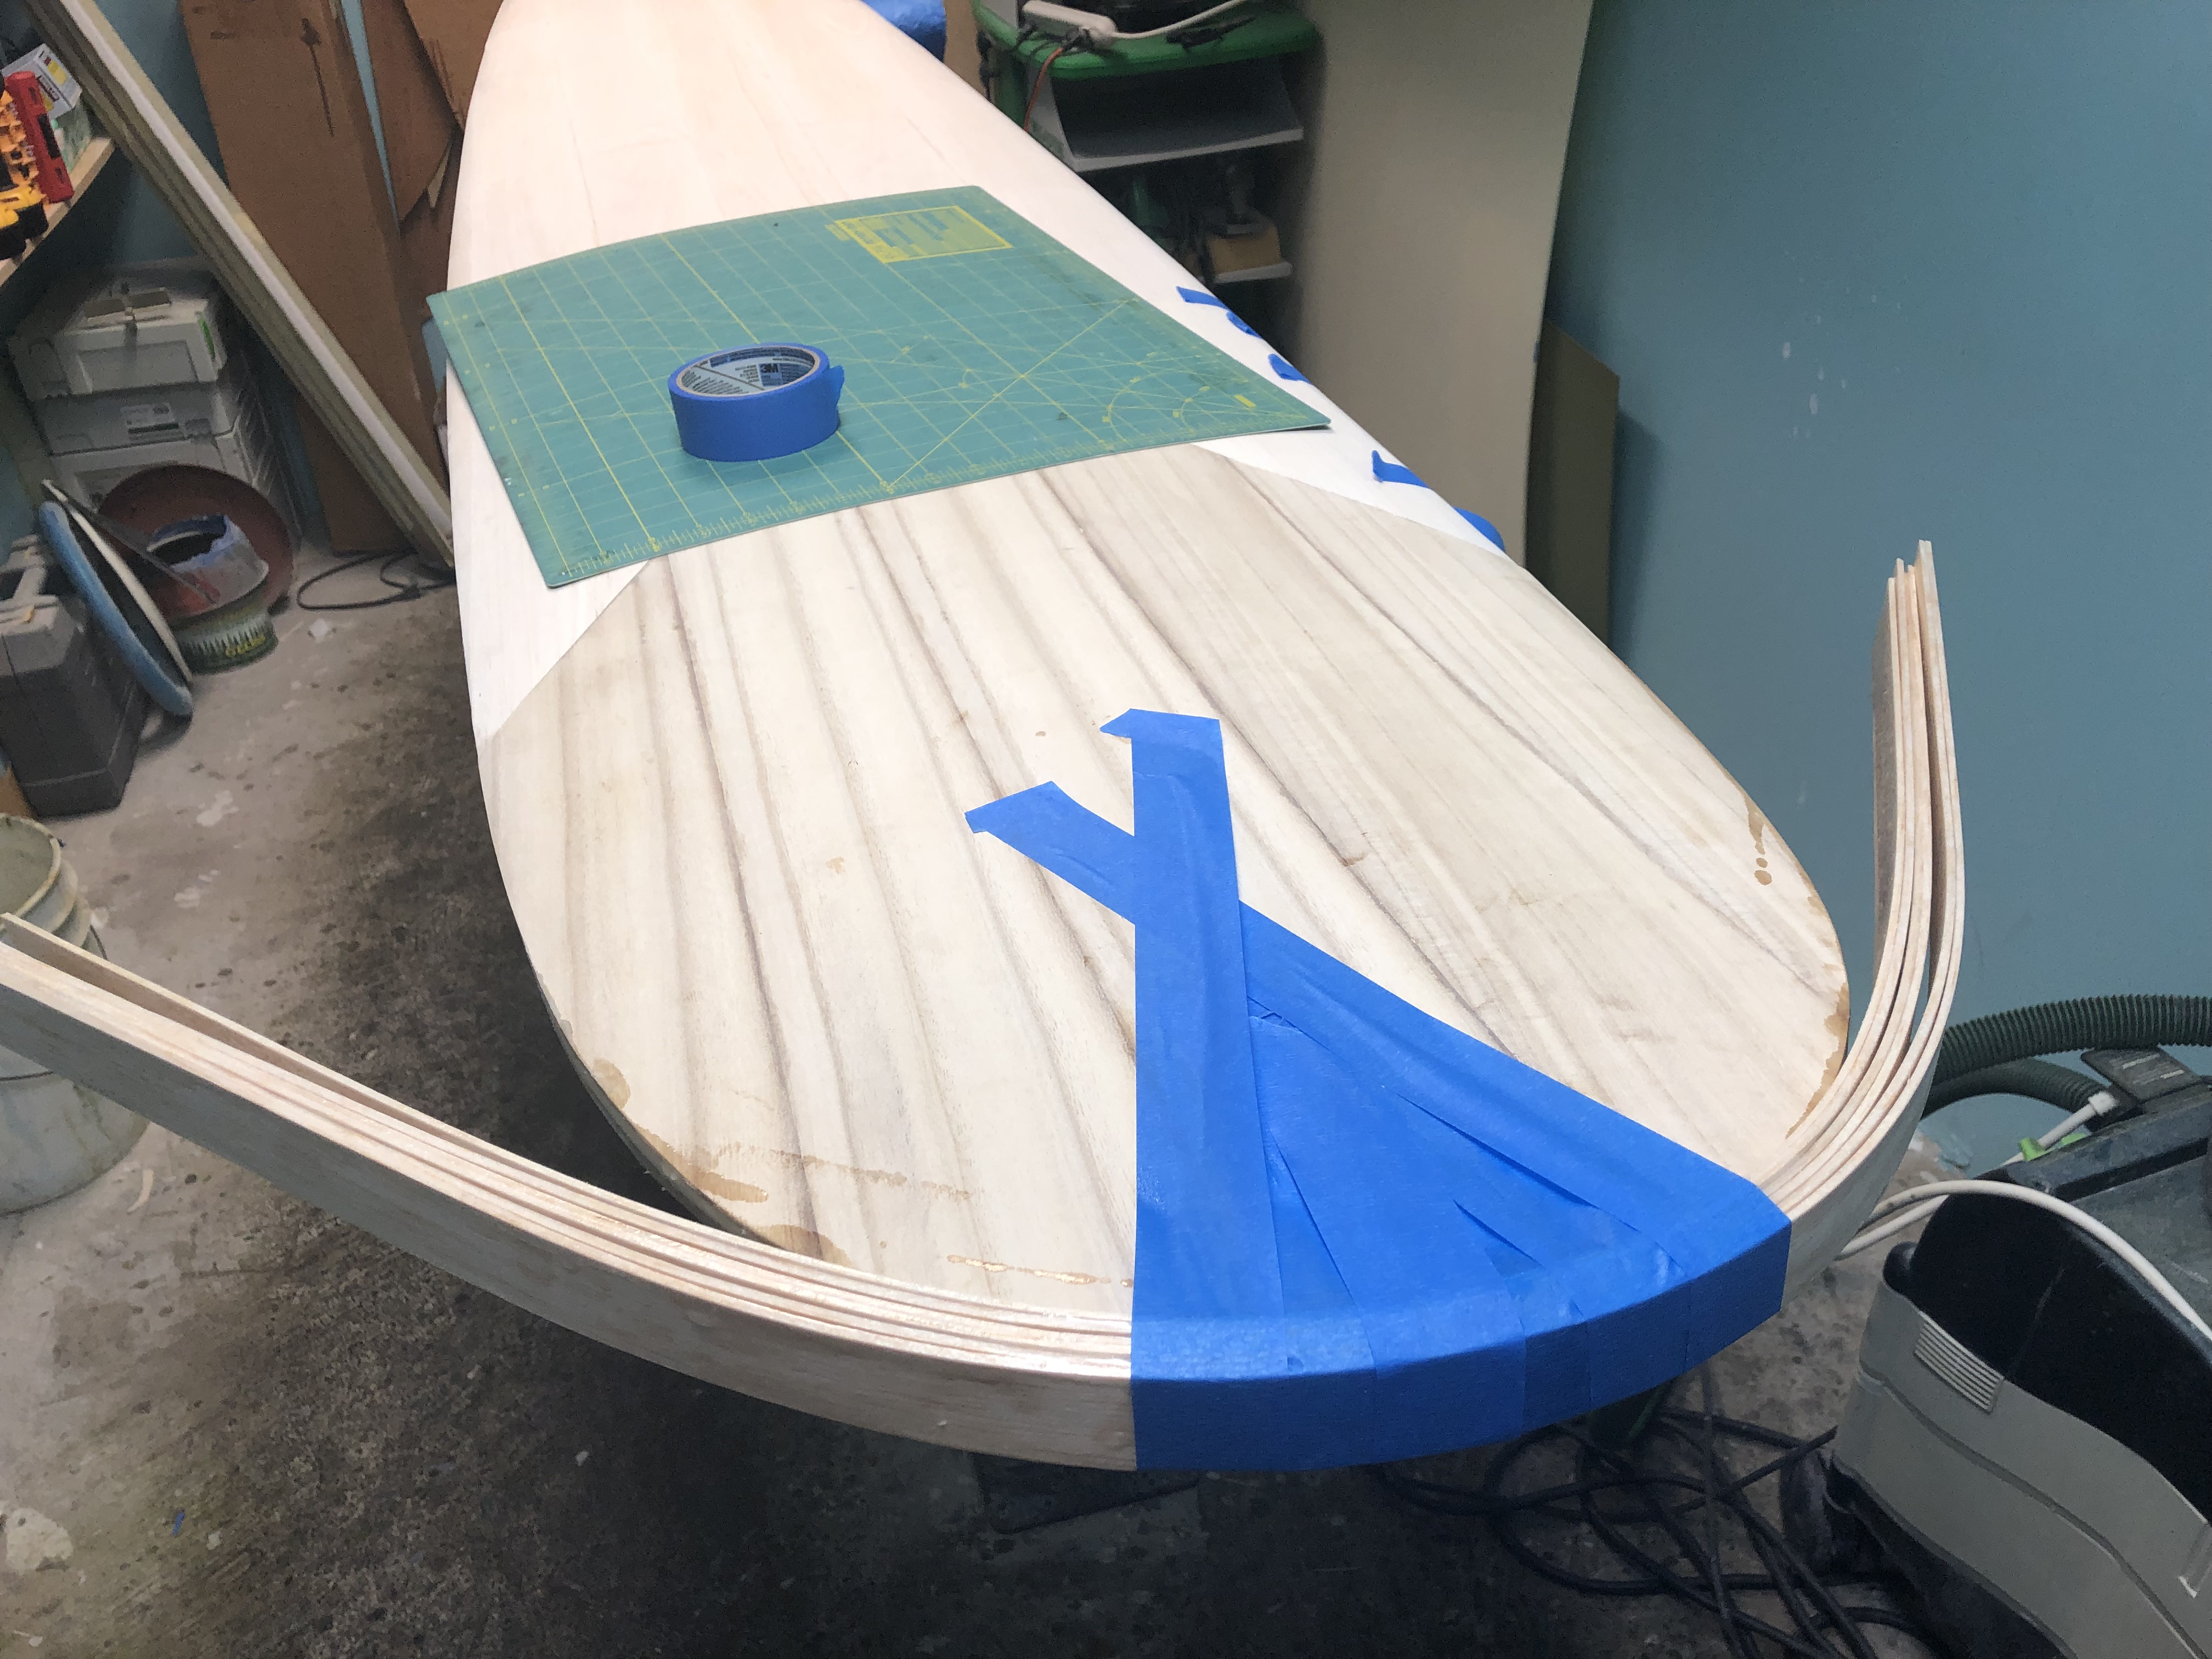
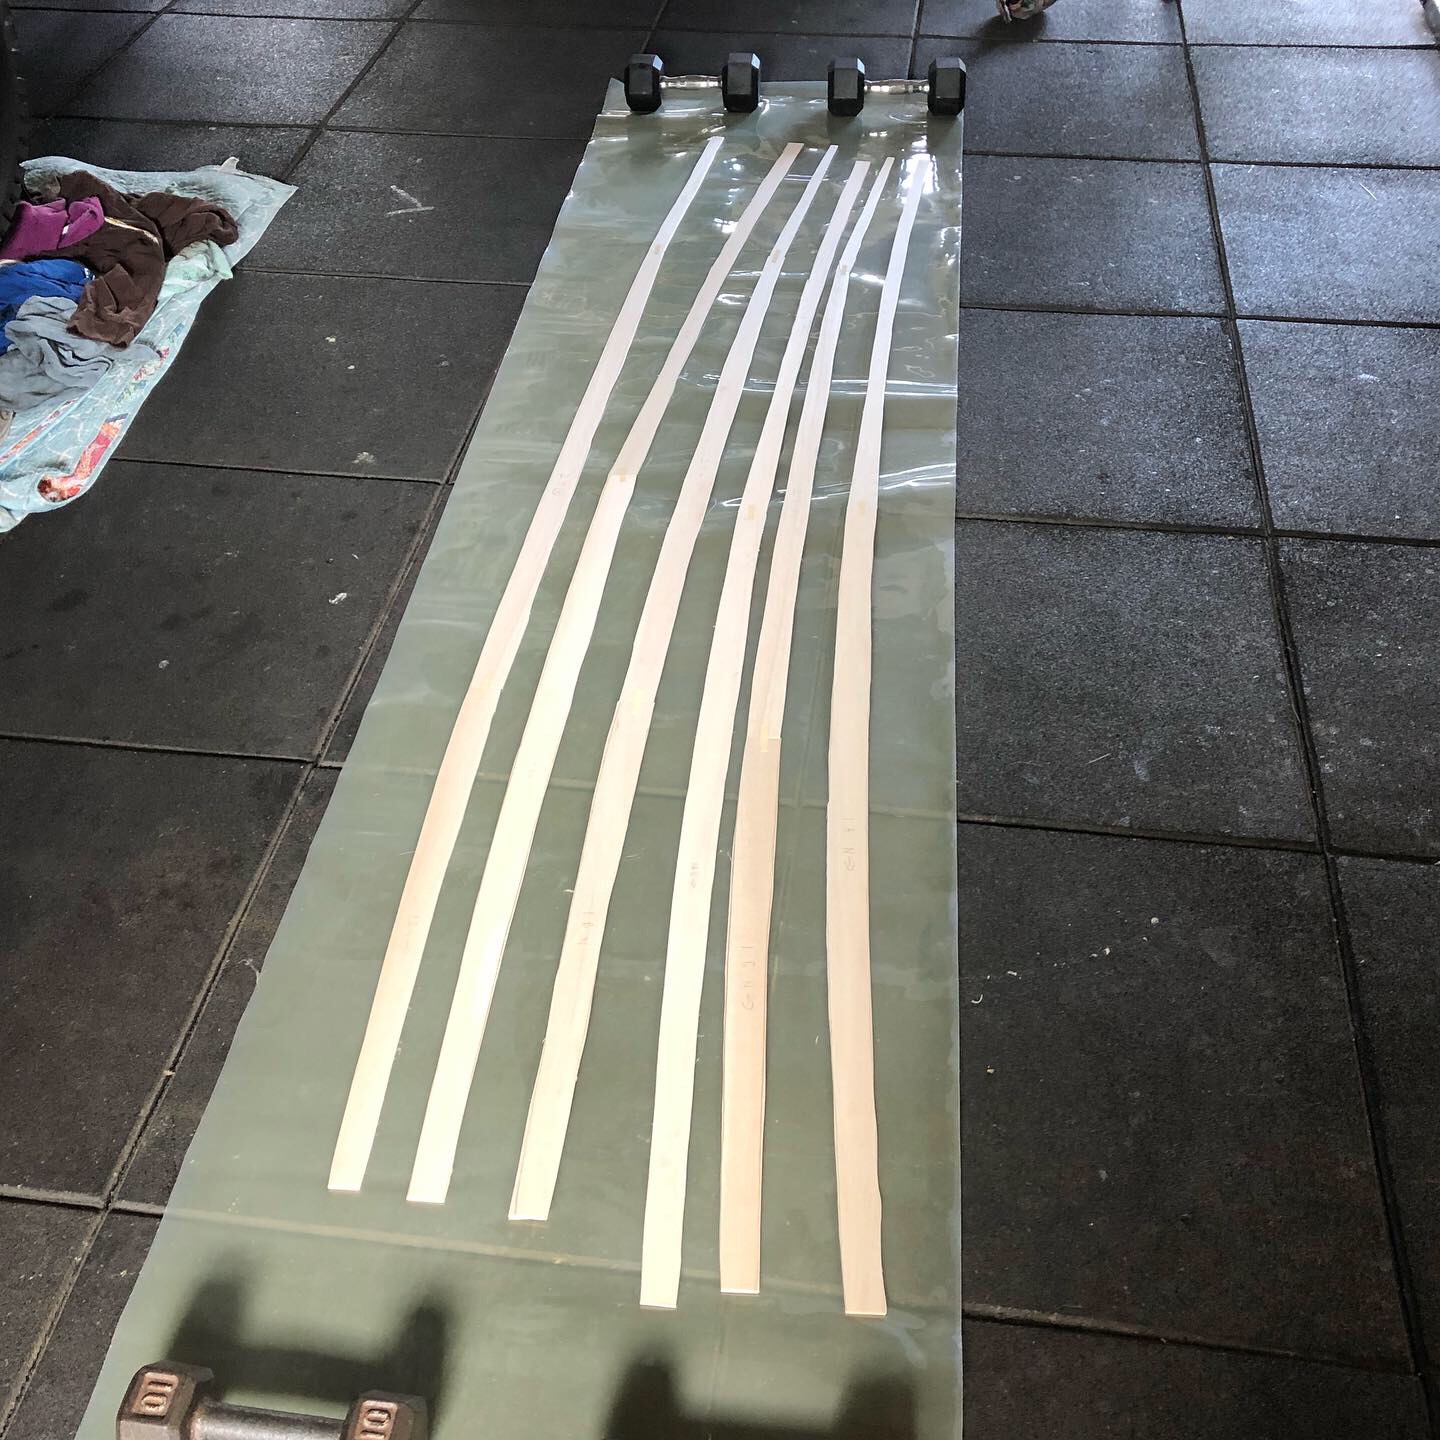
This is what my pieced out rails look like prior to using huck’s method of rolling out with a foam brush the rails with epoxy. Roll epoxy on five of the 6 pieces trom right to left. So the far right is piece #6 and far left piece #1. first place 5 on 6, 4 on 5 until 1 is on 2. You now have a rail that will stay dry on the outside of piece 1 and need to get some resin on down side of piece 6. Place on ral of board. this one I had to fit to angled nose piece, tape off and vac bag and roll out. I can do both sides at one time but I was by myself and choose to do one side at a time. Less stressful. last pic out of bag shot tha was not sanded yet. Nose had been taken down 95% to finish prior to rail bagging. Also you need to remember to fiqure out what side gets wetted out with other rail. just dry fit in your mind or for reals.
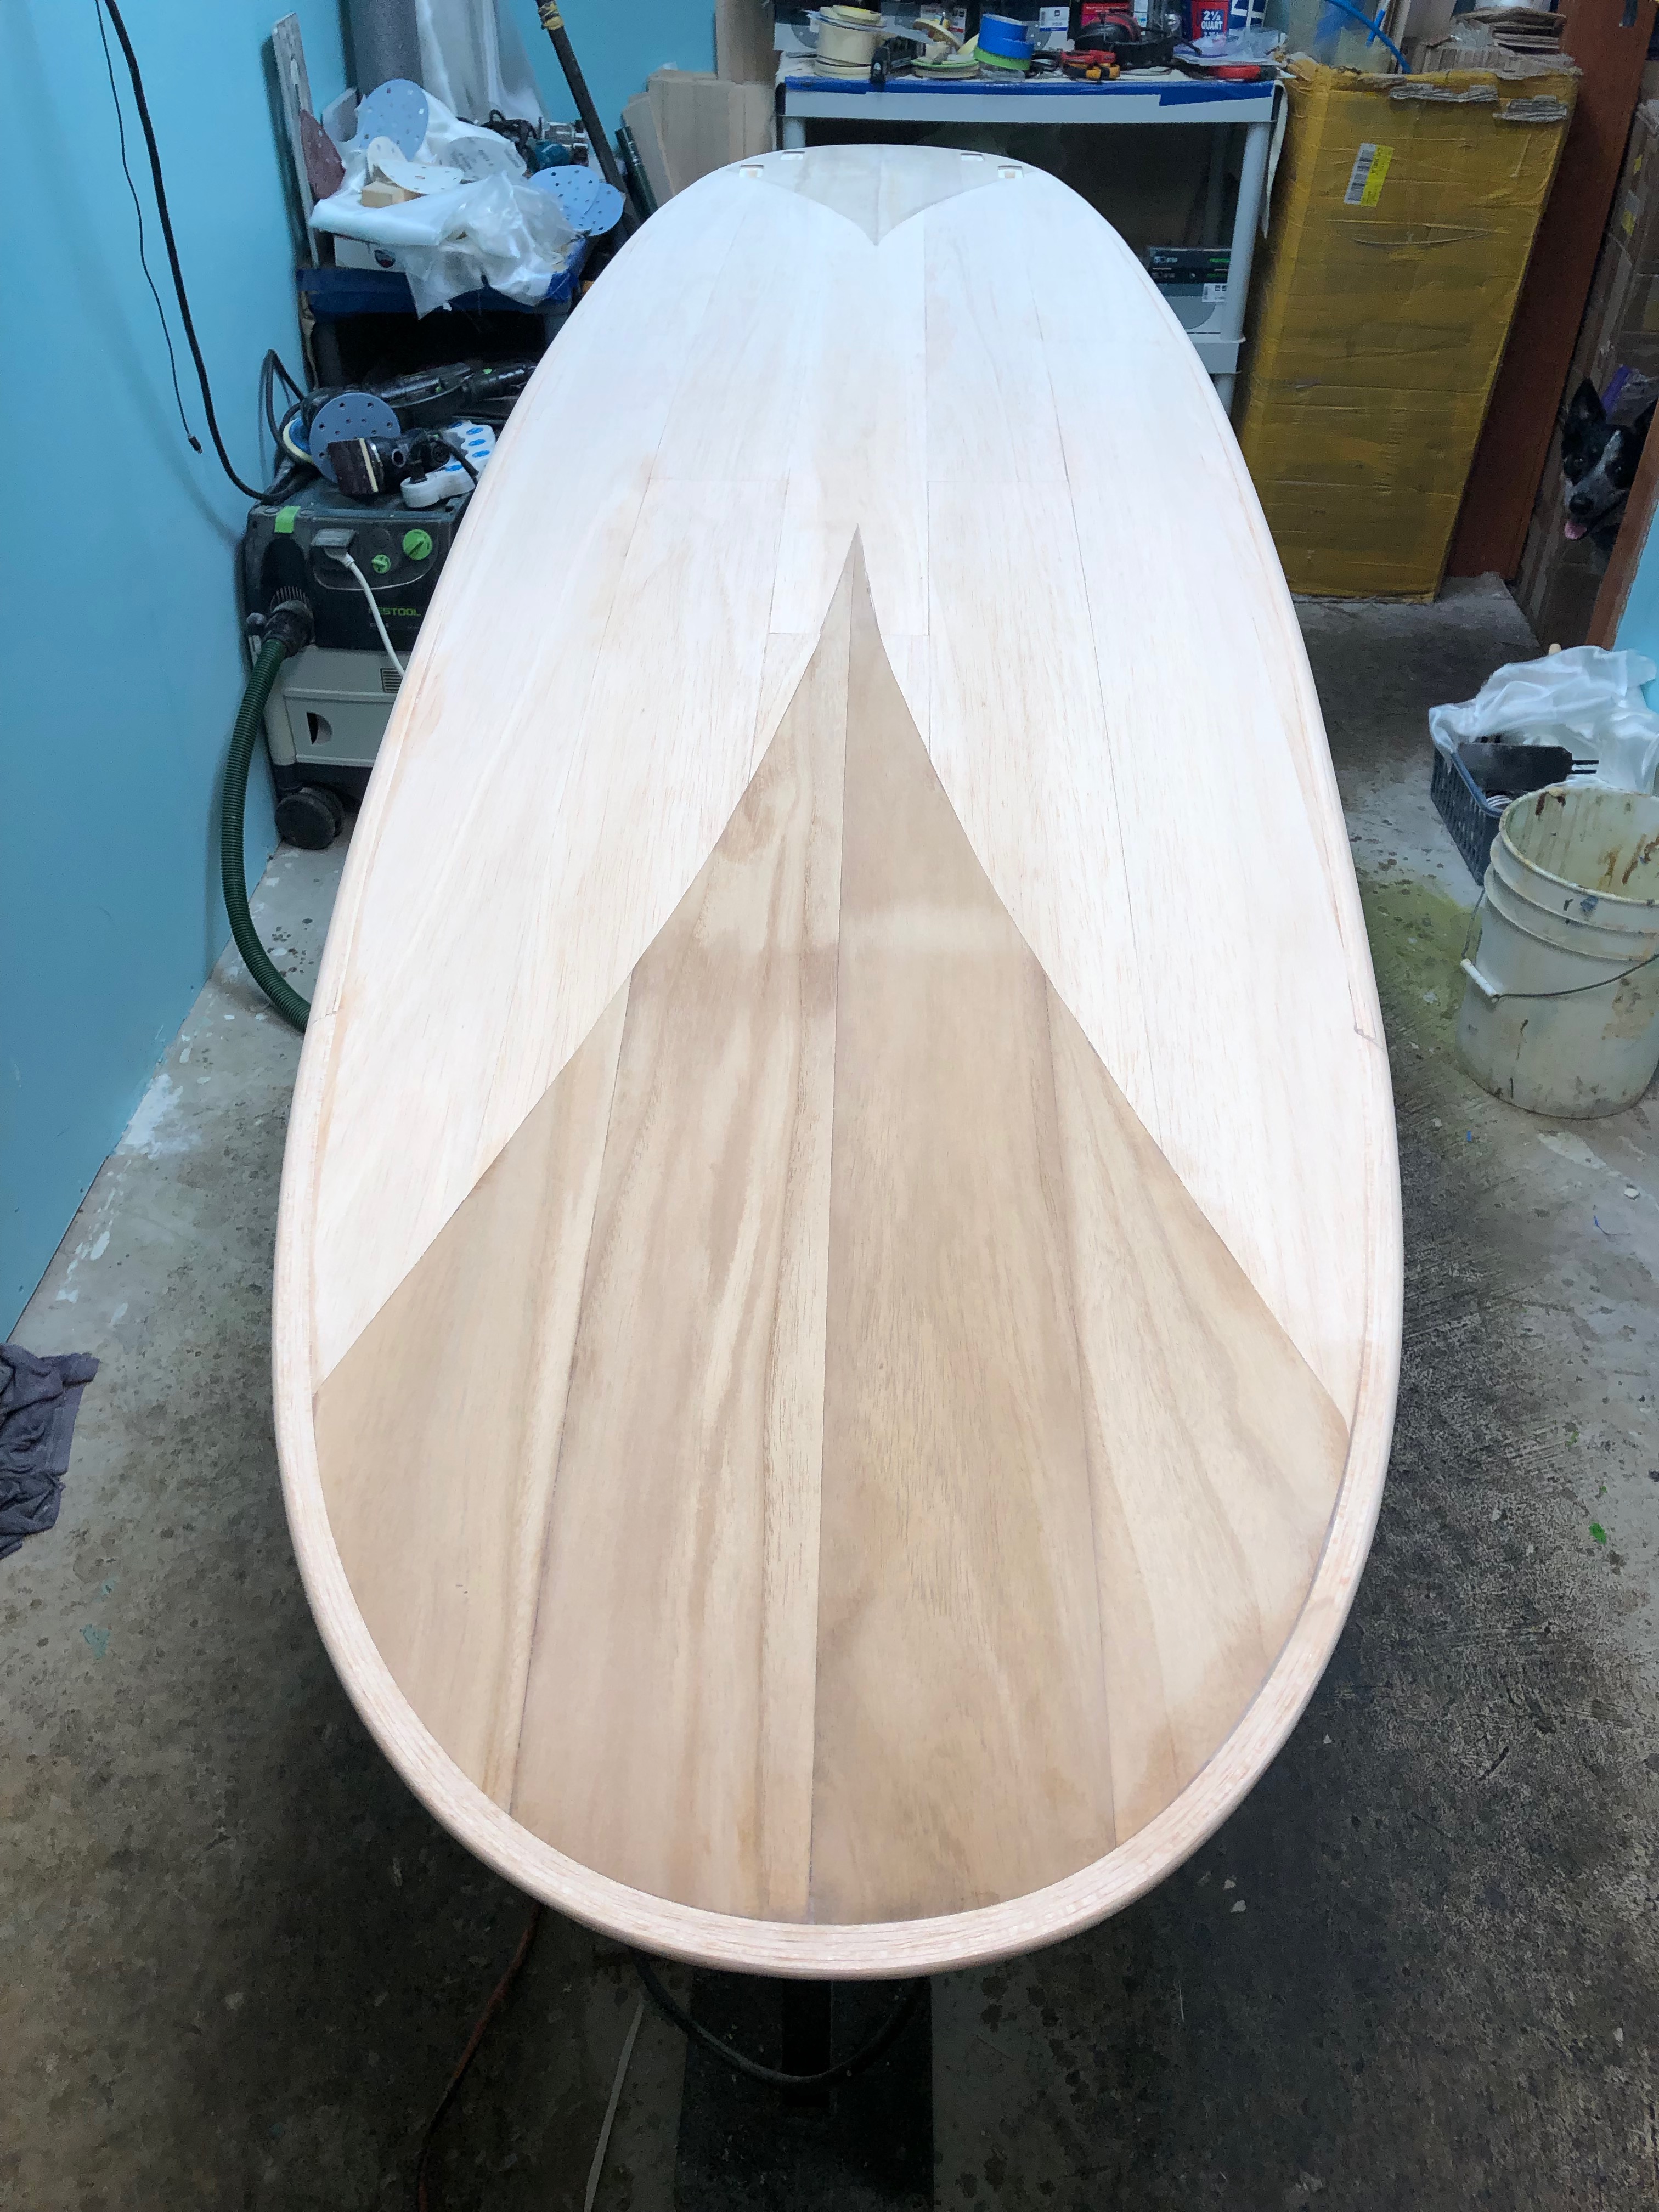
top and bottom needing some fine tuning of rails in the sanding room prior to glassing. I forgot to mention I hold the rail pieces together with a 2 " length on 1/8" white or beige masking tape you have in your shop to do pin lins with. It is taped on both sides, in the middle, horizontally as in nose to tail direction NOT floor to ceiling.
BB30, masterfully done. Thanks for the seminar.
Question: You say. “forgot to mention I hold the rail pieces together with a 2 " length on 1/8" white or beige masking tape you have in your shop to do pin lins with. It is taped on both sides, in the middle, horizontally as in nose to tail direction NOT floor to ceiling.”
I don’t follow this. Can you set me straight?
All the best
Wow, another master class. Beautiful work.
Greg,
Very hard to use words to describe process. my post is confusing to me and I wrote it.
Got down a 6 + footer for example.
If I am using a tail and nose block I will usually get those on first after skinning deck and bottom. Sand them to rail contour
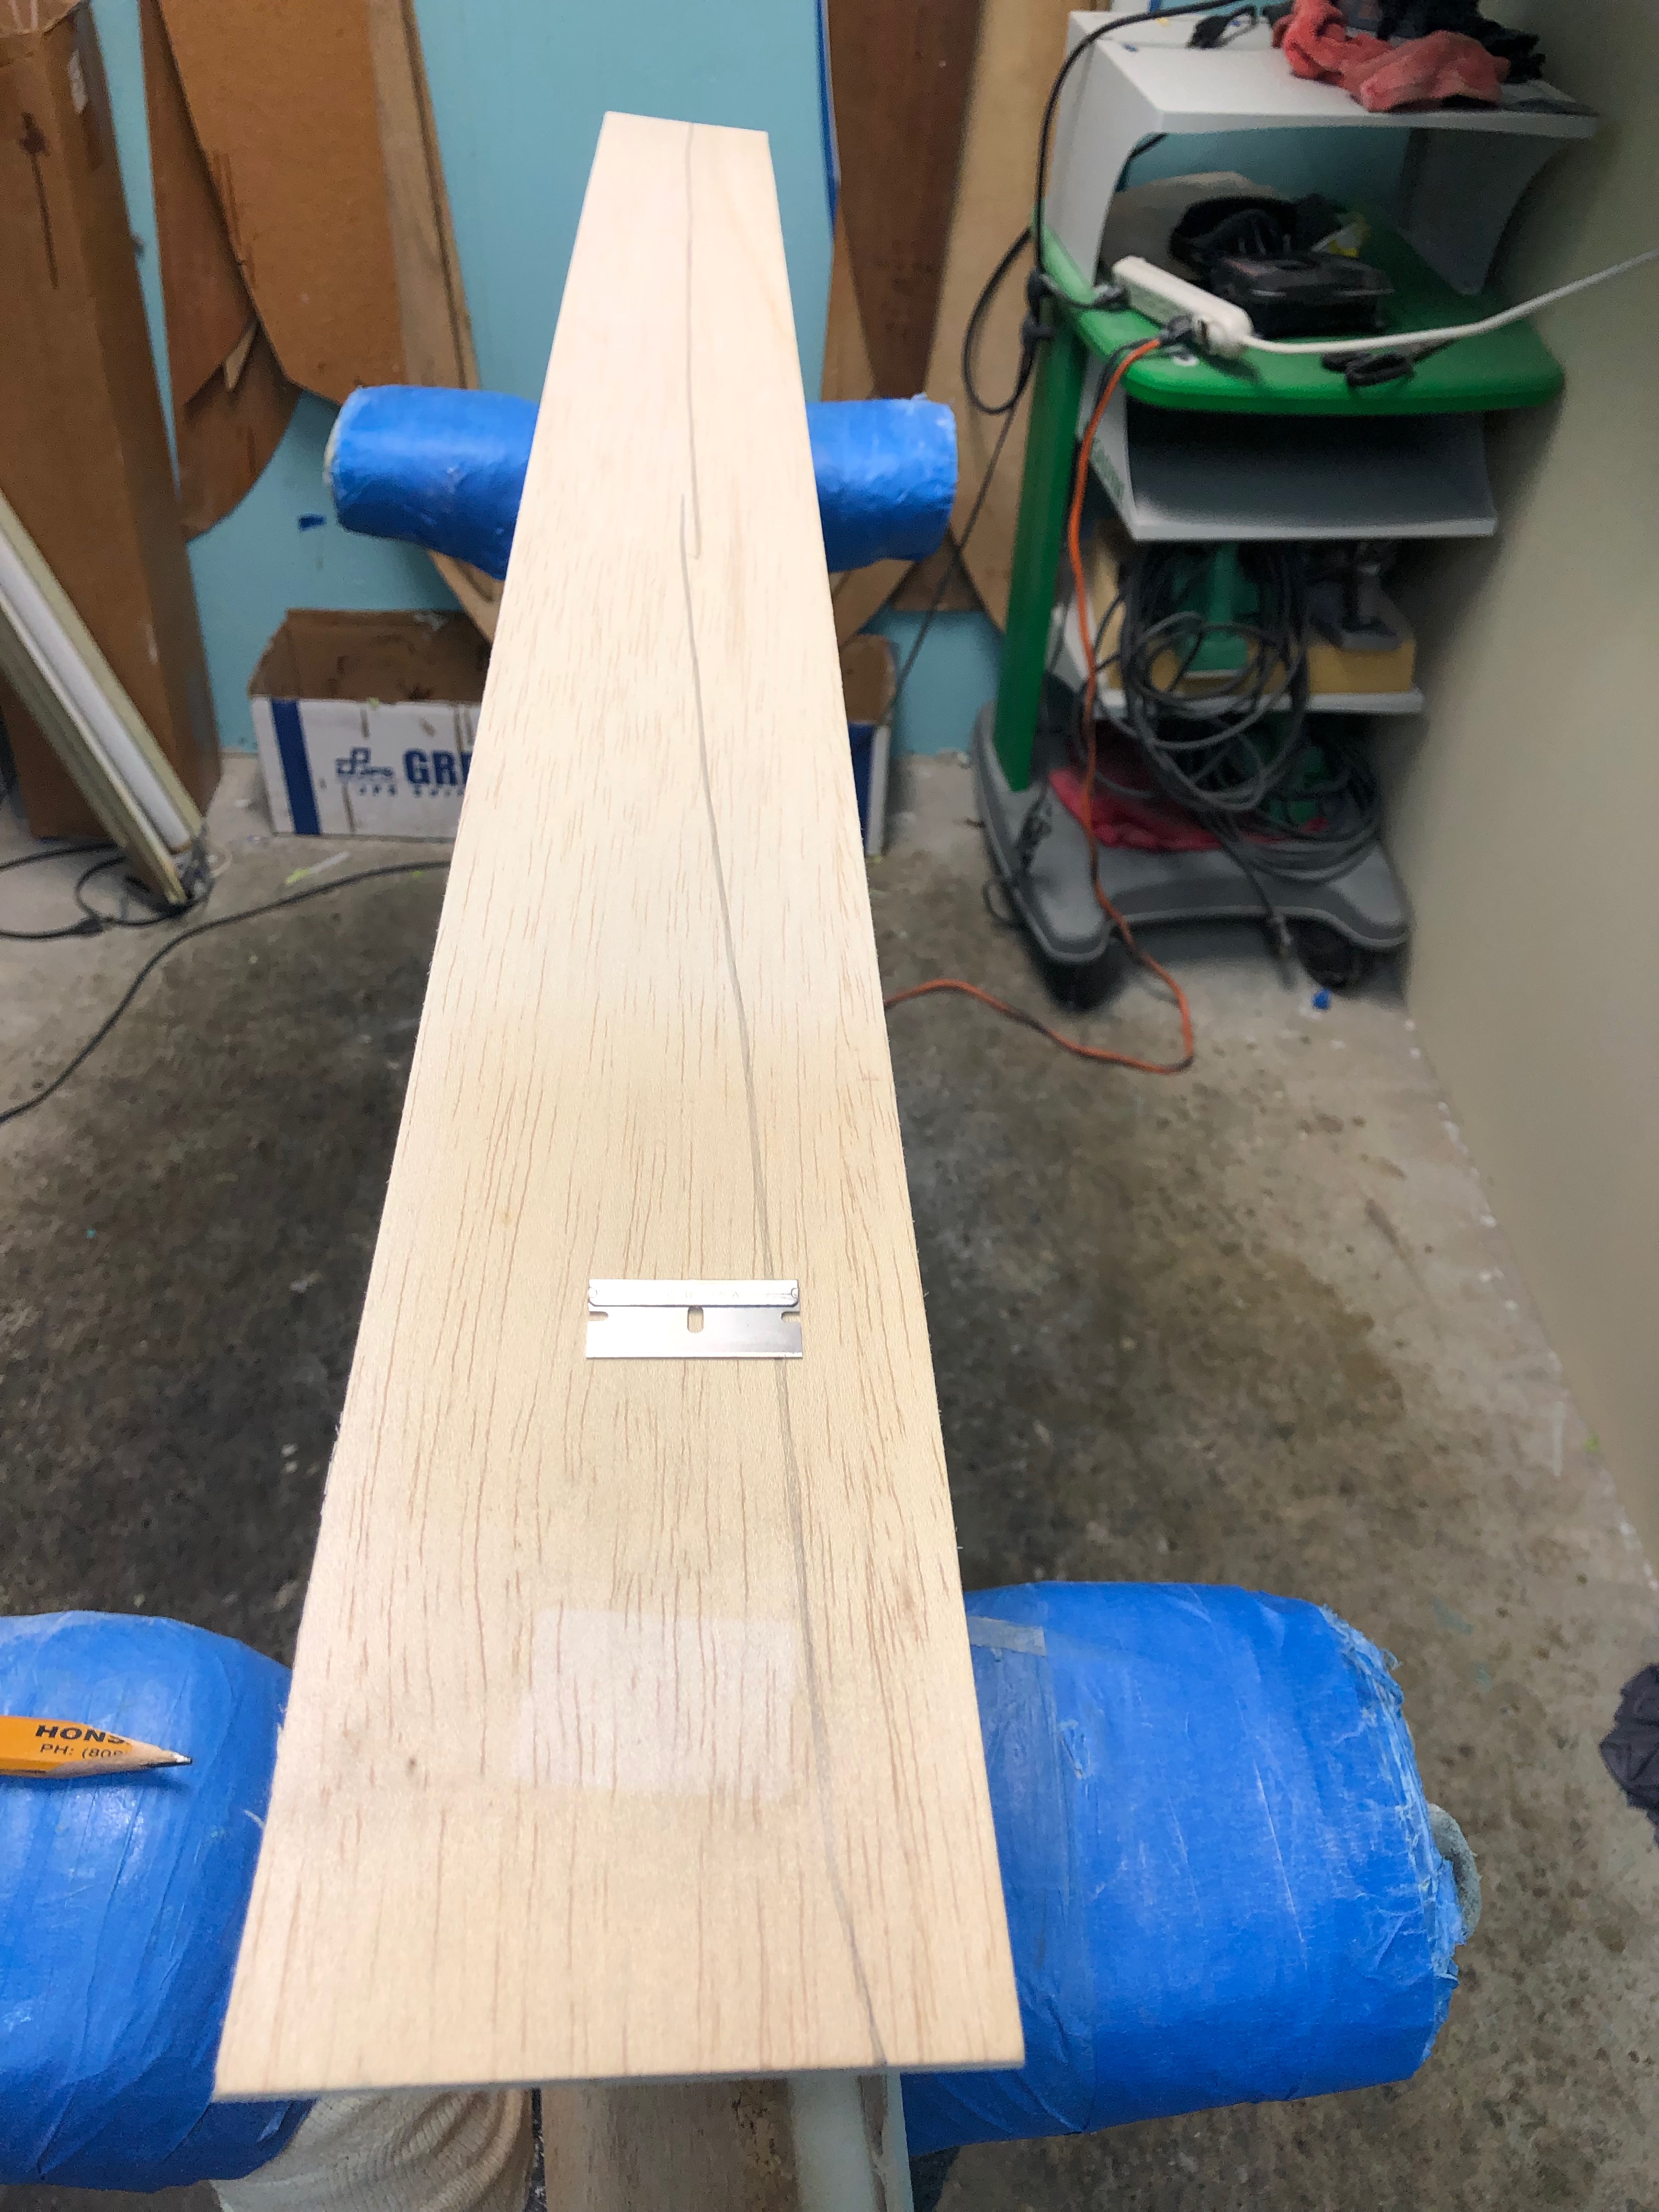
Take four foot balsa blank.
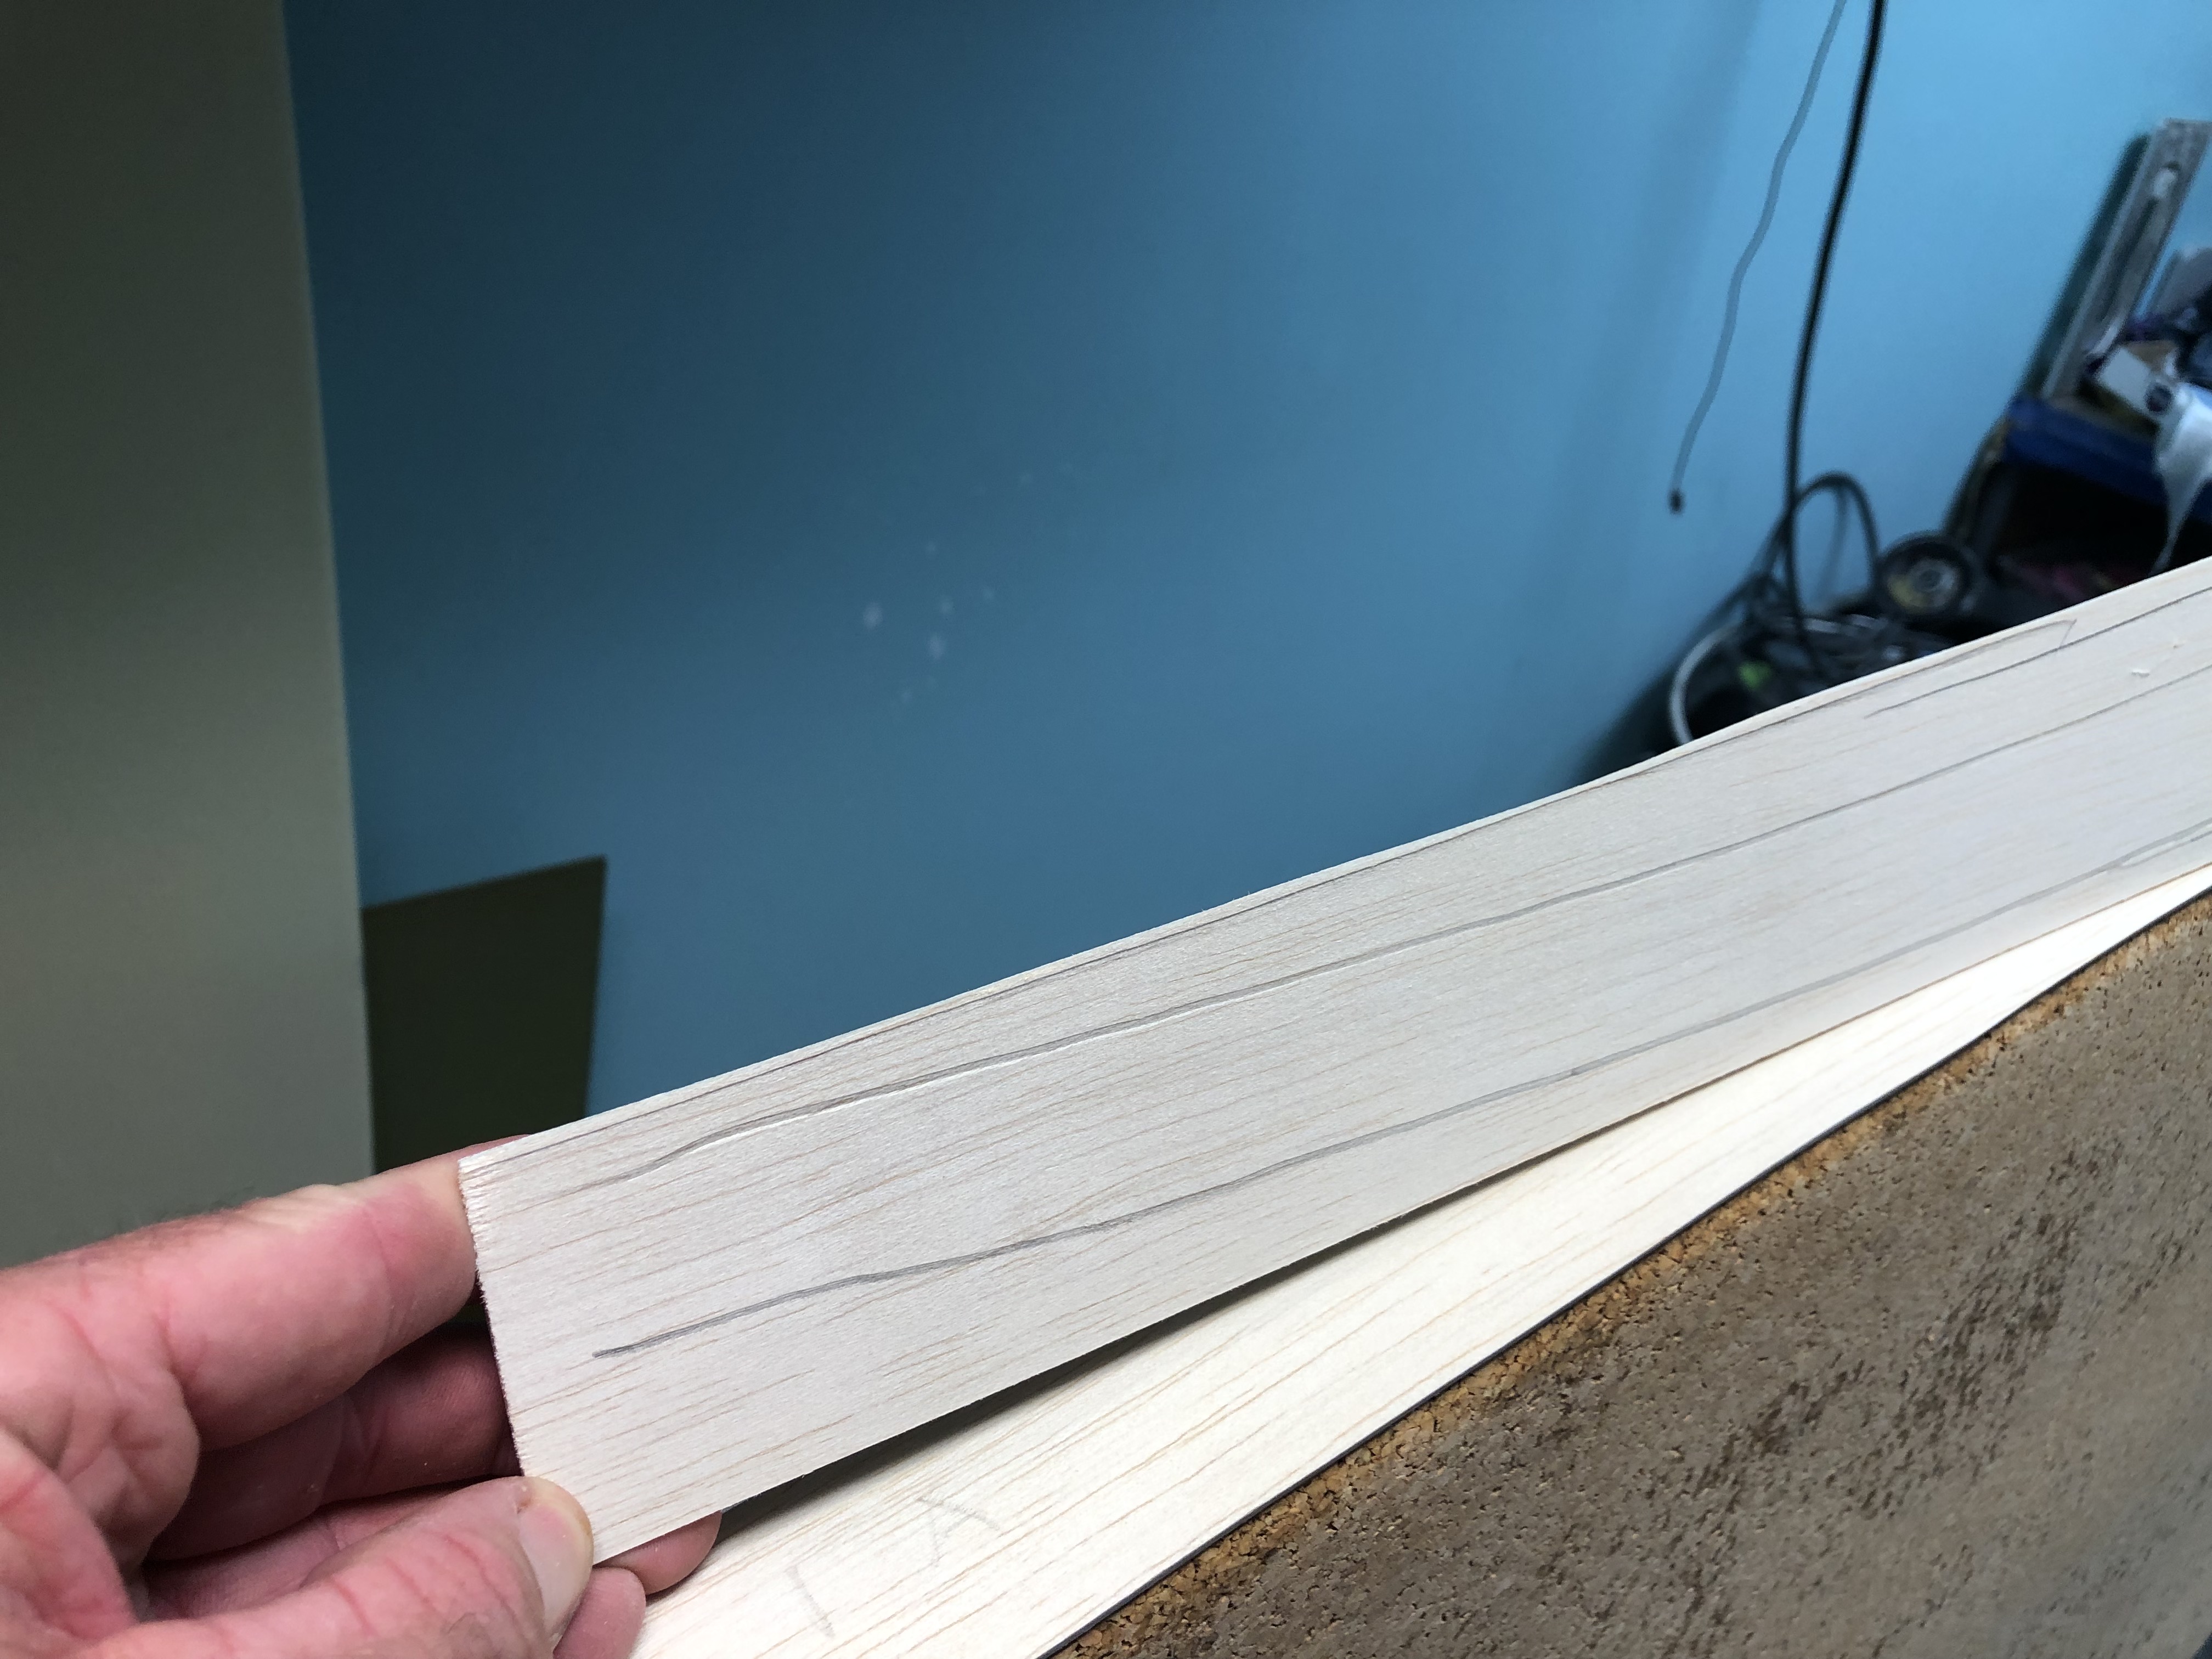
This example I started at tail and try to align the deck to the straight edge to top of plank
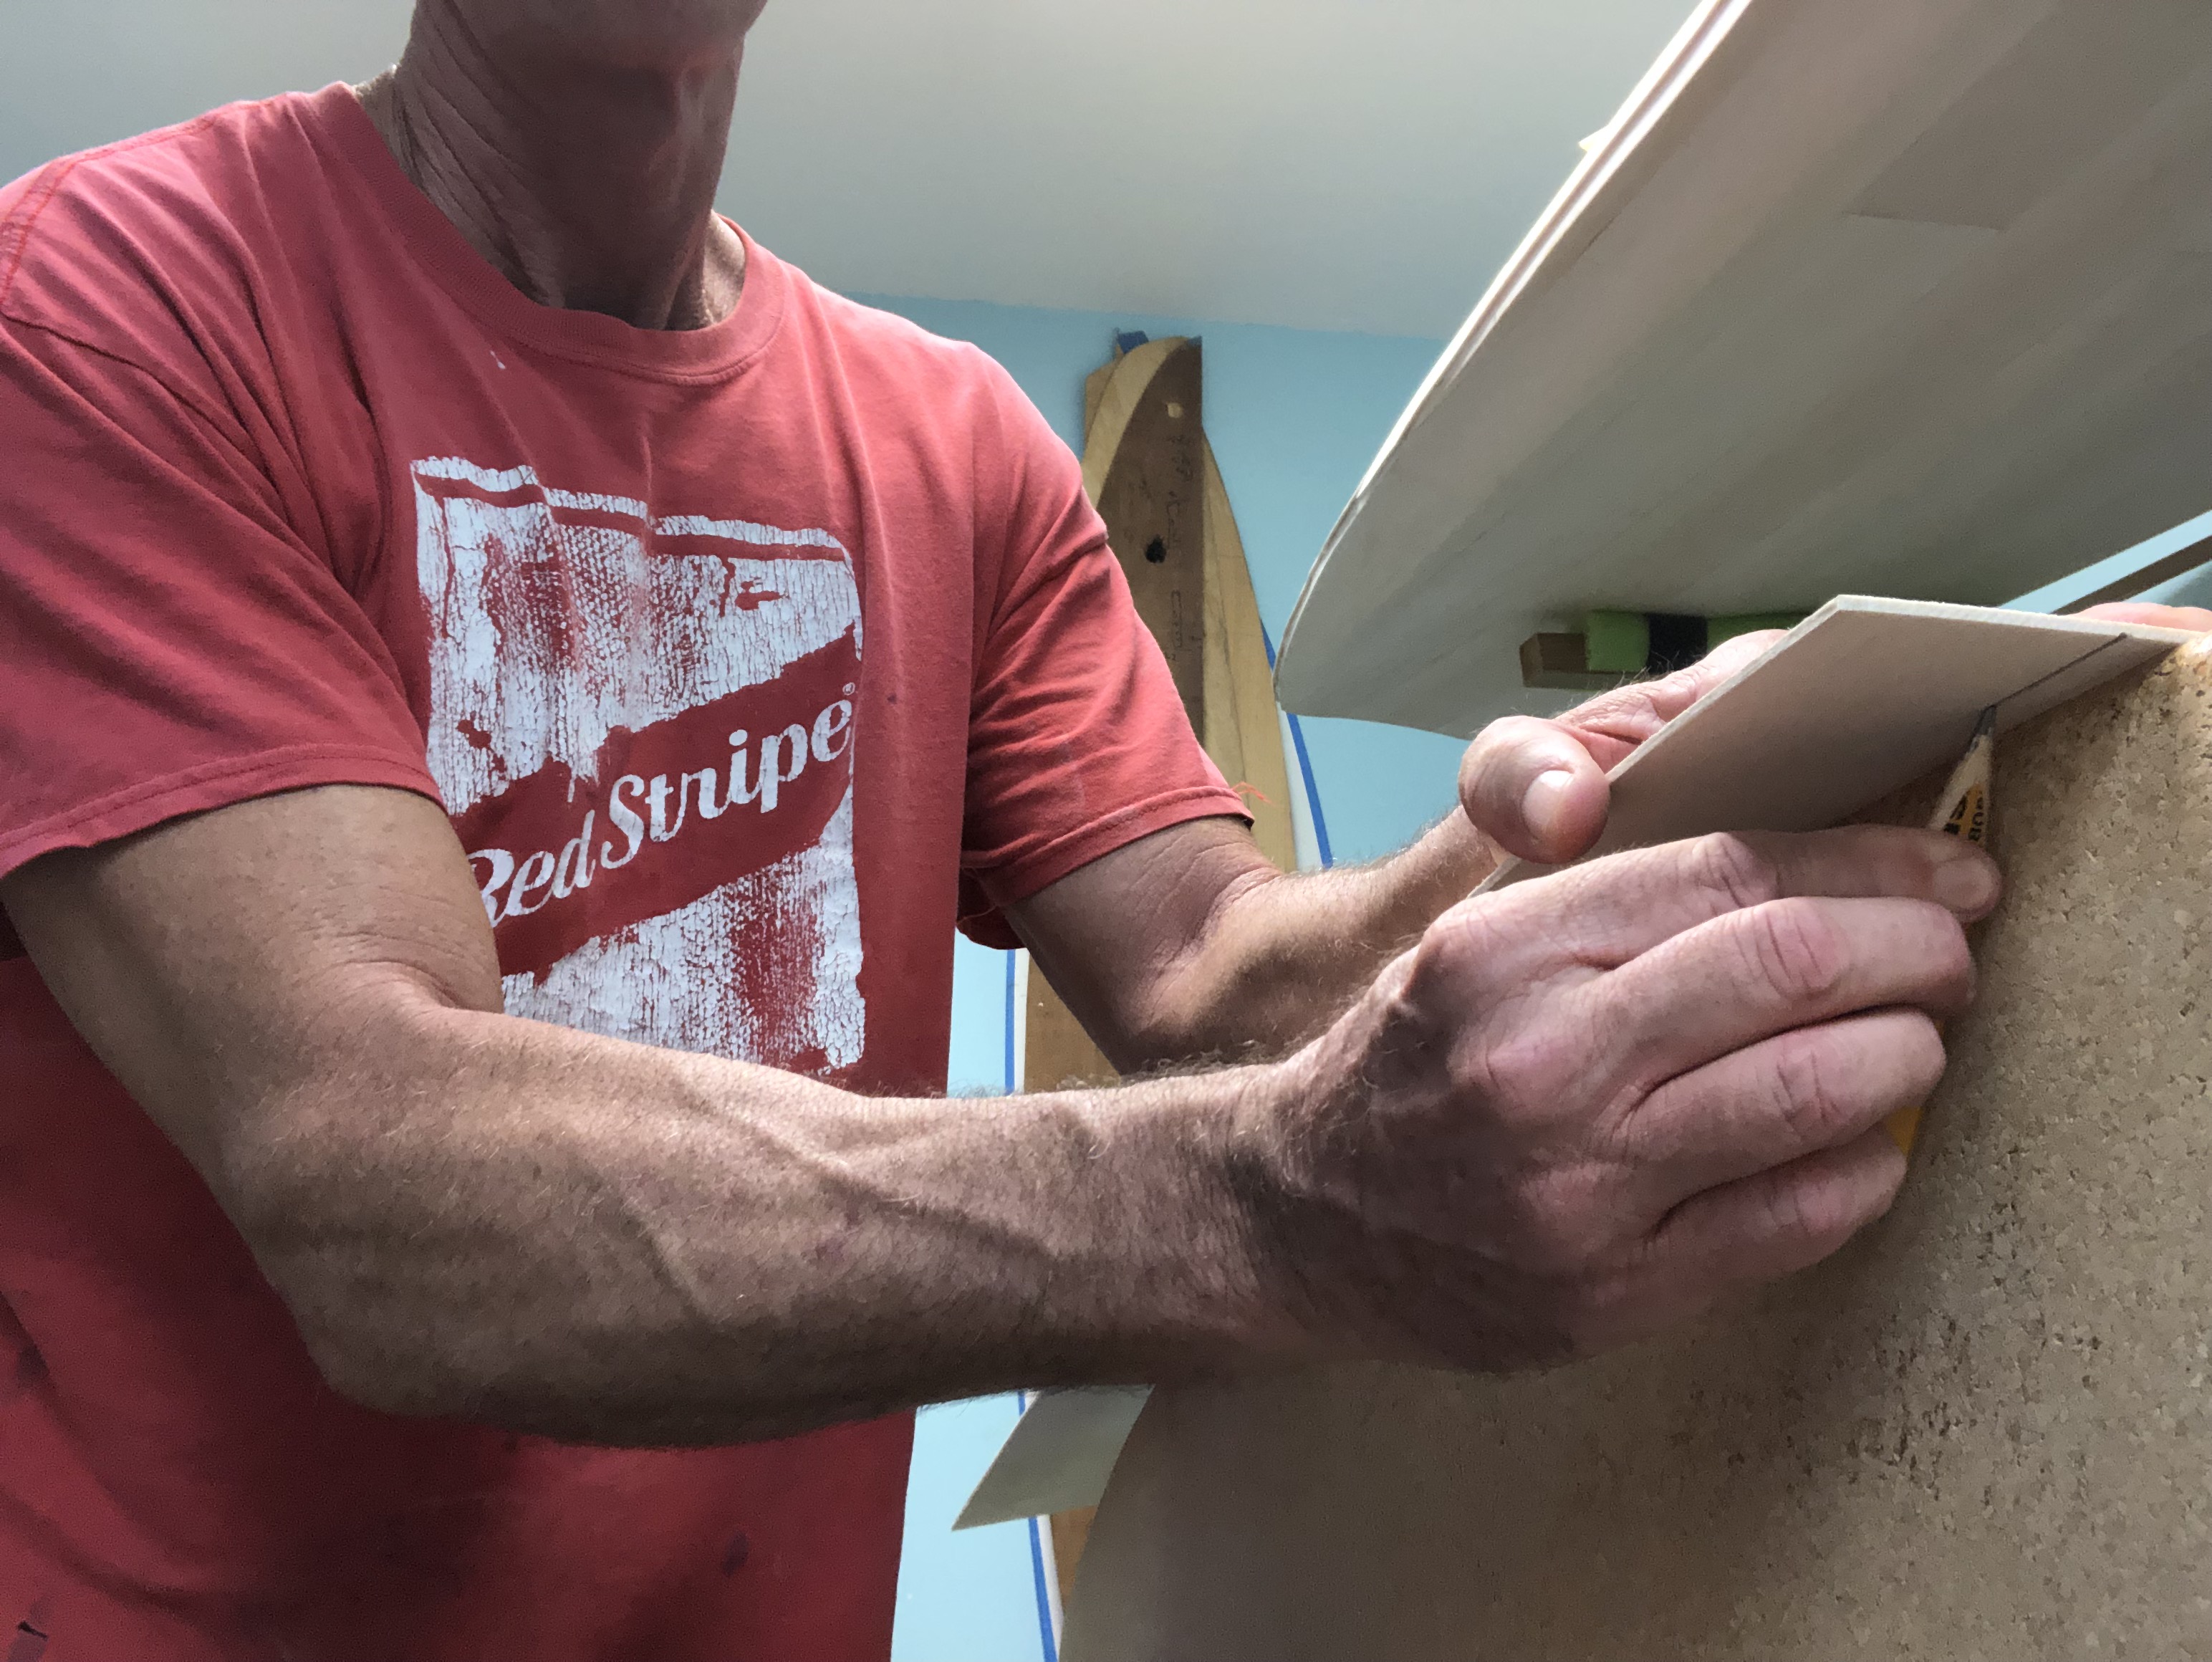
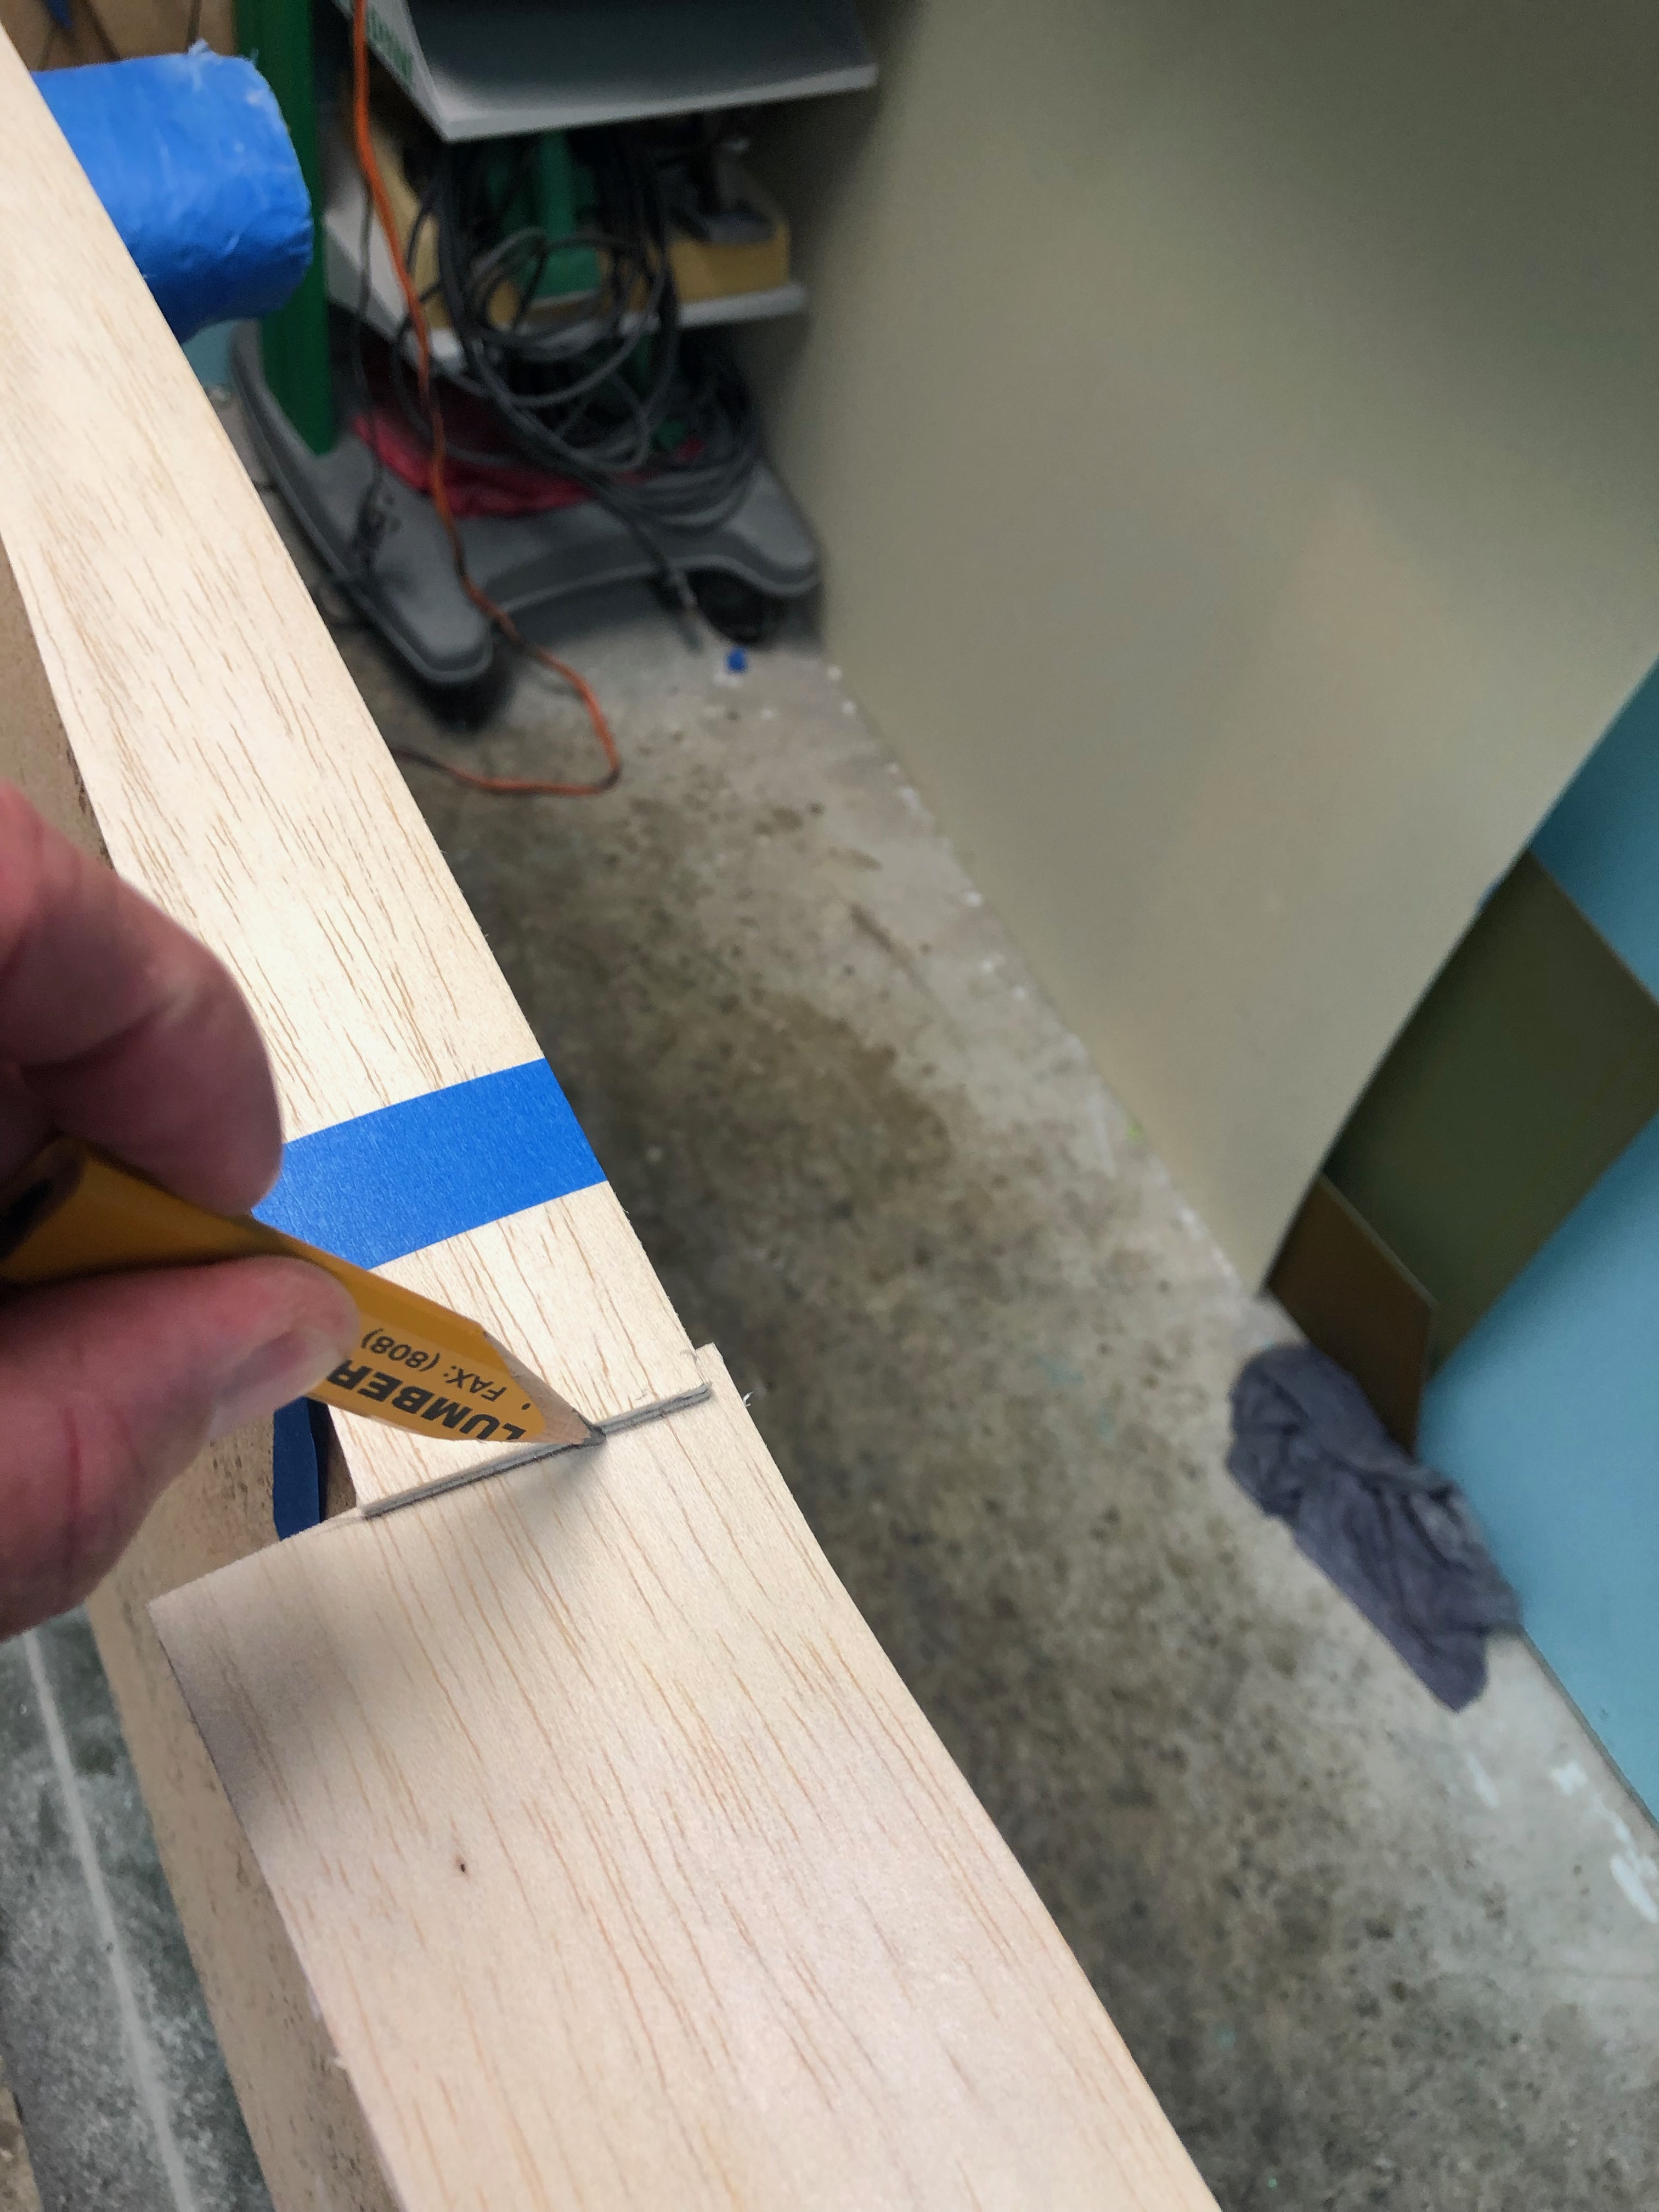
Take a carpenters pencil and using my bottom of board for a guide
Score a pencil mark on rail plank
carefully cut pencil score with razor blade
Not trying to get an exact fit but want some over lap of deck and bottom 2-4mm up deck and bottom
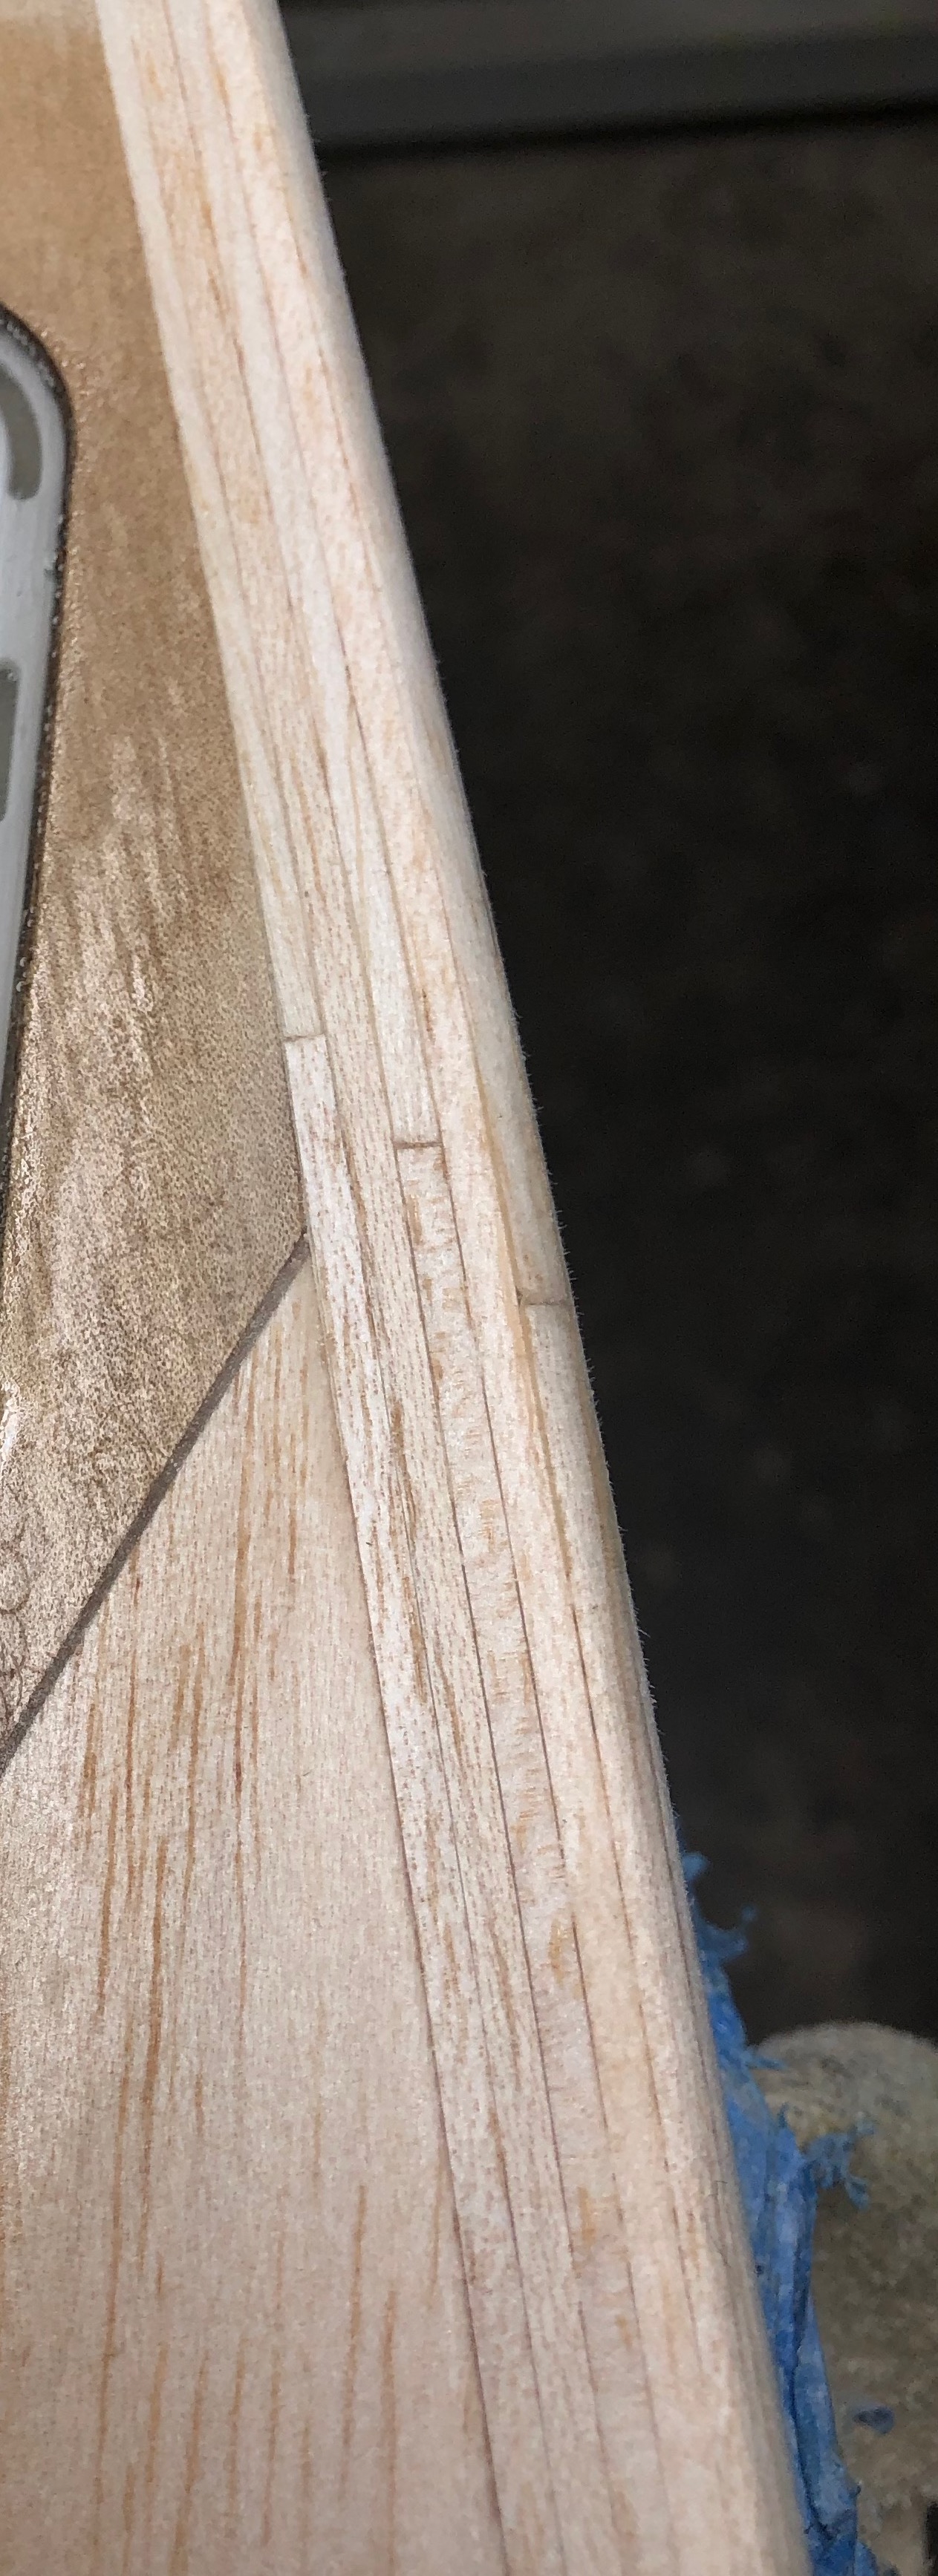
This is what it looks like
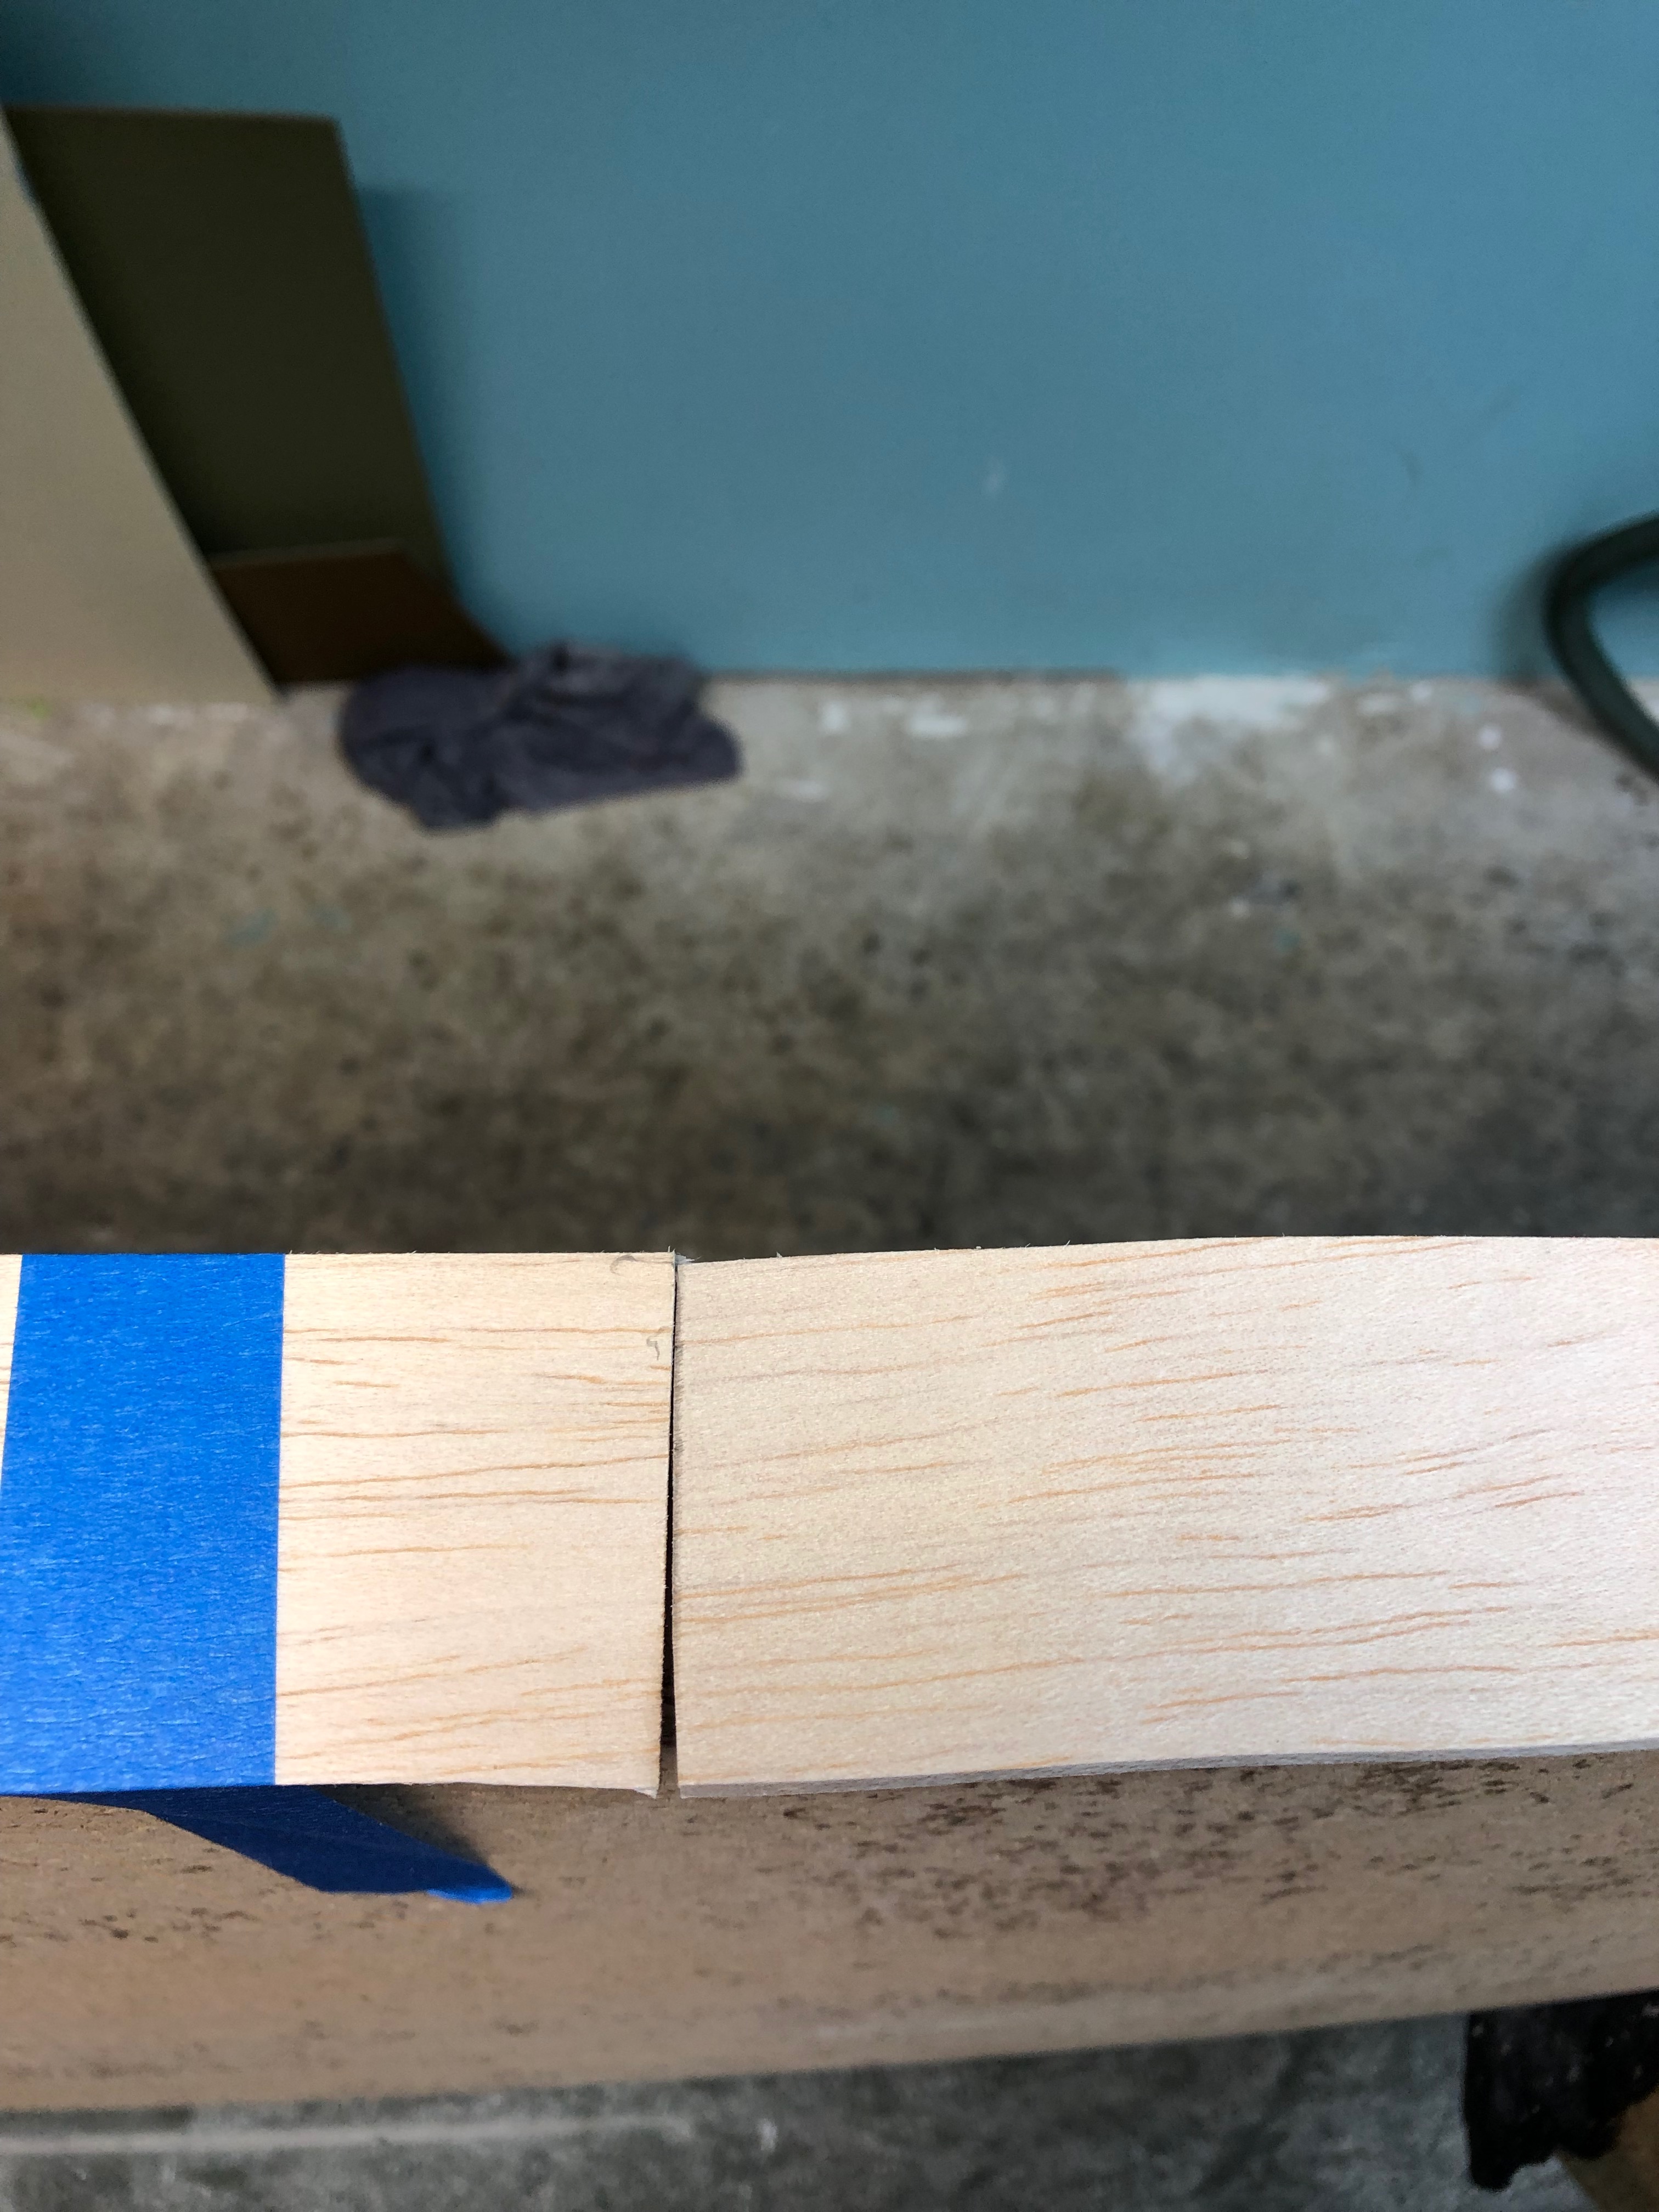
Now I will get the remainder of rail to nose with the other half of wood I just cut off. It happened to work out this way for this board but will not alway be the case with different length and width boards.
Tape off in a few places to keep down tail section I just cut
Align wood to nose with full coverage of rail and get the angle you need to connec to tail section
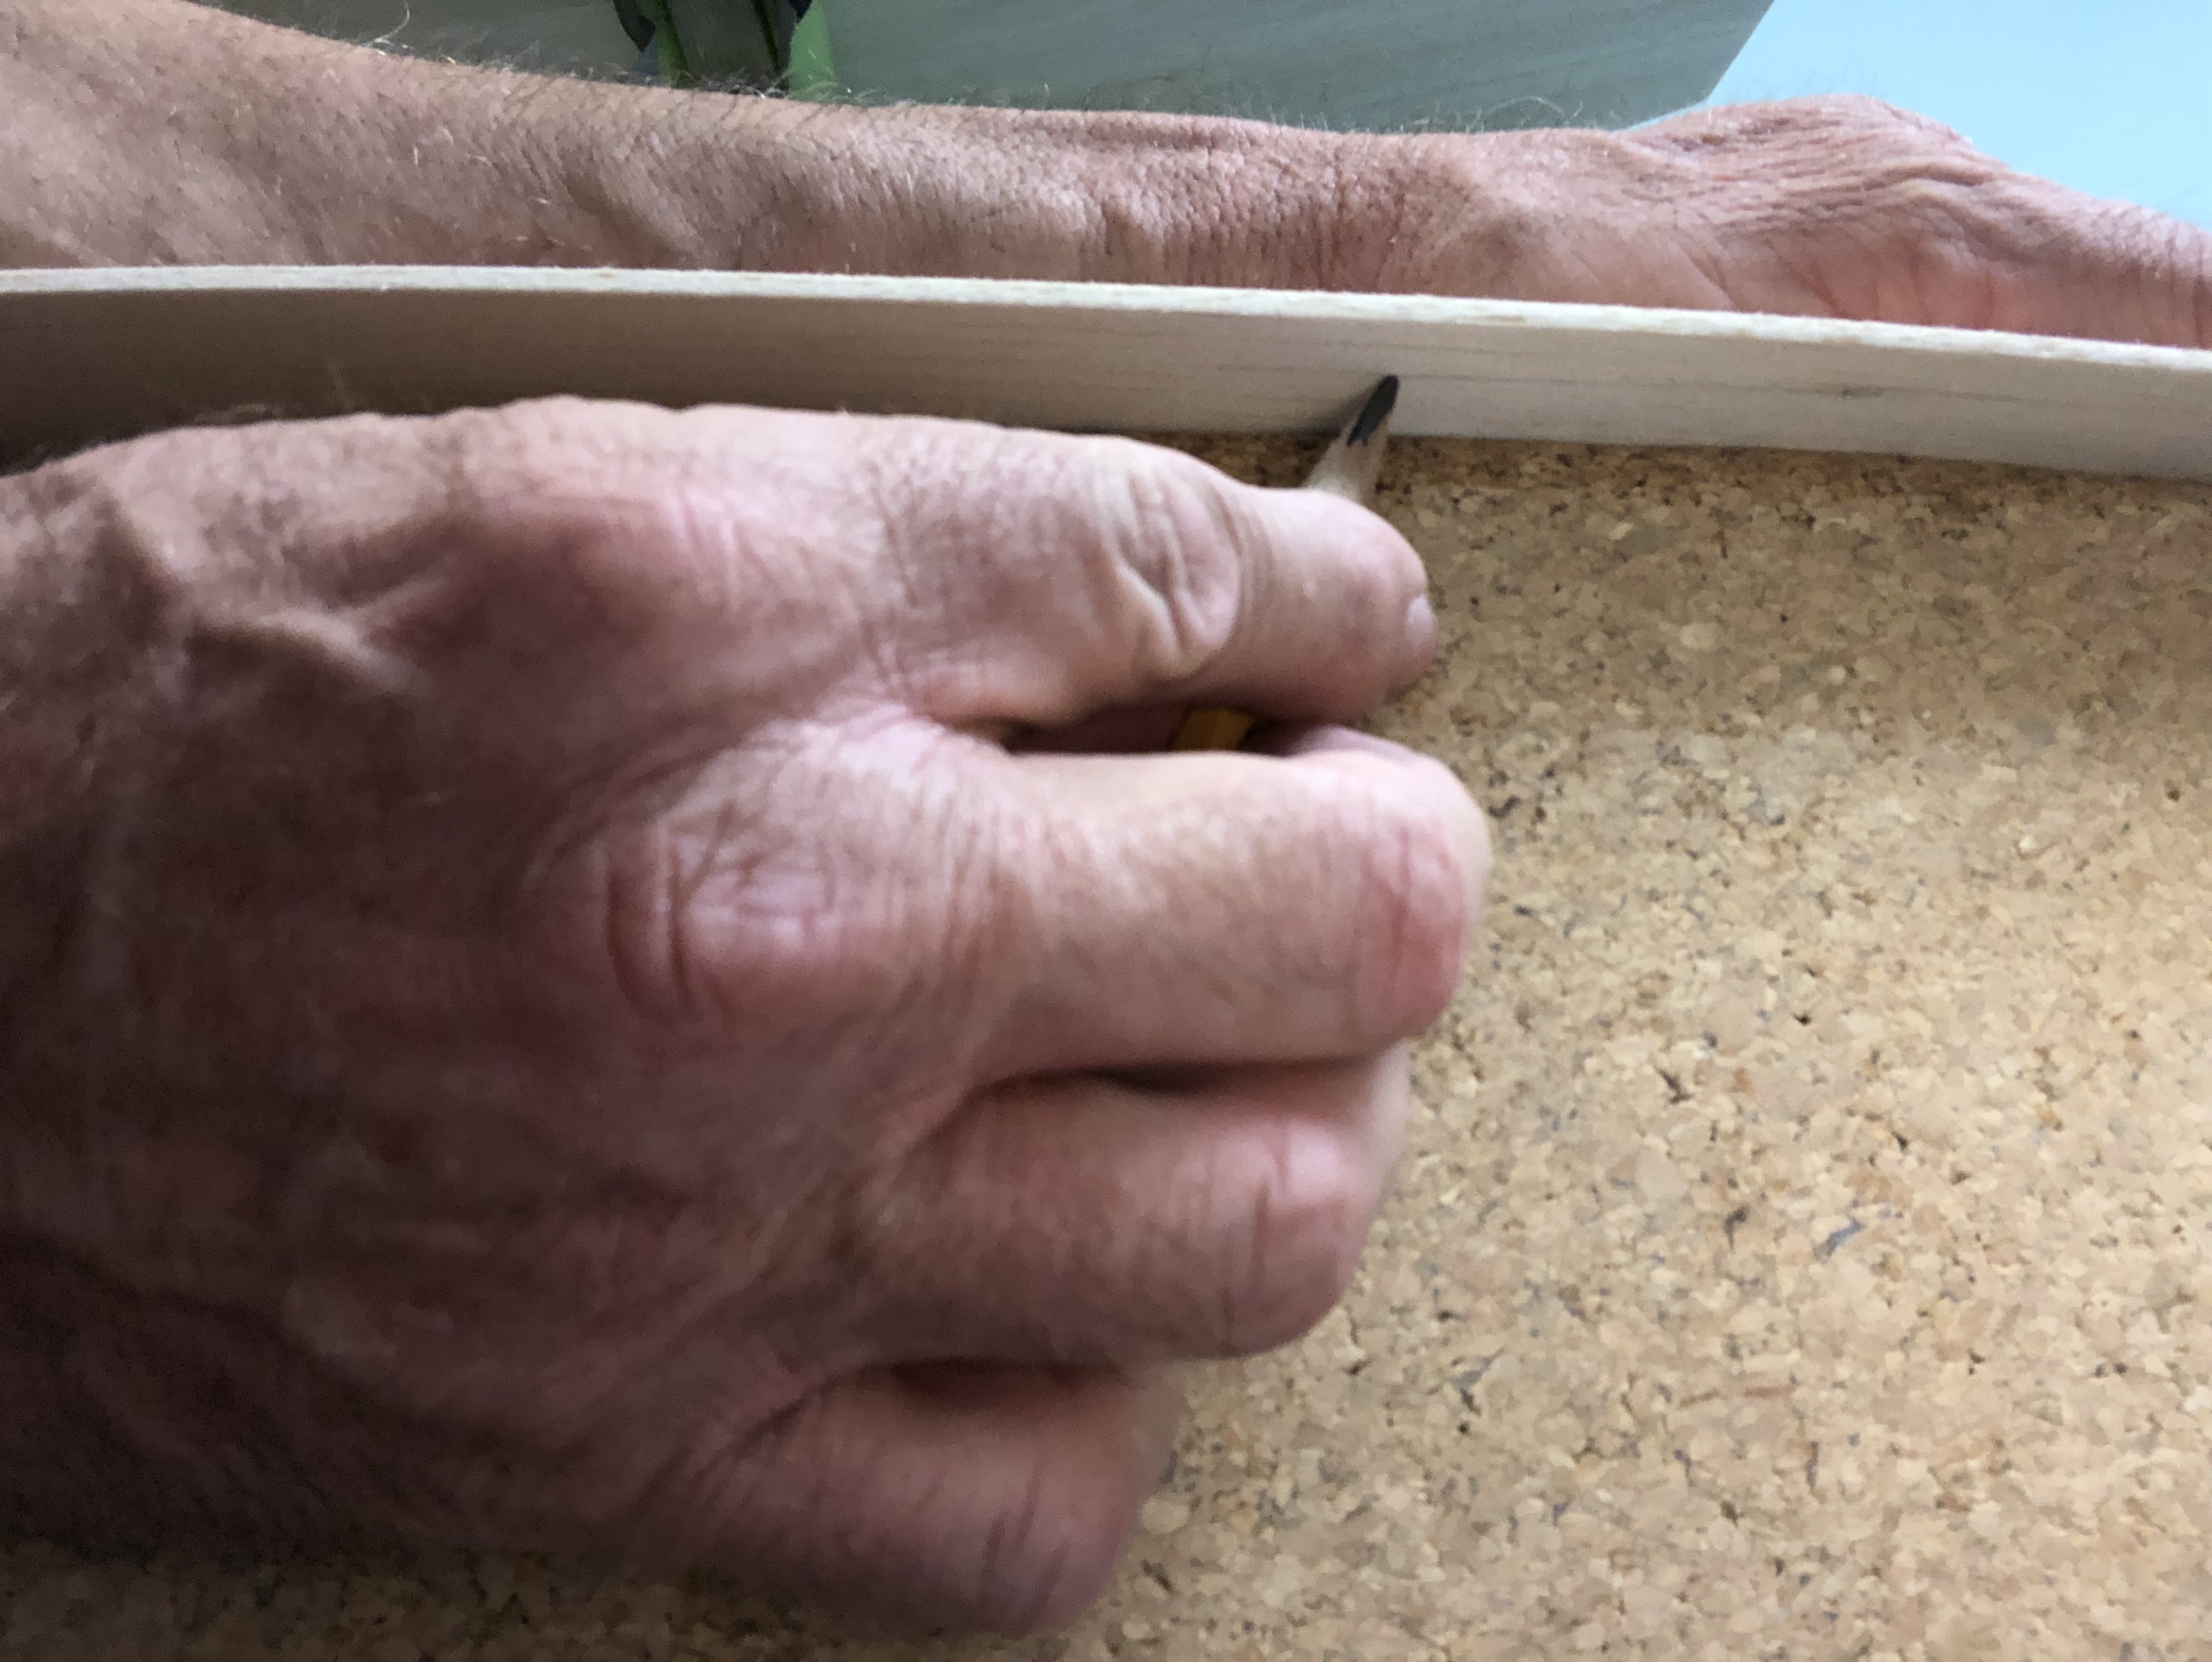
Now you take pencil and use bottom as guide and in this case the deck as guide because too much wood was over hanging on deck and bottom side.
I place my arm over the whole plank I ma cutting when by myself. Having a helper is ideal to hold down whilst(word used to make you think I am from australia) you
score plank with pencil.
This is what the marks looked like and the cut, joint and final placment check. Huge over hand on tail and nose because I will have tail and nose block put on before rails are placed.
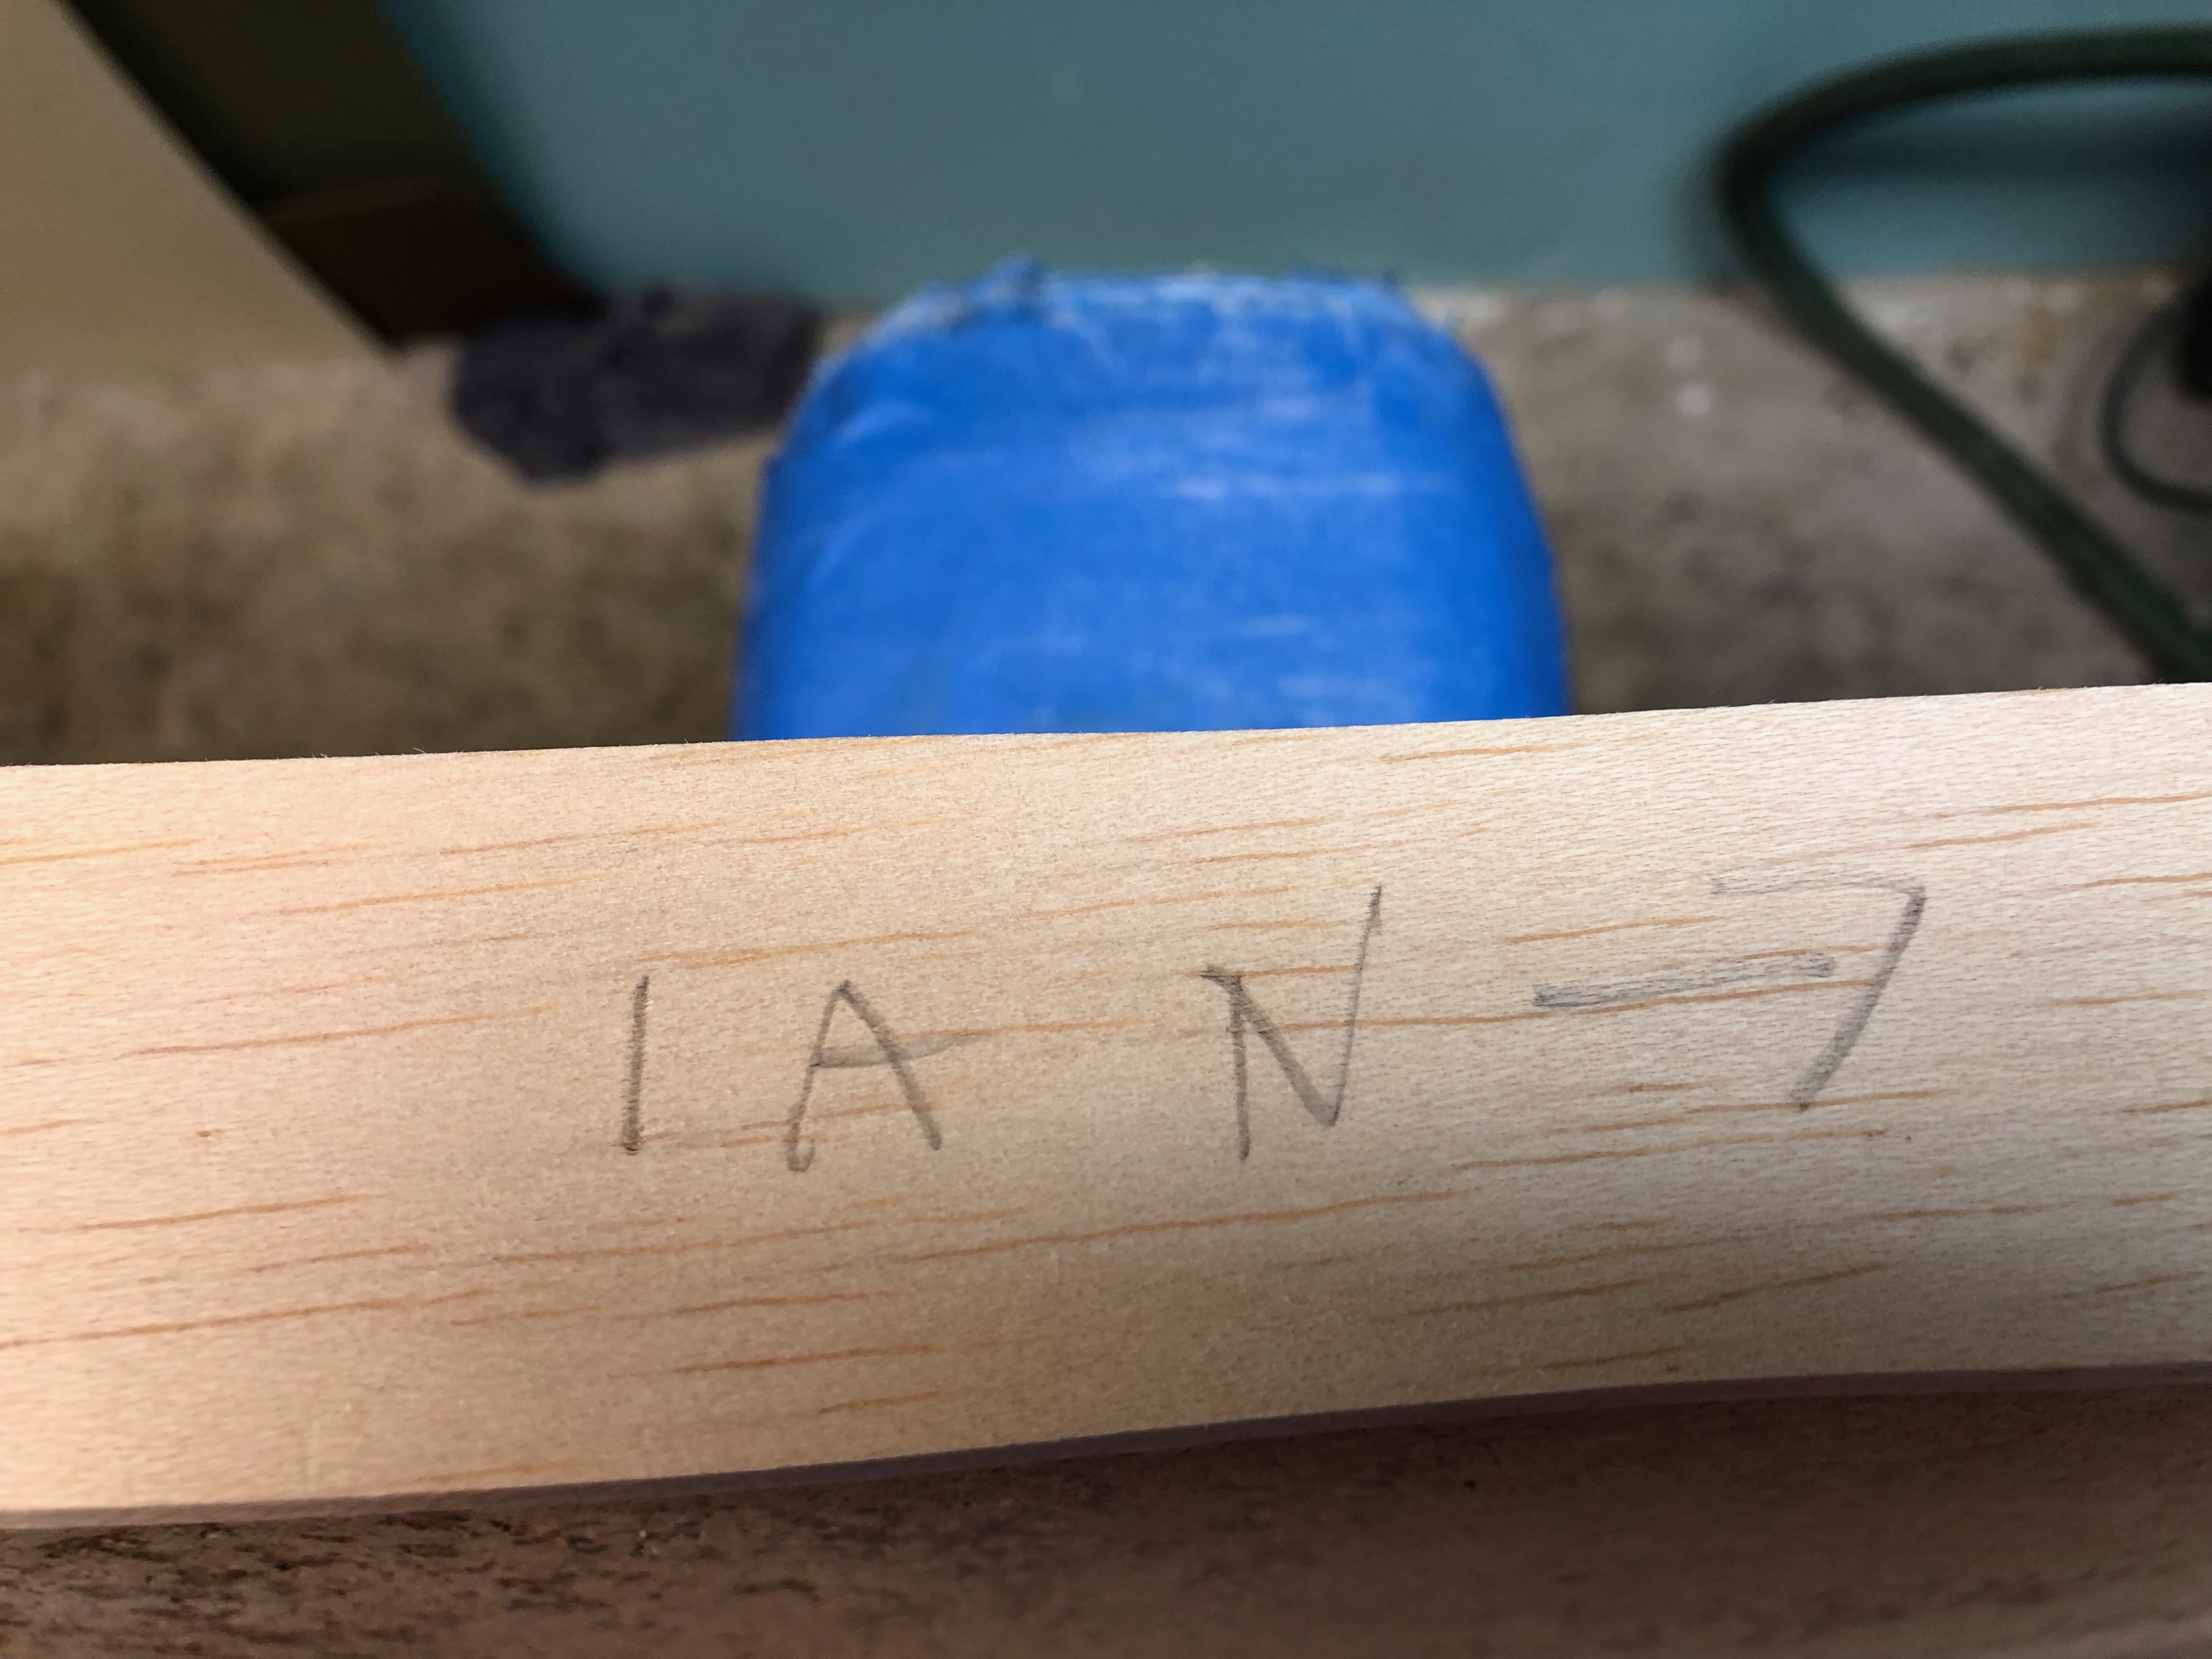
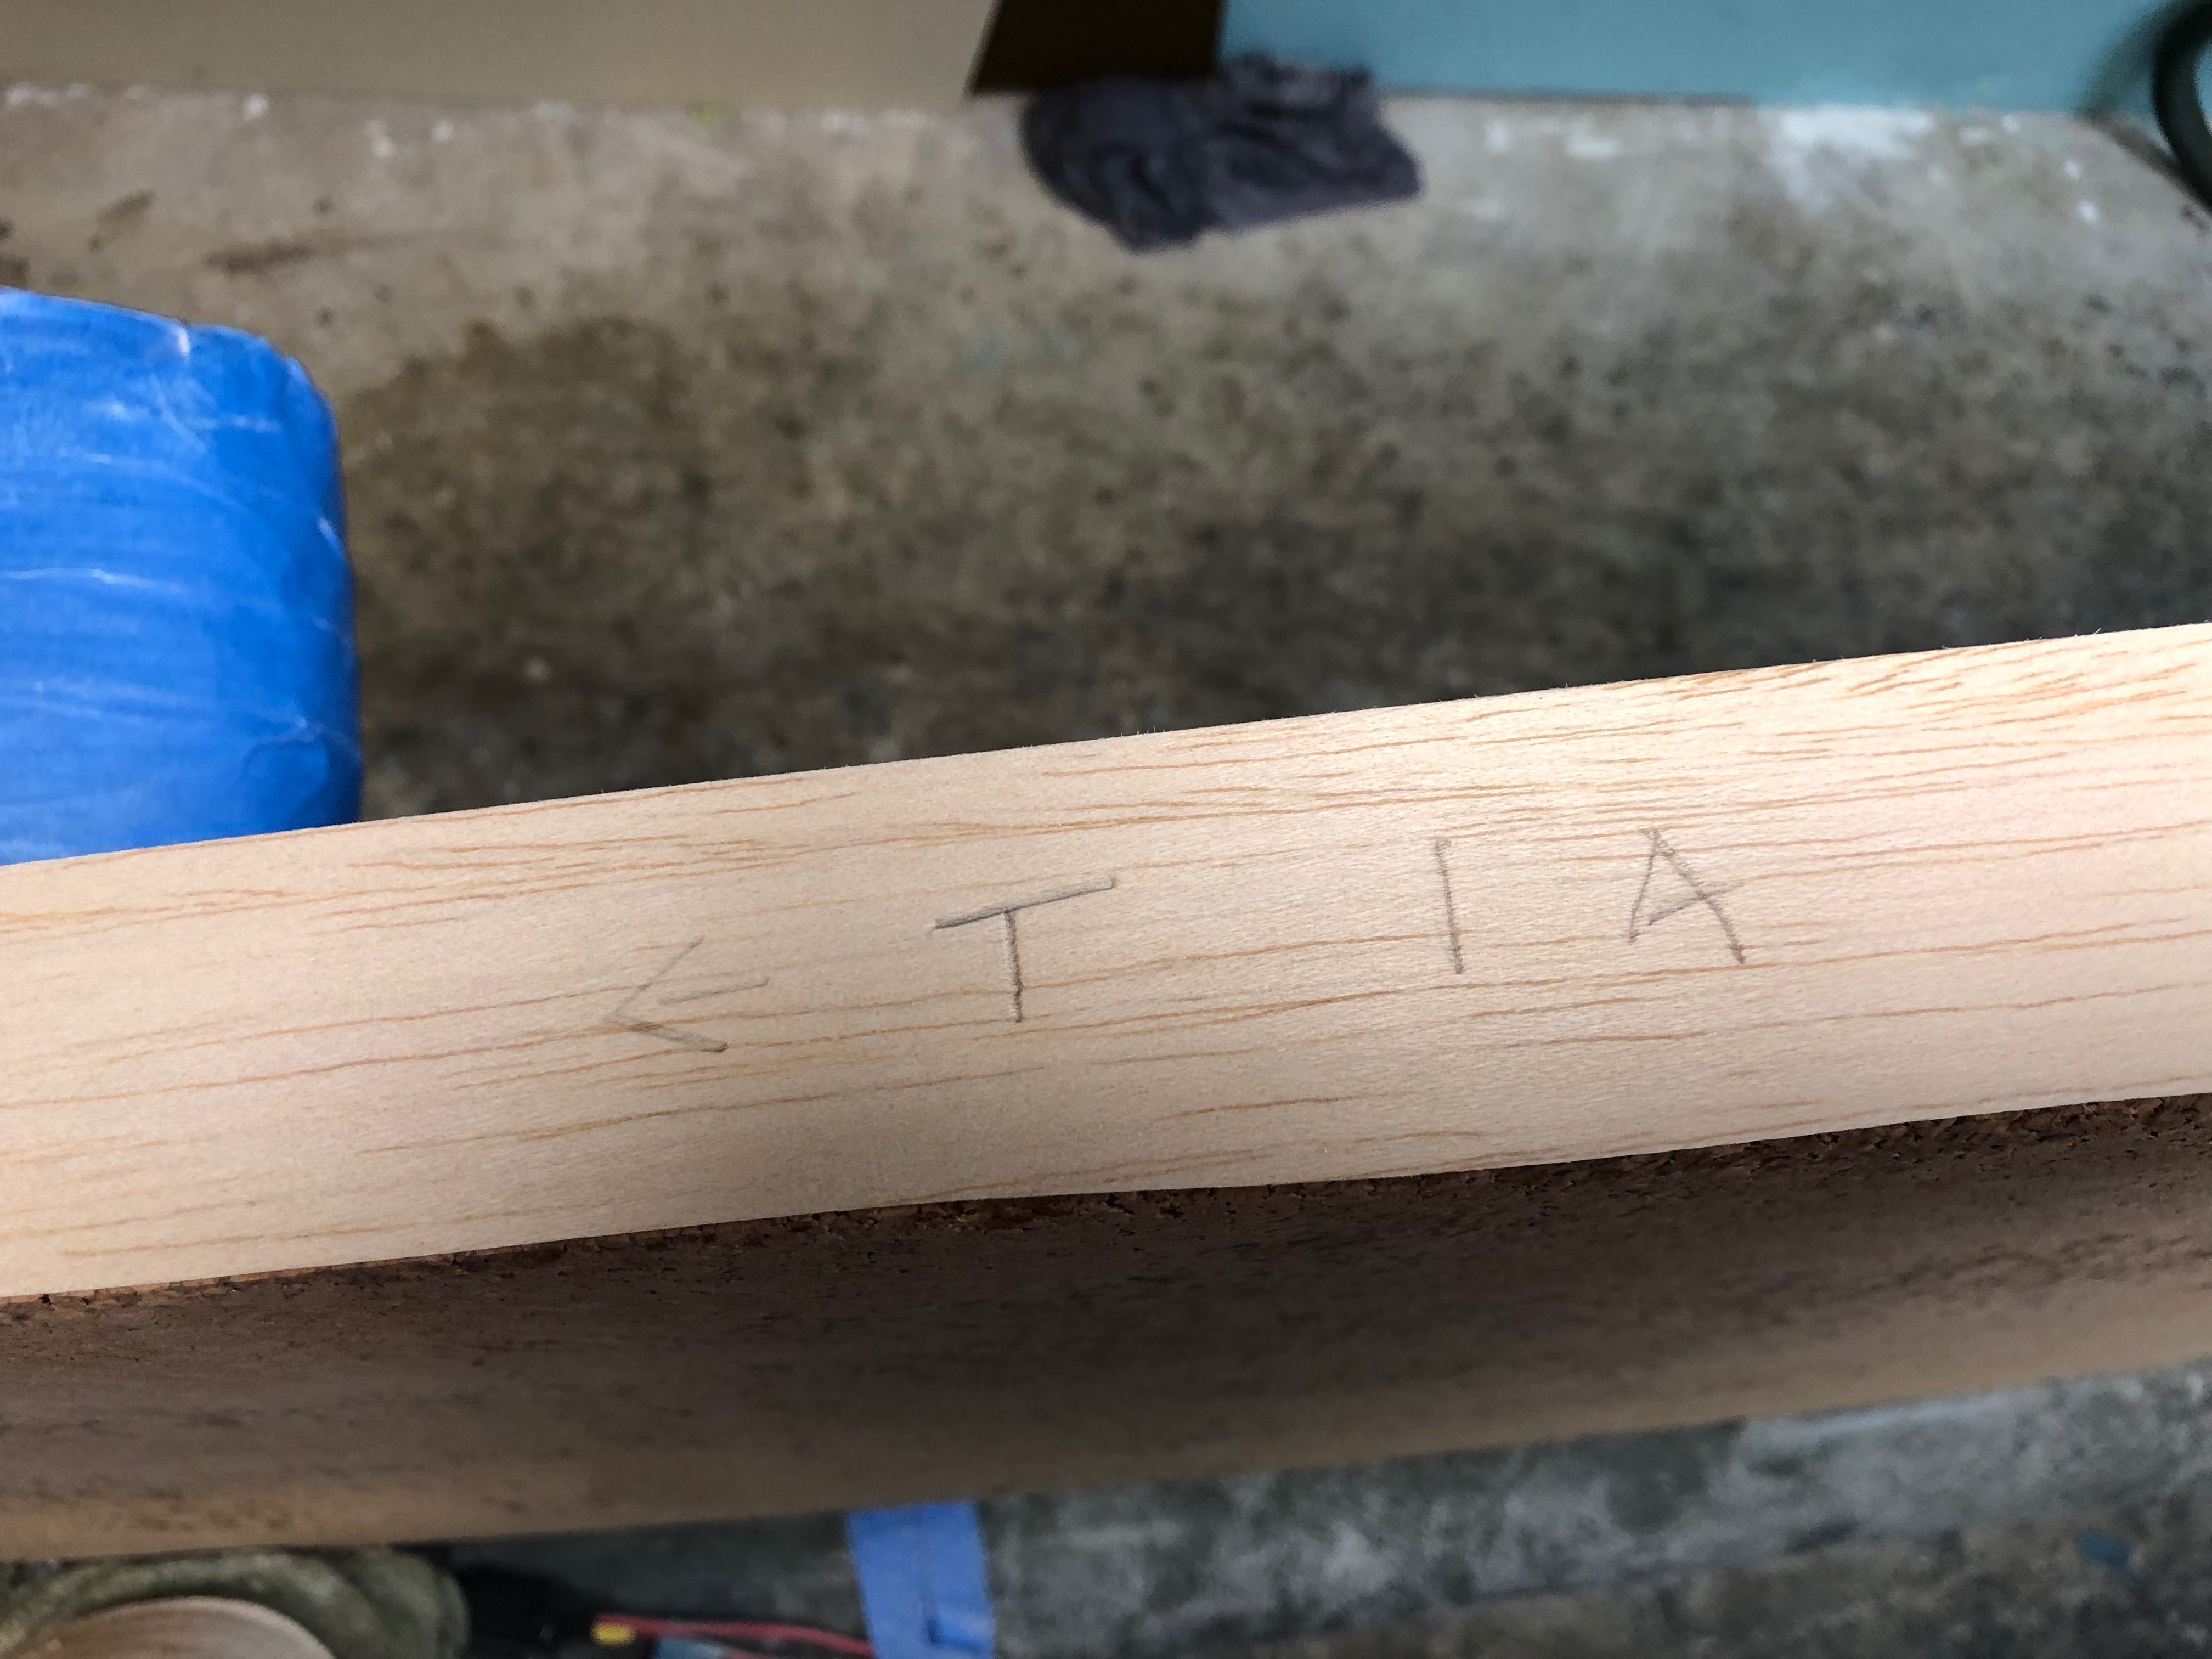
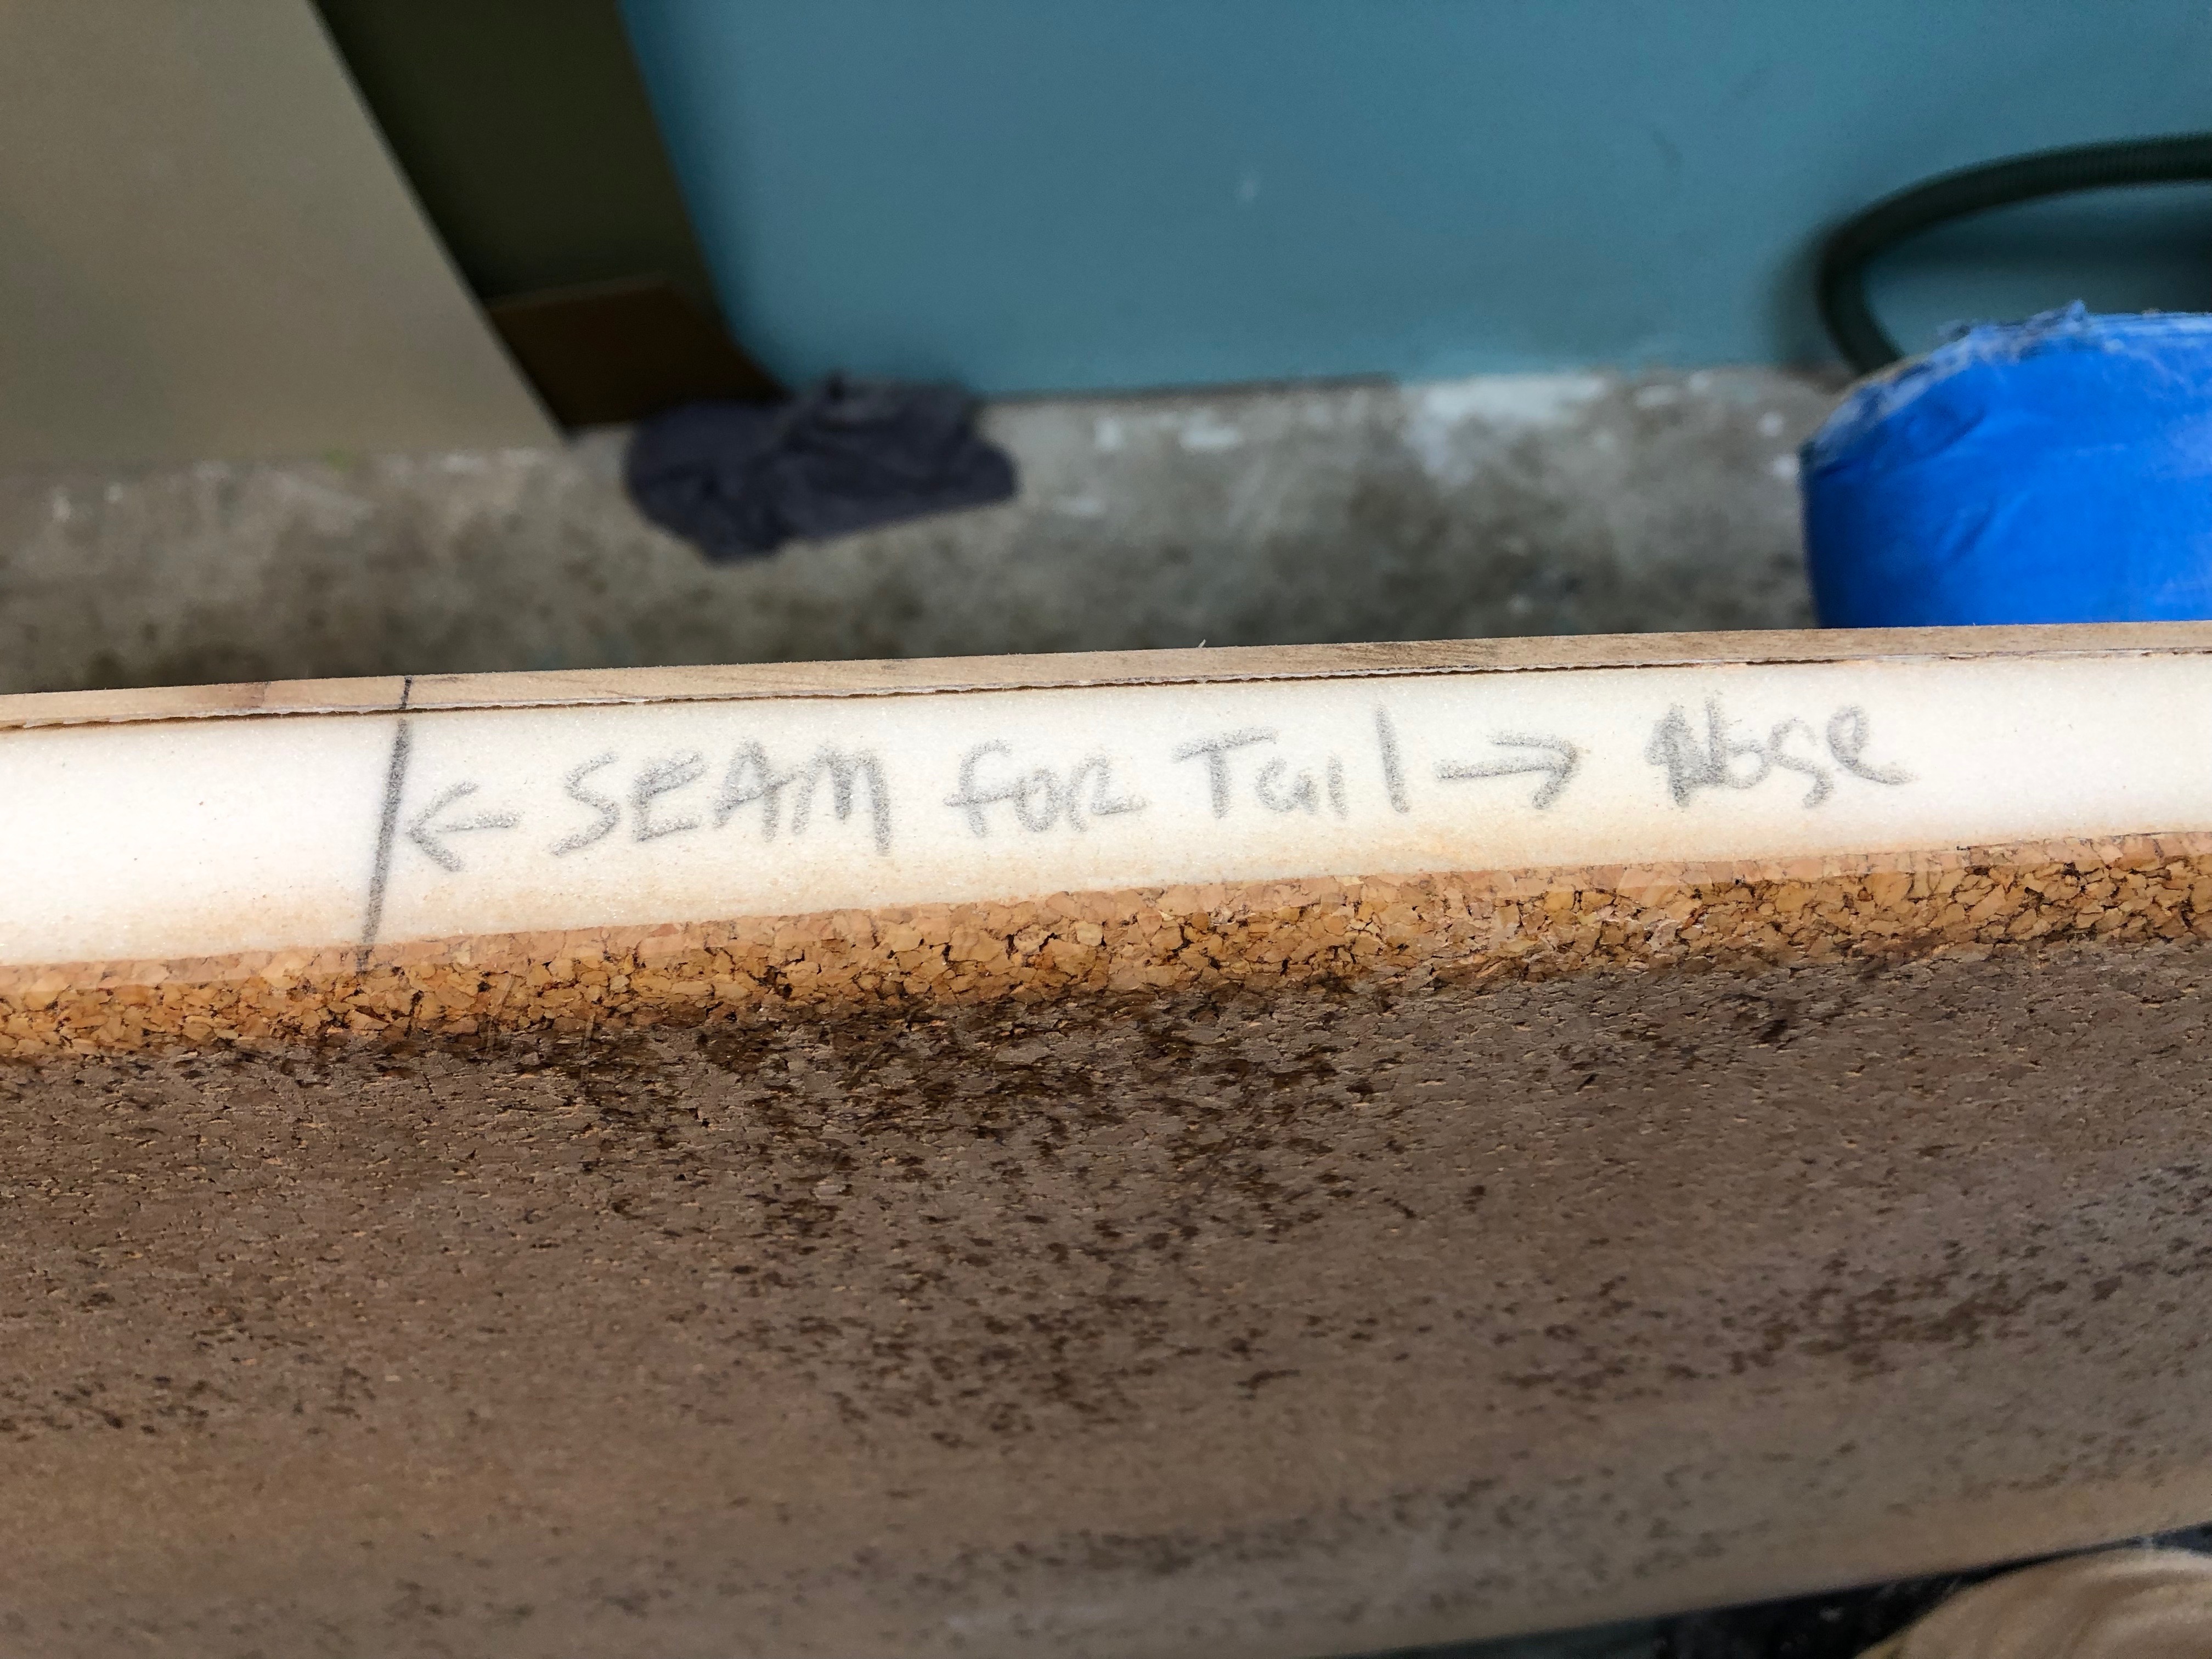
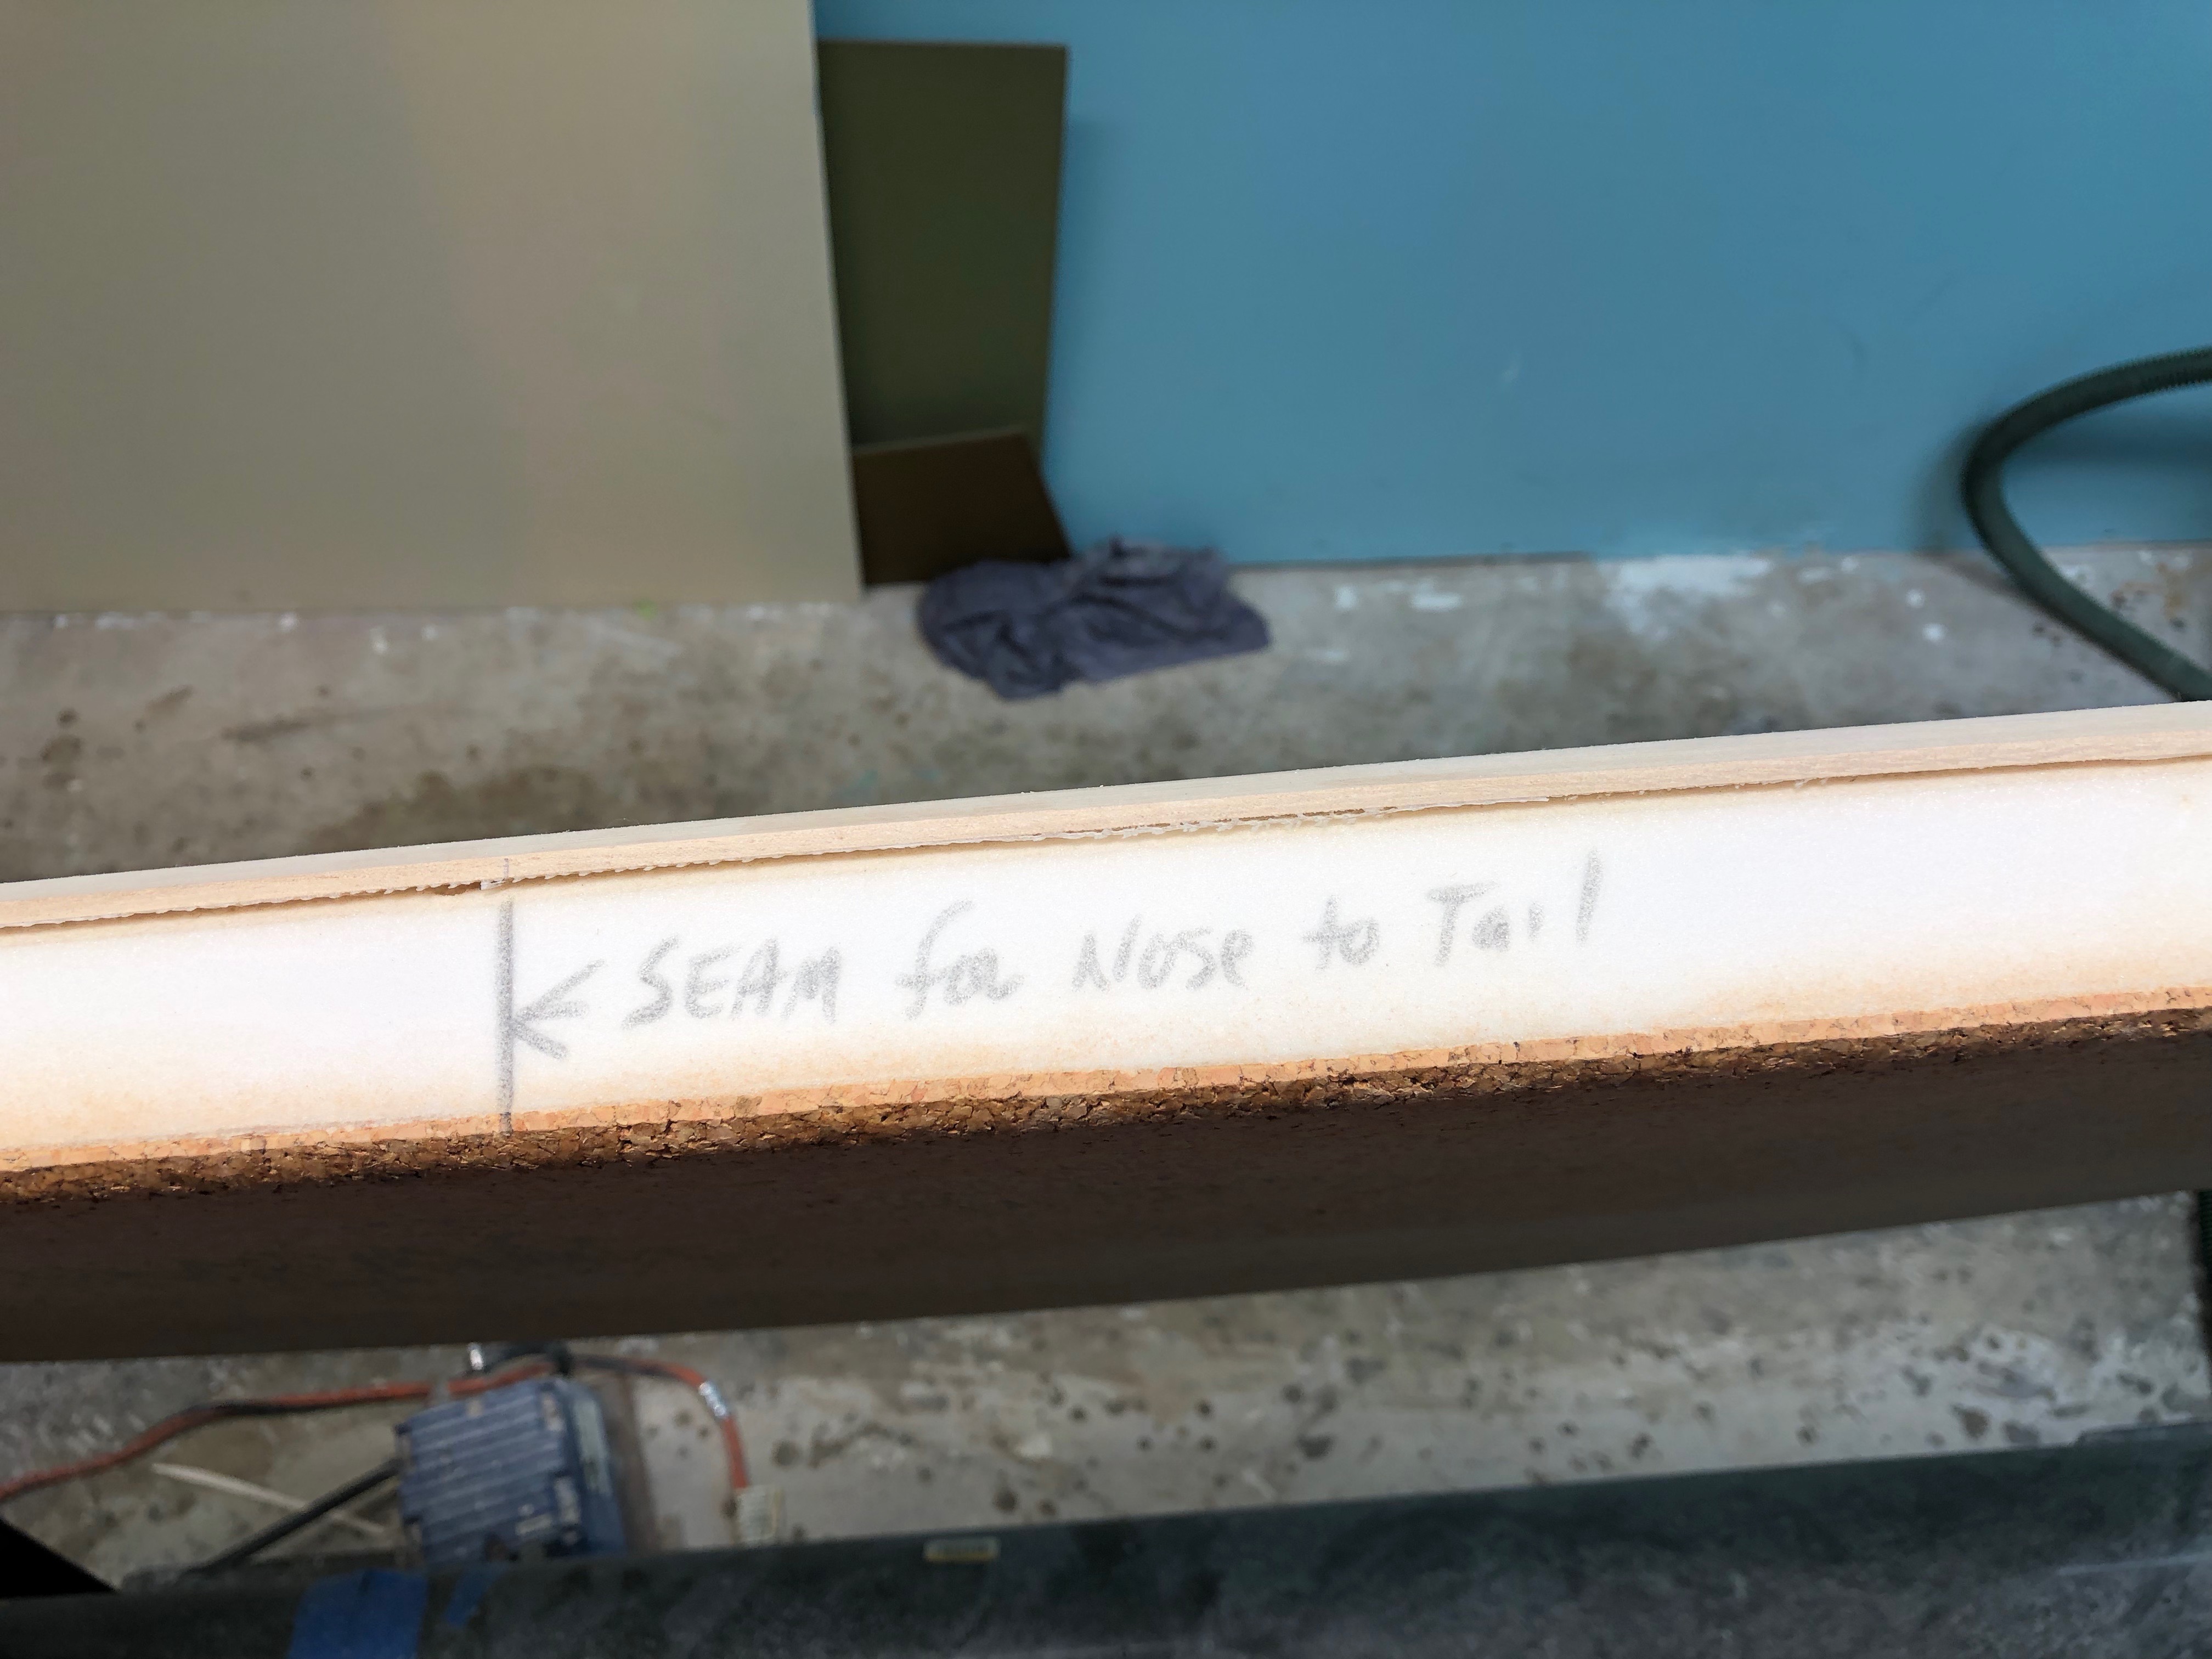
Now you do the same exact thing but working for nose to tail. Label. Mine would be 2BN or 2BT
Next pick is lines on rail of board where seams will be with an every other plank like I did here. You could make every plank seam not match up it you wanted to take the time to do this or every third plank , etc.
Most rail build outs with 2.5mm thick planks for me are 6 or 8 stacked planks.