Wow, impressive!
I had an art professor once who told me that maybe I needed to draw on a larger sheet of paper, because my gross motor skills are ok, but my fine motor skills aren’t so great. Kind of like being told I had a good face for radio.
Wow, impressive!
I had an art professor once who told me that maybe I needed to draw on a larger sheet of paper, because my gross motor skills are ok, but my fine motor skills aren’t so great. Kind of like being told I had a good face for radio.
At 6’8” 220lbs, don’t I deserve at least an extra foot of foam? ![]()
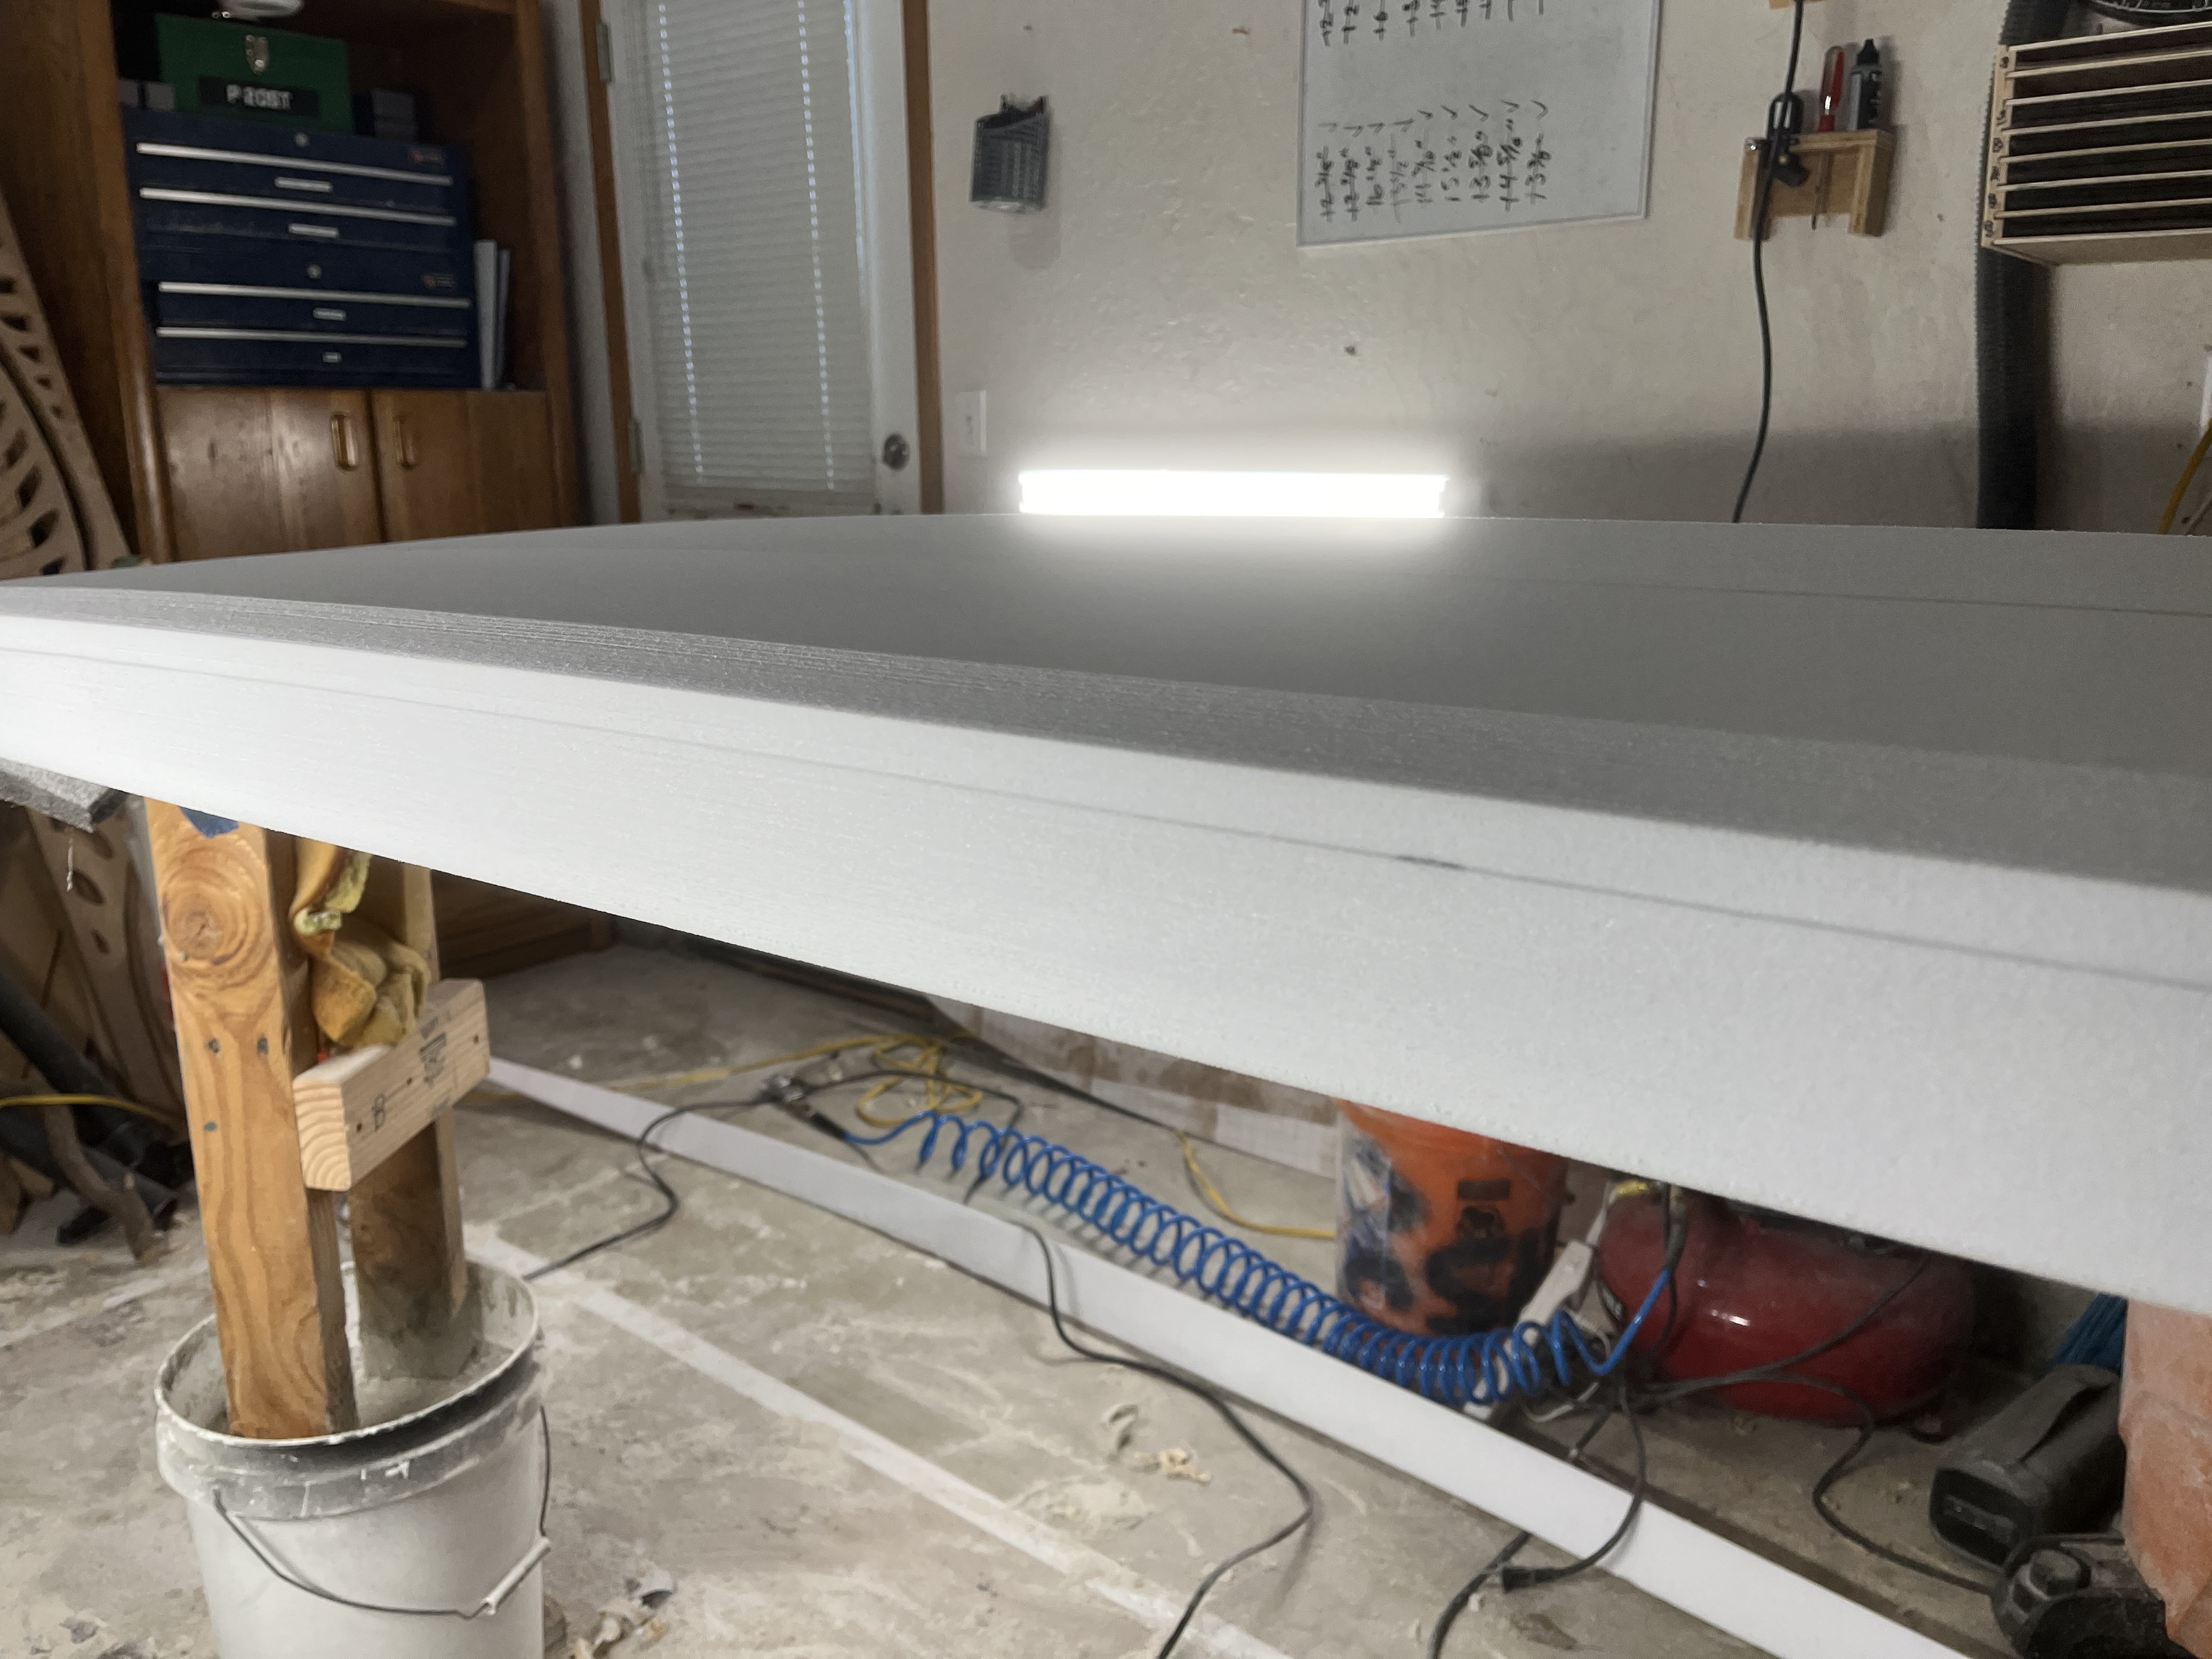
Worked on bottom contours and rail bands today. I put a healthy amount of roll into the nose and tail:
Then roughed in some tri-plane in between:
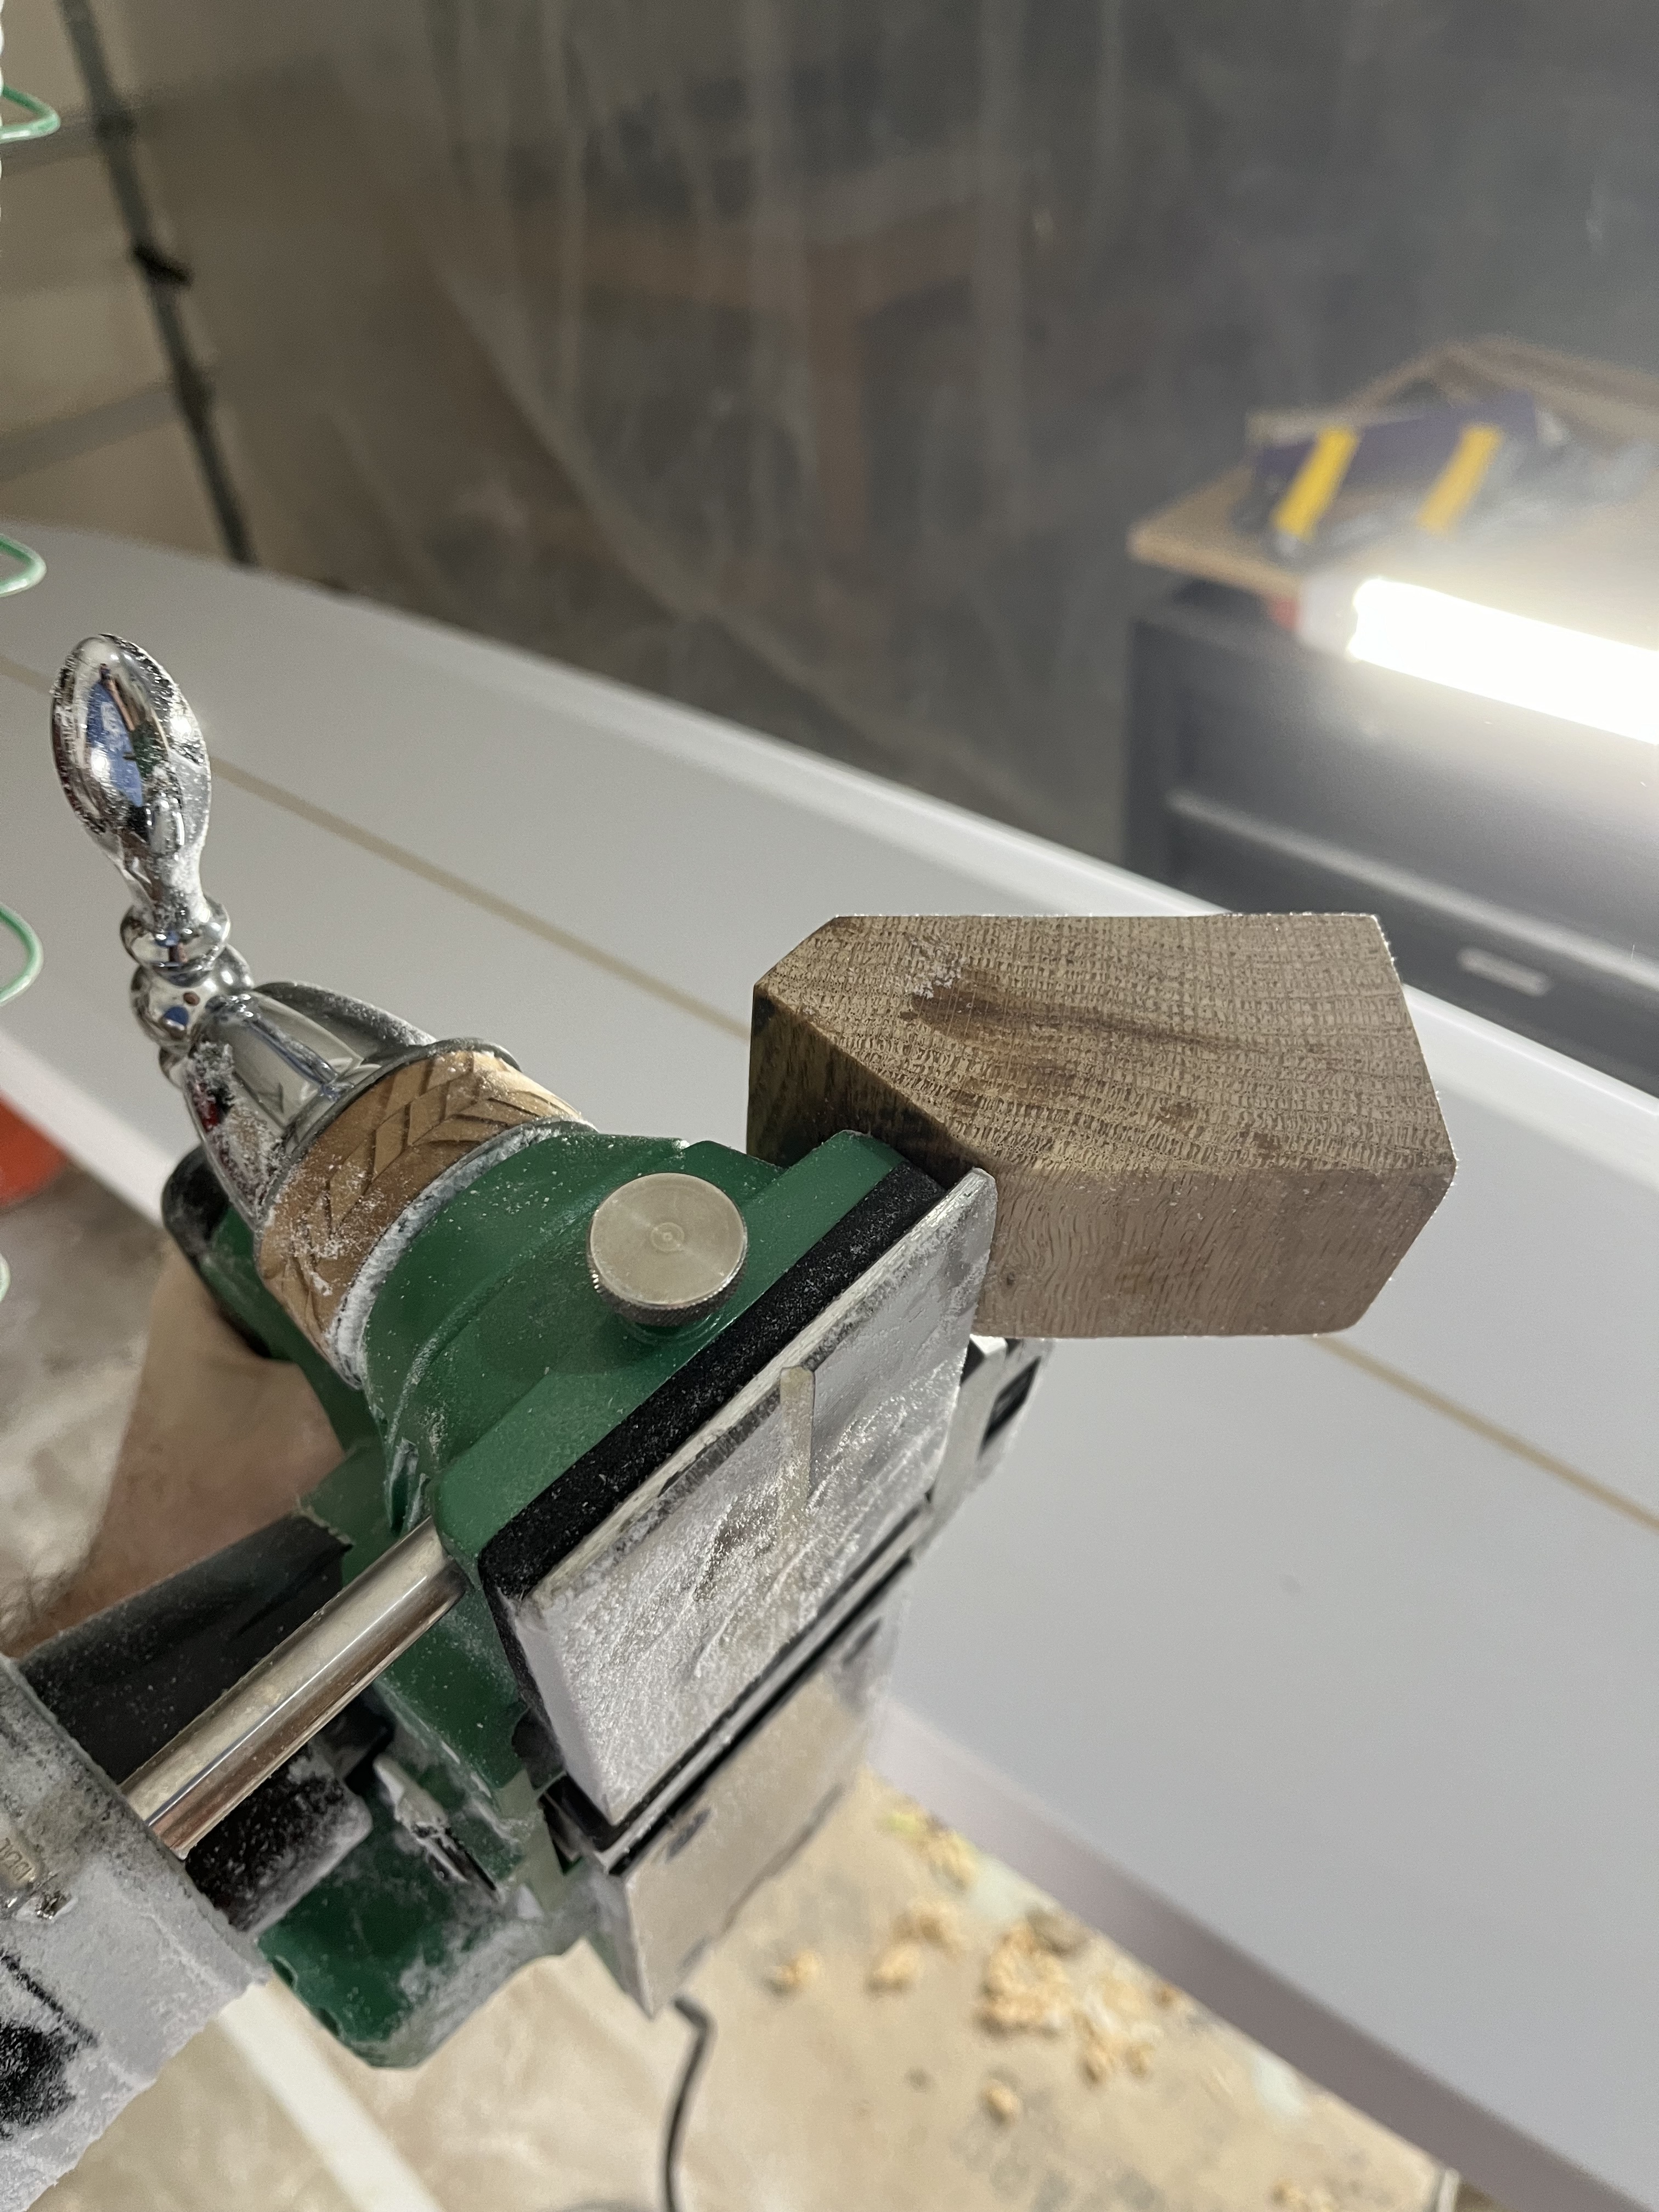
I made this little jig for the planer to cut 45 degree bevels:
Got part way through cutting rail bands and stopped for the day:
This is my first time using this method, where everything is based off a 45 degree bevel a set distance up from the bottom. We’ll see how it pans out…
Getting closer…
RHS rail bands are done, LHS rail bands have been cut and blended.
Pretty happy with how the rails have turned out. I’ll post some details later.
Nice photos and clear explanatory text. The rail bands look very clean. I’m surprised at the lack of responses to this thread, but hope you will continue updating. There is a wealth of valuable information in watching and studying the process, especially when well documented with photos.
Curious about how you decided on the bottom contours. I notice what you call tri-plane is what I would call a chine, or, if blended, a pinched rail. I always try to pay special attention to the bottom contours, and the terminology used to describe it. I myself would probably go with a very similar bottom, but maybe more panel-V than roll in the tail, and everything else pretty much the same, minus the dual concave through the middle, although I might add a bit of dual concave out the back. Which is only an indication of my sticking to what has worked well for me so far, and I admit to being pretty ignorant on the theory behind a lot of stuff.
Nice job with the planer jig, very clever and a great way to get consistent results. Looking forward to seeing progress.
Thanks for the kind words everyone.
Spent some time on the board this evening, for the first time in a few days. I finished screening the rails, and finished up the bottom contours. Nearly done now - just final sanding to do.
I’ll post more later on bottom contours, and the method I’m using to locate rail bands. But for now I’m pretty happy with how the rails turned out:
Also, here’s how I screen rails:
I make these little marks from nose to tail, across the central rail band. That is, the band that’s perpendicular to the bottom, the one that defines the outline of the board.
Then when I screen, I’ll walk down the board and screen the deck rail bands, then when I turn around and walk back, I’ll screen the bottom rail bands. Always alternating. When the tiger stripes disappear, I know I don’t have to screen that area anymore. This way I get a nice rounded rail without over-screening and distorting the outline.
I’m not claiming to have invented this technique, I probably picked it up online somewhere.
On bottom contours:
It seems like if you asked five different shapers to explain why they choose the bottom contours that they do, you’d get ten different answers ![]()
The theory that makes the most sense to me is to think of different bottom contours in terms of how they affect the rocker in the center of the board vs at the rail line. Belly/roll and panel/spiral vee both change the rocker at the rail line, while keeping rocker along the stringer basically the same. Concavity is the opposite - you leave the rail line rocker alone and change the rocker along the stringer.
One of my favorite boards has roll in the nose and concave through the center. This effectively increase the rocker along the rail line, and decreases the rocker near the stringer, especially in the center of the board. So when you’re engaging the rail during a turn, the board acts as if it has more rocker, and maybe turns a little sharper. When you’re trimming and engaging more of the center of the board, it’s as if the board has a flatter rocker, and maybe you can trim a little faster.
I use double concave rather than single concave for two reasons: first of all, when trimming along the face of the wave, usually only one half of the board is engaged with the wave anyway. Second of all, if you do double concave, you don’t have to cut down the stringer like with single concave, so it’s a little easier for me to shape ![]()
I usually keep things flat out the tail. On this board, I shaped some roll into the tail because it’s just such a big board. Maybe it needs a little more help turning compared to my other boards in the 8’-9’ range.
On terminology: definitely confusing, and a lot of different words thrown around that mean the same thing. I think today’s “tri plane” is the same as yesterday’s “chine”.
Thanks for this awesome build report.
Thanks for the kind words everyone. 90% of what I think I know about shaping and glassing comes from sways, so the least I can do is share.
I hope no one is following this thread because they want to get some good tips on glassing ![]()
This is the 14th board I’ve shaped, and I think I’ve glassed 11 of those. I’m getting a little better at it, but it’s still not my favorite part of the process. I’ve been using epoxy resin lately, I find it a little easier to work with than polyester.
I’ve done the hot coat on both sides now. I’m gonna let things cure for a couple days before sanding, center fin box, and gloss coats. I’ll post some more pictures later on!
So, the board is all done! That’s #14 in the bag for me.
I had the usual glassing issues: bubbles near the fin boxes and tip of the tail, and a messy cut lap.
Here’s some shots of the full board:
Ride report so far: it’s big! It floats, paddles well. I love the glide while paddling. It takes a few strokes to get up to speed, but you can also “coast” a bit once the board gets going. Kind of similar to the feeling of riding a road bike with skinny hard tires, vs. a bike with big gummy sticky tires, if that makes sense.
Once I’m up, it’s just fine. I wouldn’t say it “turns” the way high performance surfers talk about turning, but it can “steer” just fine. Love the feeling of trimming down the face of a wave. There’s a really tangible feeling of acceleration as that long rail line engages.
One note is that it seems to get really bounced around in the white water, maybe because it’s so big and buoyant. I’m still figuring the board out though, maybe I need to change my technique.
So far it’s been fun! It’s not going to become my daily driver anytime soon. I have my physical therapist to thank for that. But for certain conditions, this board will absolutely be my first choice. I think it also has potential to make the most out of marginal surf.
Oh, and super happy with how the rails turned out! Here’s the rail shape I was going for, and the notes I used to shape it. The wire is a profile I took off of the finished board. Almost an exact match!
Very nice thread, start to finish, and the board looks good, love the color, and sounds like it is working well. Thanks for sharing, I feel inspired, hopefully I can get my 10-6 glider project restarted soon!
I’ve had a few more sessions on the board now - so far I’m liking it with a 8.5" Greenough 4A and no side bites. Haven’t tried other center fins though, I have a couple others I could try. Very curious about the twingle set up too but from what I’ve heard I need to dial it in as a single first.
The board works. The early entry is ridiculous. Late entry is not an option ![]() but that’s not the design intent. Four inches of nose rocker on an eleven foot board is ridiculous. I can catch a wave and be standing up 50 yards before it breaks. Yesterday I picked one up in a crowd that no one else was even looking at and saw stares of disbelief while I cruised through the lineup. It’s easy to ride all the way to shore and catch all the reforms. The board steers just fine from the tail, you just have to plan ahead when you want to turn.
but that’s not the design intent. Four inches of nose rocker on an eleven foot board is ridiculous. I can catch a wave and be standing up 50 yards before it breaks. Yesterday I picked one up in a crowd that no one else was even looking at and saw stares of disbelief while I cruised through the lineup. It’s easy to ride all the way to shore and catch all the reforms. The board steers just fine from the tail, you just have to plan ahead when you want to turn.
For anyone reading this in the future considering shaping something similar: these boards don’t ride like noseriders. These boards erase certain kinds of mistakes but punish others. Think about what you can carry under your arm. If you’re not the size of an NBA player you don’t need 11’x24"x4". Consider 10’6"x23"x3 1/2", or 10’x23"x3". Think about the kinds of waves near you and how you like to surf them. With glide comes great responsibility!