I don’t like shaping through the glue lines when you lay up panels horizontally.
We used to glue up a 1" piece of EPS under a 2" or 1.5" piece and either shape the board and cover the foam with wood veneer, or bend the rocker in with a vacuum setup then shape it. I don’t have the vacuum setup at my house, so I usually do that with my brother at his house. When we do this style of board now, we add a perimeter rail about 1" wide, so we don’t cut through the glue line. We also add a thin wood layer between the 2 pieces to create a “springer”, but with the wood rails it’s pretty stiff.
I was able to get some thicker foam 6" EPS and 4" XPS and they work out well when you cut the rocker slices. You only have 4 or 5 sections. 1" or 2" thick foam would require a lot of gluing. The cost per blank came out to about $5.
I now have a stash of 3" x 24" x 8’ slabs so I’ve been hacking out boards from those. It’s a bit more wasteful, but when I get in the mood, I can shape a board in a couple of hours, and not have to cut rockers then wait a day for the glue to cure. This foam normally costs more than EPS, but I got it from a guy who had it sitting around for a long time and wanted to get rid of it. It wasn’t in great shape, but it was a great price.
Adding weights when I laminate the bottom will increase the rocker. I can shape and laminate a board in one weekend this way, then the following weekend sand it and finish it.
You can see how I did the last one here. Had heart surgery before I could finish this one. Just needs a good sanding and finish coat, but I’m not in any hurry now.
I did a “strips of foam” blank out of 50mm (2") insulation foam as a throwaway (well my wife will do some art on it and then it’ll end up on a wall or trashcan).
Lesson 1: Cut the bottom rocker while the foam is attached to the billet because the foam strips are floppy as hell once they are cut from the billet. Then cut the top rocker to separate the foam strip from the billet. Be generous with excess on top rocker. I did it the other way and you can see the wobbles in the bottom rocker where the foam strips moved while being cut. And it looks as though I’ve already done a pass to clean up the rocker so you know it was pretty bad.
I can’t remember what the above pic is about. The nose cutout is from the bottom deck cut. The tape is to hold the vaccuum on my machine suckers because the foam is super porous and the vac lets go otherwise. If you weight this stuff down on racks be sure to weight over the supports because the blank is so floppy it distorts with heavy breaths. Put a stringer of some sort in or use a rockered bed for support.
The catastrophe with rails taped on. The rail material is more 1lb insulation foam. Limp as a noodle.
This is a dry run of a two foam composite. Tricky putting a blank on and off the machine and getting it all accurate, hence the dry run. The big canyon in the tail is the result of brain malfunction. The wobble in the rail a result of board shifting sideways on supports.
This “board” suffered many more failures in the course of its construction. It ended up about 2" thick and scarred. Microballons in its future.
I used an EPS modelling glue that wire cuts and machines OK. But the glue is still an issue when sanding down. The soft foam disappears, leaving ridges where the glue is. Best option in my mind is to keep glue away from the surface (don’t spread it but use a line down the centre of the pieces). Still looking for a decent (foaming/colourless) glue to use with EPS. Coloured foaming glue seeps into the eps leaving an ugly blurred glue line and I’ve not had much success with sanding down epoxy microballoons joins either.
In Honolulu, the EPS foam at Lowes and Home Deopot are different. Lowes foam is very soft and Home Depot foam is soft. I think Home Depot EPS is about 1lb. I have shaped the Lowes stuff but it is very soft. We were doing the horizontal slabs back then, so the glue lines were along the rails, and at the nose and tail. We covered this foam with 1/8" balsa, so it had a strong skin but it was noticeably flexier. I think I only did a few, but my between my brother and I, we probably made about a dozen. I don’t like working with the Lowes type of foam.
We still use Home Depot foam, but I had a pretty good stash of left over 2lb EPS from a construction company. I like working with 2lb. EPS block foam because you can glass it without a veneer skin and it will hold up OK, plus it’s dirt cheap. I have not been very successful at cutting the strips clean so I cut them out thicker than I need and then true them up after they are glued up. They often look like crap before I start shaping, and it can be a lot of work just to get them trued up.
When I look at all those 2" strips, I think the glue is adding a lot of weight. Better to bend in the rocker with a rocker table (or board). If you look back at the photos from Jamessamaha, you see the shot where he has a board as the rocker table. You can do that with a piece of 2" foam that has the outline cut out. Then bend the foam around the board and make a set of wood rails using the rocker. Don’t thin out the slab, keep it all the same thickness. Once you glue the rails onto the foam with the board as the rocker table, it will hold the rocker. Keep the cut offs and use them around the wood as the outer part of the rail. You can do it all at the same time, but I usually add the outer rails later. Be careful when you wrap them around the board or they will snap. I start at the middle and slowly work out to the ends.
Once the blank is all glued up, you just cut out the profile. Go slow with the planer and it will cut clean.
One day you’ll get a Marko or other brand EPS surfboard blank, and you’ll realize how much better the right stuff is. If you’re making compsand boards with veneer skins, the light foam core makes super light finished boards. If you plan of just glassing it, it may not be hard enough. I had lots of pressure dents on a 2lb EPS board that had 3 layers of glass on the deck after my first day of surfing.
We can bend 2" EPS foam with a 1" EPS foam sheet under that no problem. My brother built a rocker table about 2 inches thick with the bottom rocker on both sides, so we bend the 2 sheets with the top side against the rocker table and glue on the bottom skins and the internal springer first. Then we cut the outline and add the first section of perimeter rail. The keeps the rocker intact, and we can store the blanks for future use. My brother did 5 blanks like that and has 4 stored away. I shaped one earlier this year. Once the top is done, we can use the opposite side of the rocker table to lam the top skin on, but we don’t have to with the rails holding the rocker.
My brother Oneula has posted shots of that here.
The bad thing about the horizontal slabs is that you will have that scarf line where you can get a really bad tear. We put the 1" on the bottom to try to avoid that as much as possible, but we also use a wood perimeter rail then add about an inch more around that. That pretty much keeps cutting into the glue to a minimum. We also skin the blanks with wood veneer to hide any ugly spots where we may have done some filling.
When I do rocker slices the glue lines don’t seem to be as much trouble except along the rail. There will be at least 2 in the nose and 2 in the tail that you have to be very careful working on.
since you’re giving away all our trade secrets (joke)
you forgot to mention the whole woven bamboo mat/glass springer process…
especially when we anchor the fin boxes into it
also the technique of shaping the bottom contour into the virgin bottom sheet while its still flat on a table for stability or pressing the bottom contour in with a contour map during glueup in the vacuum bag
and if you are good you can just use shrink wrap to hold everything together till the glue up drys.
Most important thing is to have a smarter younger brother to do all the work, and catch mistakes before they happen. Older brother just bosses the younger one around. 4 hands are always better than 2, but 2 heads don’t always work well.
Using insulation foam is OK if you have no other choice, and it works well with wood veneers like 1/8" balsa. The thin 1/64" veneers are a bit too thin, so you need more glass. I don’t recommend insulation foam for non veneered boards if you can’t get at least 1.5 lb. Getting a propper blank from Marko or another manufacturer will be a lot easier to get a higher quality end product.
It takes many years to become a true sushi chef, so I guess it’s just like making sushi. Not that easy to just jump into and get good results.
It is possible (at least on the mainland) to special order heavier density blocks of EPS through Home Depot. The trick is finding someone in the contractor's department who knows what's going on. I grabbed an insulation panel from the rack and showed the guy the name and address of the company through which the order could be placed. There were also density codes listed on the plastic sheeting that coated the panel.
Once he called and agreed that the foam company could provide a block in the density I wanted, it went pretty smoothly. When it arrived, they asked if I was building an airplane. HAHA
My block had some sections where the beads weren't fused very tight. It would be worthwhile for anybody who special orders a block to specify "Tightly fused beads." Insulfoam should know how to do it but don't expect a miracle. Their main business is not surfboard blanks.
All that said, with the surfboard-specific super-fused foams available, it really doesn't make much sense to cut your own from a lesser quality block unless. It was interesting to see the home made innovations that took place after Clark shut down but there are plenty of good blanks out there in EPS and urethane foam that will make it much easier to get a decent finished product.
John, the company that supplies Home Depot in Hawaii is here on Oahu. They sell blocks as big as 16’ x 4’ x 28" in several densities but they also make a surfboard specific EPS and will cut out a customer’s rocker specs if they have a cadd file. Before they realized there was market for the SUP surfboards, the big blocks were very reasonably priced liked about $500-$600. The last time I checked it was about $2000.
16' X 4' X 28" is a huge block but $2,000 does seem a bit steep on price. Plus, you still have rocker profiles, hot wire bow, proper wire, transformer, etc to contend with.
In any case, unless a person is totally committed to an 'assembled pieces' method of constructing a blank, a cut or molded blank seems to me like a much better way to go. There is very little waste and a good part of the shaping process is done before you even start.
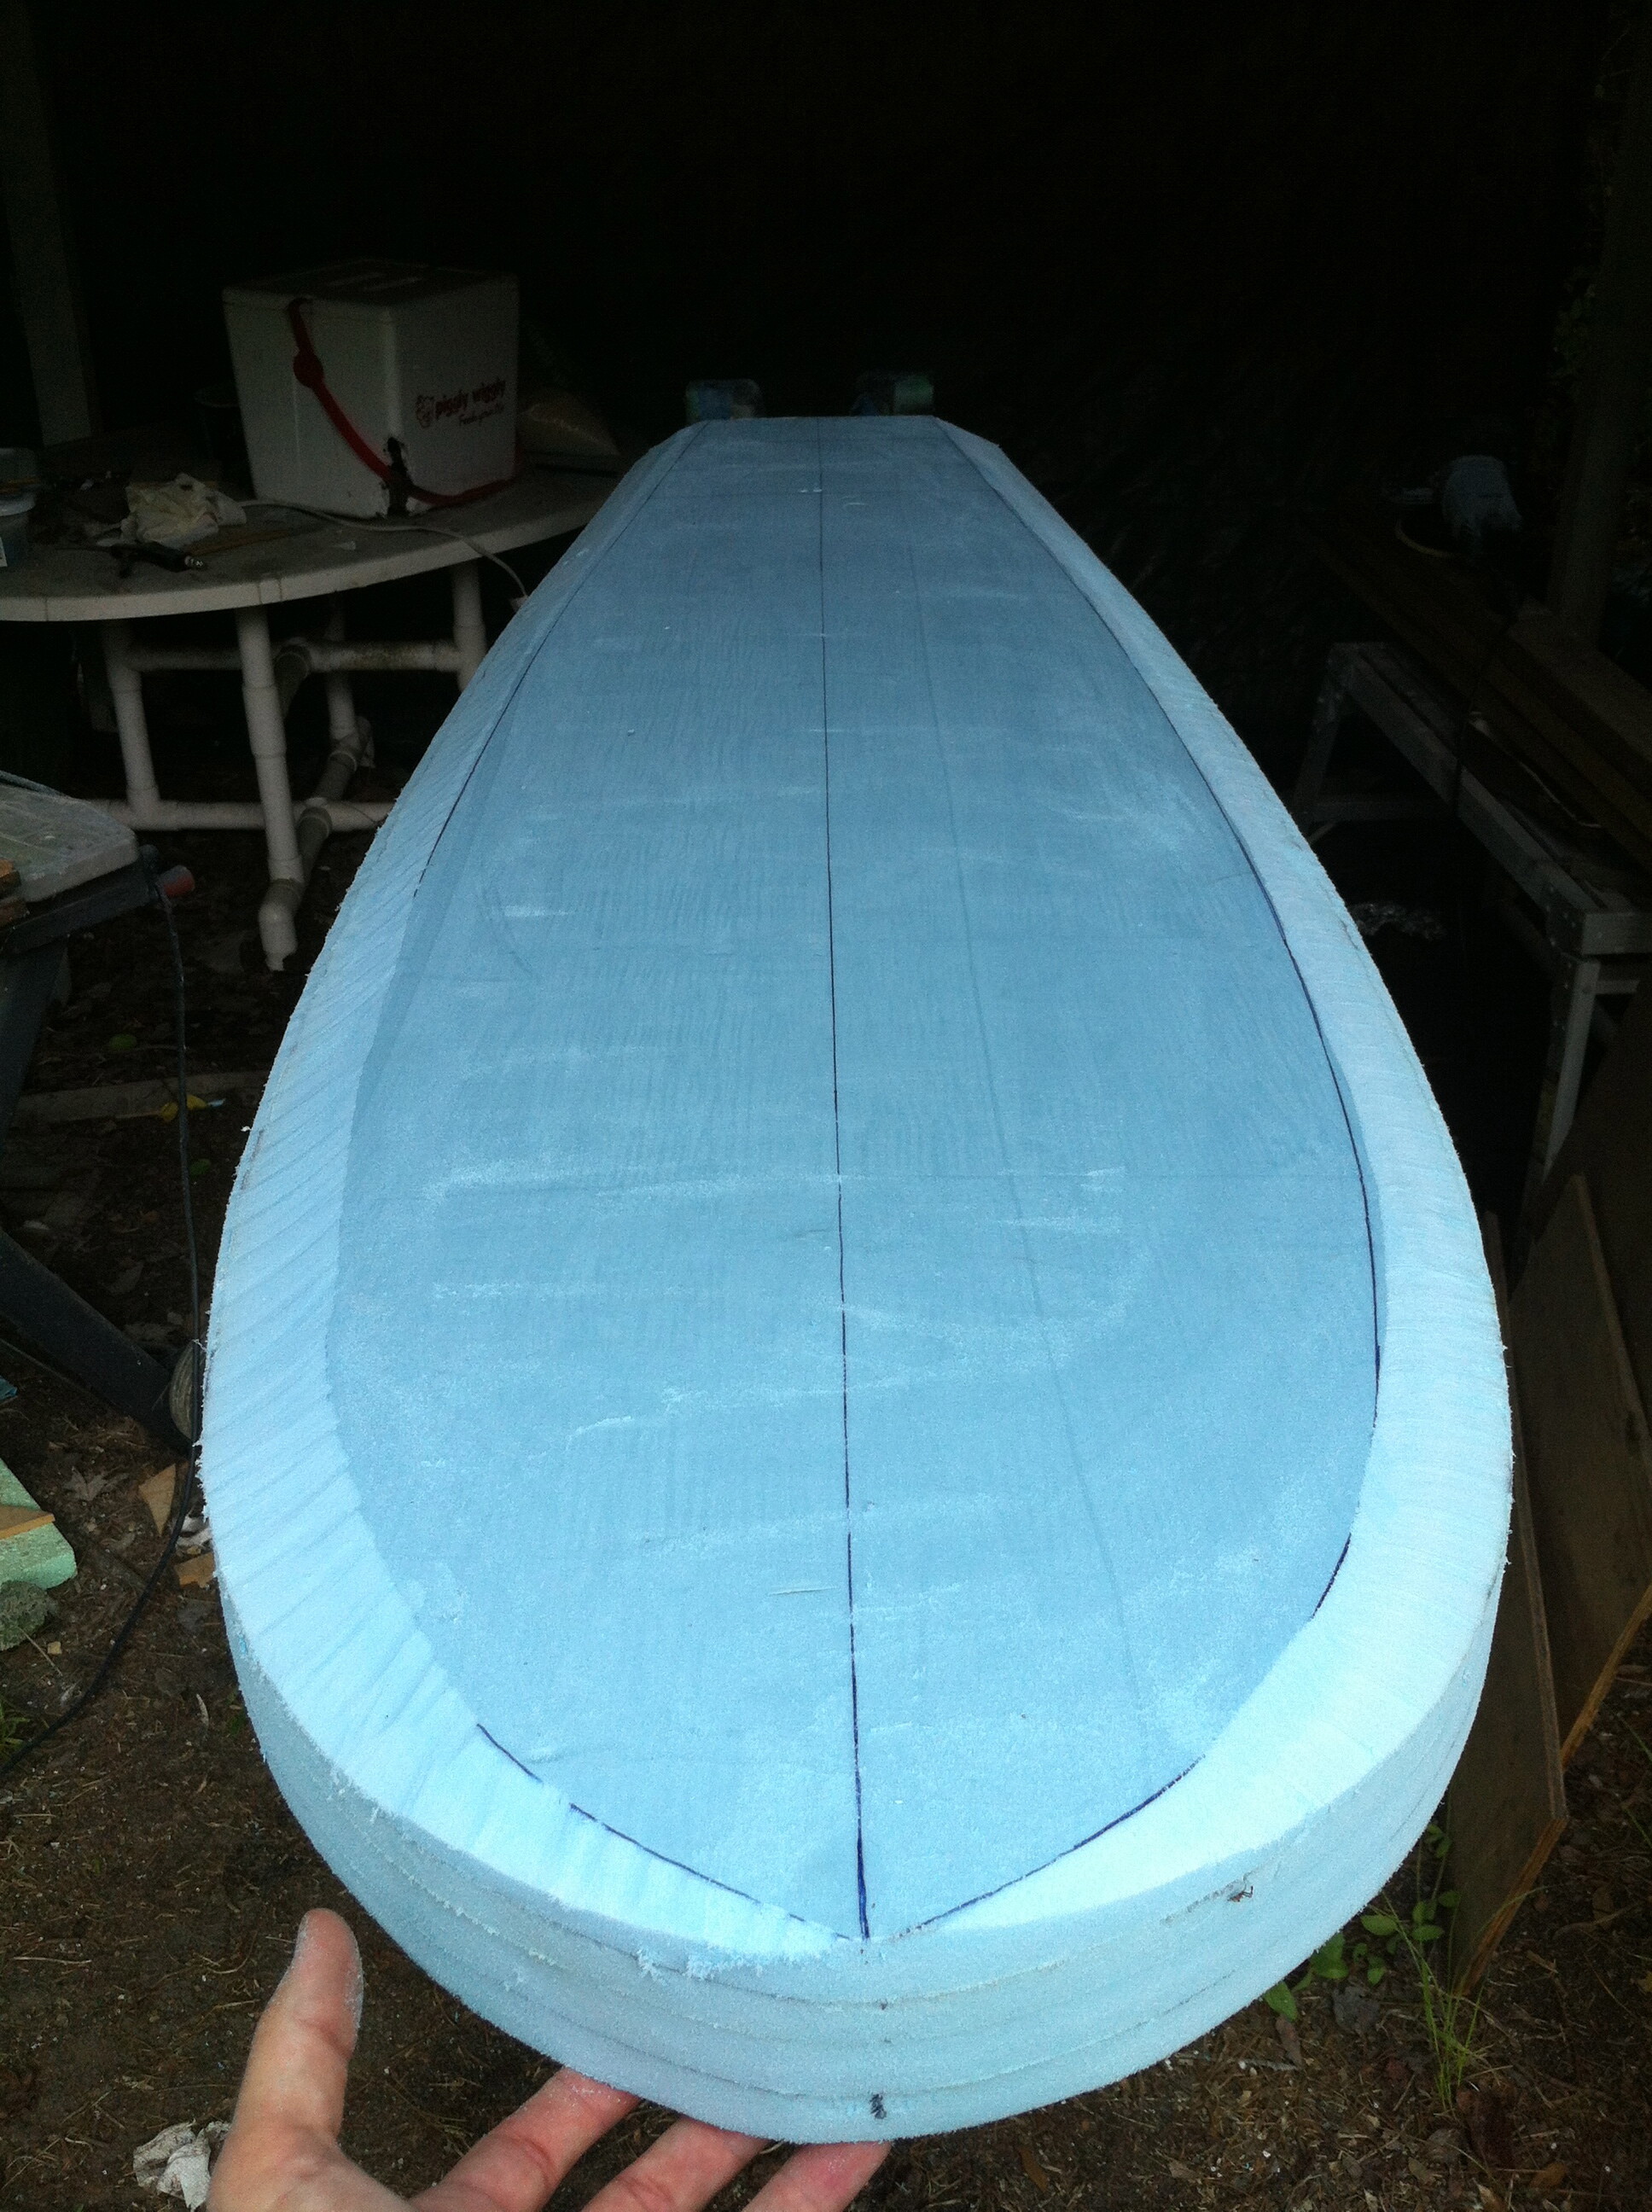
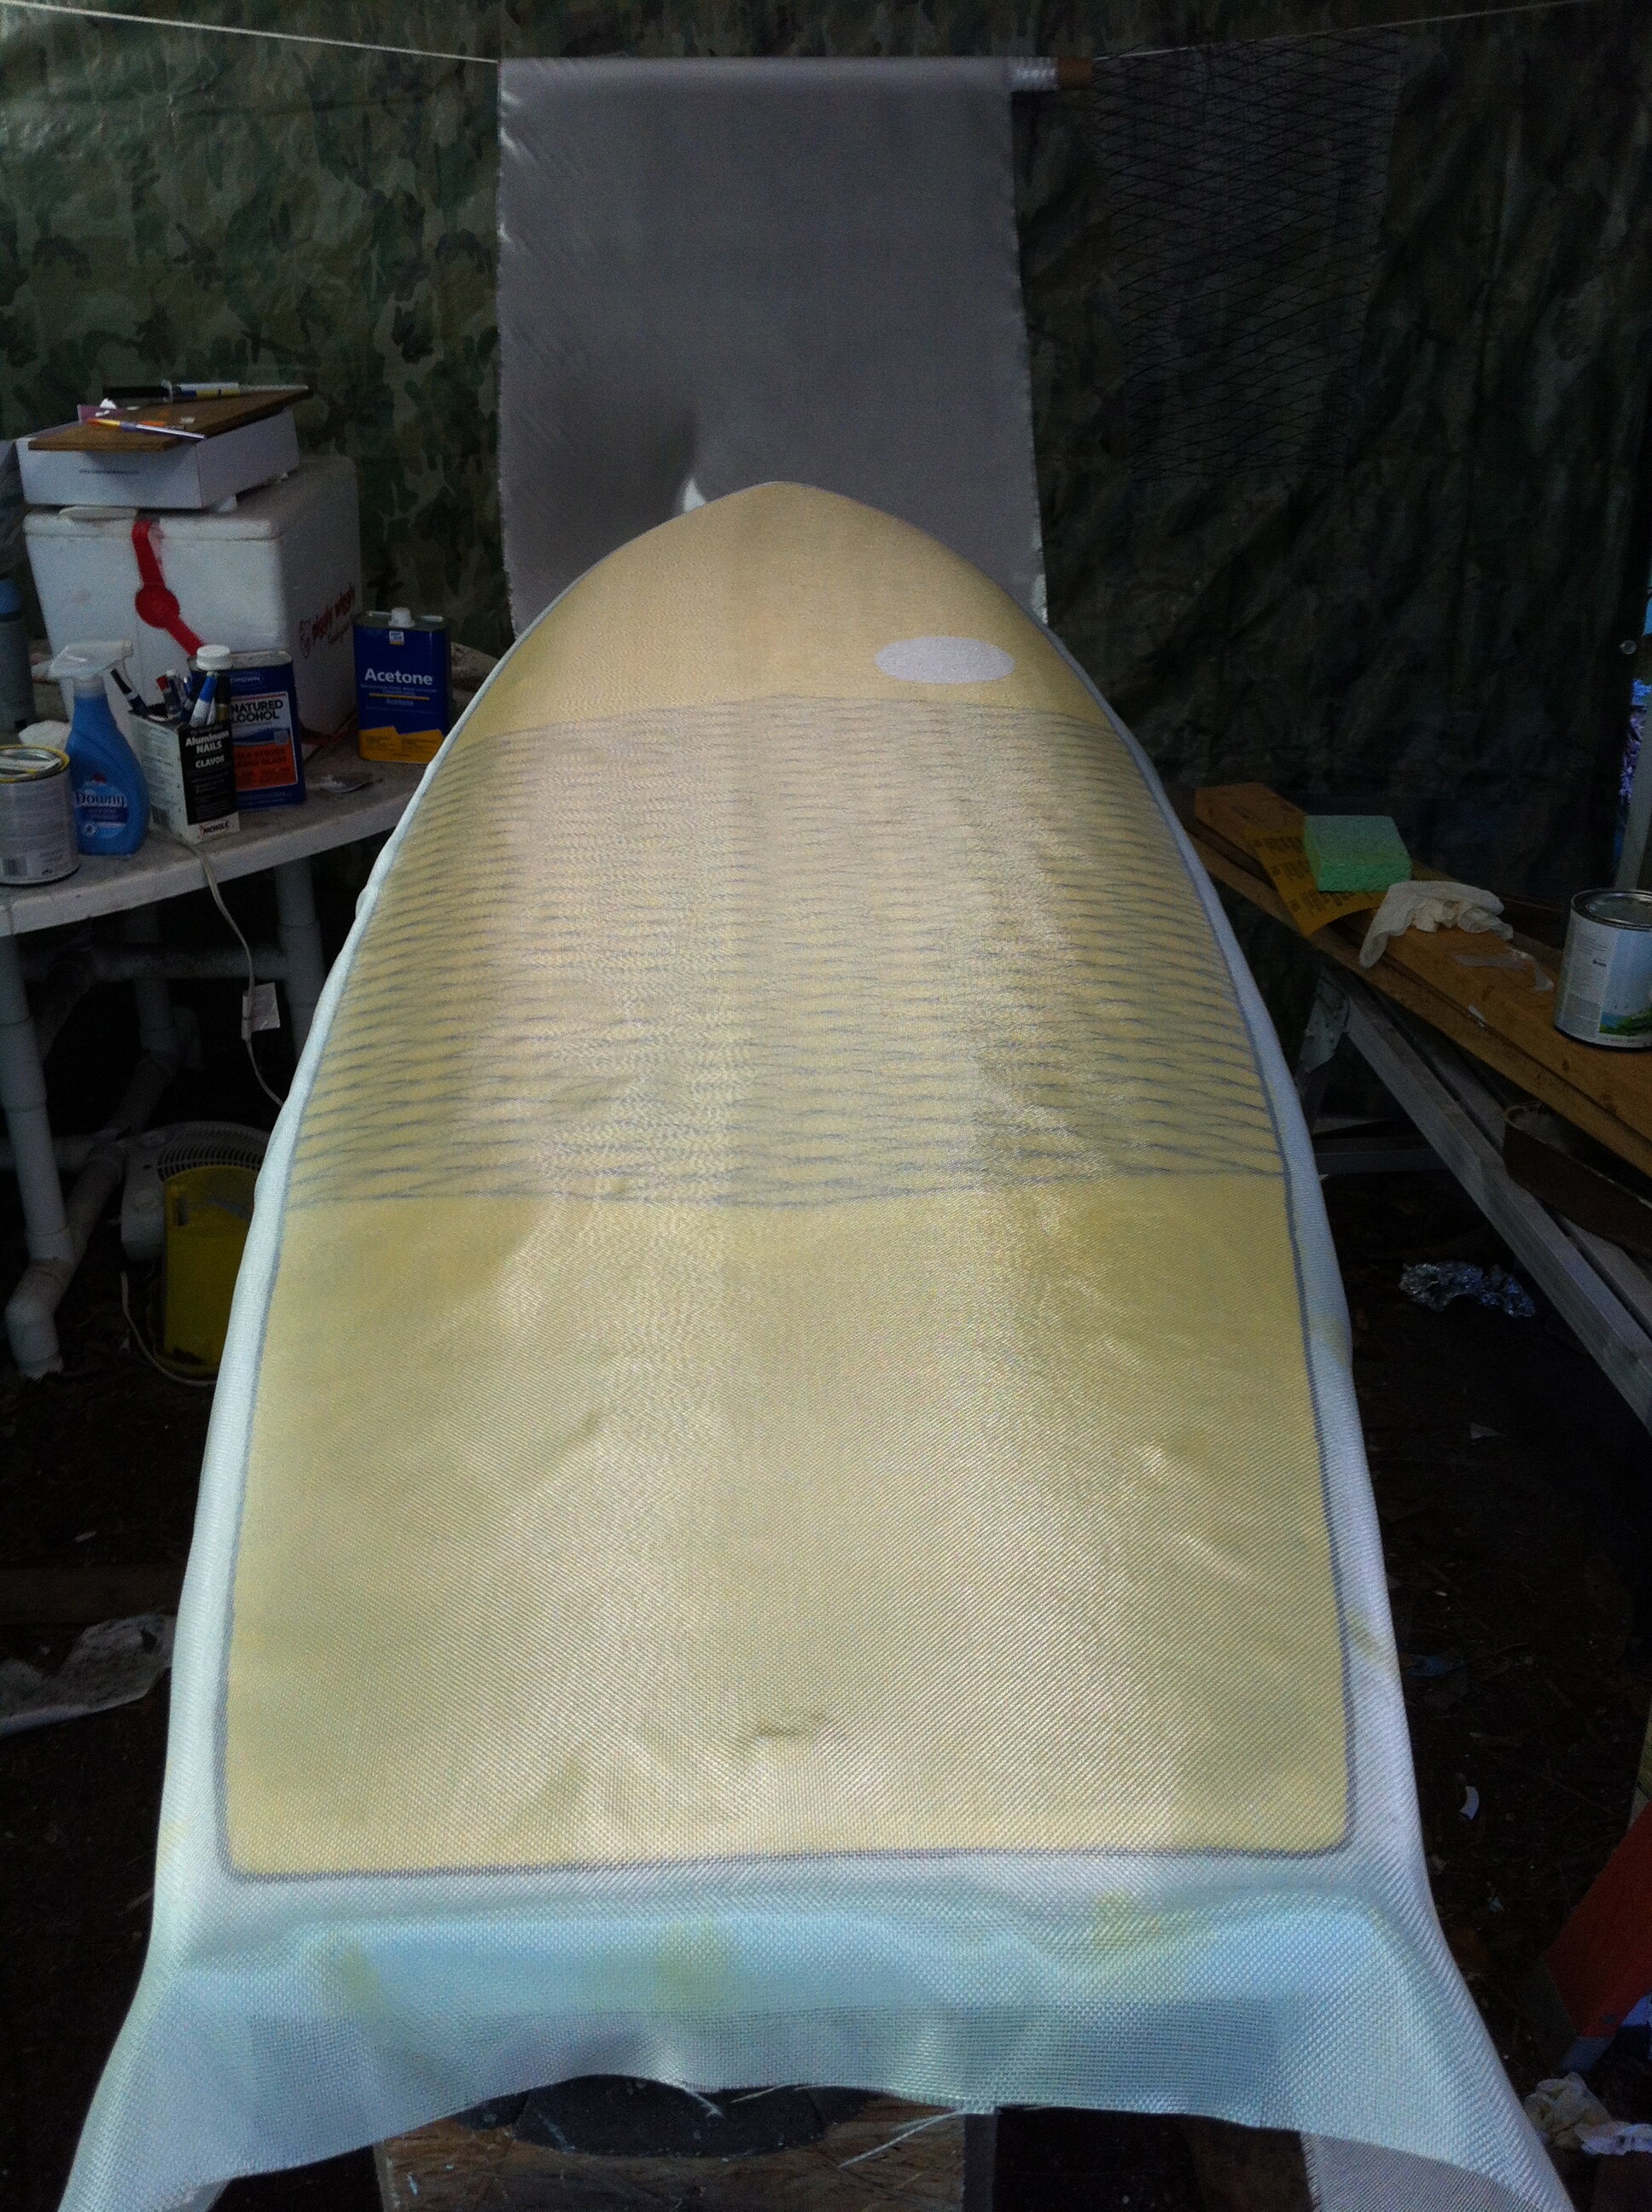
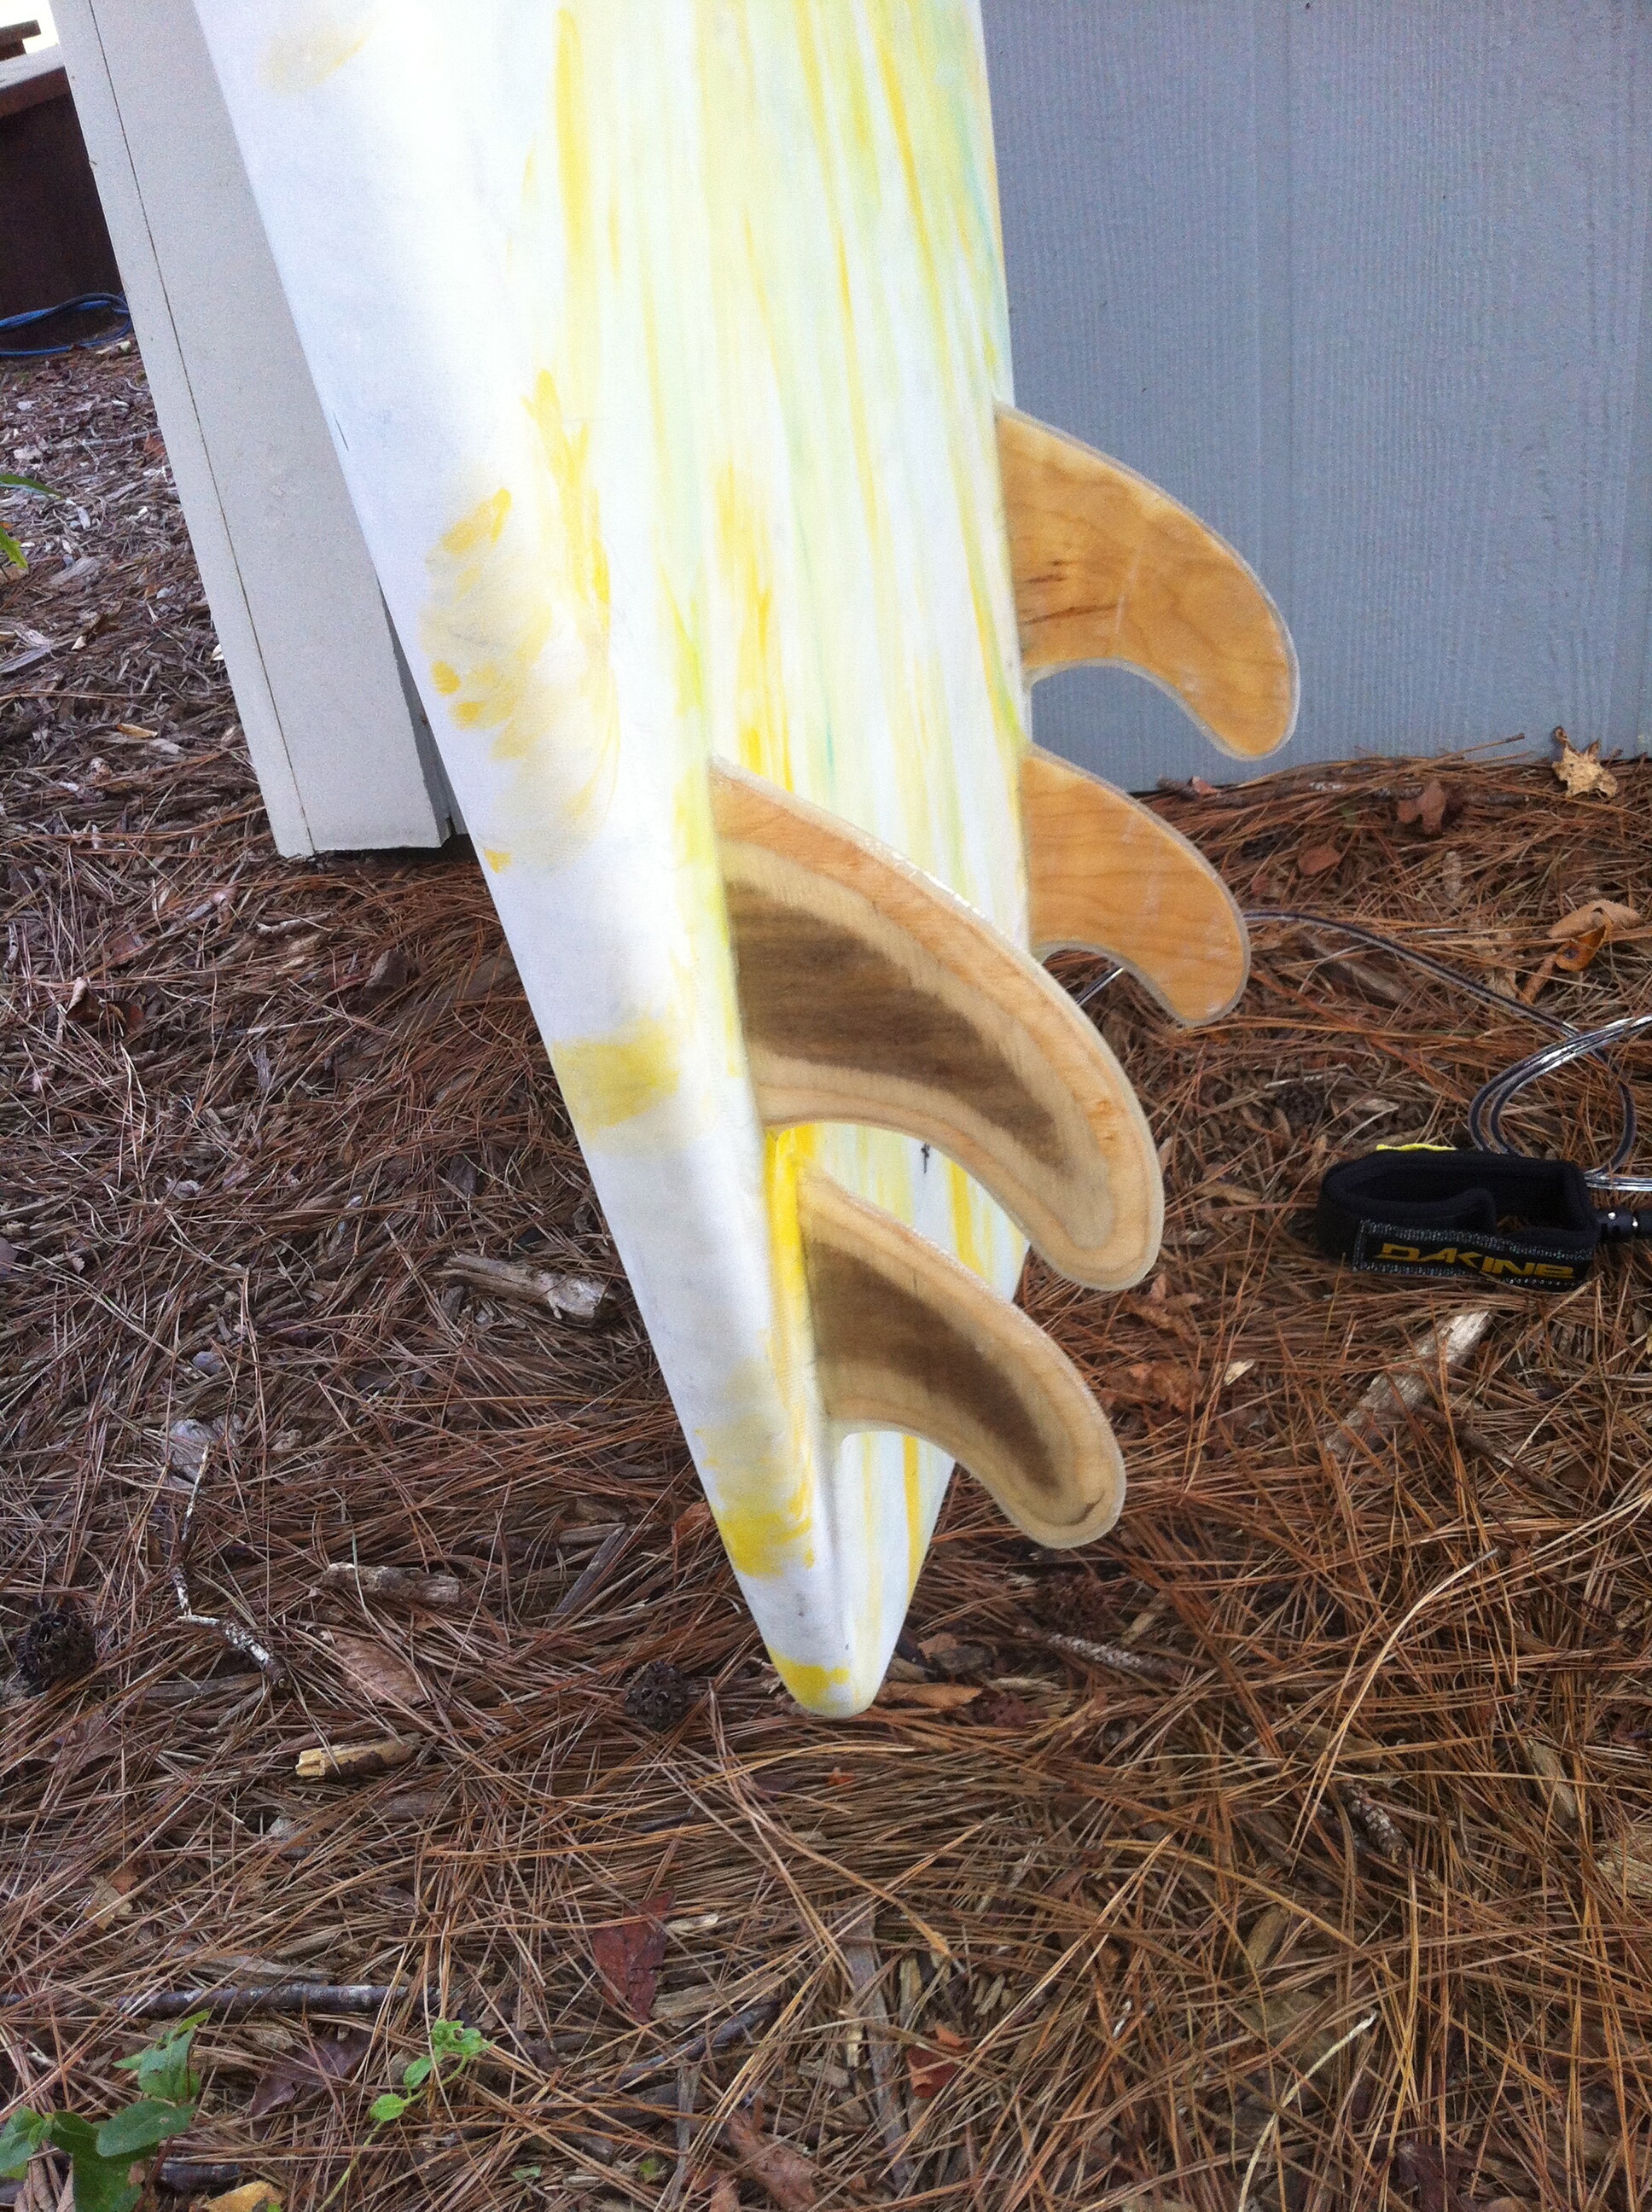
Finally finished my board, I am calling it the “shortbus”…Here are a couple shots of the process and the finished product… It is 6’x22"x3" with a 14" wide tail. More photos and info on my blog: http://www.jamessamaha.blogspot.com/
Finally finished my board, I am calling it the “shortbus”…Here are a couple shots of the process and the finished product… It is 6’x22"x3" with a 14" wide tail. More photos and info on my blog: http://www.jamessamaha.blogspot.com/
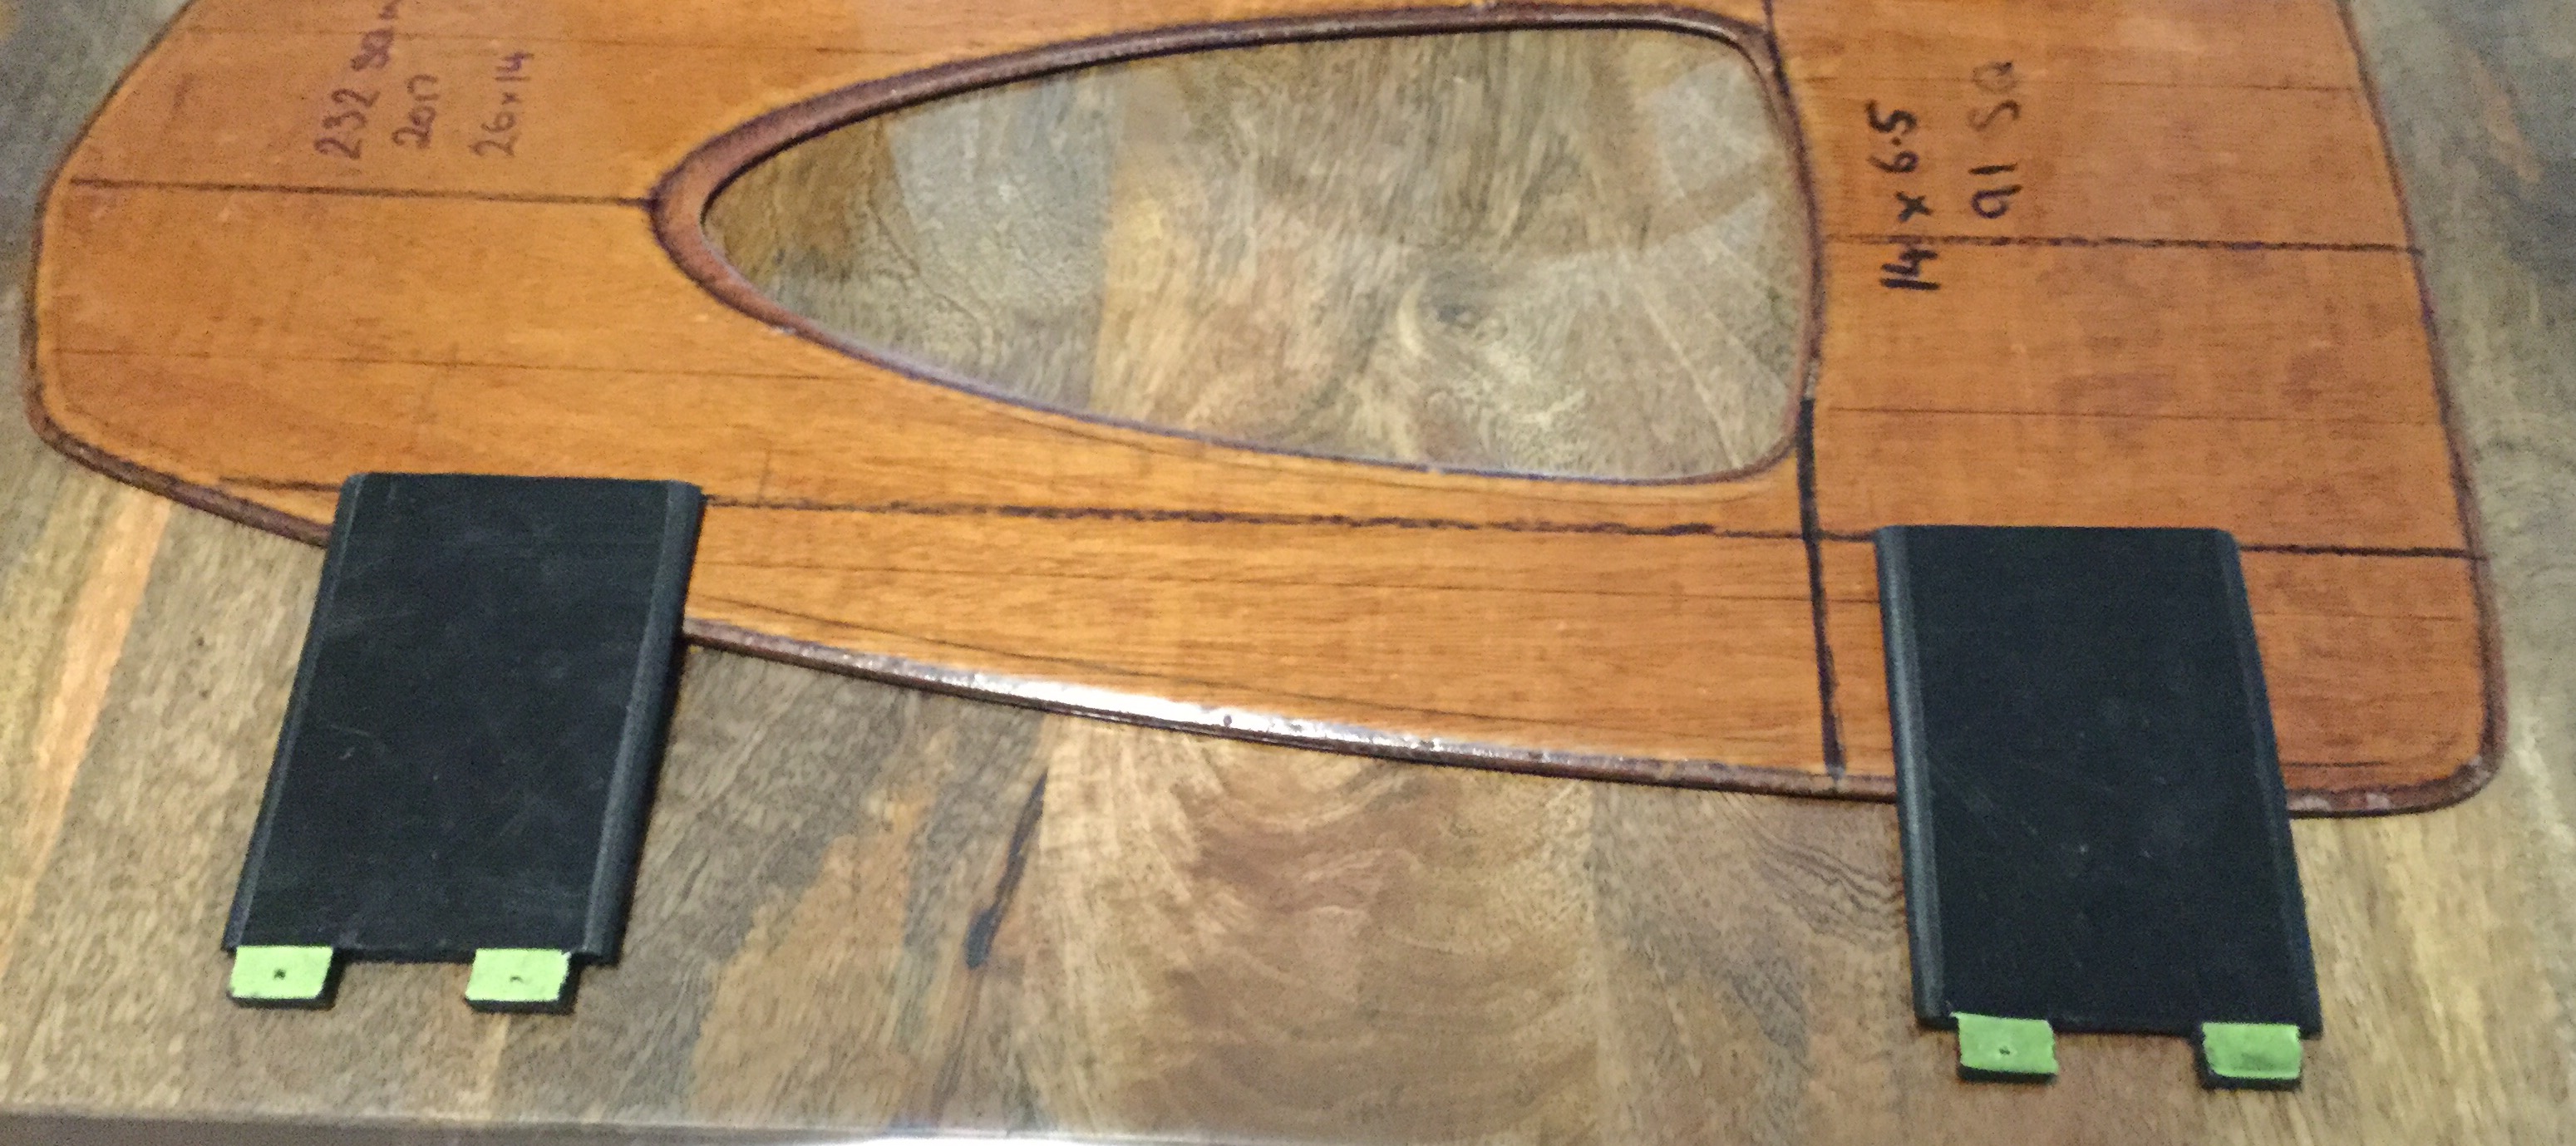
@Hans, Thanks for the advice and the screenshot really helps. The more I look at other fins online the more I see what you are talking about. This board was a huge learning experience, tons of things I will hopefully improve on and get right next time.