6'1" Retro Fish - 1st Board - Shaping and Glassing Questions

Hi there guys,
New to the board building process and currently up s**t creek with the glassing so I’ve a few questions.

For a bit of reference, I have shaped a
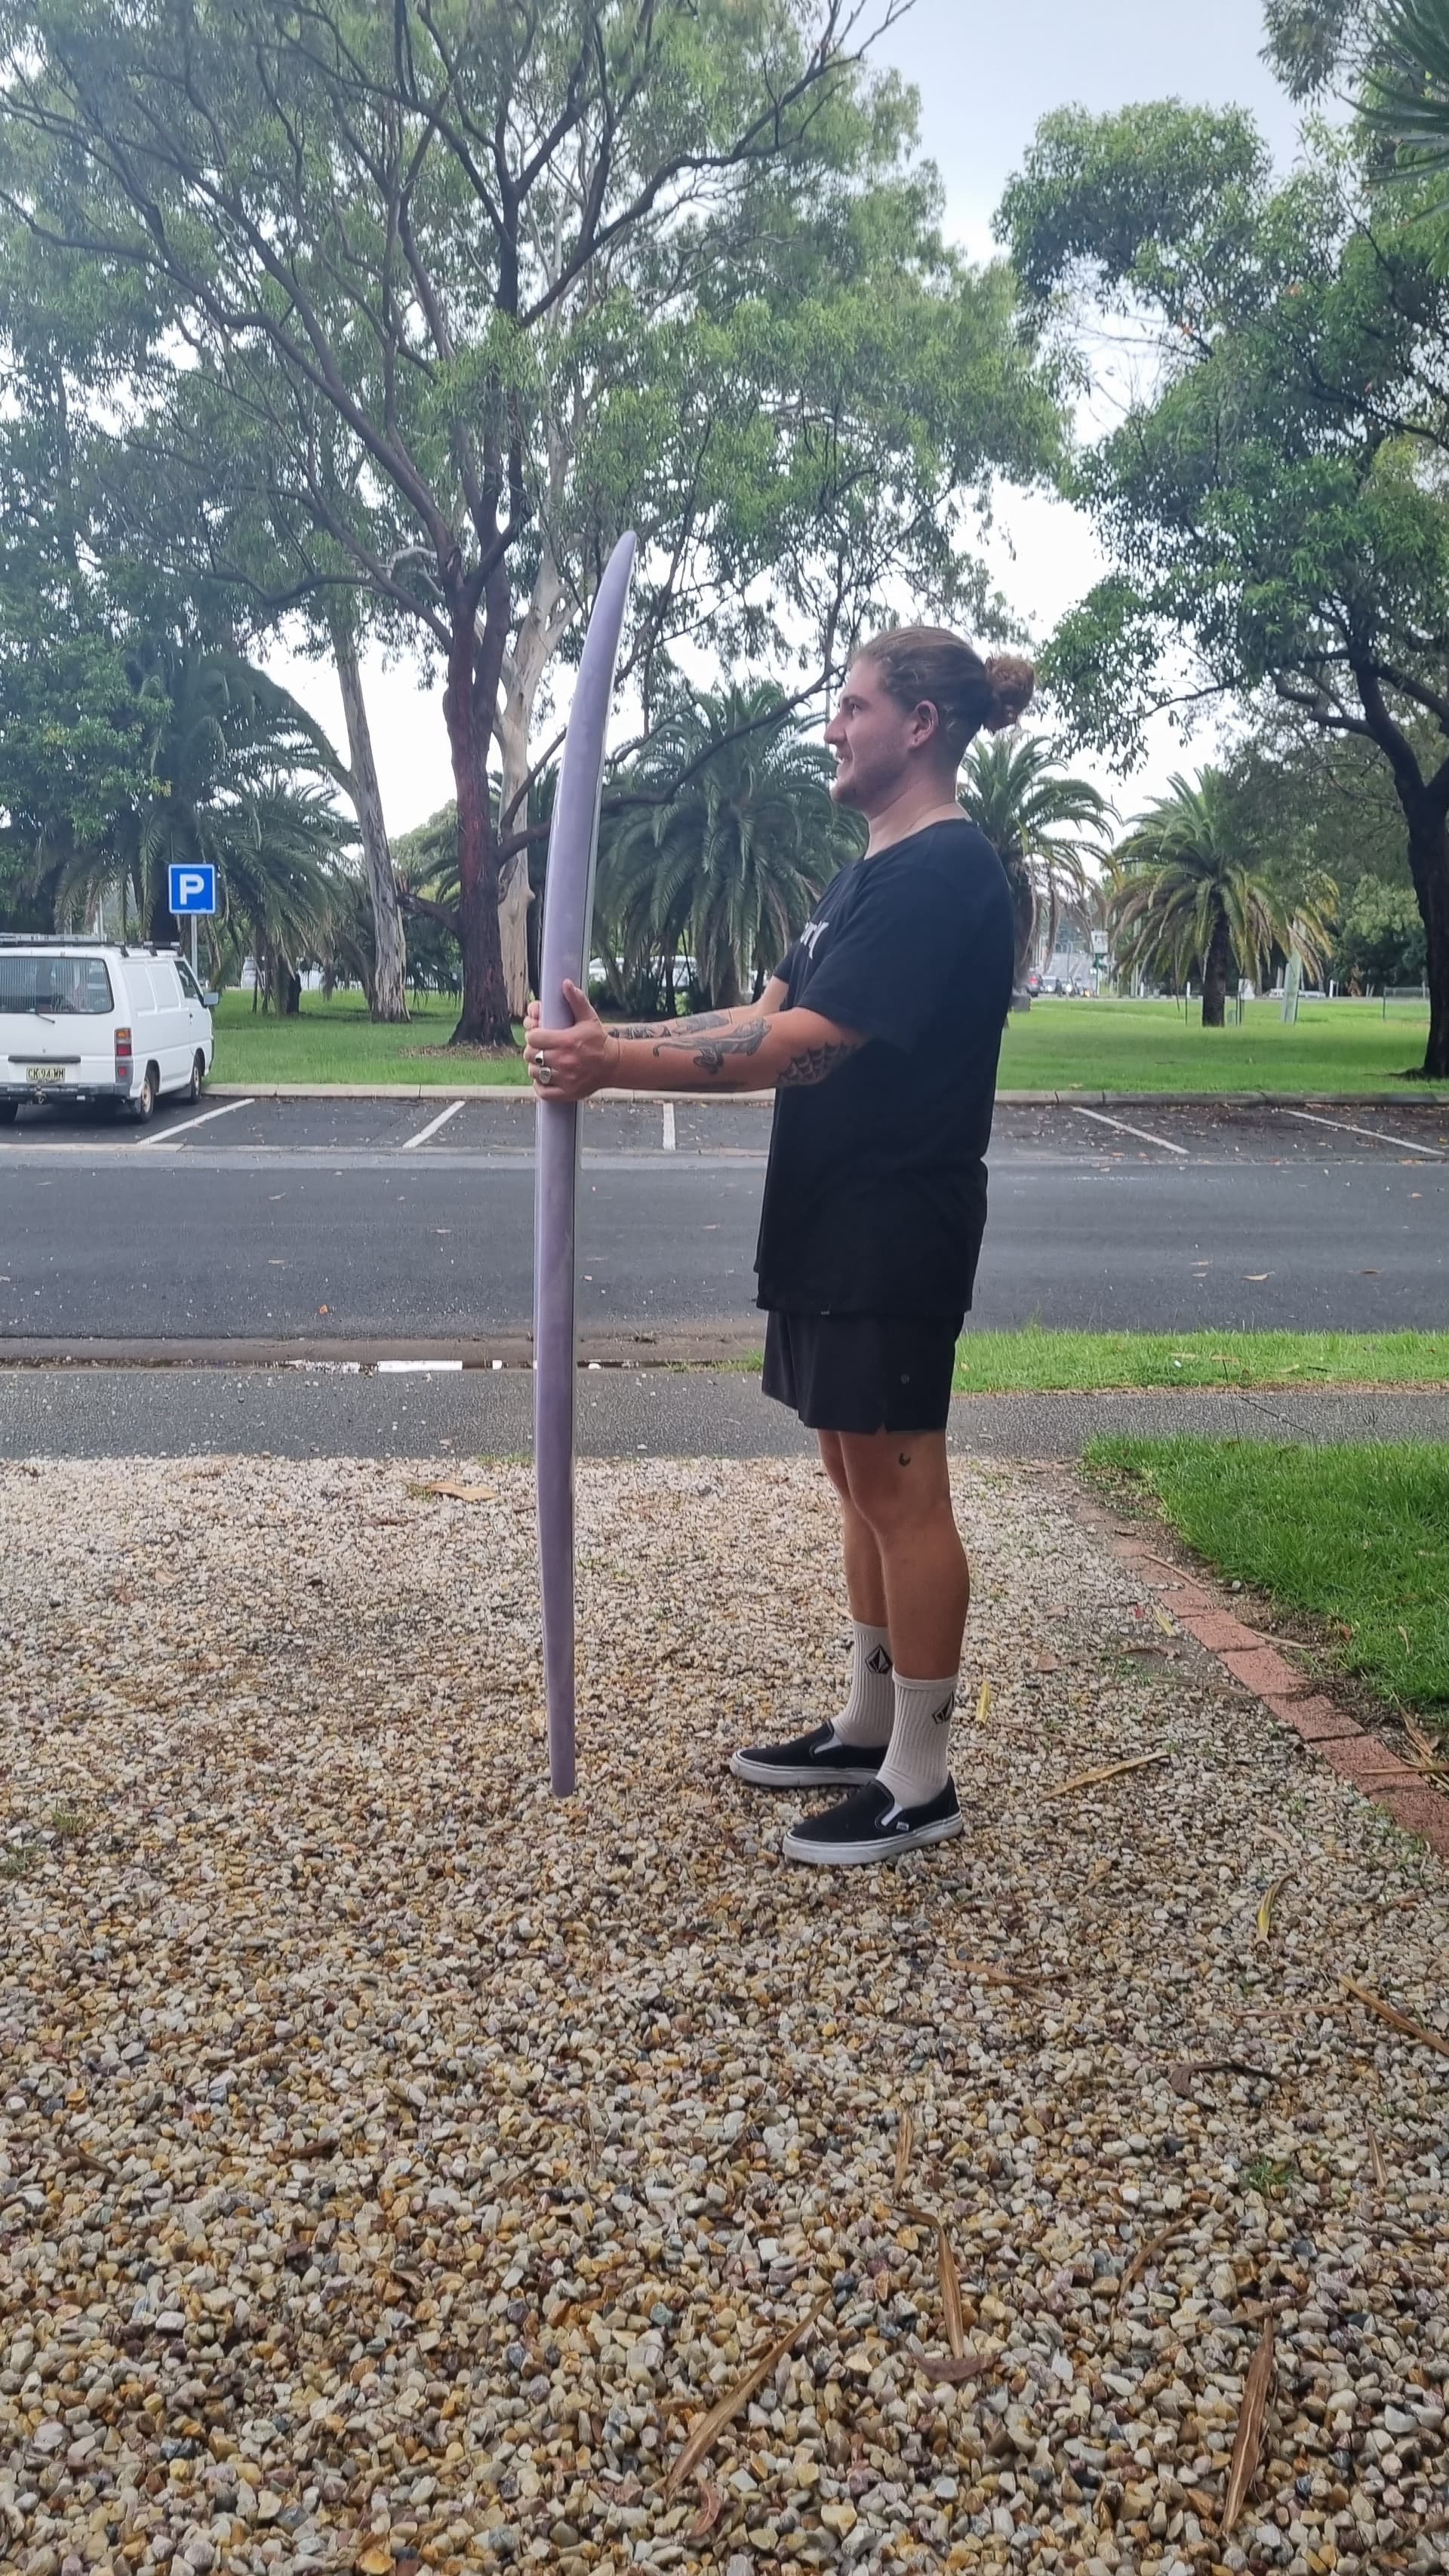
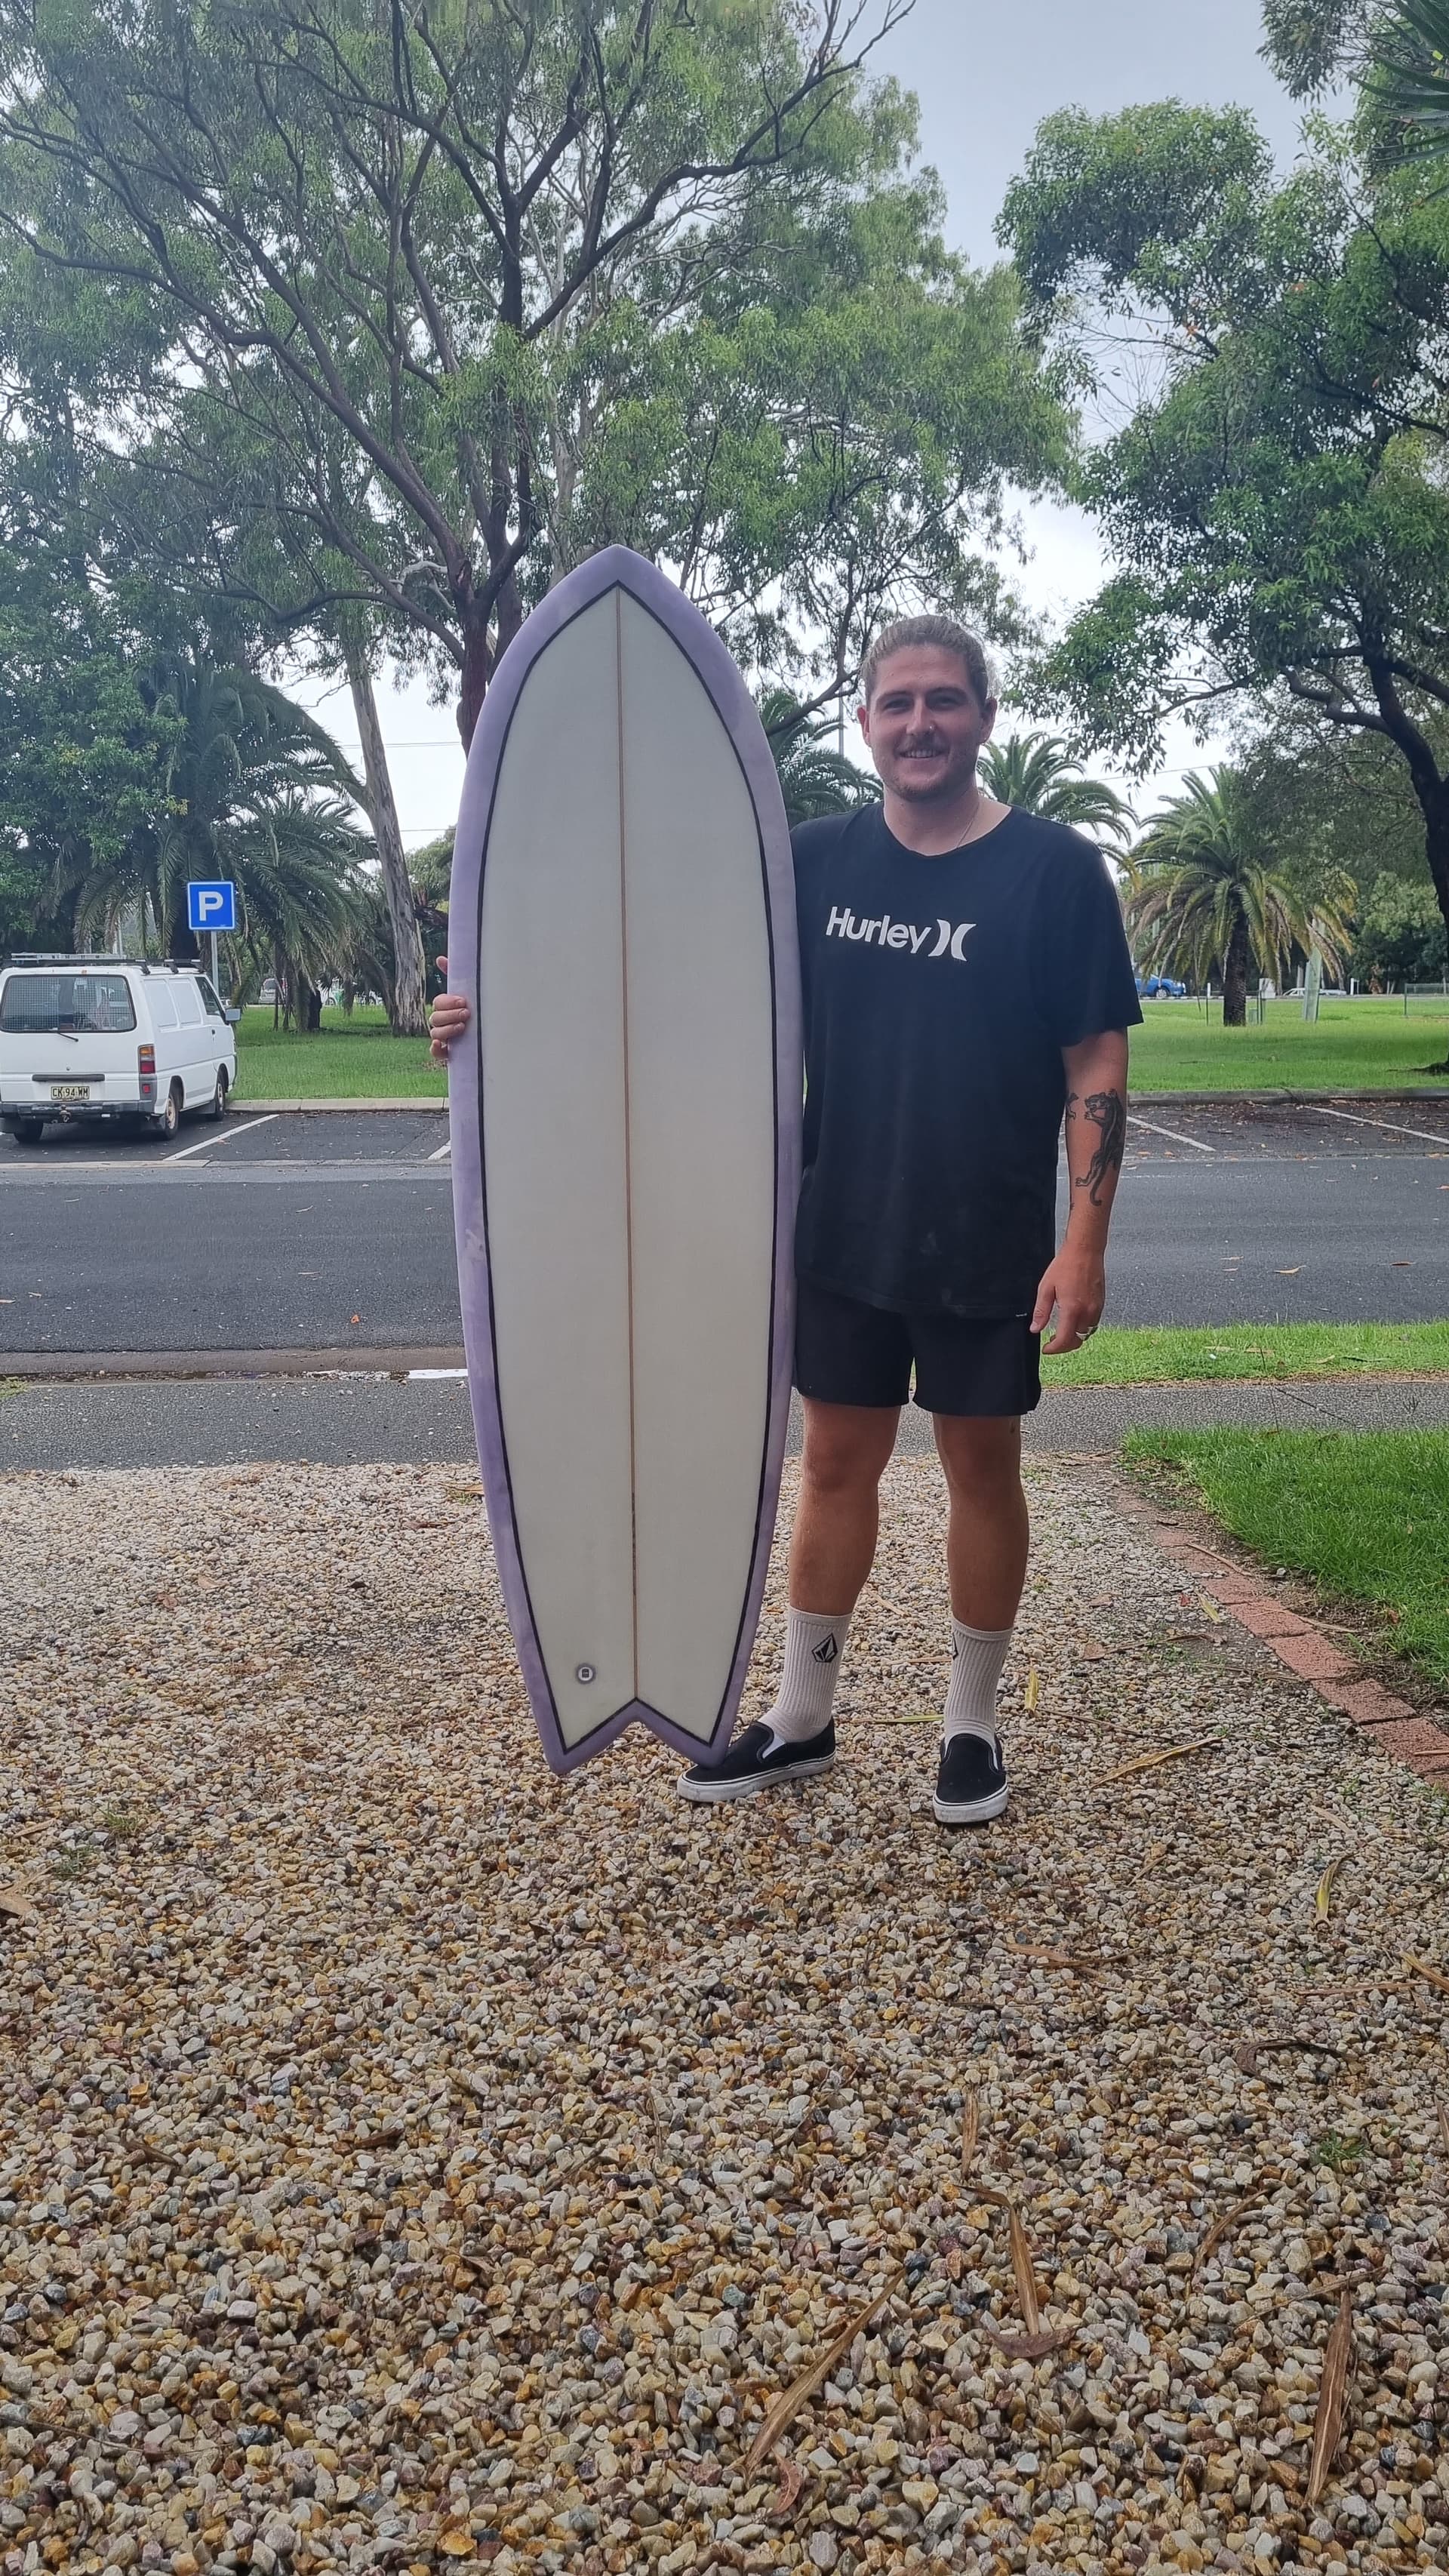
6’1" x 21" x 2 3/4" Retro Fish with swallow tail. The crack of the tail is about 4" deep. Fins poitions 7.5" from tail (swallow tip) 1.5" from the rail and a 1/4" inch toe in.
Using the Shapers Aus Fish building kit, and I’m based on the Gold Coast, Aus. Currently summer temps.

The shaping of the board and setting of the fins went pretty well for a first time… I think.

However the problem starts with the next step.
I have proceeded with the lam of the bottom.
A 4oz cloth, purple and white resin swirl and cutlap. I tape off the deck and flipped the board over, pulled my first sheet of glass, brushed out smooth and did relief cuts. I also added patches over the fins and a patch round the swallow tail crack.

I mixed approx. 800ml Shapers Laminating Resin with 2g Sunbake UV additive. I split this in 2 and added the white and purple tints to each cup respectively and then catalysed with MEKP catalyst at 1% ~ 4g per cup. I mixed well, and then applied the resin, running lines of each colour up and down the board.
I squeeged lightly to start and then applied more pressure. This process was a lot harder than all the youtube videos made it out to be. I persisted and tried to work all the bubbles out, however when it came to lapping the rails, id almost run out of resin, so i quickly whipped up another batch and poured around the rails and did my best at sarurating the cloth to tuck.

Anyway, i didnt work quick enough it all started getting gelified, so i got as much tucked and neatened and popped it in the sun for a couple minutes where it hardened pretty quick.

But what im left with is a bit of a rough cut lap with some bits of cloth not saturated with resin and some slight pooling.

My questions are:
If i sand back the roughest parts of the glassing and patch with a piece of cloth and some resin will this be okay to hot coat and gloss coat overthe top?

I found the catalyst worked very quick, (damn you aussie summer). Can I not add catalyst and just use Sunbake at the ration I have? Whilst working out of sunlight, have a little more time to get the lam right and then proceed to put the board in the sun?

For my filler and gloss coats…
What is the ratio of wax in styrene to resin? Can this be done with UV additive instead of catalyst?
And how much resin should coat one side of a 6’1" board.

Sorry for the War and Peace novel, im just welcome to all the advice.
Thanks guys :call_me_hand:

I’m not qualified to comment on the additives etc as I’ve never used that product. However I have had experience dealing with Shapers, I’ve found the staff awesome with advice etc. Give them a call, I’m sure they’ll be able to help you out. You’ve had some wild weather by the looks of the news!
With regard to quantities, check out the Greenlight table on their website for a guide, it is highly regarded by many (I’m yet to test their qty’s myself but will be soon!). Anything can be fixed it’s just the cosmetic aspect that might be hard to achieve. Keep us posted with progress, I hope it all works out.

1 Like

Hey guys,

Ive managed to fix my first glassing f**k up with a bit of patching and sanding.

Before i lam the deck i want to install my leash plug.

Im regular foot, do i put the leash plug on the right so its the same side as the back foot or on the left so its closer to my heel when i stand?

Thanks for the advice RailwaySurfer, i gave them a ring and they had great advice on the products. The green light table is also perfect :call_me_hand:

1 Like

Glad you got it fixed. They have a great range and great staff, I stop in everytime I’m in Aus do a bit of shopping! Hope the rest goes smoothly. It doesn’t seem to matter where a leash plug is on a board for me, I’ll drag the leash onto the deck and get tangled up regardless!!!

1 Like

Right then, she’s finished!
By board standards as a whole theres a few rough patches, but for a first board I’m pretty proud of myself.
I ended up using mostly UV resin for the board, after the first lam with 1% catalyst really enjoyed the heat of my garage and i felt true panic, along with my entire apartment building smelling like a plastic factory. I thought itd be easier to stick with stuff that i can work with and then kick in the sun. The UV resin worked a treat. I get that its a lottle more brittle than standard MEKP catalysed resin, but eholst i was unsure of techniques and the process as a whole it was great for a first board build.

I sanded back the first cutlap where it hadnt soaked or stuck, patched it with some glass and purple resin to keep the look and went about my deck lam.
Needless to say this went much better than the first, no air bubbles, tucked the rails nice, got a better tuck in the crack of the swallow tail. It gave me a little confidence booster for the rest of the build.

Proceeded with sanding/ filler coat, using uv lam resin + 3% Wax In Styrene. took it to 150grit, and covered the last of the patchy cutlaps with a pin line, which isnt perfect, and in restrospect I should have marked off with a better tape job and maybe even an initial pencil mark.
I finished up with a gloss coat, sanded and polished to 1200 Wet and Dry and then some plastic polish. Got very excited, stuck my Torren Martyn Needessential Twin fins in and Rage leash on, waxed her up and now im waiting for some slightly gentler swell just to get used to the board.

All in all, what an experience to shape and glass a board and one I will love to do again. Cheers :call_me_hand:


Good stuff! Well done overcoming the challenges along the way. All part of the learning. No matter the result it’s always satisfying catching that first wave on a board you’ve shaped yourself!!!

1 Like

Hey @ChefThatKooks, nice write up, oh the woes of glassing. It takes a while to get everything dialed but it is a fun process along the way. The UV cure is a good idea, a little splash to help cure the board quickly.

1 Like

Thanks @AkuShaper , yeah the UV catalyst just gave me a bit of time to really dial in the glassing to ensure there was no air bubbles and rough spots.
Been out on her the last 3 days, amzingly fun, and pretty skippy down the line. But as its my first short board after graduating from my 9’0" longboard I’m sure Ive got some new learning and adjusting to do.
But what a bloody good experience, shaping and glassing your own creation, and then taking it out and it actually work. Cheers gents :call_me_hand:

@ChefThatKooks Aw sweet! That is awesome you got that board out in the water already! Are you going to try and shape that same model again? Make some changes to it, or onto something new?

@AkuShaper I think some thing different maybe a short mini mal around the 7’0" range.
Yeah it was awesome to get it out, we have some big swell on the way to the East Coast of Aus so my kook a*s needs to get some waves in before a few days of watching the big boys at play.

Hahahah yeah right on, get out there! What part of the East Coast, Oz are you in??

How did you come up with the design for the first board? Did you have a template for it already or something?

@AkuShaper I’m on the Gold Coast, so spoilt for choice for waves really. A world away from the home town Manchester, England. Haha.
I actually used your software and one of the available templates, with a bit of adjusting i made the 6’1" Fish and followed all the measurements as i shaped down the blank. I printed the multi page template and taped the pages together and used that to outline the board. So i really appreciate the software, thanks mate :+1:

Oh yeah! Awesome! That is so cool to hear you used AkuShaper for this build, nice. Appreciate you shaping with us! Let me know if you keep going on with AkuShaper, I will turn on some additional features for you to try out! And we just updated the outline printing so that should be coming out soon! Keep an eye out for an announcement from us, cheers!

1 Like