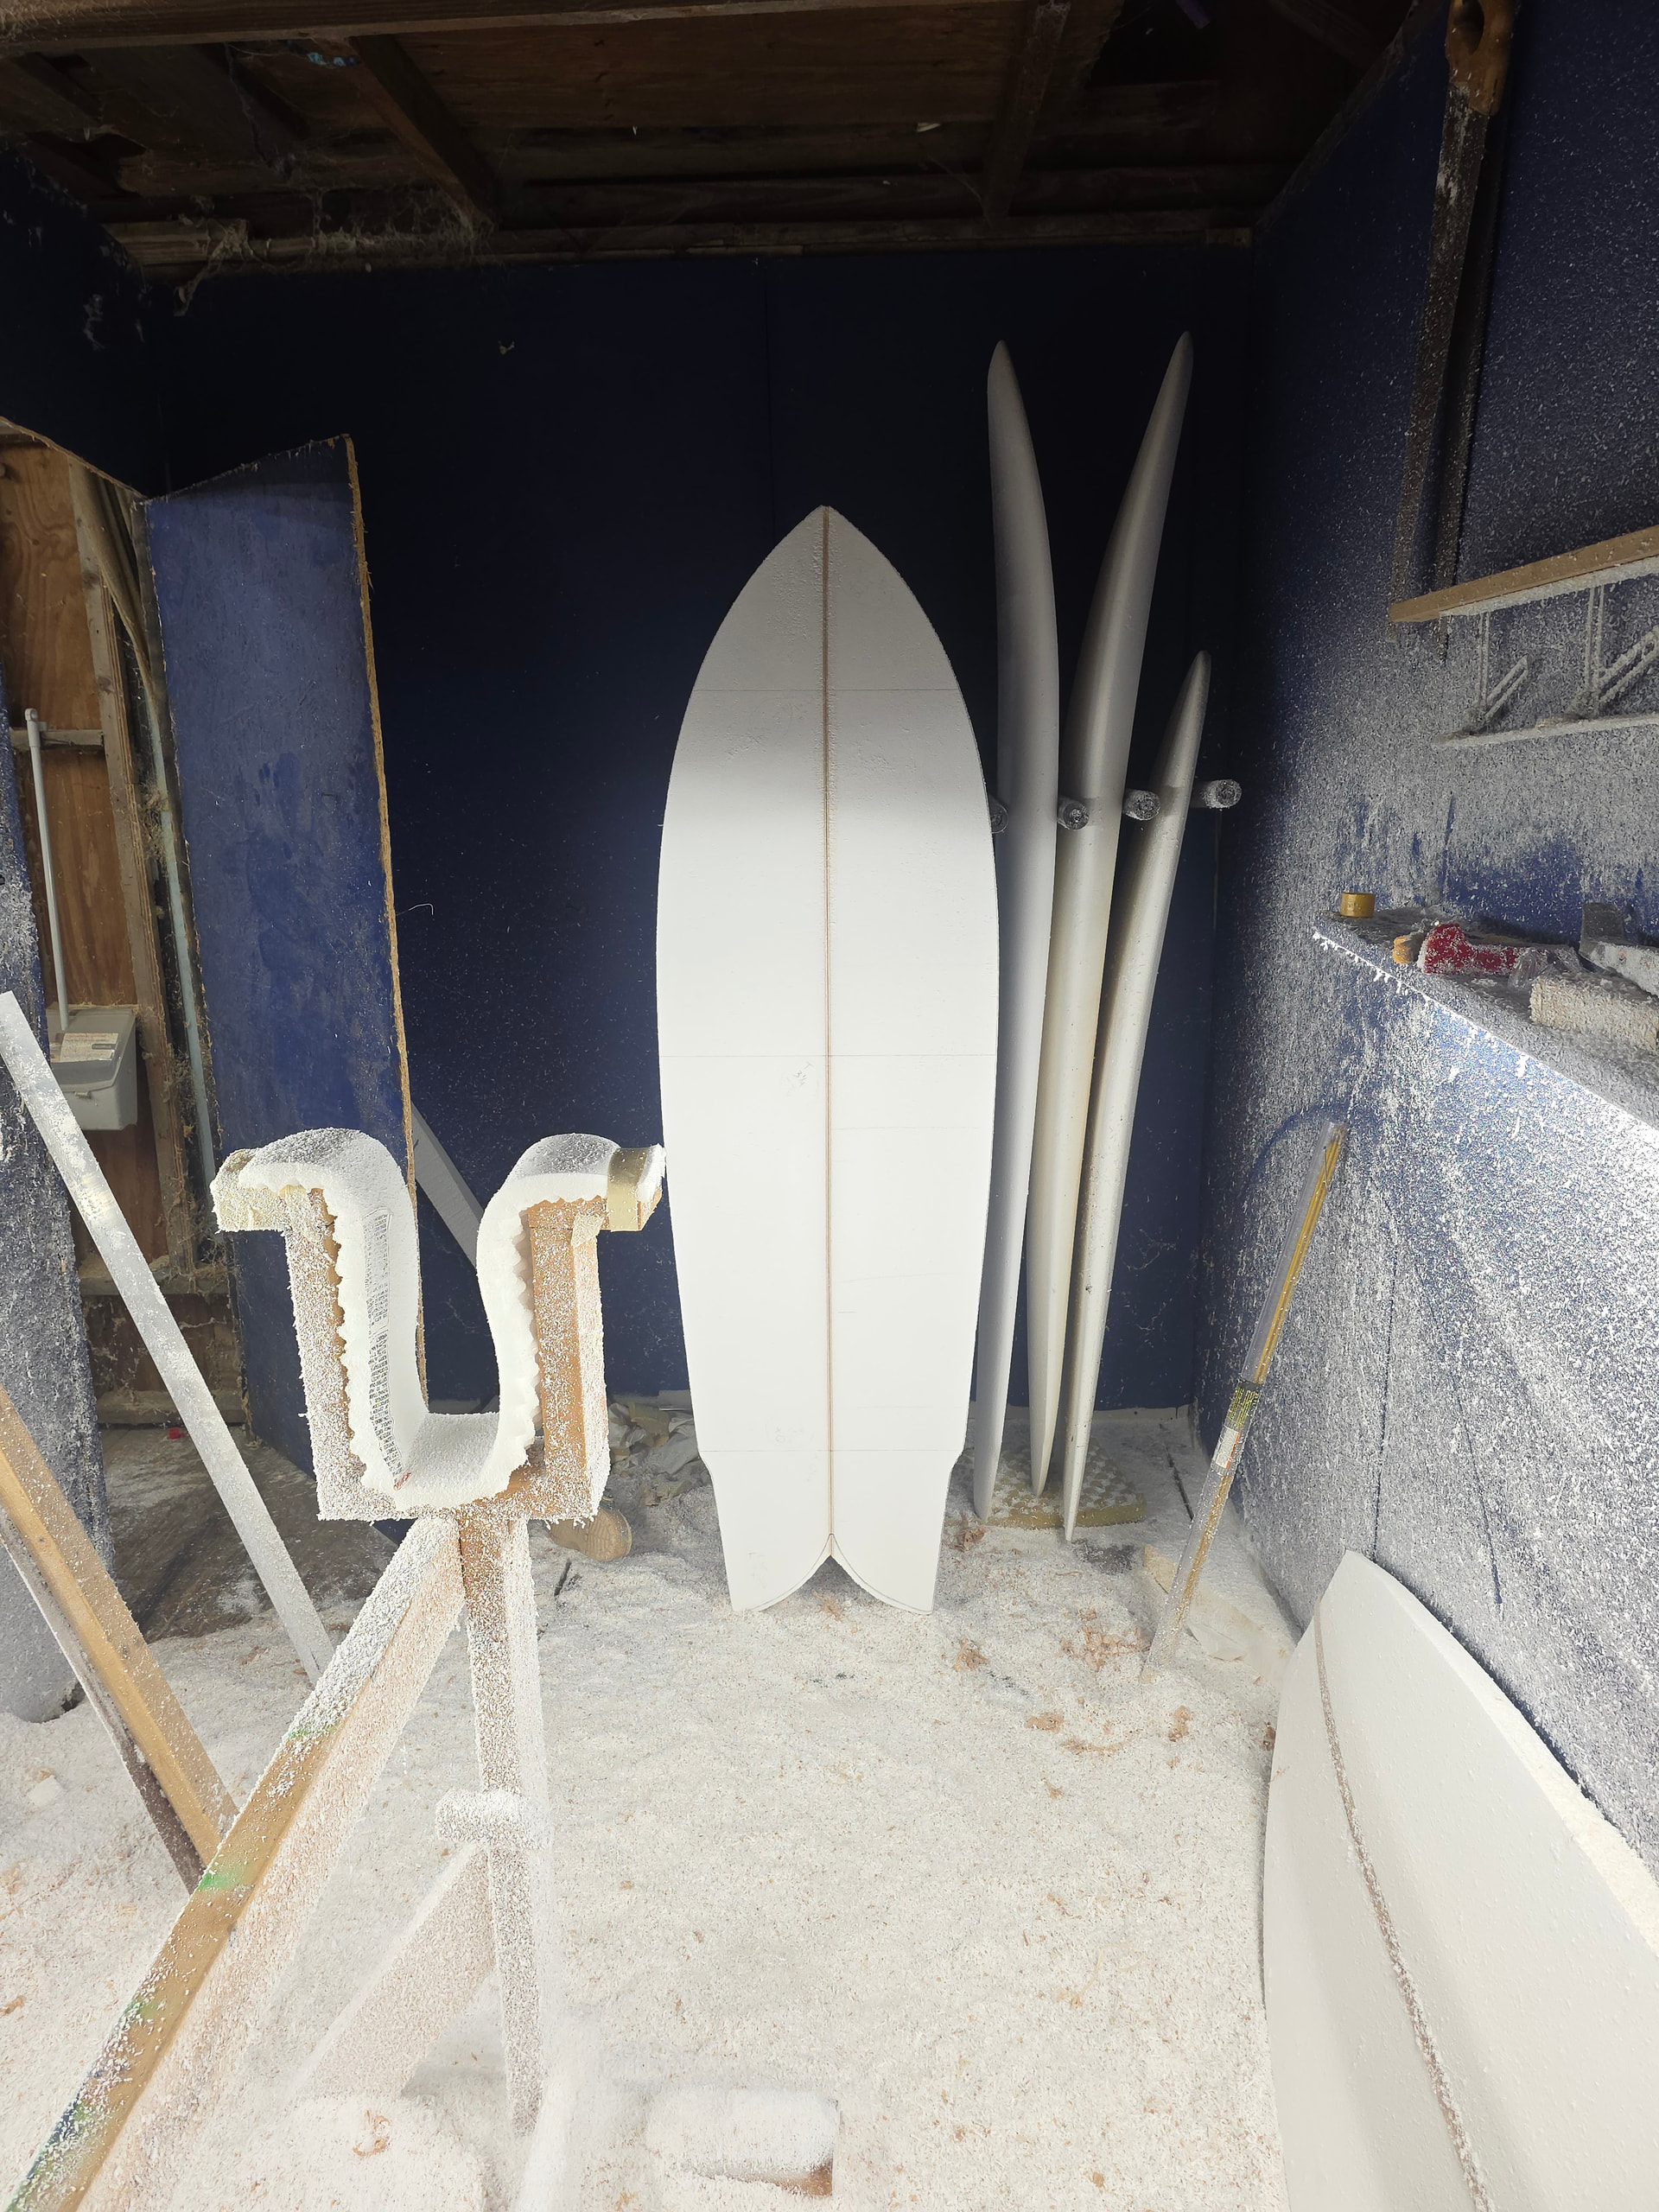
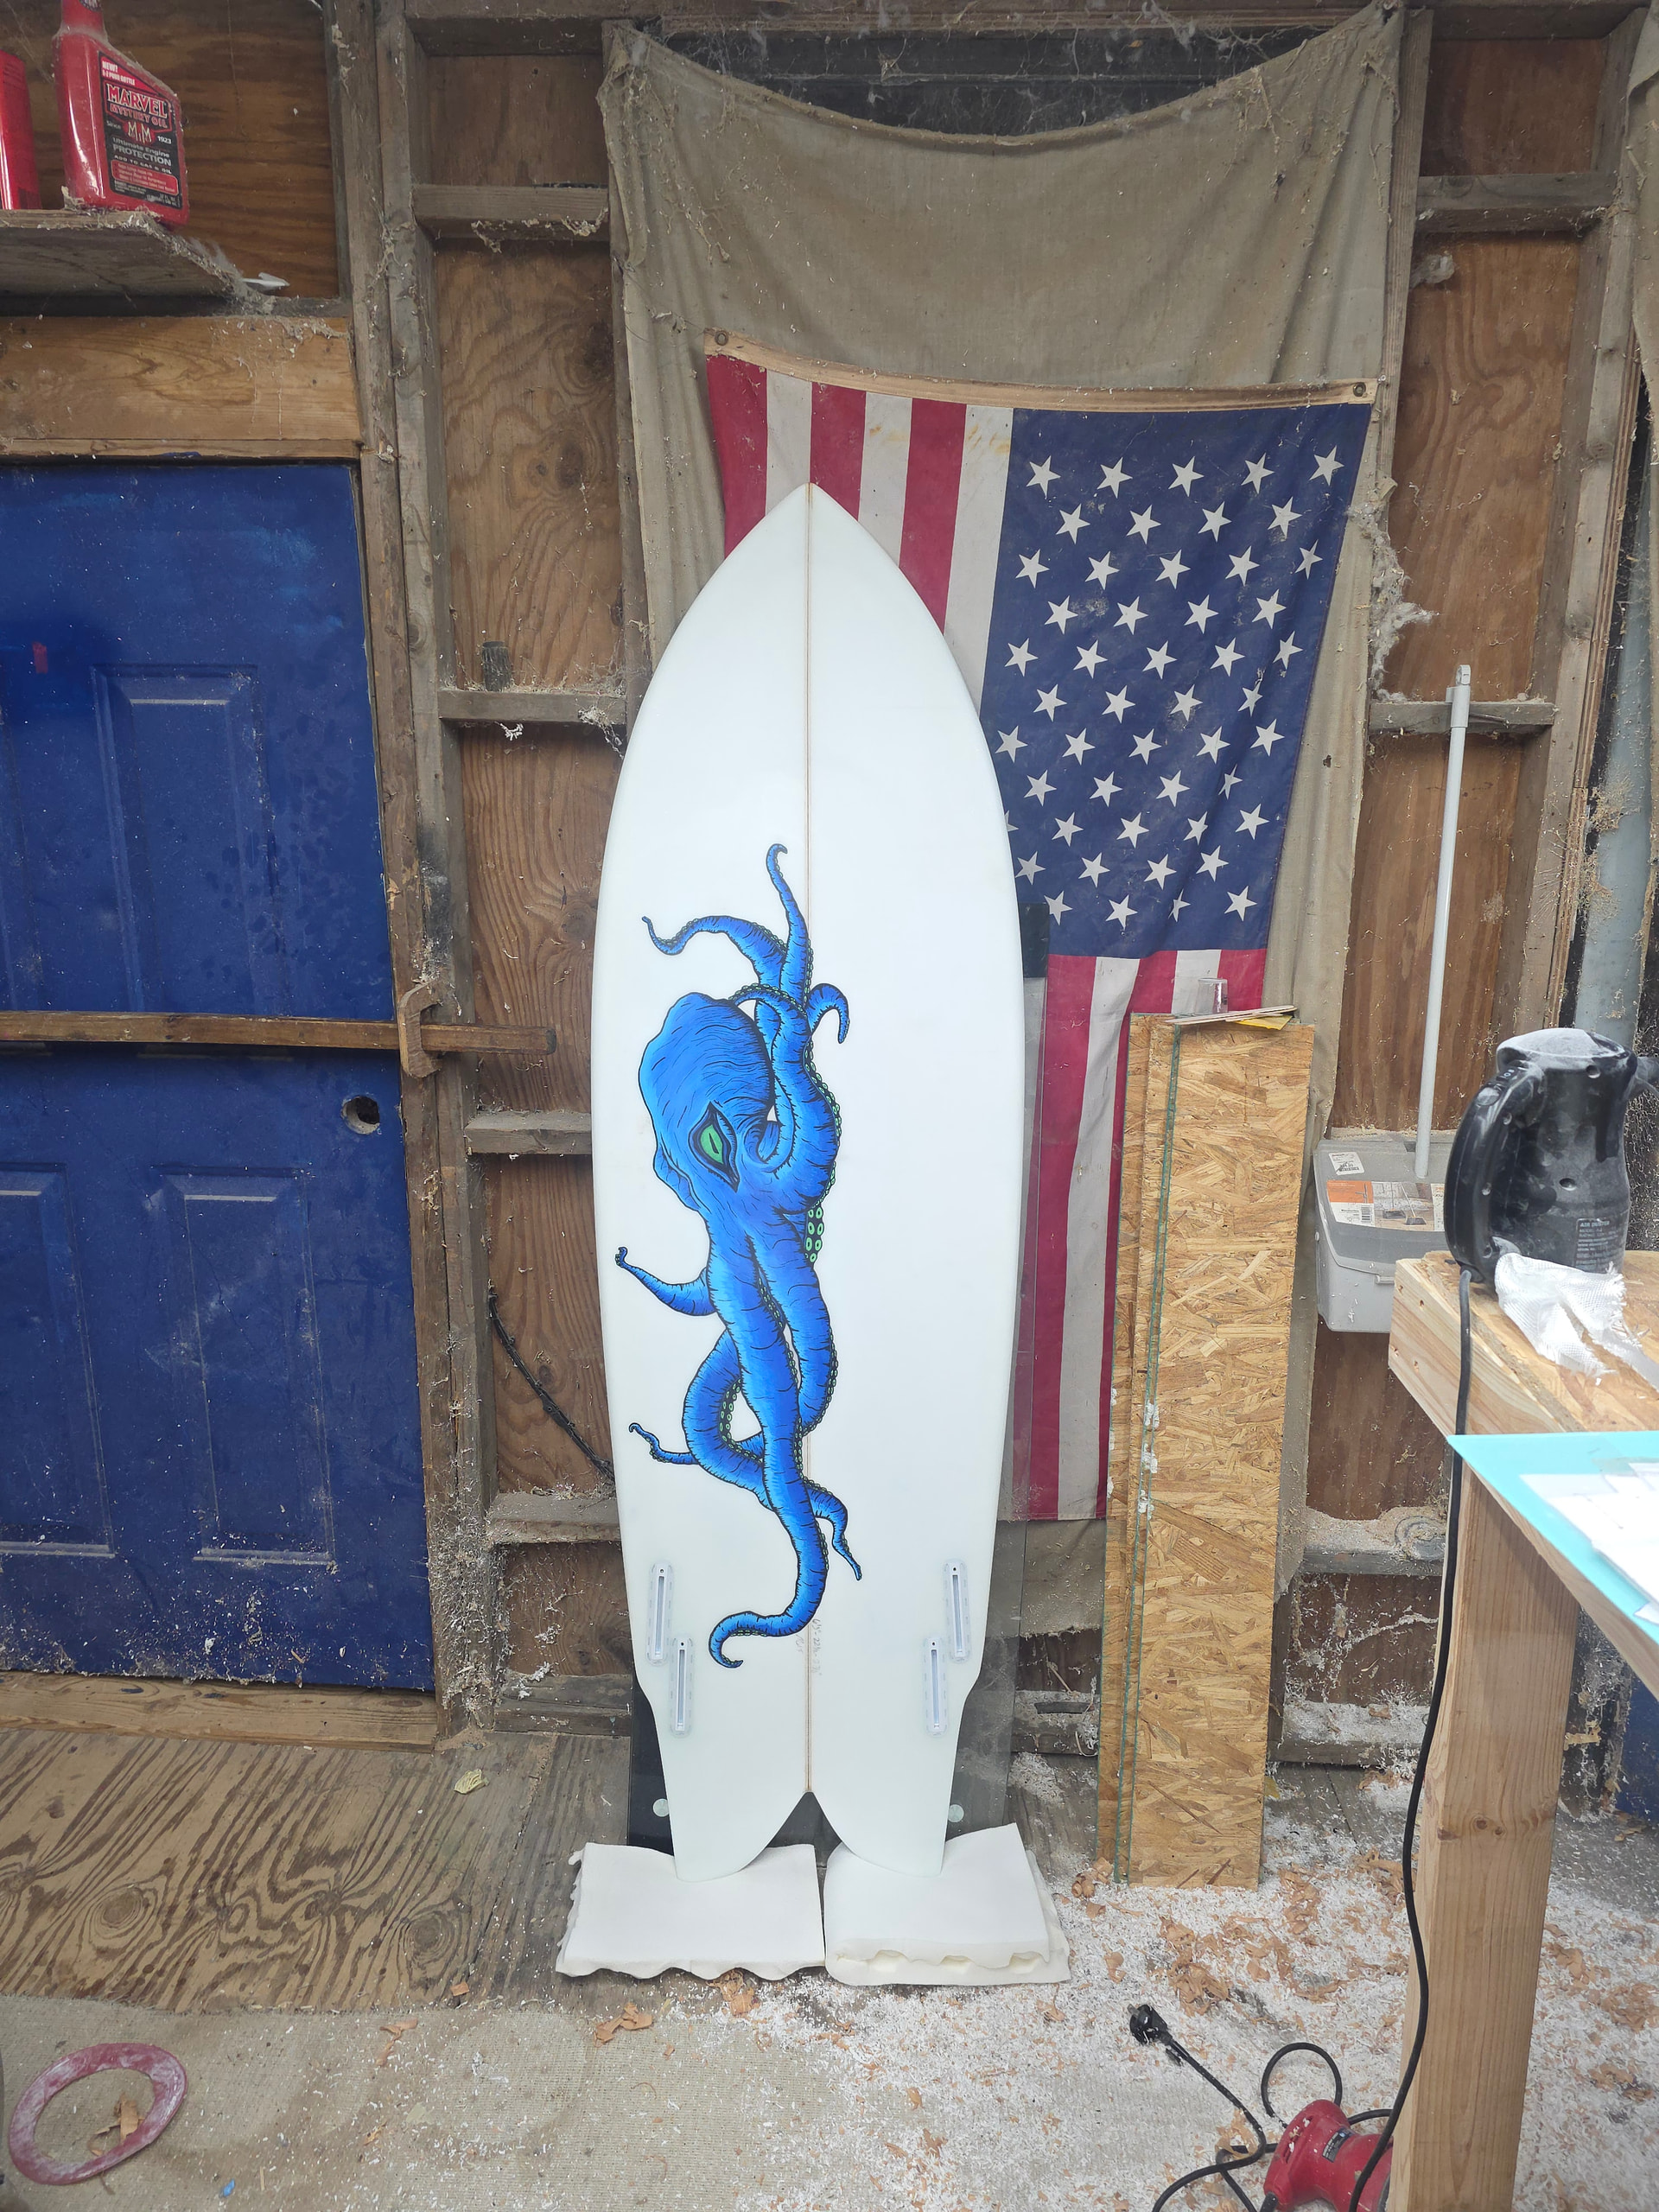
So been reading the forum for years and learned so much figured id try and give back if I can. Never posted before so if I screwed it up some how my apologies. First board I’ve finished in alittle while, 6’3 fish. Forum will only let me post one pic per post.
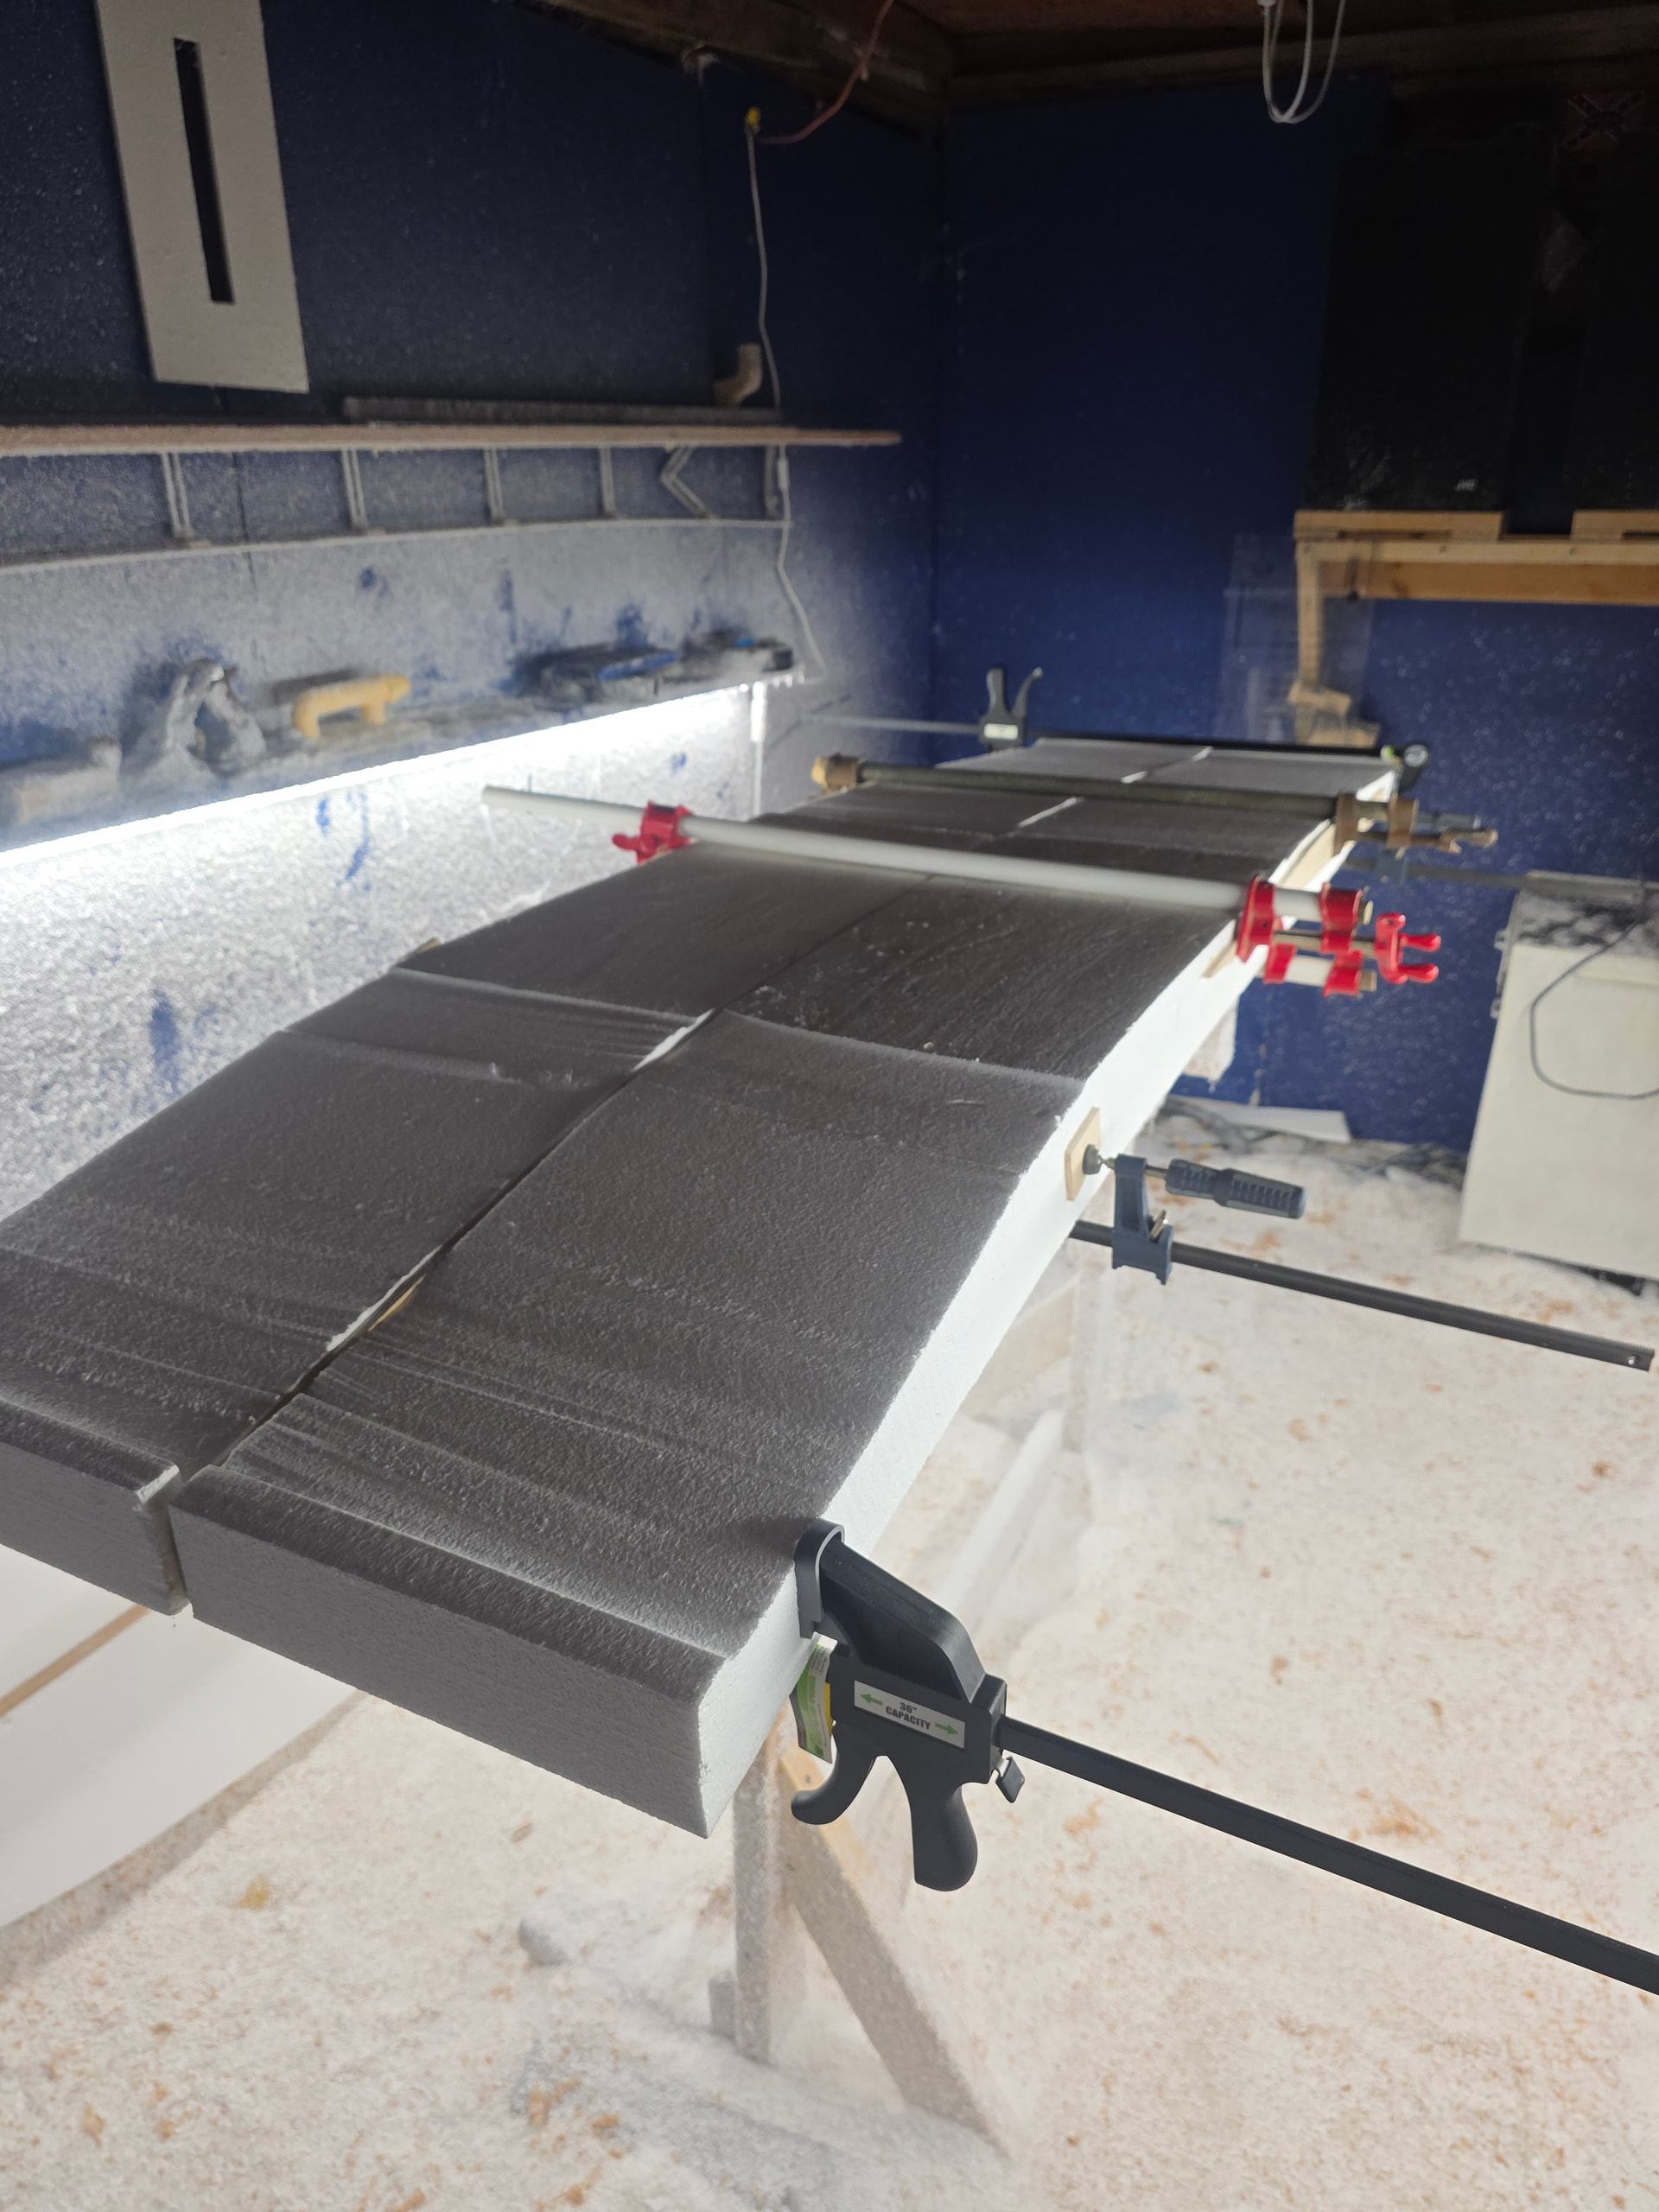
I use 2# eps foam i get in blocks. I start with the stringer, this board has a bender ply stringer, grain runs lengthwise. Cut out rough dimensions then use that the hotwire foam to shape. Split foam eith a circular saw then glue and clamp overnight.
With the outline done and rails square i bring them in to about an 1/8 off the finished dimensions. Thanks! Hopefully someone gets some use out of them.
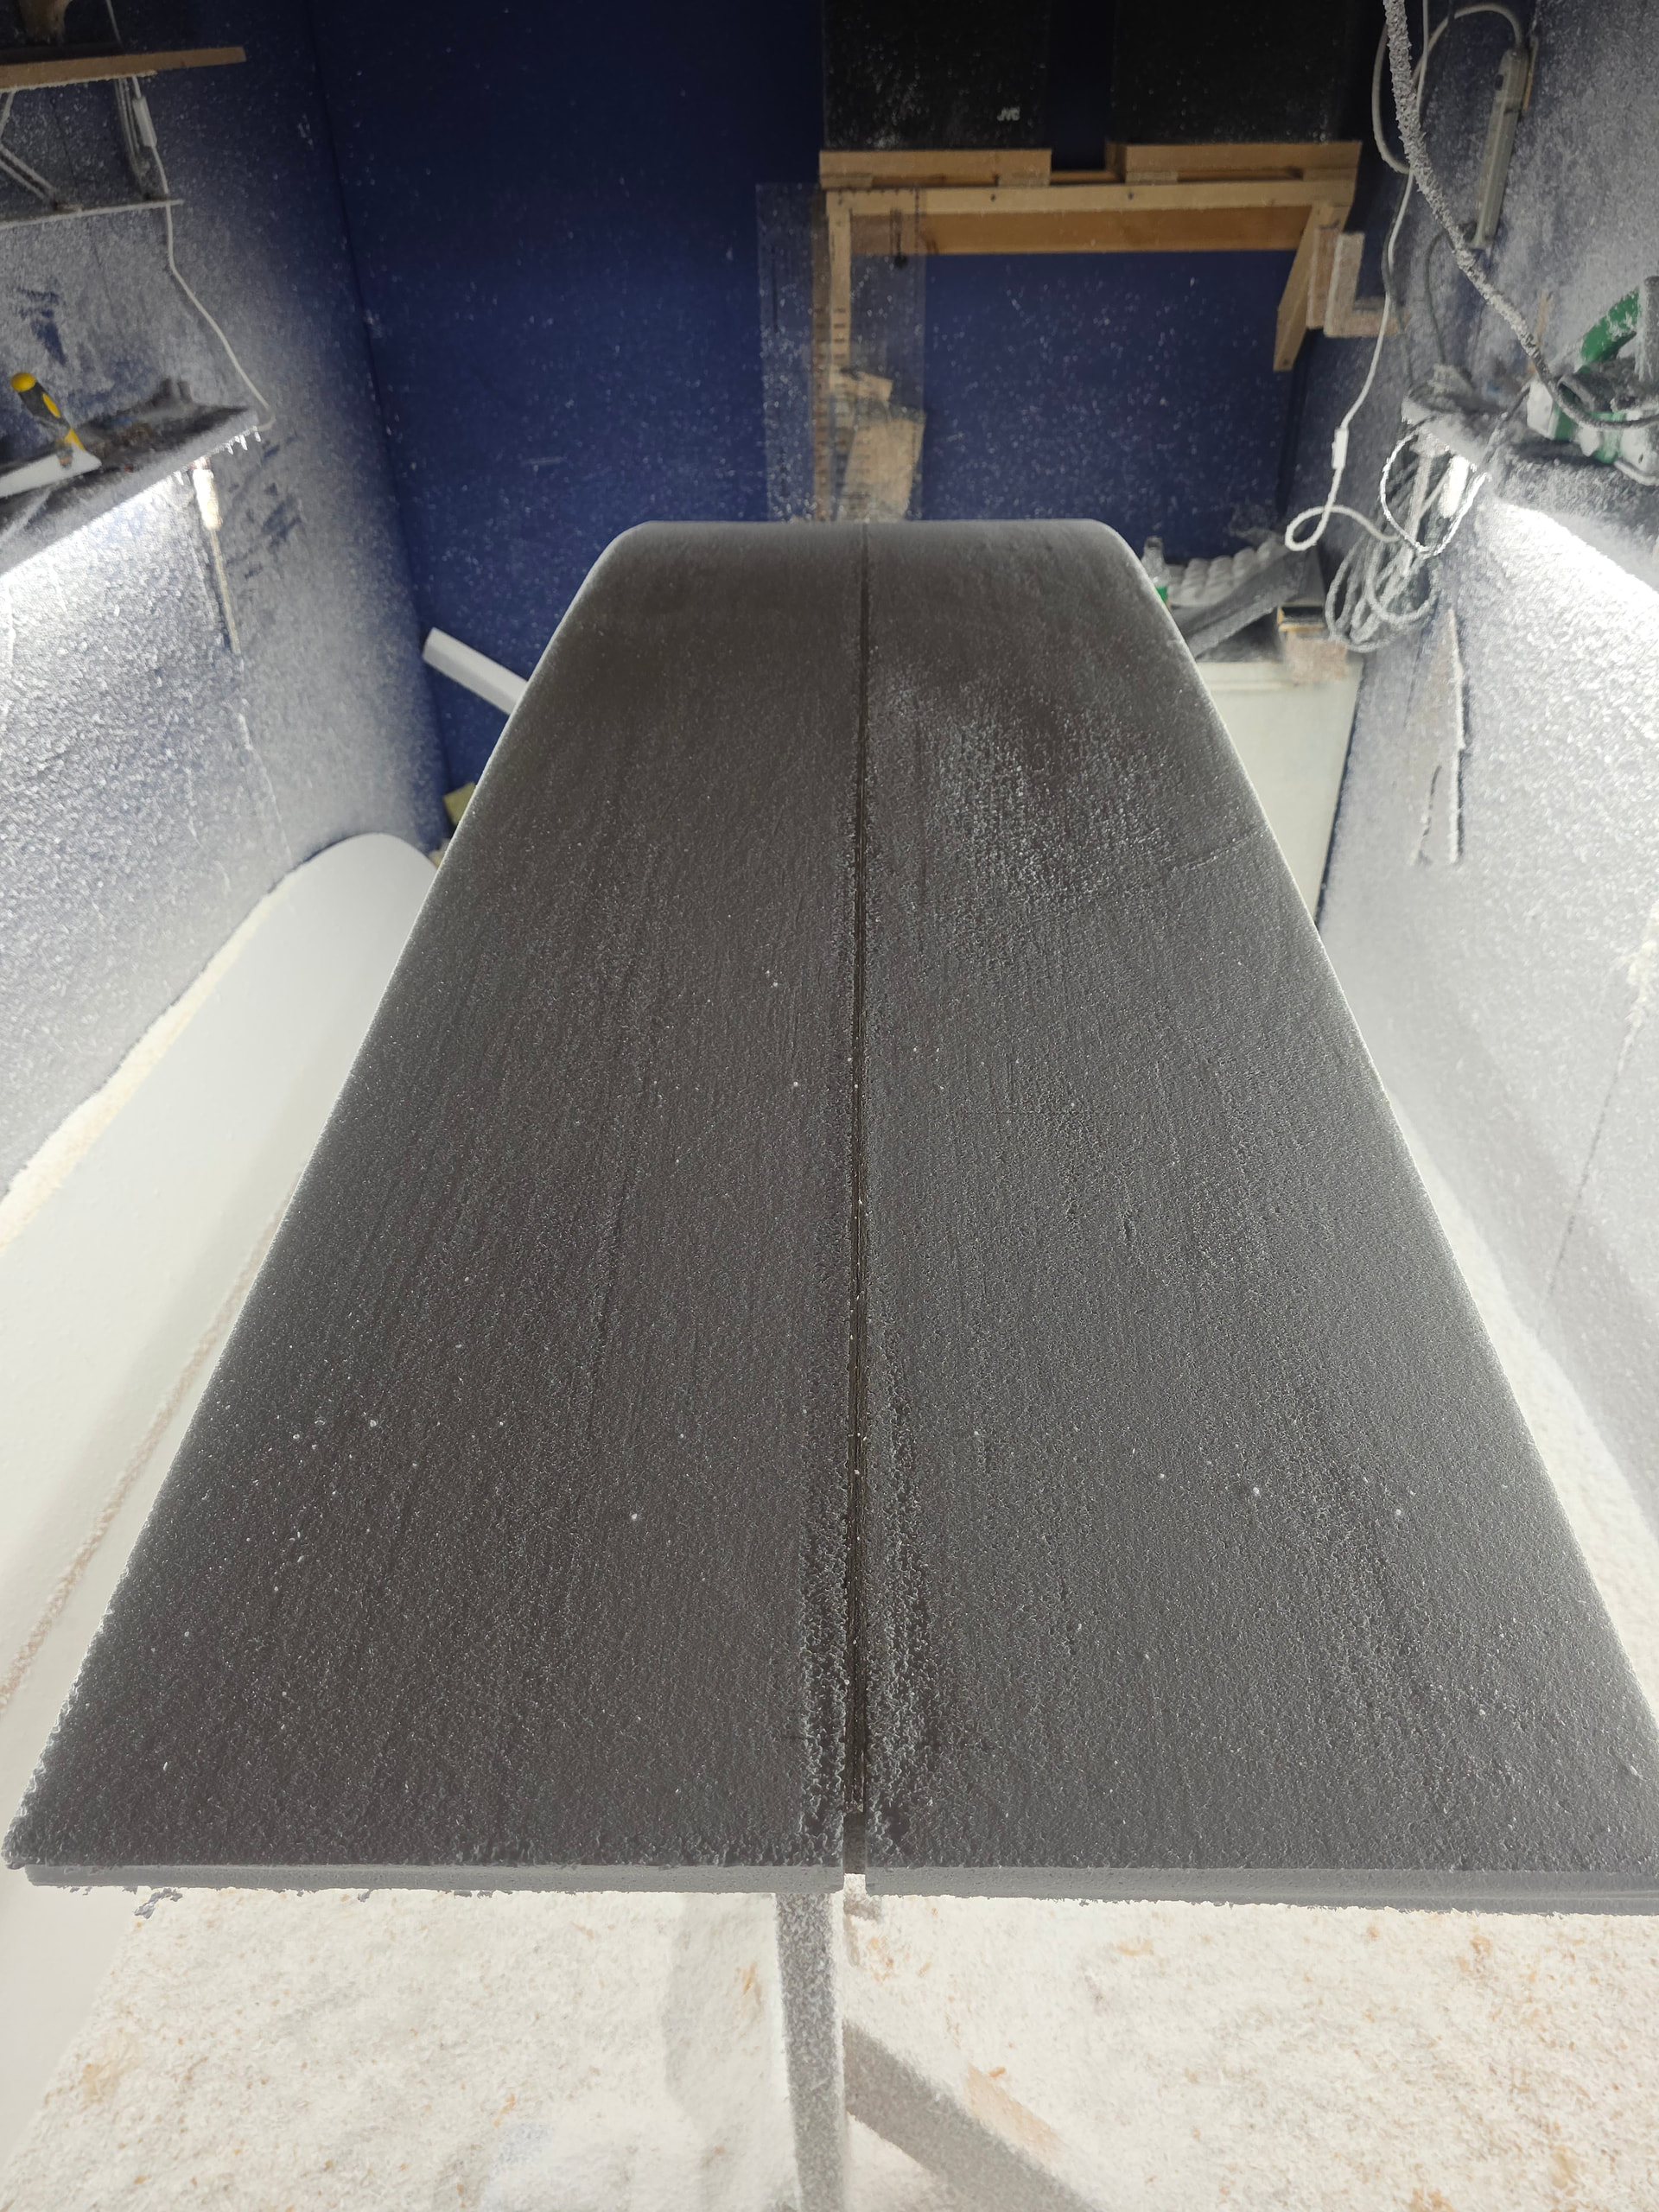
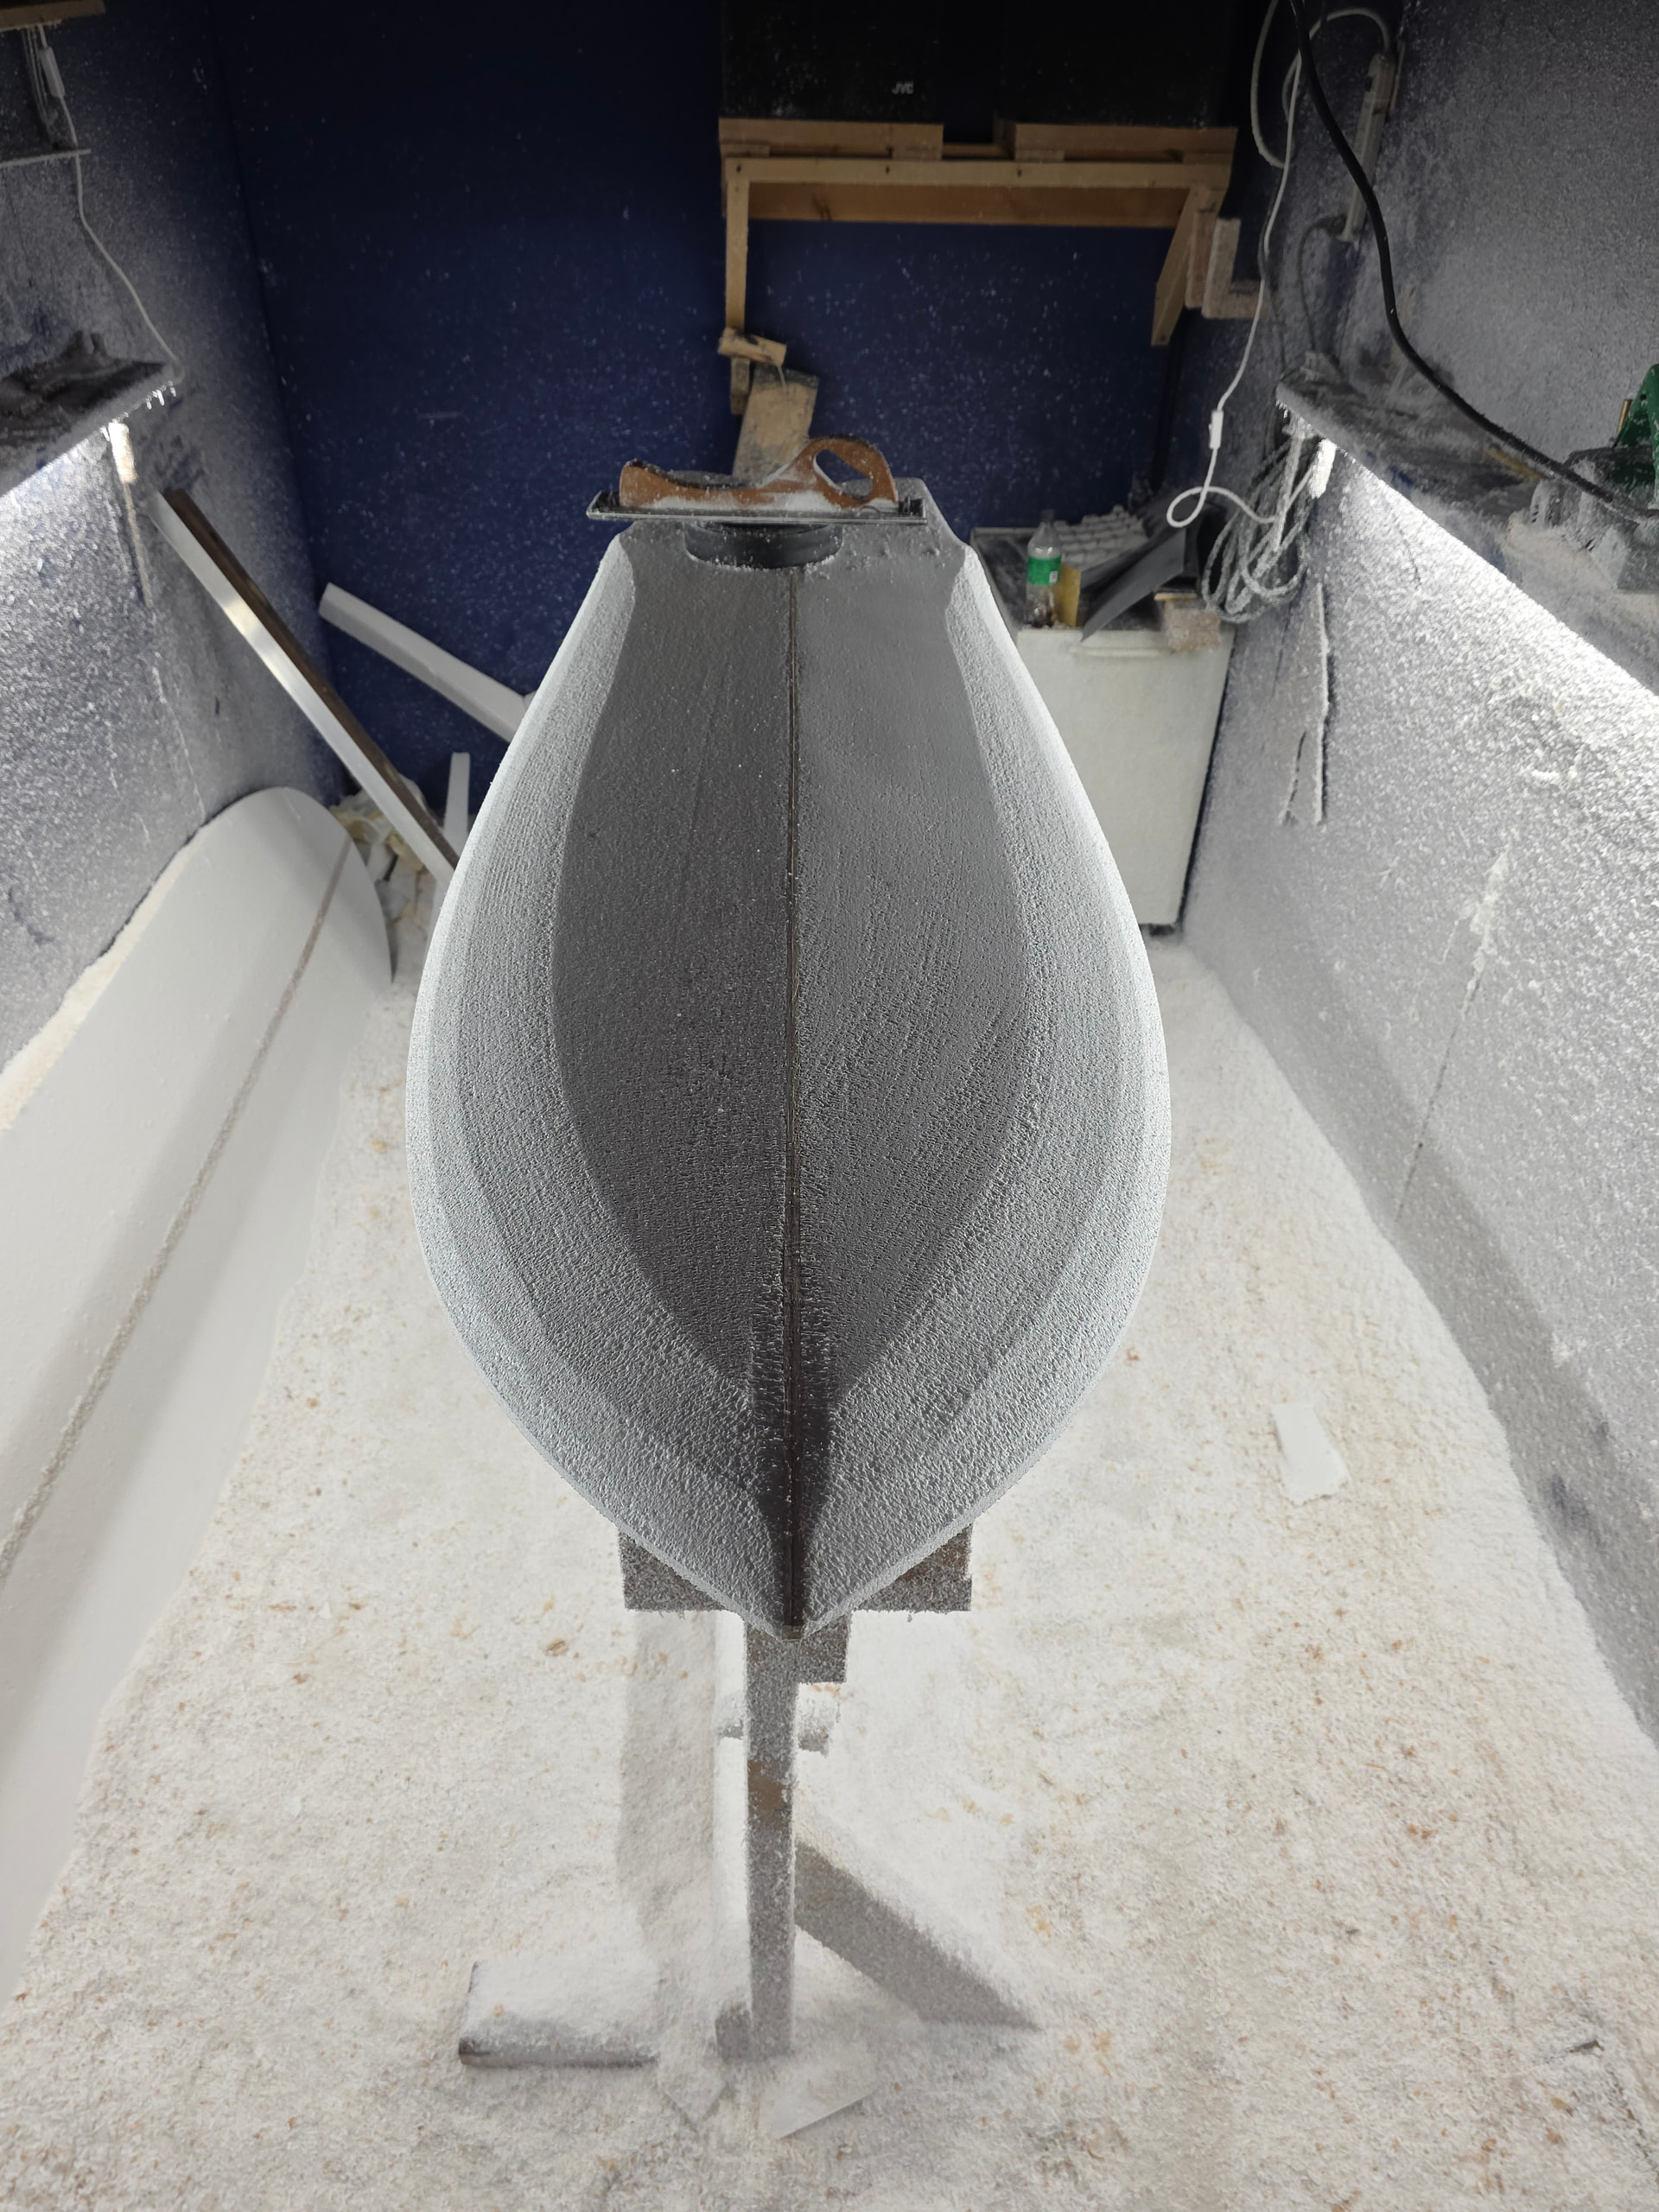
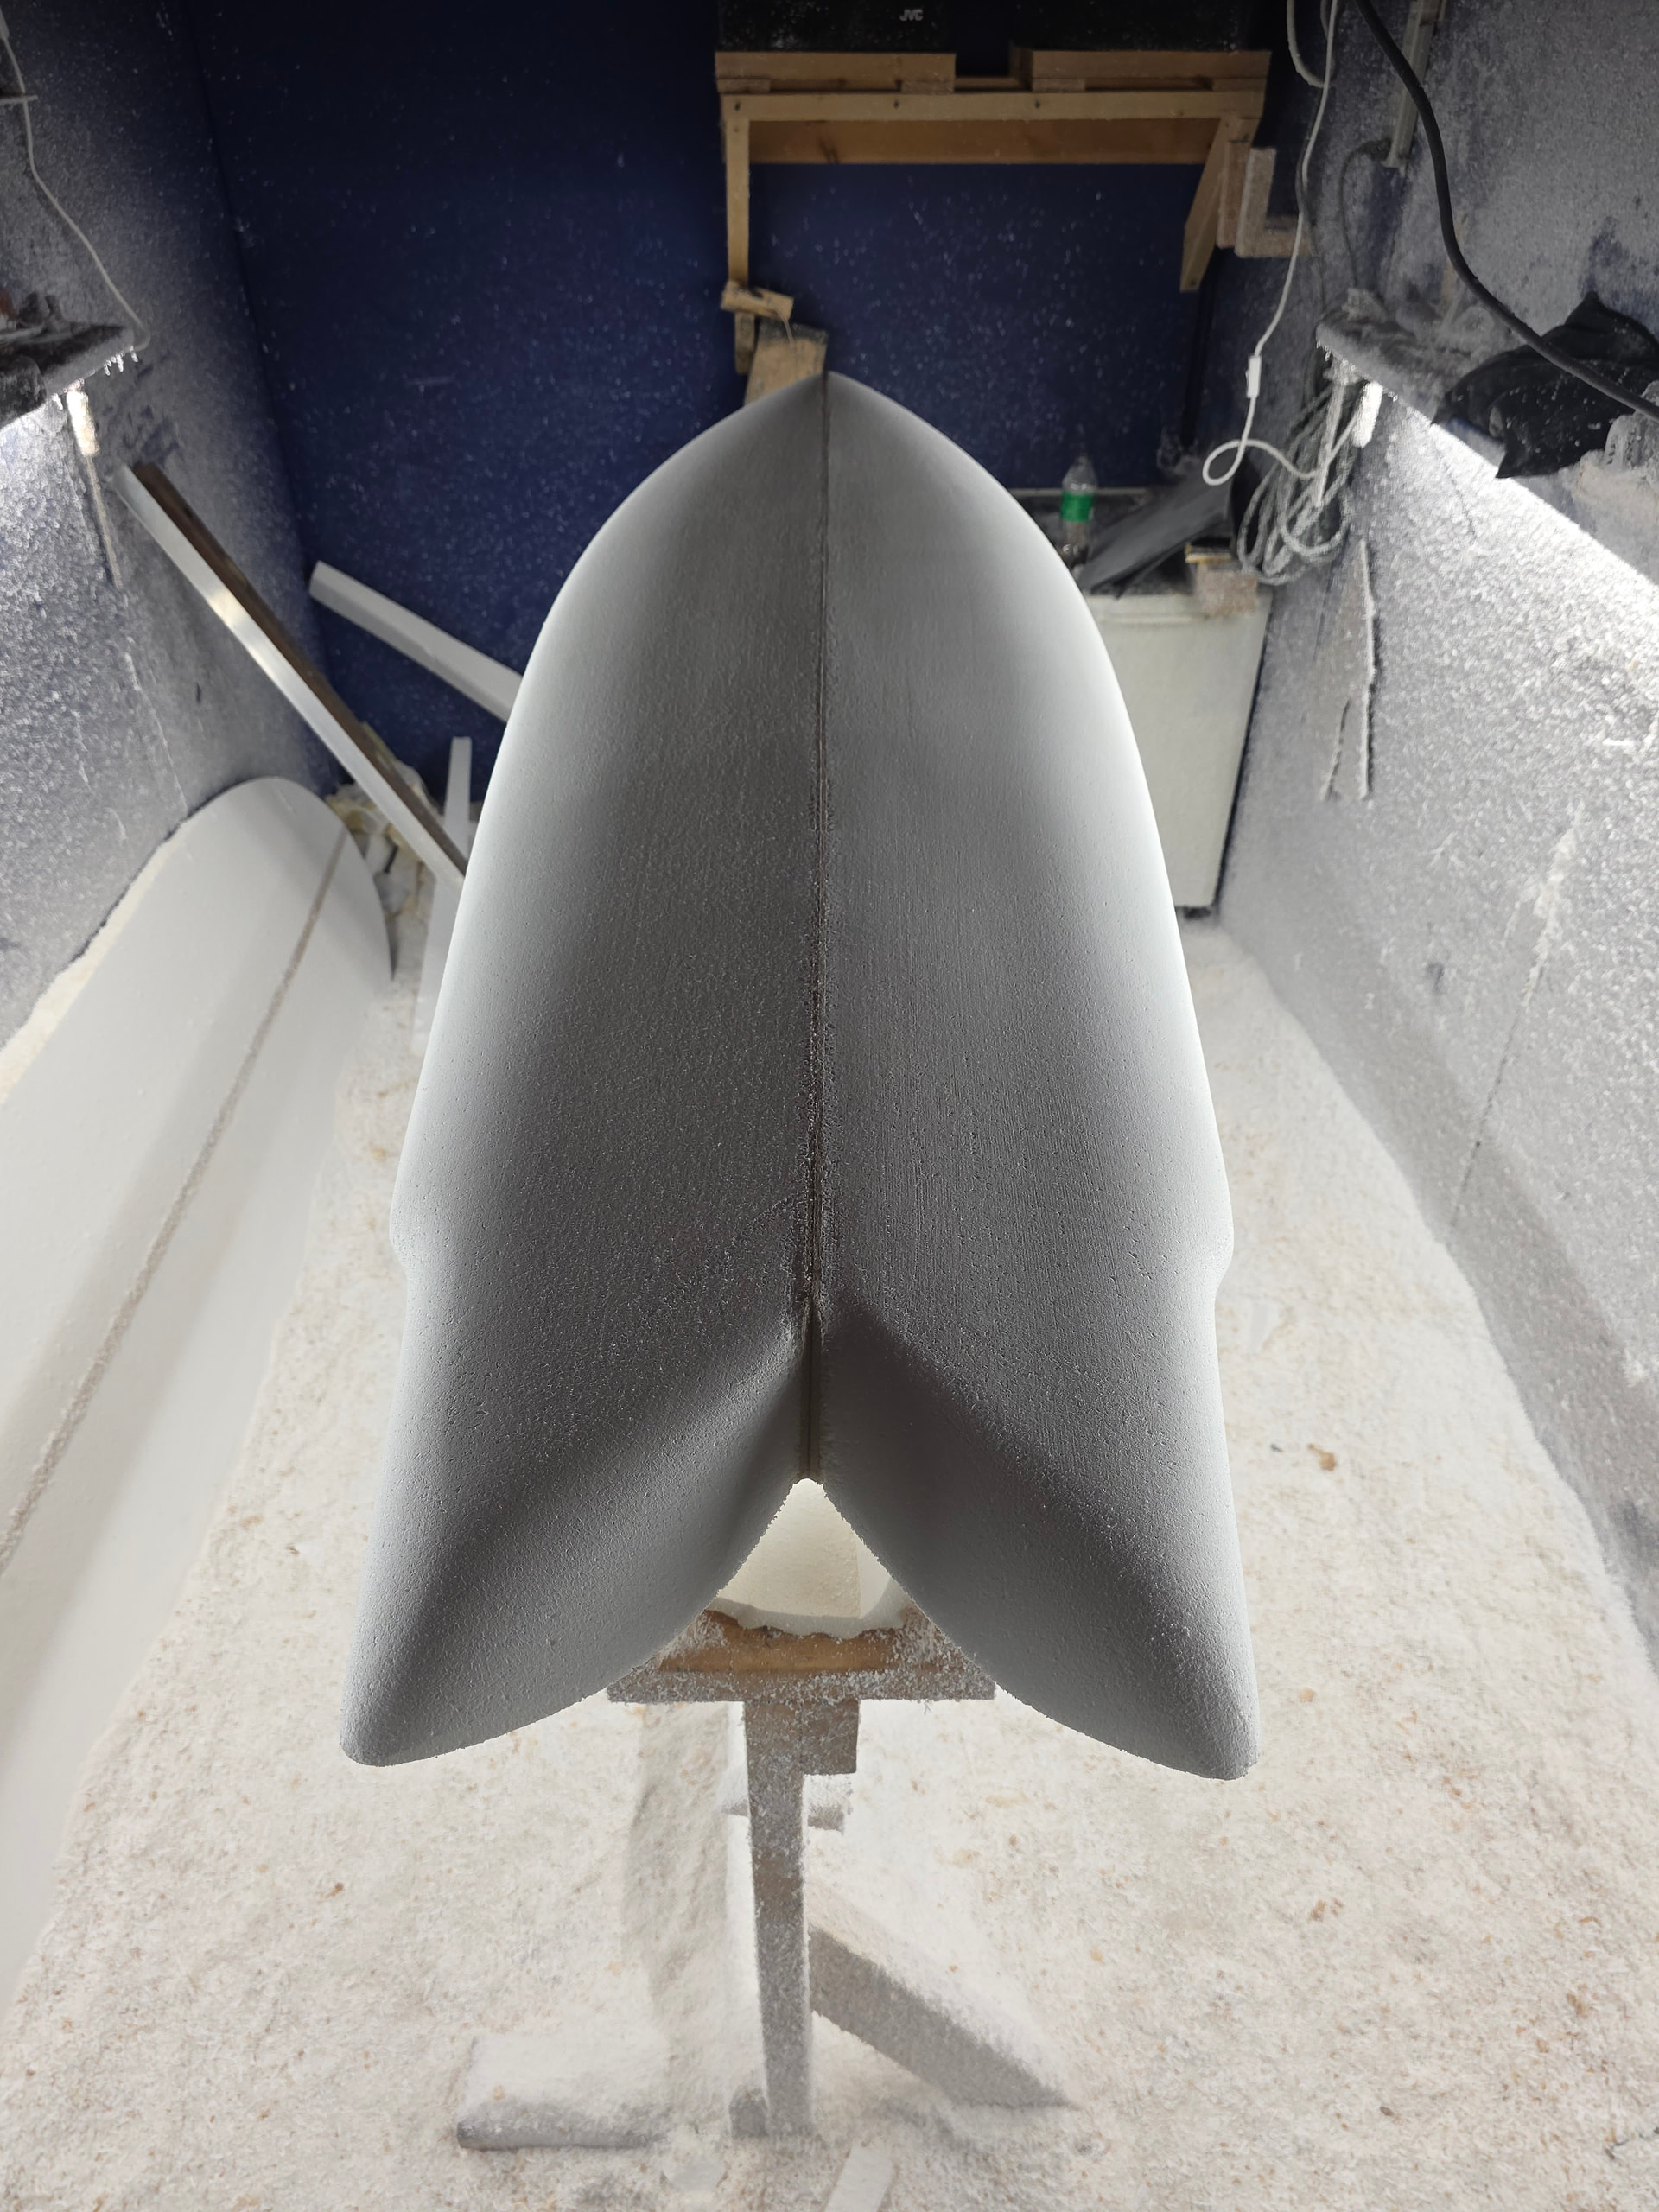
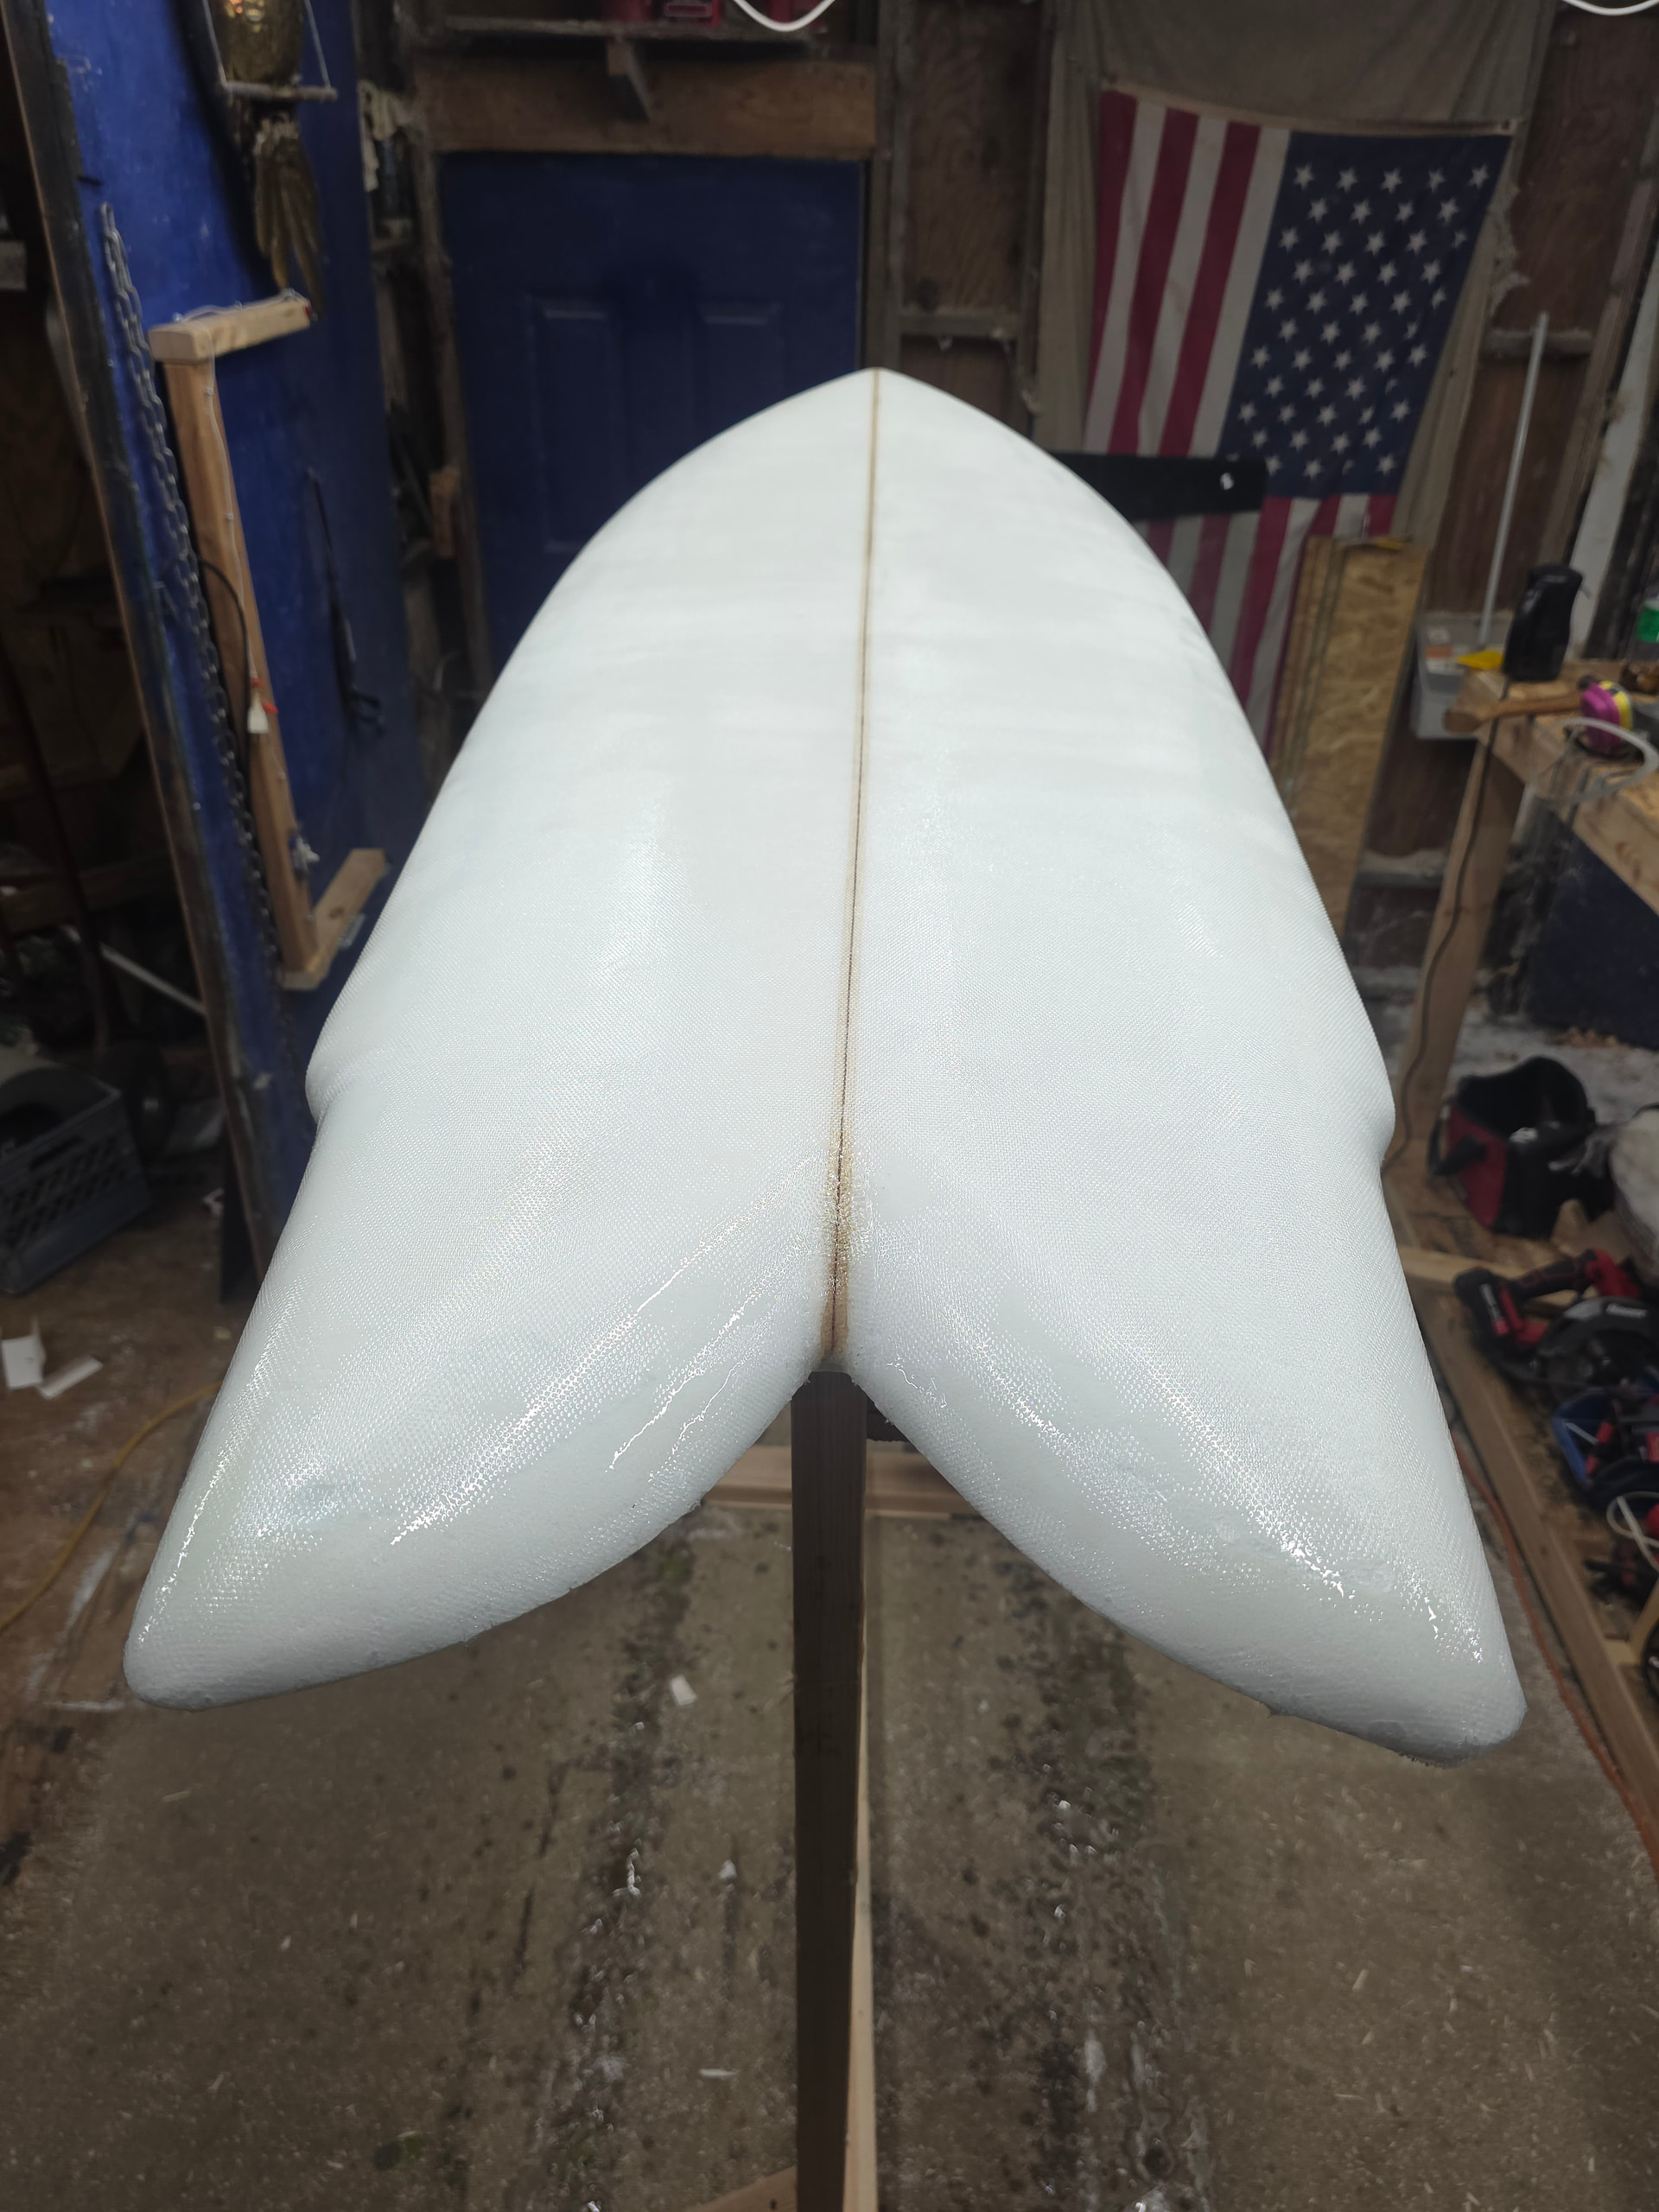
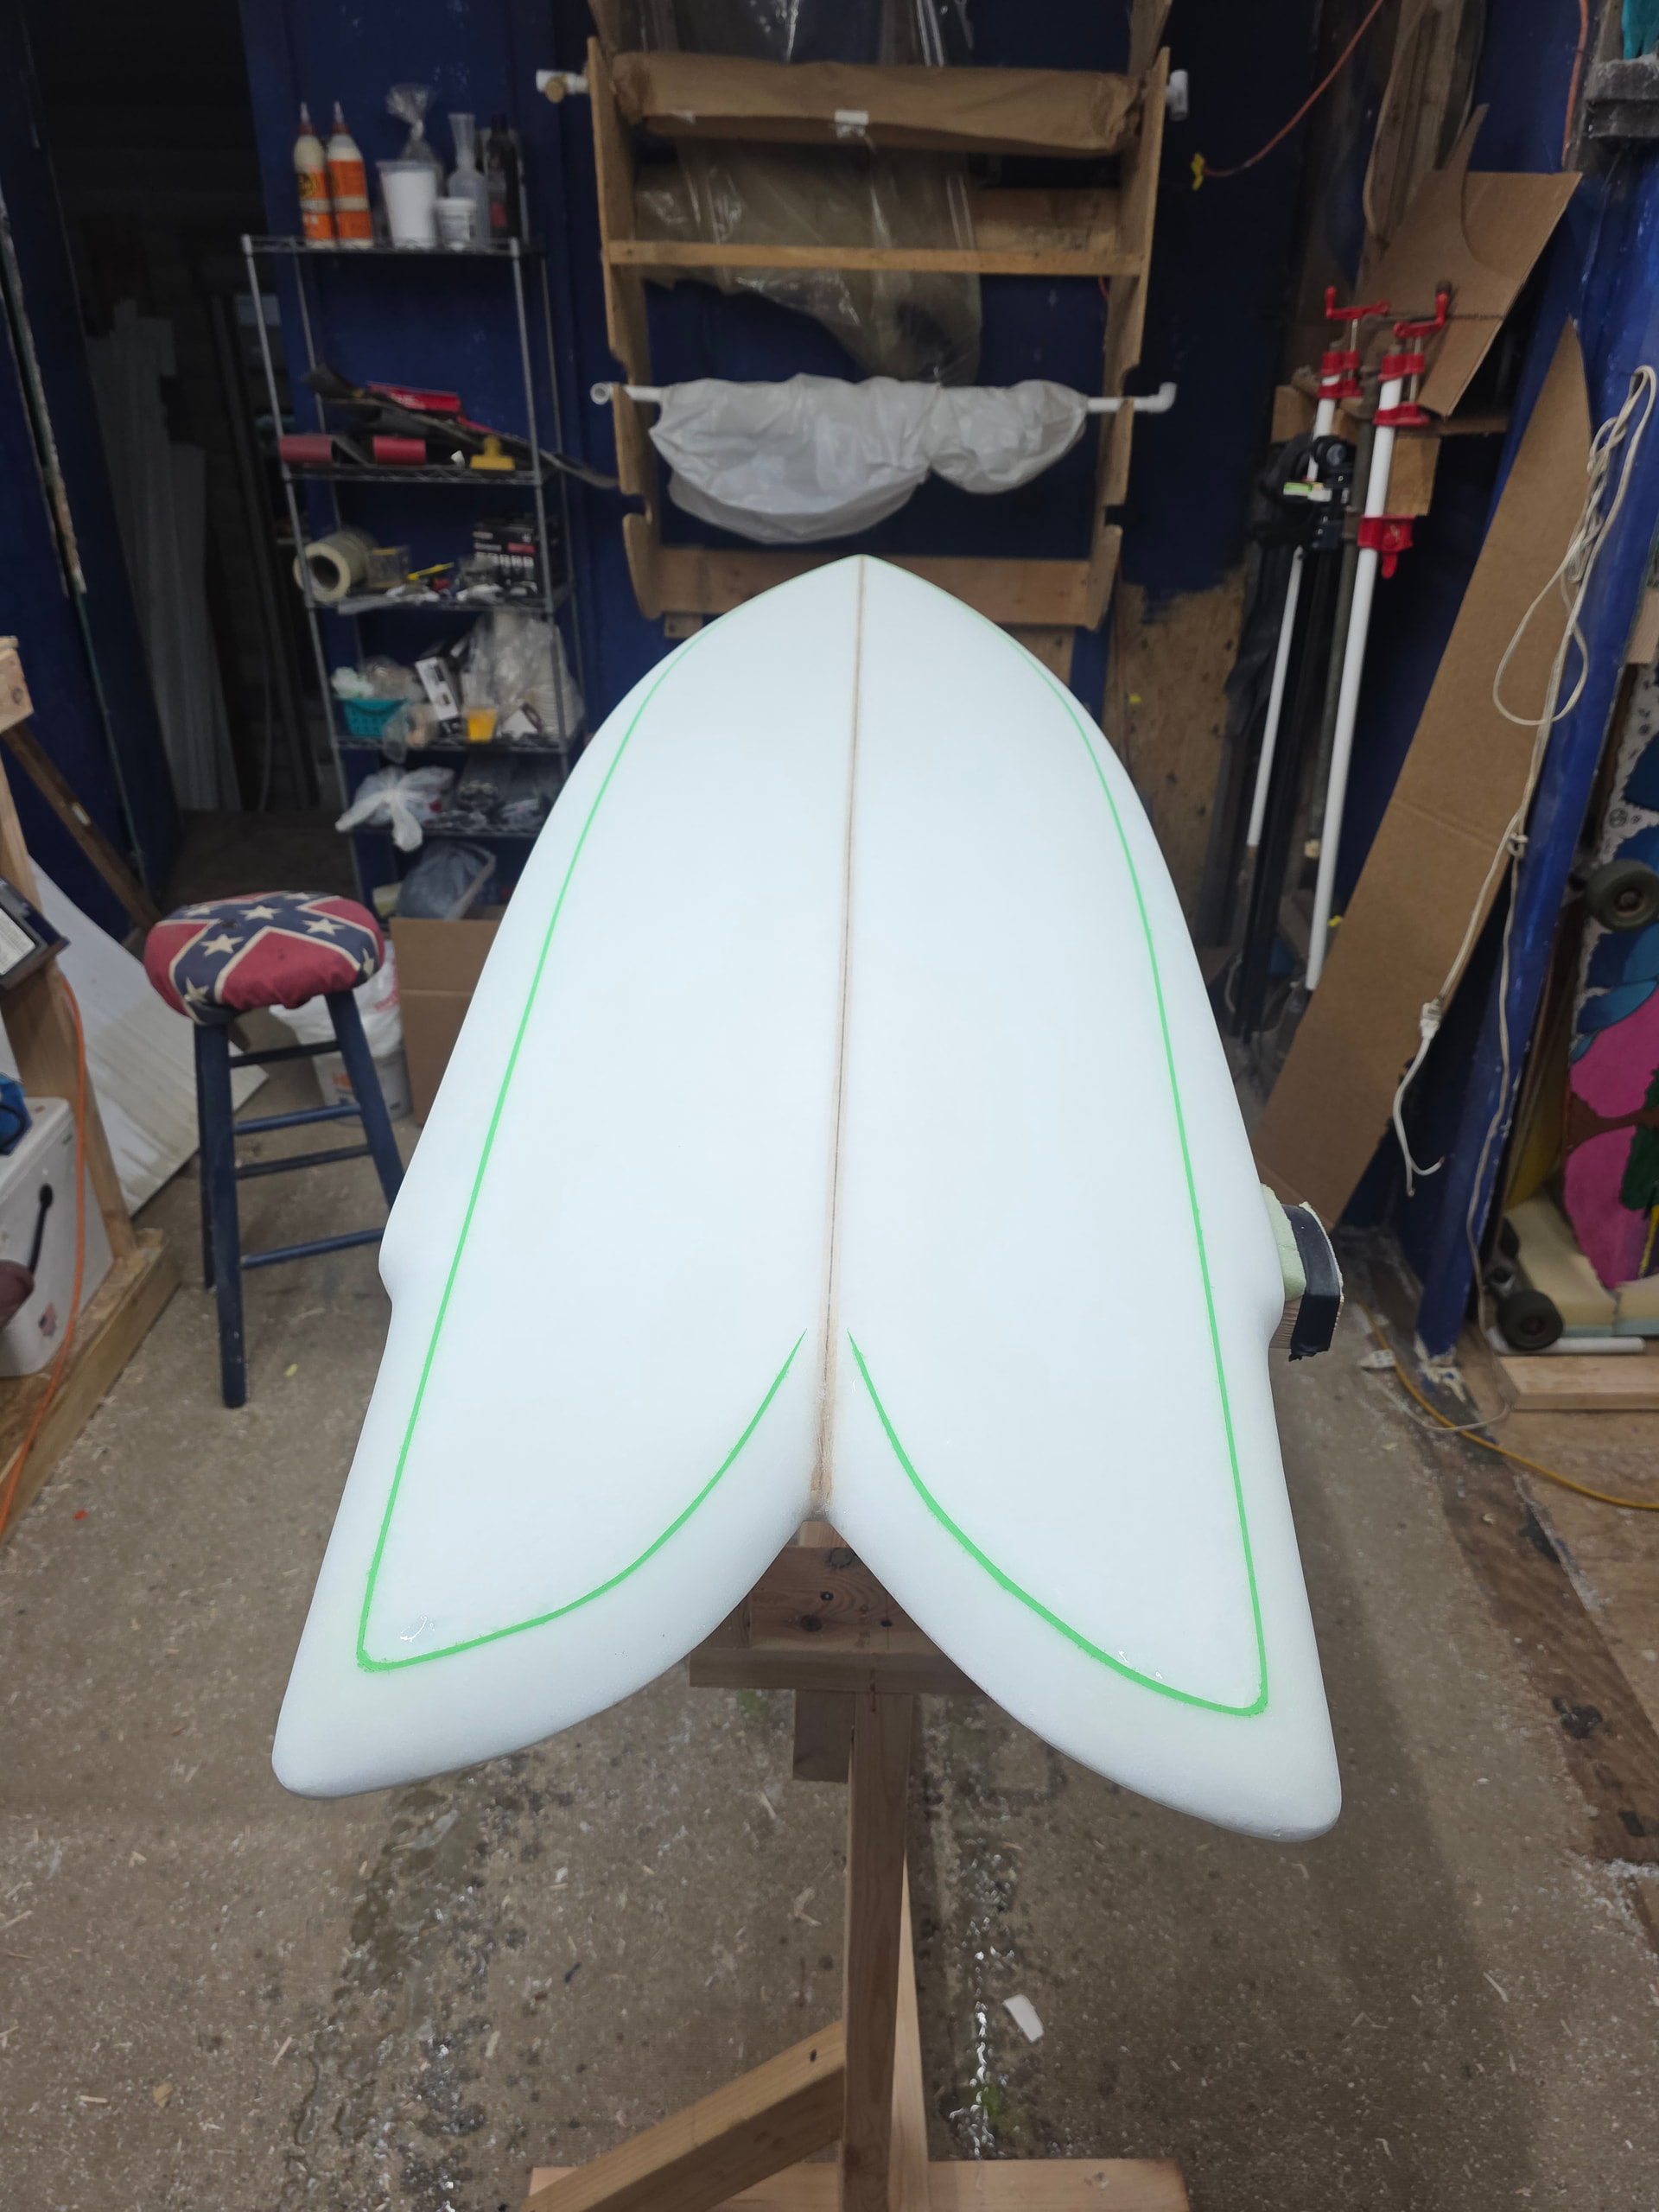
Once everything’s squared up I start with the bottom, single to double with some vee in the swallow. Mostly following other fish I like the feel of, going to be a quad.
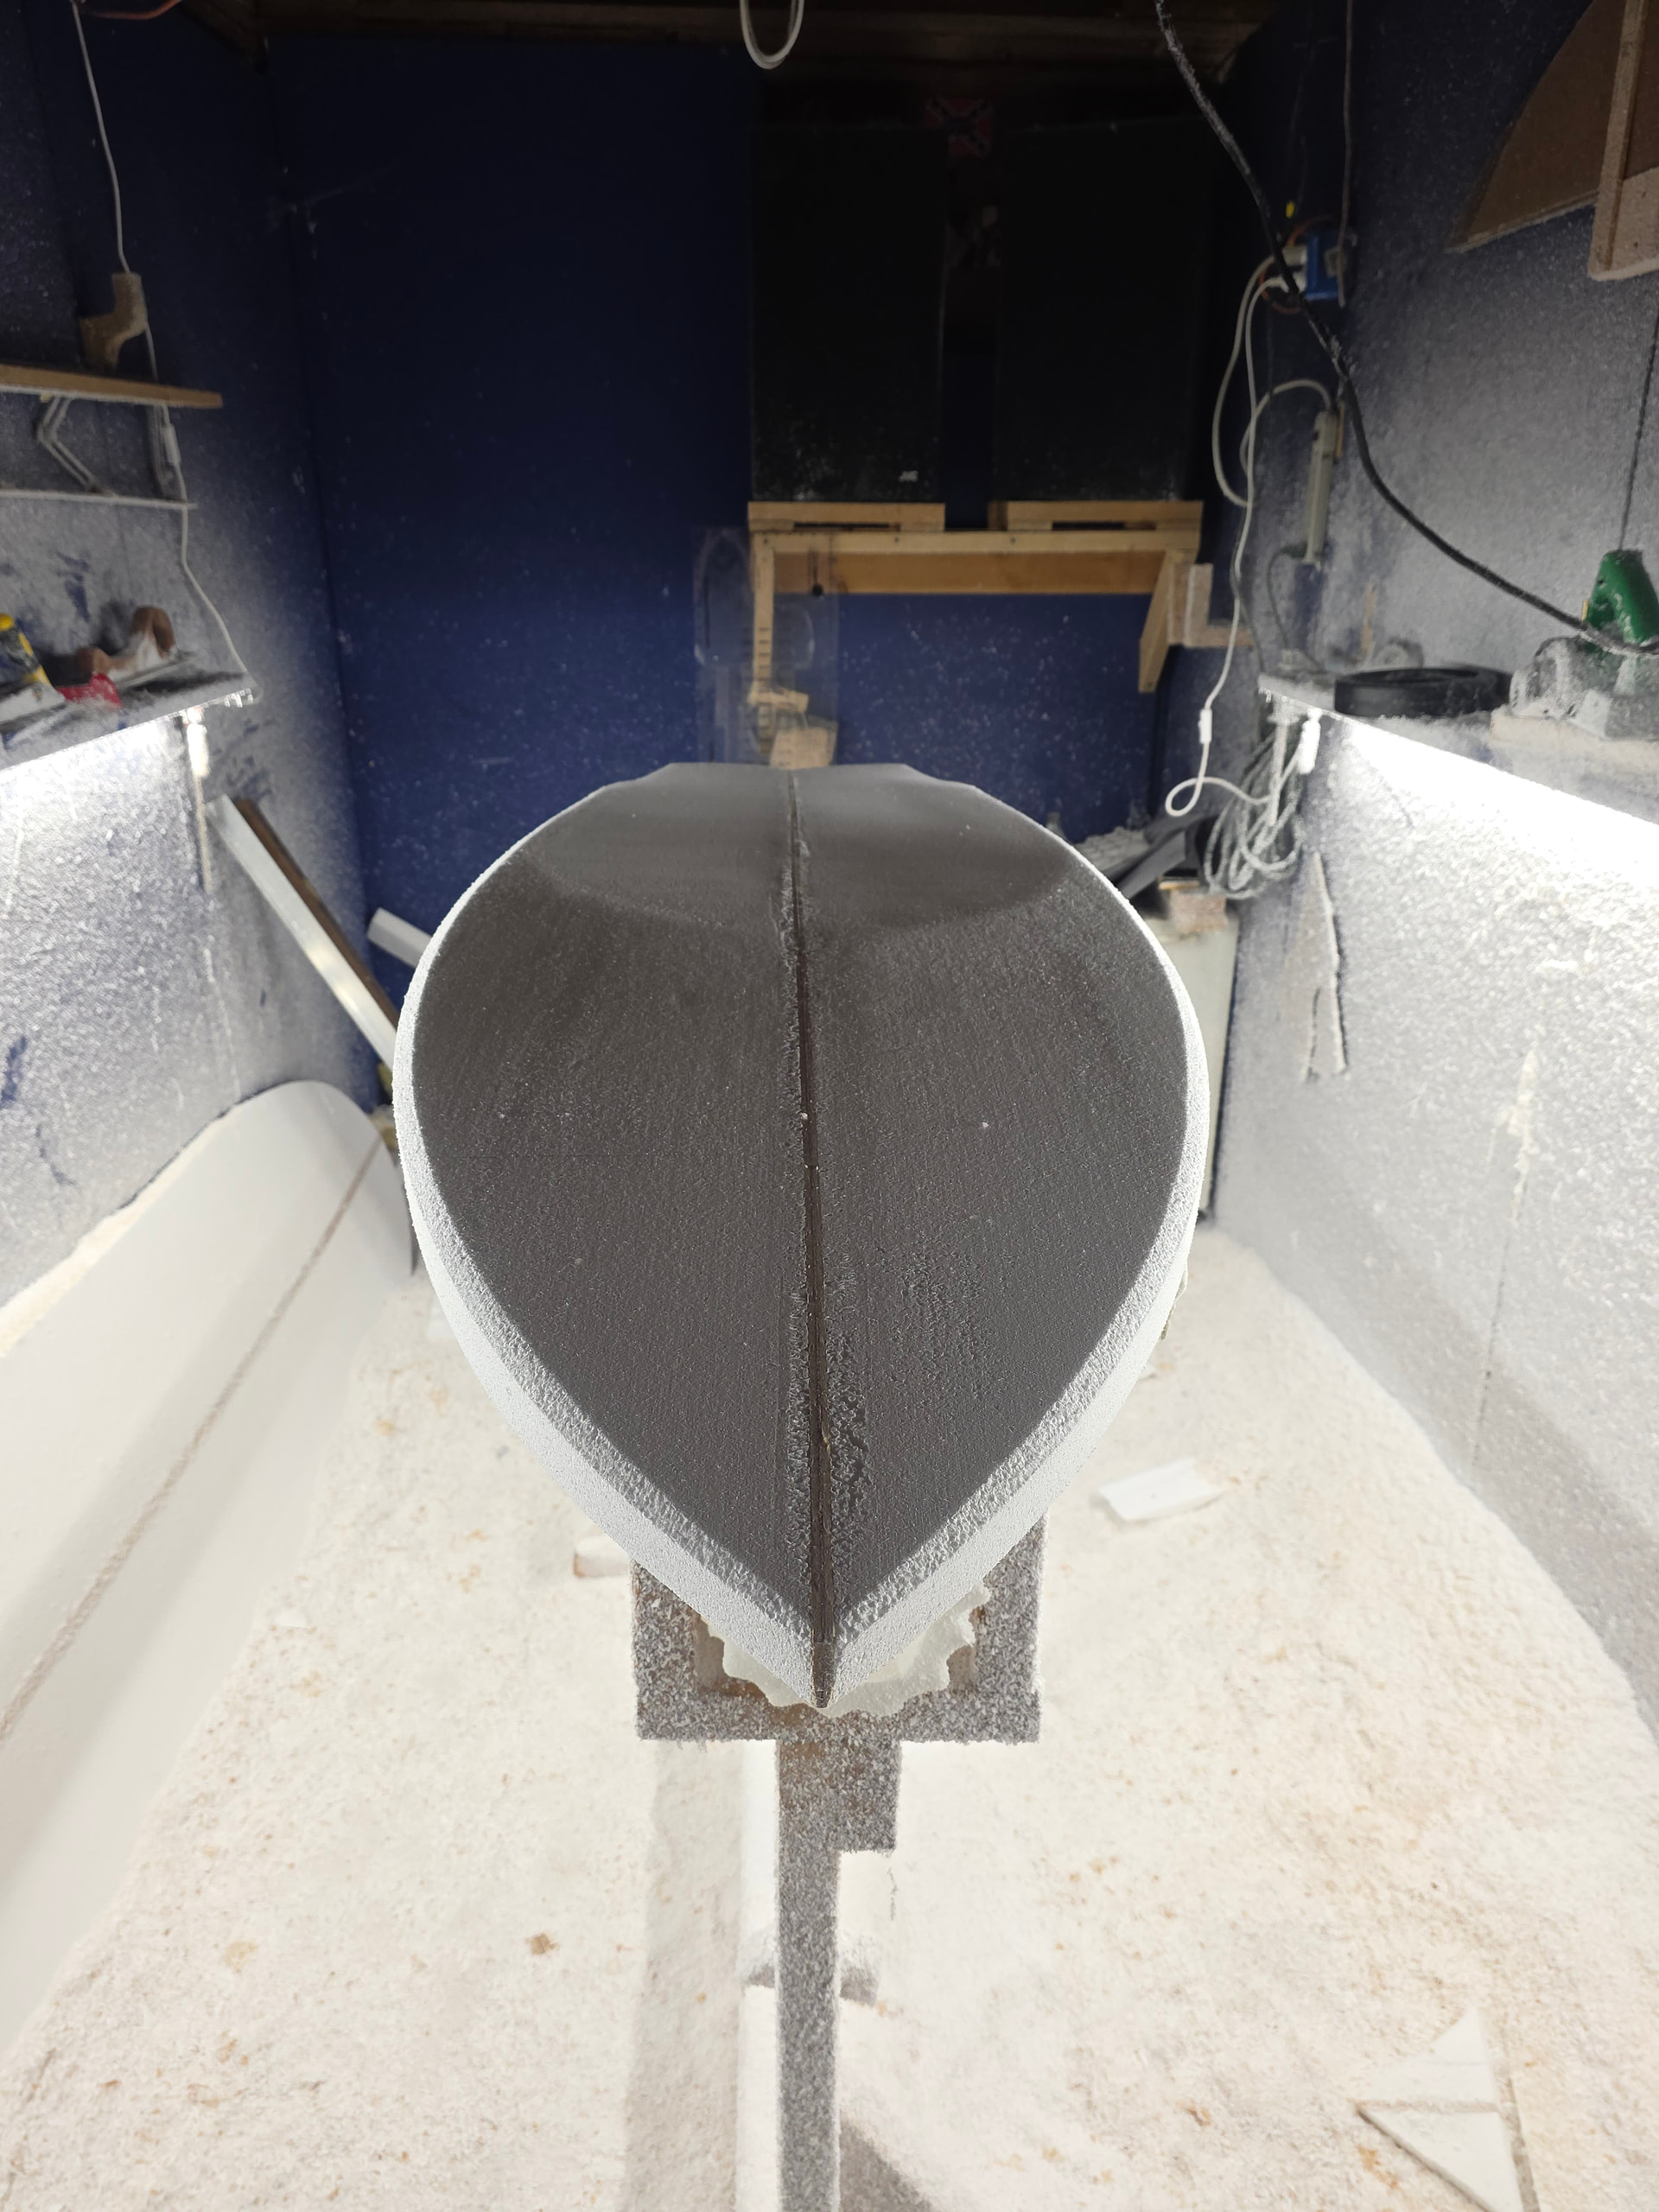
Next I start cutting in railbands and foil deck at the same time. I don’t usually mark rail bands i start cutting them in and then once I get close to where I want them to be ill measure side to side to make sure they’re even.
So had to go back and measure cause I could remember off the top of my head. Wings measure 13 tip to tip, 5 5/8 Crack depth and wide point is about 46 “ from wings, that’s also roughly the tick point. Thank you!
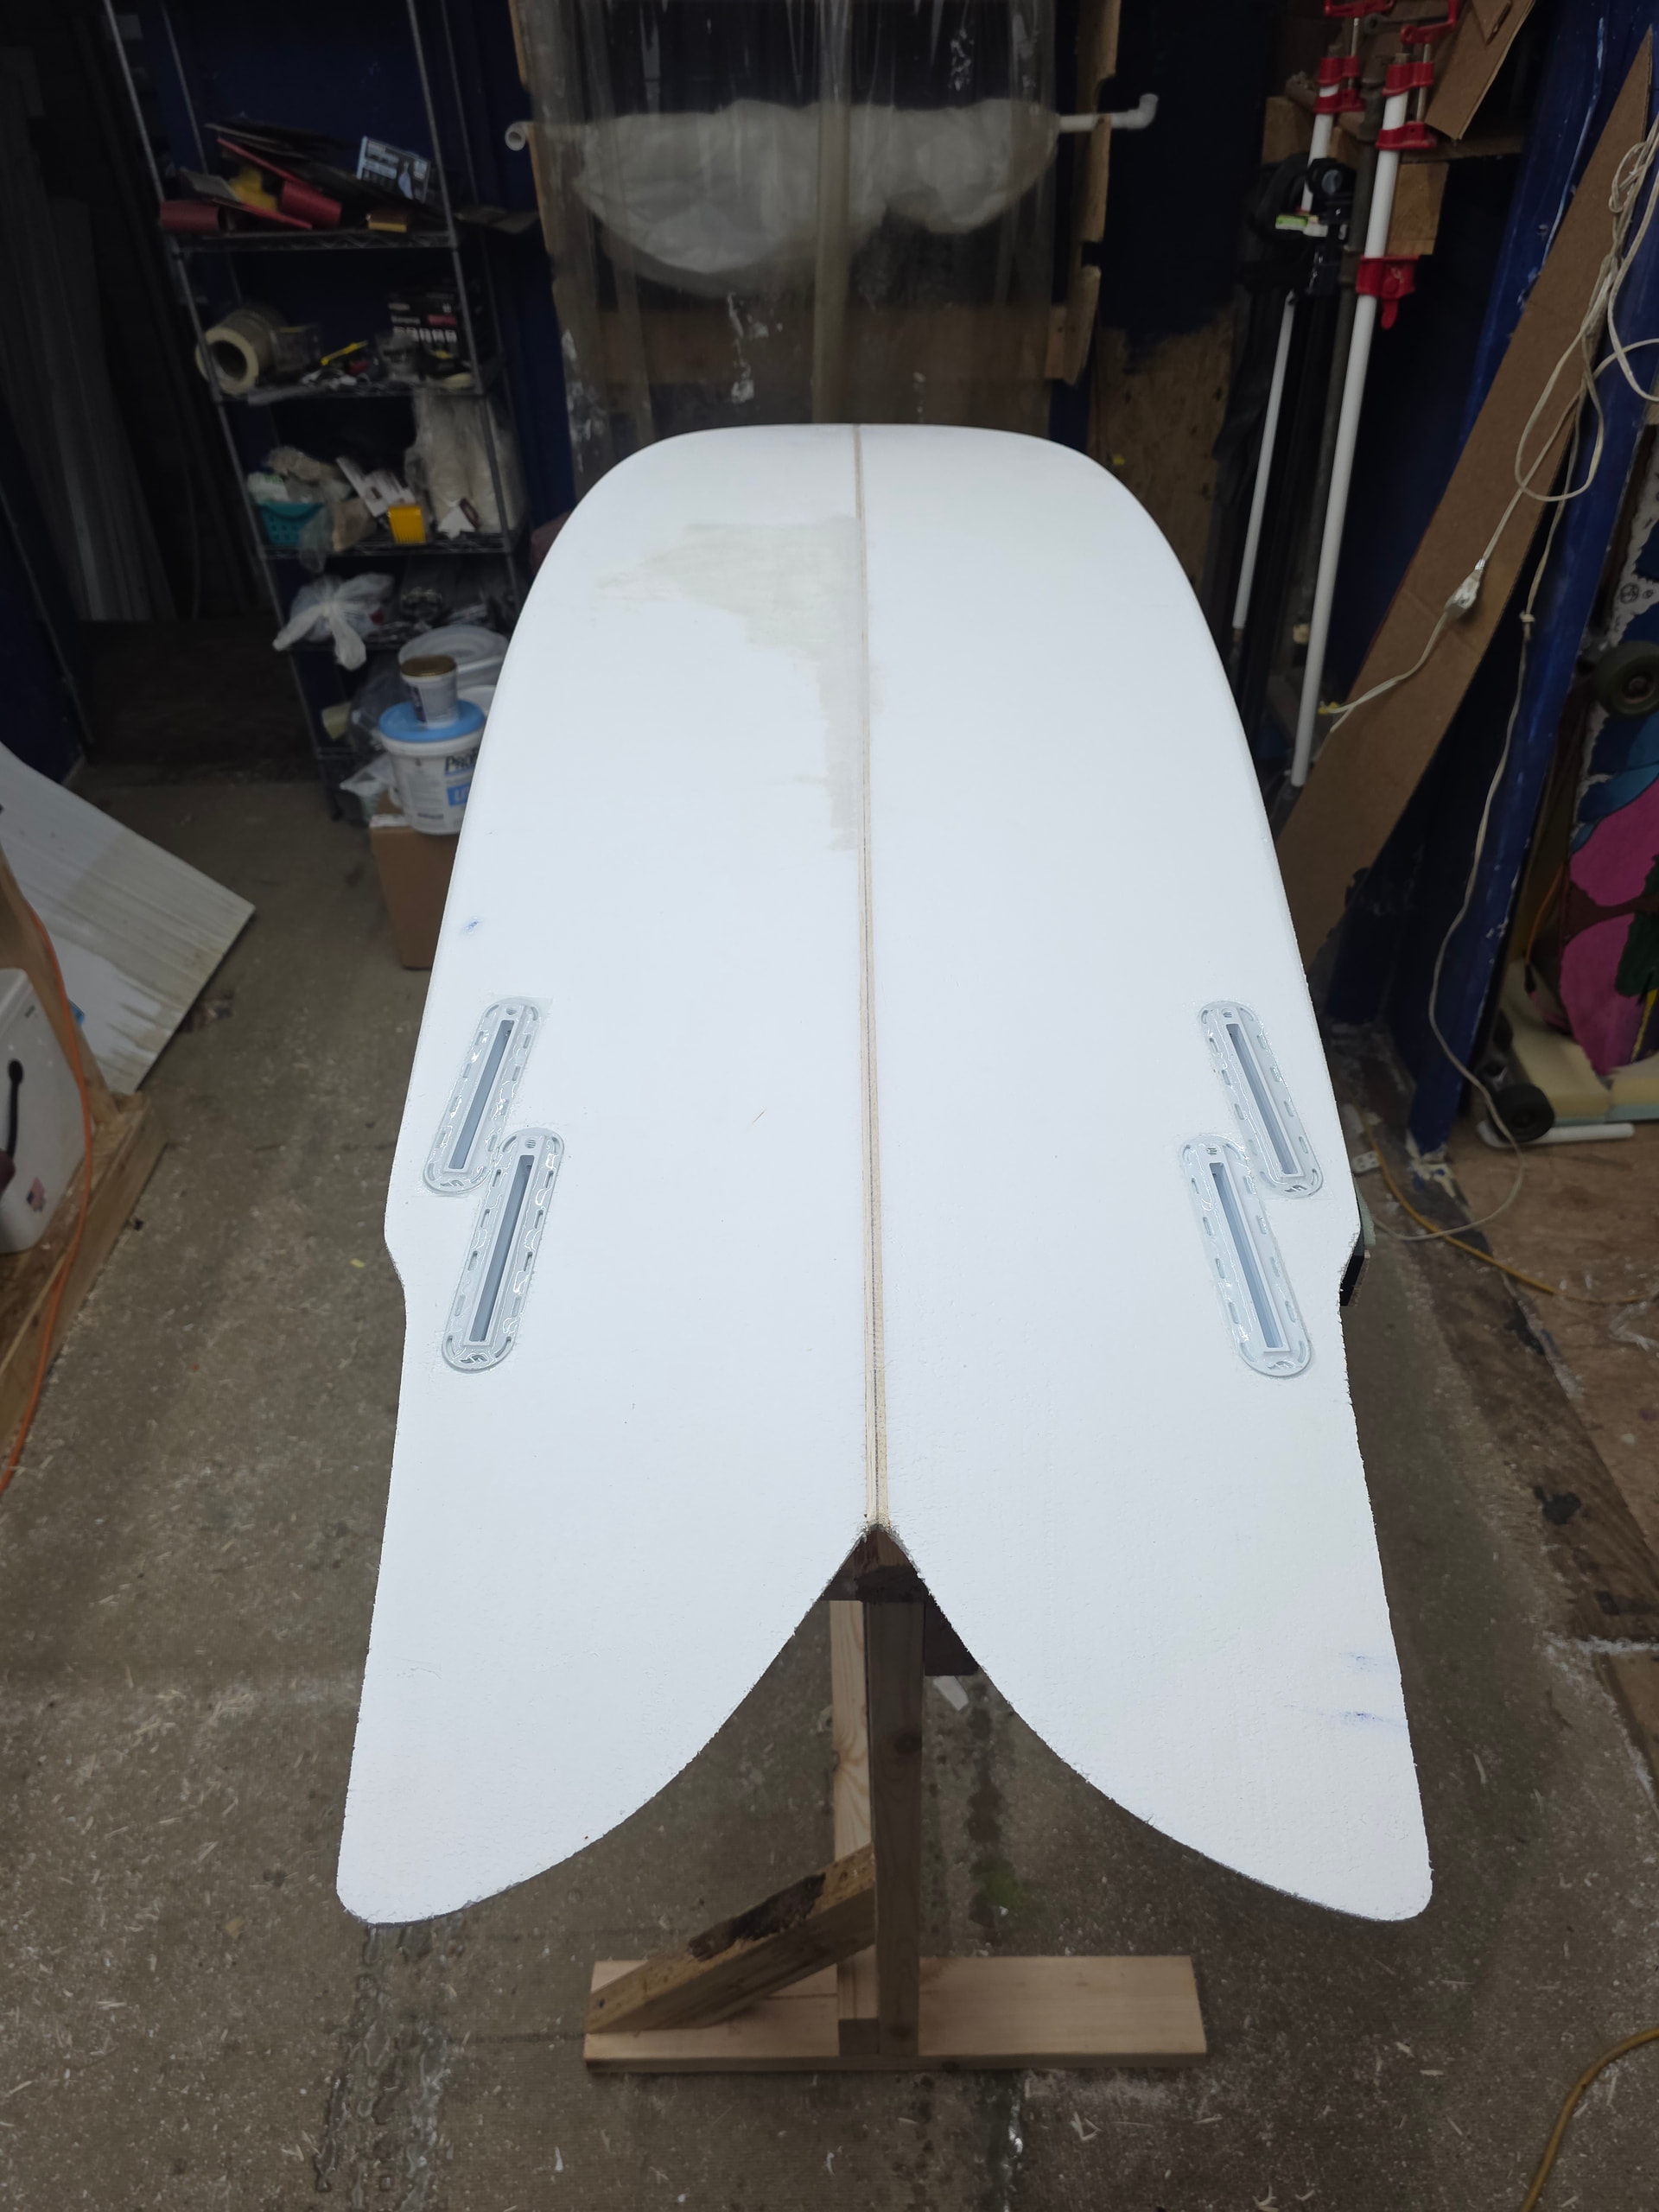
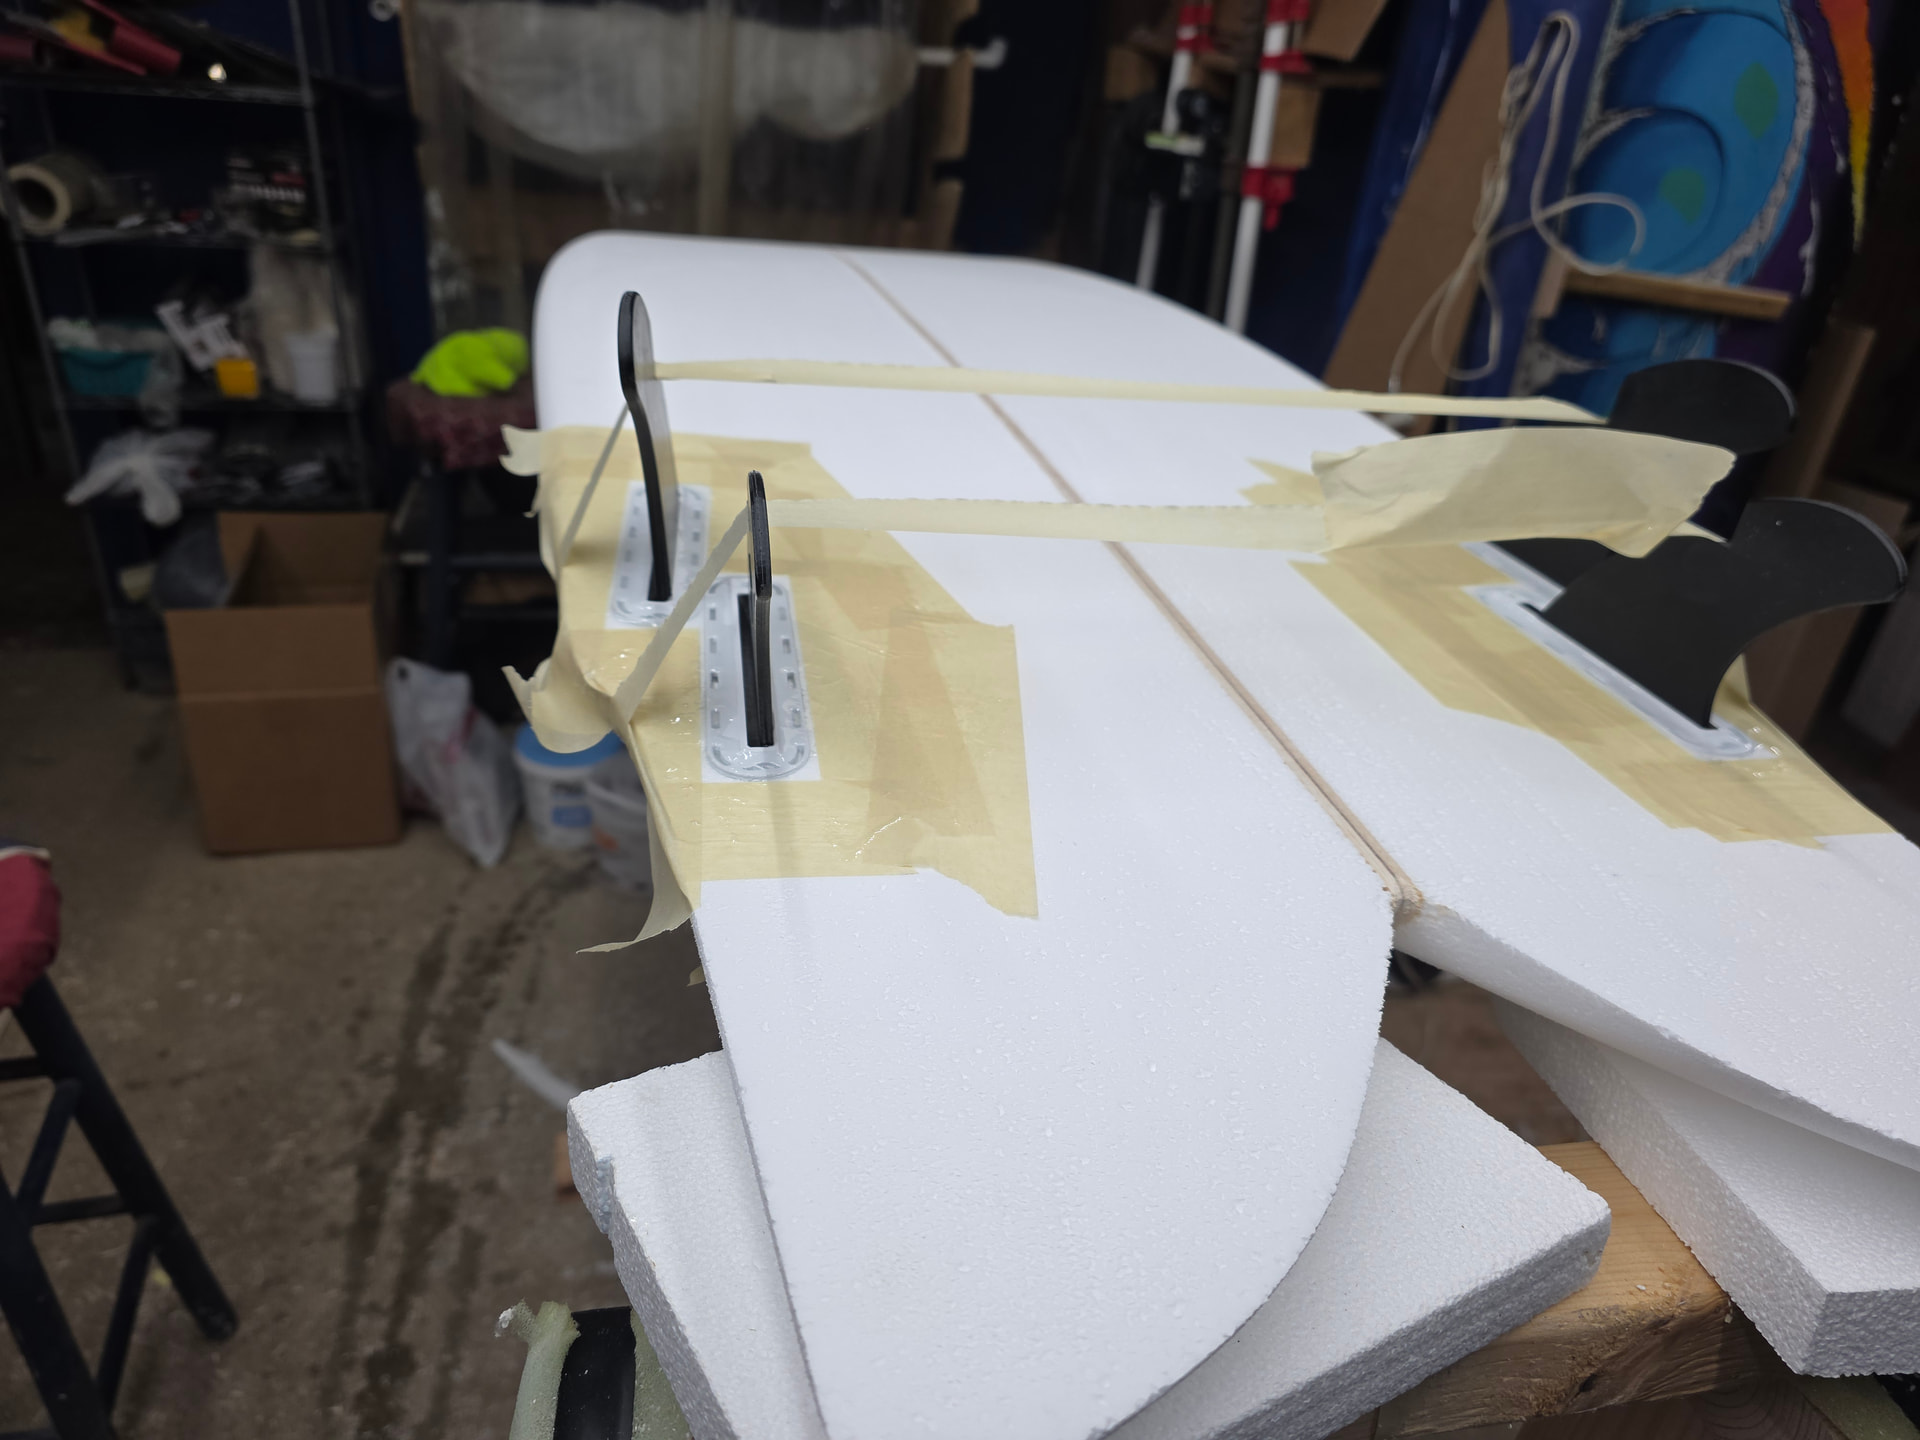
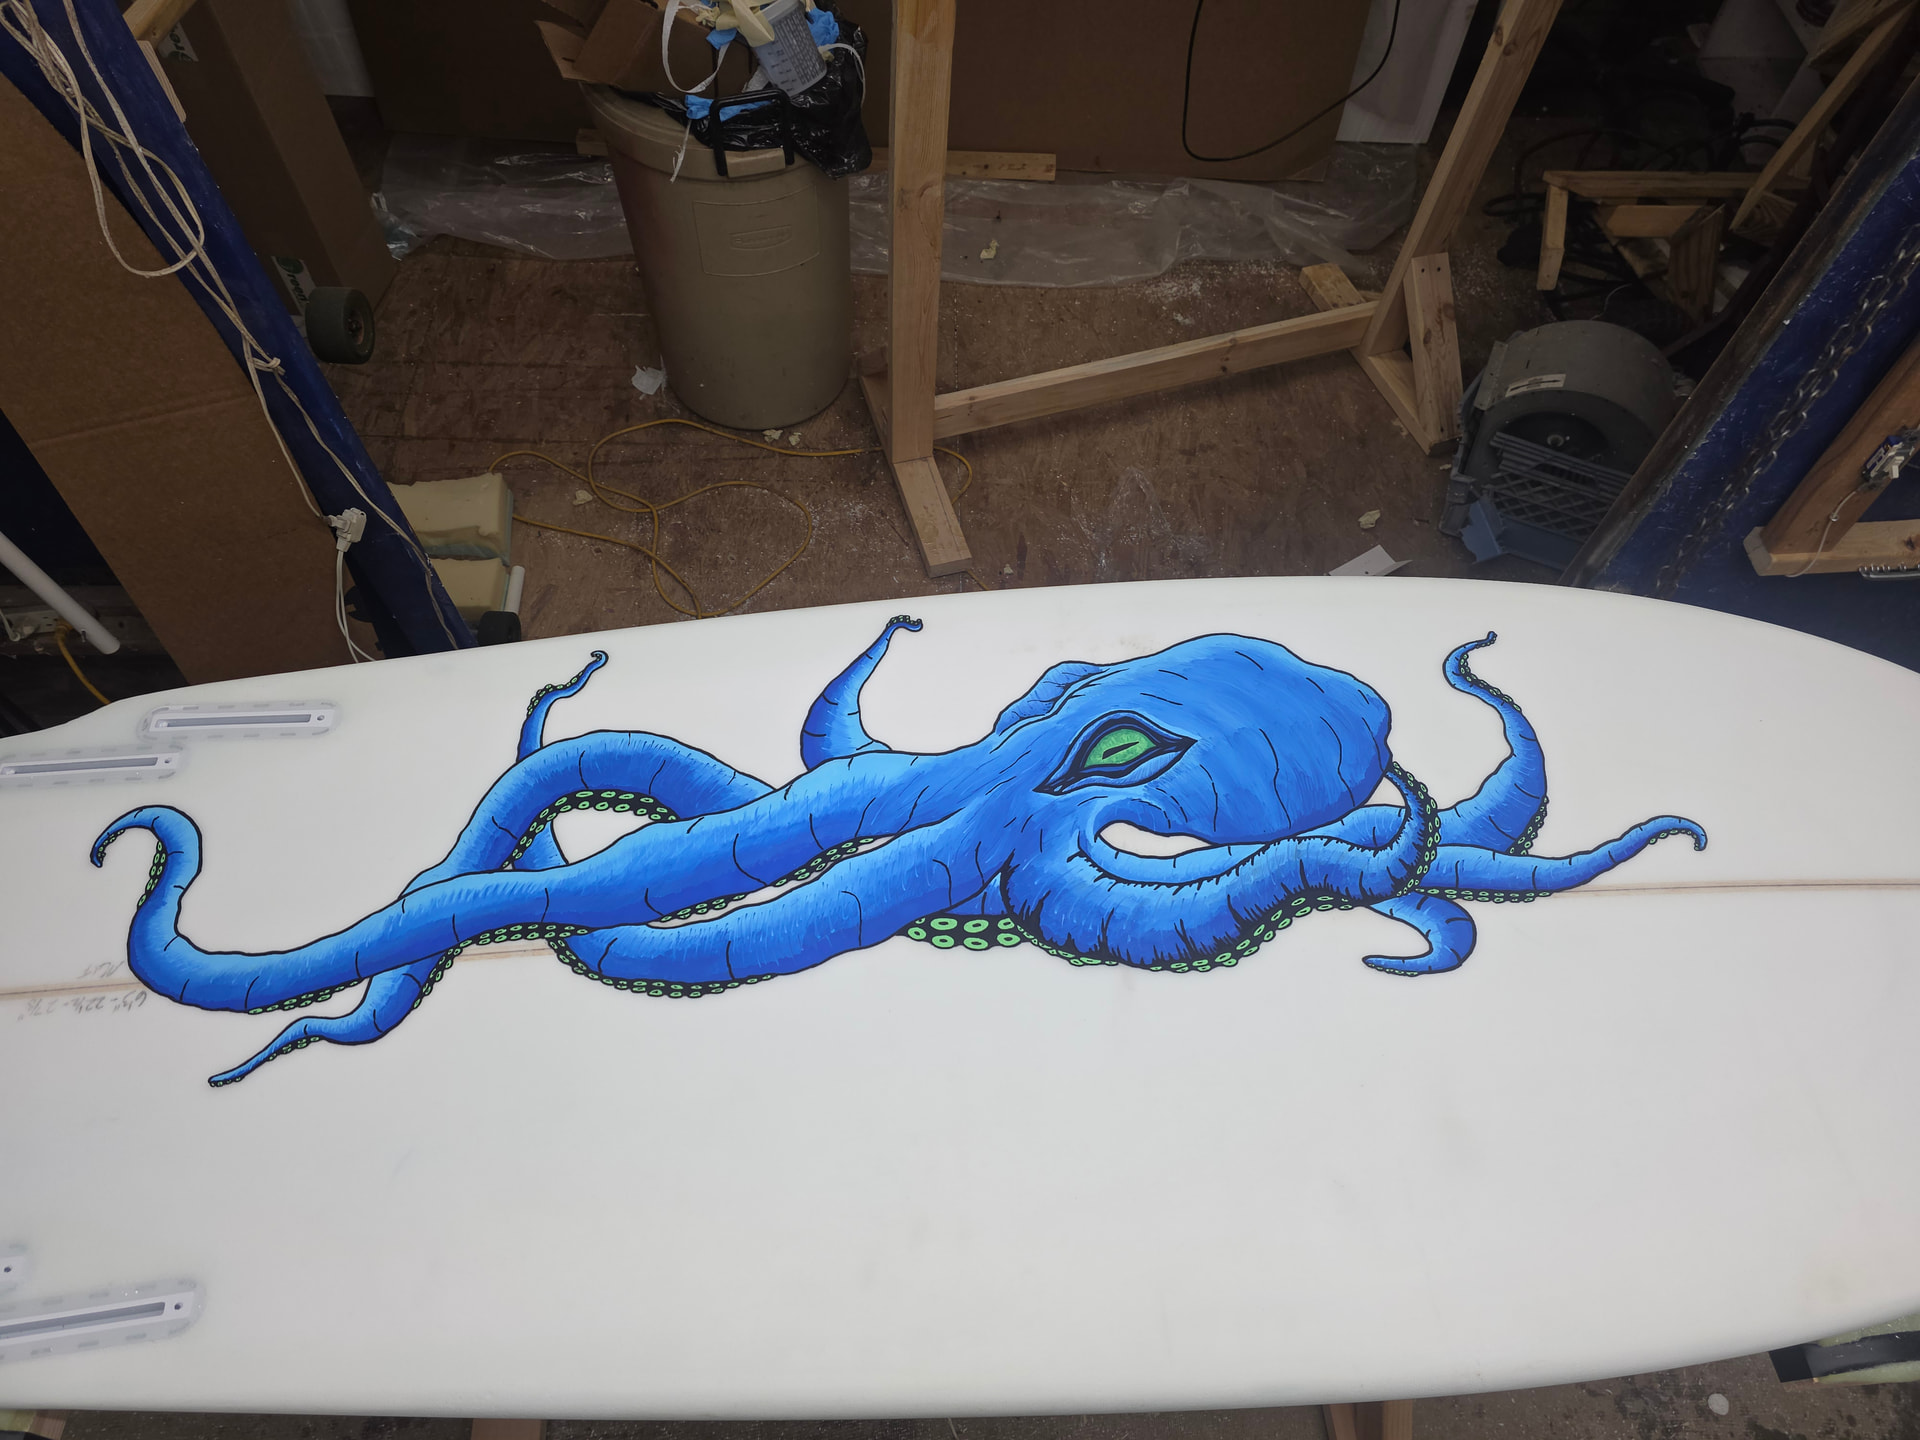
Went with future fins for this board, routed and set fin boxes, I have more pictures from the process but will only let me post one at a time. 14 toe for front fins and 3/16 for rear fins. I have another fish i really like the feel of so basically just copied fin layout from that board.
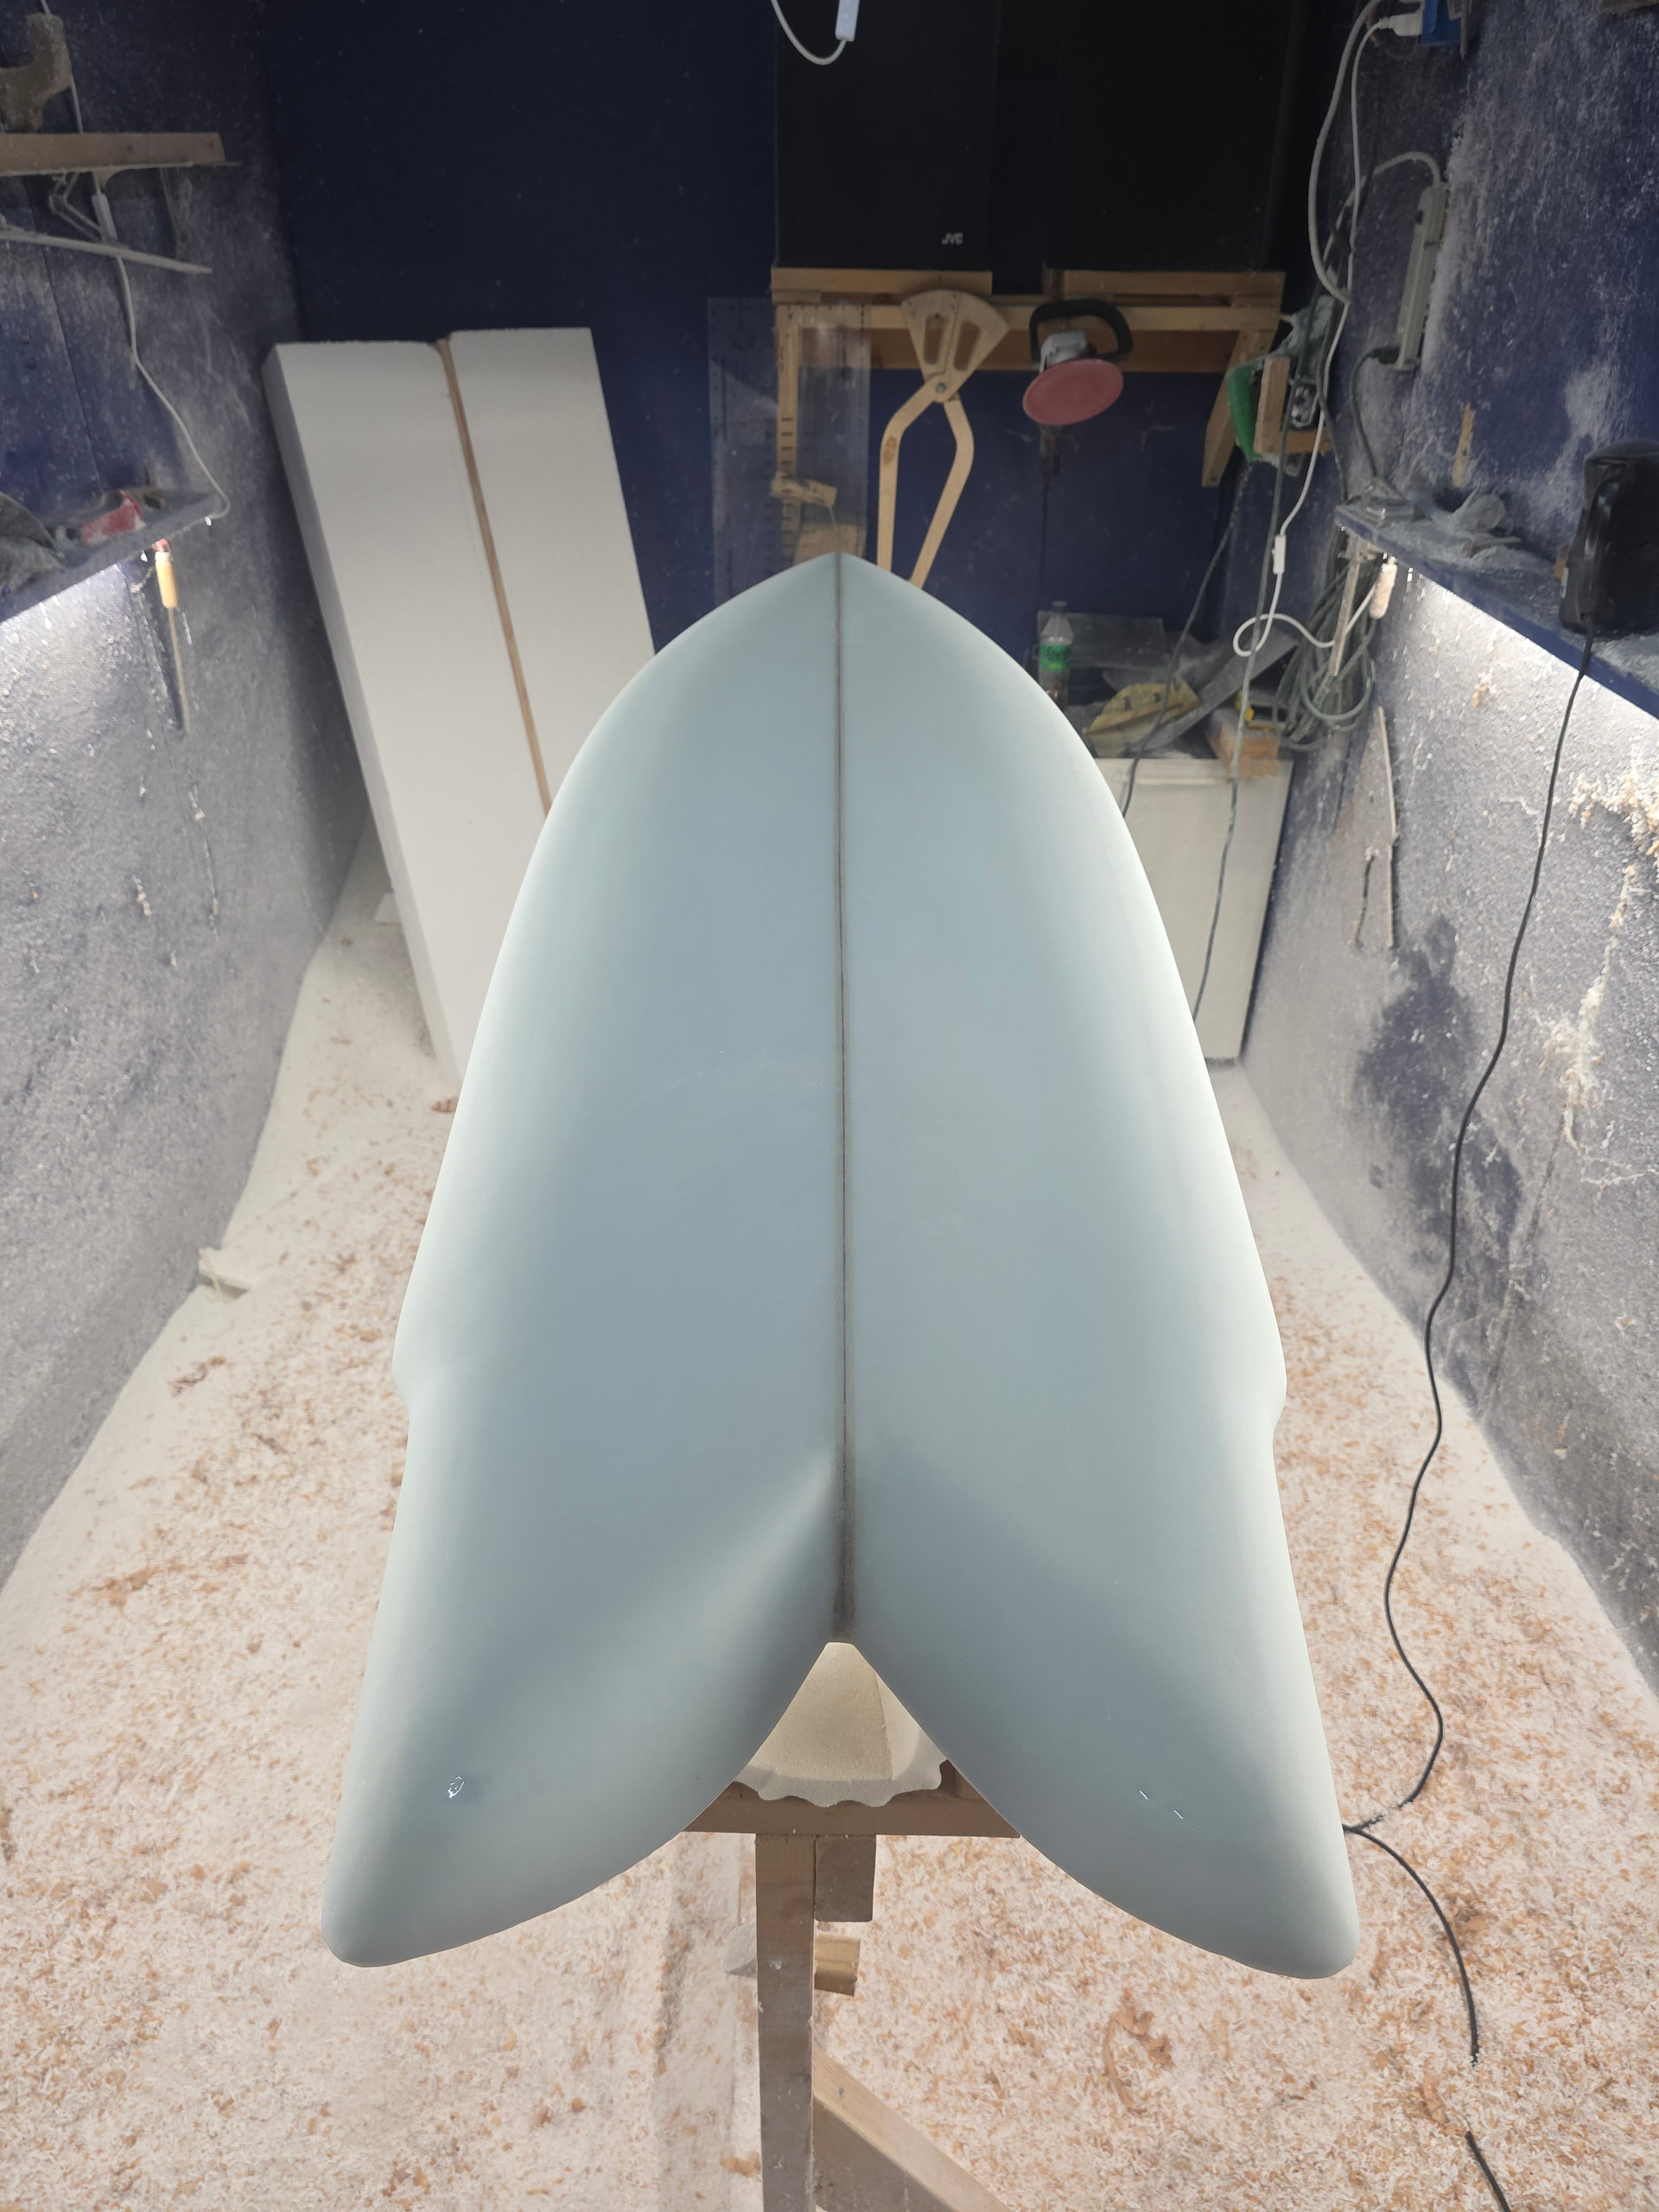
Also I tried afew different spackles to see which I liked better, that grey patch is the old dap spackle I used to use but I guess its changed now dries grey instead of white. So went with Sherman Williams instead works way better and dries perfectly white.
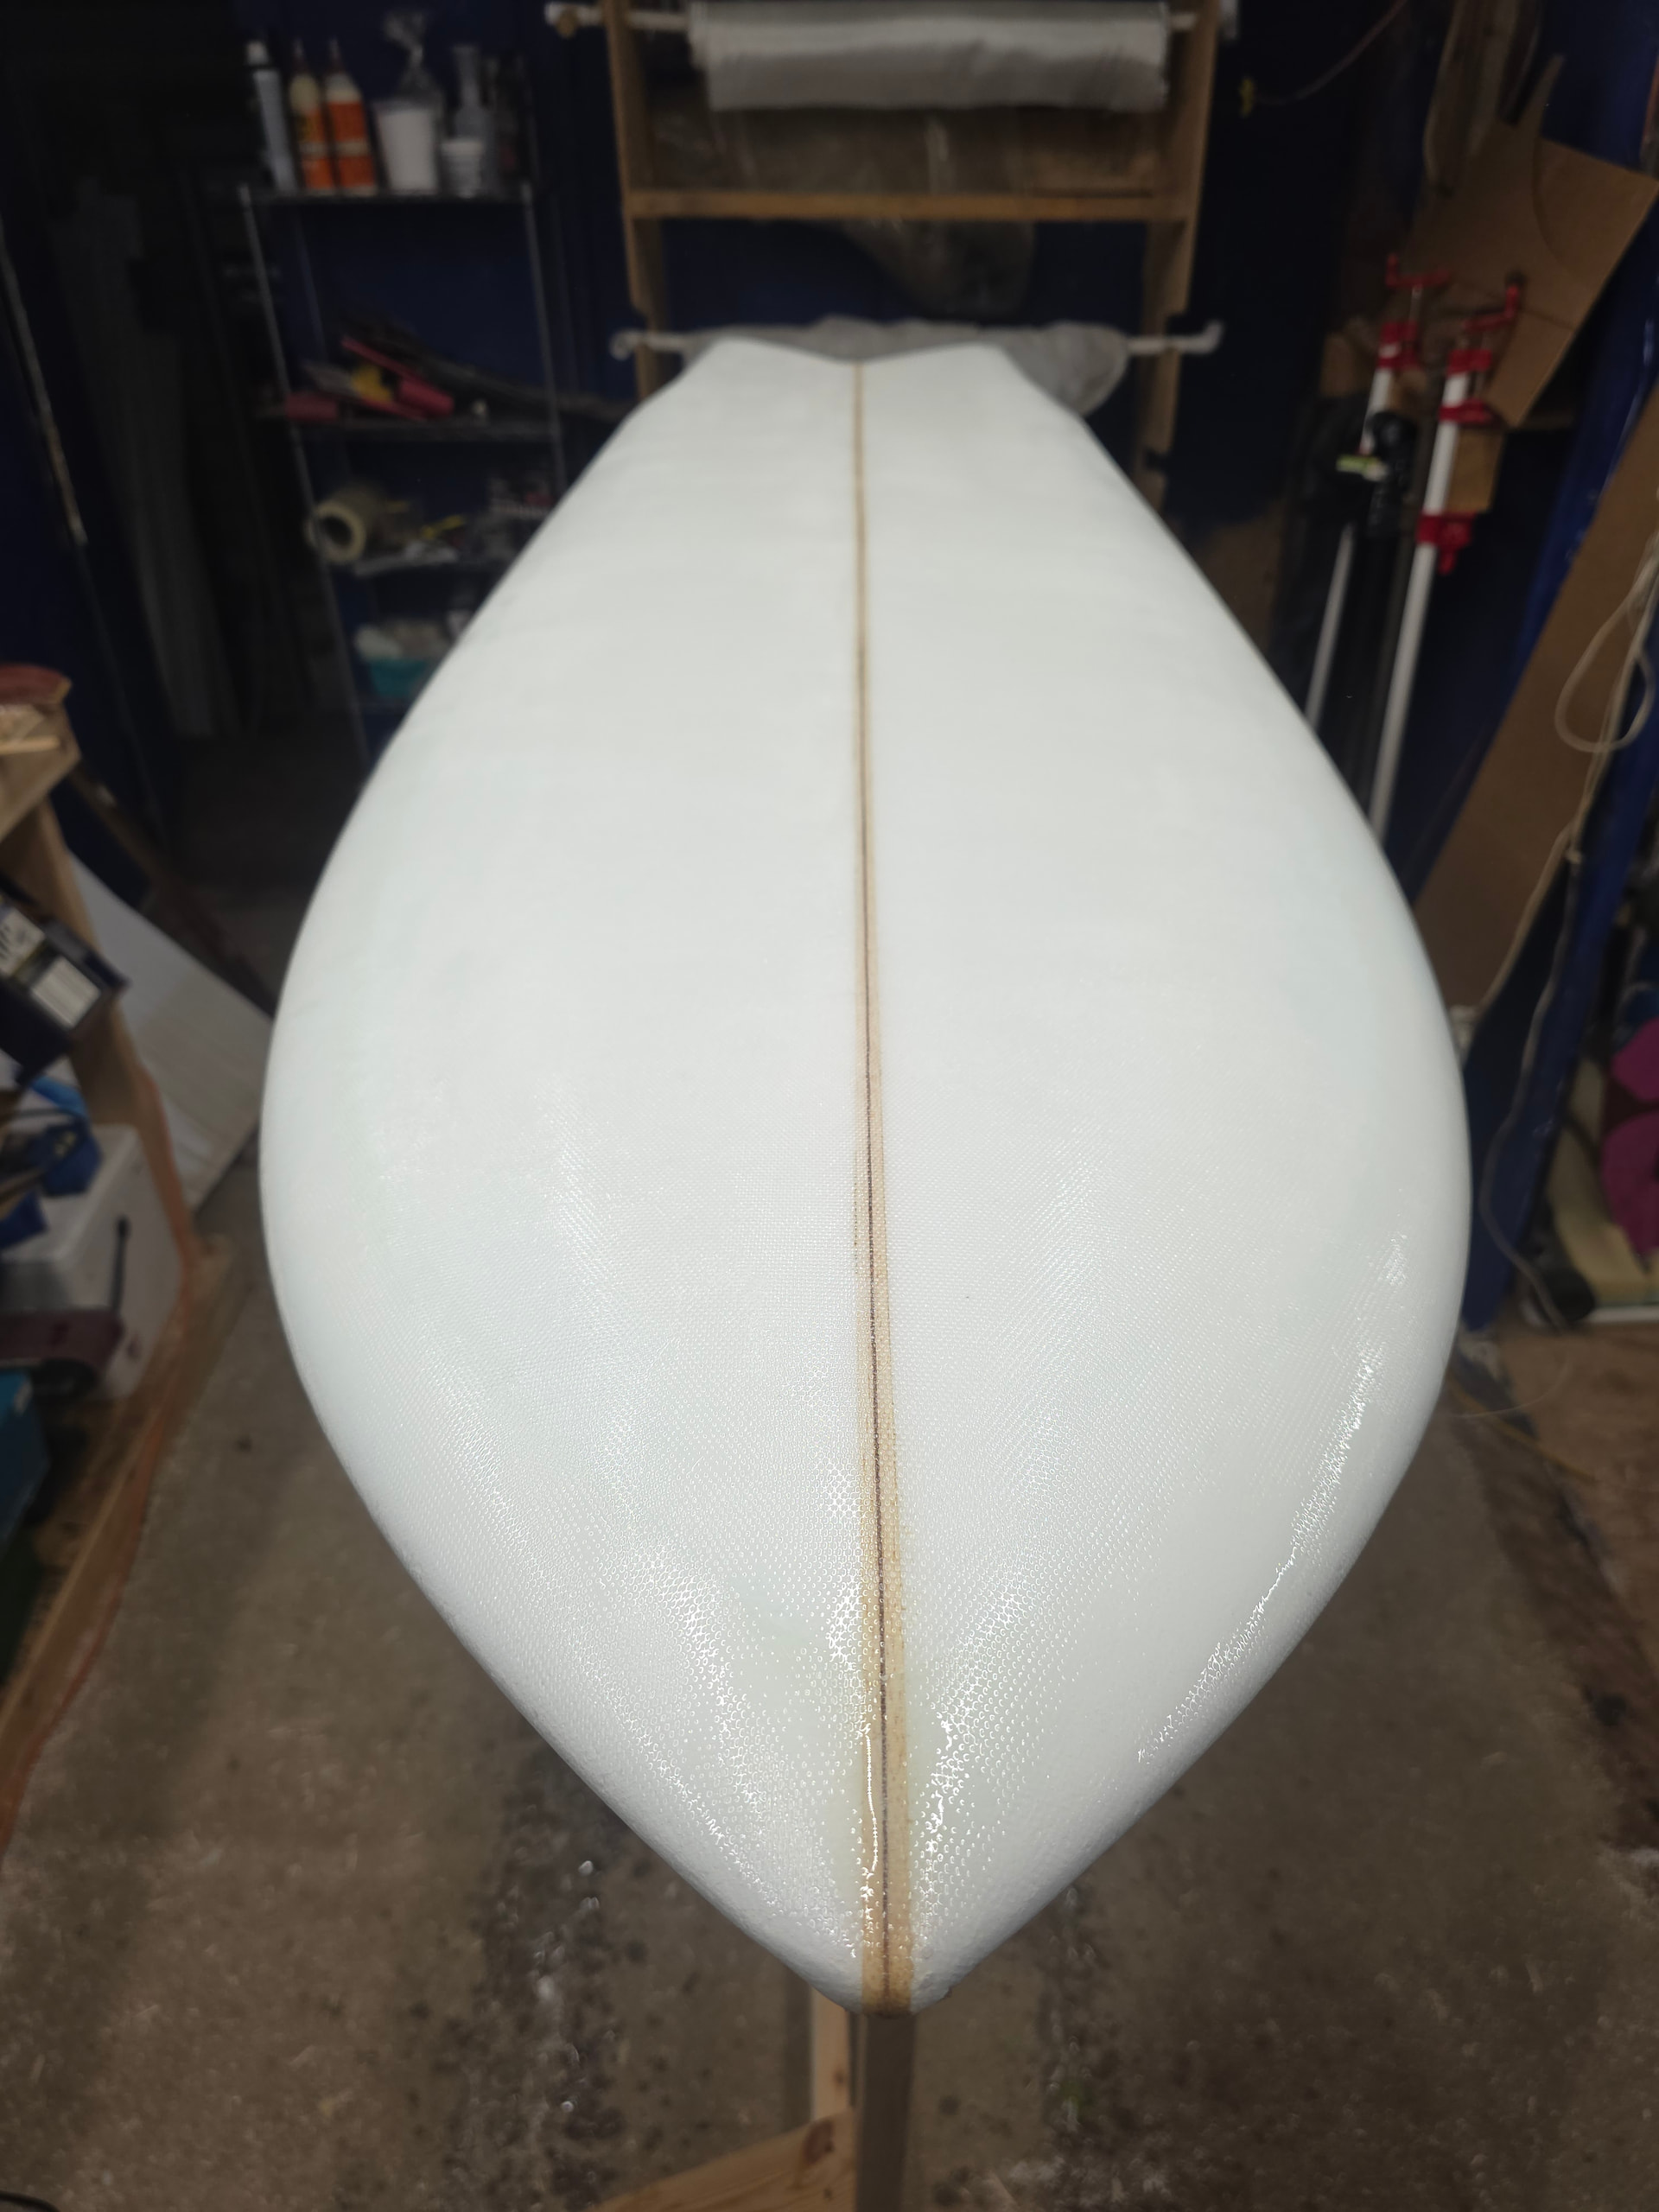
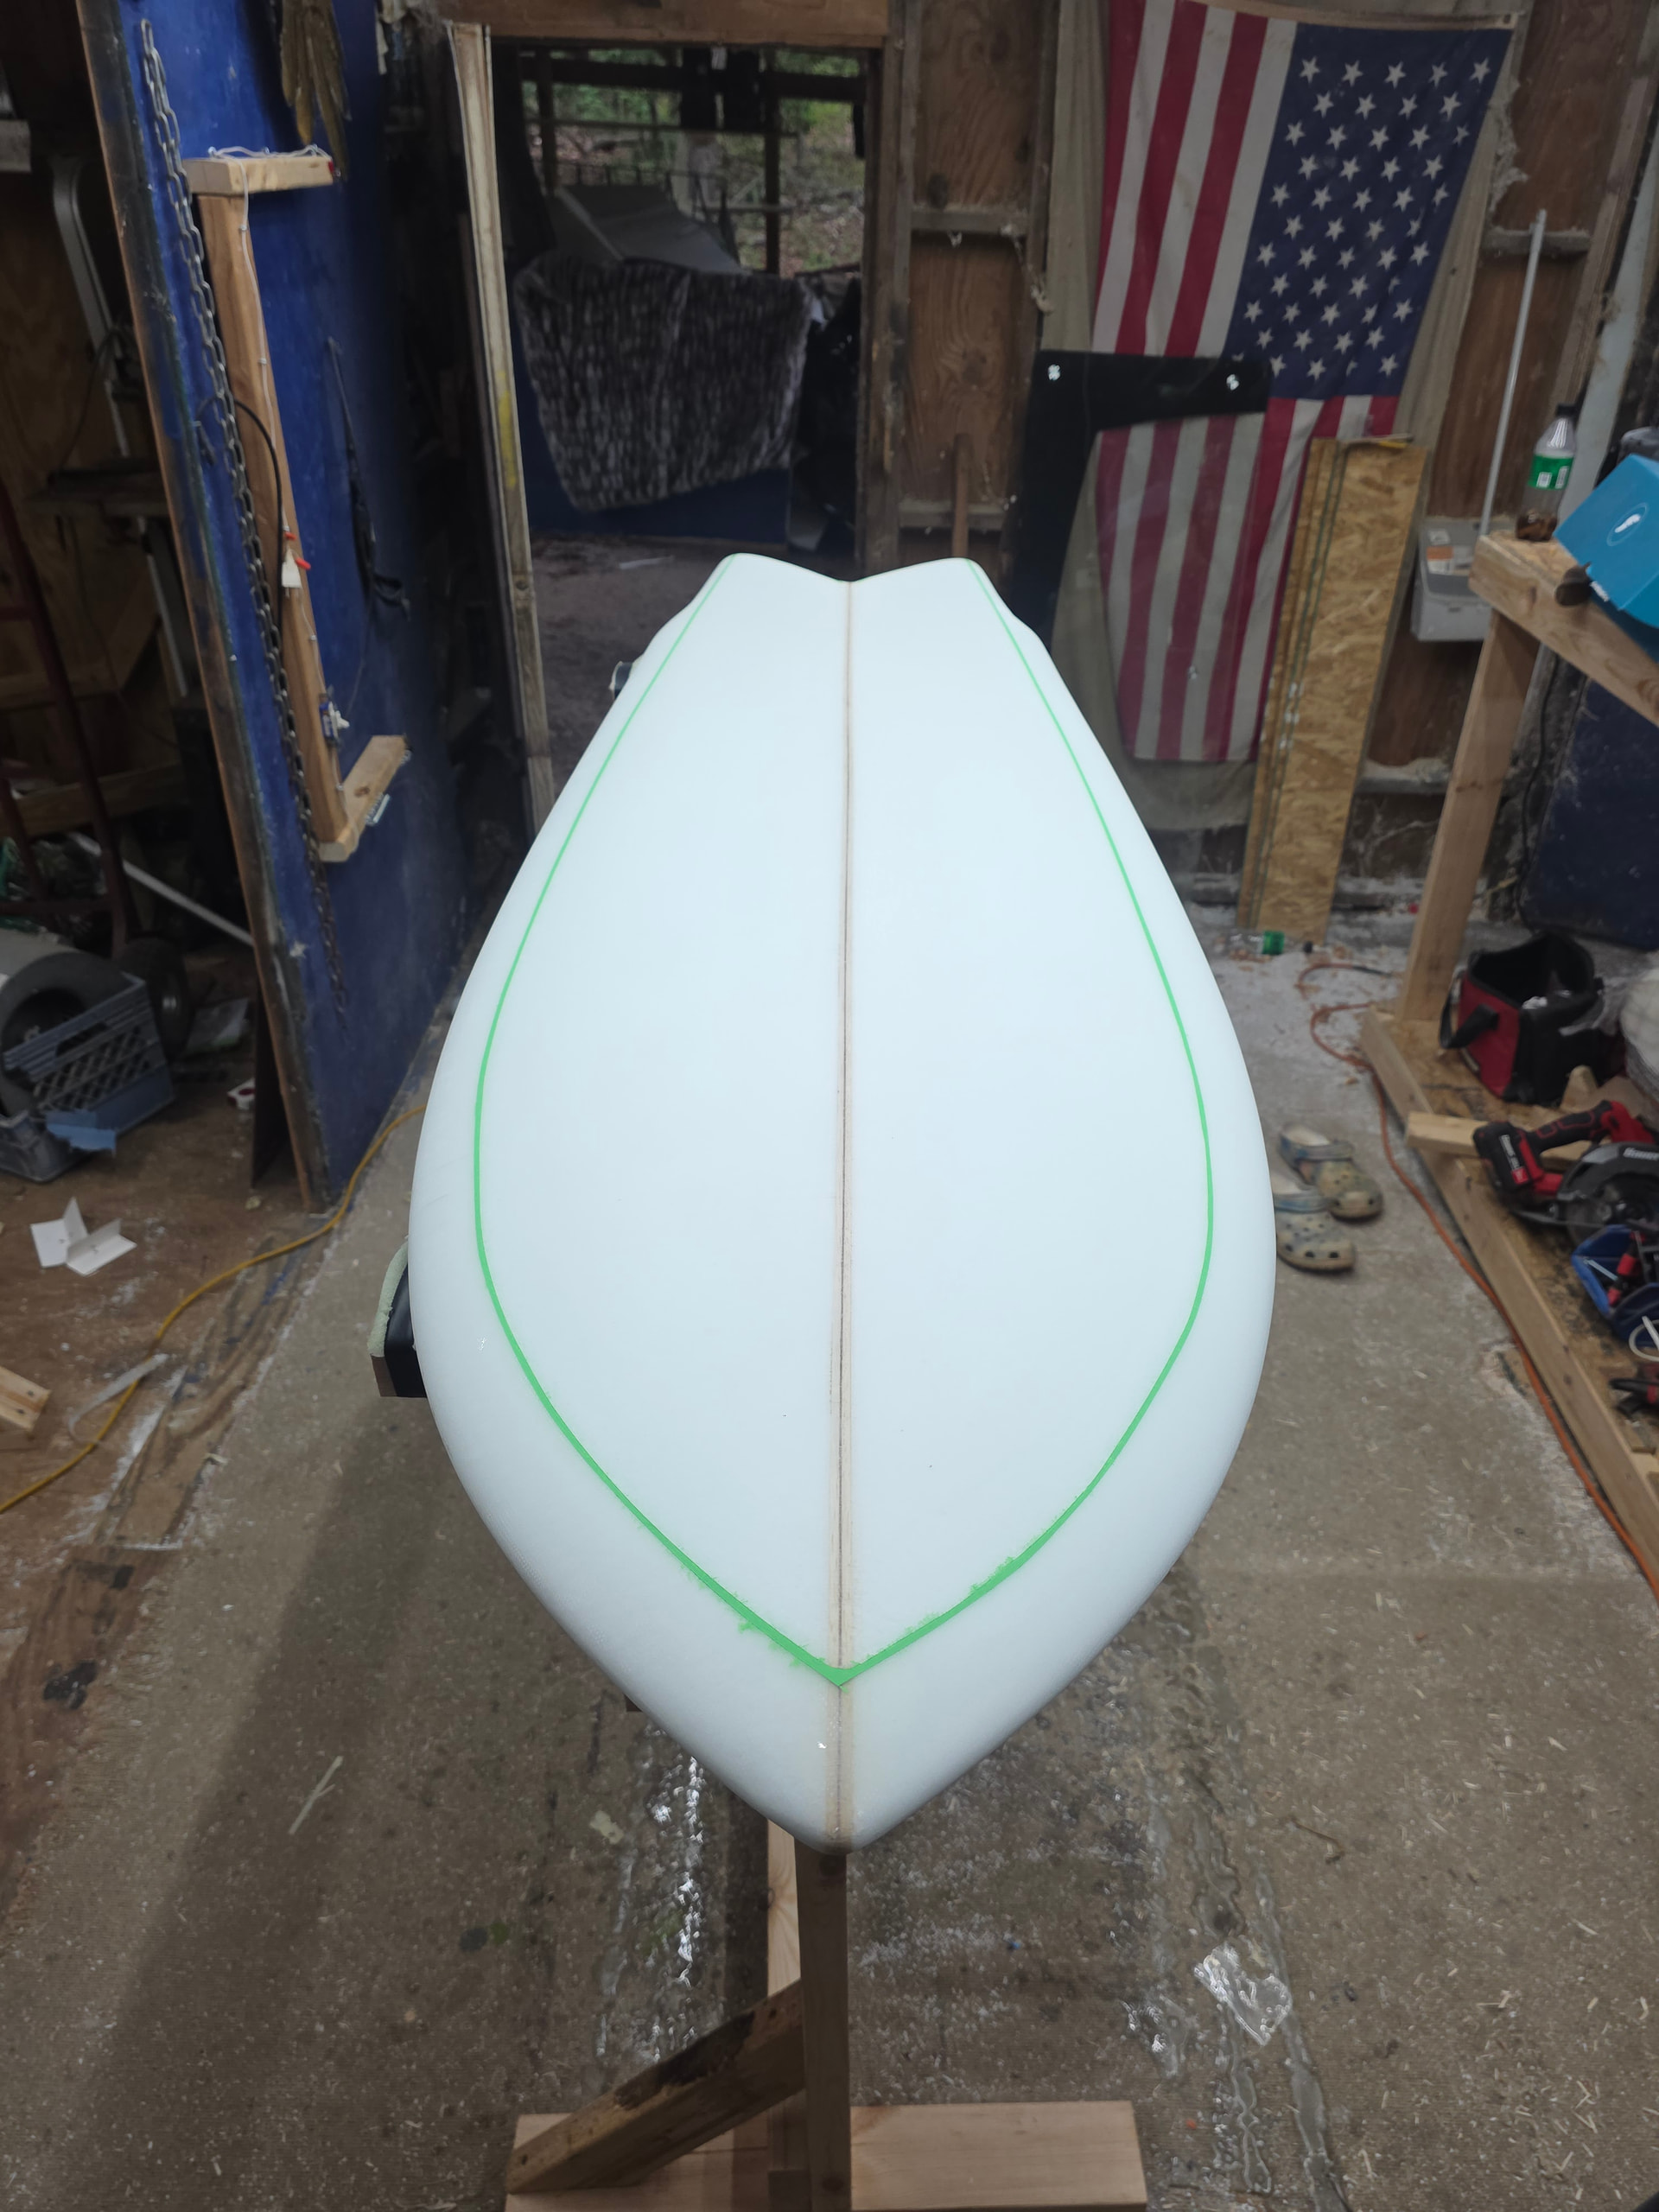
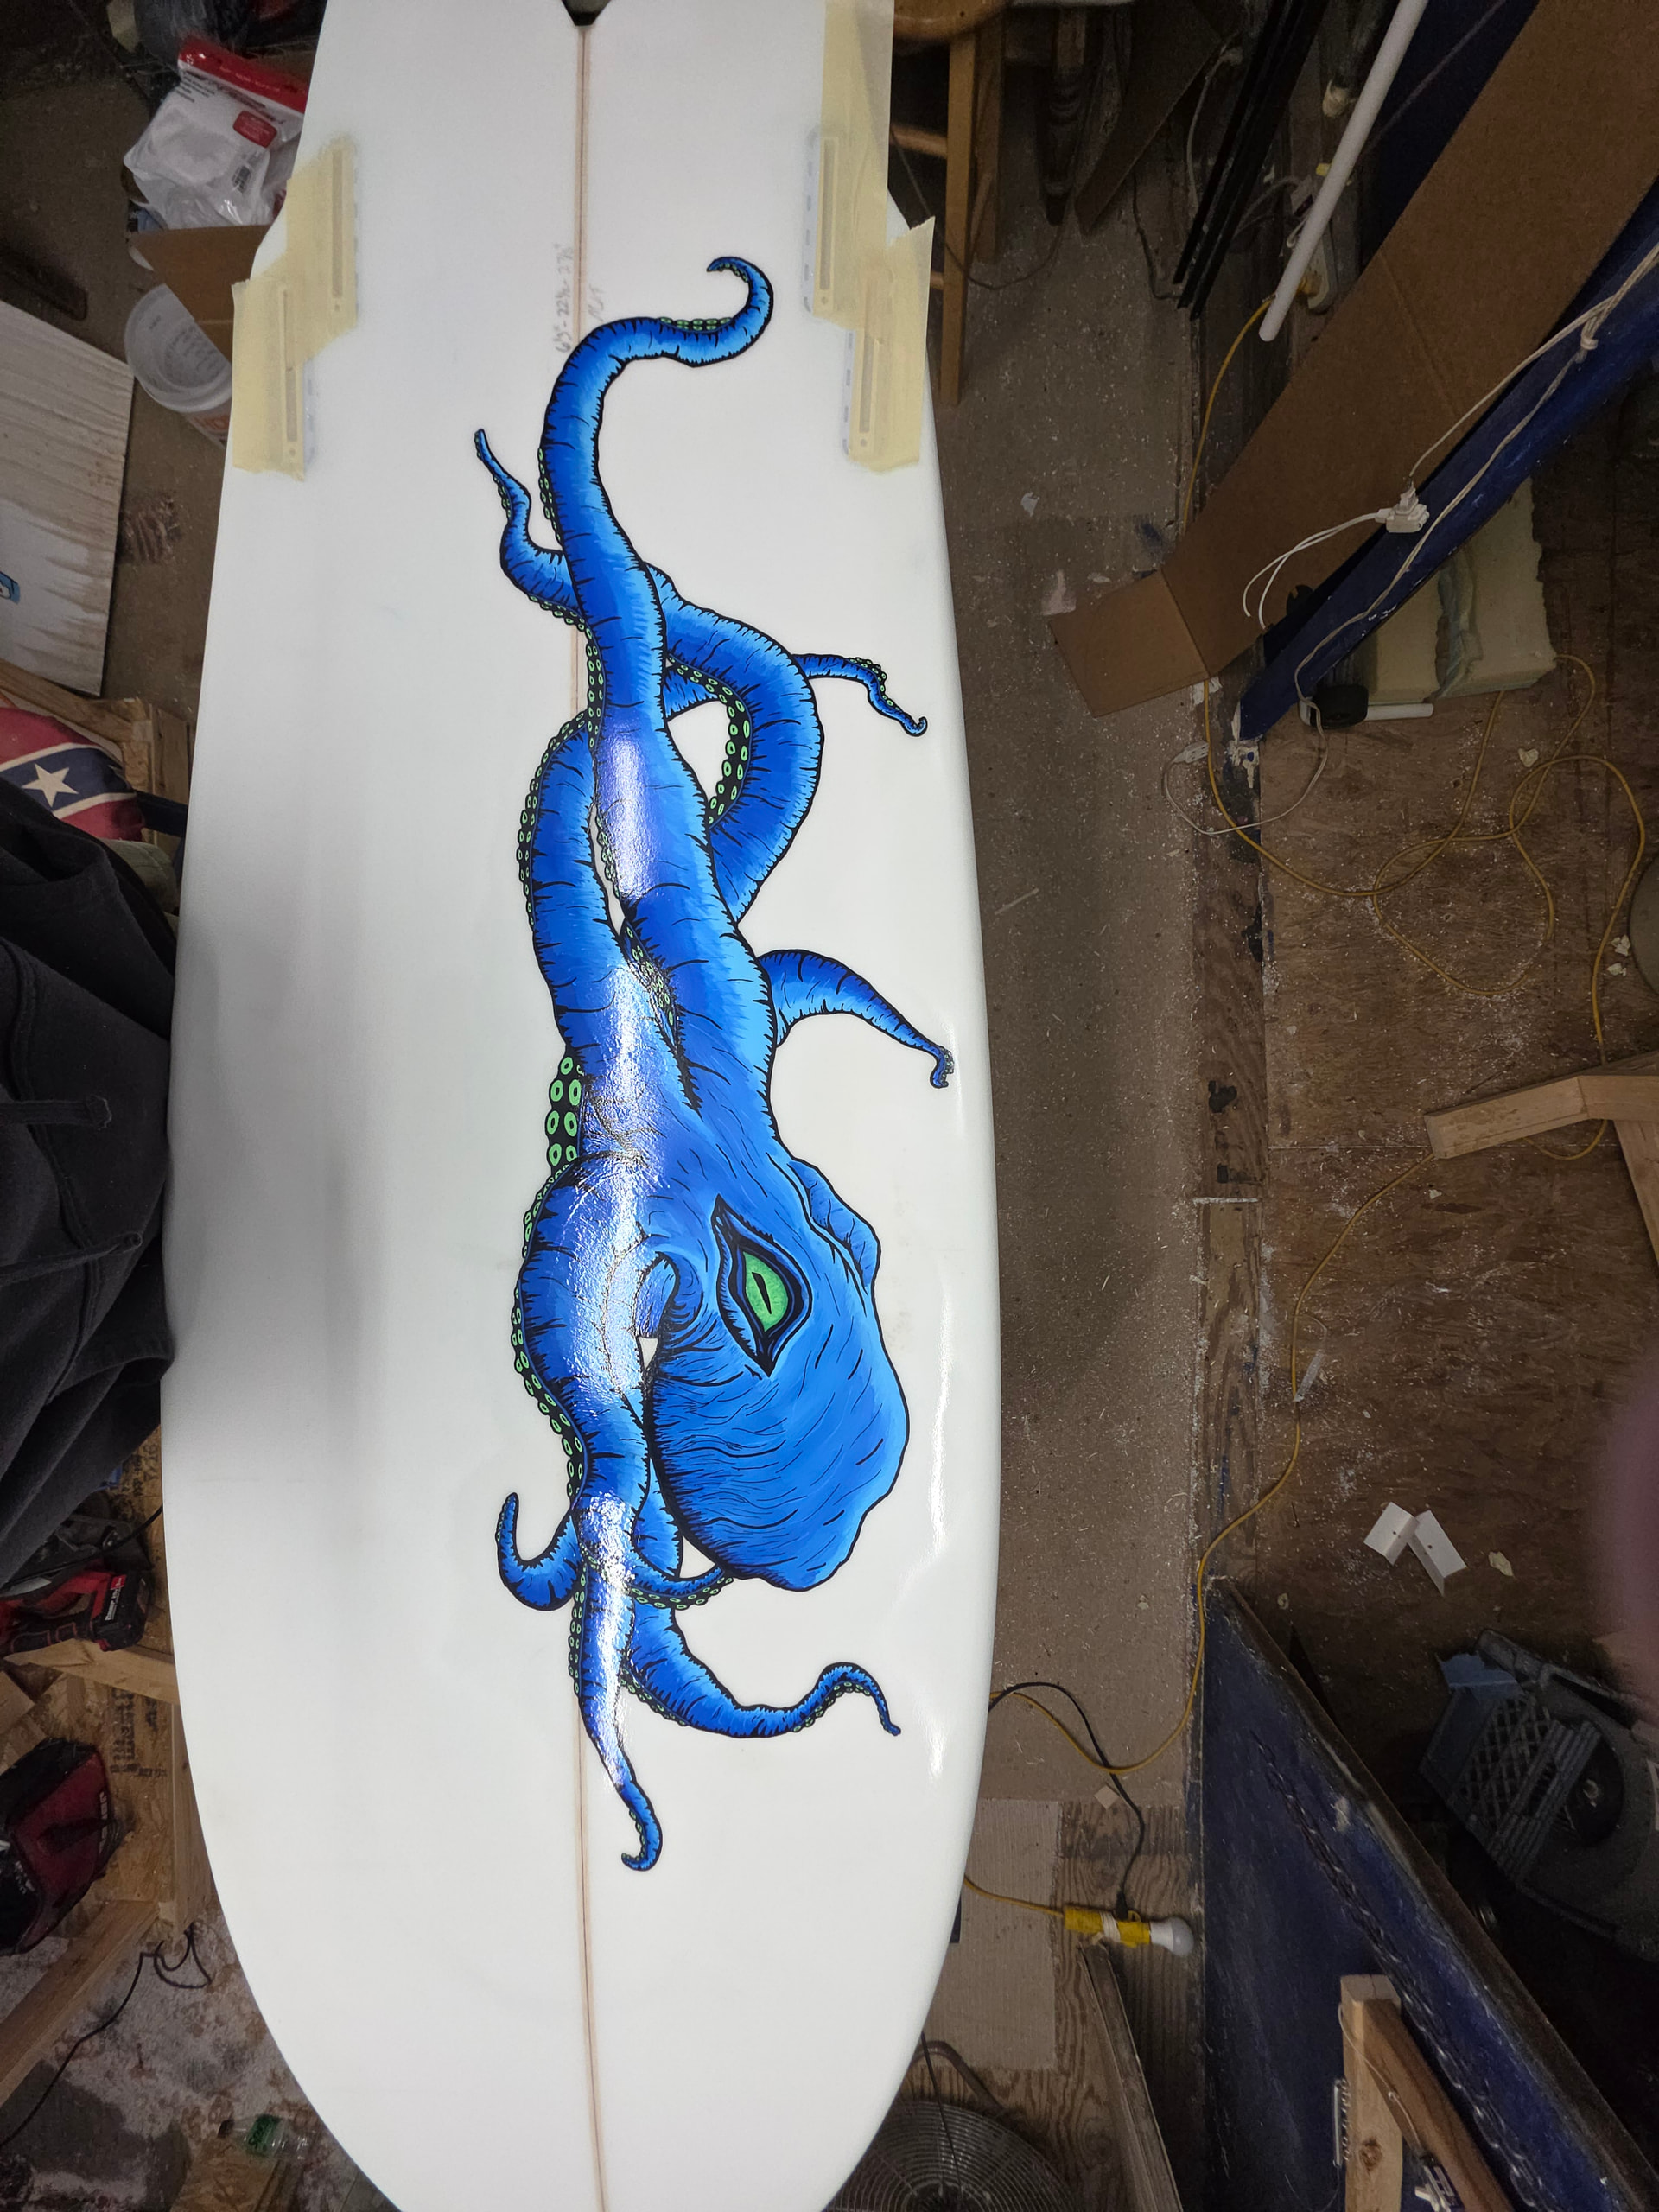
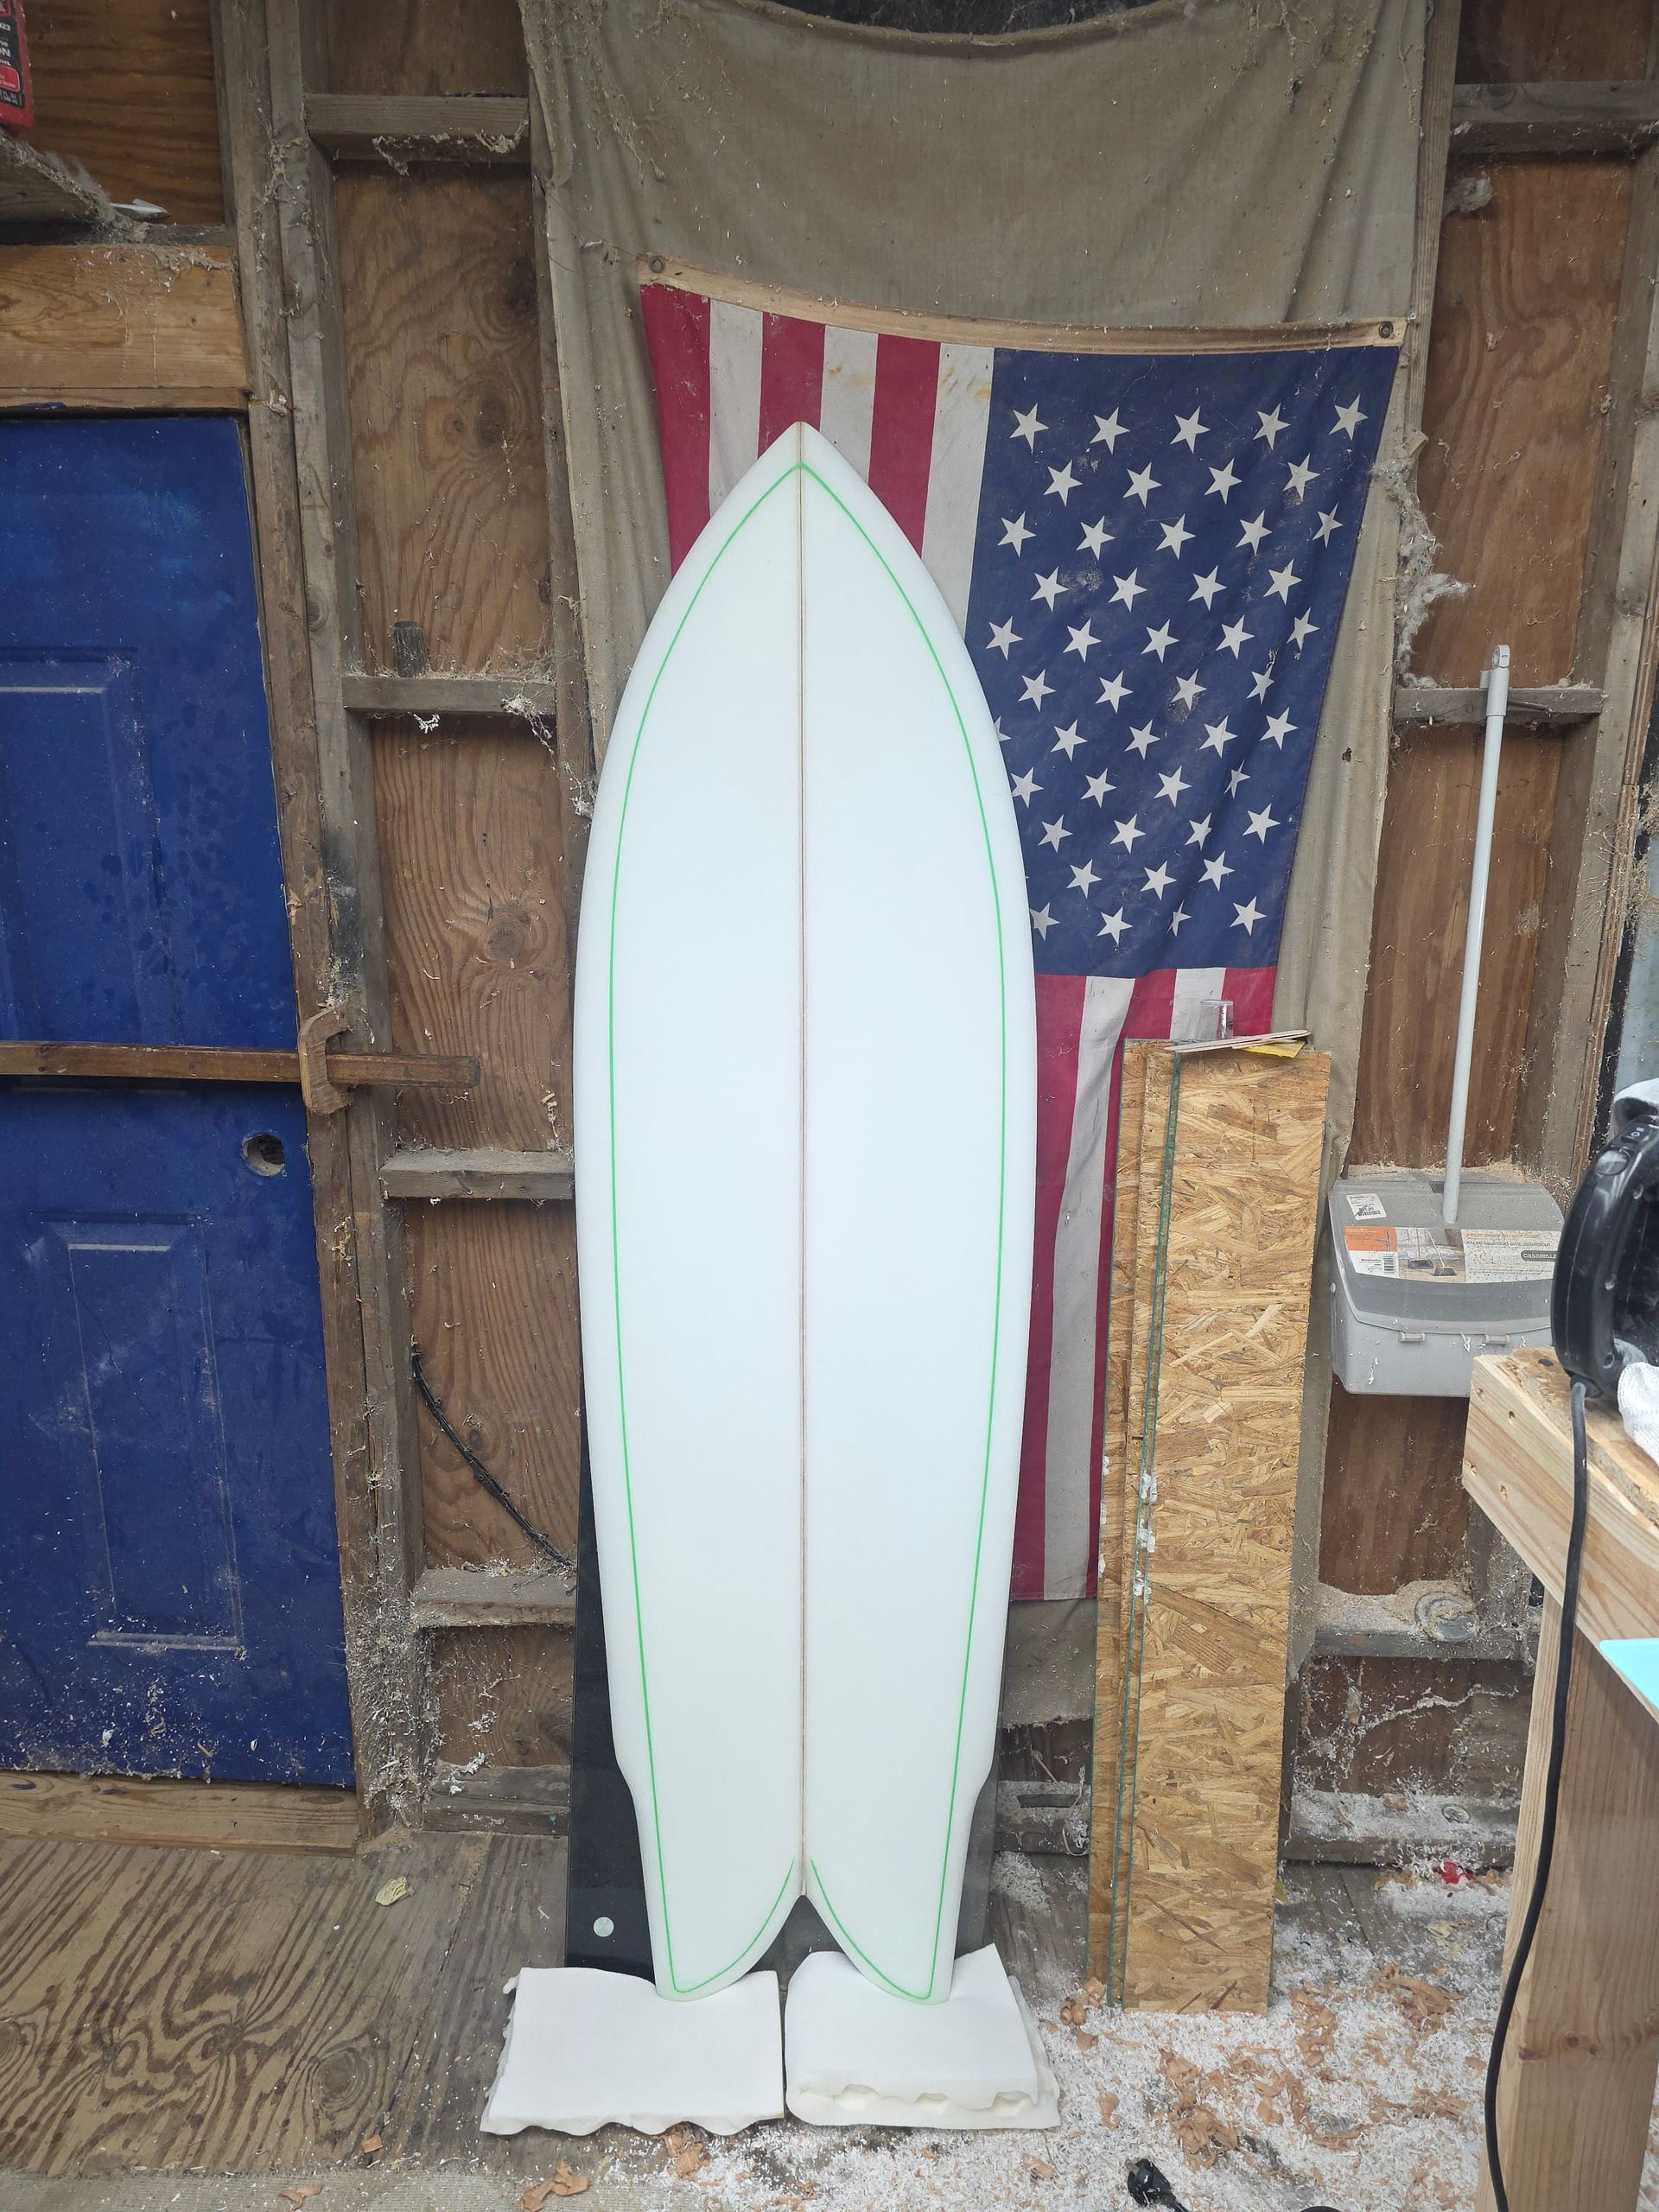
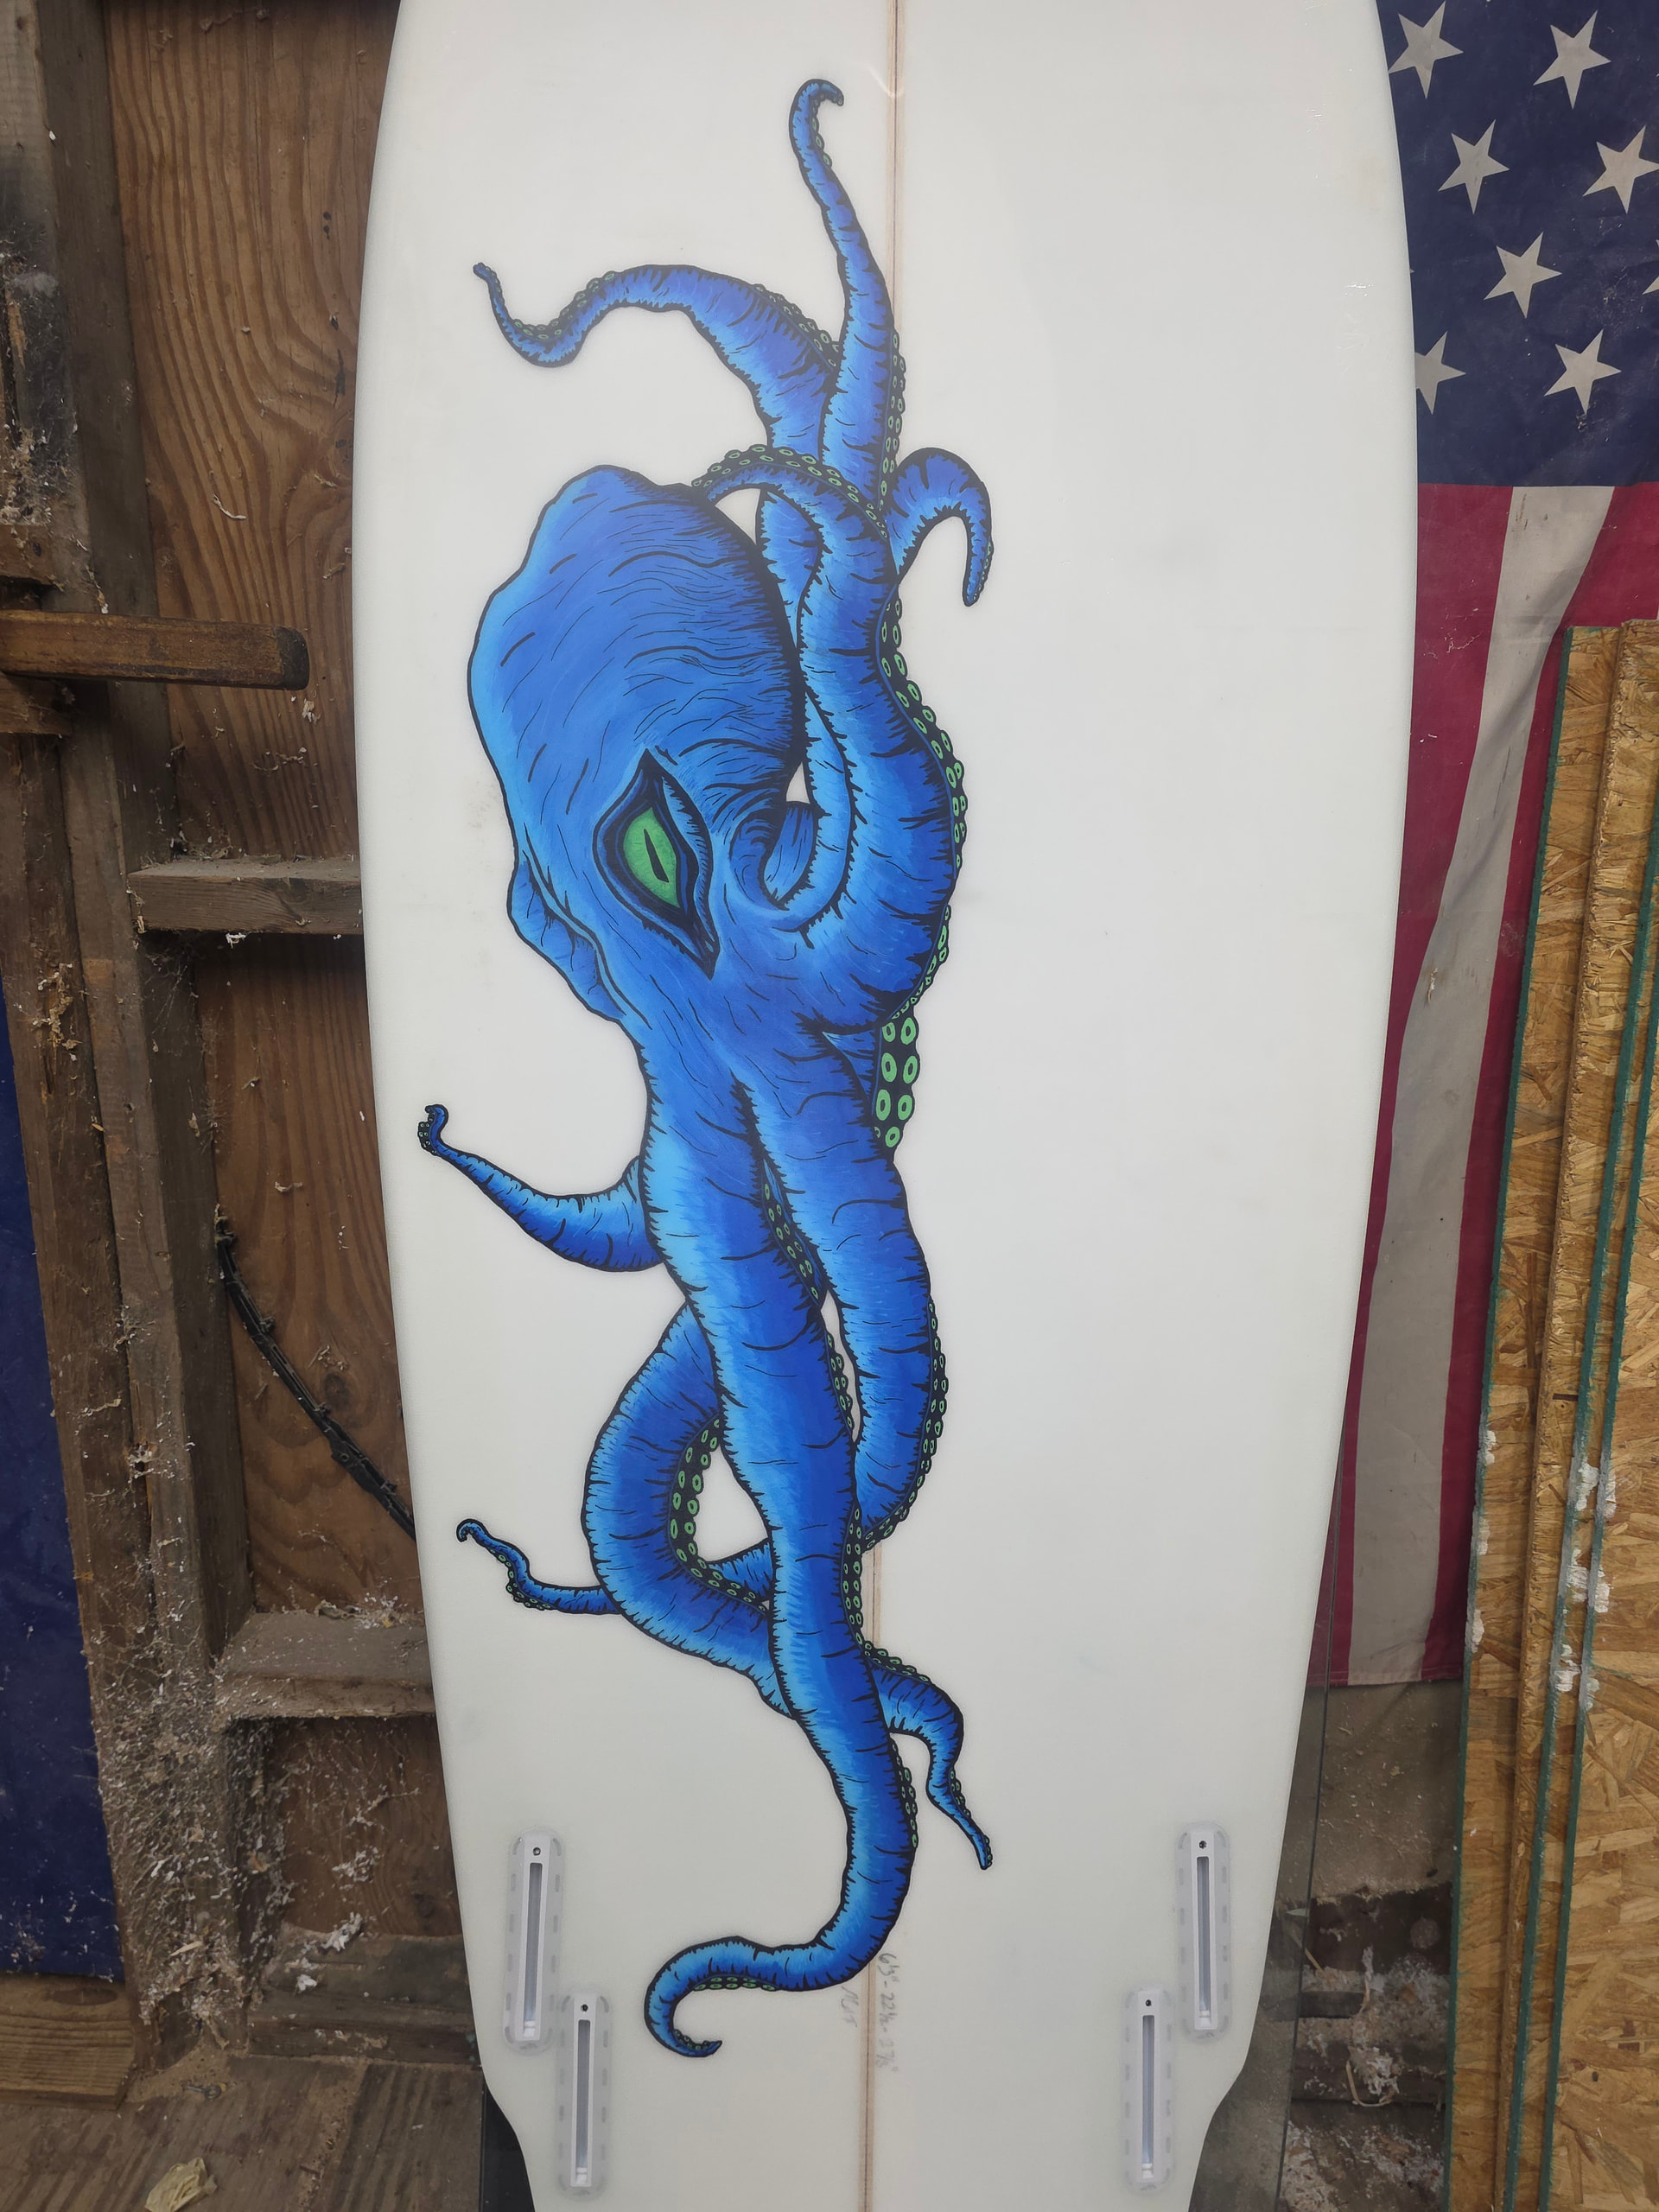
Tried pin lines, used tape then posca pens for the lines. In the future I will sand with 400 where the lines are going to go to prevent so much bleed through. Some posca art on the bottom fill coat to cover up the ugly Grey spackle. Sprayed the posca with krylon matte clear then top coat with epoxy over that. I’ve had the clear coat chip over time on other boards and wanted something more permanent.
Boards done, some small cosmetic imperfections, after the art i had to do to light top coats sanding in between to make sure everything was covered. Happy with how it turned out should be fun.
I meant per individual post.
You could have multiple posts of 5 photos each in a thread.
IMO multiple posts breaks things up, allowing easier discussion of specific photo groups.