Wow ! Nice work !
I’ve done a few detailed burns and about halfway through each I thought “never again!” Ha ha ! They do look good though.
Here’s a 6’6 of my own. I used a blank from Tom Wegener with the nose and tail inlays.


Wow ! Nice work !
I’ve done a few detailed burns and about halfway through each I thought “never again!” Ha ha ! They do look good though.
Here’s a 6’6 of my own. I used a blank from Tom Wegener with the nose and tail inlays.


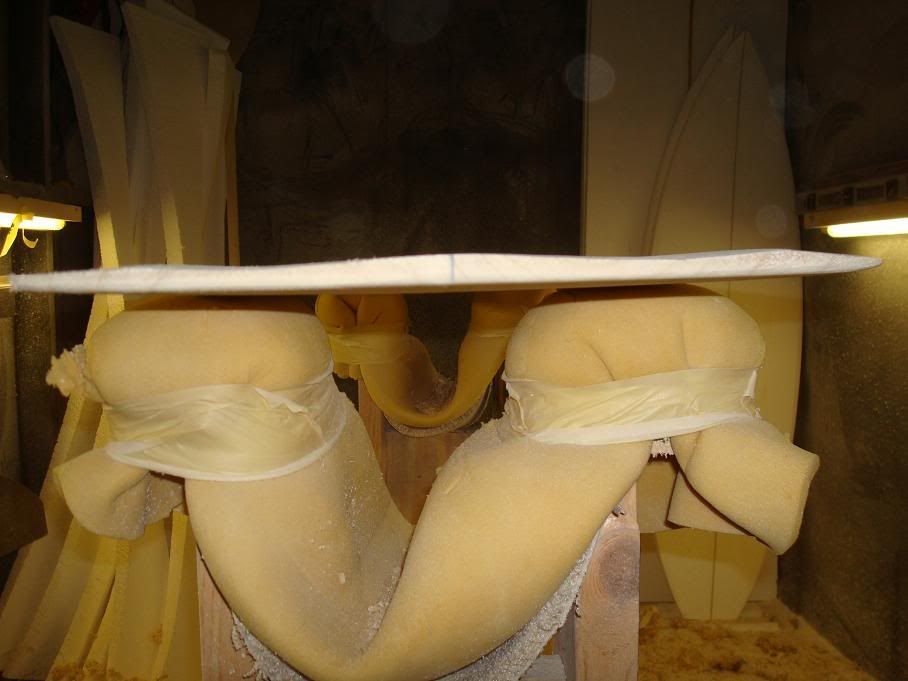
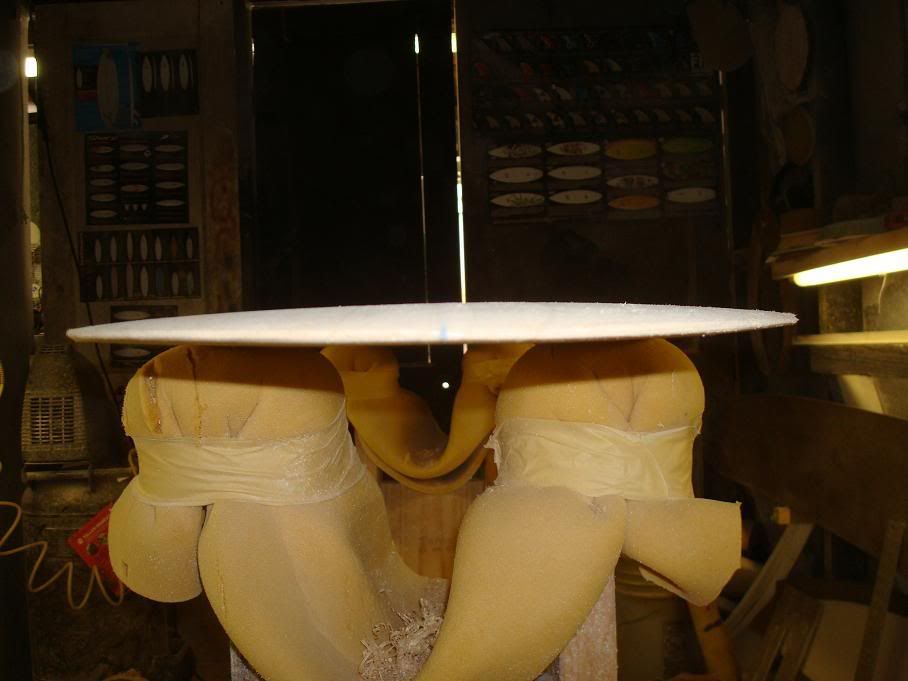
Best homebrew shaping racks EVER!!
Board looks great too.
awesome. i really like the logo design. well done mate. & yes, keep those rail edges sharp & crisp, it’ll go so much better. i rode my 6’8" alaia at a little nearby cove tonight. so much fun. you’ll love riding yours too mate.
Someone can help me to explain which is the bottom and the deck???
PLEASE !!!
Logo looks good. I’d had a play with my soldering Iron yesterday and found the grain tricky to do smooth circles. I was going to suggest maybe a blowtorch and a piece of copper piping or something similar and stamping it. Then saw you’d posted it already. When’s it going to get wet?
just an aside perhaps,
the hard core wood work guys
use a branding iron
in the back of the fine woodworking type magazinres
thre are places that offer the service
of -yourname here - branding irons
one off metal tooling branding irons
could be the next crafting adventure
could ti be made of ceramic?
…hmmmmmmm…
…ambrose…
in a hibachi
heated to red hot
a bent knife
or an old hole saw?
for the circle shape.
a friend whith an
acetelene torch to
weld a branding iron
or even an arc welder
could go a long way.
heat a pipe red hot
in a beach fire.
hey just a tin can in the beach fire!
Hey Guys (and girls ?)
Thanks for all of your recent suggestions. Ambrose - I just love your prose!
I have managed to complete my wood burning just using th soldering iron and patience.
Here are the results…


I will start oiling the board this afternoon.
It won’t be going in the water for a while yet - the weather is pretty ropey at the moment and there is not a swell in sight.
I will be away for a couple of weeks - so no more posts until I return.
Regards
Surfer, 35
Looks good. I’m about to start shaping mine. Got a blank glued up out of paulownia I just have one issue on fguring out on what to do with the bottom.
From reading Wegeners info regarding the FInley model.
My deal is how wide should the concave be? 6" 10" Full width of the board?
Also read someone mentioning that the bottow should be shaped like a hull, with a slight roll on deck (to thin out the rails, makes sense) and bottom. So that goes against what Tom suggests for the bottom contuor?
Got me a bit confused on it. Here’s a CAD that I threw together just for some reference.
Thanks for any advice.
Your drawing is almost perfect. The lip on the edge of the concave must just be rounded, so that there’s basically two humps with the concave in the middle. Also, the info on his website is quite old, he no longer runs the concave the whole way up the board. This tends to make the nose pull up the face too much. I’ve found that it works best to run it about 2/3rds of the way up.
BJ.
This one is not my work, but I found the link on ‘Surf the Blogs’
I cannot understand a word that is written but the pictures tell a lot of the story…
http://valenciaplato.blogspot.com/2009/02/alaia-66-terminada.html
Also, to add to Idler’s comment above, I made my concave approx 6" wide running 2/3 the length. Your CAD diagram looks fine.
Regards
Surfer, 35
Surfer35,
Nice work. I made a paulownia about the same dimensions it is in the Resources section. Came out about 5.5 lbs.
I did a 3/16" concave about 3/4 up the board similar to the diagram above but with steeper “bumps”. Concave is in the middle 6" or so of the board
Here are my attempts at burning.
-Brian

The link to the Spanish site seem pretty similar to what people are posting except according to the text, they waterproof the board with a outdoor deck sealant.
exactly right bj.
Alaia division in local contest… must shape and surf own board.
Surfer35,
I am so amped up by what you’ve done I feel a strong need to try it myself. You may be my kindred spirit as I am a big Rastovich fan and have been very intrigued with your avatar symbol since reading about it in a story written by Rasta. You mentioned that you wouldn’t mind posting the .brd file that you used to create and print your template. I would greatly appreciate it if you could provide me with it as I have tried AKU Shaper many, many times but as of yet I have not been able to duplicate your skillful outline. Any help that you can provide would be greatly appreciated.
Pura vida,
Nolan
P.S. How is the ride?
Nice work surfer35… takes work and dedicaton! Well done.
don’t forget to include the DATE under your name and dimensions.
a nice touch with final completion… put the date in…
Aloha,
PPK
what grit are you guys sanding down your wood to before you oil it?
also are you leaving a square ede on these or are you rounding them off?
here are some pics of one i whipped up today - made from paulownia grown an hour away from my house!
6’6 x 16 x 3/4 15 nose and tail 14" tailblock - i may bring the tail in a little bit
belly nose with a little rocker shaped in, single concave middle, double concave out tha back , ‘beveled’ rails


you dont need to go much past 240 in my opinion. once you get it wet, the grain will be raised a little anyway.
Pretty cool, but there was a definite lack of flow to the way they were riding those. Anyone else think so?
If ya wanna see flow, check out part 4 of the “Wood is Good” series on youtube!