Starting my very first agave surfboard i encountered mutiple challenges. I love it, and i need some help
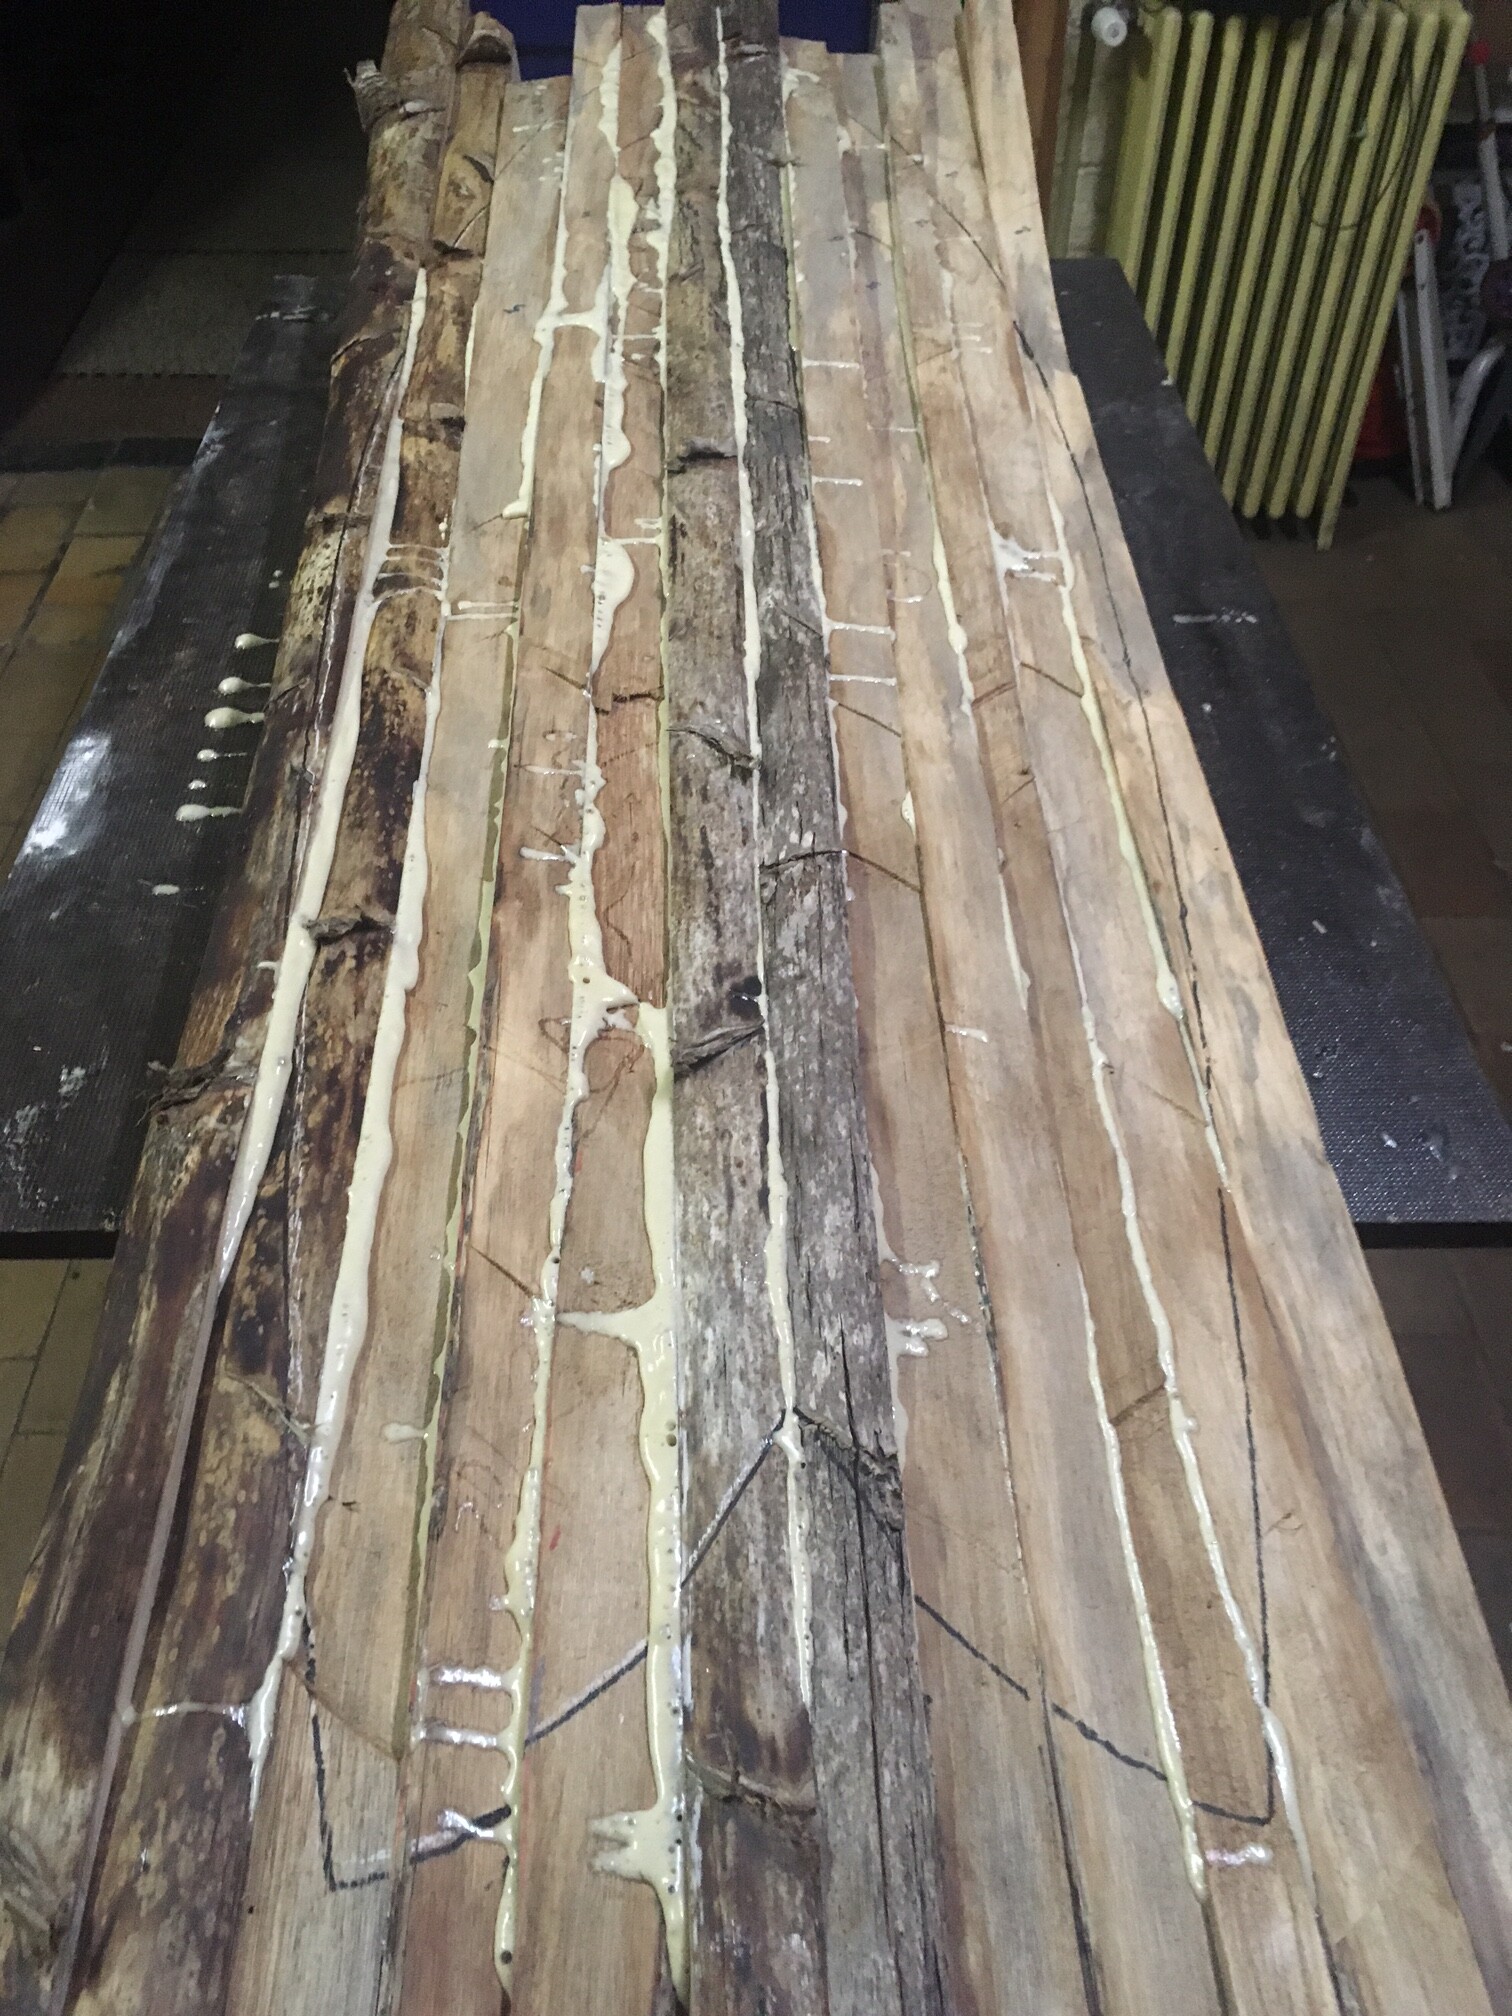
What i did before glueing all the pieces together is planing the sides so they would connect nicely next to each other. And then i glued all of the peaces together. Ill post the pictures below.
Now i think this wasn’t the best move though. I saw some clips about agave surfboard shapers and notised how they cut out the rocker out of every stalk with a jigsaw before glueing them together. This i reckon makes the surface way more smooth and plane then my result, as you can see on the picture.
I can’t turn back time so i got to move on, but how … Thats my question. How do i even out all the little lumps i have on the deck and bottom?
Can this be done with a planer? Or are there other tips and tricks that might get me to a smooth result?
Your blank looks to be thick enough , it also looks like you have been shaping the blank using an angle grinder , stop doing that , if you are not sure how to shape the blank my advice would be to go slow , start by making the bottom of the blank flat , if nec use a flat board with corse grit paper , then mark out the rocker along the rails and mark out the rail bands to get the foil , leave the top deck until last , try using a stanly file , less likely to remove too much material than with an electric plane , agave is soft you should be able to shape the board with just a stanly file and a block and sandpaper and take your time it’s not a race , if you go too fast and fuck it up all you will have is expensive firewood , good luck . post pics when you have shaped it or when you need more advice there are many folks on sways that have made agave and balsa boards .
You have tackled a difficult project. You don’t mention how many boards you have done in foam, so no idea what your skill level is.
I had a a couple hundred board under my belt in foam before taking on a balsa board. It humbled me. I almost cut it in half several times over the course of about a year before finishing it. But it definetly made me a better shaper. I’ve done a couple more balsa boards since, and had good results, but they were still challenging.
You are going to need a decent planer to do this job. Not necessarily a skil, but something with some power. And do only small cuts with it. The planer will level out your previous dips and bumps. Find some YouTube’s by the pro’s and mimic them. Only do it at half their speed and small small cuts.
Hey gbzausa, i allready put a little rocker in the blank using an angle sander. would you advise to use a flat board with corse grit paper or using a hand planer?
For the rails i will only work with hand tools and no electric ones. I am planning on making a little start to finish topic to show the progress and get a little help and advise on the way.
Hey GregTate, I have zero experience though i have experience in sculpting and wood.
If i would buy and use a planer. Should i get one with a big or small flat surface?
I am planning on starting with a flat board with corse grit paper and sanding a couple of hours/days and wait for the result before getting myself a machine.
Because of how soft agave is I would use a flat board , something about 4in wide x 24in long x 1/2 in thick , glue a belt sander , corse sanding belt to it , that will give some control to get the bottom flat , I would use either stanly file or a wood plane to shape in the rocker and then go over it with the flat board sander to keep it flat , keeping a flat bottom will give something to take measurements from when foiling the board , try to keep the rails square to the bottom , the rails can be shaped last , after the rocker , after foiling , and after the top deck , dont worry about fins at this stage although it would be easier and faster to use an electric plane , dont , it is far too easy to fuck things up if as you say you do not have any experience shaping or using an electric plane , they are dangerouse peices of equipment in inexperienced hands , the best advice I can give you is take your time , stop , stand back and look at it as you progress , take lots of measurements as you go , remember you cannot add wood after its gone , take your time DONT RUSH . good luck
Vincentv , soeme years ago there was a video posted on sways by a guy in France ? that shaped boards using only sanding boards , it would help you a lot if you could find it , I dont know what title it was posted under , perhaps someone reading this may remember .
Friend, one should have a plan for rocker and outline and rails before the cutting starts…
We do not know your height, weight, skill level and what you have left for wood to work with.
Pleased measure the length, width at widest point, width 1 foot from nose, width 1 foot from tail, width at tail tips, depth of tail crack, thickness at thickest point and report back.
I do not make or ride fishes. Maybe I should try since I have two sets of Halcyon template keels waiting…
From the book Surfboard Design and Construction, 1977:
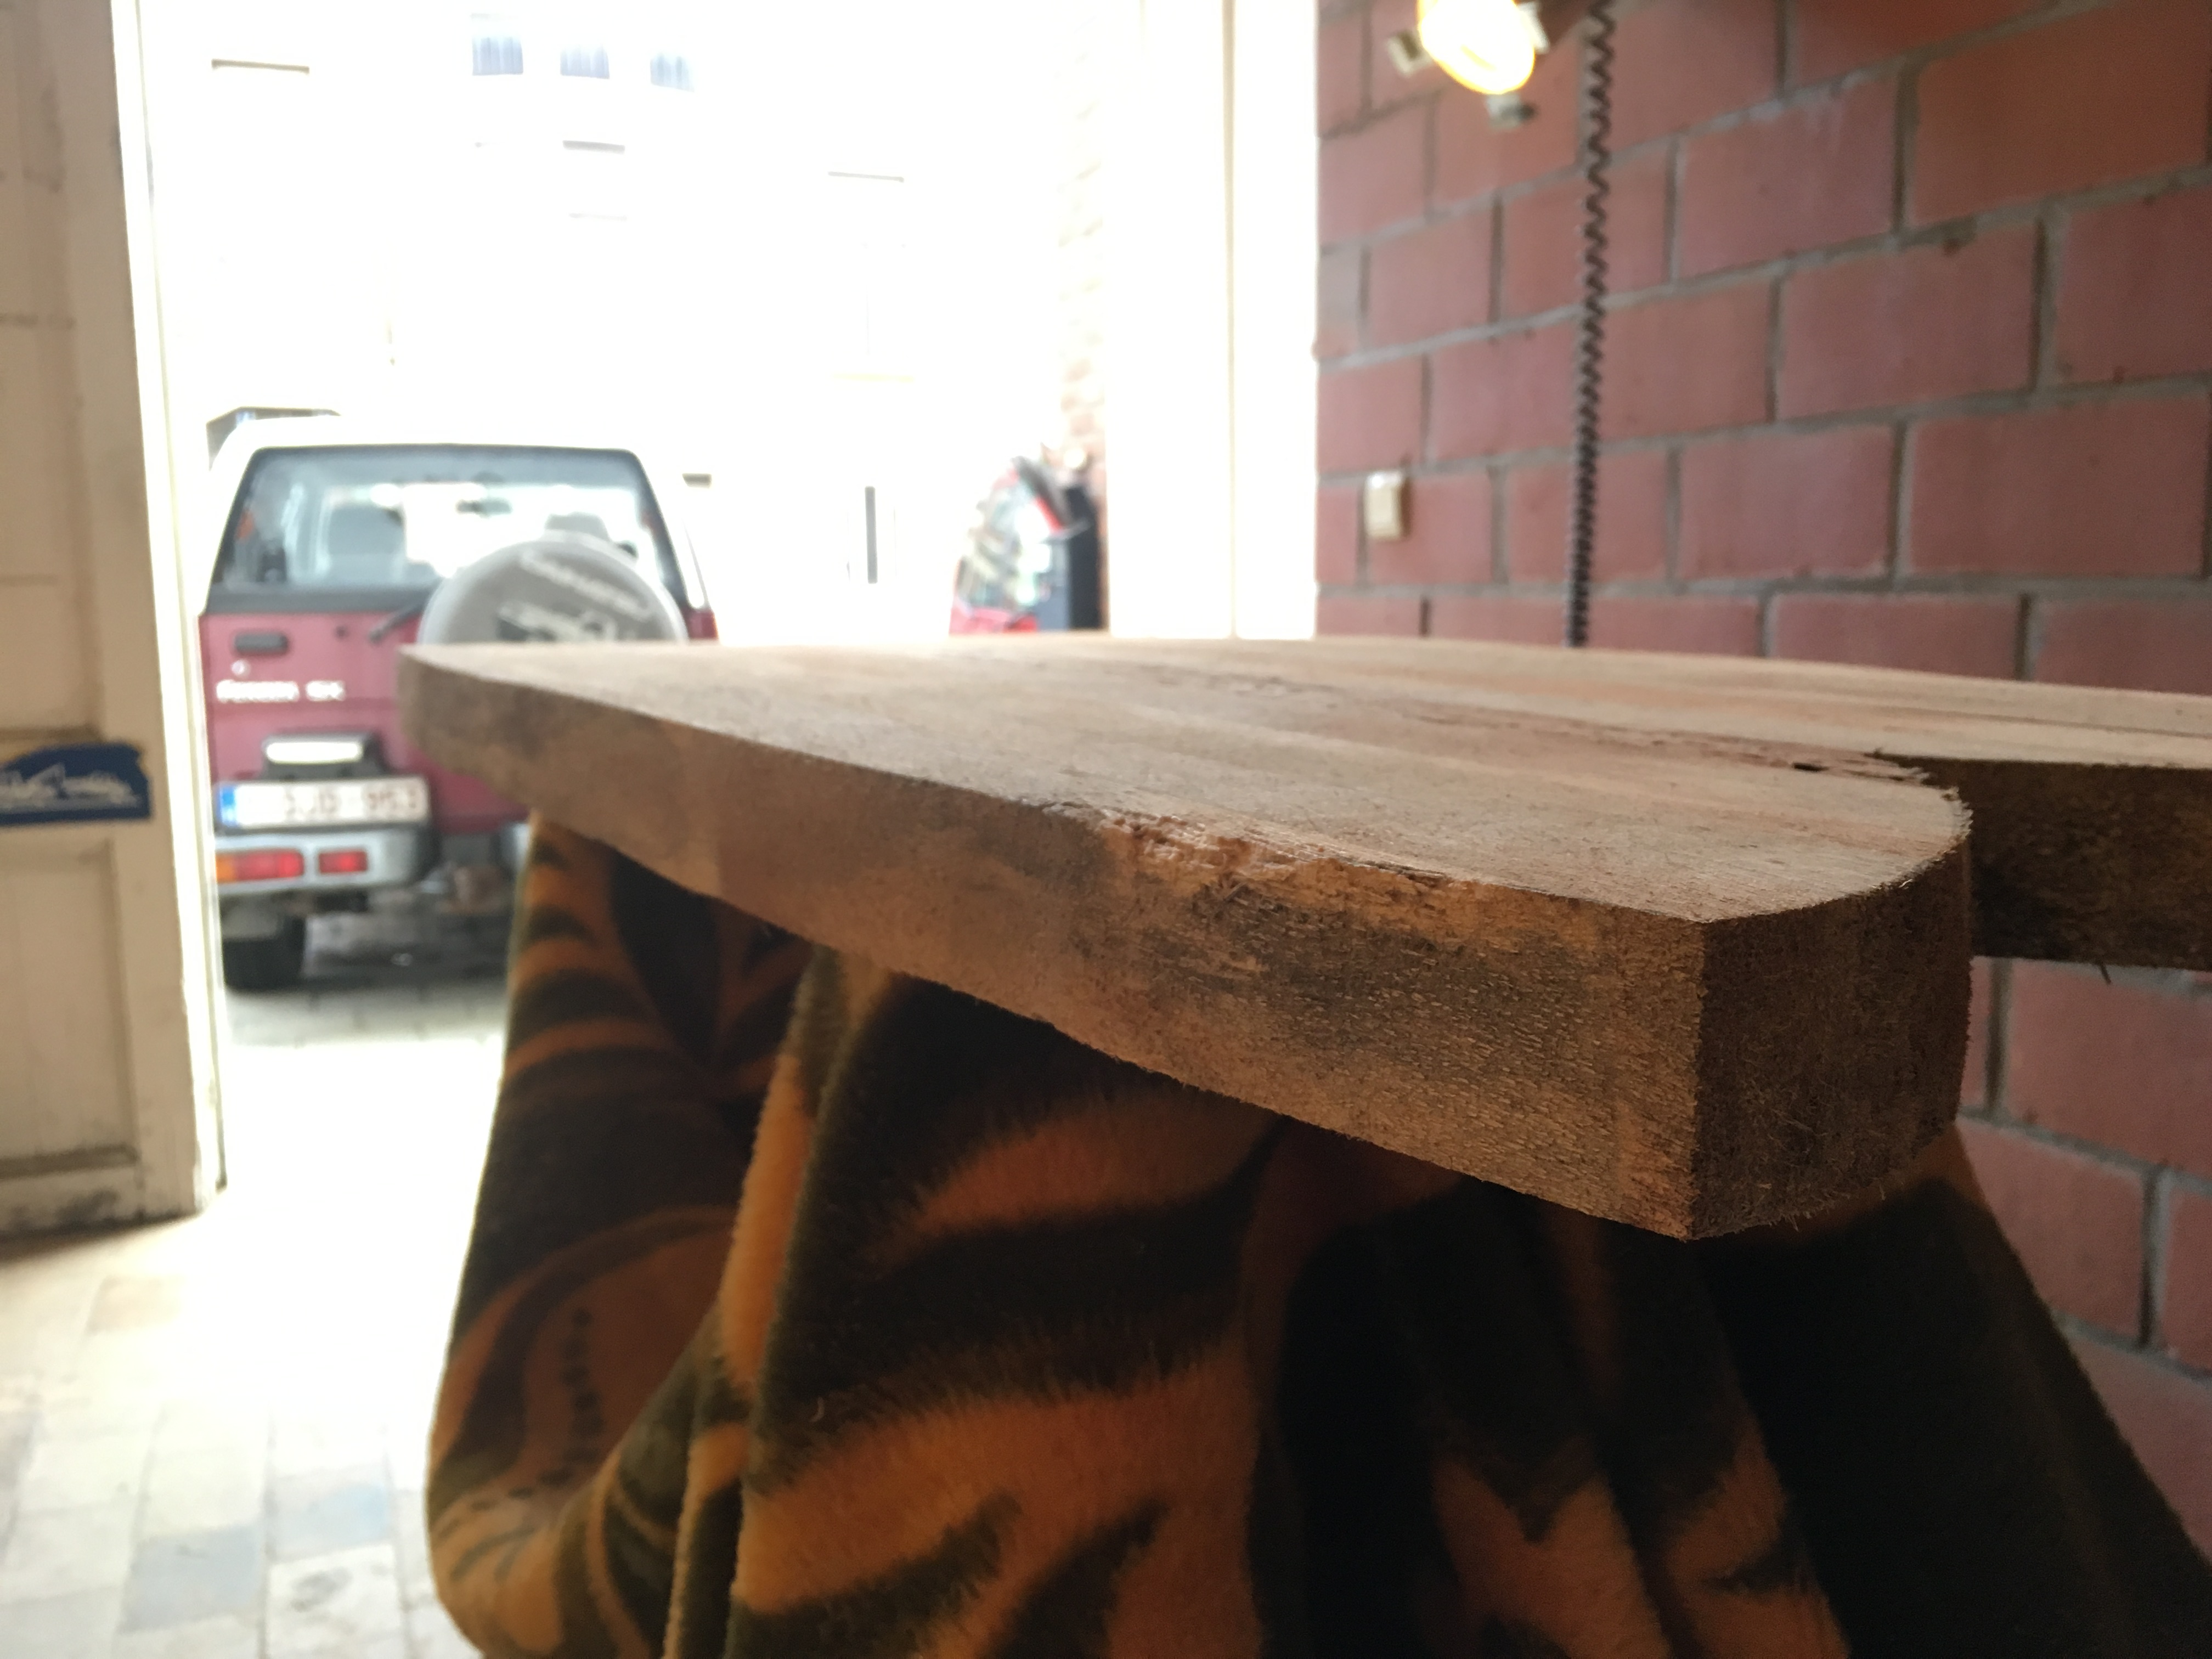
A side view pic would help , it looks like you have a little nose rocker , a side view with some thickness measurements will help guide you on nose and tail rocker , old style fish did not have much rocker , you need a centerline to work off of and you need to make a template of what you want , length , width , wide point , flip the template from side to side on the centerline to make sure the board has the same measurements both sides , so far its looking good , carry on .
Looking good. You really did a lot of work assembling that blank! If I may? — Check the bottom photo and compare the left and right outlines. Recheck your width dimensions and maybe retemplate inside of any warbles. That done, keep to the line. Once you have a dip, it involves redoing the outline - and on both sides. This, for me, is step one - smooth symmetrical outline.
In another photo that is a view of the bottom from the nose to tail with bottom up — again double check the edges. This can be a difficult part to achieve symmetry as you are dealing with rocker and outline at the same time. If you get off course here, it can lead to headaches down the road.
So… and I think this is what gbzausa is getting at above - establish your outline, keep it symmetrical and then proceed to your rocker. Keep rocker symmetrical and maintain a smooth curve. If you can maintain those two variables, the banding of the rails (top and bottom) as well as your deck and bottom curves will be much easier.
With Agave you’re dealing with variable densities so minimizing any dips in the soft stuff will be tricky. Use a long block and as you’re shaping, use it to ‘bridge’ over those soft areas in the Agave.
Pay attention to the info posted by jrandy it looks like the specs on that fish would fit your project , pay attention to getting the outline correct , symmetrical and keeping it within bounds , do not worry about filling the holes at this time , besides there are better ways than sawdust and glue , it looks like you need to build / alter your shaping stands , at some point you will need to put the board on its side , you can check out the archives for shaping stands pics look for the ones by Huck , simple to make the tops to put board on its side . Next step concentrate on the outline , making it symmetrical and keeping it square to the flat bottom , then on to rocker . If you look up Barry Snyder designs , go to projects and agave boards , he is a very talented craftsman he has an agave fish there , look at it carefully , thats what you should aspire to . carry on .
Hey jrandy, i printed and used a template from blending curves. Fish A if i am not mistaking. Forgot exactly because there was much time in between printing and actually using it as a template.
I weigh about 65kg and 1m80 and am an intermediate surfer. I am shooting for in between 35-40l of volume.
Thank you for the specs on the fish kneeboard. Looks like that would work for this board.
Hey gbzausa, today i worked on the outline of the board using the template that i got from blendingcurves. In the beginning i also used it but i cut 1inch to the side of the line because i was terrified by dropping it or cutting the rail and not having enough wood to work with.