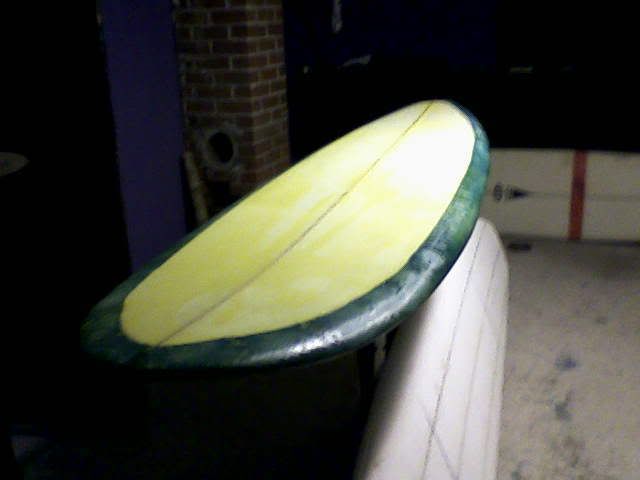
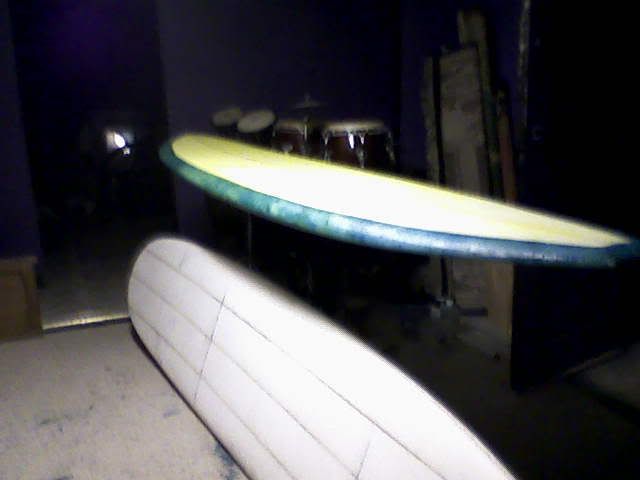
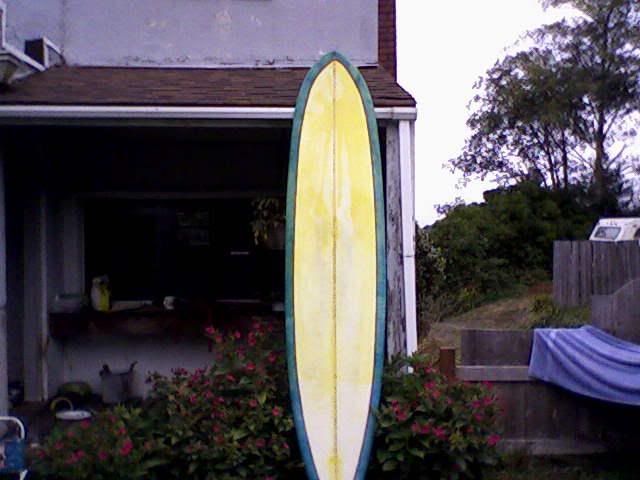
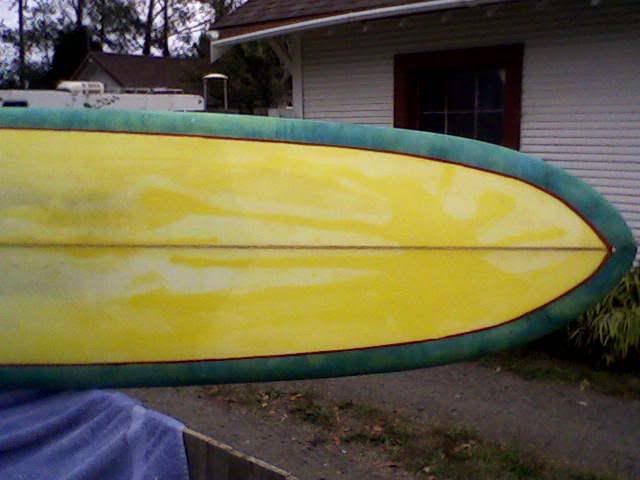
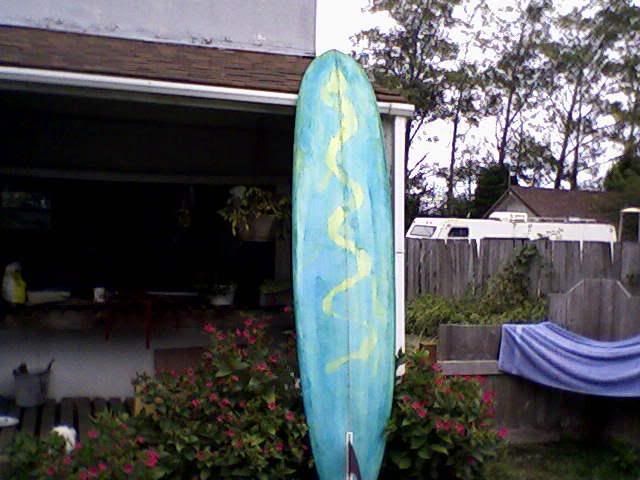
First, hats off to those that can glass…seriously.
I did not want to drop 900.00 on a new long board this year…so I thought, why not make one?
So…I started reading sways…hourly…go ahead, ask me anything and I can tell you what Thrailkill, Greg, Oneula, stingray, Resin Head and that compsand guy said to do…
I started with a 9’4" junk blank I found down in SC for 50.00 ( I did buy 3 good blanks while there), it had a twist but plenty of room to shape it out (I thought so anyway). I also picked up a modified planer at a pawn shop on the way home for 45.00, its a Bosch, it can cut up to a 1/4inch (!!!) and you can change depth on the fly. All the other tools I would need I had, even a big old Milwaukee sander/polisher.
I had no template to work from, I just went by eyeball engineering and knowing what type of board I wanted.
The shaping part was pretty easy, I skinned it with the planer and then swapped to the surform and block/paper, I read here that you can make big mistakes quickly with power tools! I believe it!
I did everything at first by eye then I measured everything out and found I was within an 1/8th inch in symmetry as far as width and one half matching the other. Shaping took two hours.
Good so far.
I had trouble with the stringer, getting it level with the foam was pain even using my smallest hand plane (I build guitars).
It was easy in the nose concave I shaped in but the deck…ugh!
Is there a super secret to getting the stringer level without tearing up the foam on either side?
I tried taping it off, a scraper, a planer and a small block…and still tore some foam next to it.
I got all of my glassing stuff together, triple checked it all out and then laid out the glass, mixed the resin/colors and catalyst, I read to have everything ready as to not freak out and waste time looking for tools.
I masked the deck for a nice cutlap (thanks sways), laid on the bottom cloth and started with the squeegee.
I went ahead with a slight swirl of color, yellow and blue, pouring 6 ounces of yellow and then the 5 drop blue
(thanks ‘show us your resin tints’ thread!).
Every thing was going pretty good till I realized I did not blow all of the dust off.
Ugh.
I used enough resin to saturate it though and hope it should be fine.
I had lots of trouble with the rail laps, either too dry or too wet and dripping everywhere, I didn’t make the right relief cuts in the right places till everything was wet…
Though my resin mix said a ‘pot of life of 30 minutes’, I actually had way more time before I saw any gelling.
Next time, I won’t panic…
I flipped it after it was tack free (three hours!) and cut the masking and the lap, pretty nice for the first timer!
I then cut the glass out for the deck and realized I wasn’t sure how far to extend both. I read one went all the way around the rails and about three inches onto the bottom, where does the other end? On the deck lap? Sounds good to me!
I didn’t extend that second glass layer all the way to the nose, I want the board light so I trimmed it in a pyramid at the 7’10 mark to reduce swing weight in the nose.
So far so good…but those rail laps on to the bottom! UGH!
This morning, it looks good, I have to sand out some tits and boogers, saturate the rail lap on the bottom where its laid down but has a few dry spots, cut open three very small blisters and get them flat, before I hit it with the fill coat.
I read that if I leave any high spots or drips before hot coating, they will project through and I will end up chasing them through final sanding.
So…
Blank…50.00
Glass…35.00
Resin…40.00
fin box…5.85
Misc…25.00
Shaping your own board with the swaylockers shared knowledge behind you…
Friggin priceless!
I will add some pics later…going surfing now…
