Hey guys, been lurking for a while but just made an account. I’ve been surfing for the majority of my life but am VERY new to shaping. That being said, I’m addicted and have only been riding self shapes since February. All of my shaping knowledge has come from this forum and a handful of YouTube videos. I get super stoked when you guys do build threads so I figured I’d contribute one of my own! There will be a lot of weirdness and a few mistakes I’m sure but maybe someone else who’s new can learn from my screw ups.
Me: 6’2"x190 lbs
Surfing generally poor waves in SE North Carolina
Board #11
5’11"x20" eps/epoxy thruster. Marko foam and green room blanco resin with glass on fins. I’m starting tonight, Friday 12/2 but most of the real work will be done tomorrow.
Pictures in order that they’re listed:
Raw blank. 6’4" Timmy Patterson
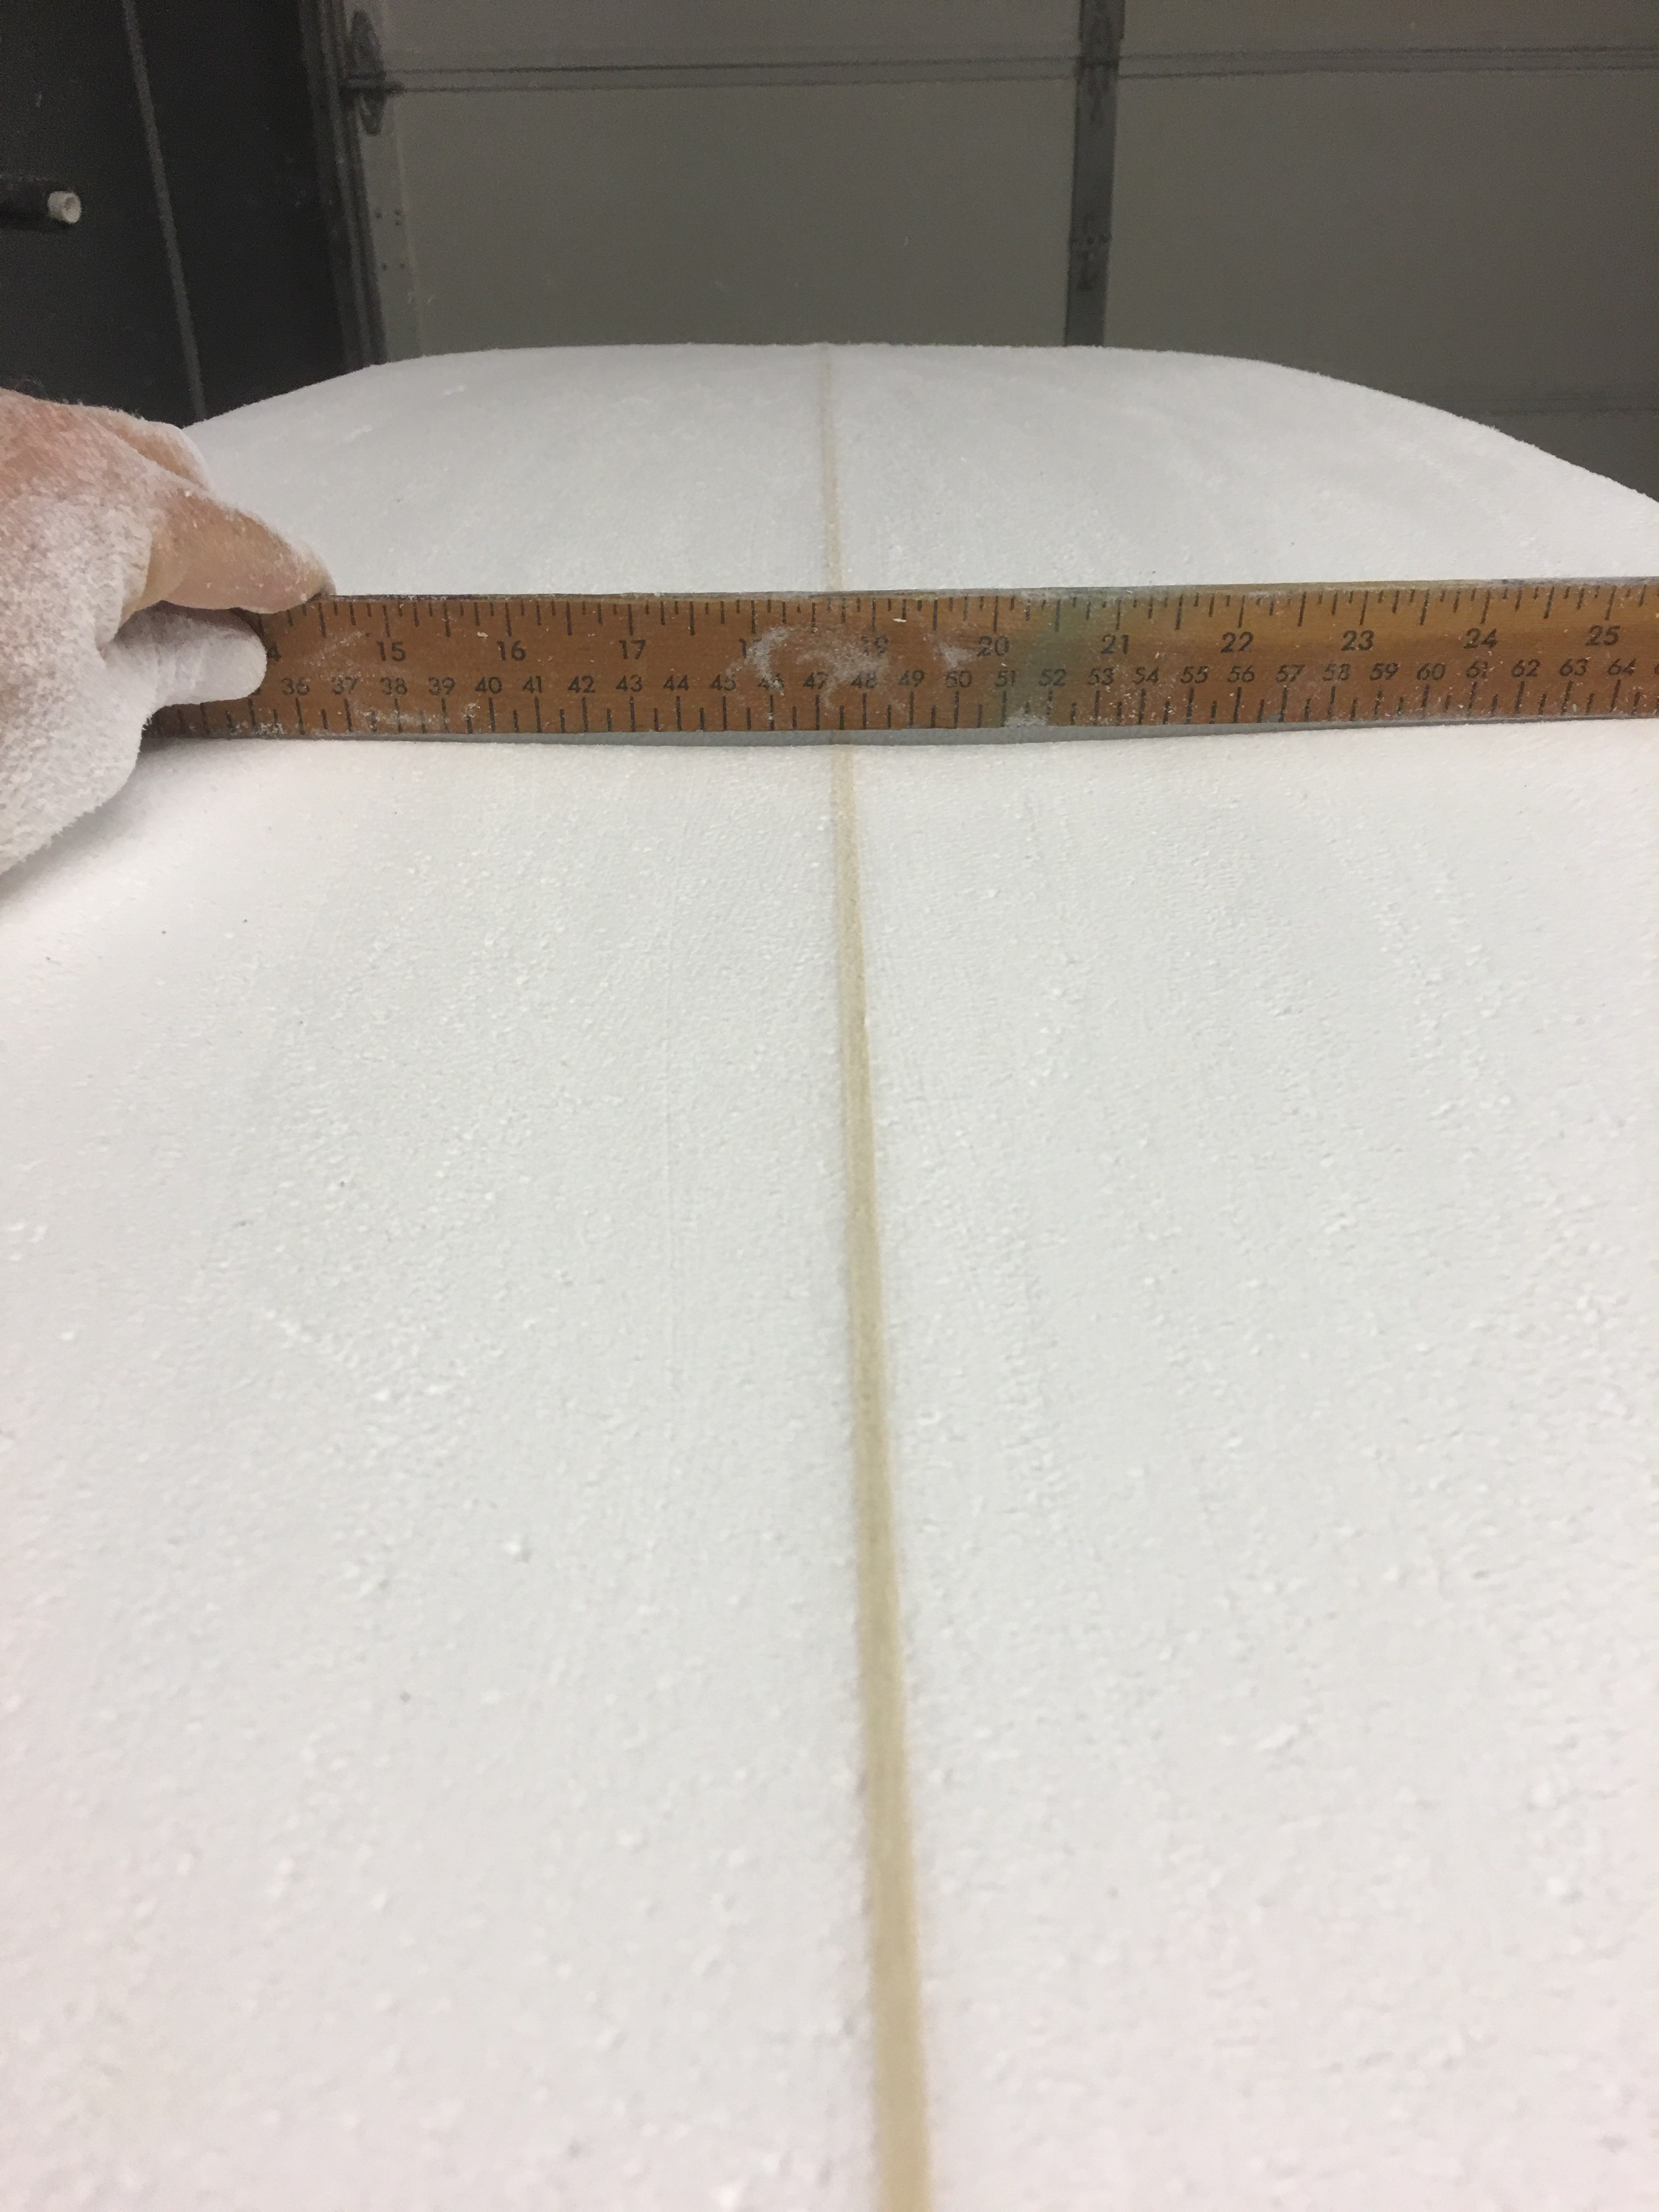
cut to length and outline down. This is my tenth board using a blending curves template. Amazing site and Andrew, the owner, has been super cool.
For the past few boards I’ve just used rattle can spray paint to do the outline. It seems to be a lot easier for eps boards where the beads make it hard to use a pencil. This is a shortboard “b” template
have the nozzle of your spray paint can get gunked and drip big globs of paint on your blank. I’ve never had this issue before but it of course started to melt the eps. Not an issue since it will be planed off. I switched to a water based acrylic for the other side.
outline done. One spot on the upper right that seems wonky. I made a note on the blank to go wide when cutting.
For my last three boards I’ve used a ryobi jigsaw (on the absolute slowest setting) with a long blade to cut my outline. Seems to help keep my Rails true.
I’m about to cut my outline. I’ll post pictures when I get it done.
my $30 pawn shop black and decker planer. One of my only non-harbor-freight power tools.
after the first pass. It’s gonna be a long day.
3)rough shape after planing and a quick cleanup with a 120grit drywall screen.
rocker shot. Nose at 4 1/16", tail at 2 1/4".
always have a tough time thinning out the nose, but I’m getting better. Unfortunately the method I found that works best is to use the planer perpendicular to the stringer. Even with lowering the cutting depth I still managed to gouge the stringer.
Still quite a bit of work to do but it’s starting to look like a surfboard. And thickness was measured by putting it under my arm and saying “feels about right” haha
looking good, great thread! Planer will always gouge like that when running perpendicular to the wood. I use a little spokeshave hand plane to take the stringer down in the nose there, once it gets close to finishing.
One of those would be perfect Huck. I looked around Home Depot but didn’t have any luck. Maybe a mom and pop hardware store might be a better bet.
Starting to do my concaves. Single to double between the fins. Single is cut in with the planer and then feathered out. For the double I make a tape line just inside where my front fins will go and bring it in to the stringer. Then I use a piece of sandpaper wrapped around a spray can to cut in the doubles. This technique worked well for me on PU but not as much on EPS.
Note: double concave is more of a Vee but should still get the job done.
Next up: my least favorite part of the whole process, the rails
For the rails I did a hard edge 18" through the tail, 80/20 through the middle, and 50/50 through the nose. I’ll be the first to admit I have no idea how to do rail bands. Seems to have come out alright in the end. One little dip in the rail by the nose but it’ll be alright. I’ll seal with spackle tonight and hopefully start glassing tomorrow. We’re looking at pretty fridged temps later in the week so I want to get on it asap
Very thin layer of Dap fast-n-final lightweight spackle thinned with distilled water. I made the mistake of using tap water or my last board, despite all the warnings, and got some beautiful brown streaks.
Also started prepping my fins. Before I started shaping I used pretty much only futures. Glass ons have gone on the majority of the boards I’ve shaped, as it seemed like a good place to start learning-wise. My last board had futures but I had to take the shaped blank to a local factory to get the boxes routed because I do not have the jig. Kind of takes away from the whole “do it yourself” aspect. I recently scored 13 sets of old glass ons off of eBay for around $5/set. Stoked! Much better option than buying new from True Ames for $45 a set. Since they were previously on boards (most from the 90’s I’m guessing) I have a bit of prep work to do before they can be reused. I haven’t decided which ones to use but I’ll probably go with one of the merrick templates. If anyone on here is in the Wilmington, NC area wants a free set, I’d be happy to help you out.
Fin placement set and bottom lammed. Center at 3 1/2" up. Sides are 11" up, 1 1/4" in from the rail and toed in 1/4". Really took my time and tried to get the tightest lamination possible. I want to see how light I can get this board, even with my sub-par glassing skills. Someone posted a video a while back (mako?) where the glasser flipped up his laps and hand saturated them. I can’t begin to tell you how much more efficient this is! I’ve done it on three boards now with much better results and less wasted resin than I was getting before.
I’m now Waiting for the bottom lam to cure so I can get a good sand on the laps before doing the deck. Also have a little more cleanup to do on the fins before they’re ready to glass on, which will hopefully be tomorrow.
Thanks skatement! I actually had your build thread from your black and yellow quad bookmarked and would check it out a lot when I was first getting into shaping. Really had me stoked.
I got the top lammed about an hour ago. Since I wanted it to be light I did 4oz+a 4oz patch. When I first started doing boards I was glassing them heavy for strength but found that as soon as I finished one I was obsessing over building the next one. I’m also trying to get back onto more high performance shapes after experimenting with some funkier, user friendly designs over the last few years.
It was chilly tonight in NC so I had a space heater cranked up in the garage and had my resin in a hot water bath until it was time to glass. I killed the heater when I started so I was glassing in falling temperatures.
fins glassed on but got a little aggressive when laying up the center and knocked it loose and had to start over. Not an issue in the long run, just set me back a few hours. Leash plug set this morning, and of course it’s off center. Don’t think I’ve ever got one perfectly aligned on the stringer. My fiancé is in nursing school and always has some of these little syringes full of saline on her. They’re perfect for mixing small amounts of epoxy, just don’t use the same one for hardner and resin.
Hoping to hotcoat tonight.
Also want to add that the side fins were set with a 2x4 cut at a 7 degree angle with a mitre saw and stuck to the fins with double sided tape
FCS Pre-glass leash plug = 1" forstner bit, has the guide point, use an awl to poke a pilot hole into the stringer. Clamp a piece of stringered scrap foam or a broken board to a table and do a few practice holes. Pretty sure these are designed to be glassed over and then the cover sanded off but IME work fine post glass as well.
Using a small block to set your cant makes the angle conform to what ever bottom contour it’s sitting on. If that’s what you want ok, but pretty sure the standard is cant based on a rail to rail plane.
Hotcoat on, sand tomorrow. So far so good. Did a lot of prep throughout the process so hopefully I don’t have to put too much energy into getting her smooth
All sanded and ready to surf. Very happy with its lightness, end weight is just over 5#. Not looking at any real swell for the rest of the week but hoping to break her in at the beginning of next week. It’ll be hard to get my old lady to take any action shots with it being winter but I’ll see what I can do.
No Skatement, they were a repurposed set of merrick fins that I got off of eBay. I sanded off the logos when I stripped them of their original glass. I was stoked this morning when I went to check my hotcoat and the uv inhibitors (I think?) in the green room blanco epoxy gave them a cool blueish tint. It kind of went away with the sanding though
Looks like it will be fun. I want to glass some fins on a board soon, but looks like it adds a lot of work vs putting in fin boxes. What do you say about that?
Also, did you do a gloss coat on this board, or just hot coat and sand? Did you have any burn throughs and no pin holes to worry about?