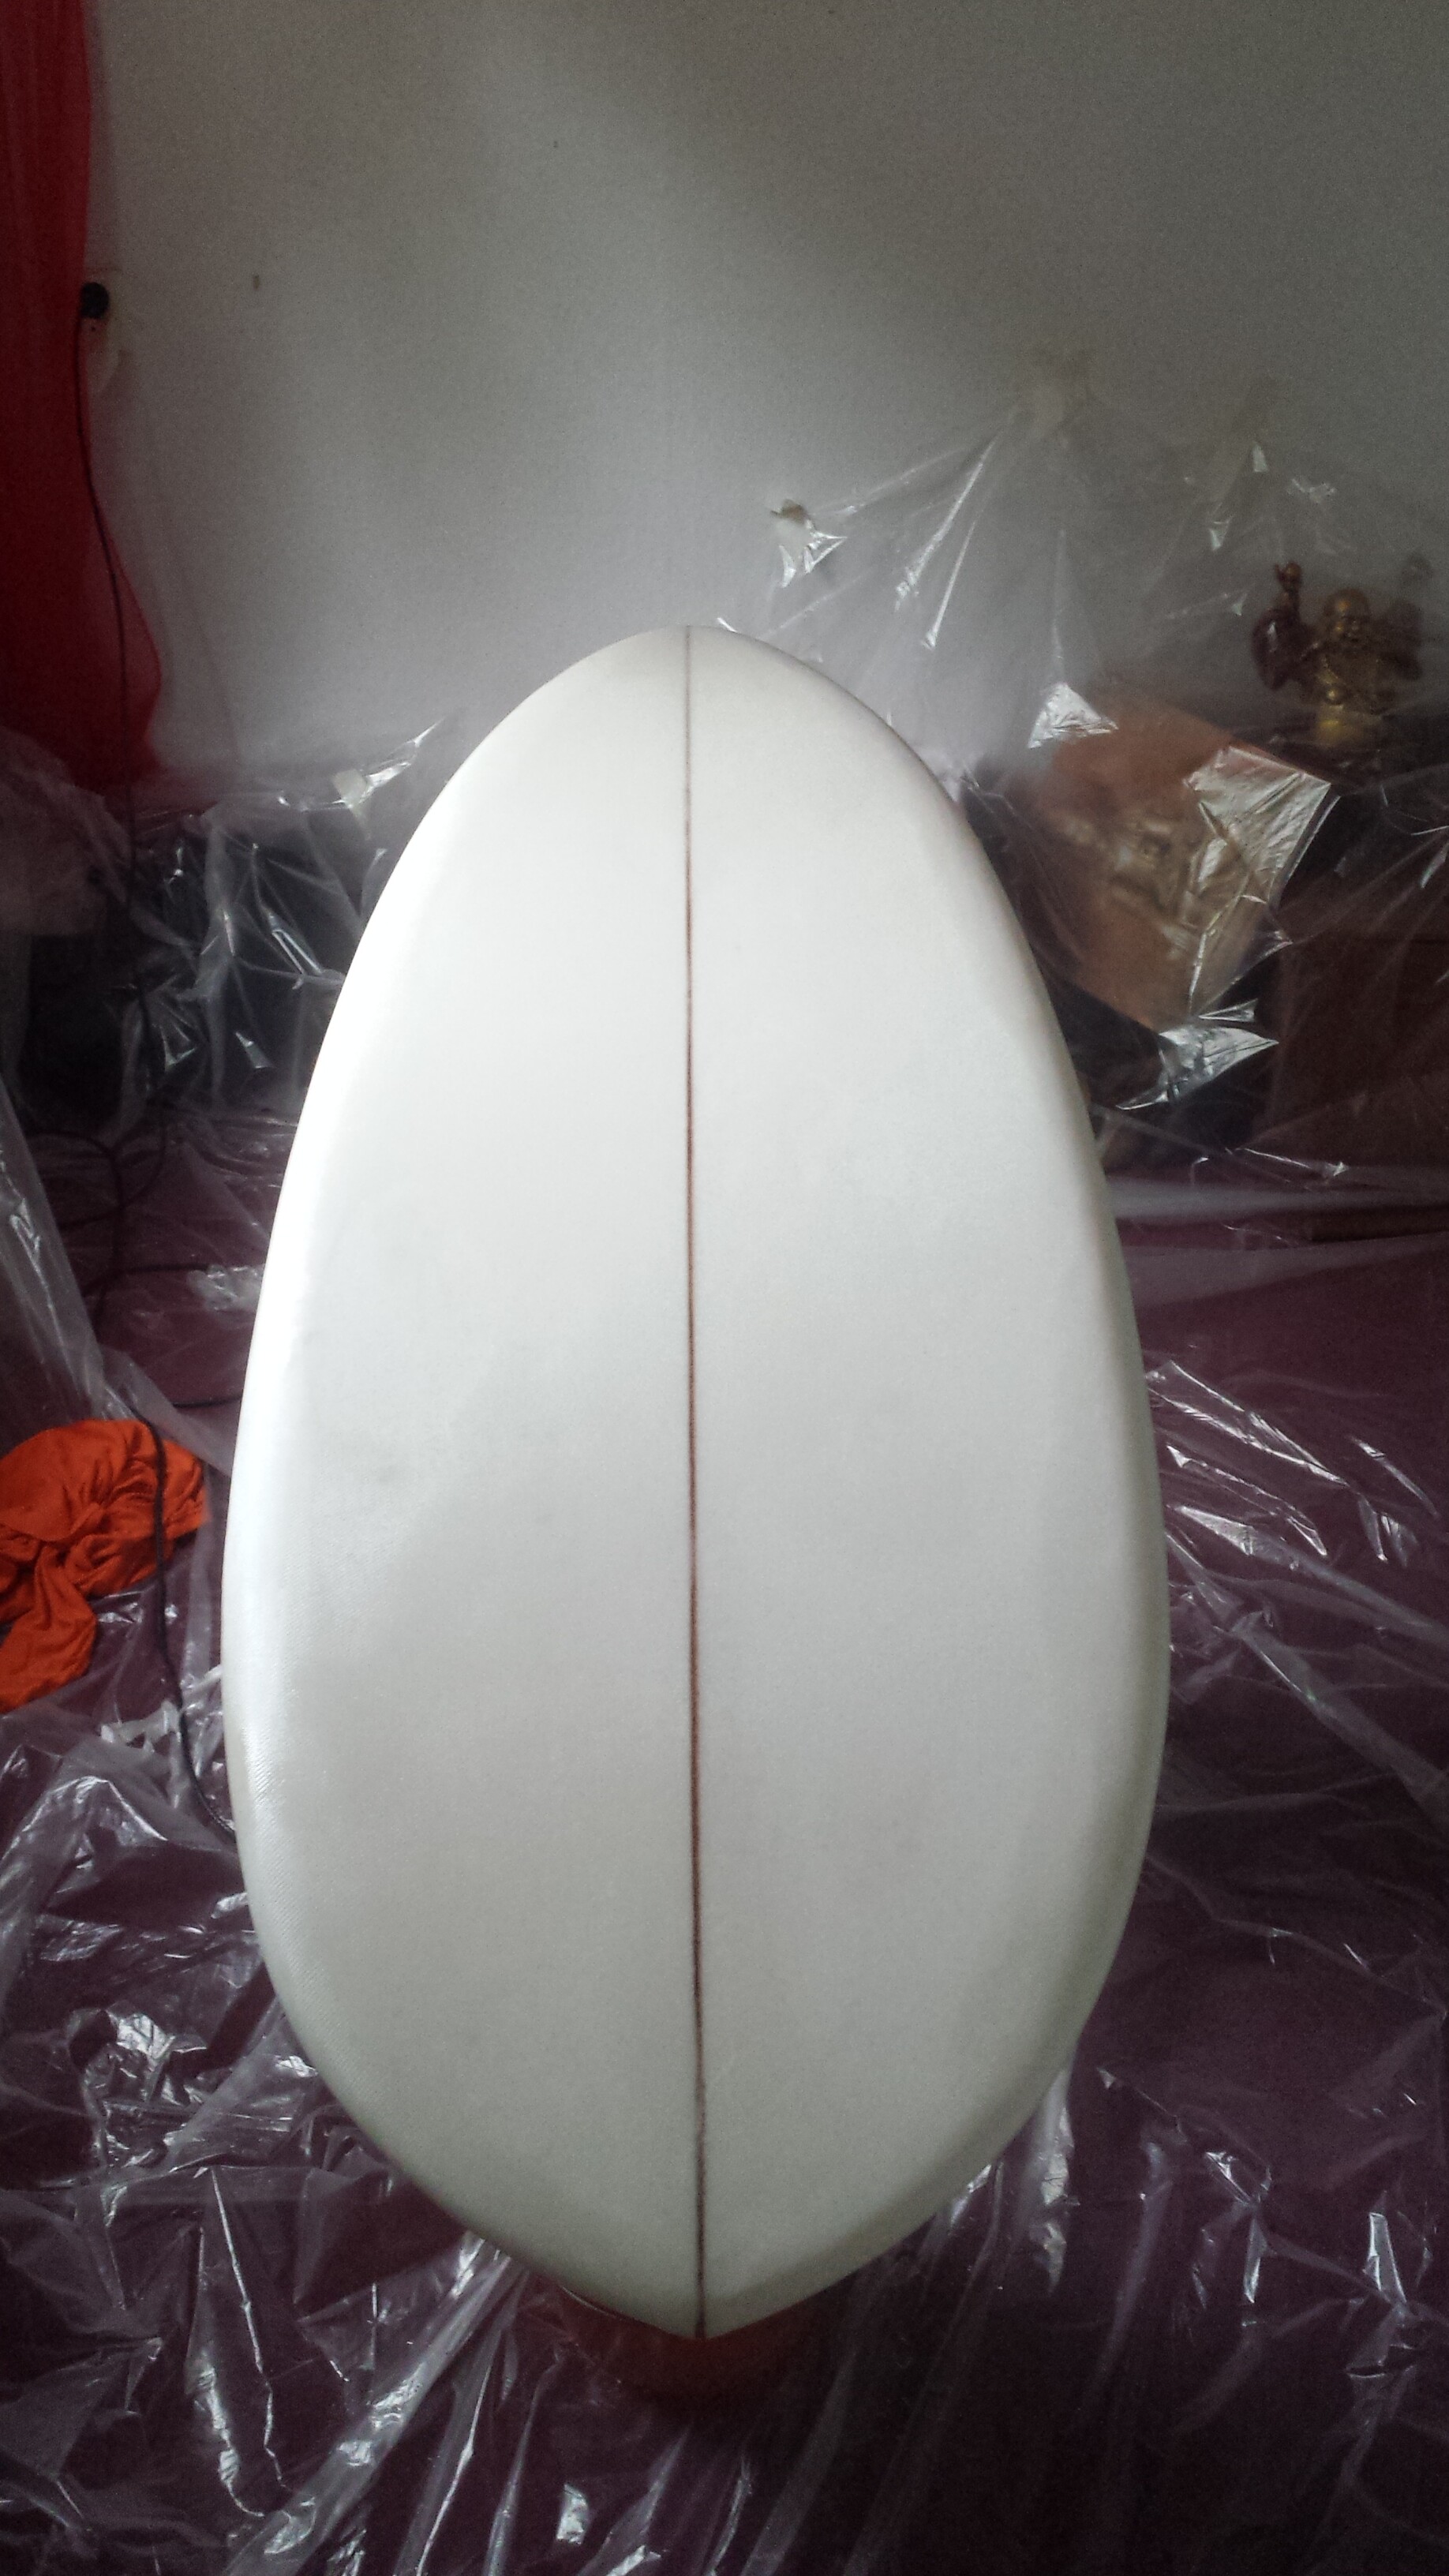
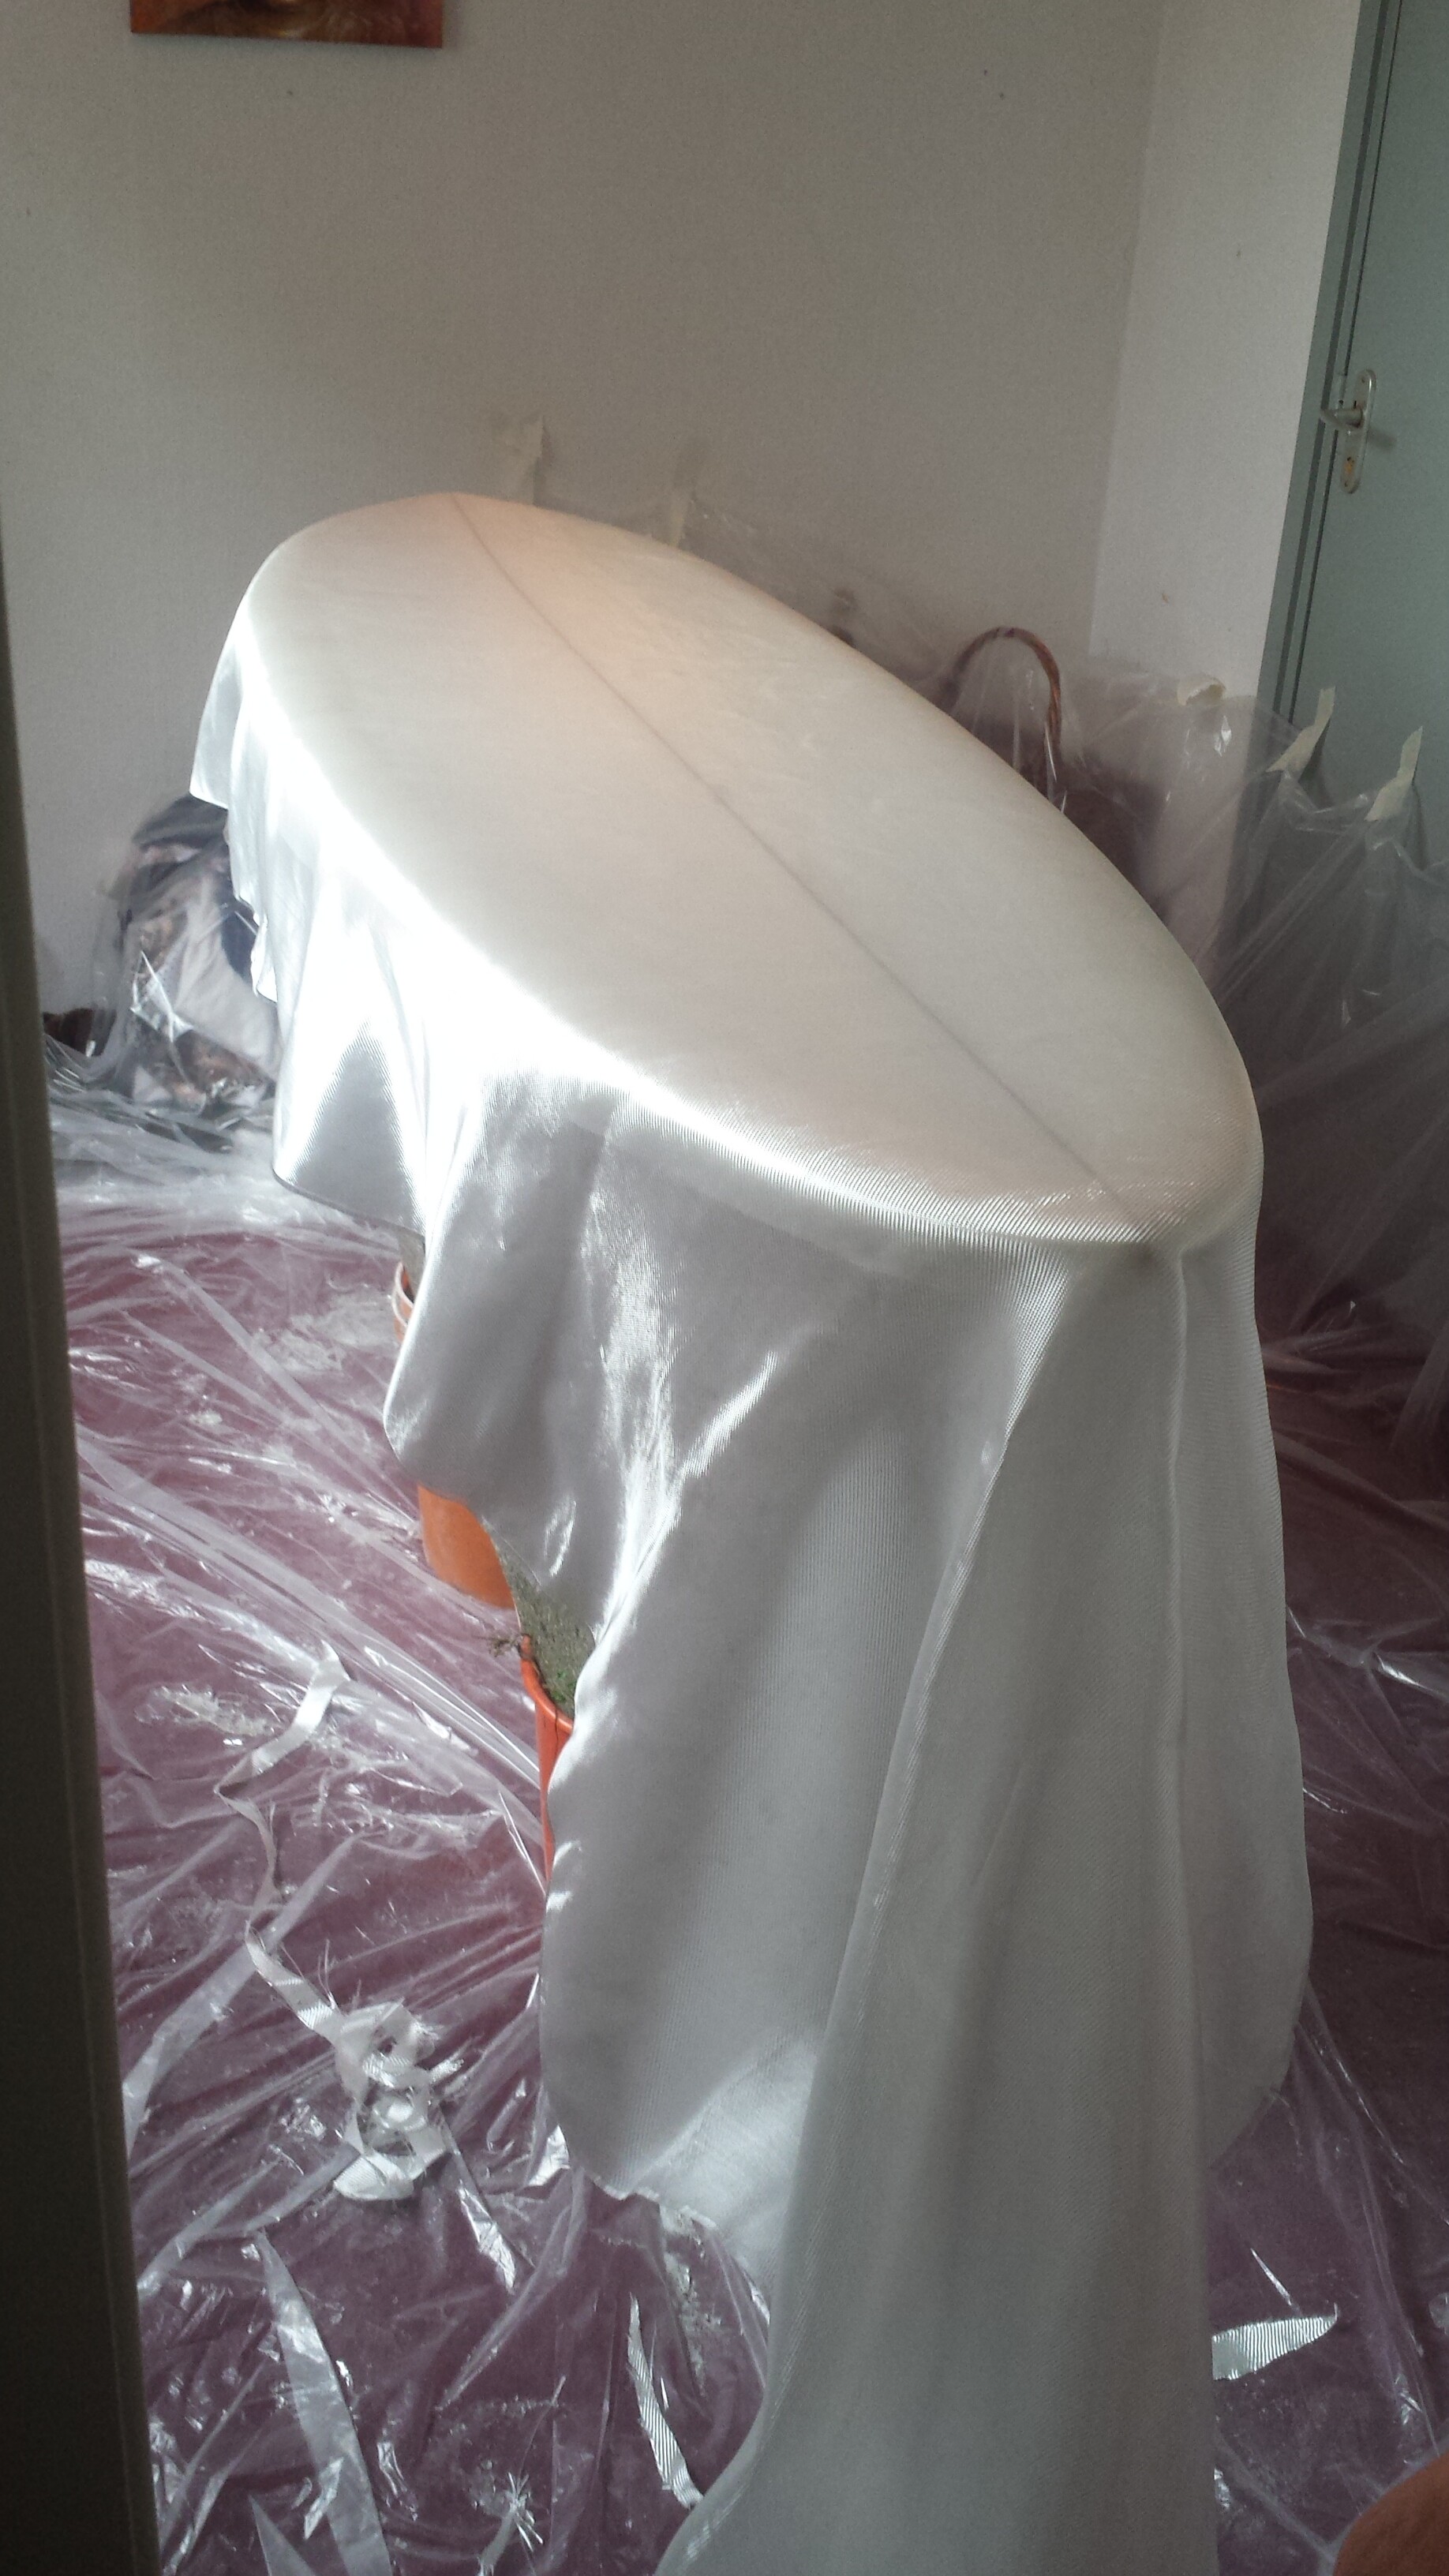
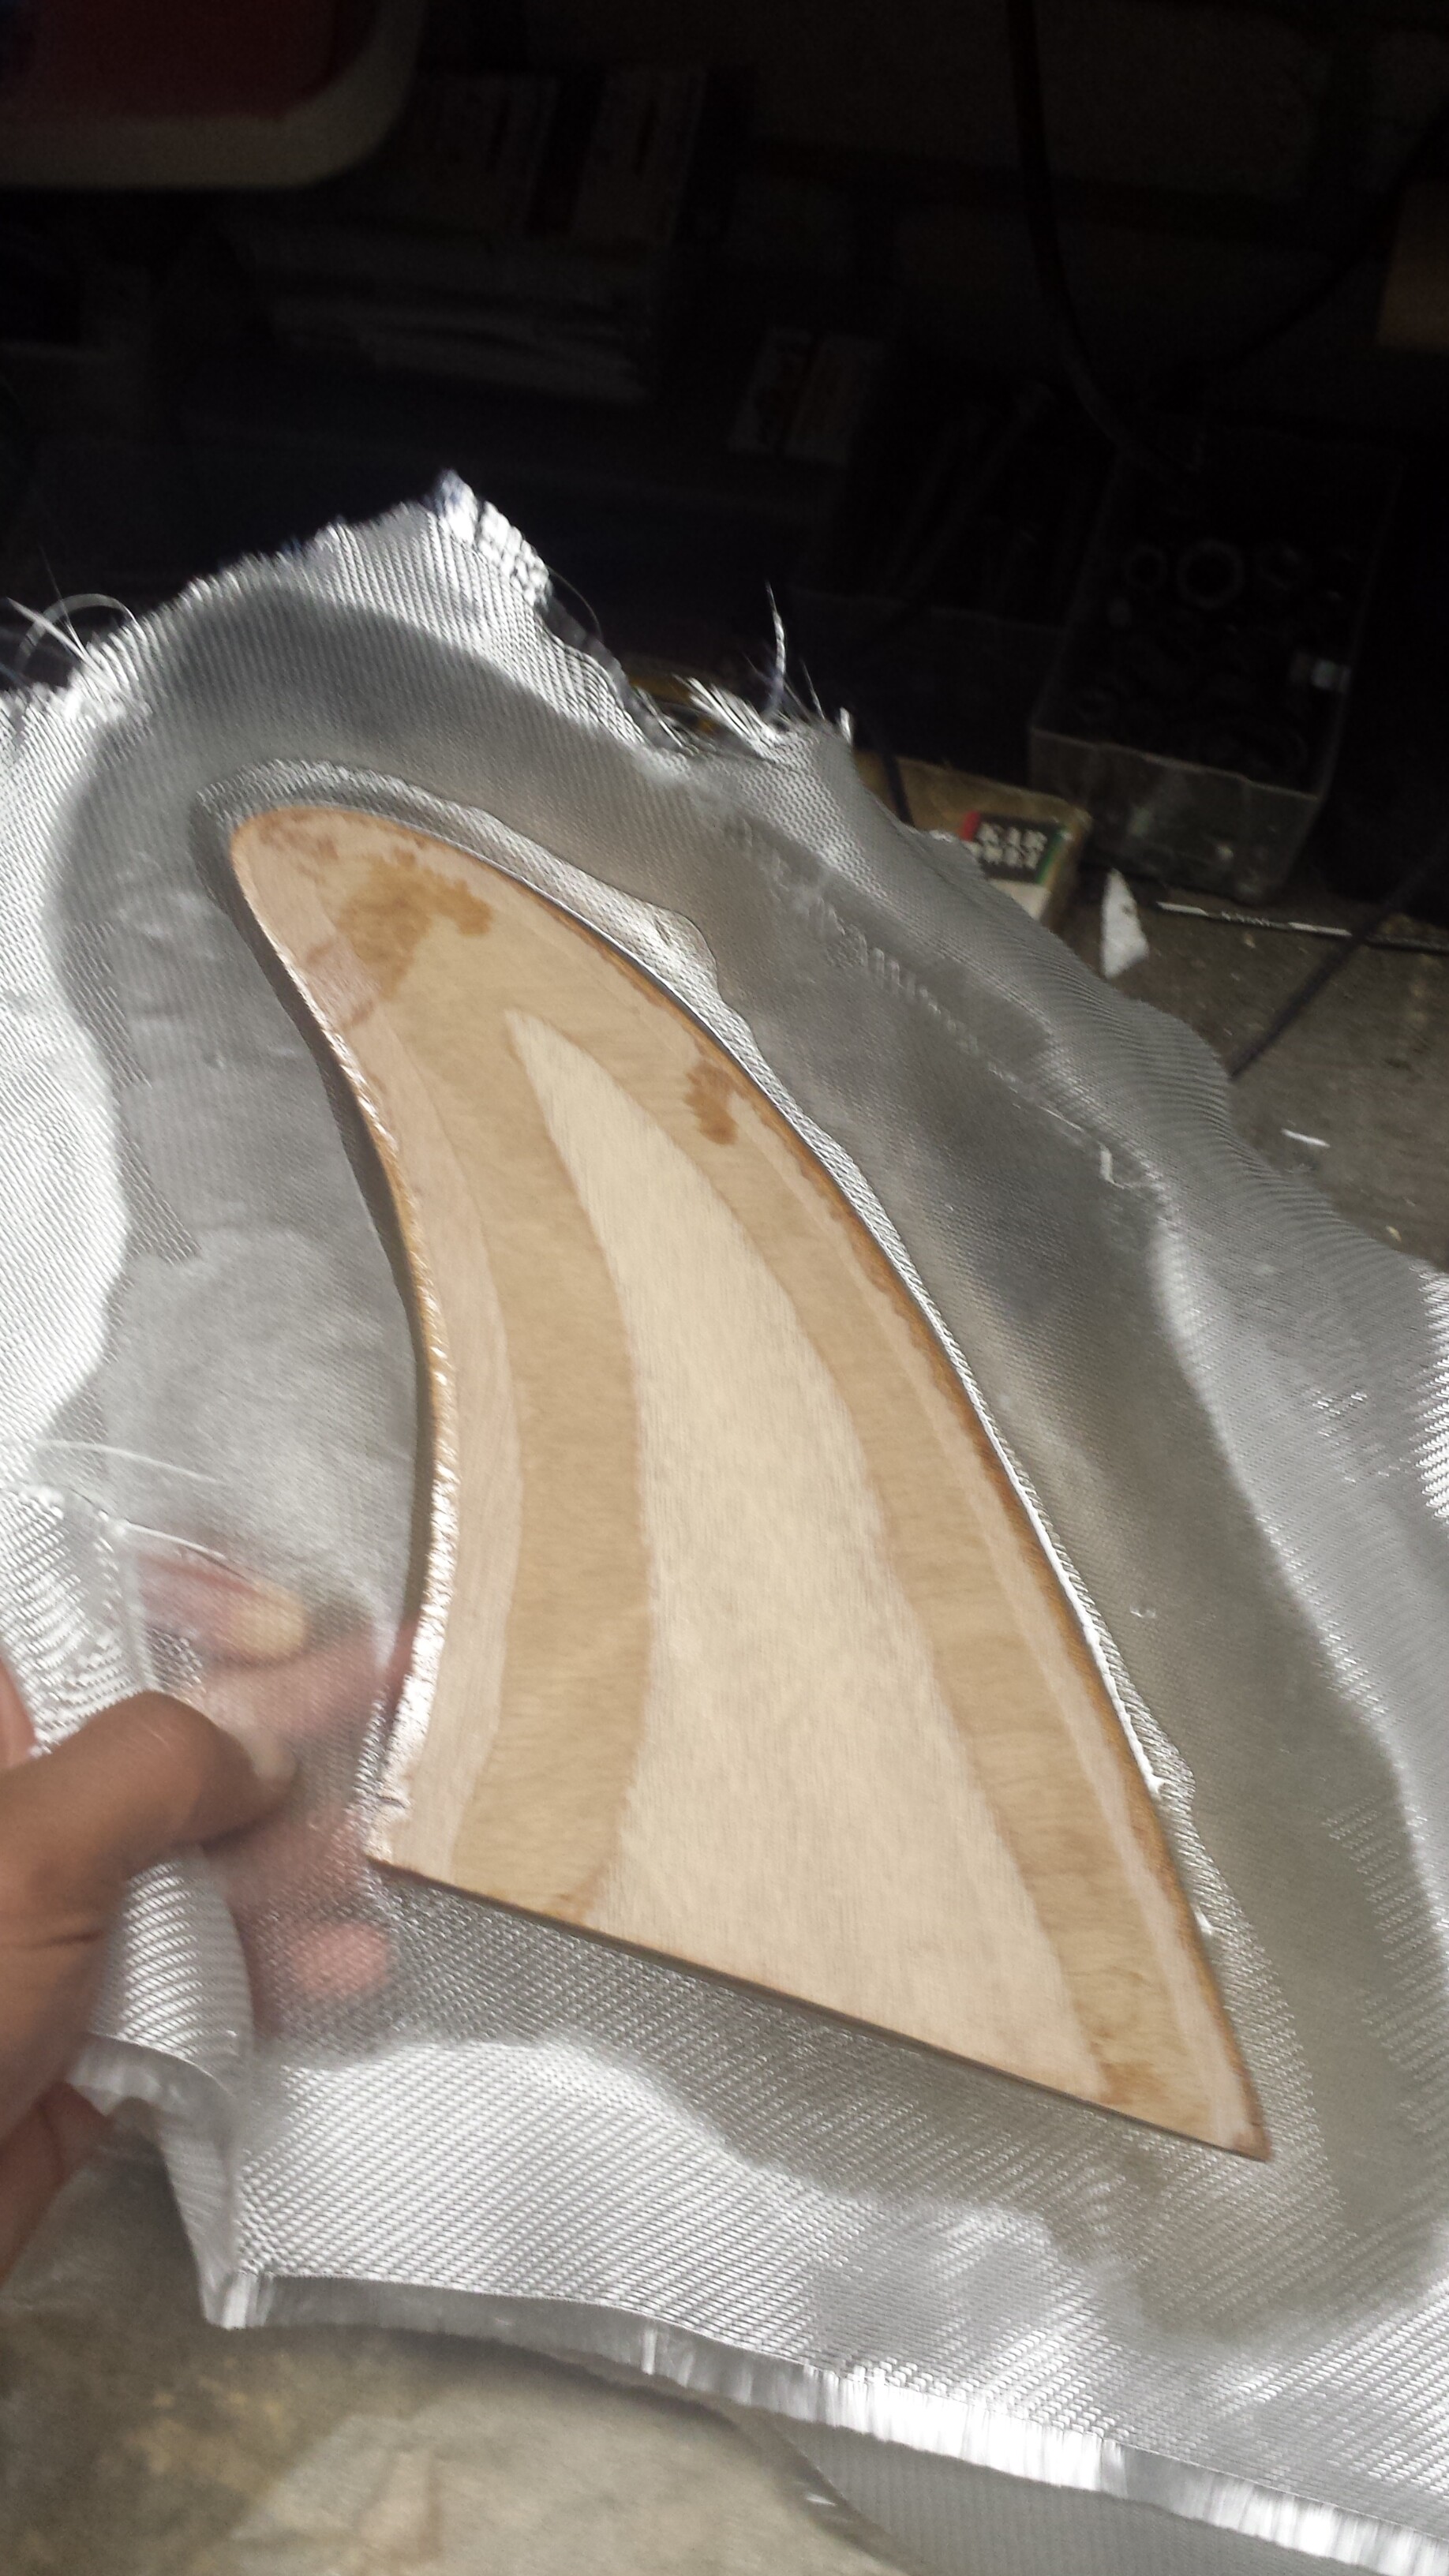
Here we go again! Last 2 evenings I spend applying and sanding the spackle to seal the EPS. I did had some experimenting to do on different types and brands of spackle, as -here in Holland- I can not buy any of the brand which are commonly preferred on Sways. First off the spackle was a little to thick (pre-mixed spackle) and dried quickly which made it harder to apply, so I thinned it out with demineralised water. Which was probably not the best idea because some yellowish stains turned up. Lesson learned: Demineralised is not the same as destilled water. My bad. Got rid of most of the stains.
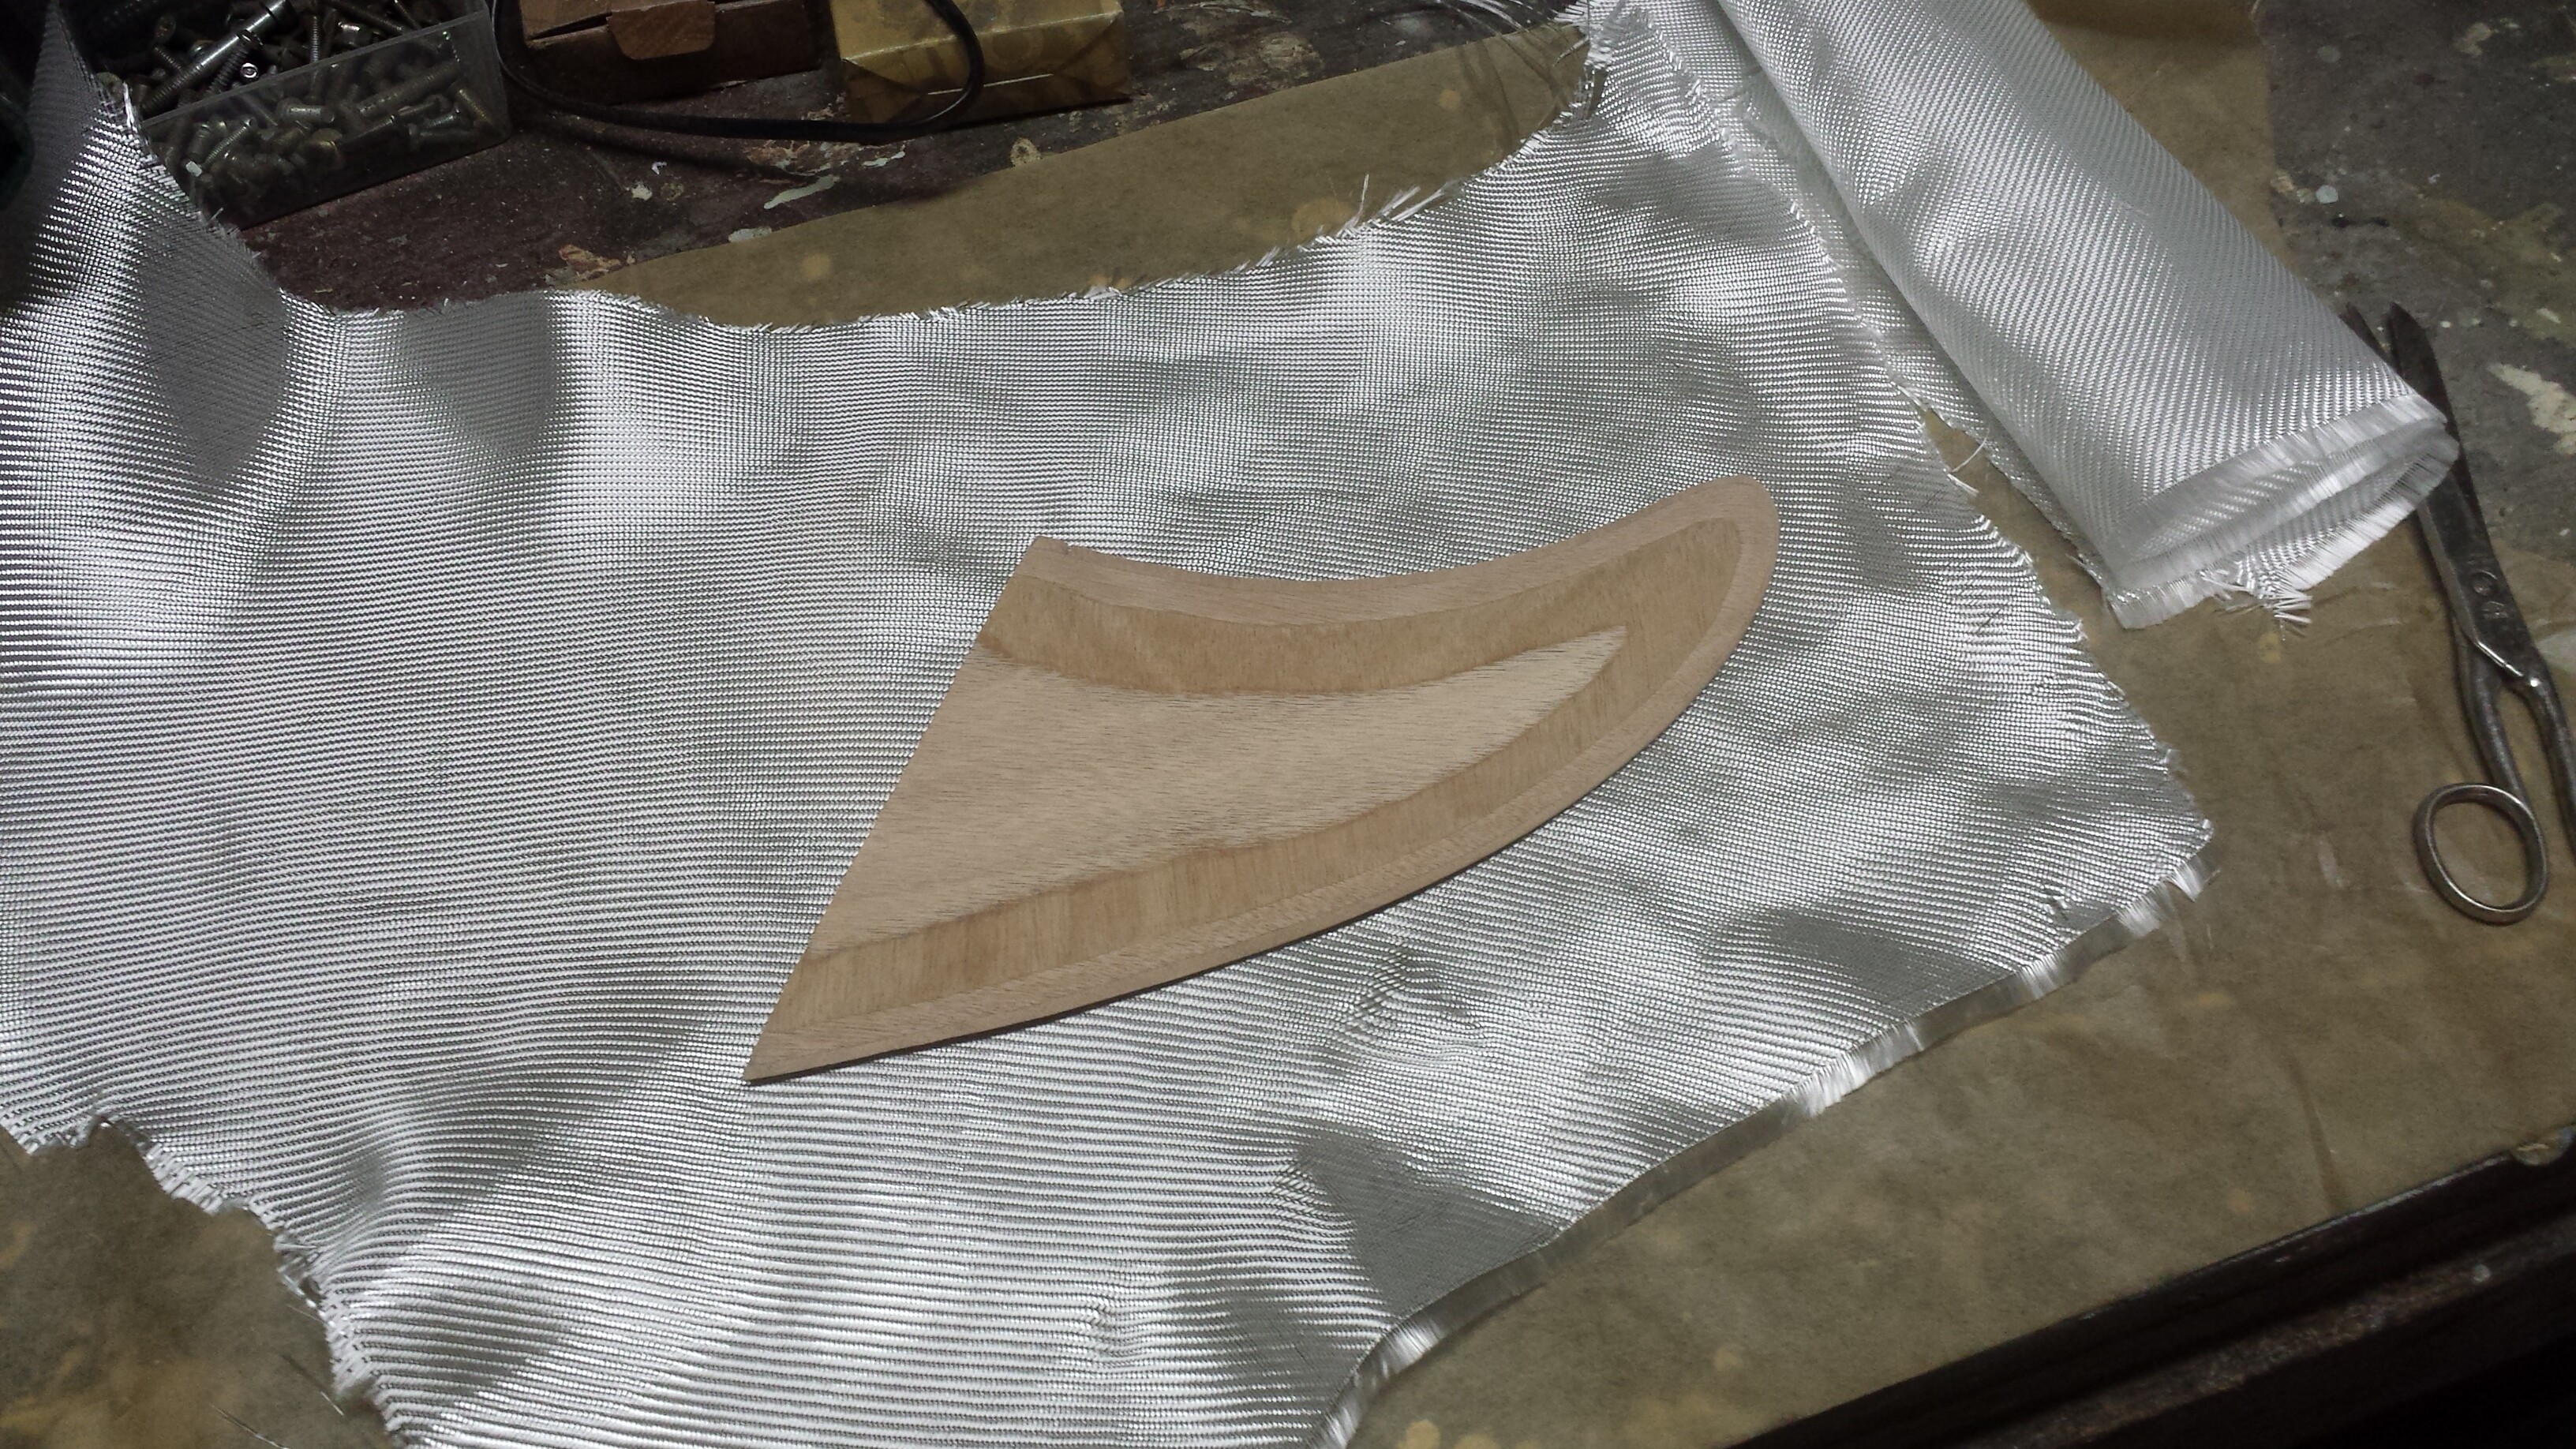
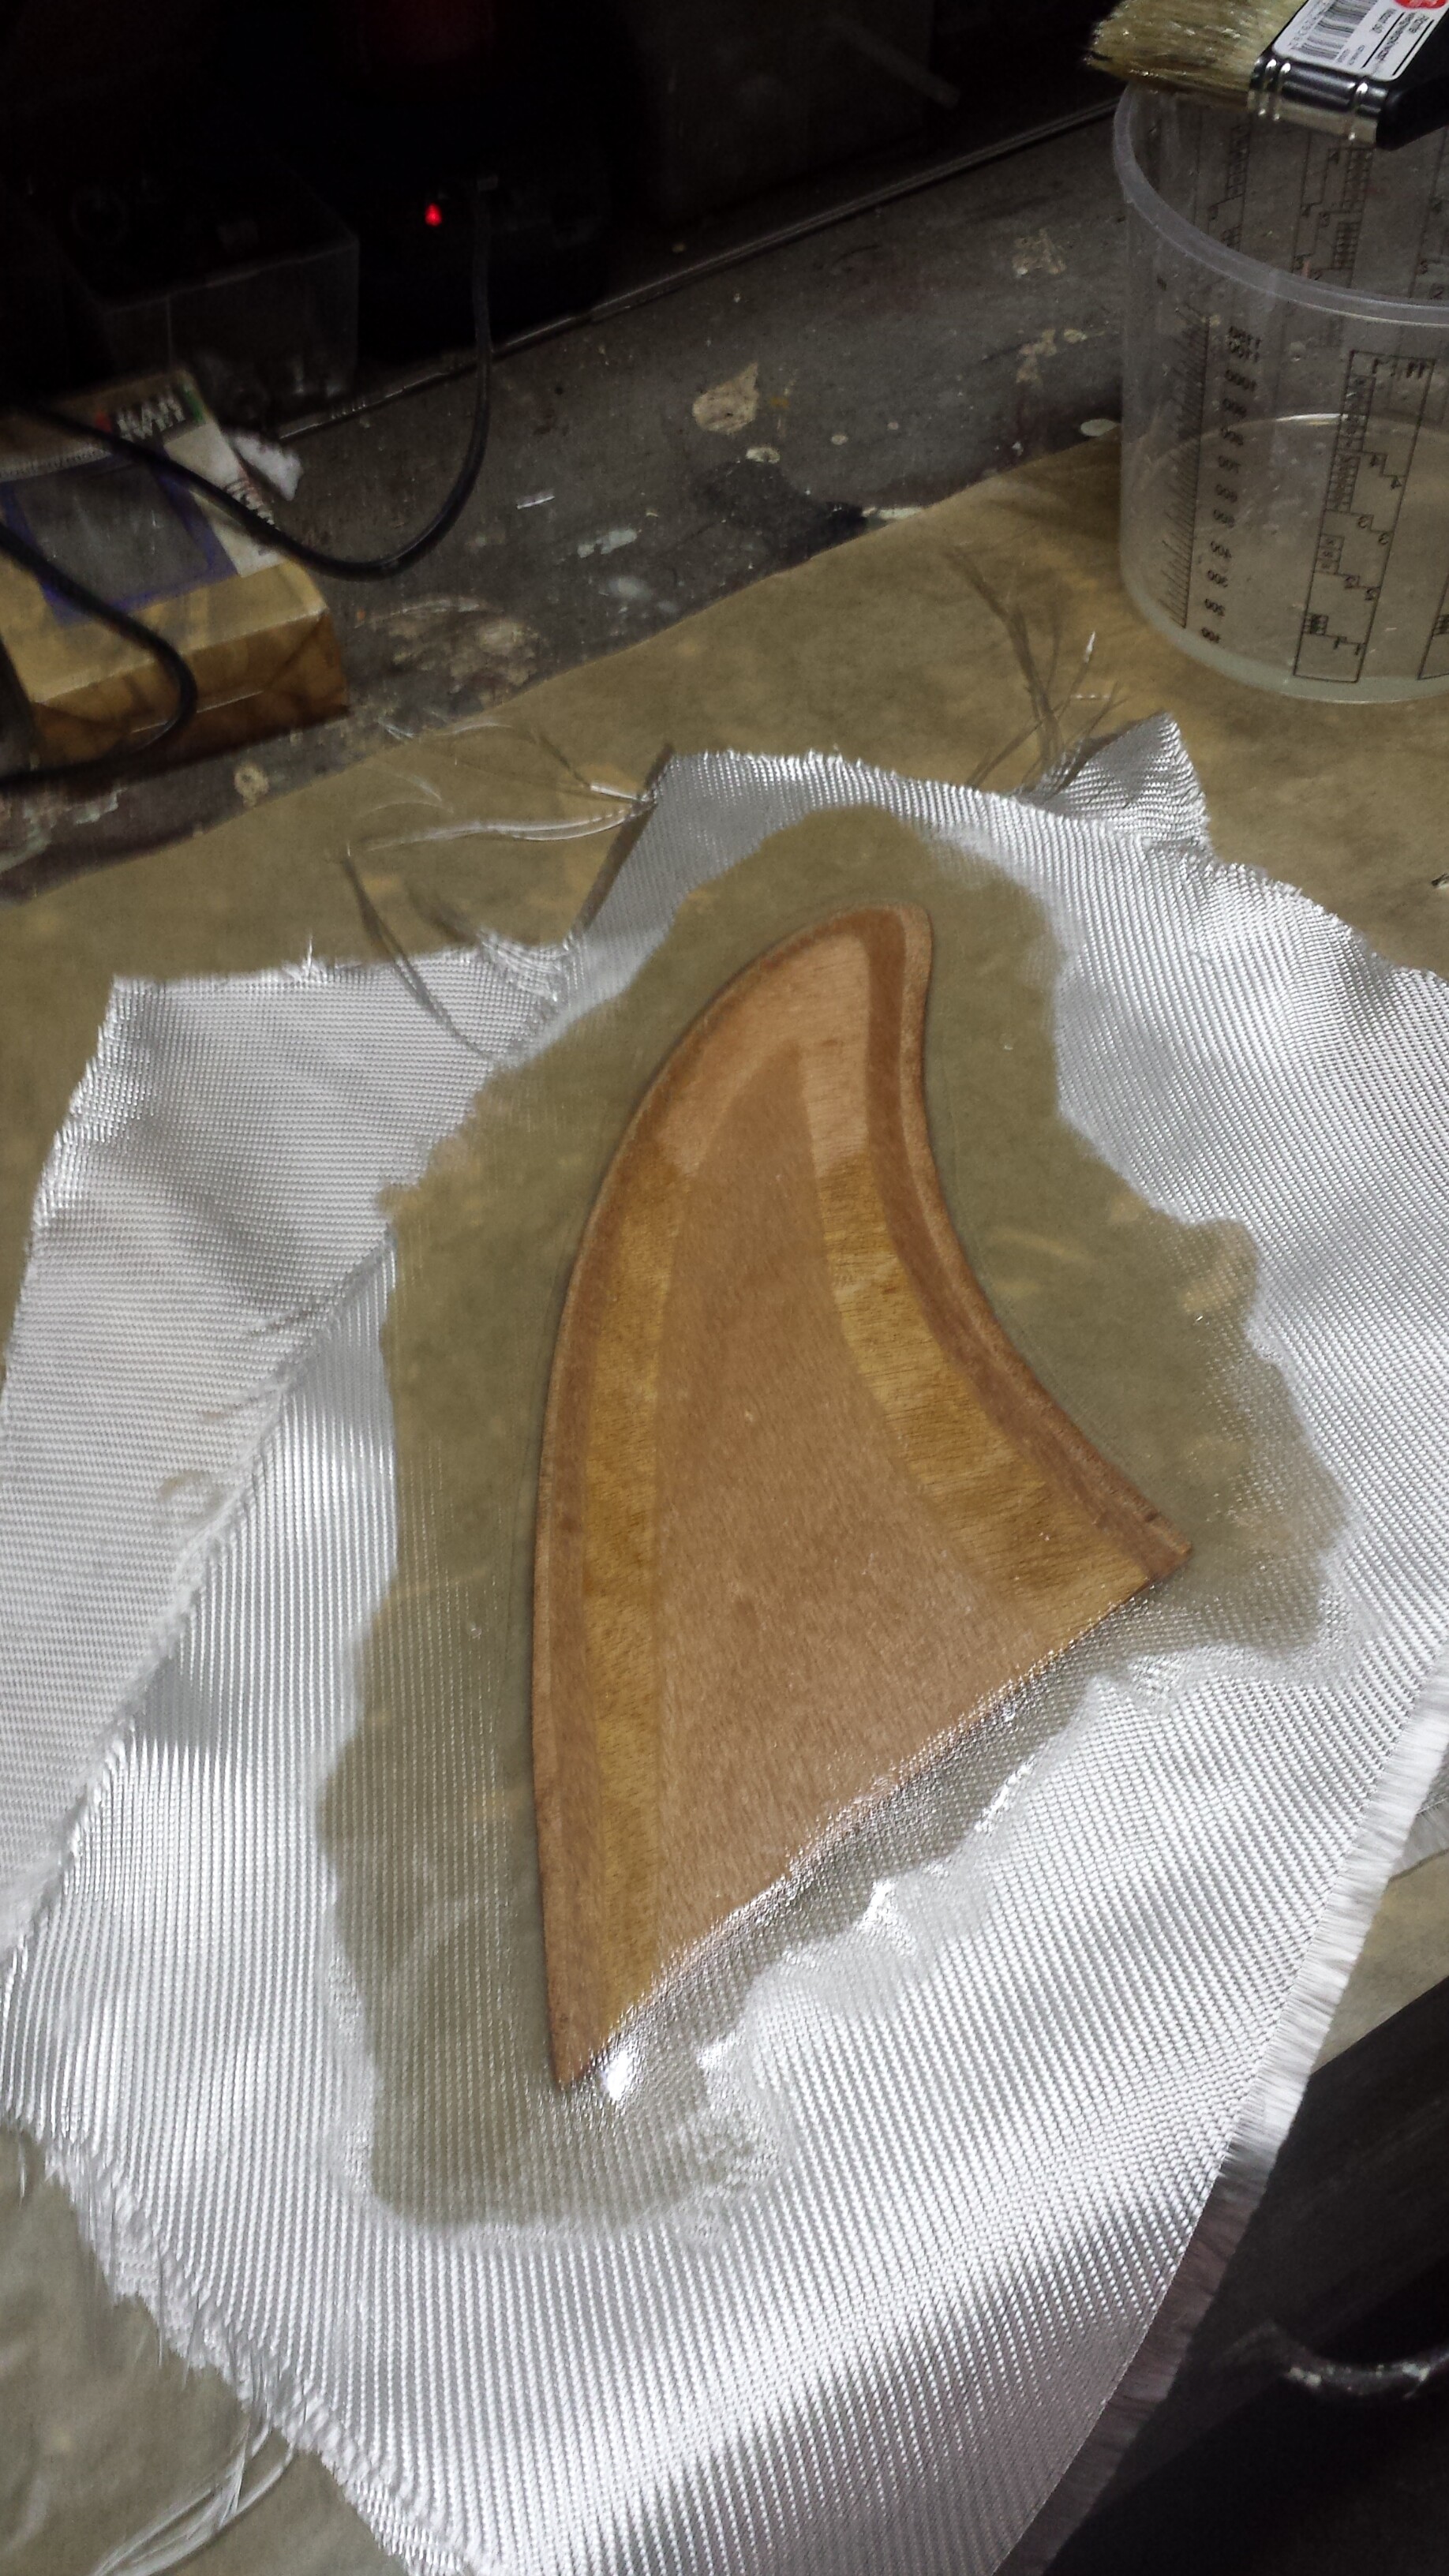
Anywhoooo. I;m getting everything prepped for my very first glass job ever. I am really lucky to be able to get about 22 feet of fibreglass and epoxy from work (for free!). The glass and the epoxy are commonly used by the yacht painters at the shipyard where I work so i trust on these guys for handing me the right materials.
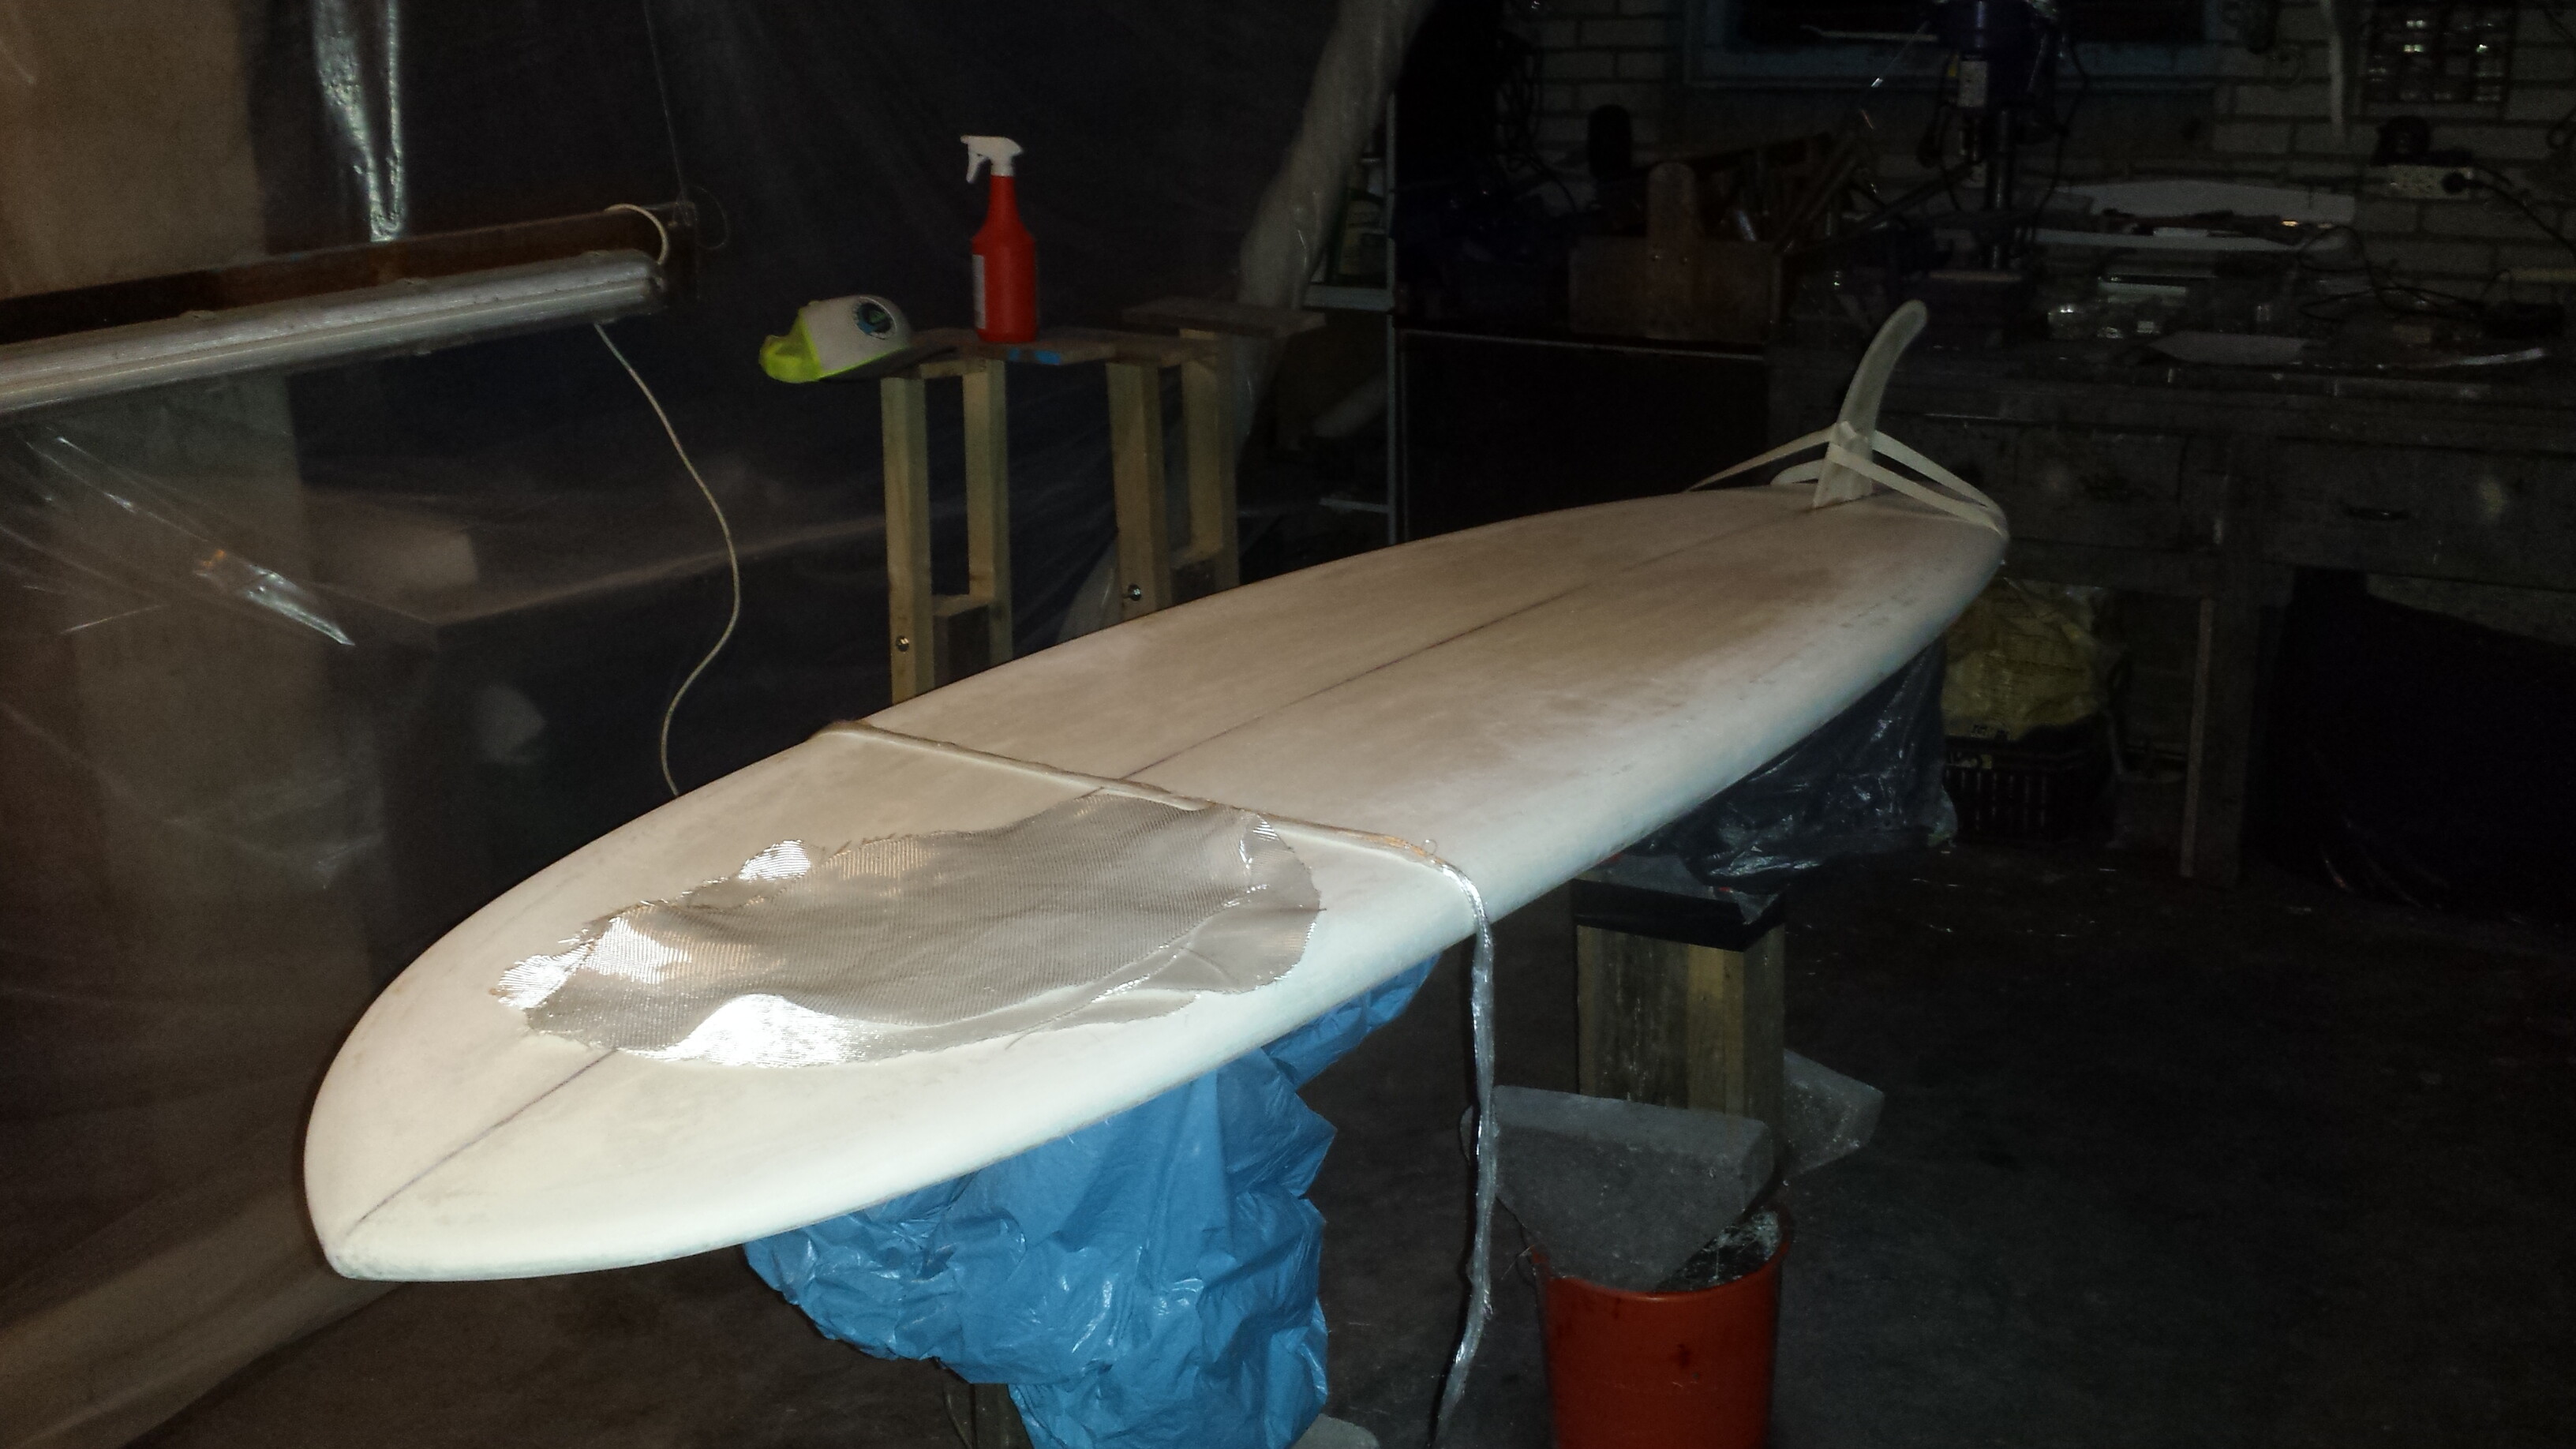
I will be using 1 layer of 6 oz (E or S, dunno) on the bottom and 2 layers of 6 oz on deck. And i will be using the free lap method, from what i’ve read, this method is harder to f* up. I did a LOT of reading about epoxy glassing and I think I understand the most of it. I will type out the entire glassing proces below and I will start on Saturday… so if any of you guys have anything to add or say, please do!
I am glassing this board inside the house, as the shed i’m shaping in is full of dust, sand, bugs and much more that can contaminate the glassing proces. I will open up a window so any fumes can get out (ofcourse using a respirator, gloves, etc.).
Here we go:
-
Lay one layer of 6 oz cloth on the bottom.
-
Cut the cloth around the board nice and even, long enough for the freelap.
-
Check nose and tail for Smooth even laps when tucking under, cut little v’s into the cloth where neccesary
-
Mix epoxy and hardener as per instructions (probably 1:2 ratio), use a wide stirring paddle and stir for 3 to 4 minutes for an even mix - very important! Use a wide mixing cup to ‘‘slow down’’ the chemical reaction of heating up by epoxy. I now have laminating resin. (Possibility to add Additive F (or other Surfacing Agent), 1cc per ounce of hardener. This can be done to lower possible blush)
-
Poor all of the laminating resin along the stringer, empty the cup completely
-
Distribute the lam resin over the entire bottom with squeezee. Remember: do not force the resin into the cloth- like lamming Polyesther-, let the resin soak into the cloth. Use long swipes longwise, crosswise, featherwise.
-
Soak the cloth hanging over the rails by wiping the squeezee from from stringer to rails. Start at mid of the board to nose or tail, do other side after.
-
Check if al the cloth on the bottom and hanging over the rails is evenly saturated (no dry spots, no pools of epoxy) all excess resin can be wiped into the mixing cup. [I’ve heard about wiping excess resin over the rails up onto the foam on the deck to minimize the ridge of the tucked-under lap]
-
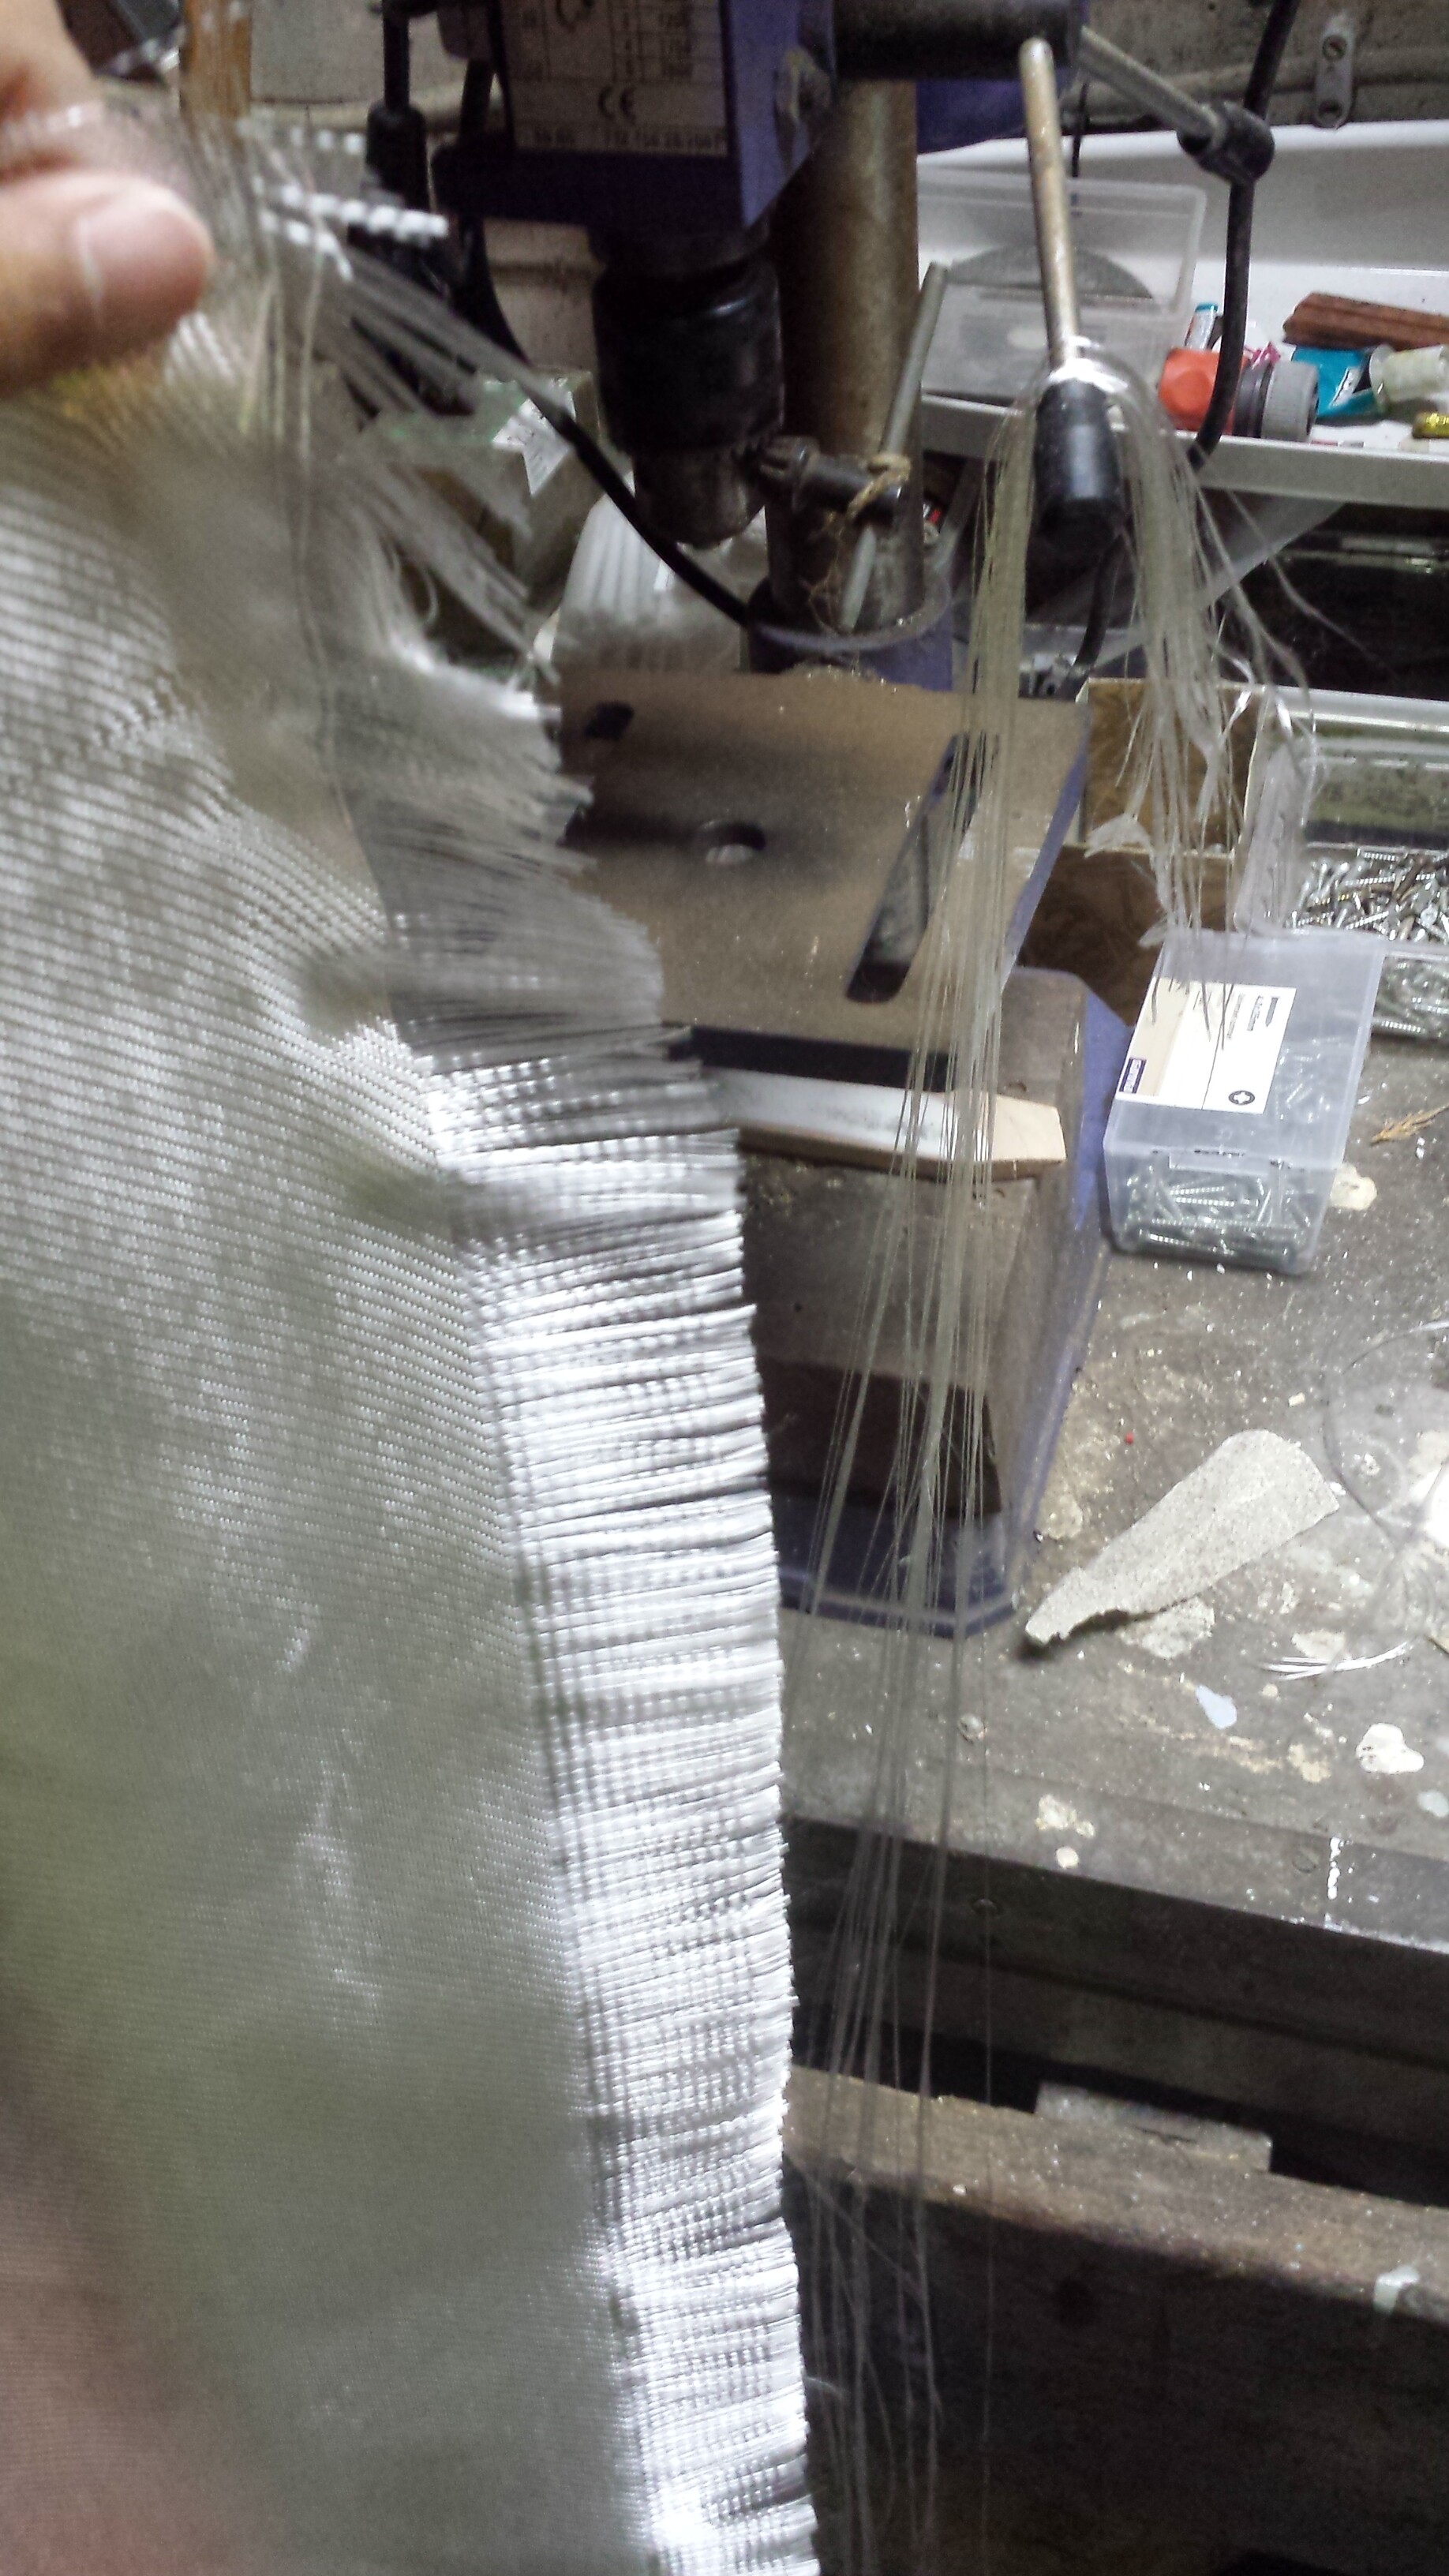
When resin gels/kicks/ becomes sirop-like [this is the same is it?] cut al the strings off with a pair of scissors.
-
Use squeezee to tuck the cloth over the rails up onto the deck. Start at mid of the board, going up to the nose or down to the tail, repeat at other side.
-
Keep checking if the rail laps aren’t coming loose from the deck.
-
Let laminate cure.
PART 1 : BOTTOM LAMINATING DONE
-
Flip the board.
-
Lay first layer of 6 oz cloth over the deck, cut around the board with just an inch or 2 hanging over the rails. Cut v’s where neccessary.
-
Lay second layer of 6 oz cloth over the deck, cut around the board with enough lapping area, so it can be tucked under. Cut v’s where neccessary.
-
Repeat from step 4…
PART 2: DECK LAMINATING DONE
==============================================================
Check how well the laminating went. Start sanding out uneven spots but beware of sanding into the cloth.
Hotcoat (also known as filler coat, sanding resin) is laminating resin (epoxy + hardener) mixed with a Surfacing Agent (which is actually a mixture of Styrene and melted parafin wax). A lot of people are talking about Additive F, which is a premade Surfacing Agent with some special ingredients to make it an ideal mixture to use.
To mix the hotcoat add 2 cc of Additive F per ounce of hardener. As from what I understand the big difference between laminate resin and hotcoat is the added Surfacing agent. The surfacing agent contains parafin wax which rises to the surface while the resin is curing. This wax will build up as some kind of miniature blanket on top of the hotcoat, which prevents air (oxygen) reaching the actual resin. This enables the resin to fully harden instead of staying tacky/gummy. This makes sanding the hotcoat a lot easier for a nice smooth finish.
If it is neccessary to do a second hotcoat (if you have left bumps or uneven spots) the entire surface needs to be coarsed/sanded, as the second hotcoat will not bond with the first hotcoat, due to the miniature wax layer.
Apply the hotcoat with a new brush, and beware of any contamination such as released brushlashes. Apply a vertical hanging tapeline (Apron) along the apex of the rails to avoid droplets going under. Hotcoat away!