Casting hybrid lamination fins

Fits like a bum on a bucket.

100% hand shaped, much of it in the literal sense: Fingernails and fngertips work on this stuff (for the finer details after scraping the bulk away with that curved blade tool in the pictures).

This is fun, ‘I’m in love’ with plaster. I hope I don’t develop skin issues from contact with it, it is so nice to be able to work with a non-toxic material with bare hands. It does ‘dry out’ your skin (as in ‘remove most of the oils’). 

I’ll have to meditate a bit on how to replicate the other half to my first ever self-shaped fin-negative. There must be a way to cast a mirror image for the second half, to ensure symmetry, but so far it escapes me. It does not really matter if it is symmetrical, but it would be nice if the first fin blank comes out almost surfable. Like a modern surfboard blank that you could really just glass, and it would be ‘good enough’ for an intermediately skilled surfer.


Origin of Symmetry (Muse) is ready for tomorrow’s commute. That should do it.

https://www.youtube.com/watch?v=j5cmn6eoUOk&list=PLE6A4049CEA2E6266&index=1


I could not come up with a method to accurately mirror the first side of the ‘fin-negative’ to the second side. The best I could come up with so far was to smear a bit of vaseline around the edge of the carved area on the first mould halve, then put the two mould halves together, then separate them and then scrape along the vaseline line on the second halve of the mould. That way, the ‘halve-fin-negatives’ should end up aligned and of equal outline.

Then, I scraped the foil into the second halve of the split mould with the hand scraping tool. I left this side of the fin-negative a bit thinner than the first halve. I can always scrape out some more after looking at the first fin blank has been cast, hopefully tomorrow.

I created a single in/out channel at the tip of the fin, and it is only cut into one halve of the split mould. I hope that works, and hope it results in a fin tip with one side shaped correctly, to guide where exactly to cut / sand / scrape the excess off.

A single coat of shellack was applied, so mould release agent does not disappear into the porous mould after application. Not sure yet if I will use green soap or vaseline.

Next, modelling clay was applied to the parts of the mould where the ‘Dummy Fin Tab negative’ had been damaged while creating the negative of the thick fin foil just above the edge of the fin tab.


The first ‘Dummy Fin Blank’.

Fits straight into a surfboard after de-moulding and a bit of de-burring.

No doubt the shape will not be high performane, but could be surfed.

“Soft soap” worked very well as mould release, the halves came apart like a charm this time.

Main thing to improve is how to shape the fin base right next to the DFT so it fits perfectly out of the mould. I might have to make a DFT without the ‘dagger’ bit, so I can cut along it’s edge with a stanley knife to create a perfectly straight fin edge.


Having a crack at silk…

And i got some different epoxy catalyst today, it is supposed to be clearer and a little more UV resistant than the other West System Epoxy. It will still yellow over time if exposed to UV, but with colourful silk to distract the eye it will probably not be much of an issue.

West Epoxy 105 / 207 Clear Hardener in 3:1 ratio.

Various silk bits and Q-cel.

Q-cel (about as much volume as part 1+2 of the epoxy combined) added to part 1 first, then part 2 (West 207) mixed in when everything is ready to go. I asked the knowledgeable lady at the epoxy shop today, and she said that the two epoxy parts should be mixed first, then the Q-cel added. I asked why exactly that is the recommendation, and (my rephrasing) it is solely due to concerns about the components not being mixed well enough by the average punter. The more Q-cel you add, the thicker it gets, and for some reason they think that mixing a stiff substance with a runny substance causes uneven mixes if not done very well. But (and I clarified that specifically), if you do mix it thoroughly, then there is no problem with mixing the Q-cel in first.


It de-moulds like a charm, but I don’t like the artwork.

The (red) silk application has also caused several bubbles on the fin surface.


That’s the reason why you should gelcoat the mold first,

then lay in on or more layers of glass,

close the mold

And fill up.


I’m quite impressed with the surface knowing you didn’t gelcoat.

Thanks Hans!

I did a sort-of gel coat I guess, by waiting until the resin of the first batch had thickened a bit, then sticking the silk on, then mixing the next batch (with Q-cel in it).

I think if I had been more diligent, I would have filled most of the empty spaces with Q-cel mix by working the second layer more thoroughly into the first layer.

The next attempt turned out with a dodgy first side, but the second side is much better, because I started to take full(er) advantage of the glass/transparent silicone mould setup: Check for bubbles from underneath while preparing the laminations! Previously built surfboard stands worked very well for this purpose.

Anyhow, I got a great deal further since, and now have the first fully-self shaped fin sitting in the first half of a Pop split mould.

Shaping the dental-Pop fin blank was very enjoyable. Keeping it wet, in fact doing much of the shaping under water, I arrived at what I currently believe to be the best fin shape in this arm of the Milky Way (at least!). It is a lot thicker than most fins, but I think that is better.

I reckon’ the thin foils (at least) of centre fins have been dictated by the ‘laminated glass’ technology used to make them. It is very difficult to make a glass fin that is much thicker than the fin tab, at least it is difficult to do a production run of such fins. So, out of neccessity, even McCoy fins have remained thin, as thin as the widest part the fin box, or just a fraction thicker. My hypothesis is that Geoff McCoy would have made much thicker fins, if the technology had been available to make them in a cost efficient manner. Big call, but I’m quite confident that I’m right about it. Time will tell, and soon.

After I finished shaping the Pop-fin, I compared it to various Gullwing fins. I was very close to the original outline shape in the negative mould, but I removed quite a bit of material in the tip area while hand shaping it. I shaped it by feel and by visual inspection in bright sunlight and I’m happy with the result.

One to two weeks before I turn this into a fin that I can surf…


Ready to pour the second half of the split mould for the ‘Gull-Wing-Fin-Blank-with-snap-in-tab’:

Shellack and Soft soap on mould and fin, 4kg dental Pop, 3kg water, 9 minutes from start of mix to end of clean-up, and the Pop is already quite firm at that time.

You are correct that current findesigns are driven mostly by production reasons.

The single foiled fin is a perfect example. It just doesn’t make sense for any reason other than production.

To see the effect of fin thickness, check the lift curves below. (Stall = spin-out)


NACA 4412 is the thin foil in this case. It stalls abruptly, which will make it almost impossible to recover from.

NACA 4421 is the thicker foil, which stalls much more softly, which allows bringing the fin back in safe operation.


This softer stall behaviour can also be achieved by using swept back flex fins.

In windsurfing this is very easy to feel. A swept back wave fin will spin-out softly even if it’s thin. But a straight race fin will make you wipe-out immediately when stall occurs.


Important to note is that drag isn’t taken into consideration here. Both a thicker fin as a swept back fin will induce more drag than a straight thin fin, but in different ways.

So I would be carefull to conclude that thick fins are better. As long as your fin doesn’t spin-out, you can go smaller, thinner and/or more straight.

Thanks Hans!
Your post makes a lot of sense.
For me, McCoy boards are primarily about forgiveness, while sacrificing as little performance as possible to achieve this goal. The thickest NACA foils seem to be the airodynamic expression of that principle: A tiny bit less peak lift, but stalling in a more controllable manner. I’m happy with my first hand shaped fin, I just completely free-handedly carved it into the plaster and felt if it ‘flows’ or not. The result is very similar to the thickest NACA 00xx foils, but a bit thicker. When I have more time, I will do more detailed measurements. I have only done a quick measurement in the central area, where it is short and thick. In the tip area I expext to find a foil profile more simiar to mid-range NACA00xx foils. Interesting to see that the thickest NACA 00xx profiles are used for planes designed for learners, but also for airobatics. I think they represent the ‘sweet spot’ where the curves for forgiveness and performance cross.

Like I mentioned, the graph doesn’t show the drag of the profiles, only the lift.

The thicker foils also increase the drag considerably. For large enough waves that aren’t super fast, this shouldn’t matter though.

For windsurfing (racing and speed) this is a huge deal!

The interesting thing about swept back flex fins, is that the flex reduces the angle of attack at the fintip compared to the base. Which also softens the stall.

Another great setup is the thrailkill twin, the biplane like fin configuration delays the stalling of the lower fin (compared to the lift force), which also softens the stall.


Multiple ways to achieve the same goal. I was planning to do a CFD study to compare all the different effects on the lift and drag curve, but unfortunately the lack of support for finfoil made me focus on other things.

I can for now only go by feel and look of the fin, and assume that water will flow well around it if it feels and looks right. CFD formulas do my head in every time I look at them, way out of my league.

I almost exclusively surf 8’0’’ single fin Nuggets, they are not particularly good in gutless small waves, but can handle any large and powerful waves better than I can. So unless the increased drag is so significant that it makes a difference to maximum paddling speed (and therefore reduces my ability to catch waves), I hope it will not matter too much.

In any case, it’s much easier to sand a bit more Pop off than to add some on, so starting out with a thick template (while potentially wasting money for the expensive silicone mould) will at least allow me to reproduce plaster blanks that can be hand-shaped into thinner foils easily.

About photos below:

I should have realised from this de-moulding that I need to change the tip, but I had to do it twice more to get it. Again, impatience is no good with these casting processes, it works much better to let the PoP blank dry before sanding it, less risk of parts snapping off. I did learn something new each time I repeated the cast into the mould.

  • Vaseline works better than soft soap as a release agent.

  • new Pop does not bond to shellack covered surfaces (as I was lead to believe from reading on the net).

  • a failed dummy-fin-base-cast makes a great alignment tool to cut the fin-negative into the pop mould, so that the fin aligns nicely with the surface of the surfboard.  

  • glitter sinks in resin if you pour it too early.

  • the epoxy DFB is indeed required, because it snaps off if poured from plaster. That photo nevertheless shows a successful outcome, because there are no bubbles on the surfaces. I hope that is due to the ‘slosh cast’ technique I used for the plaster only cast: Half fill the mould, stuff a tissue into the inlet, then shake the mould and turn it etc to cover all internal surfaces with Pop, then pour the rest of the Pop in. It helps to dry the split mould first, because they are quite heavy. I don’t bother with hessian reinforcement any longer, I just make the mould thicker for added strength. But that makes it heavy and hard to shake.

The remaining problem is that the tip of the fin is to close to horizontal, so that bubbles accumulate adjacent to the area where the inlet has been carved into the split mould. This area then breaks off when sanding it. I will extend the inlet a bit further to fix that issue, and / or tip the mould forward for a minute to let the bubbles rise toward  the inlet.


NACA foils ( http://www.aeronautics.nasa.gov/docs/rpt460/airfoils.htm ) and another image ( UIUC APA - LSATs Airfoils Tested ) of air foils.

Would the trailing edge modification used in the ‘Trainer 60’ foil (under Powered Aircraft) be an option for surfboard fins? It would reduce the injury risk a lot.

I don’t quite know how to interpret the data about these foils: http://m-selig.ae.illinois.edu/uiuc_lsat/Low-Speed-Airfoil-Data-V3.pdf


The DFB is not coming out of the Wacker silicone mould the way I would like it. One half of the split mould is pockmarked with bubbles, there is too much burr removal and touch-ups to be done each time, and somehow the cast DFT’s are a bit too thin and wobble in the fin box. And sometimes they snap off, as did the latest one (green glitter edition) shown in the first picture.

So. I’m over messing around and I’m trying a fresh approach.

Second pic shows the initial DFB pattern with added modelling clay to strengthen it’s structure, the third pic shows the product used. It works very well, does not dry out, a pleasure to work with. 

Finally, I’m trying out ‘brushable latex’ to get an accurate mould of this DFB pattern. The stuff stinks of ammonia, but is otherwise quite harmless. No mixing of components is required, just letting it air dry in multiple thin layers. 

I hope I can work out how to make a Pop ‘mother mould’ for the latex, to reduce cost and time requirements.


…and now we know that glitter is not an adequate reinforcement for resin.

:P 

Kidding aside, this is a great thread Mr. Mik.

I have been using the program from here,  http://www.xflr5.com/xflr5.htm , to generate NACA profiles to use in conjunction with Hans’ finFoil program,  http://www.finfoil.io/ . And I have a box of half-done fins that testify to the shortness of my attention span…

My attention span is also the thing to worry about at the moment…

I’m stuck at the point of working out how to make a perfect replica of my DFB pattern, most of the time, if not every time when I cast one. They are getting worse rather than better, which at least made it clear what the problem is.

The problem is that the white silicone split mould is too thin and too soft. It distorts if any shear forces are applied via the glass plates. This happens when the glass plates are not perfectly aligned while lying horizontally below and above the split silicone mould. Then when I stand them up, they either fall over if they are badly misaligned, or they shift a bit until they are aligned enough and the ‘sandwich’ stands vertically, ready to pour in the resin. But the little shift makes the silicone mould distort, or the two halves misalign, or both. And then the DFB comes out very crooket.

I could make a thicker mould out of the clear silicone (I have 5L of it now) and that would take around 48hrs, plus another 24 hrs to make an epoxy cast. But the plywood DFB pattern is tied up in the latex mould making attempt since 24 hrs, so I cannot start a new silicone mould unless I first make a new pattern. I could abort the latex attempt and start it again later on, but by now I have accumulated about 20 layers of latex, thanks to the use of a heat gun. And it is still nowhere near thick enough.


The moment I hit the ‘Save’ button for the post above, I realised that I should give it another go. I had become sloppy when preparing to cast the DFB’s. With careful application of all I have larned and tried so far, I might be able to get good casts out of the thin white silicone mould.

To reduce friction between split mould halves and between silicone and glass, I liberally re-applied talc powder to all and sundry. While I was at it, I figured I might as well try out if talc can be used to fill those bubble spaces on the internal mould surface, so I rubbed it in generously and tried to vacuume it off gently, hoping the talc will stay in the bubble defects. 

To reduce shifting of the glass plates after standing them up, I used a right angle tool, like I used to before I got sloppy … having done it a few times before, I aligned them well enough so that the clamped sandwich stood up without any wobble right away.

Silver sparkles added to the out-of-date Epiglass 9000 epoxy this time. Soon I will have used it all up, I’m glad I did not throw it out. It seems to be hard but very brittle after 24hrs, but gets much more resilient with more curing.  Sunday morning I might be able to use a good DFB to move on while the latex layers continue to slowly build up on the original pattern.

I might have to try once more even if this one does not come out good: I just realised that the wobblyness in the fin box is of course due to the compression of the soft Wacker silicone between the glass plates, which are being forced together by the spring-loaded clamps.

**If **the silver sparkle edition of the DFB comes out showing that the alignment of the split mould halves is good with due care, but the DFB cast is still too thin and wobbles in the fin box, then I’ll try once more using hand tightened clamps instead of the spring loaded ones.

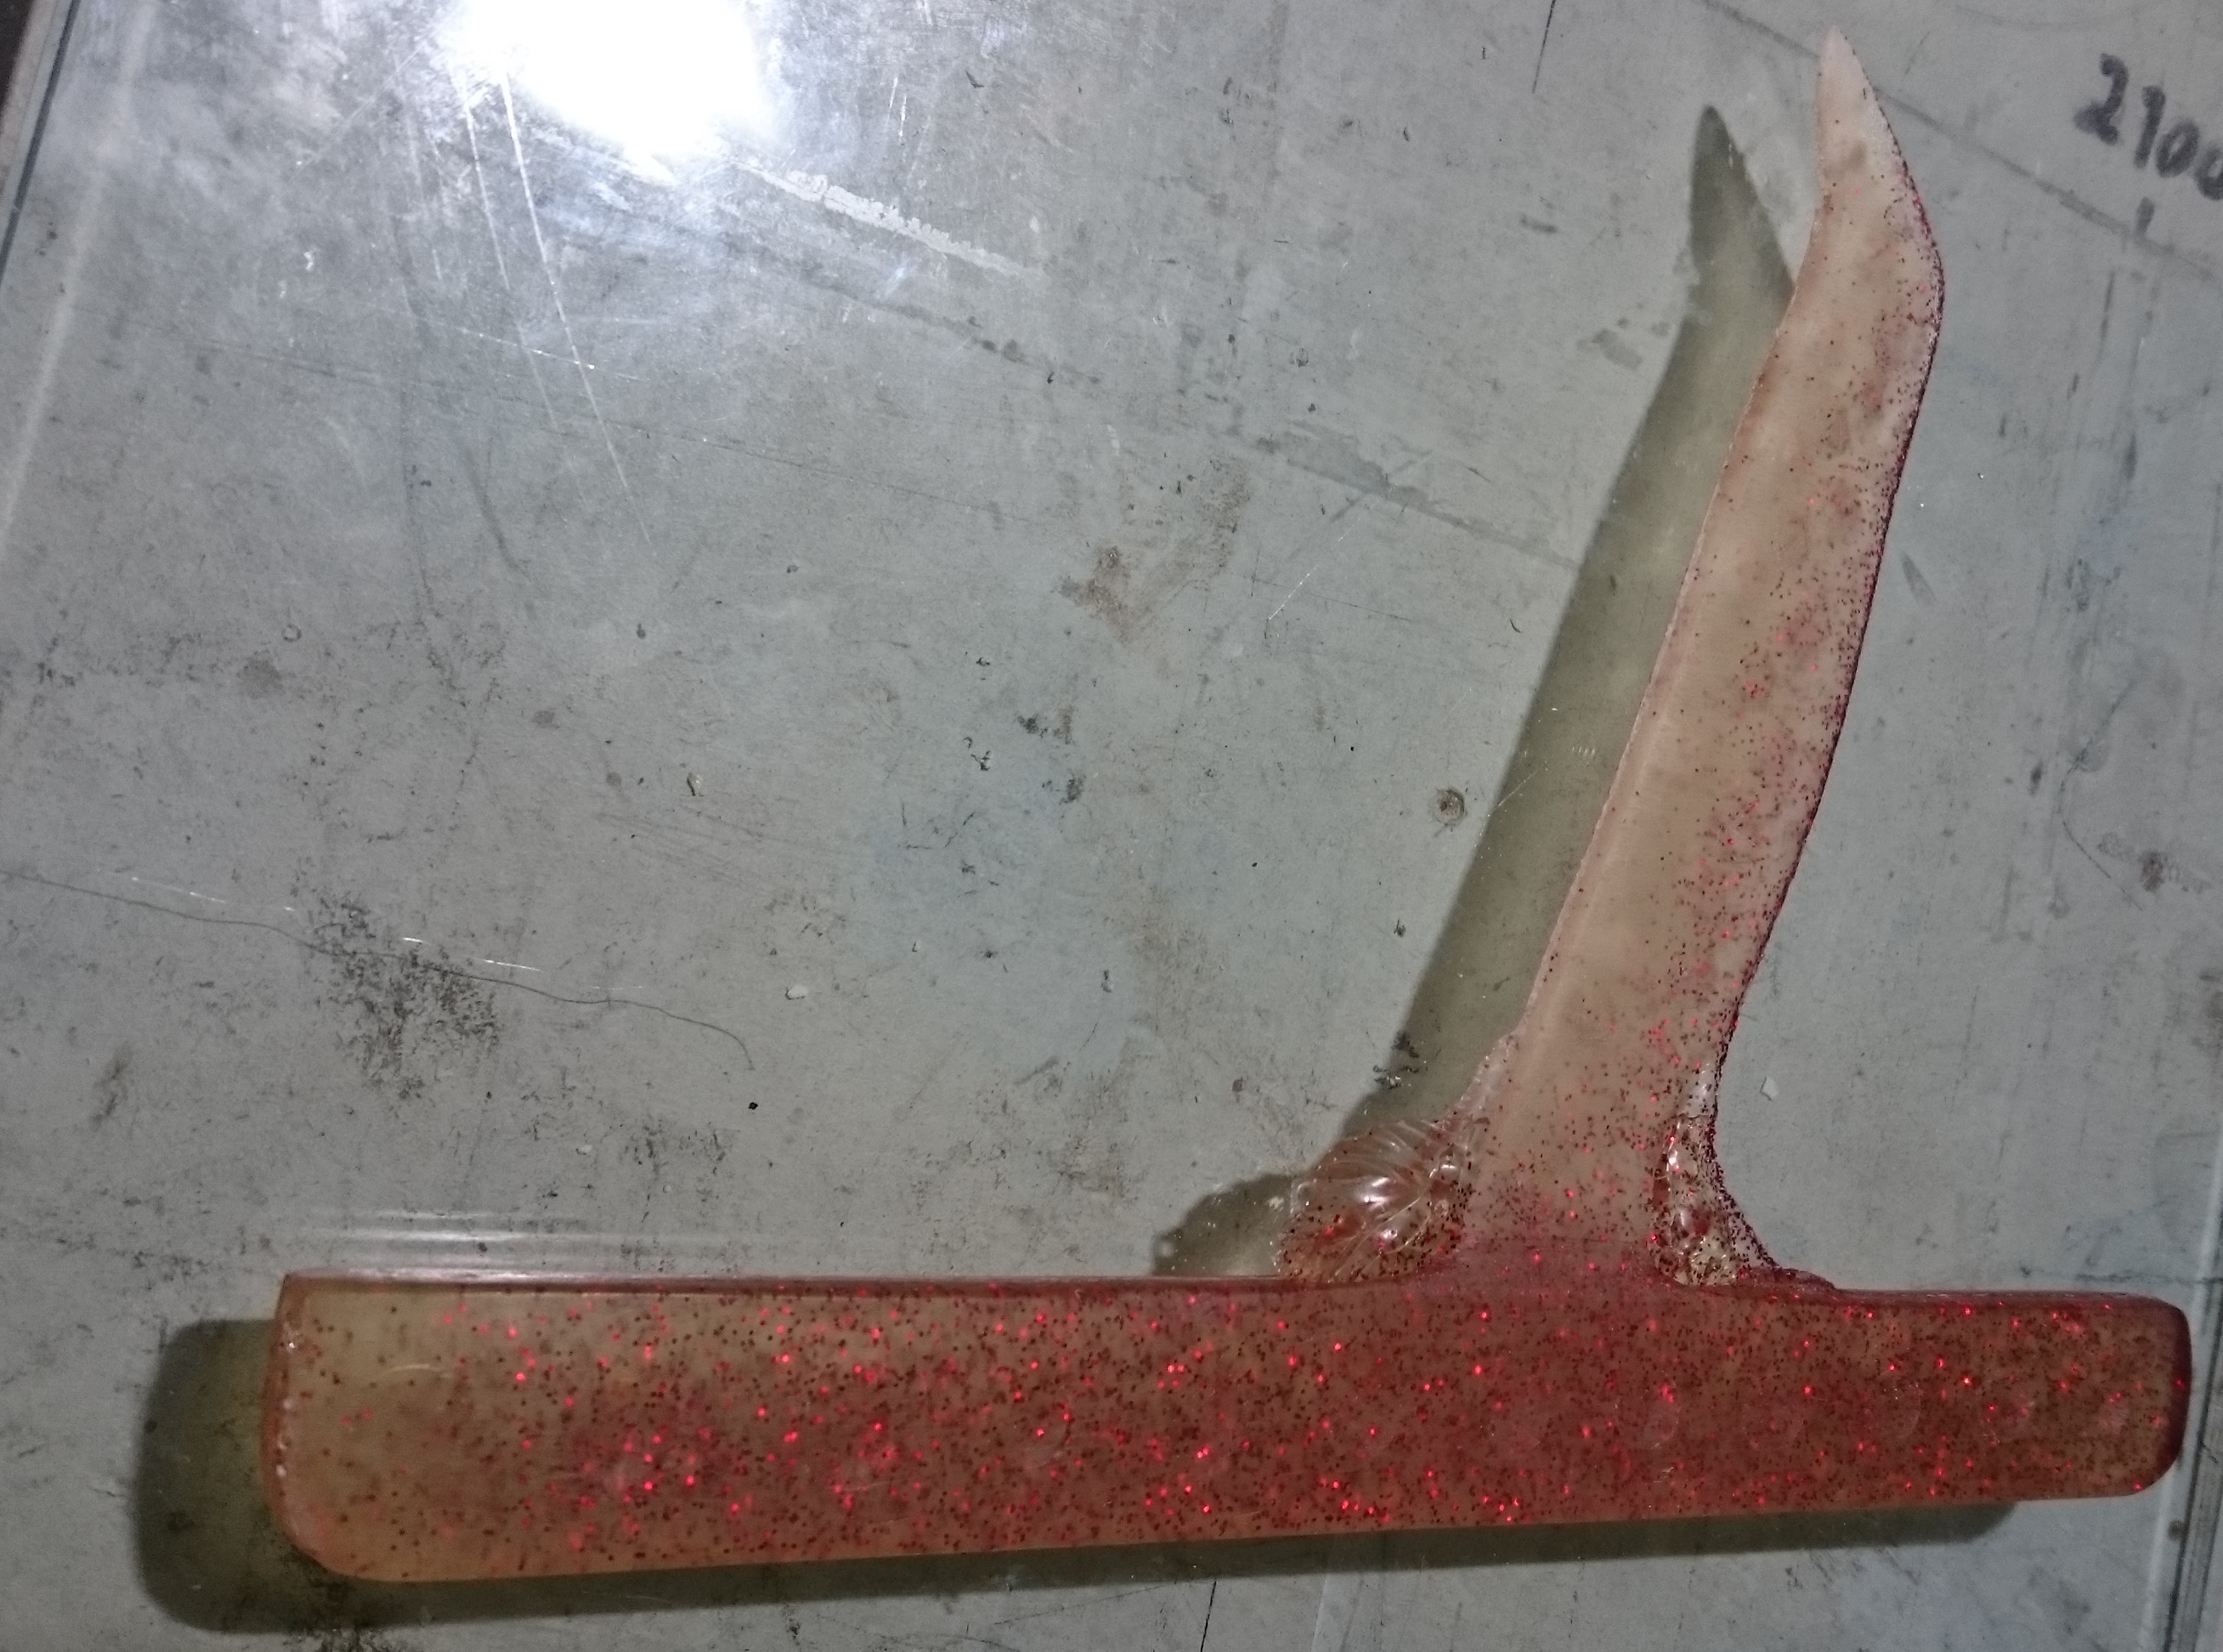
The DFB with silver sparkles came out much better than the previous ones. But I still hope that the latex mould approach will be much better. The big question is when to stop adding more latex layers. Stop to early and the floppy mould might be useless. I gave up counting, I guess there are about 35-45 layers of latex on the wooden DFB pattern now.

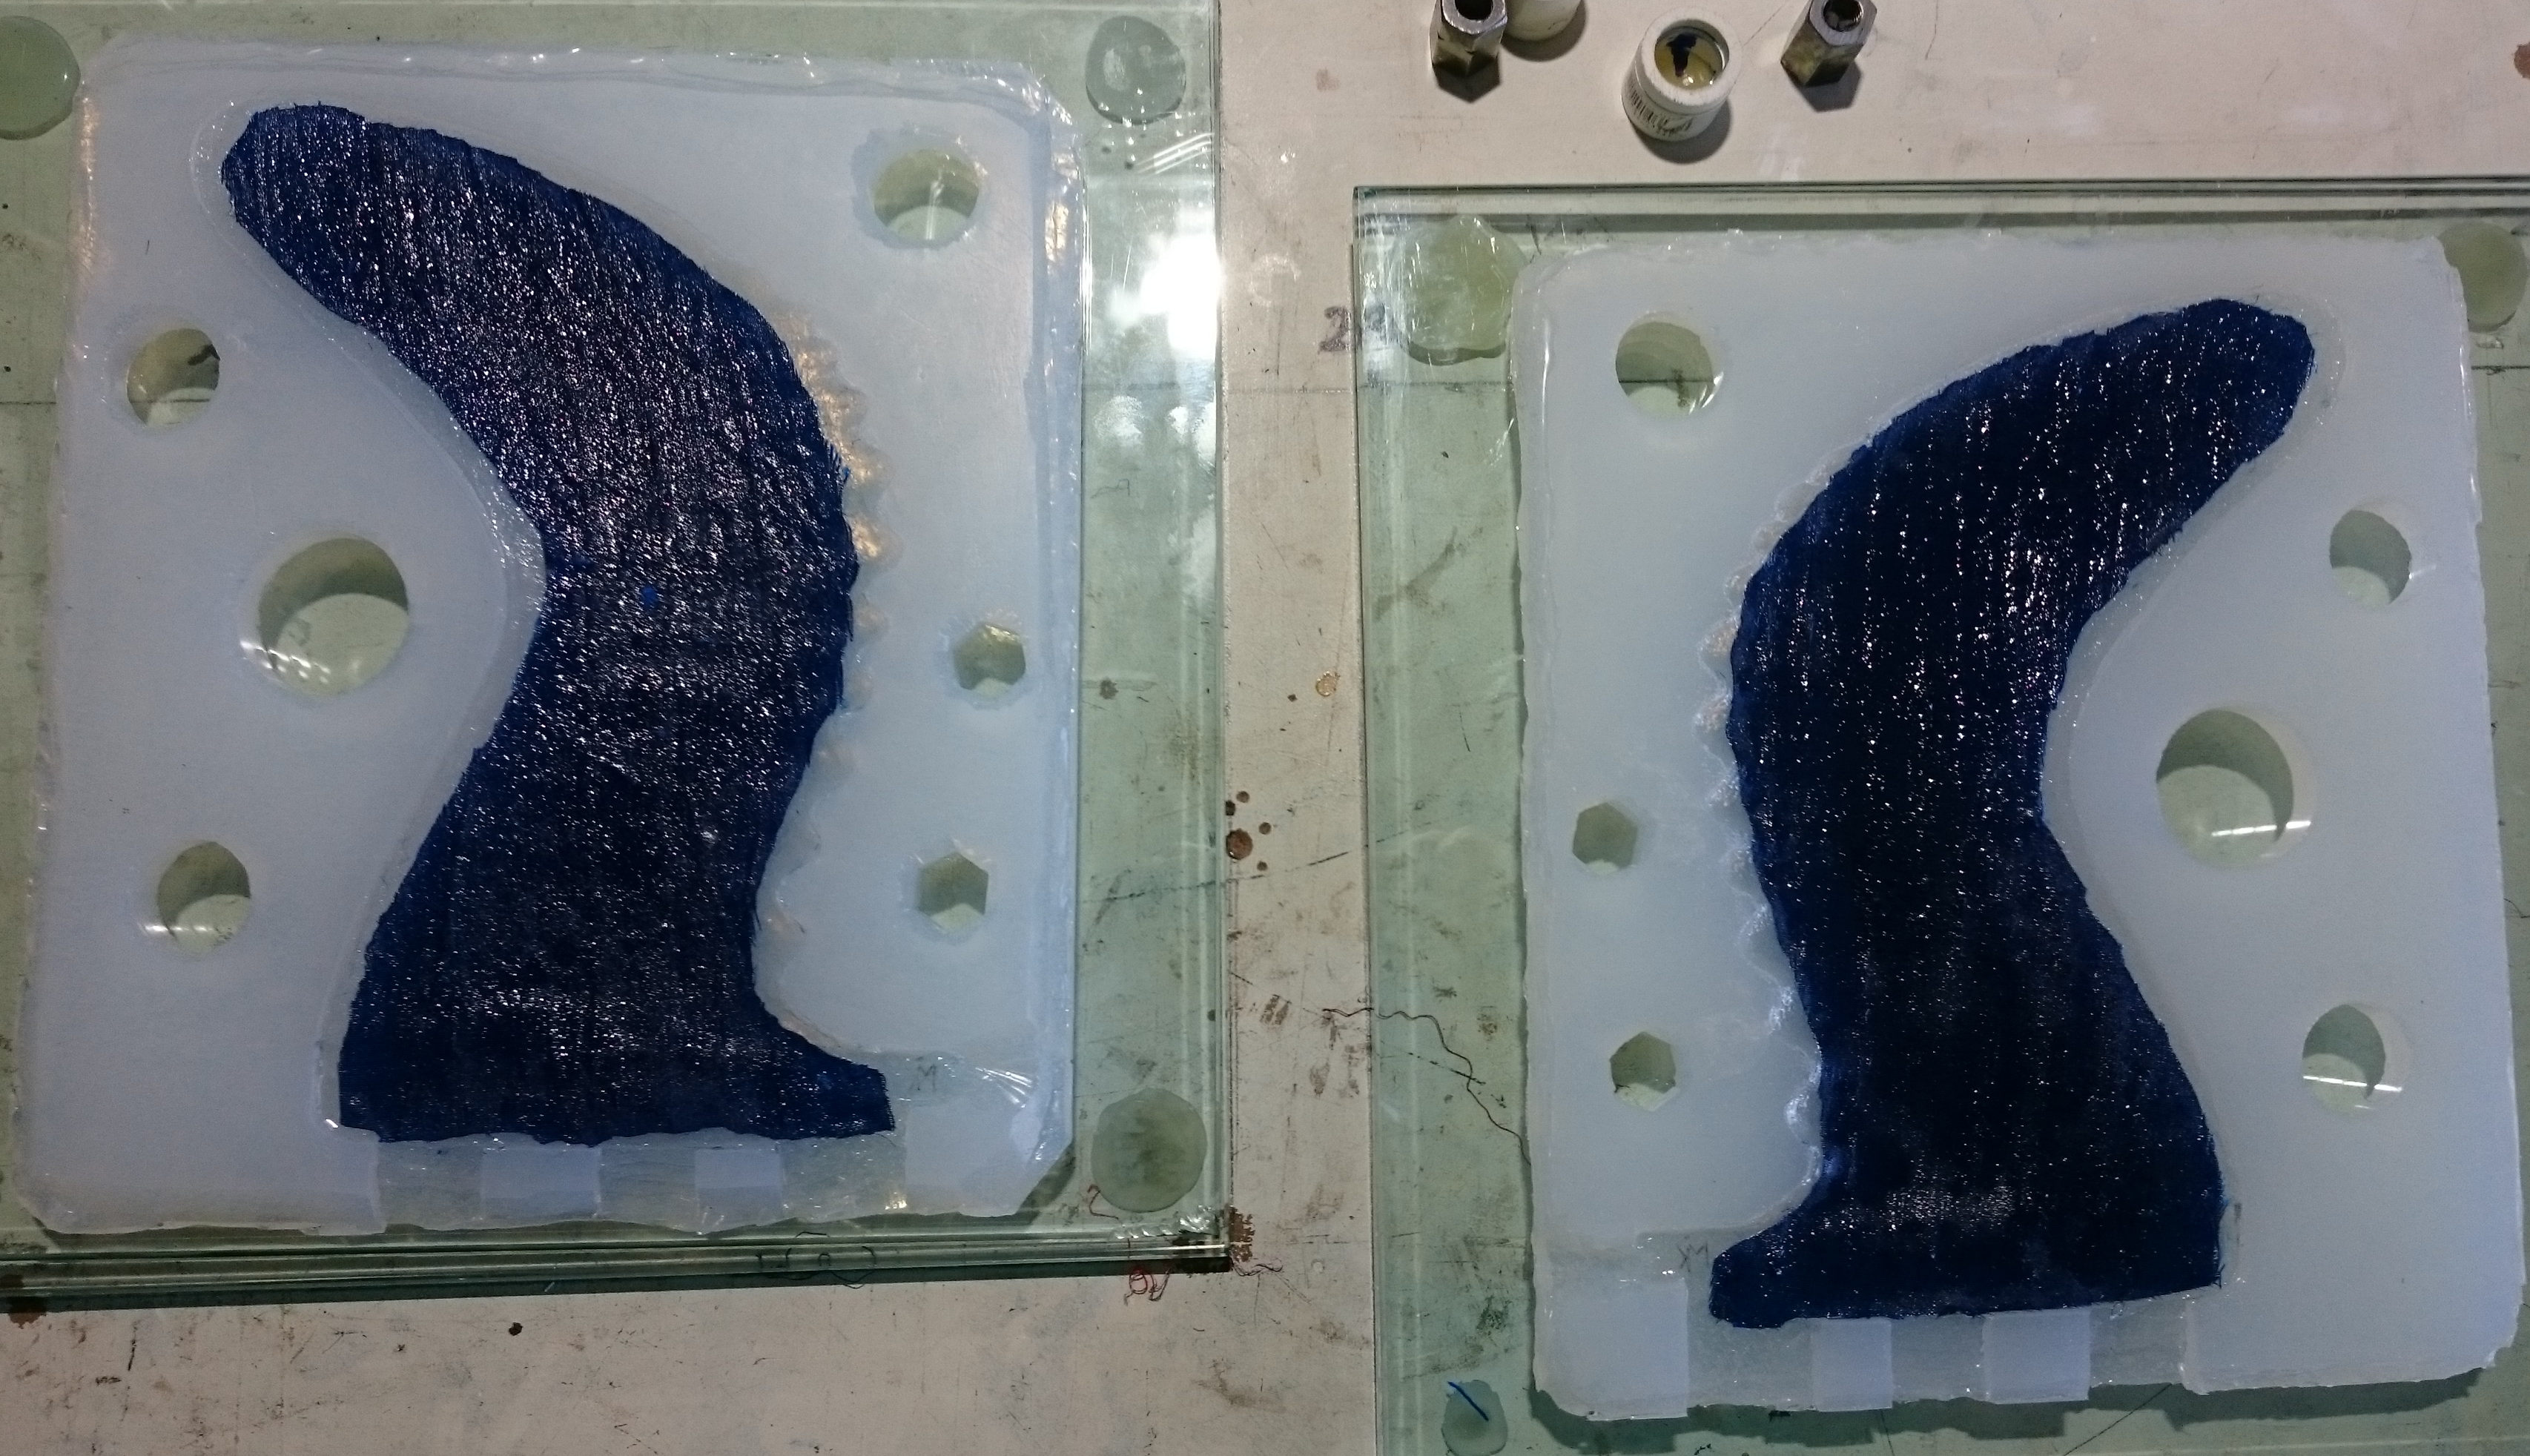
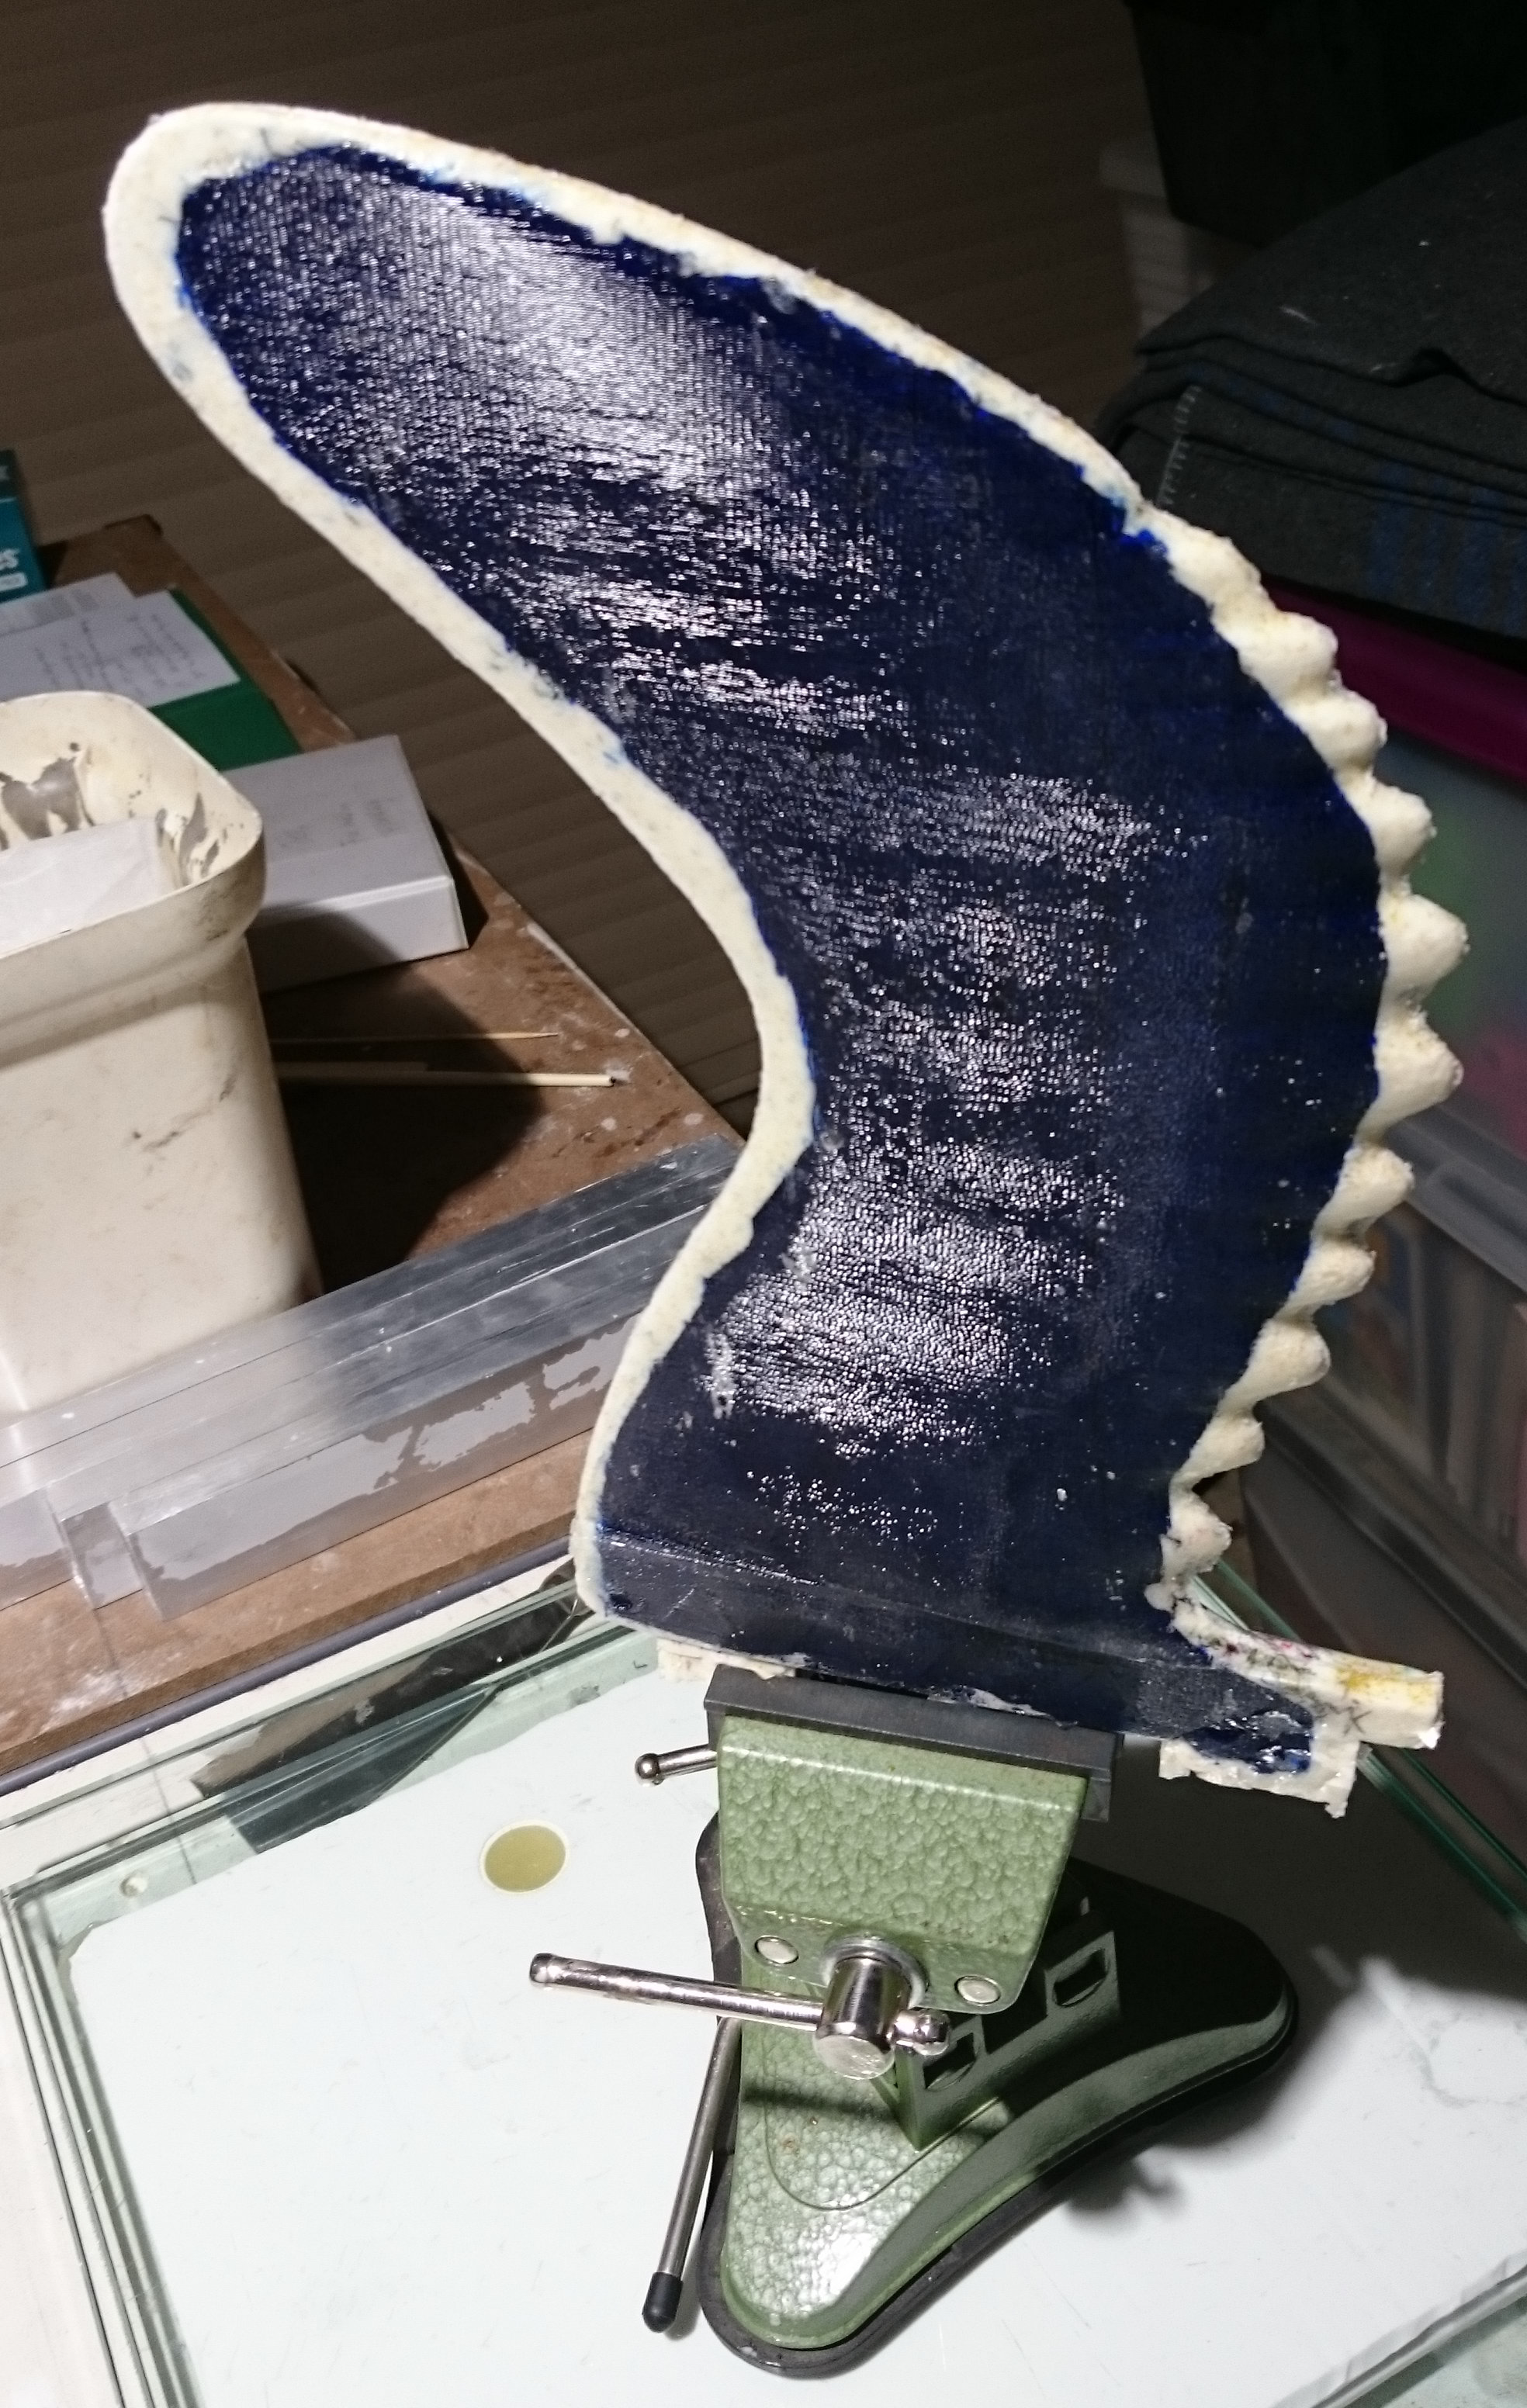
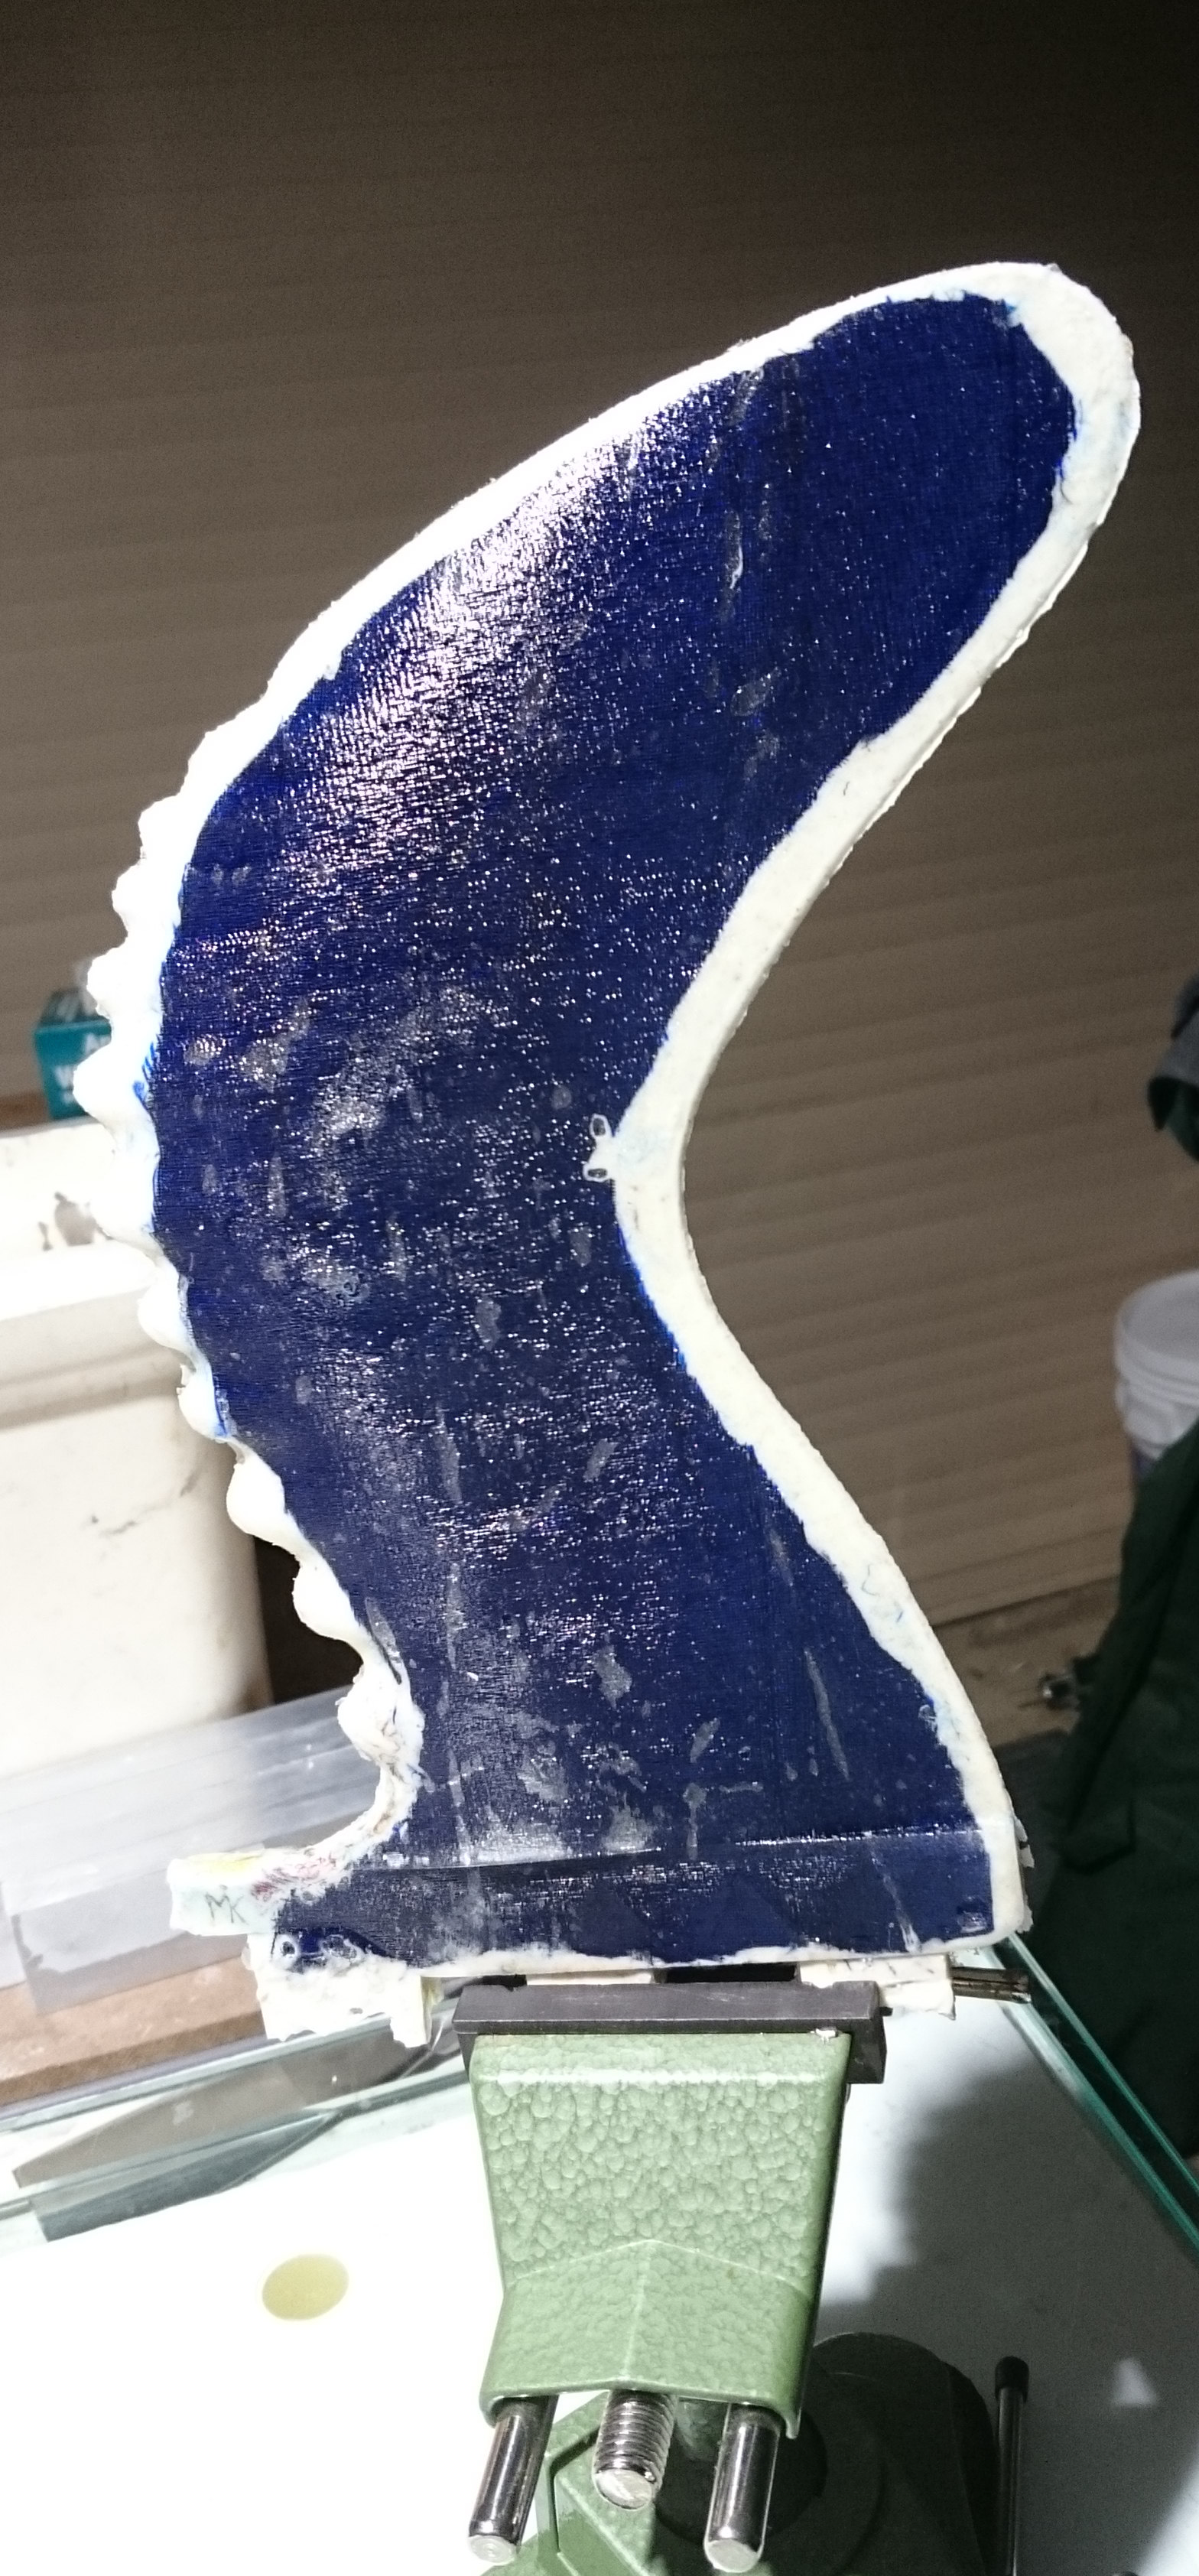
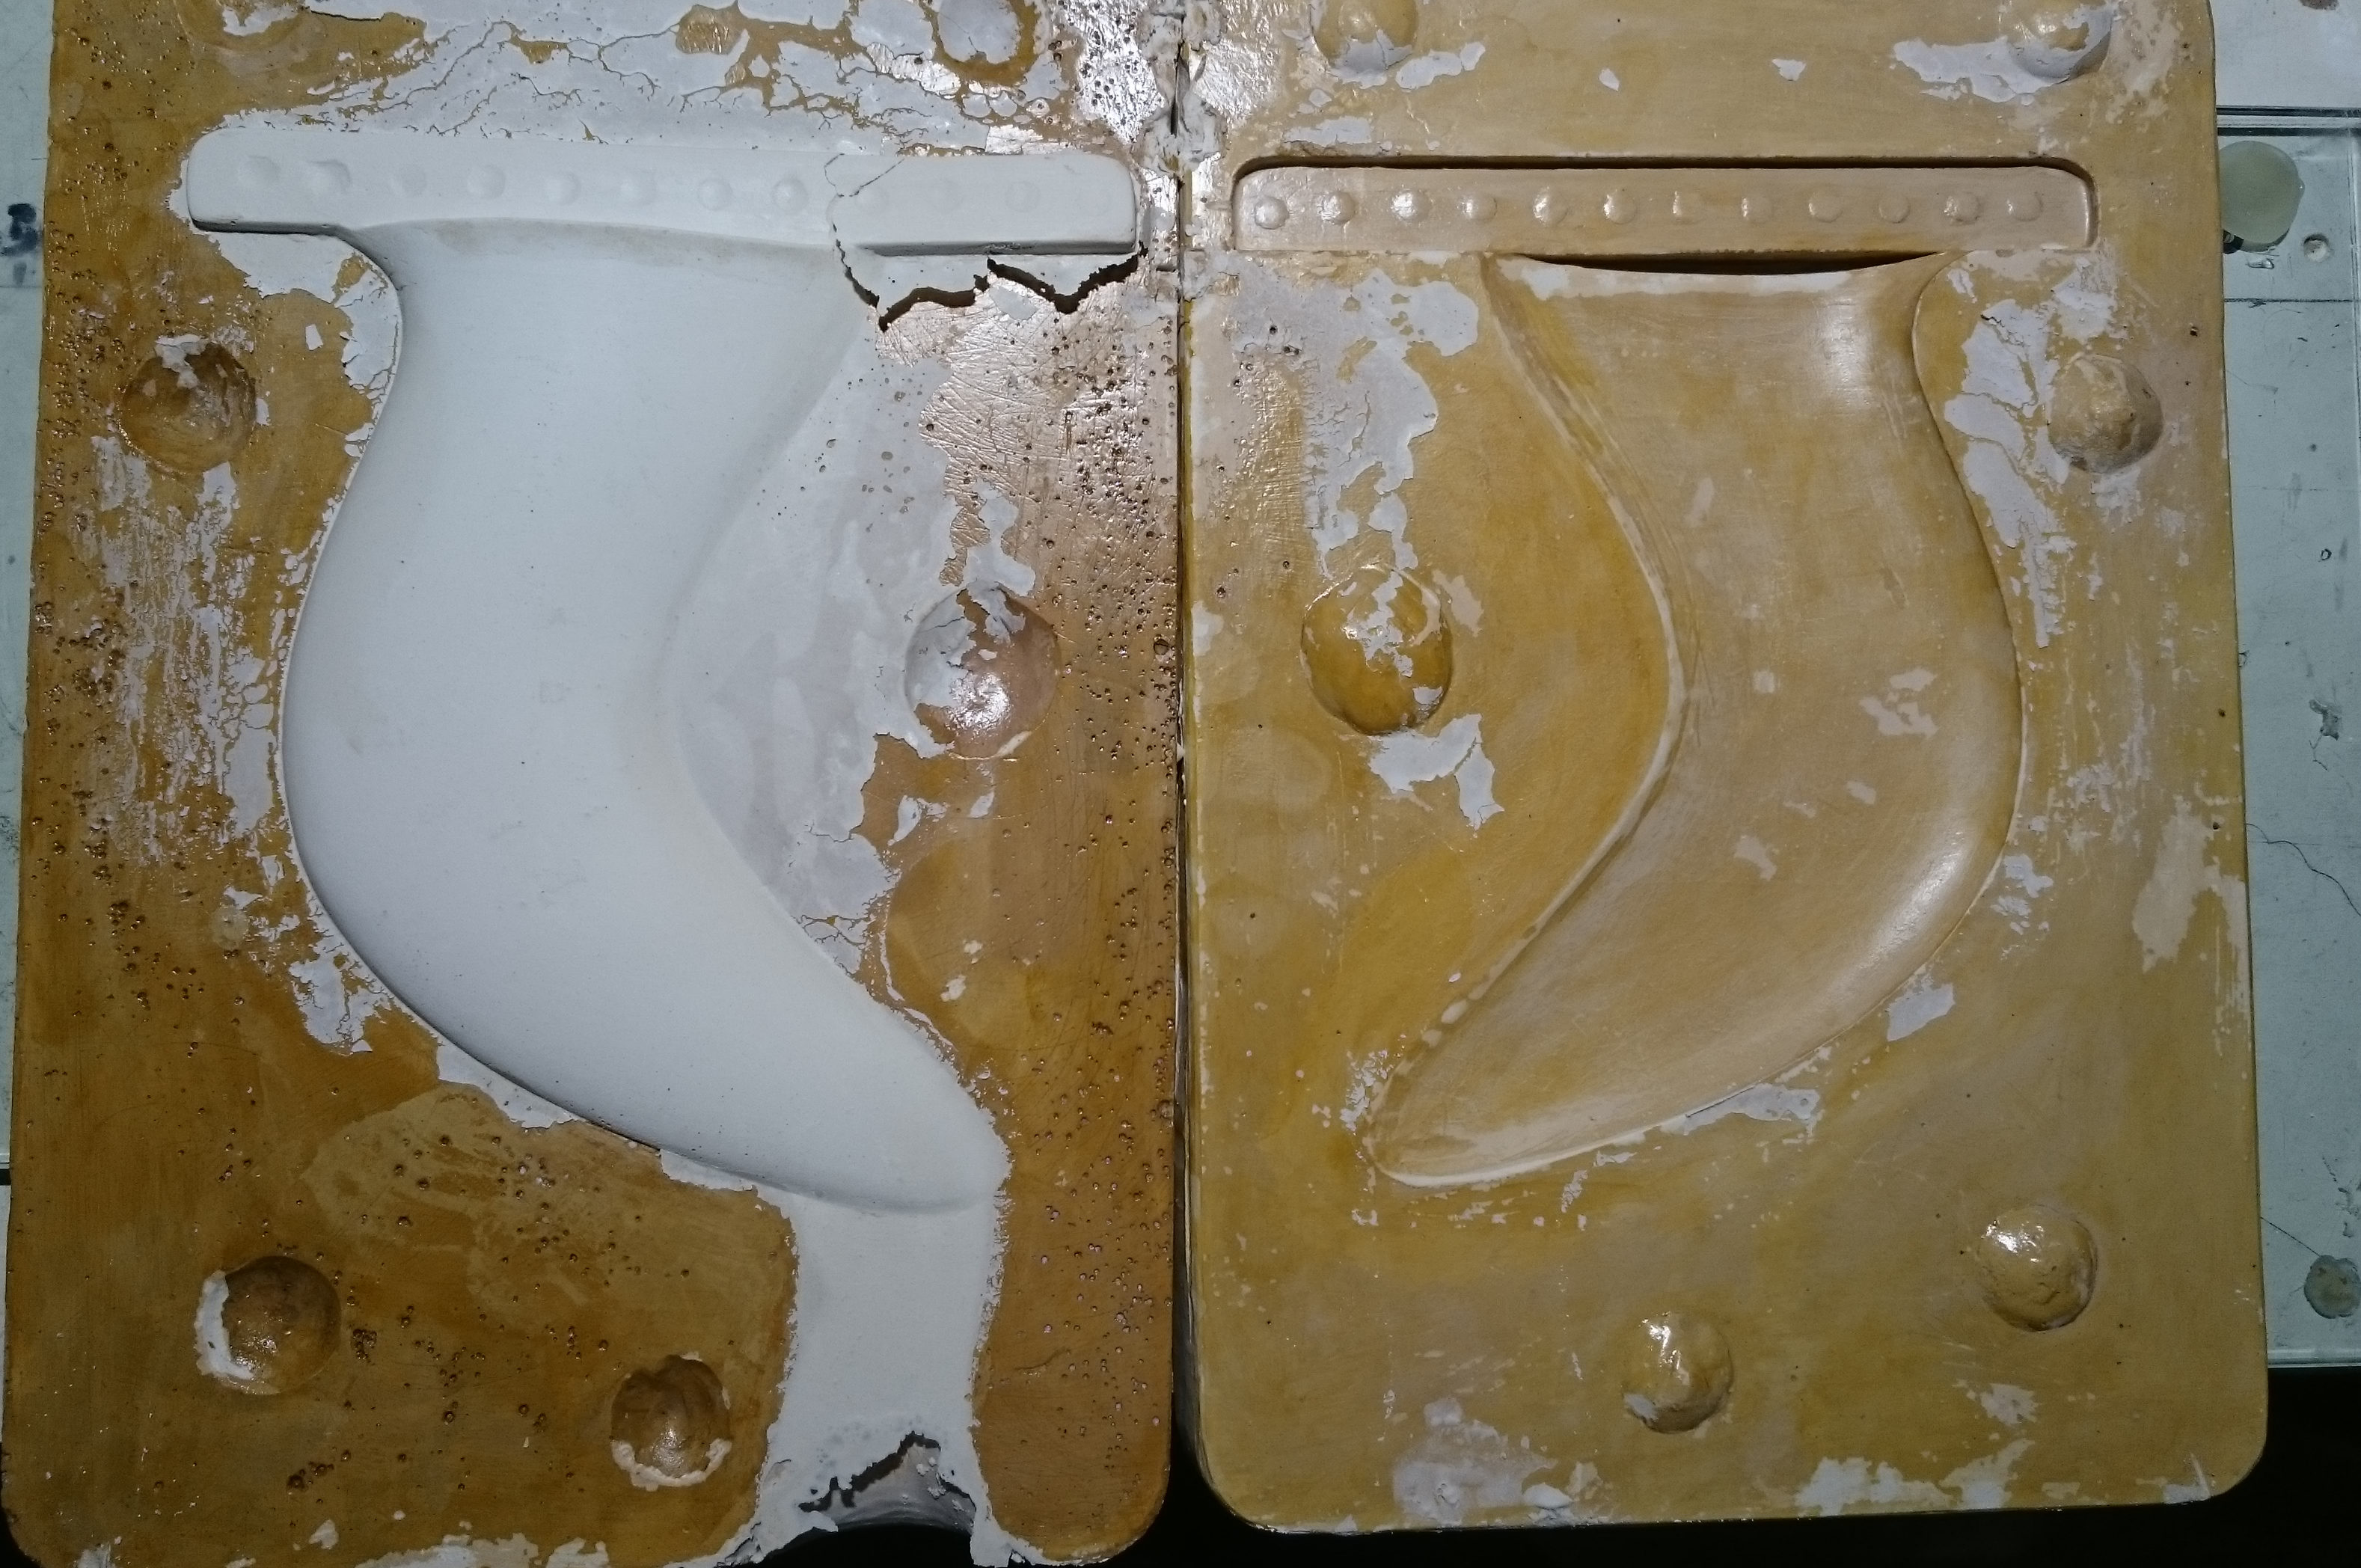
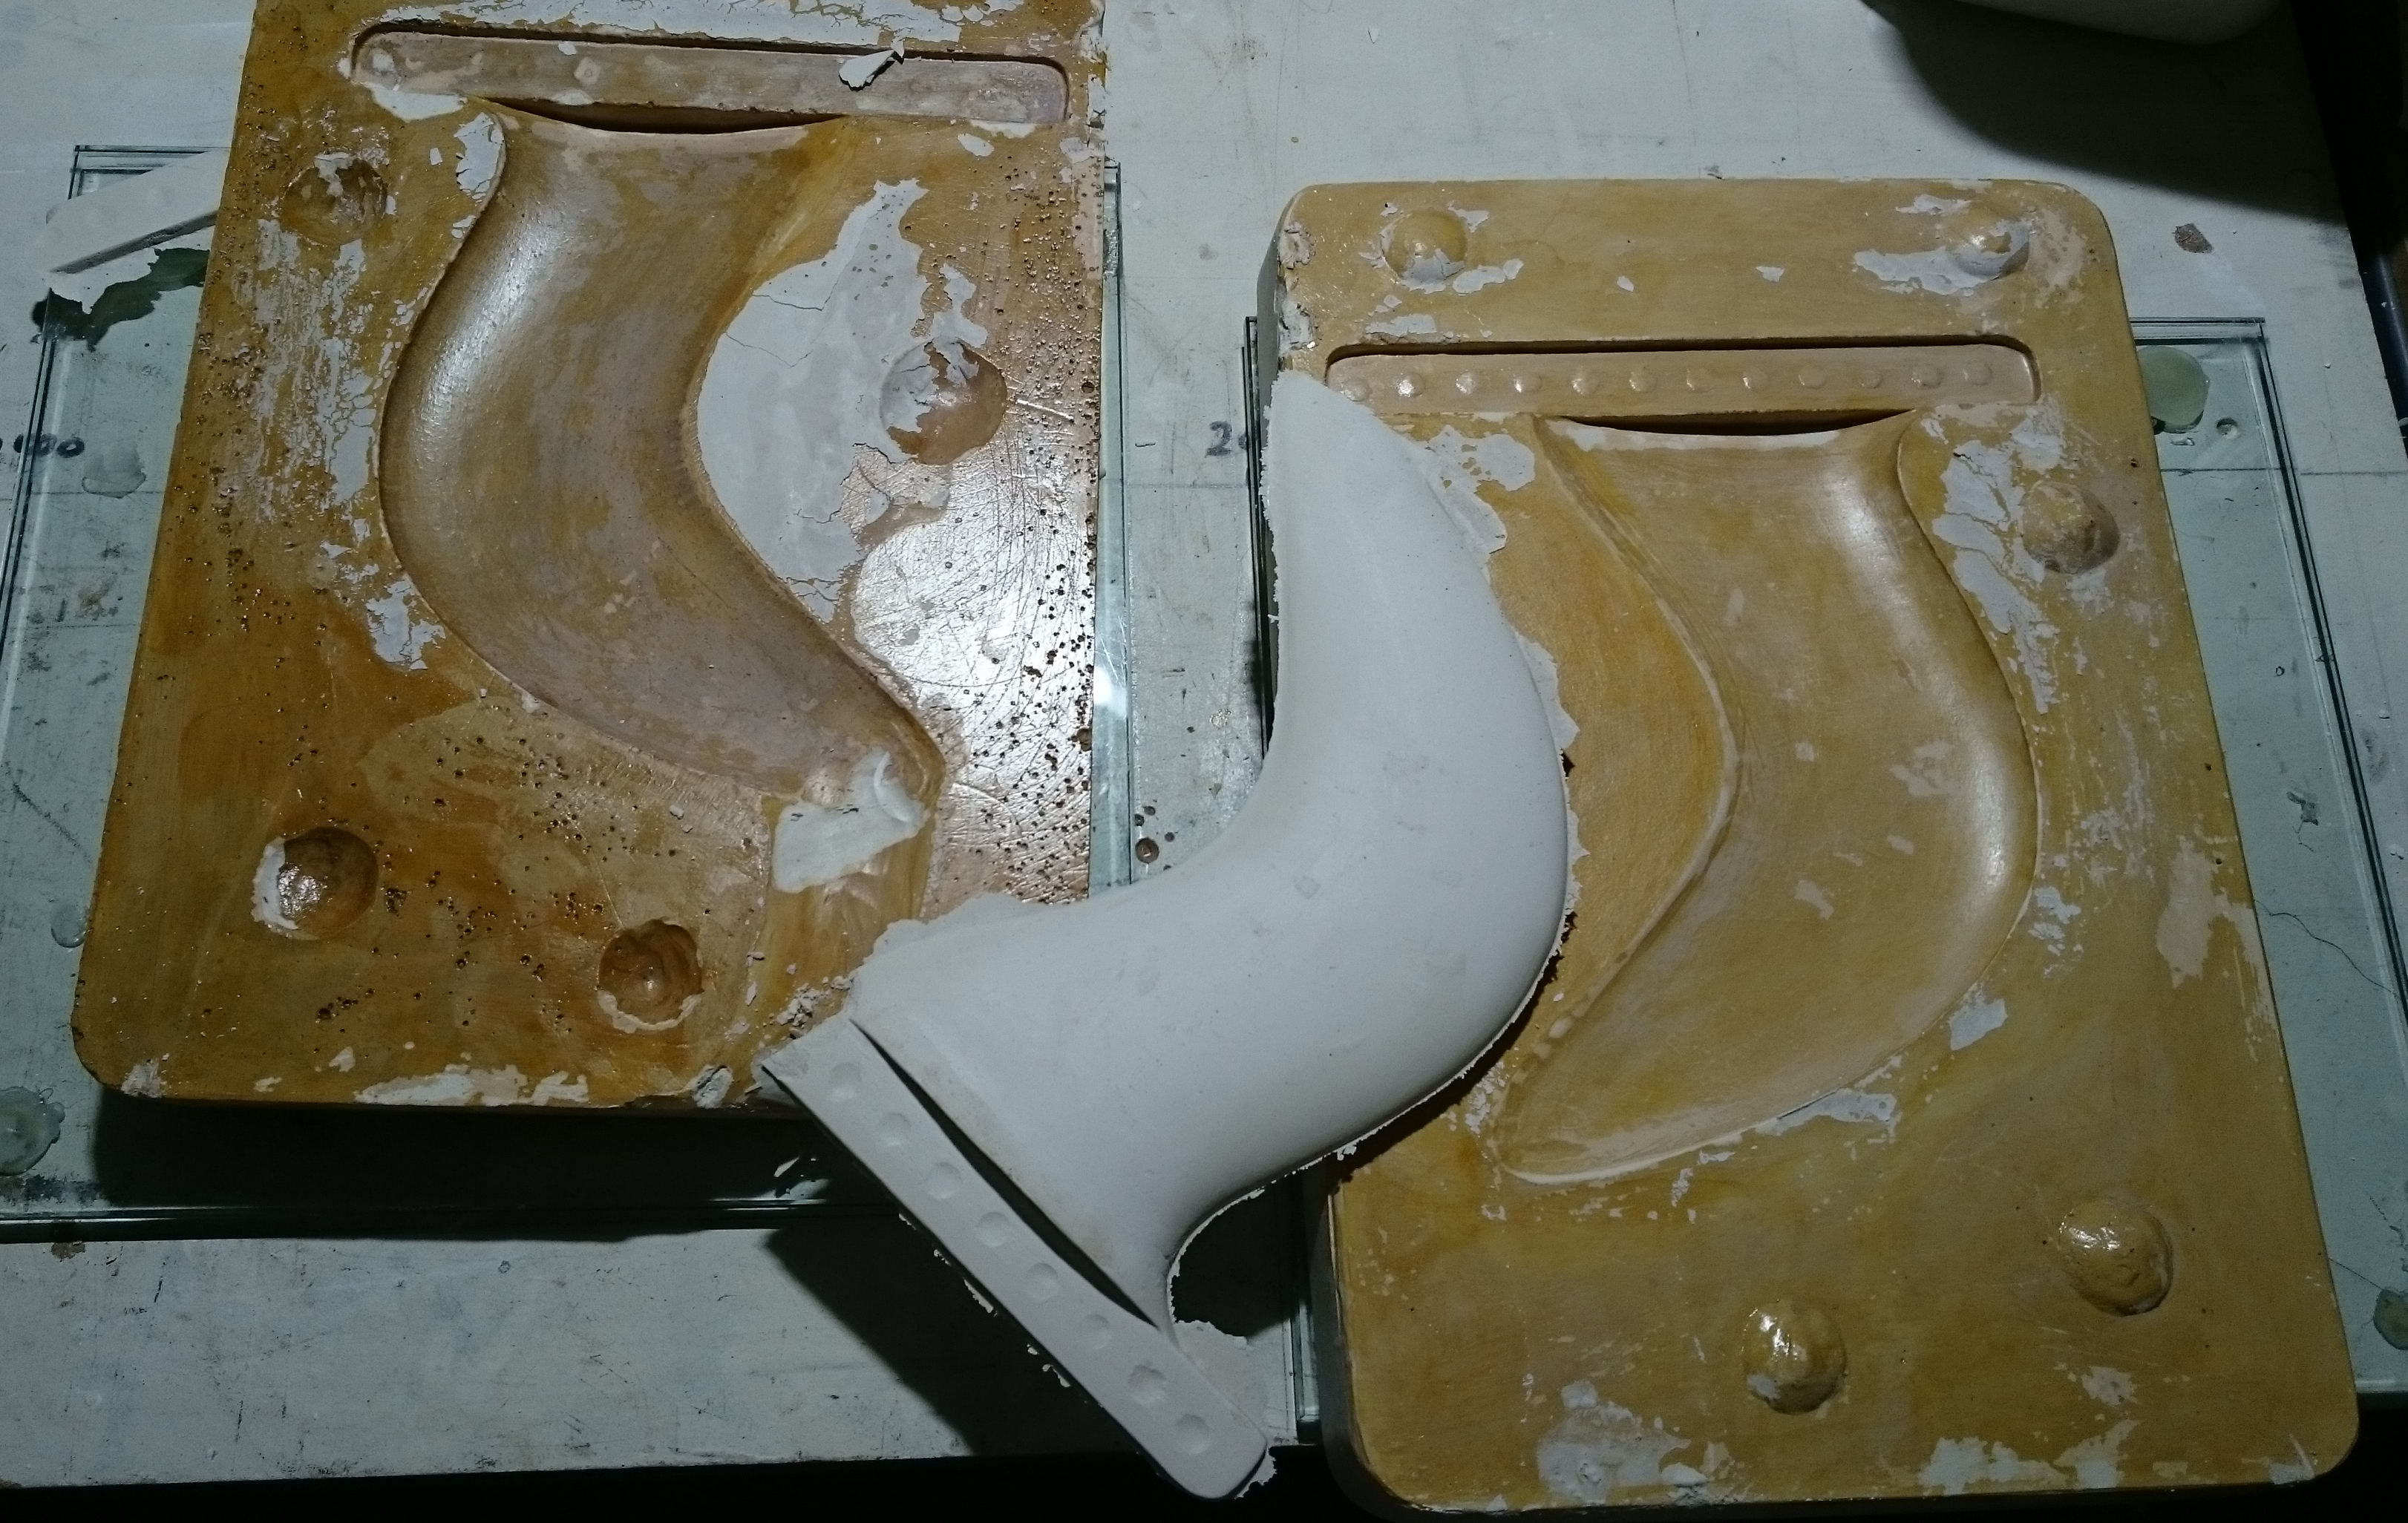
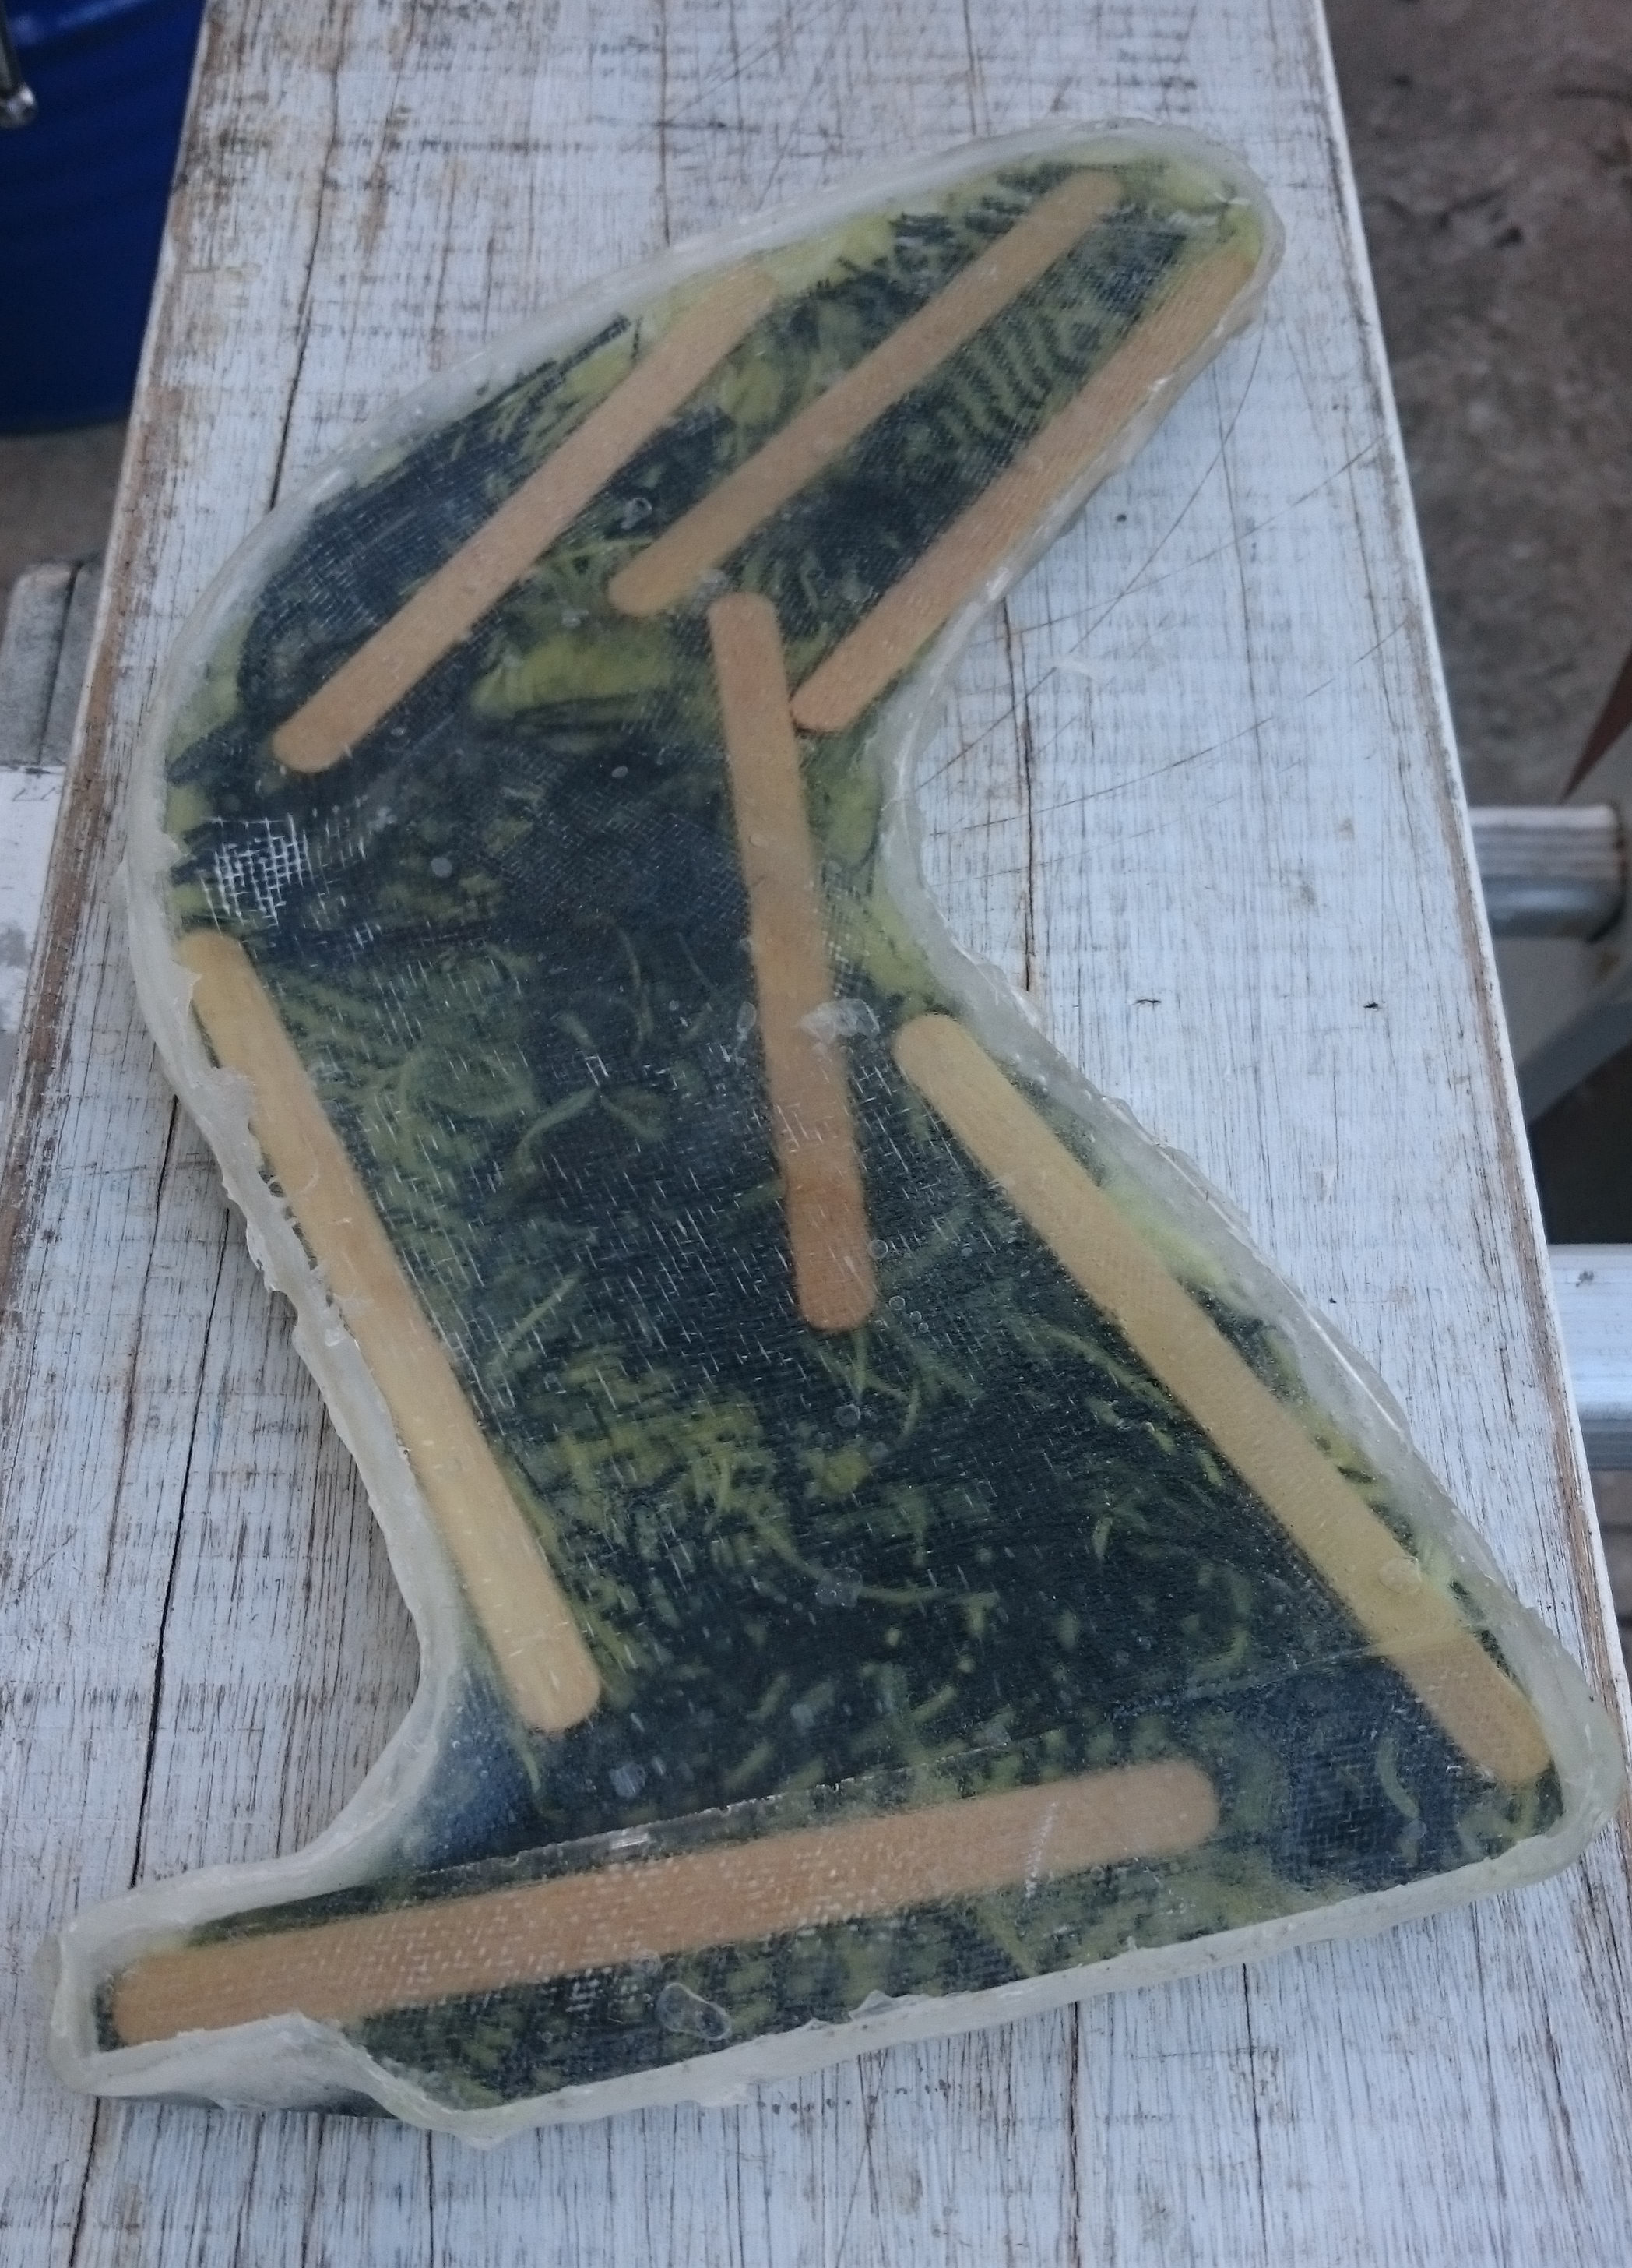
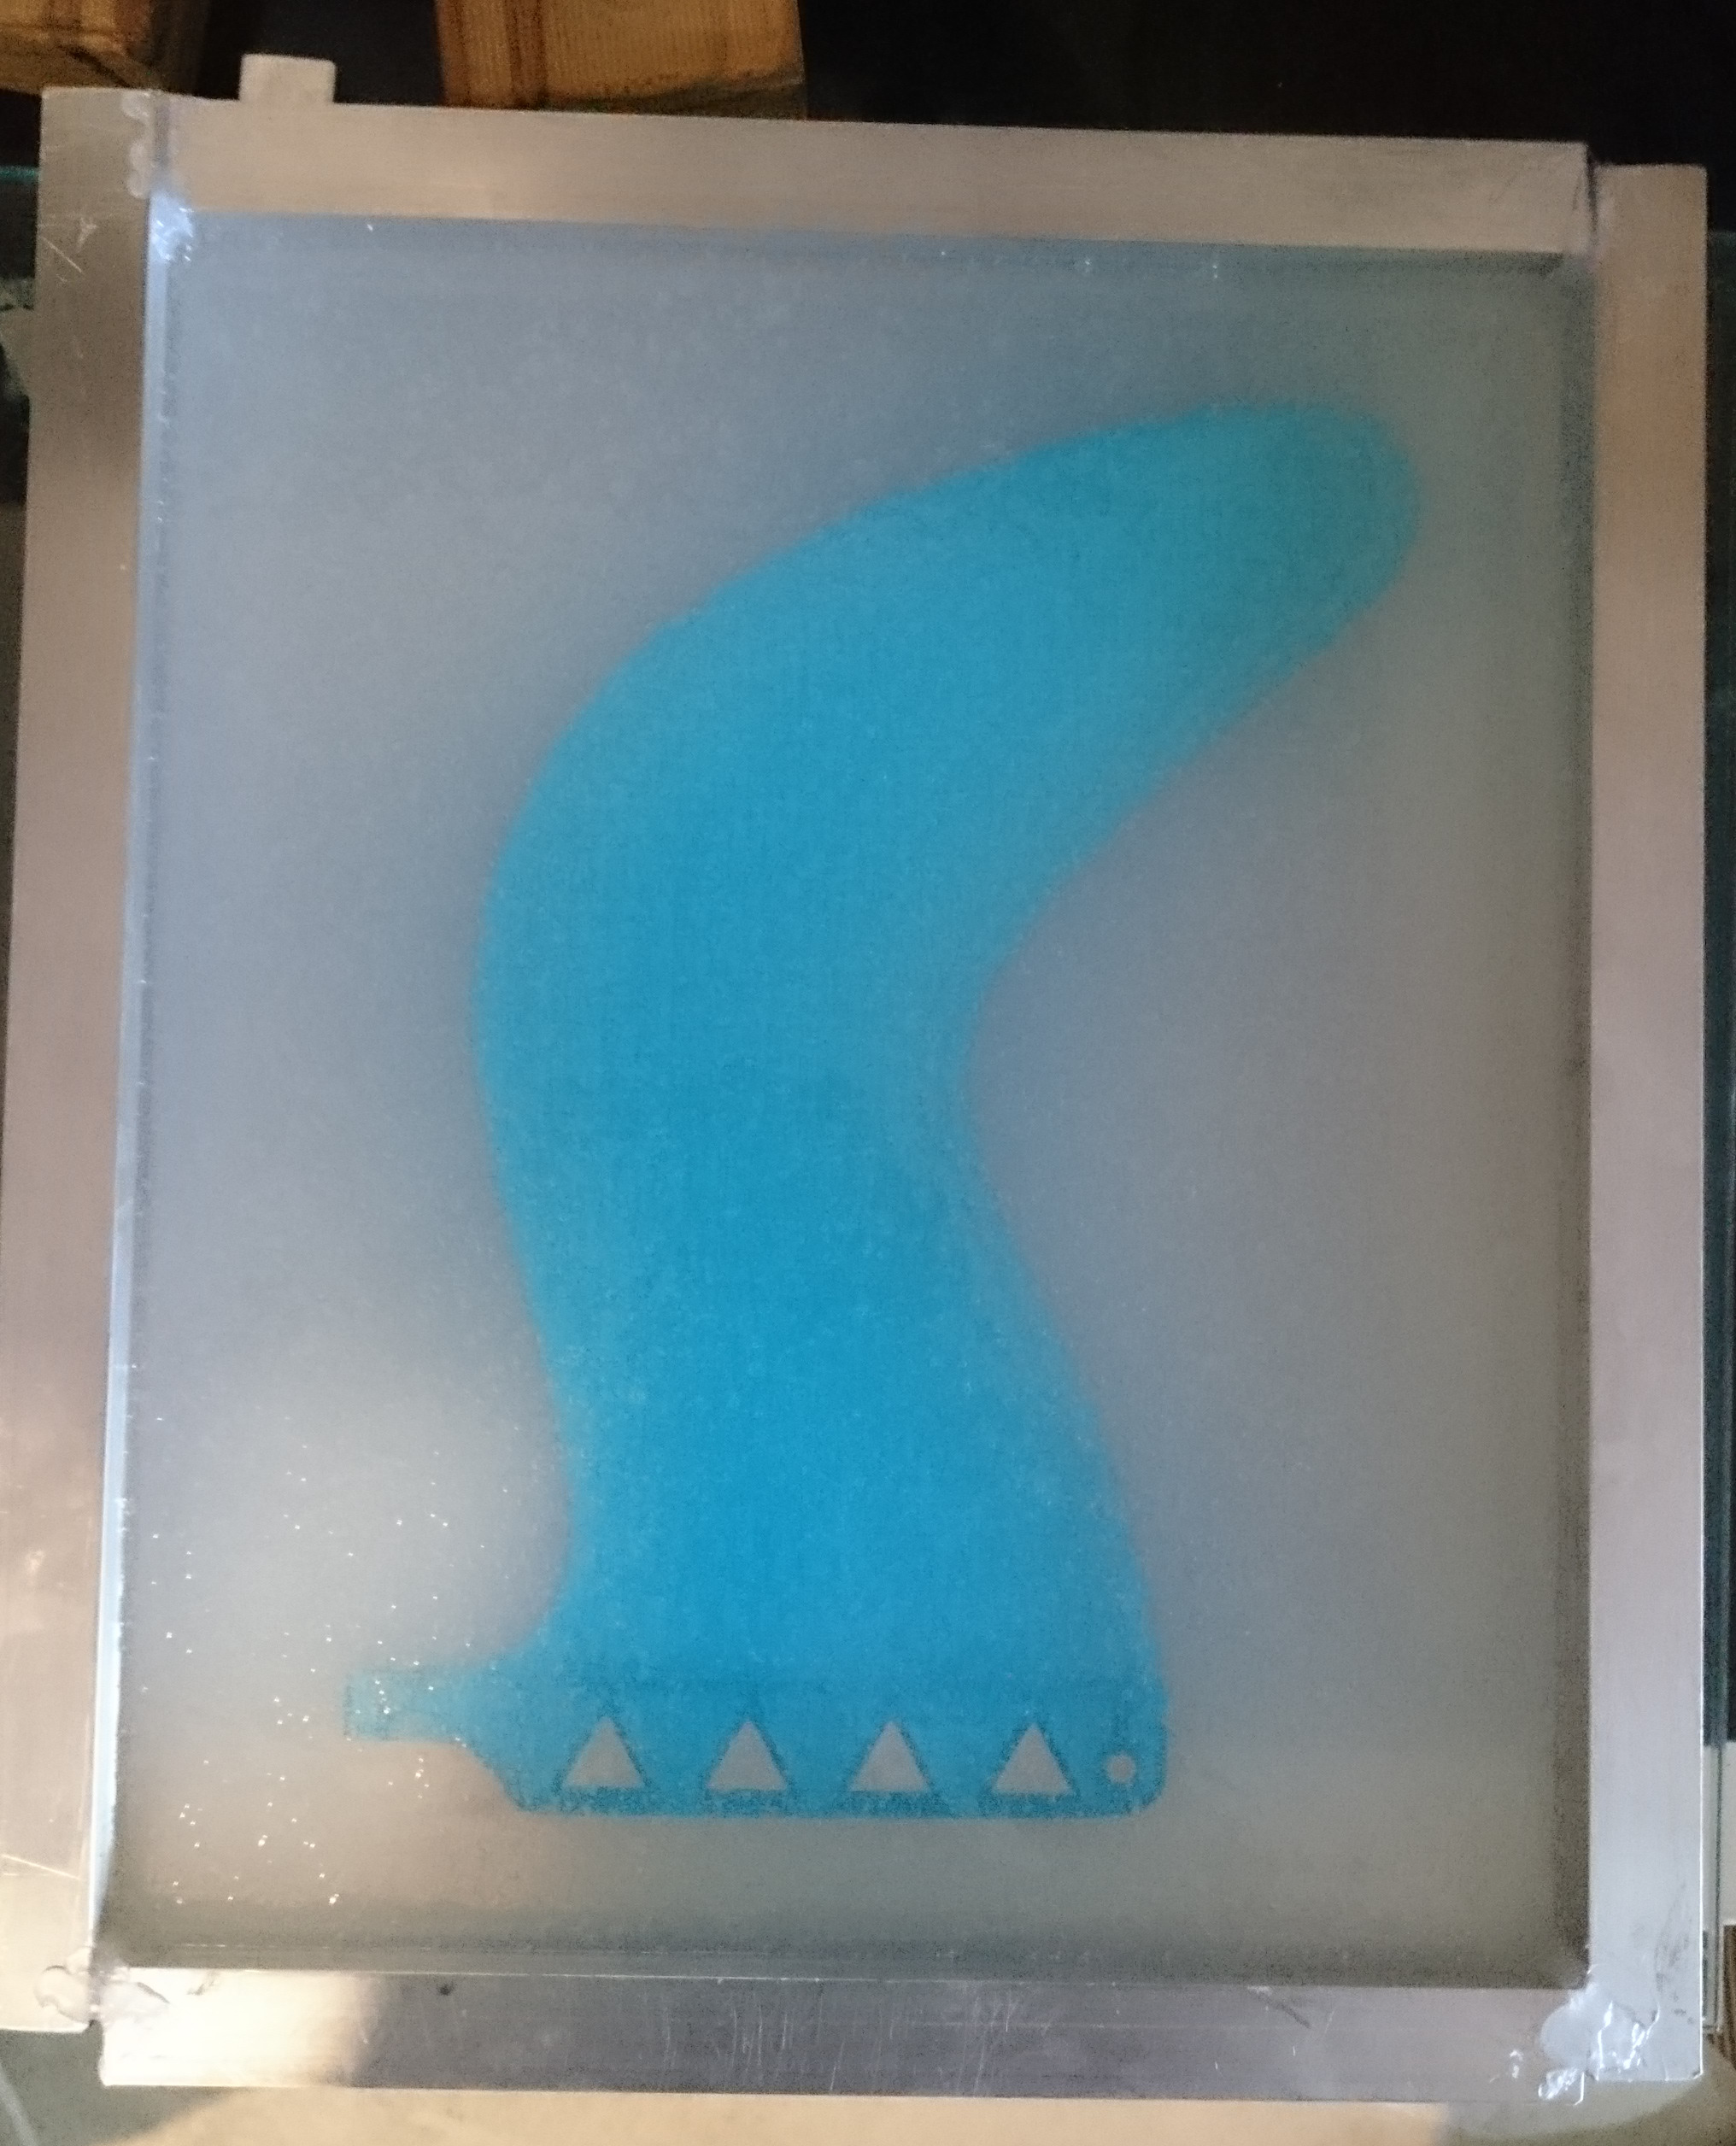
So, while applying layers of latex and waiting for them to dry, I returned to an earlier attempt to make a mould: The blue gullwing fin printed by Roy, without bumps on the leading edge. I had covered it with vaseline, Solarez Zerovoc, carbon, paddlepops, kevlar, epoxy and more zerovoc IIRC. Today, it did “eventually” come off clean from the fin and what remains is a very accurate and durable half-mould of that fin. I doubt I’ll ever use that approach again. And I don’t think there will be much use for that very tough half-mould…

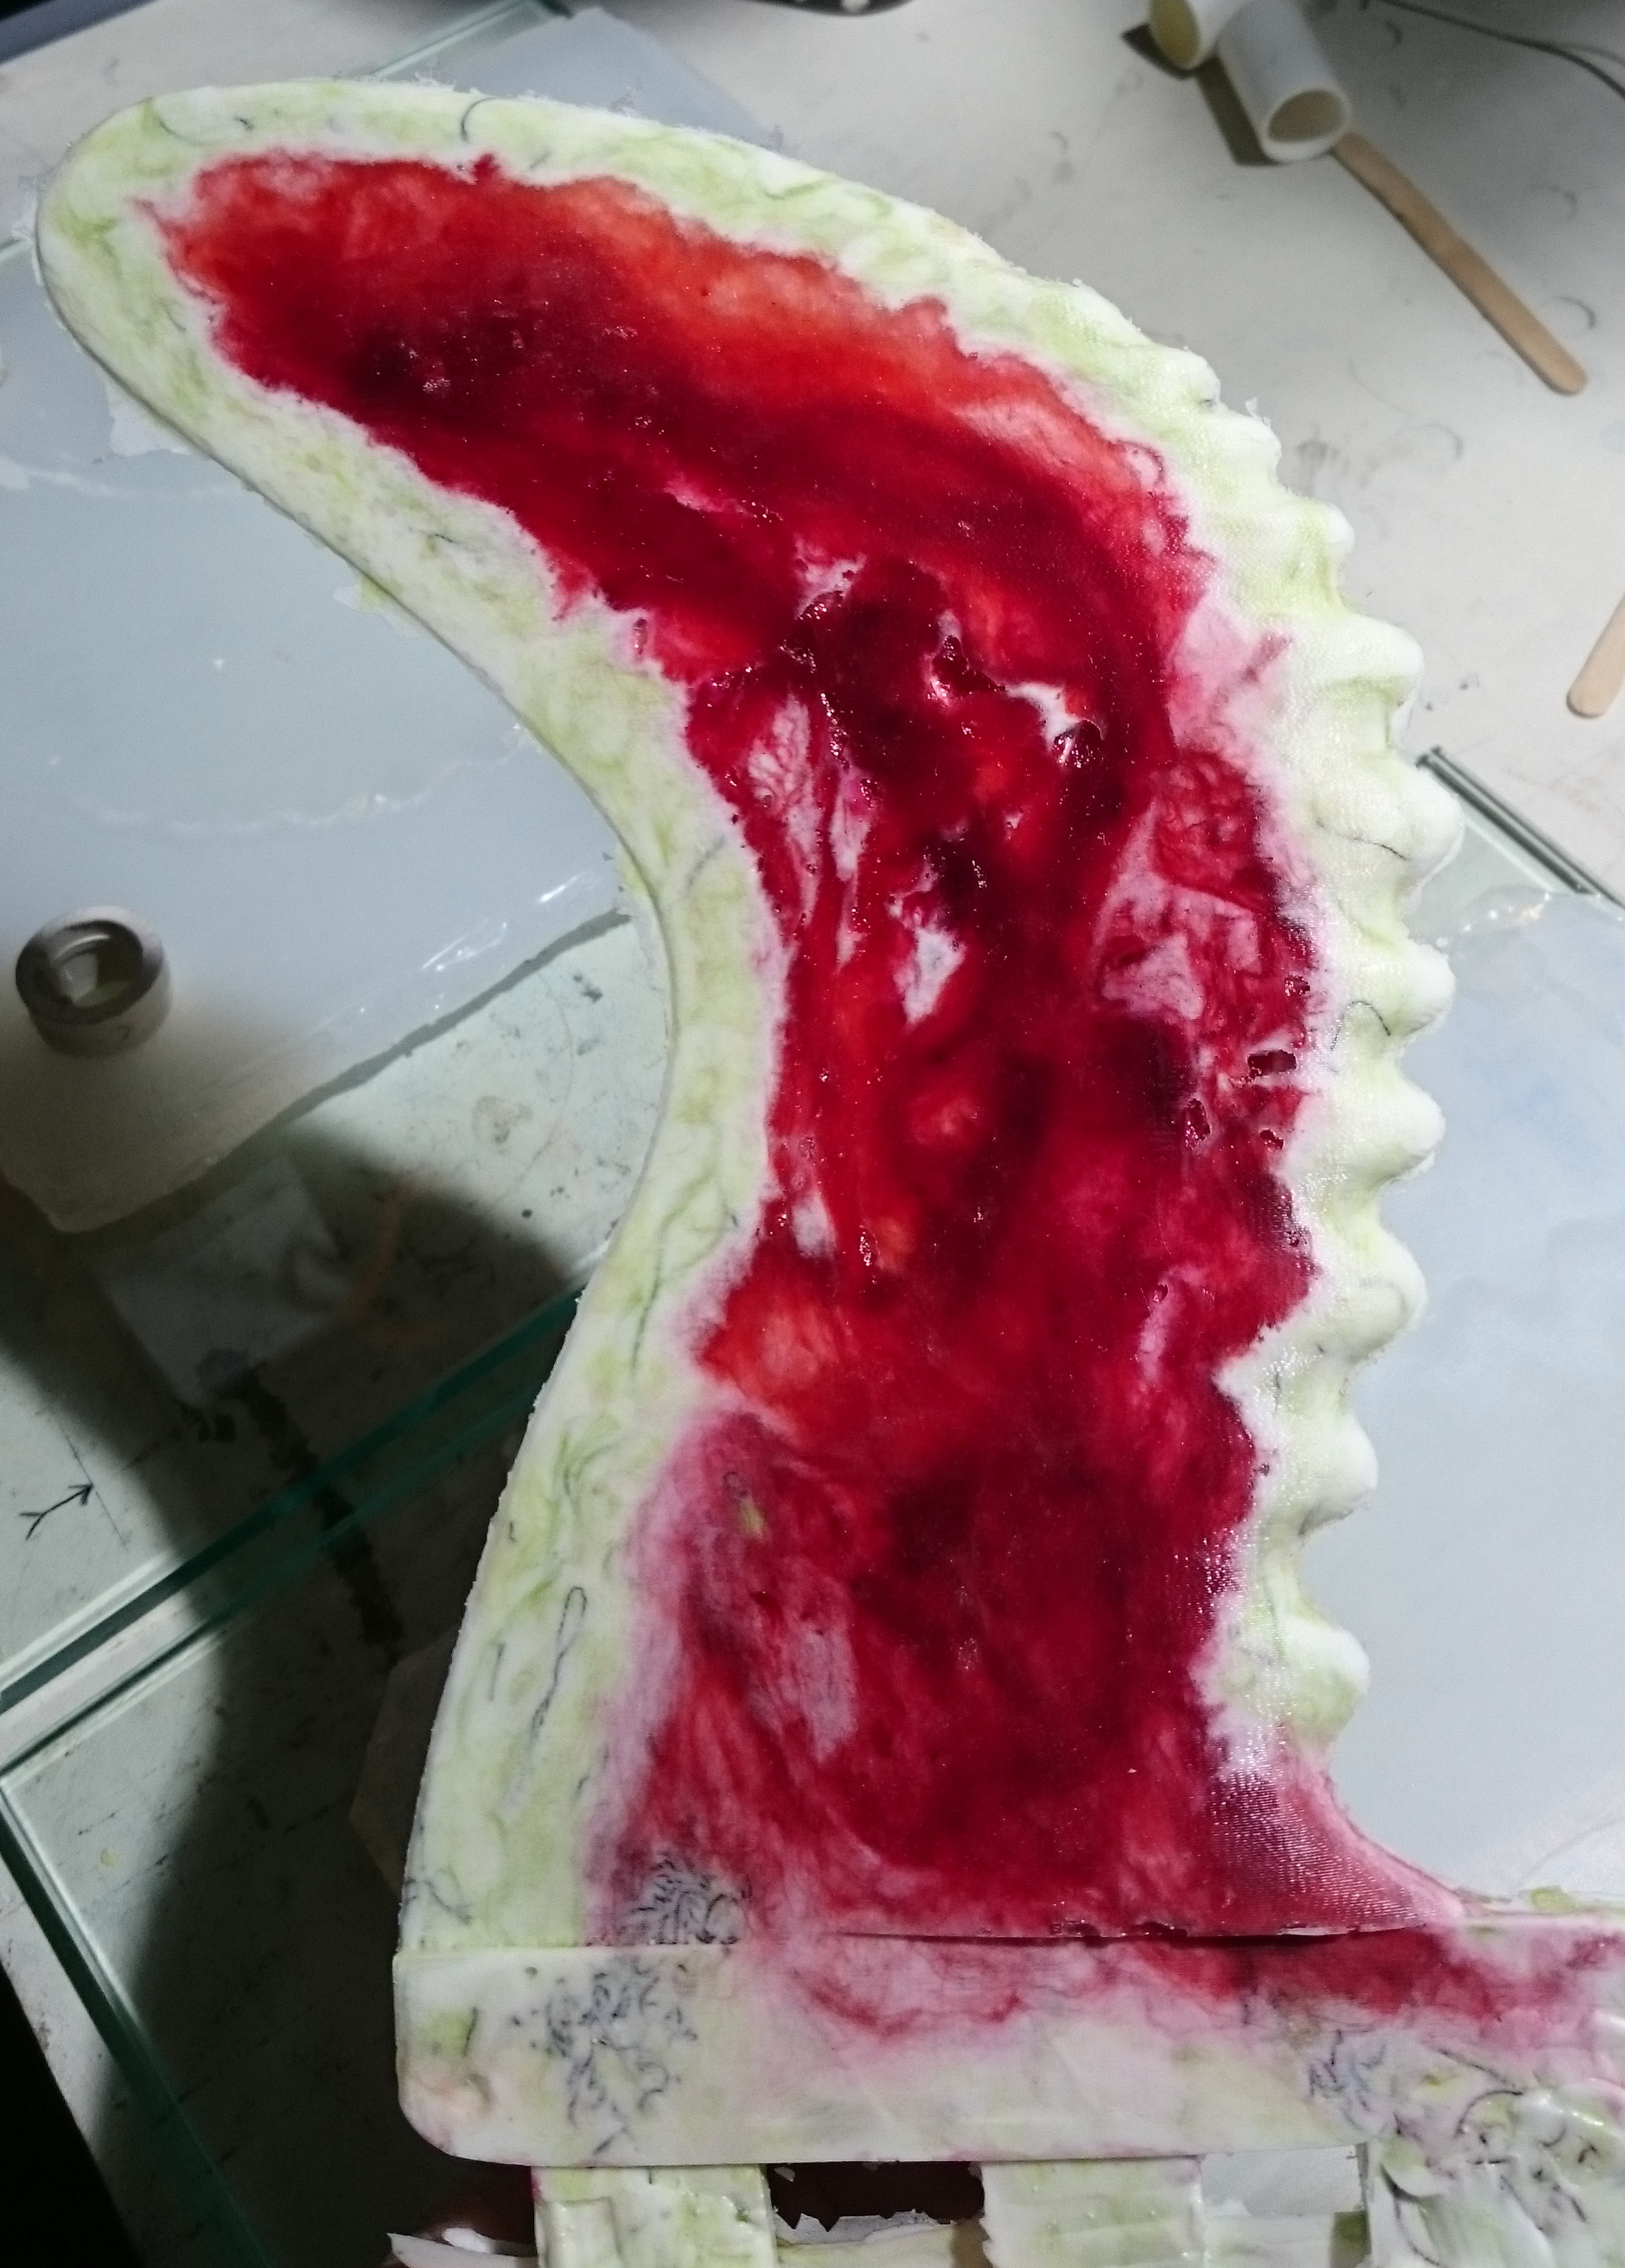
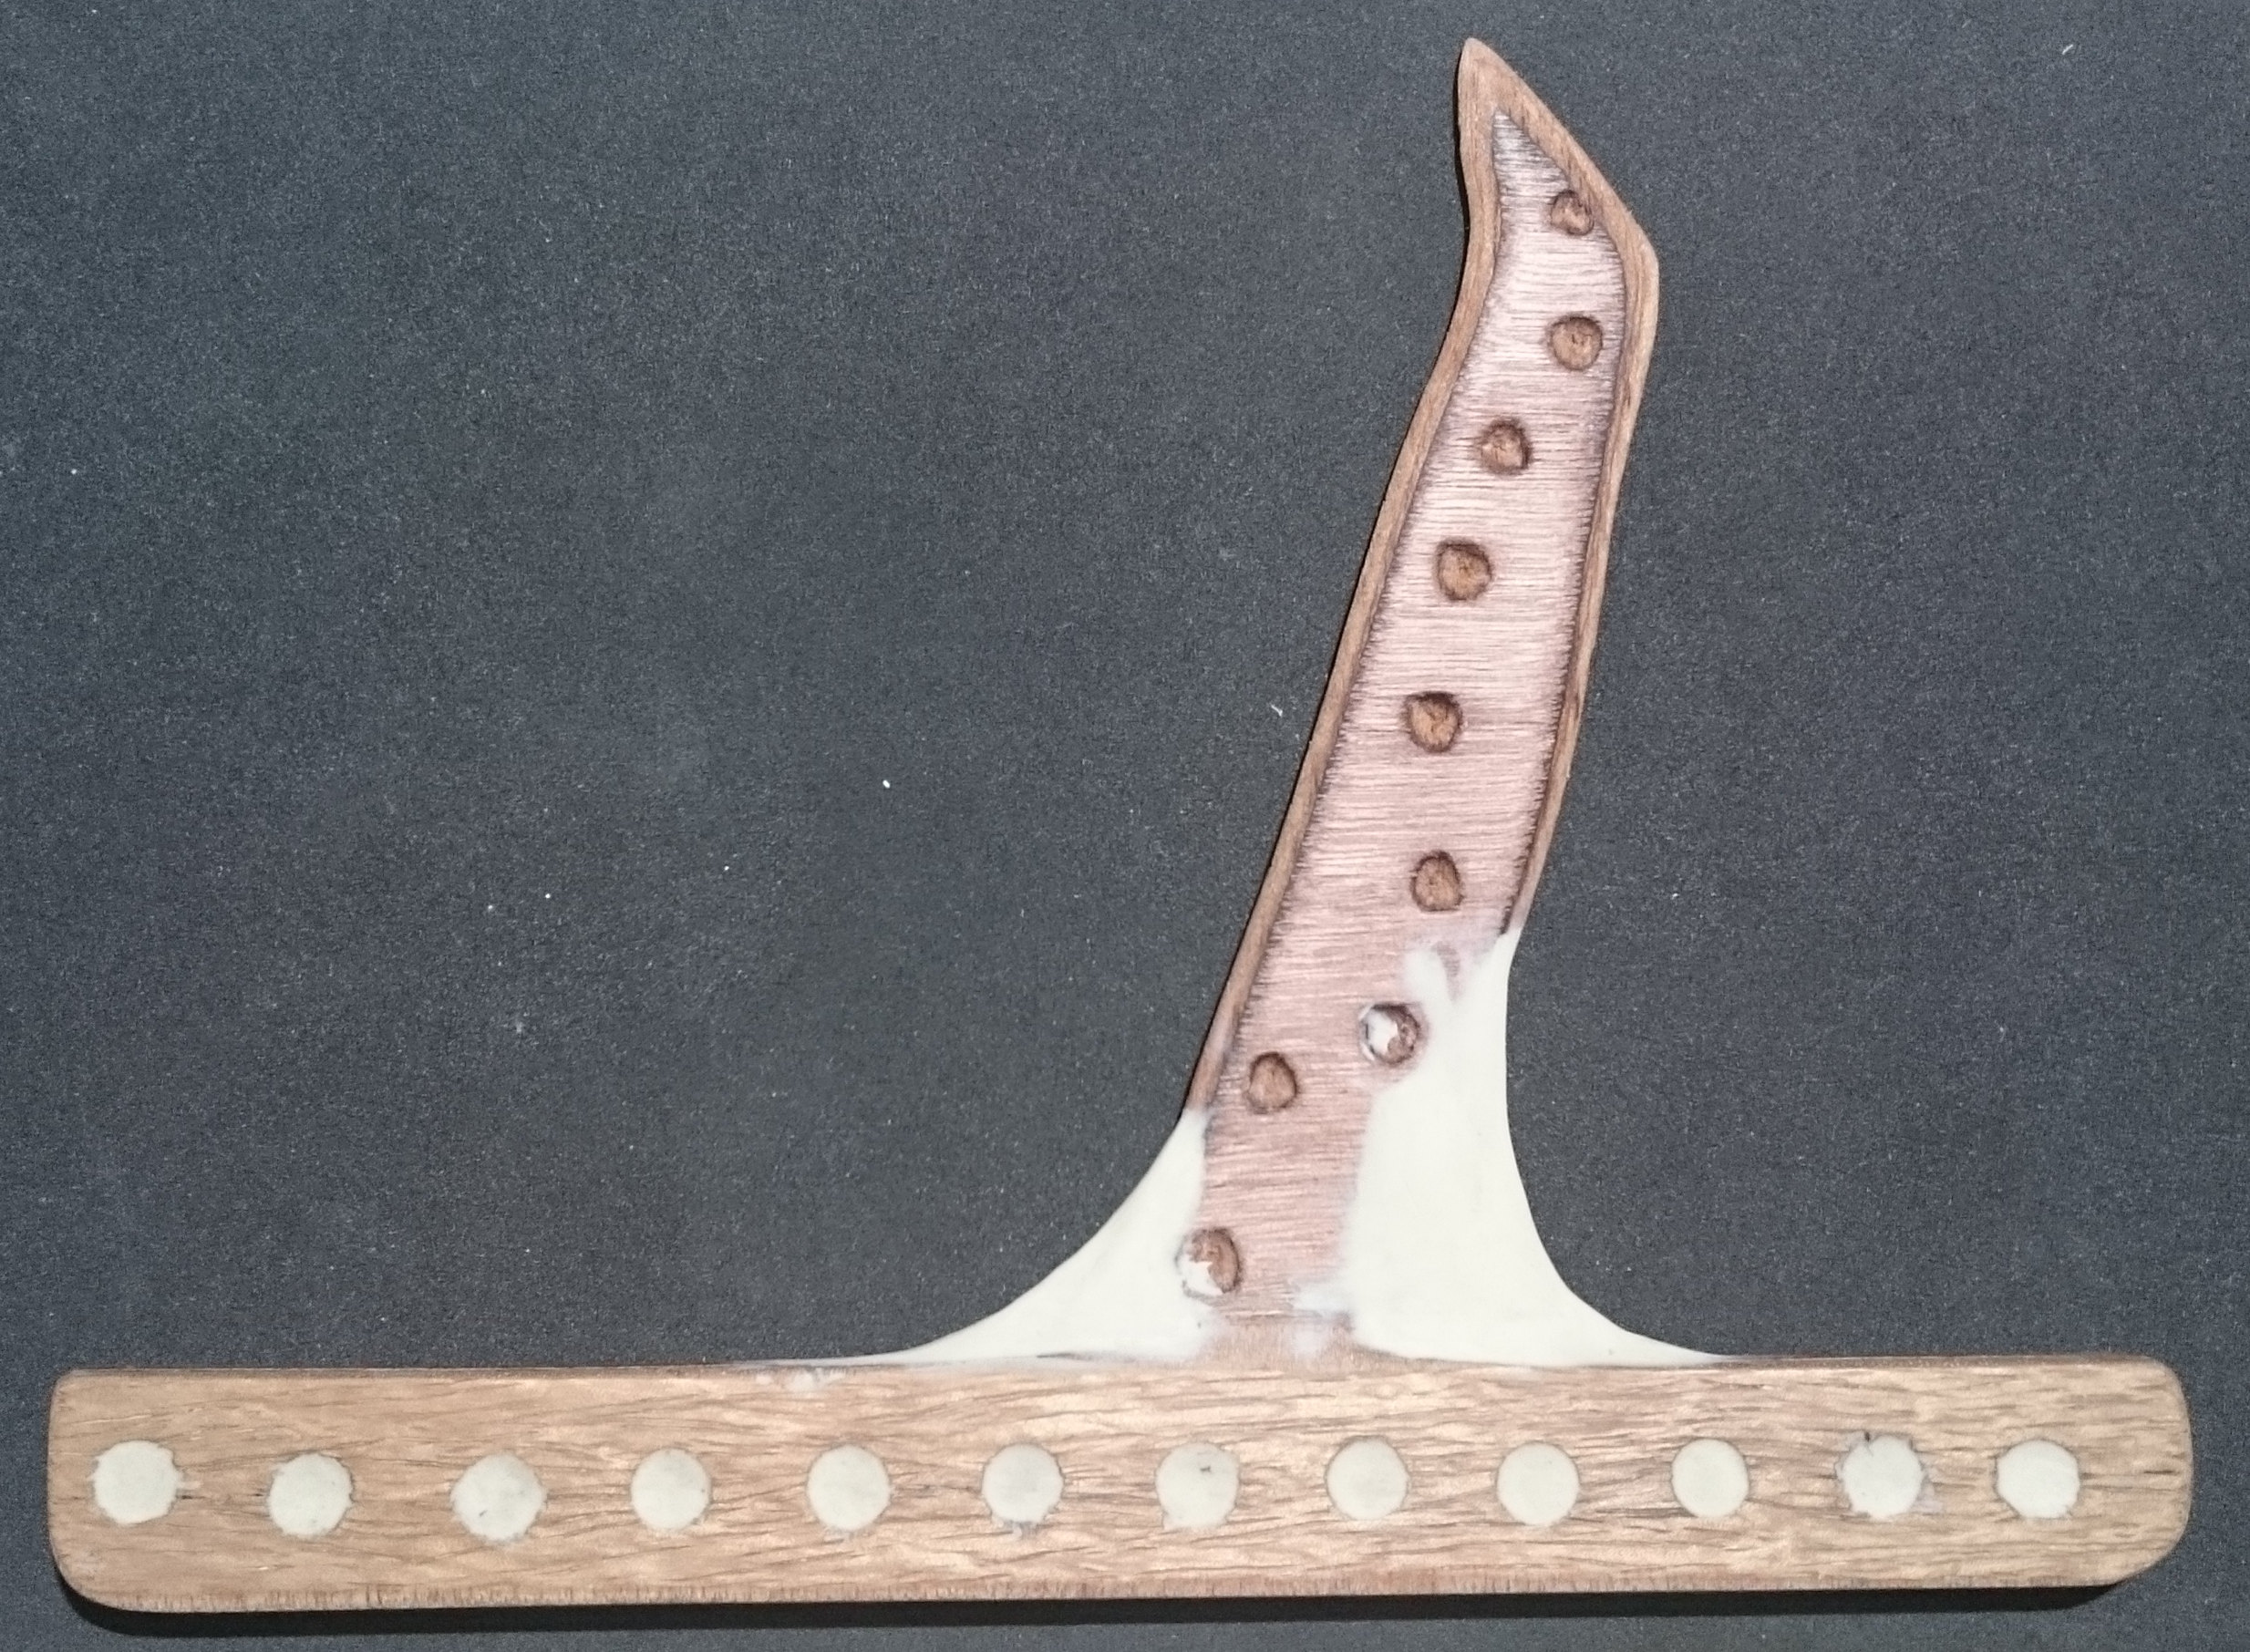
Anyway, the fin shape being saved in this process has had many contributors: McCoy, Eppler, Stewart and many others. This is the last fin I have of this kind. I bought 3 of them off Roy, surfed the first one for a couple of years before it snapped off. Then I ordered 2 more, but they arrived defective, with porous areas in many parts of the fins, so they did take on water. I spent considerable time trying to seal them, succeeded with one of them, then took it surfing, but it snapped off after a dozen sessions.

Then I heard from Roy that he is no longer printing these fins, because the material (polycarbonate) is only borderline strong enough.

So I figure that this is a rescue mission for the  ‘Eppler 168 Gullwing fin’.

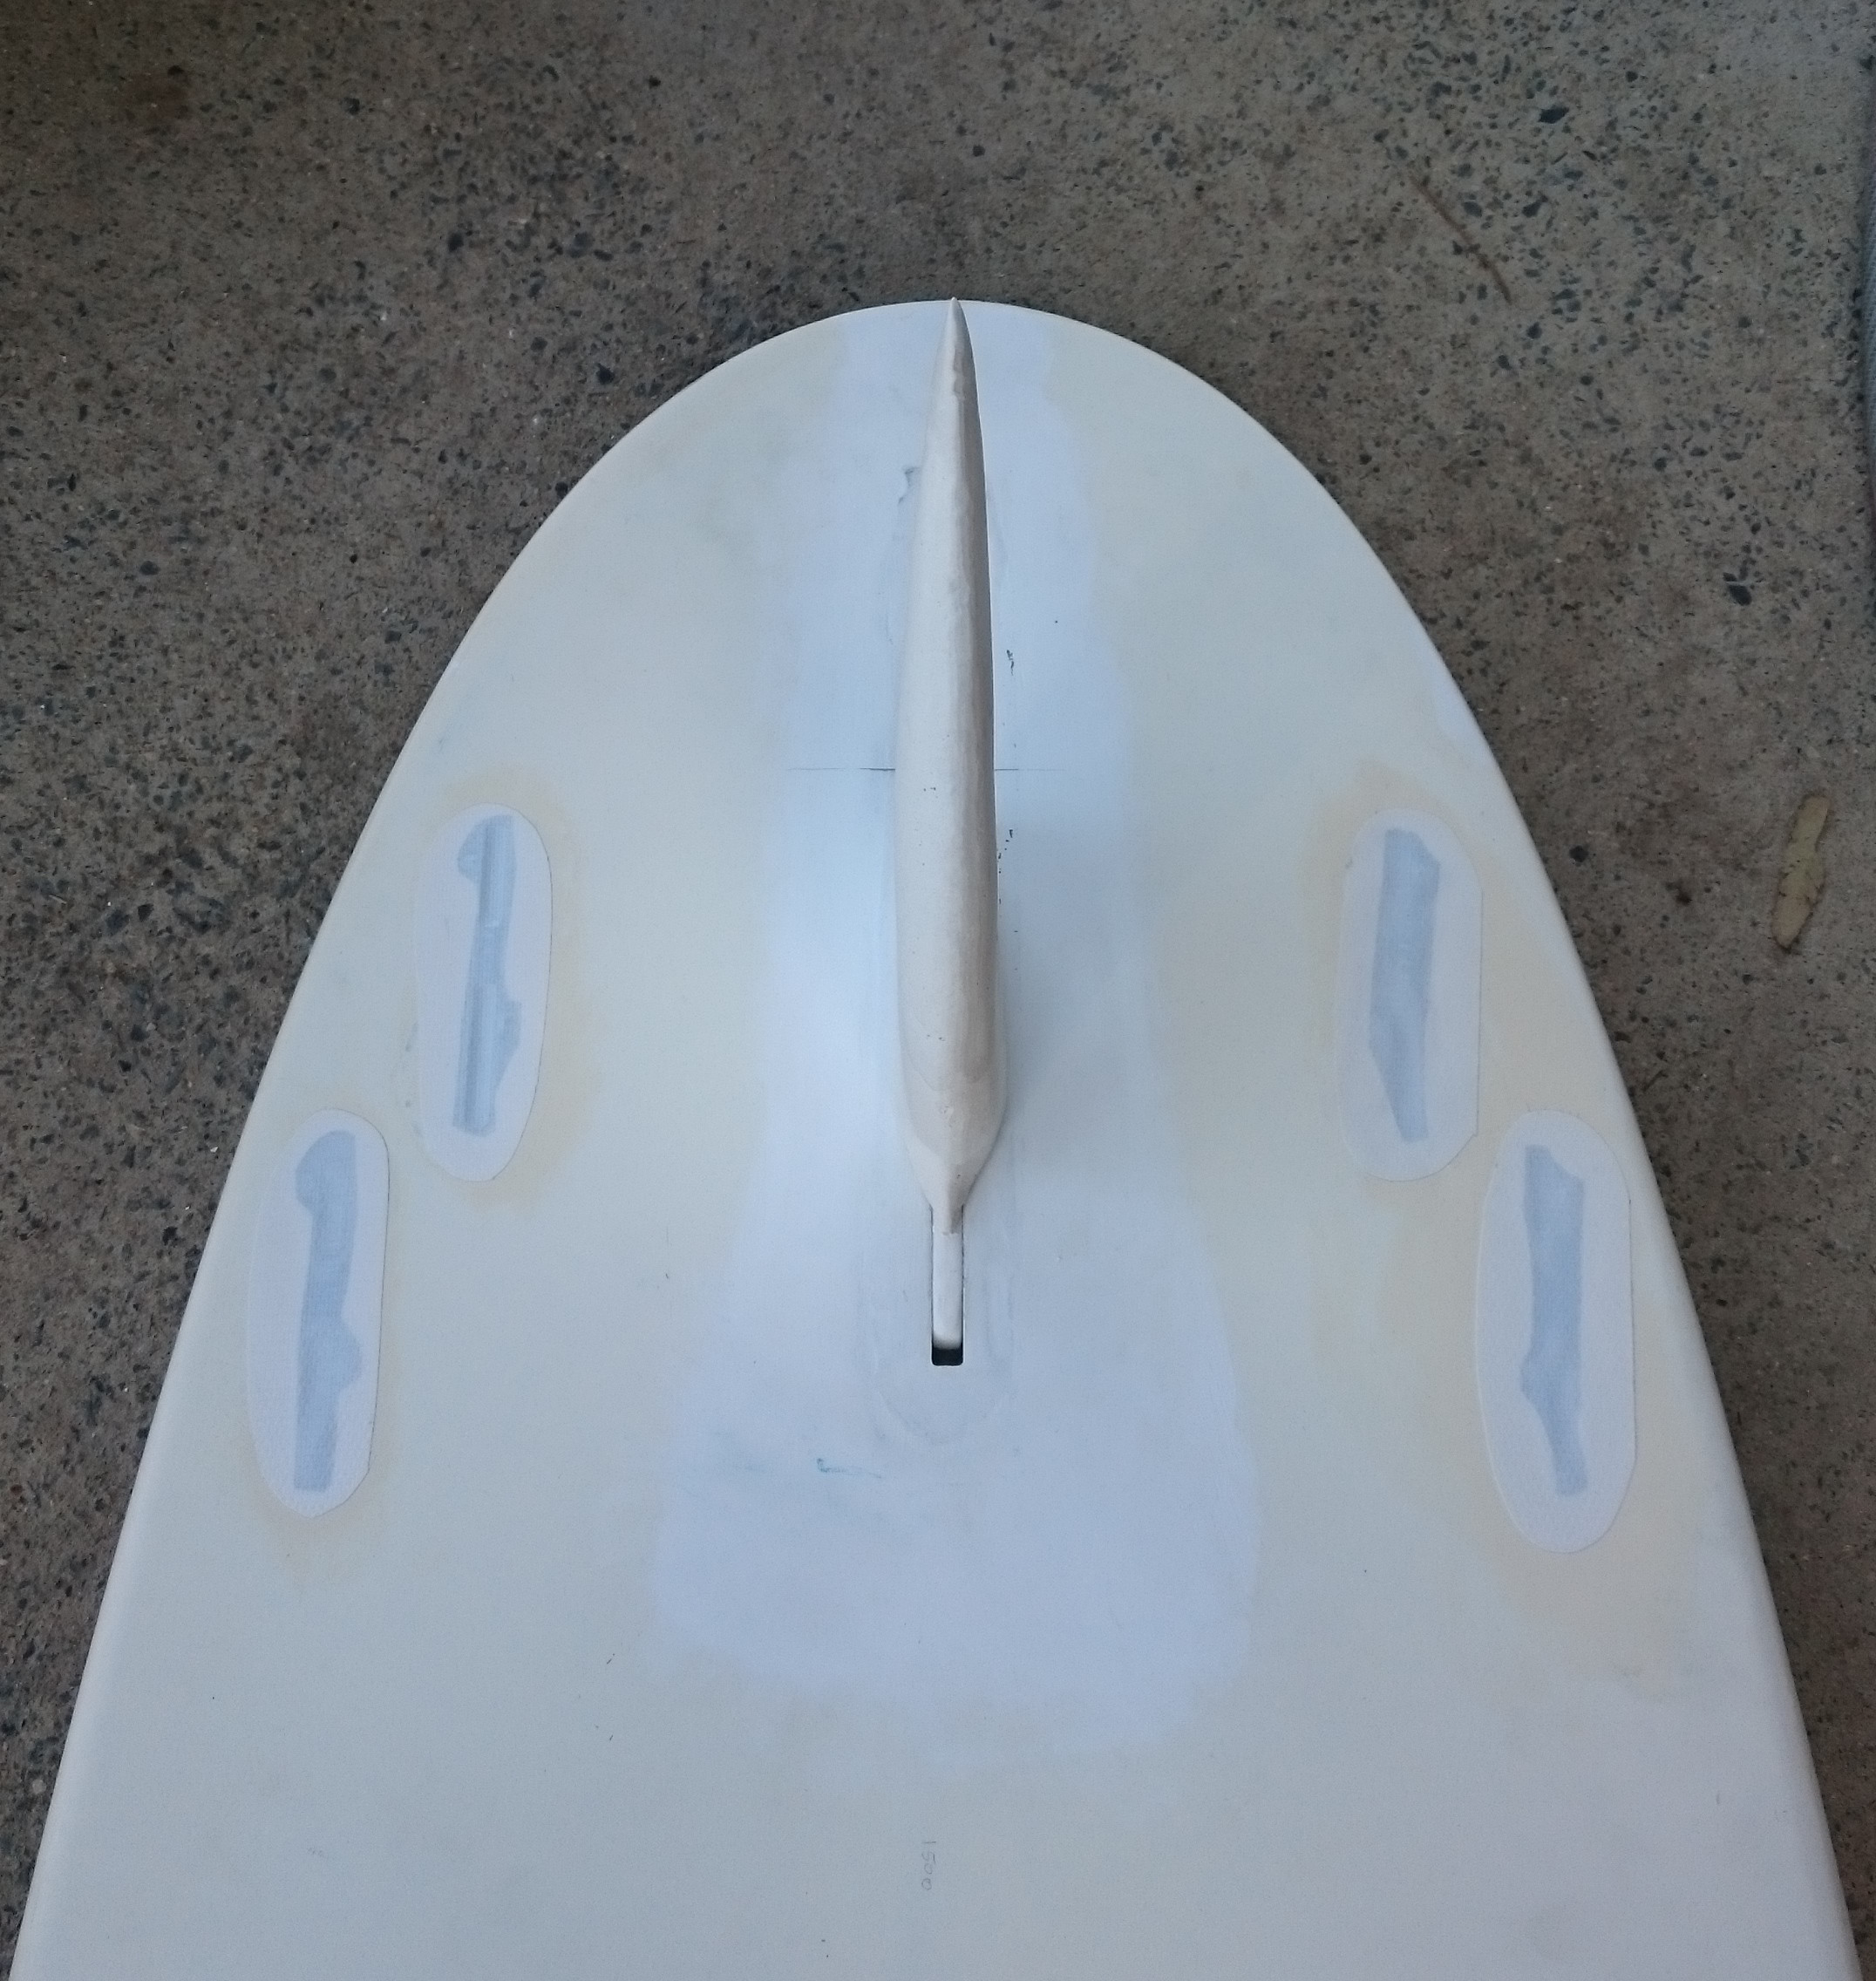
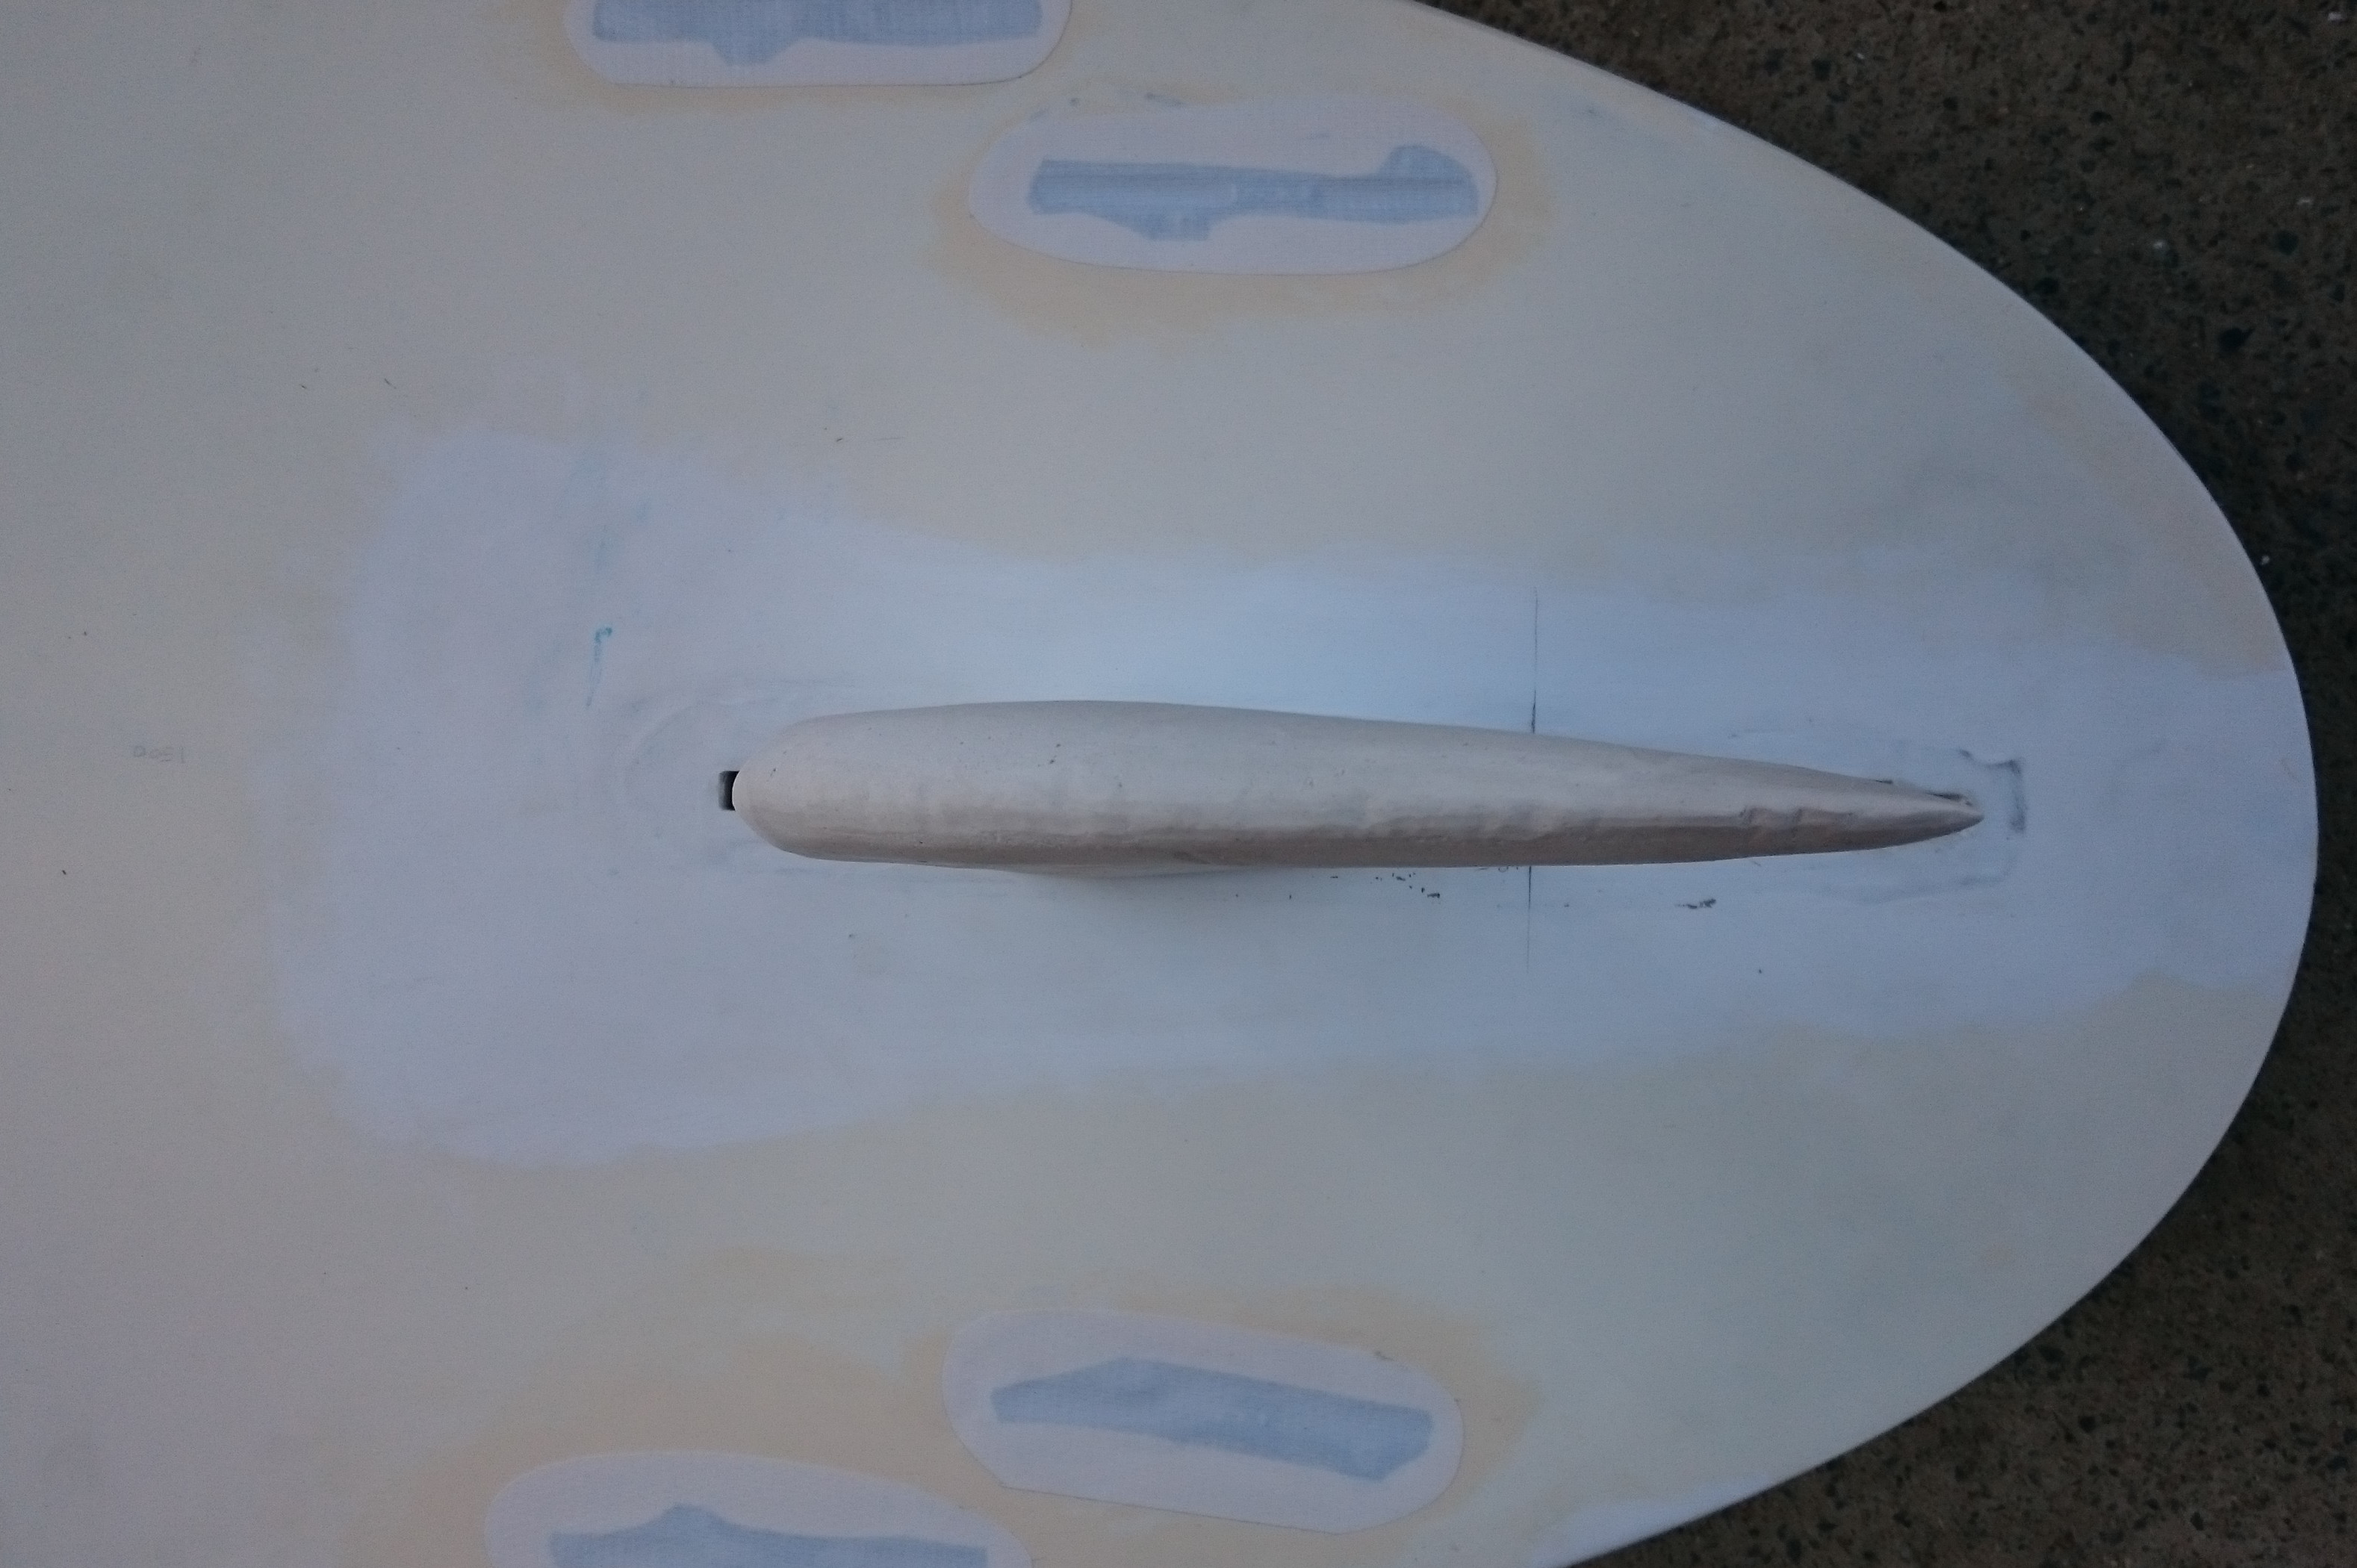
I want to know if the Eppler foil is actually better than the fibreglass Gullwing fin, and if the Gull-Whale fin (with the bumps) is any better than either of them. That’s where the new snap in feature comes in: Quick fin swaps in the surf will allow (almost) blind testing of fins.

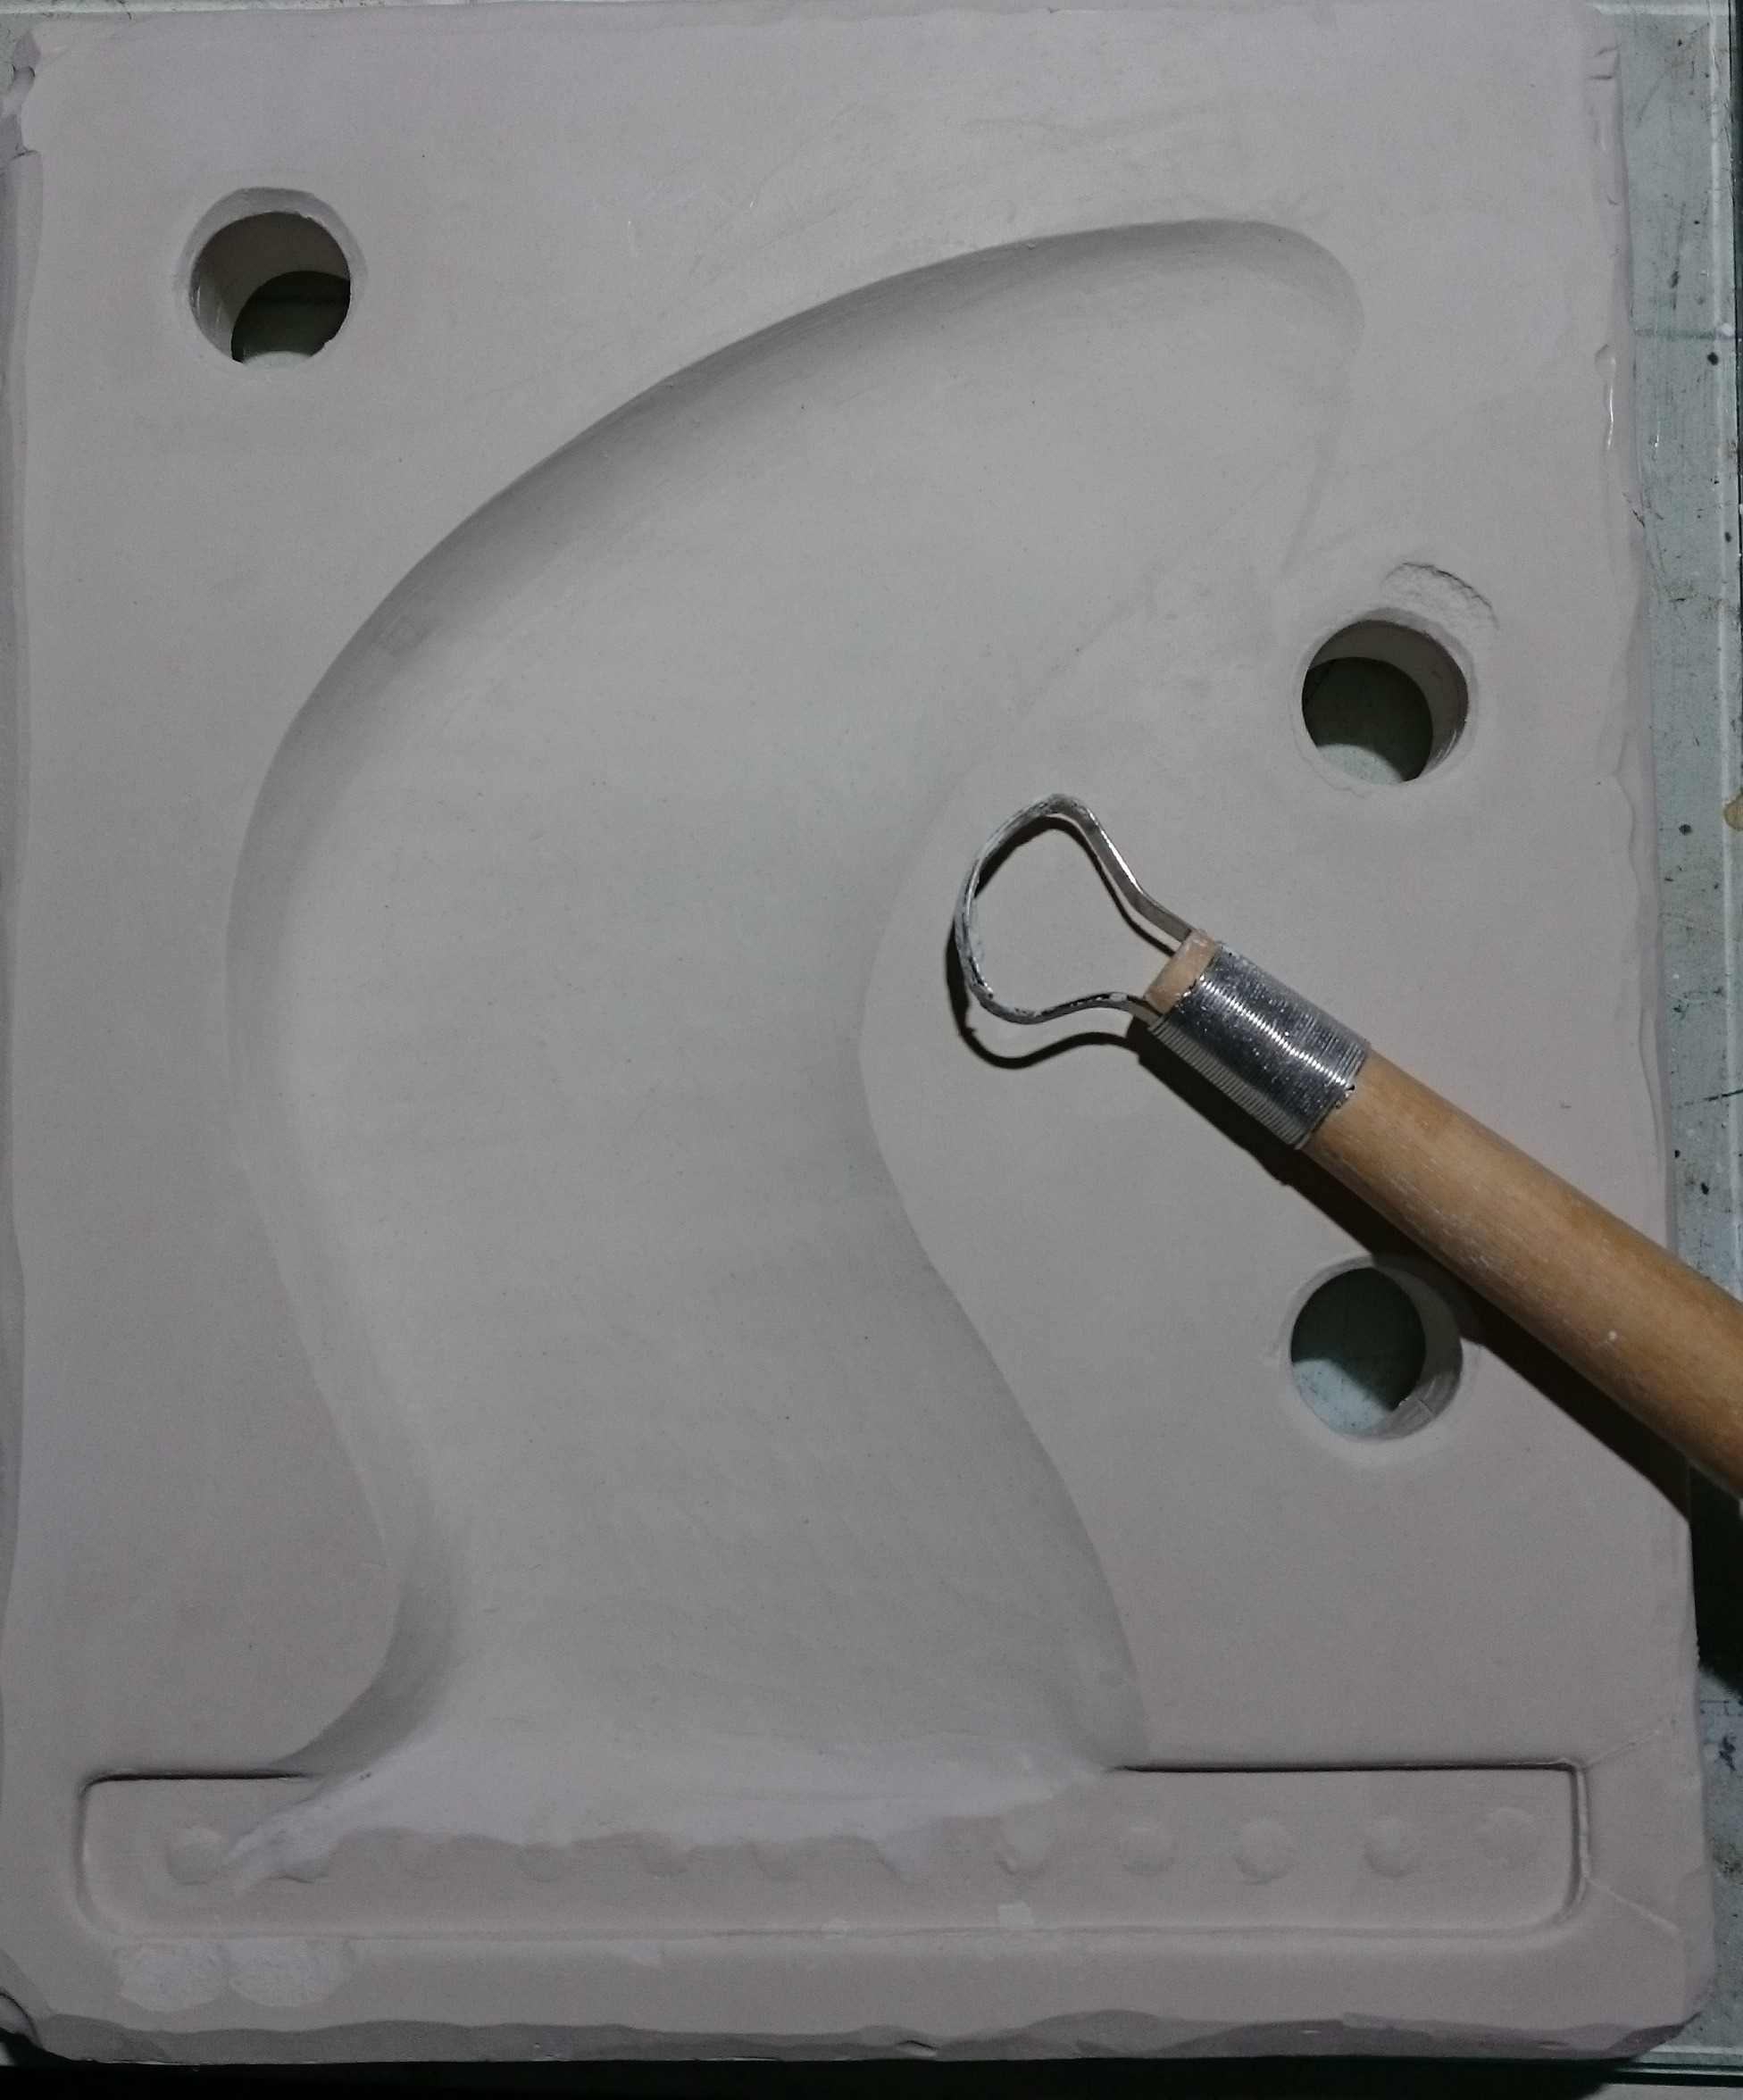
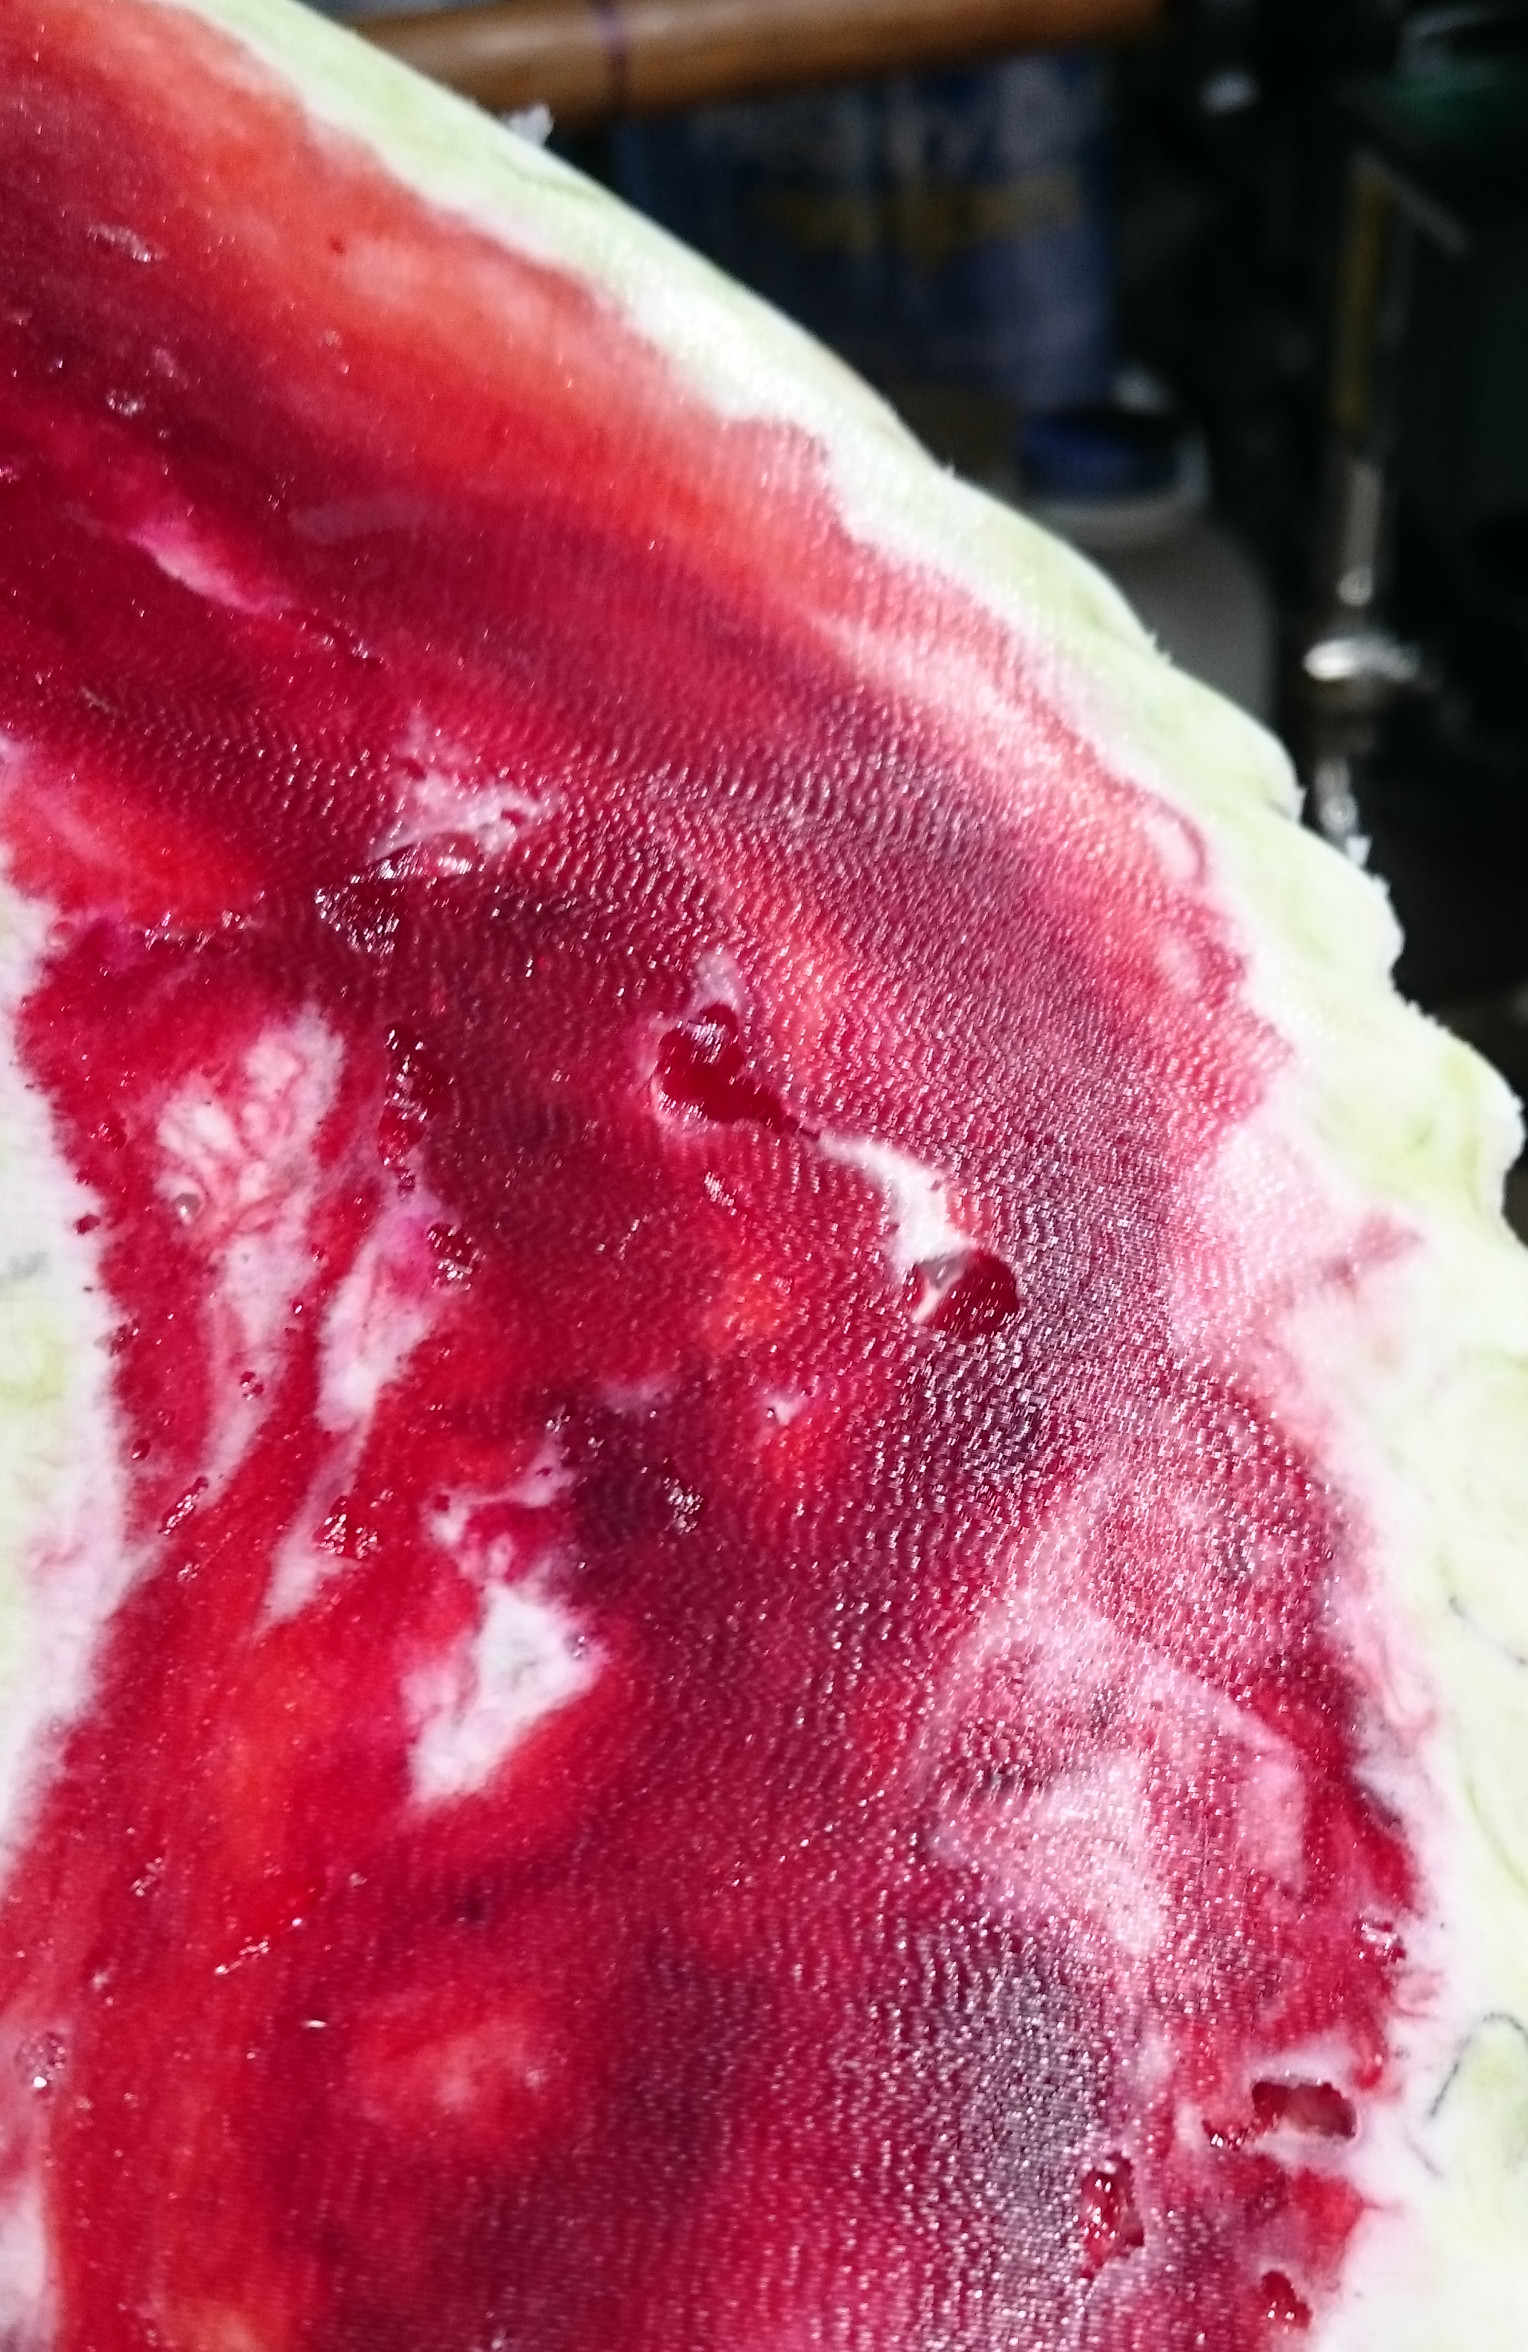
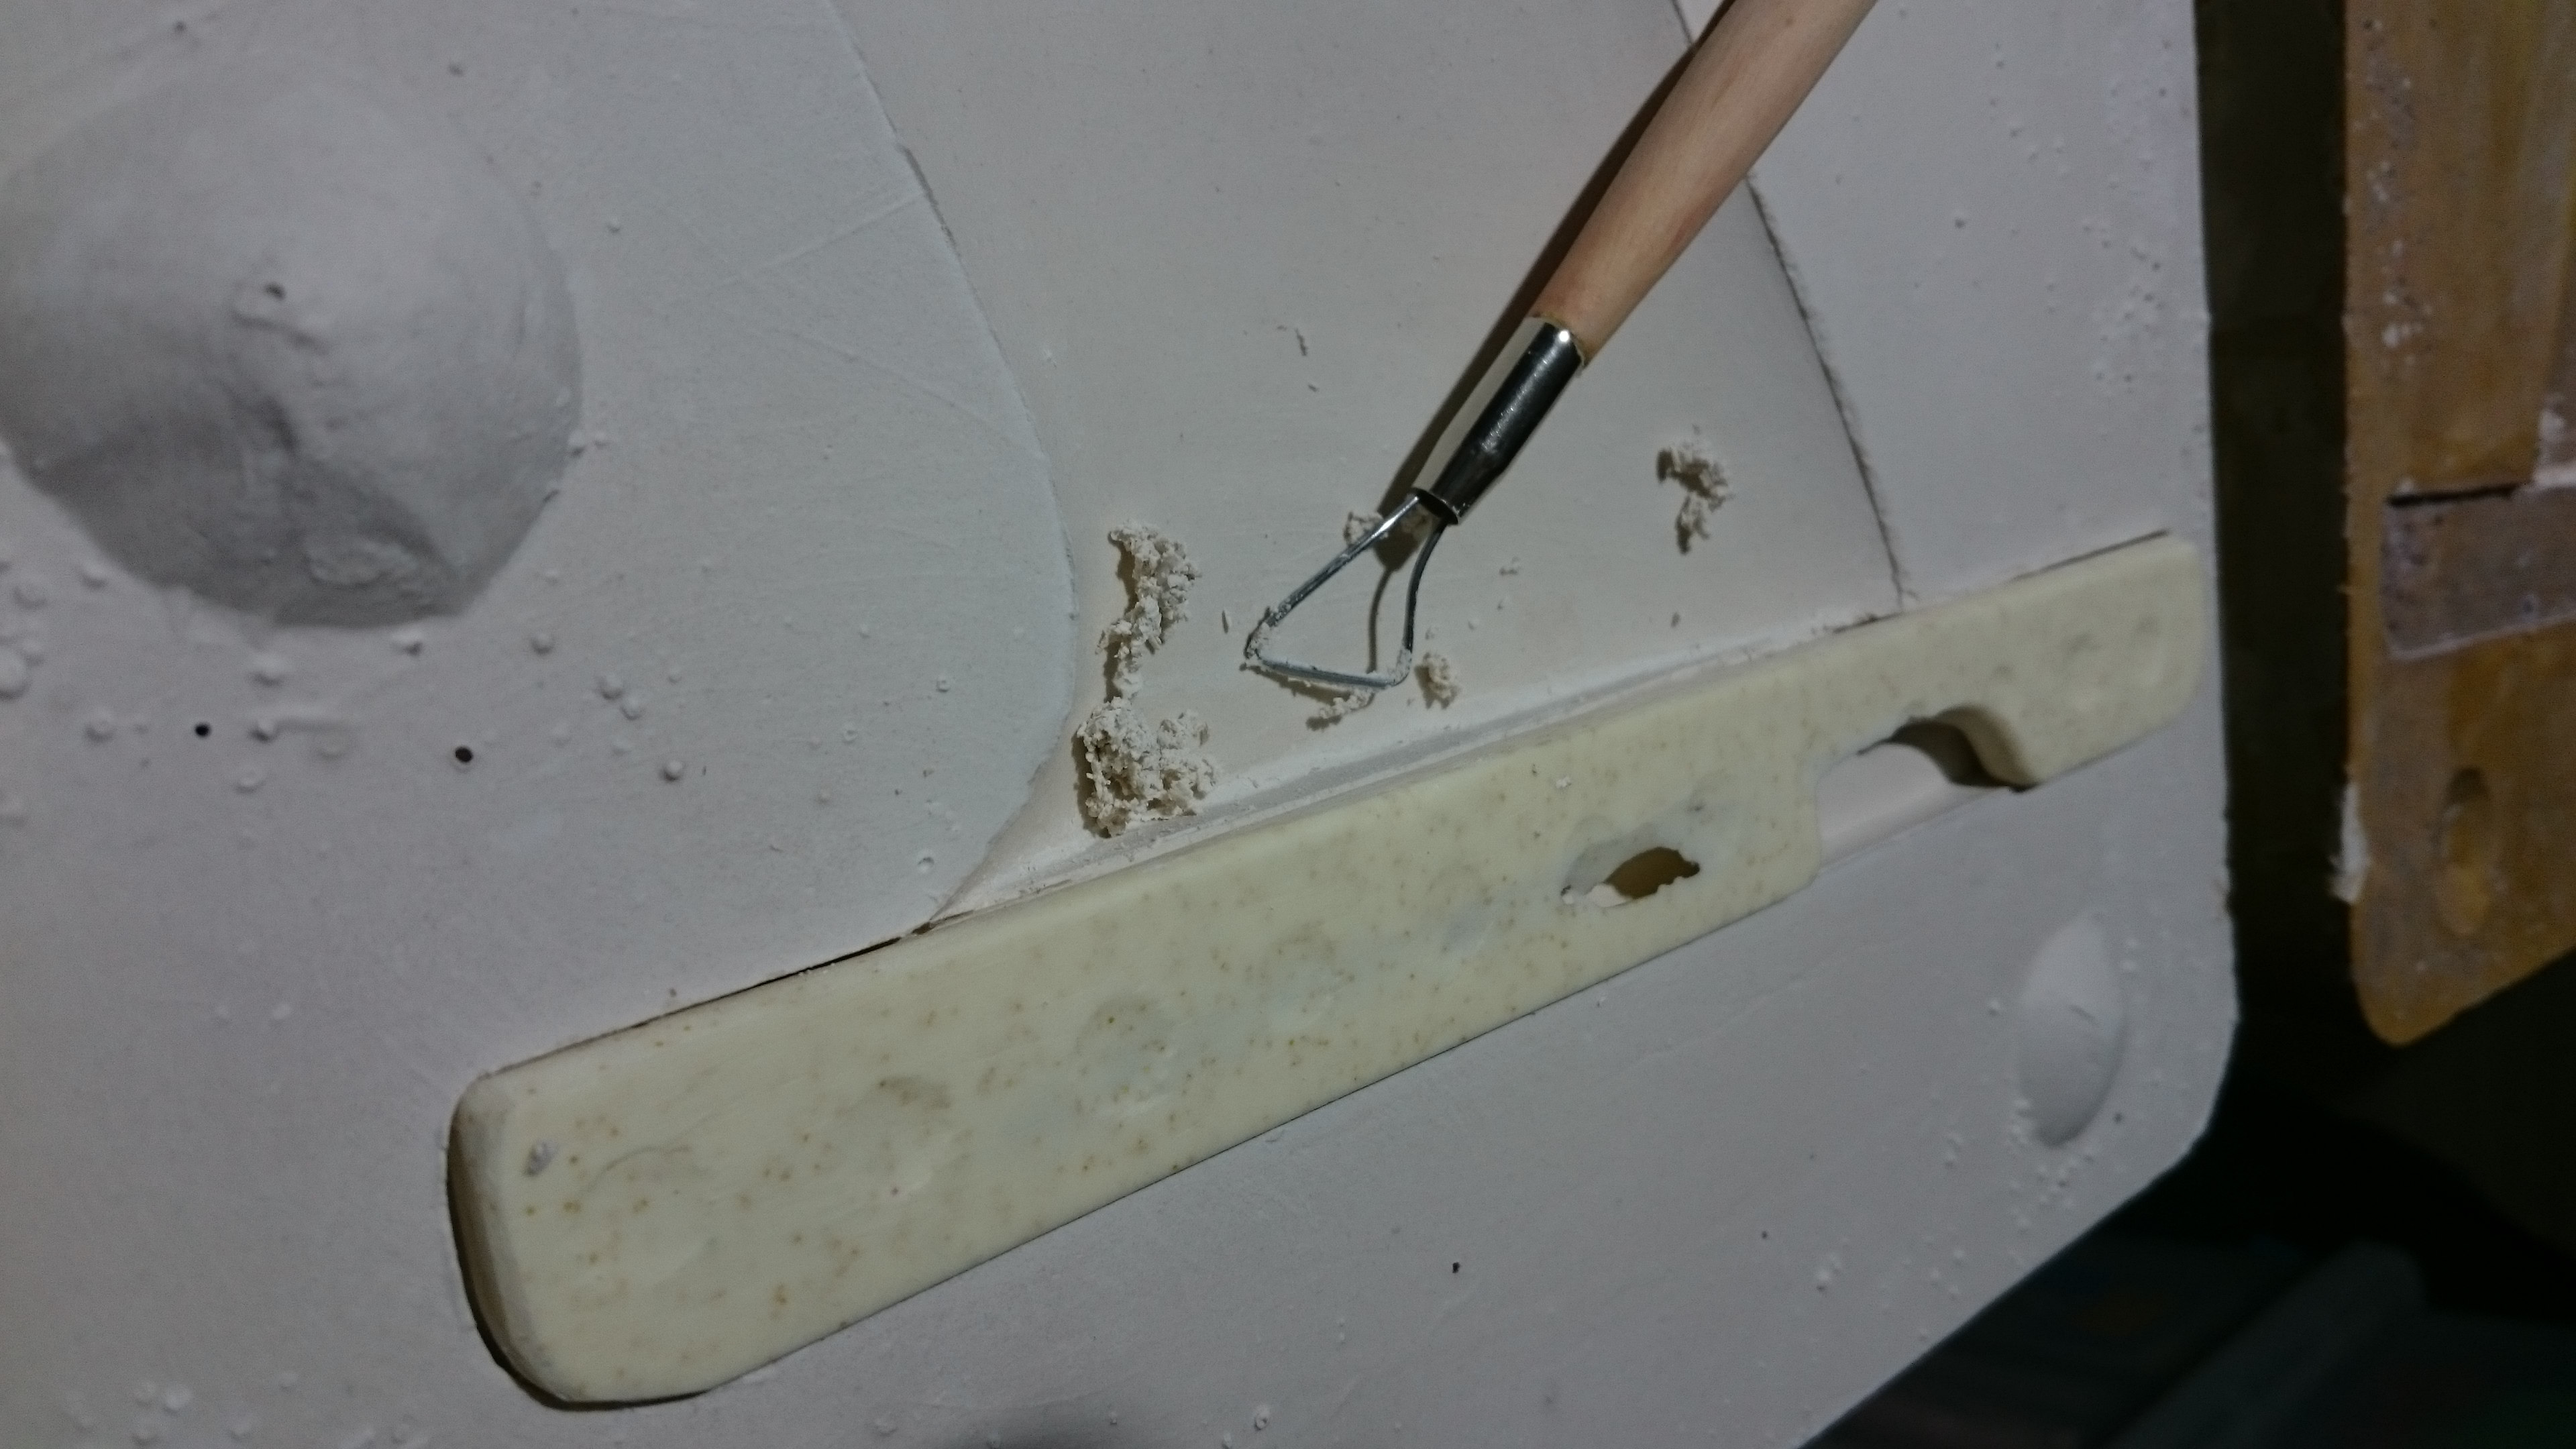
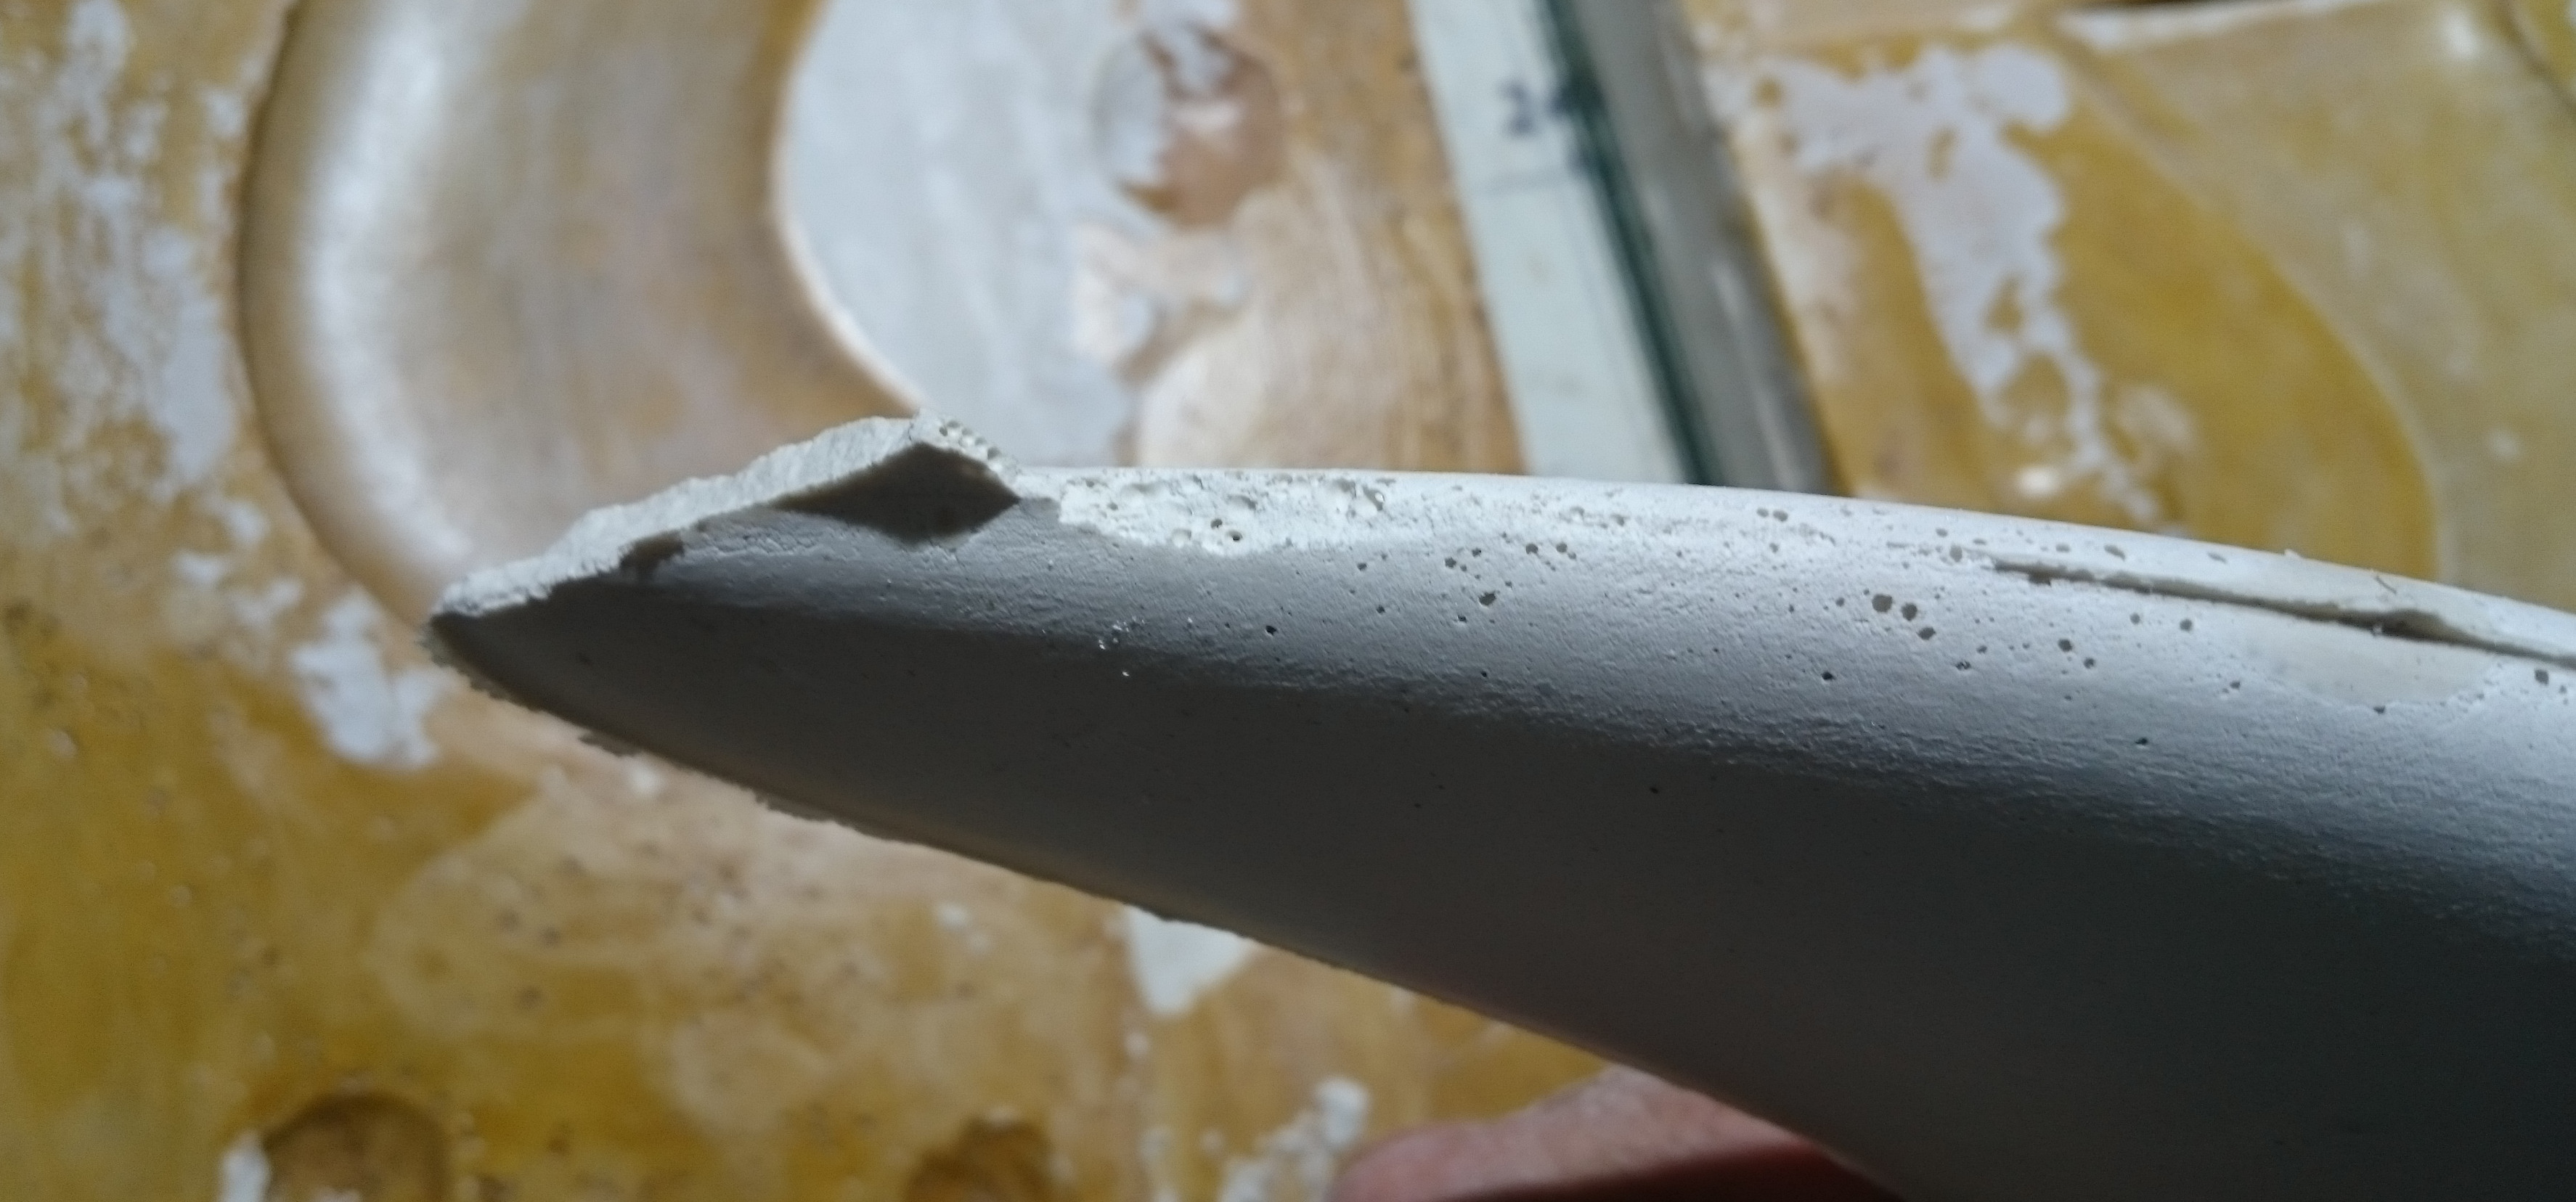
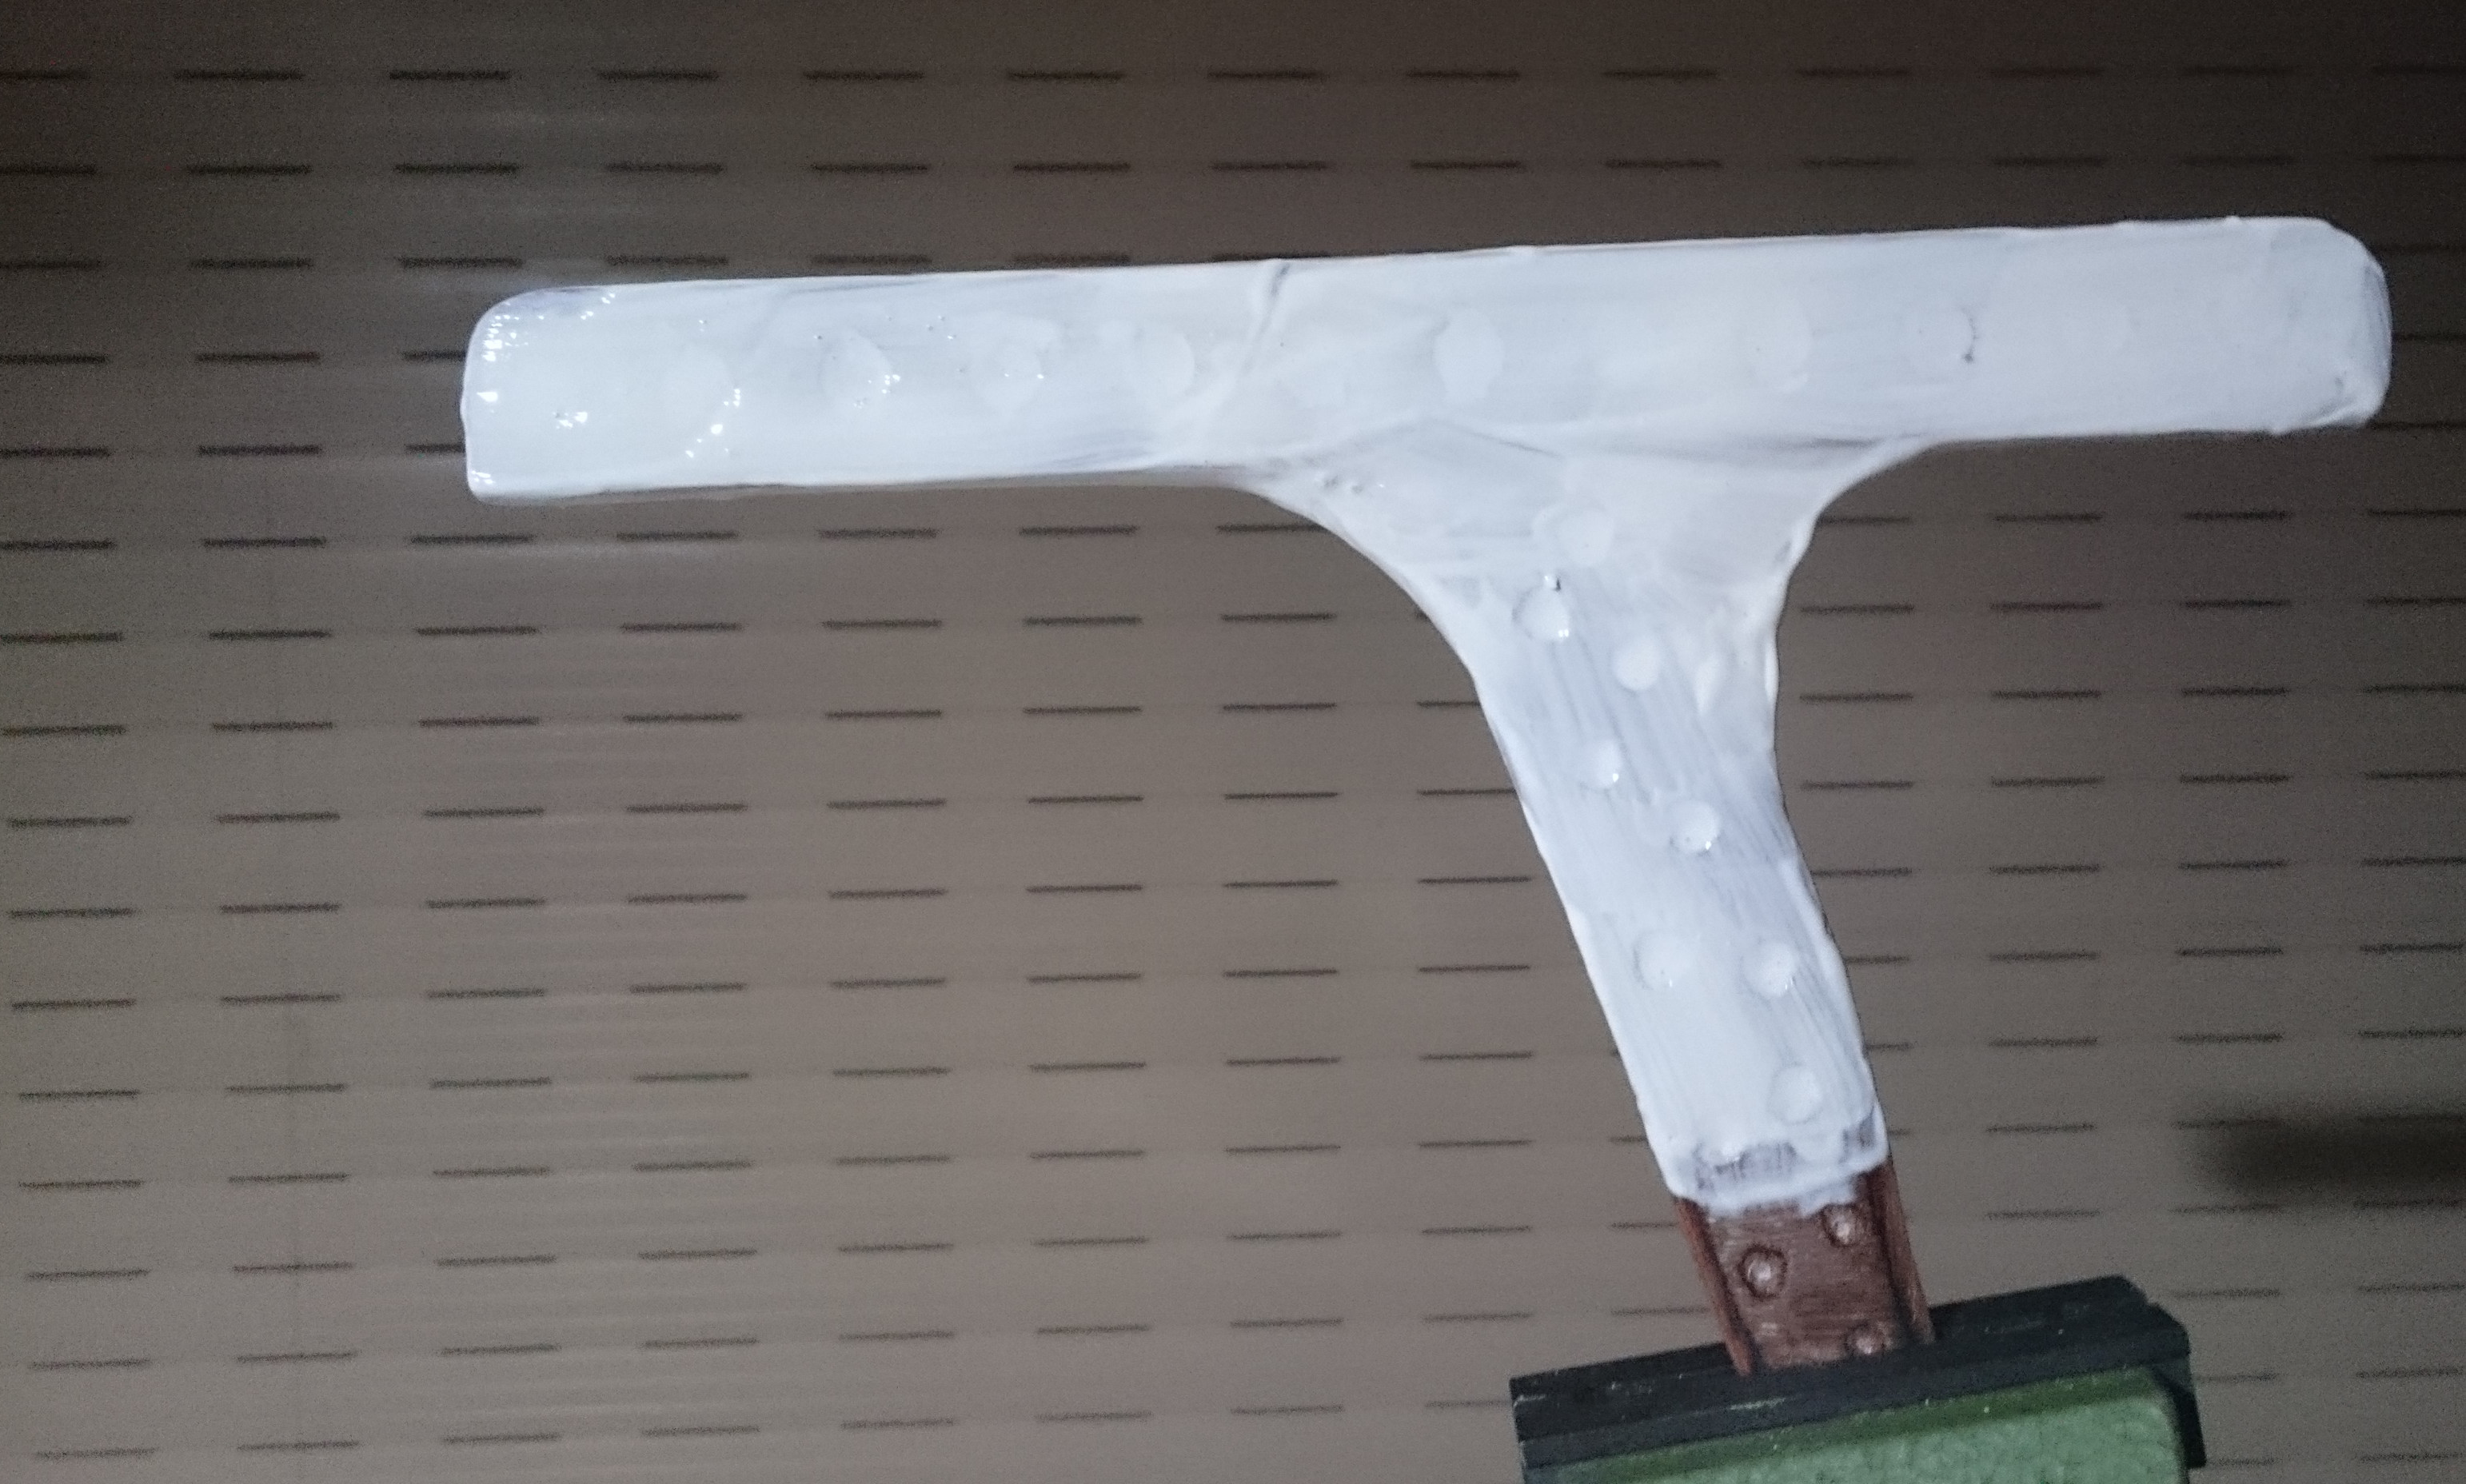
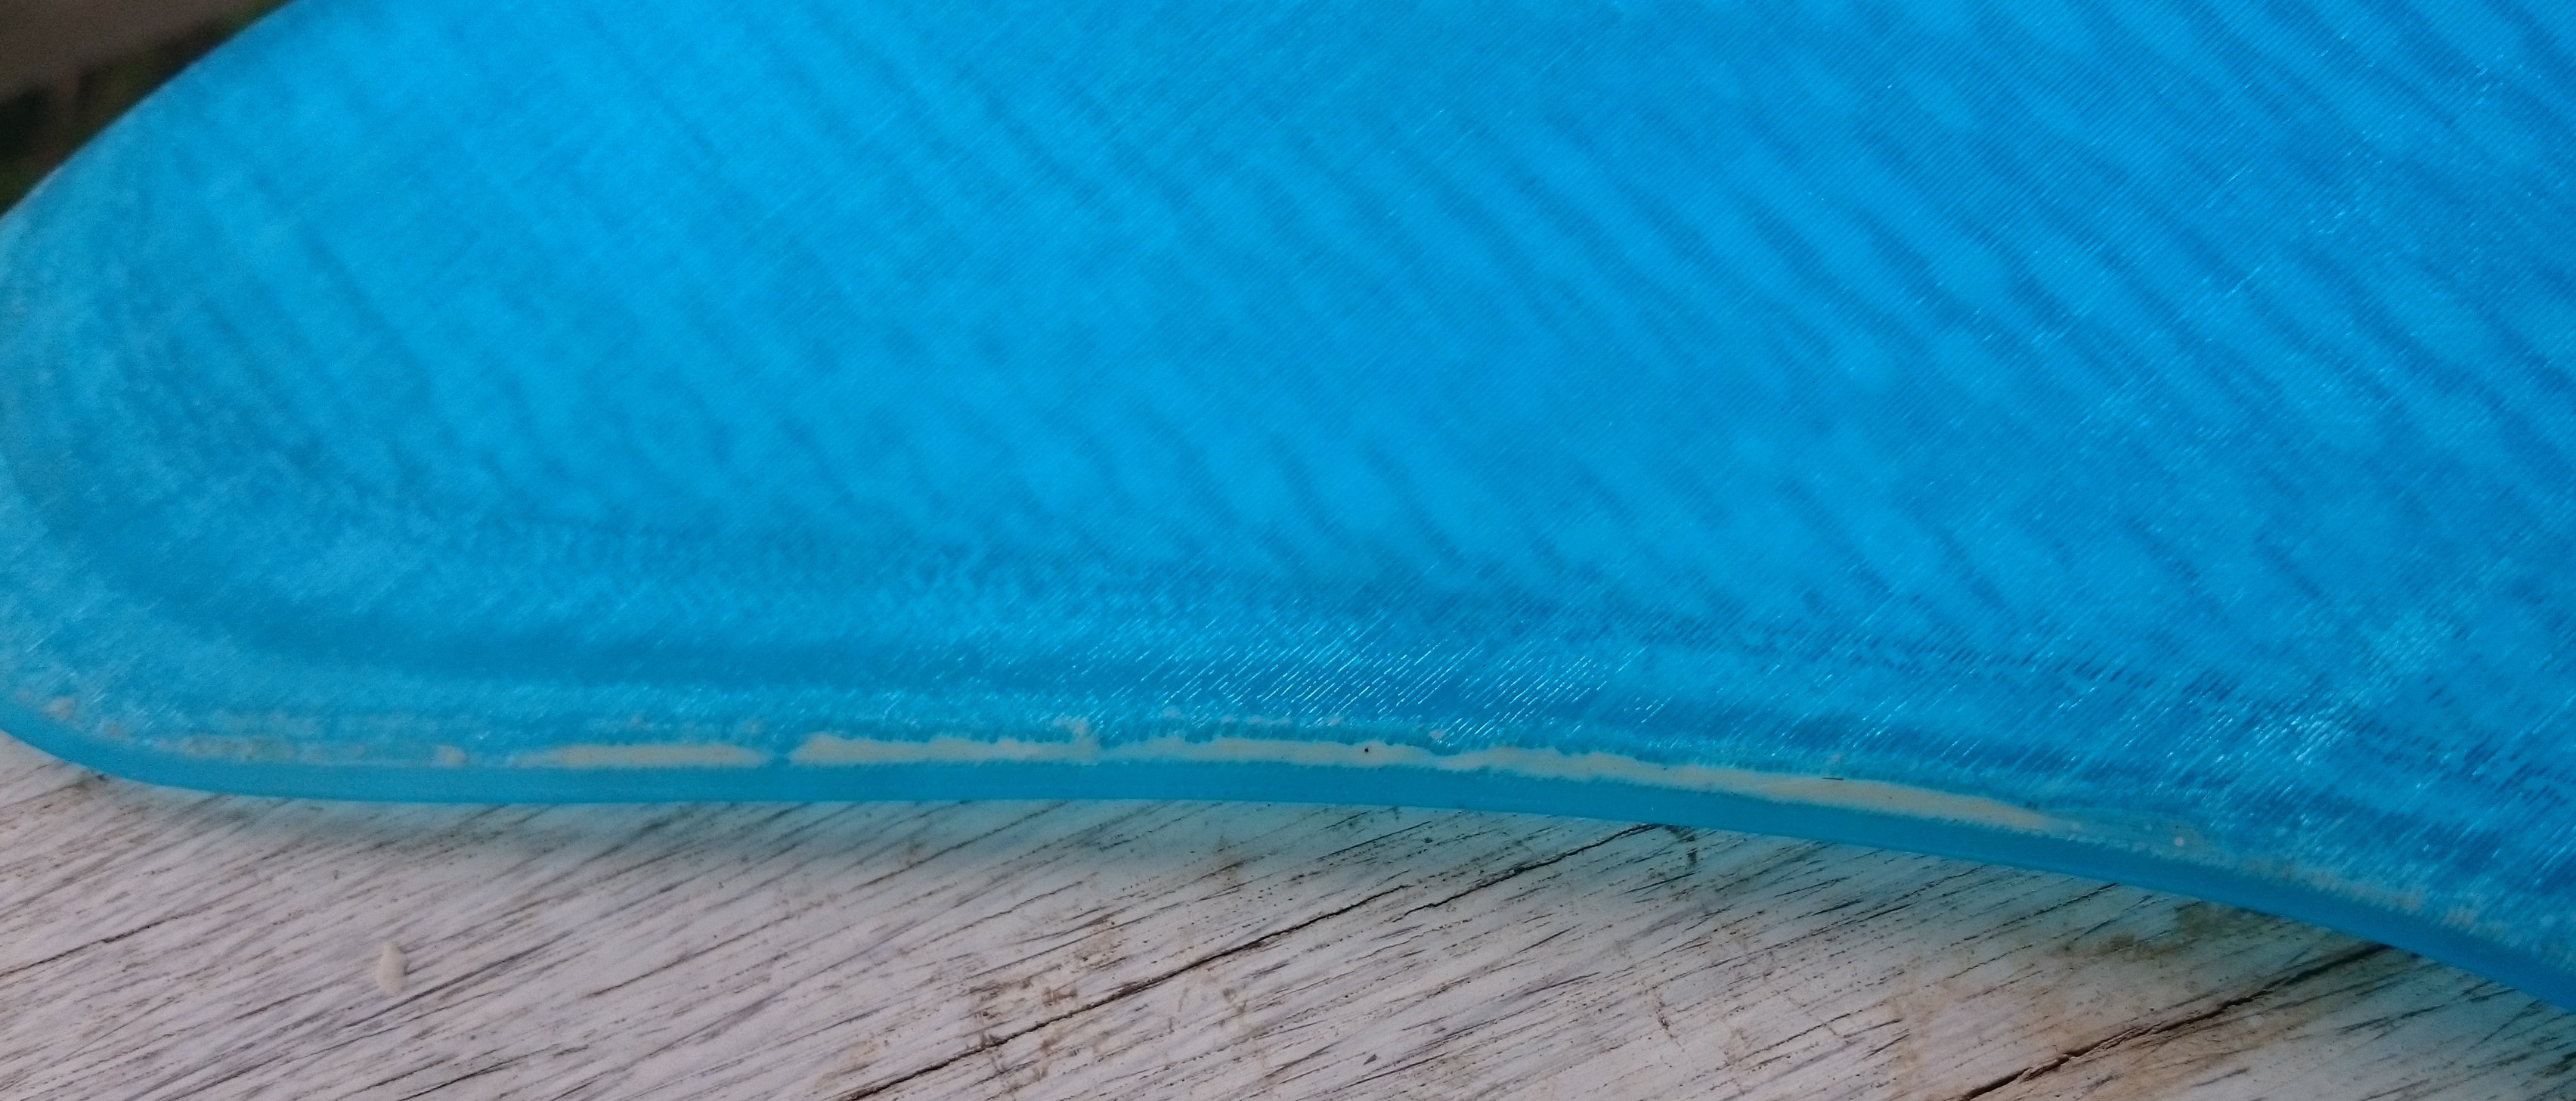
The rear edge of the misprinted polycarbonate fin is difficult to fix properly, but modelling clay will hopefully be durable enough to last until a transparent silicone mould is made. See close-up for the groove filled with clay.

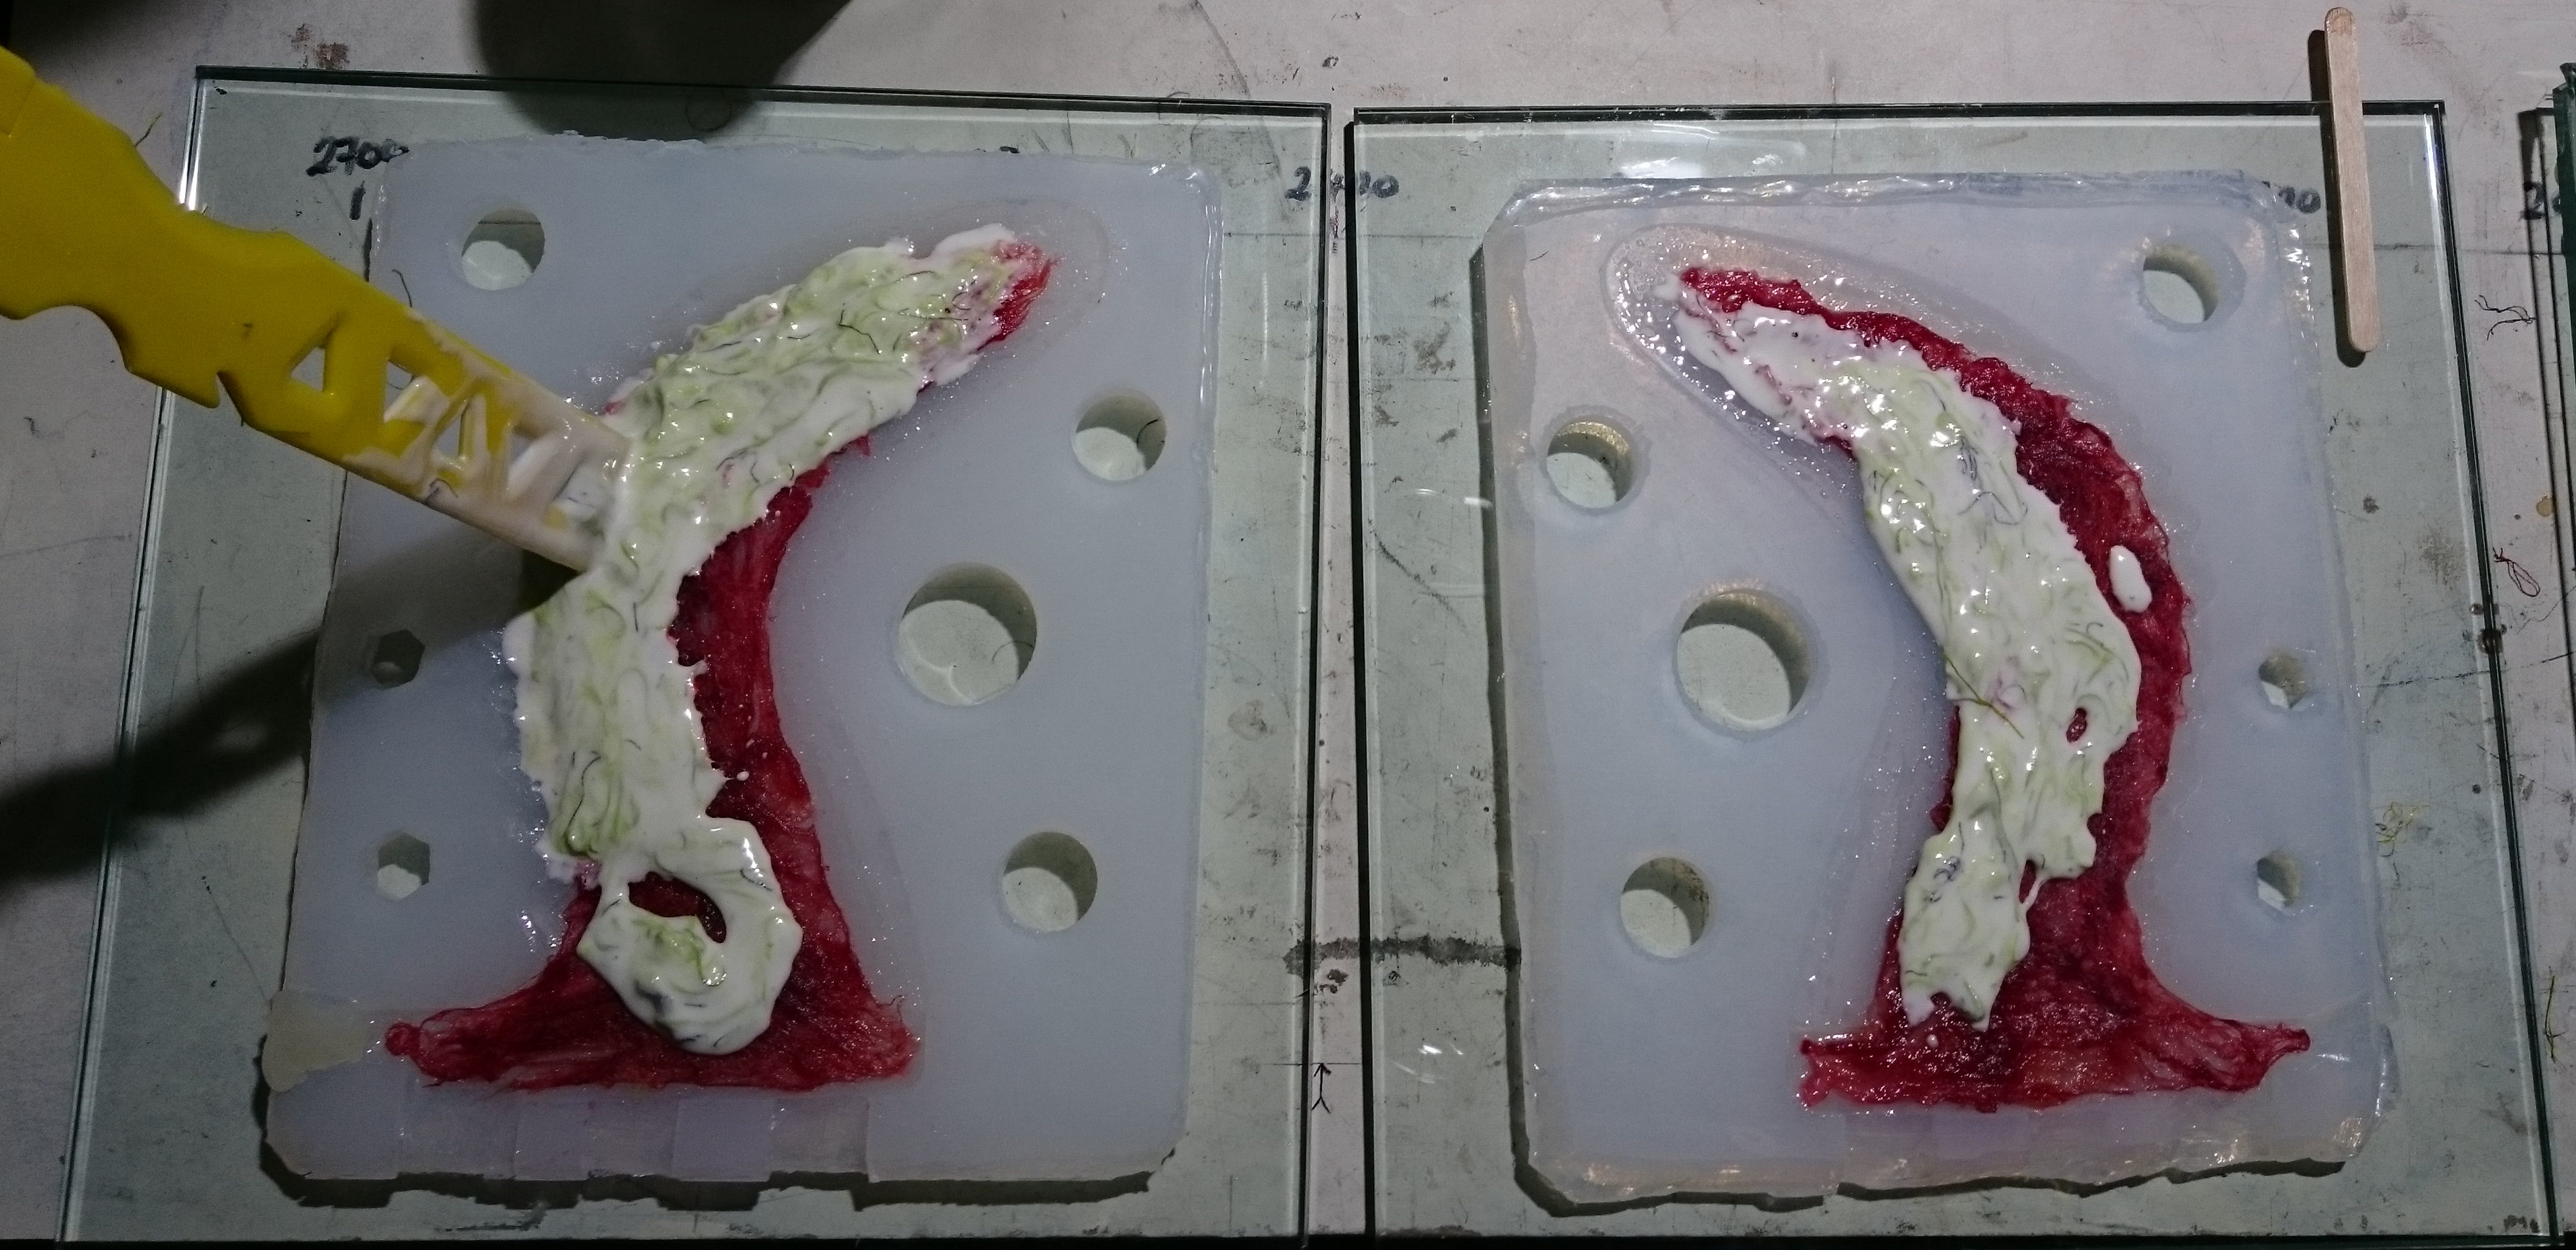
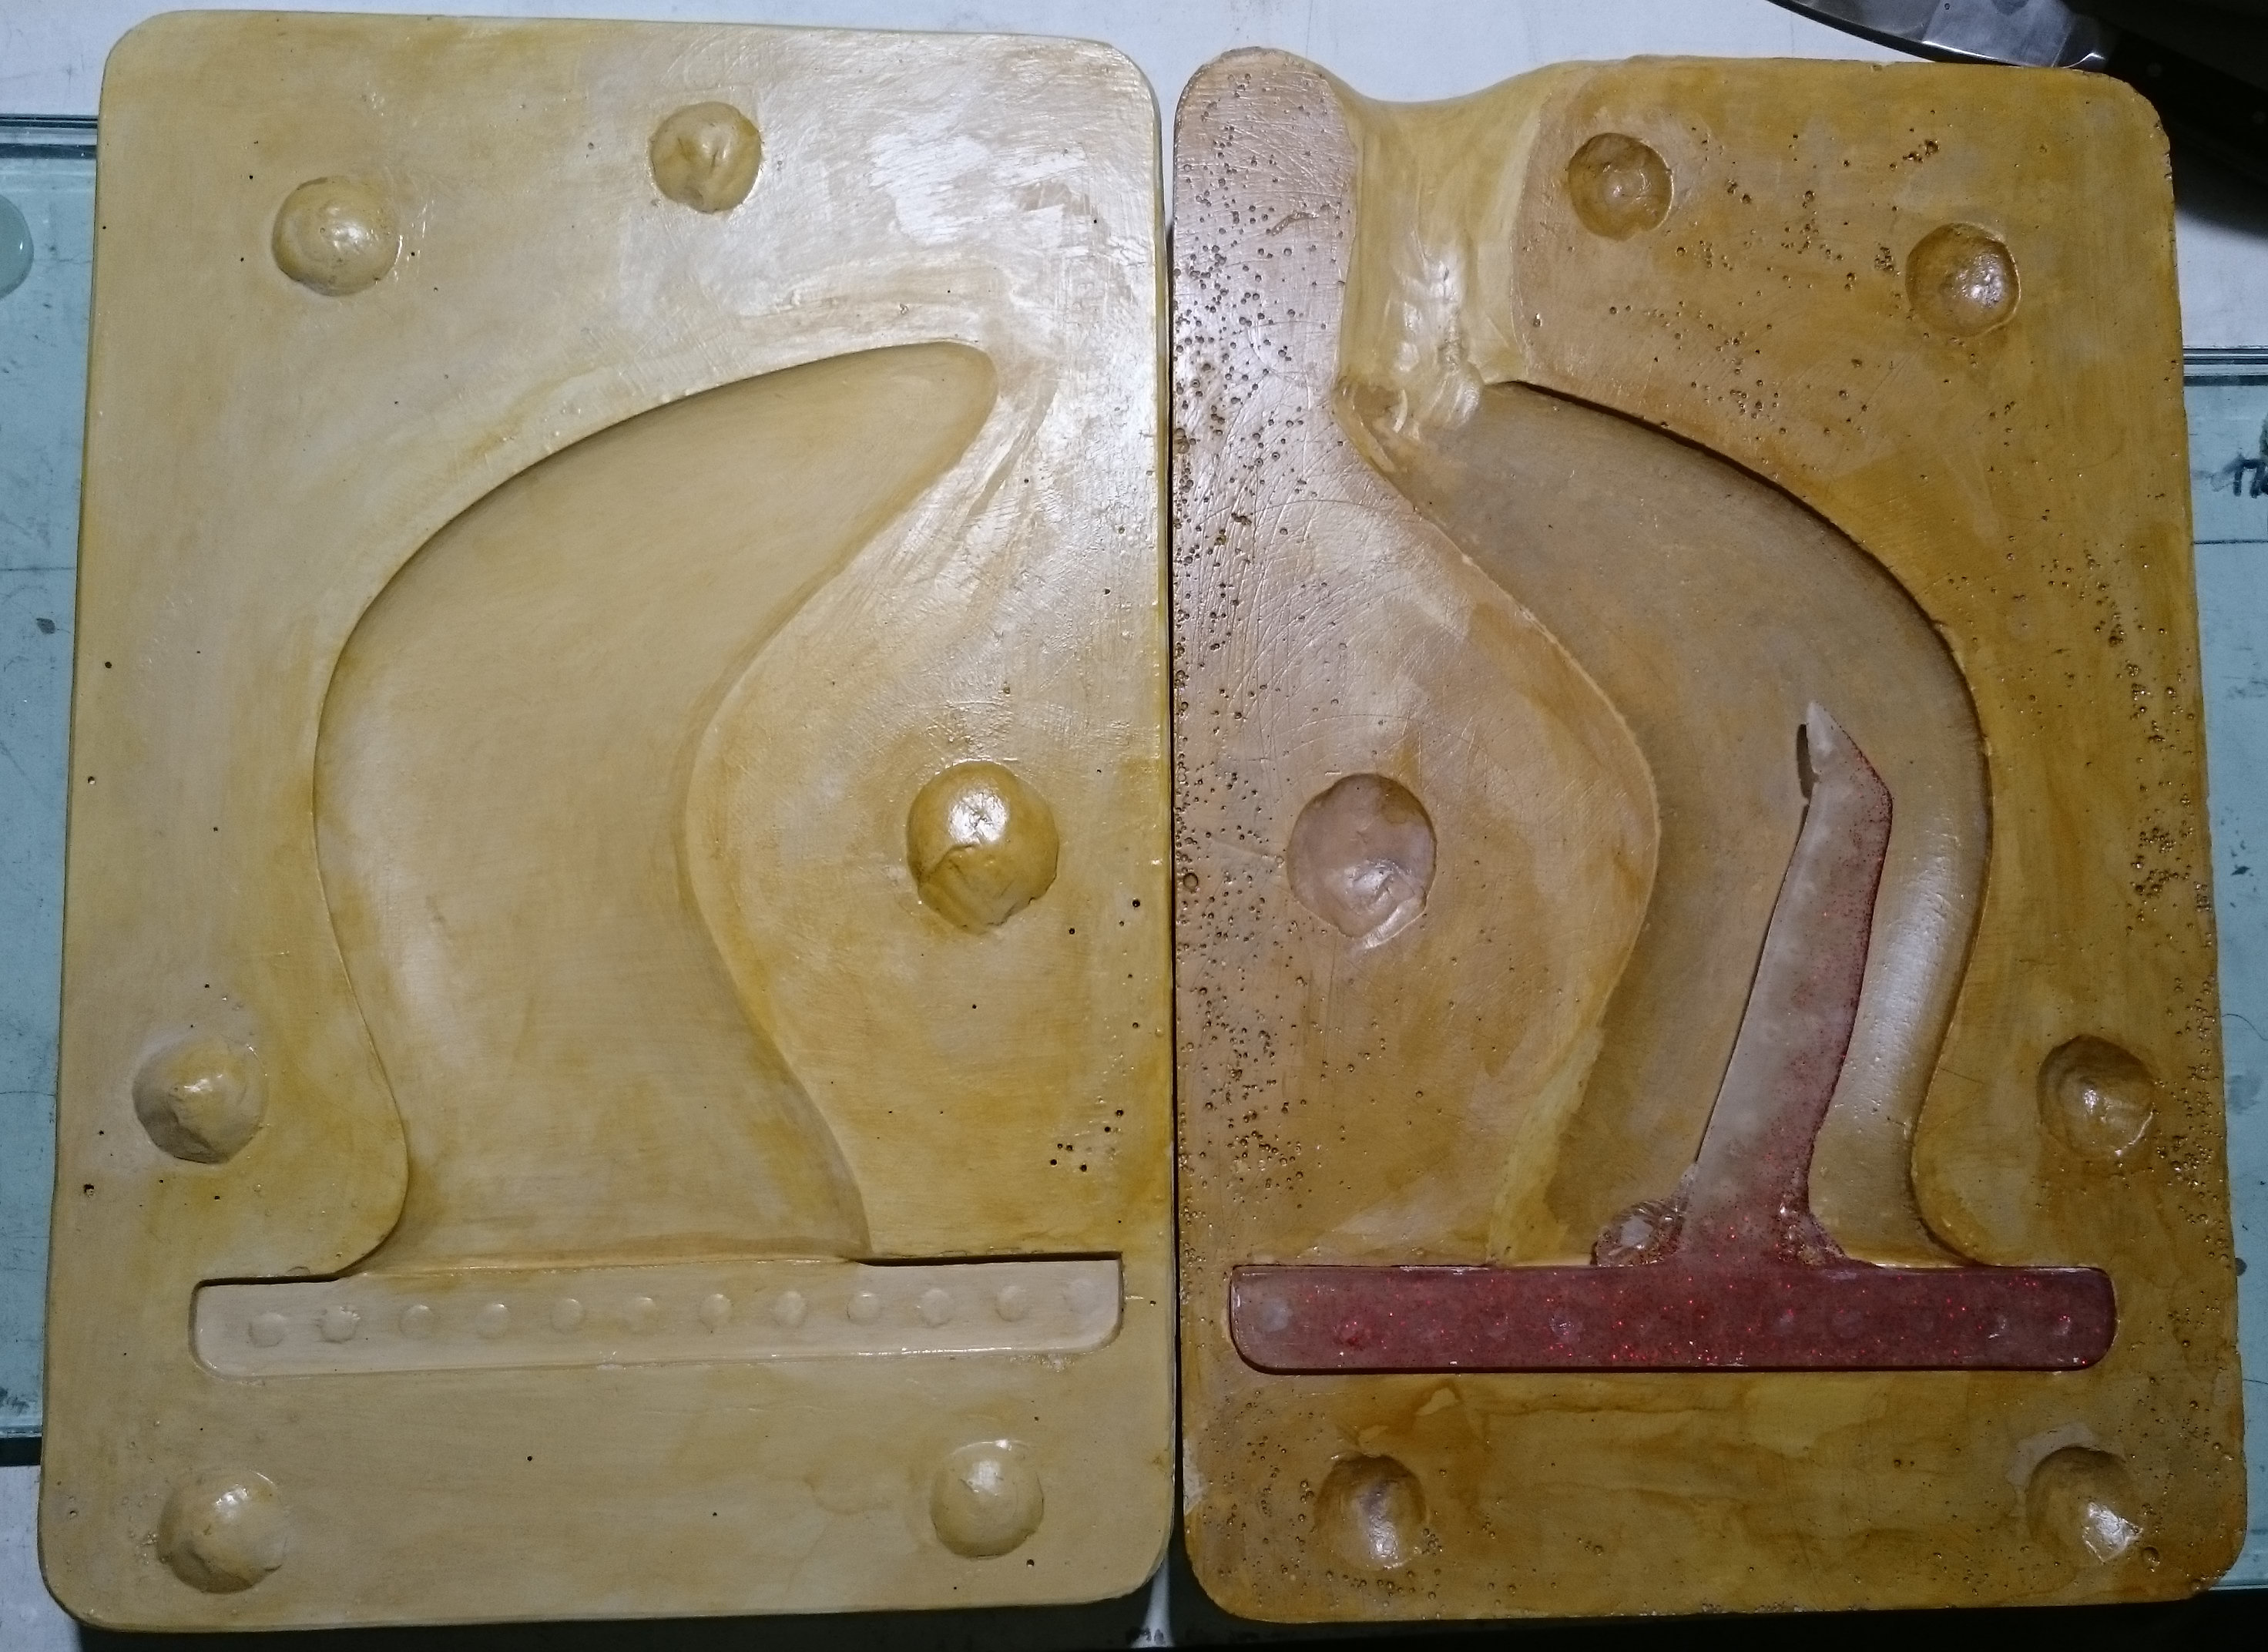
So I am using a streamlind silicone mould making approach for this fin, and it seems very easy and straight forward now that I have some experience with the materials and processes involved.

  1. Clean fin and fill defects with clay.

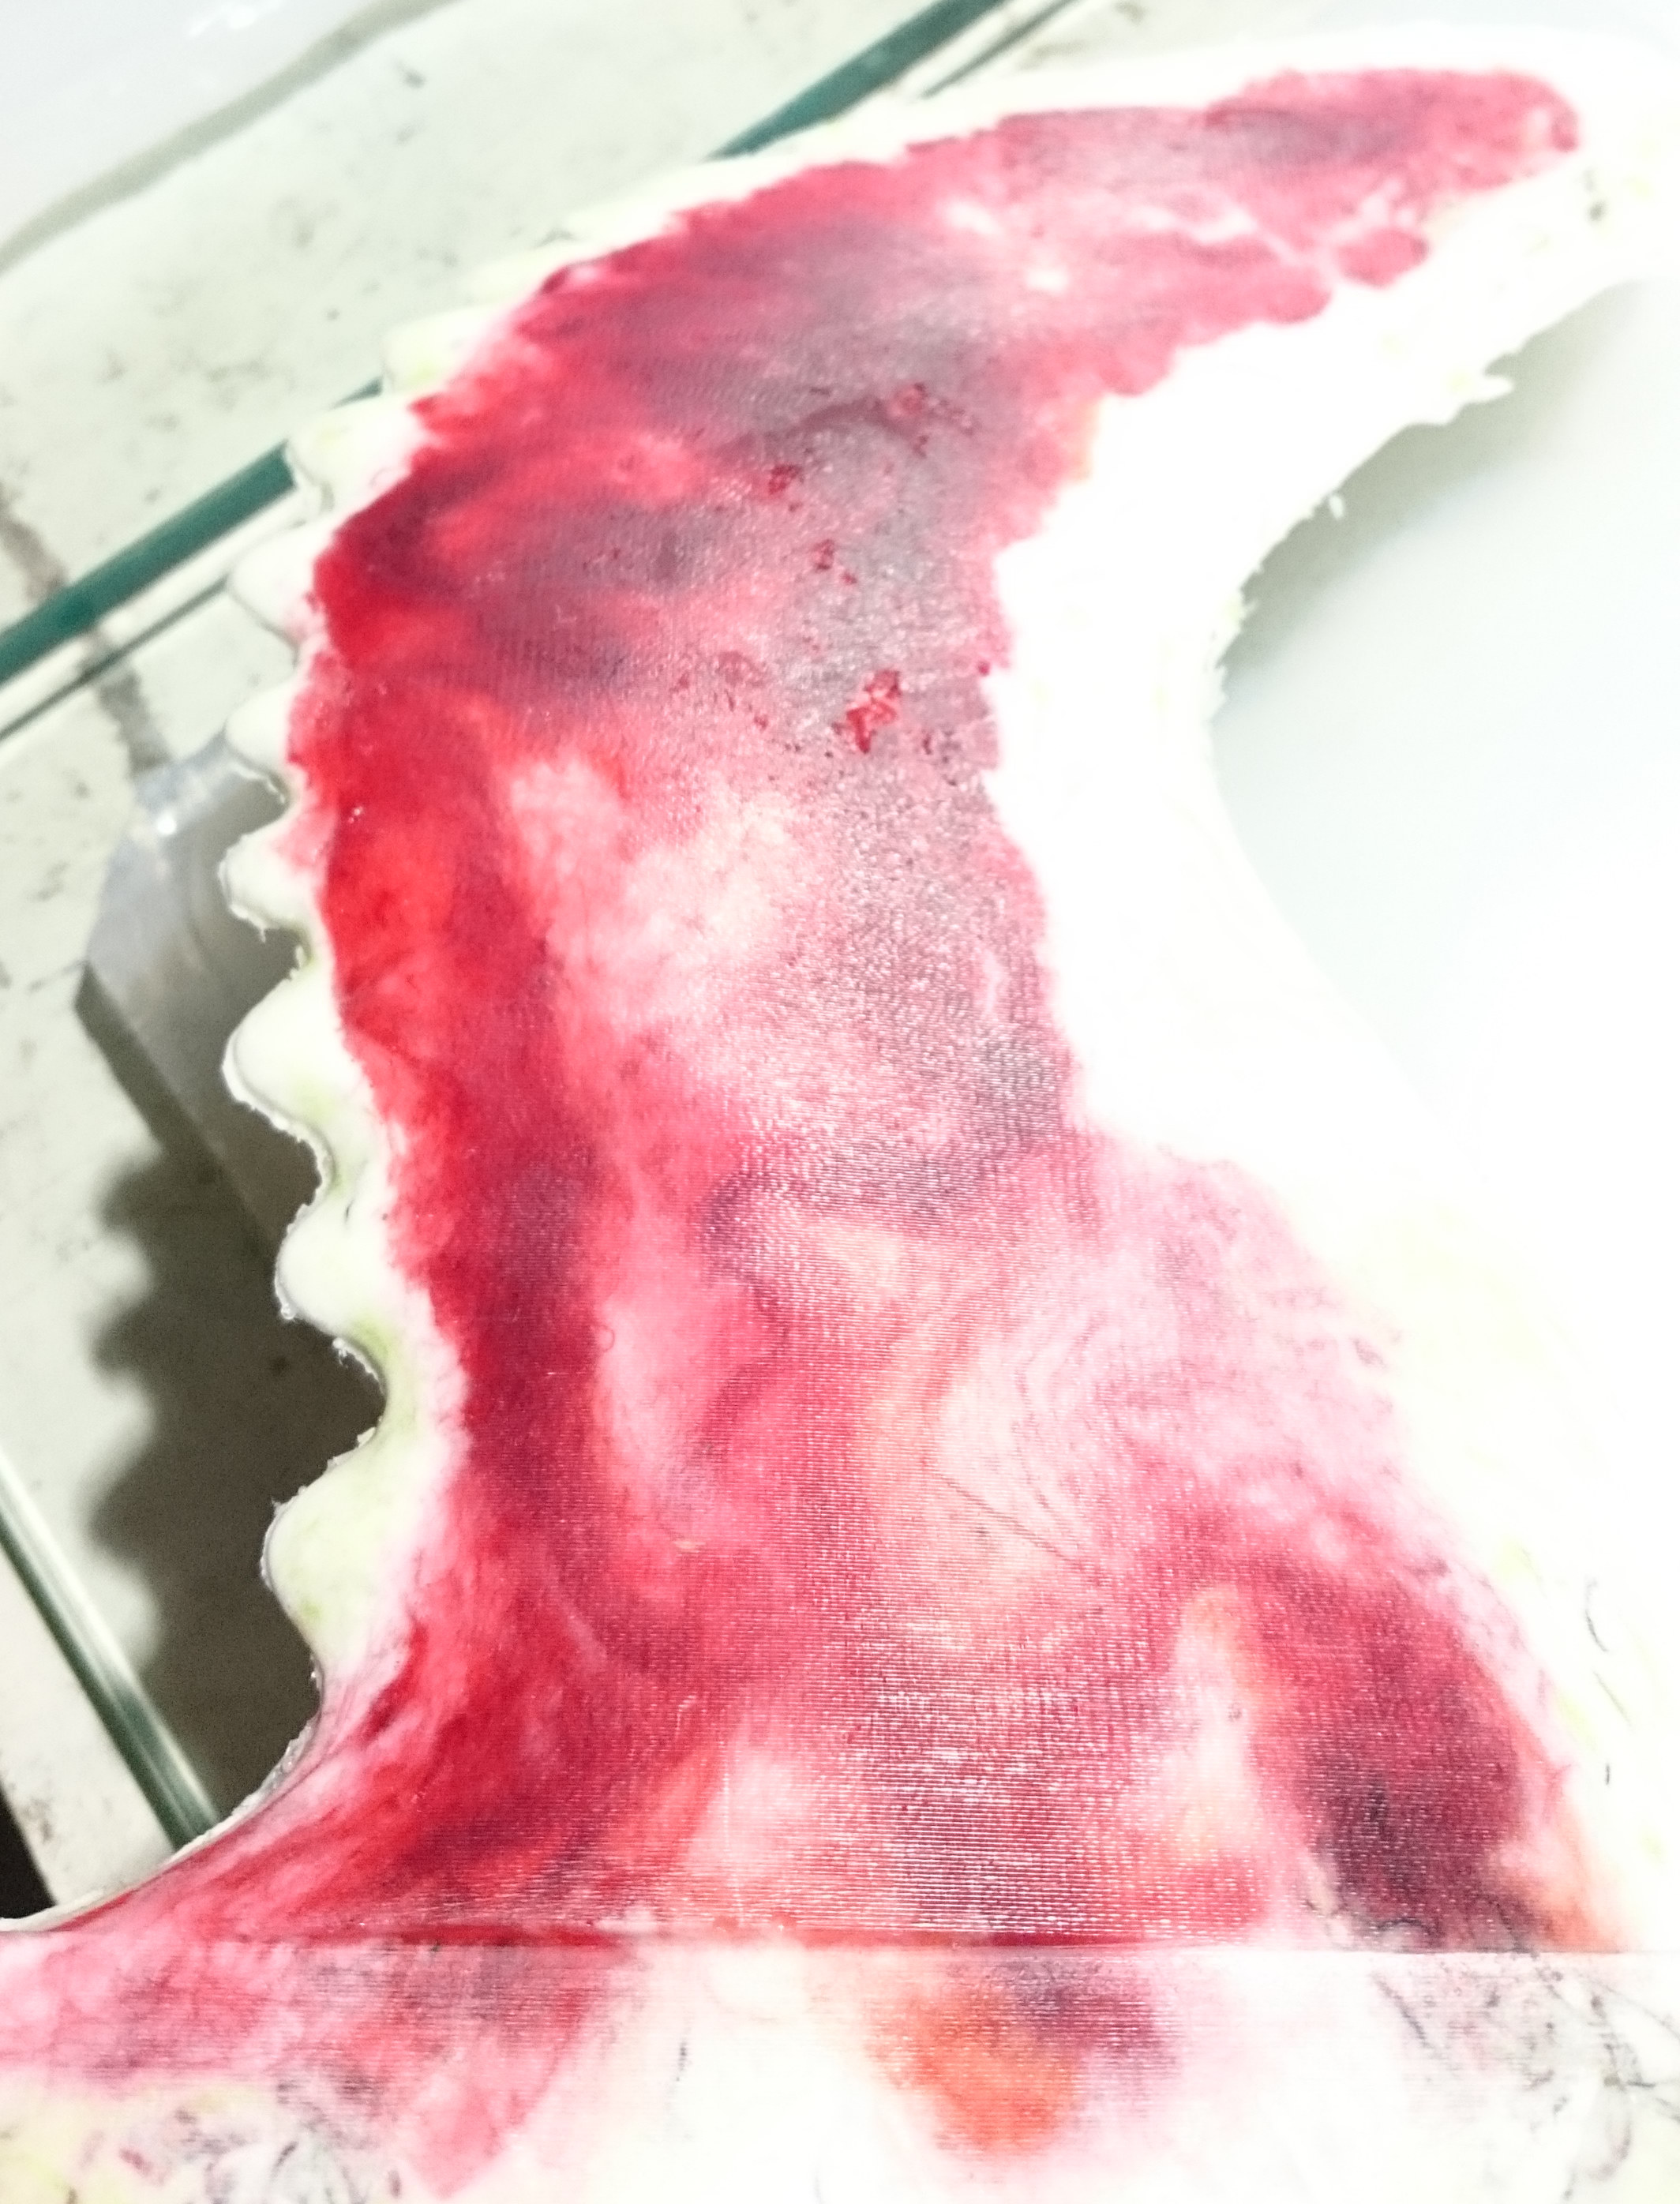
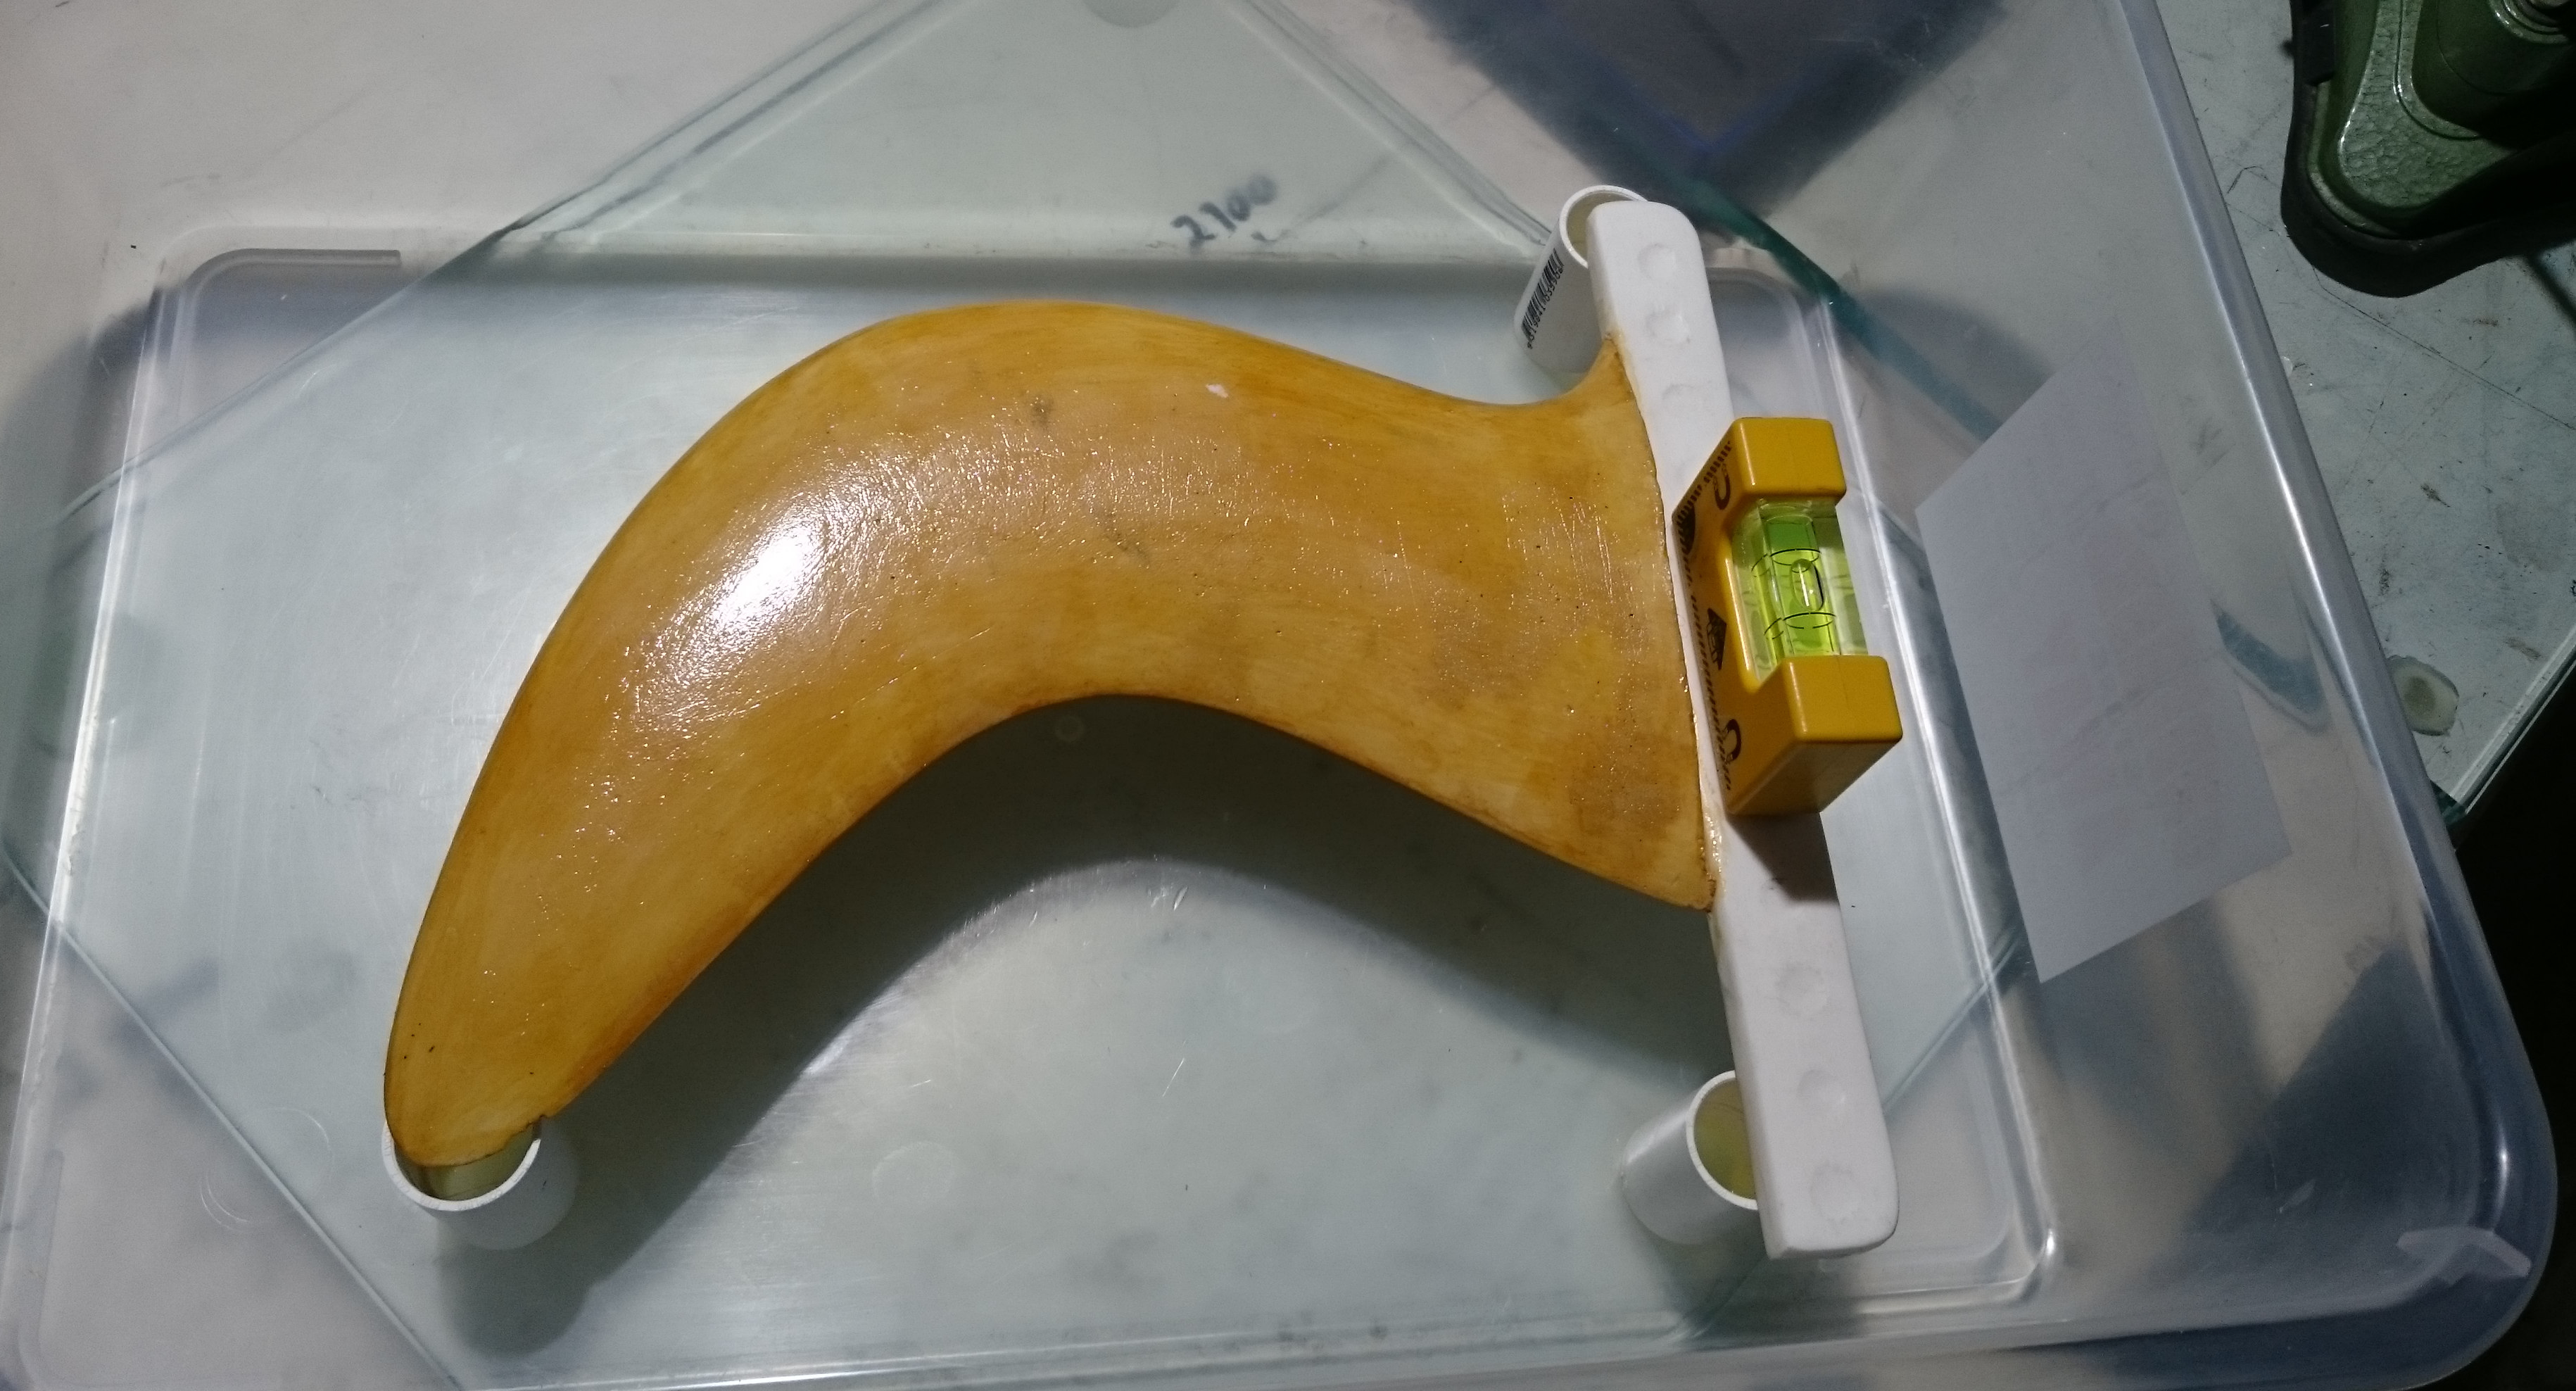
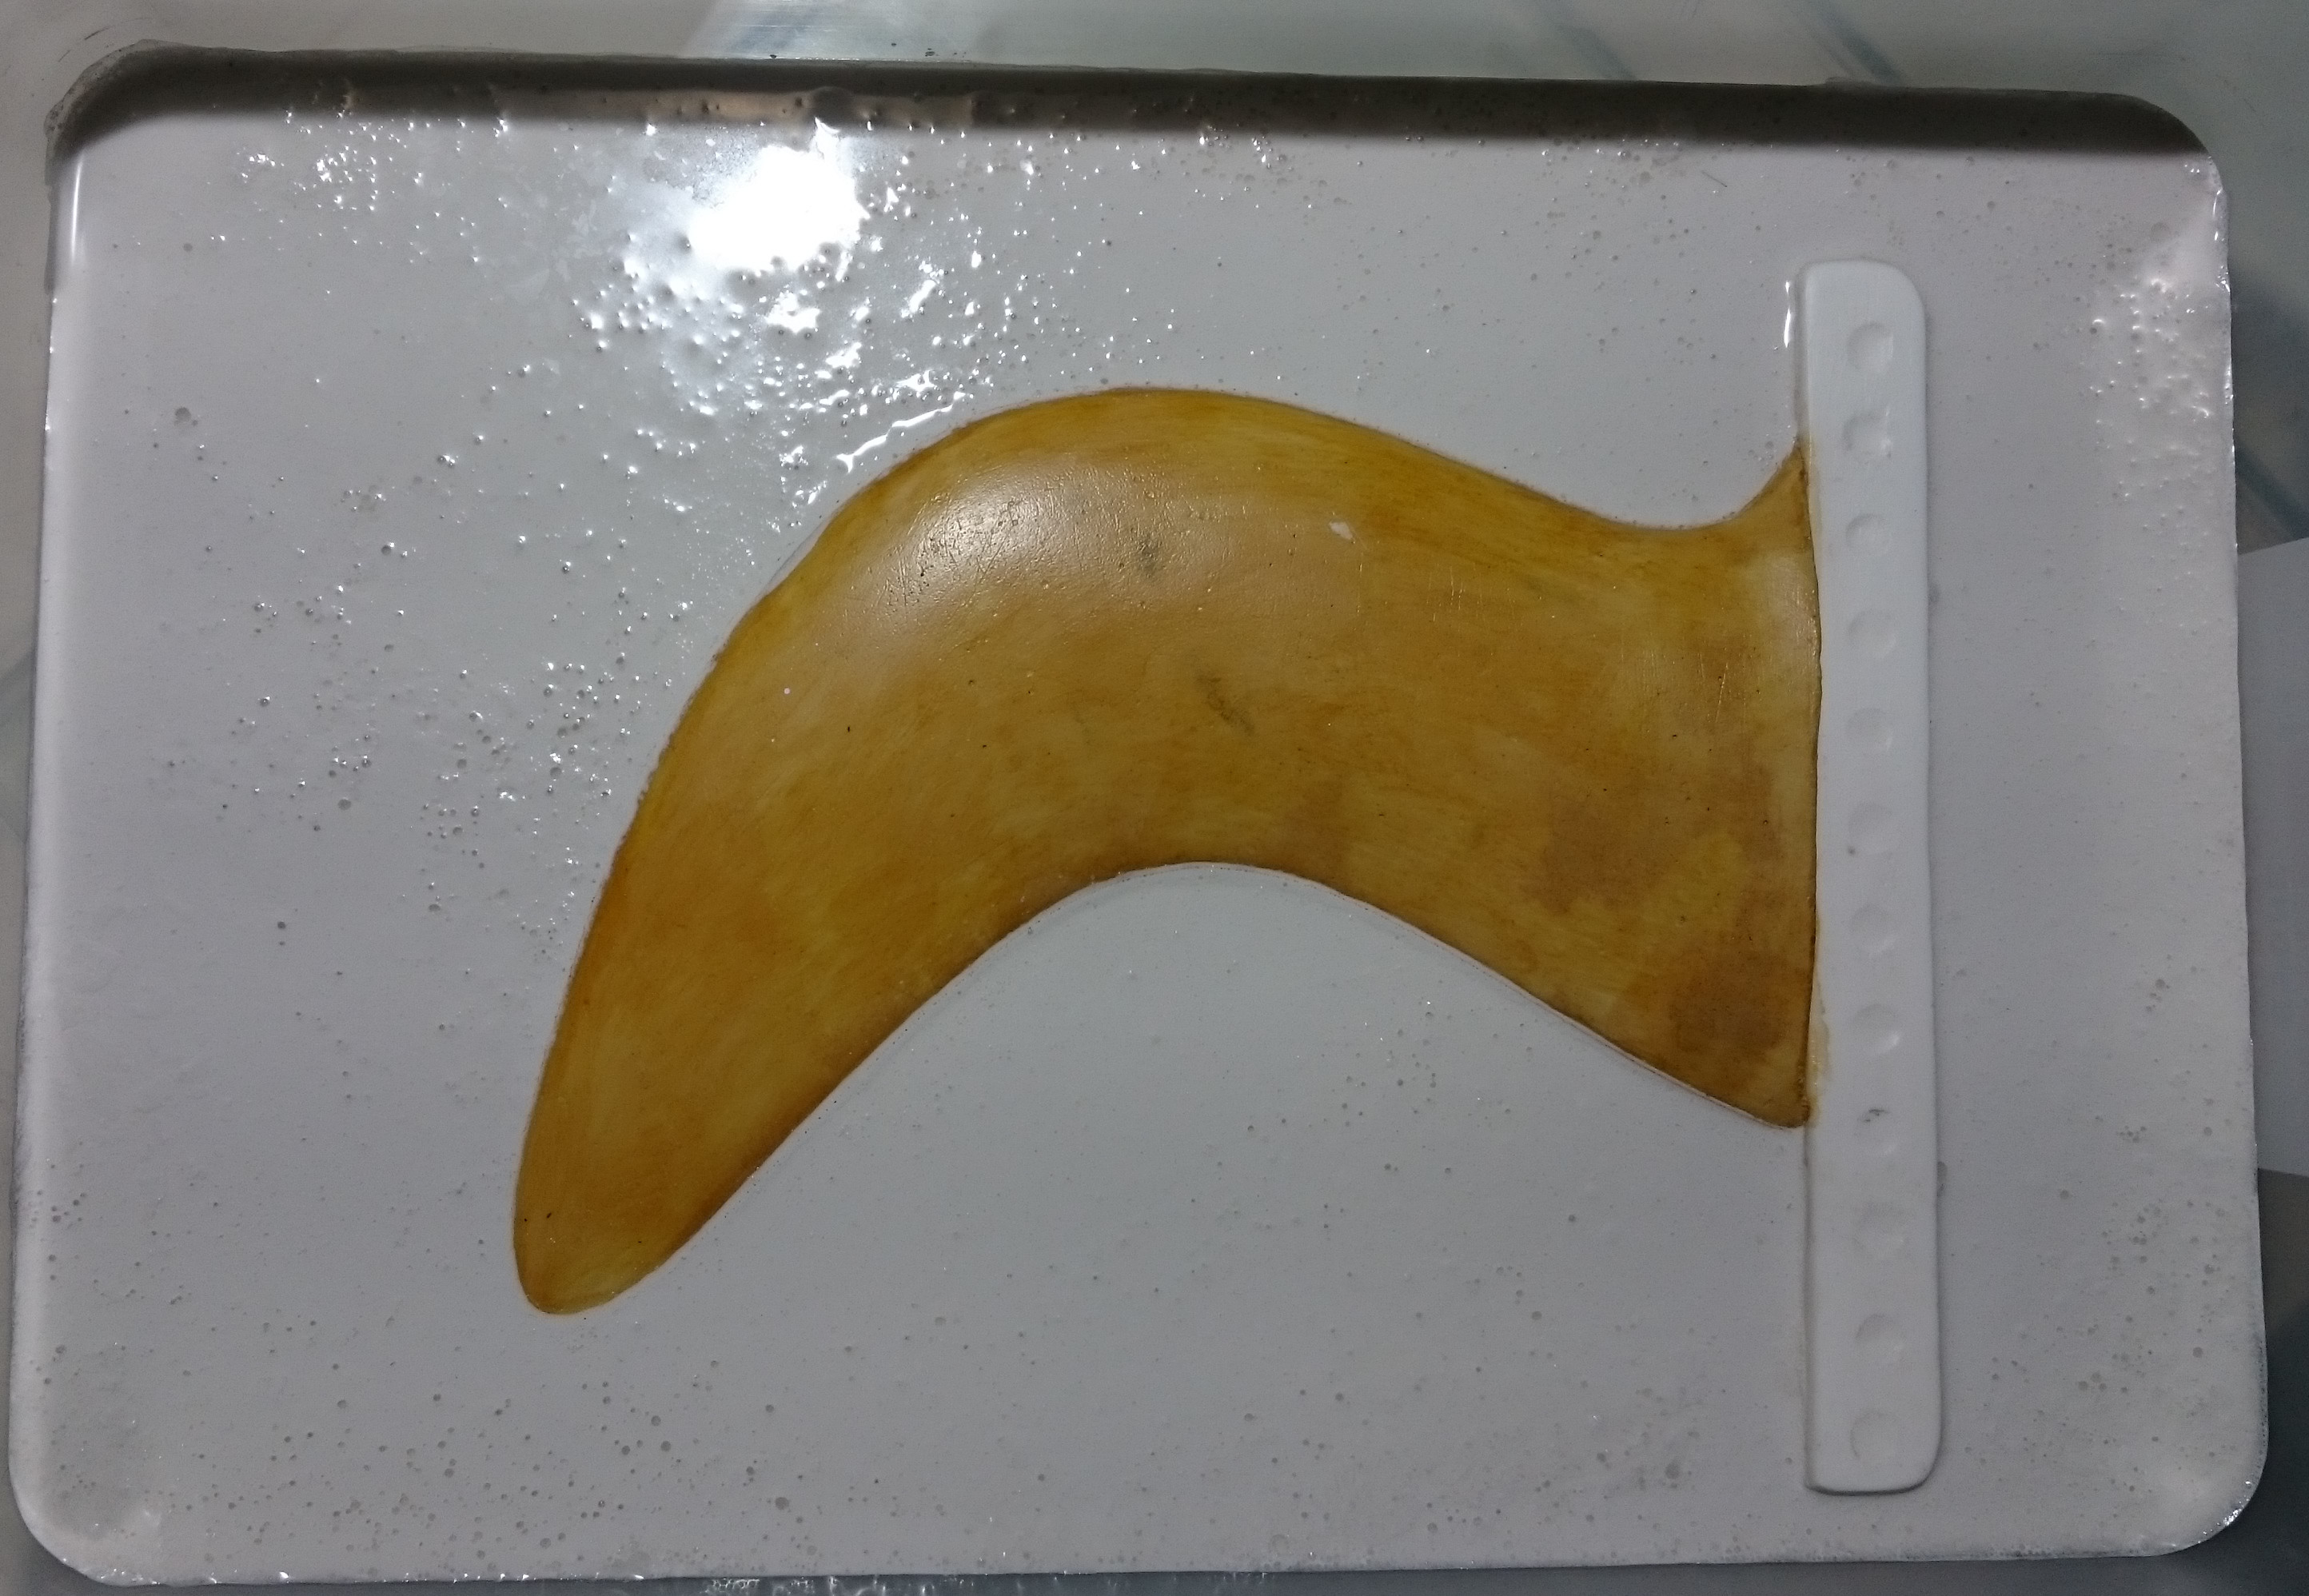
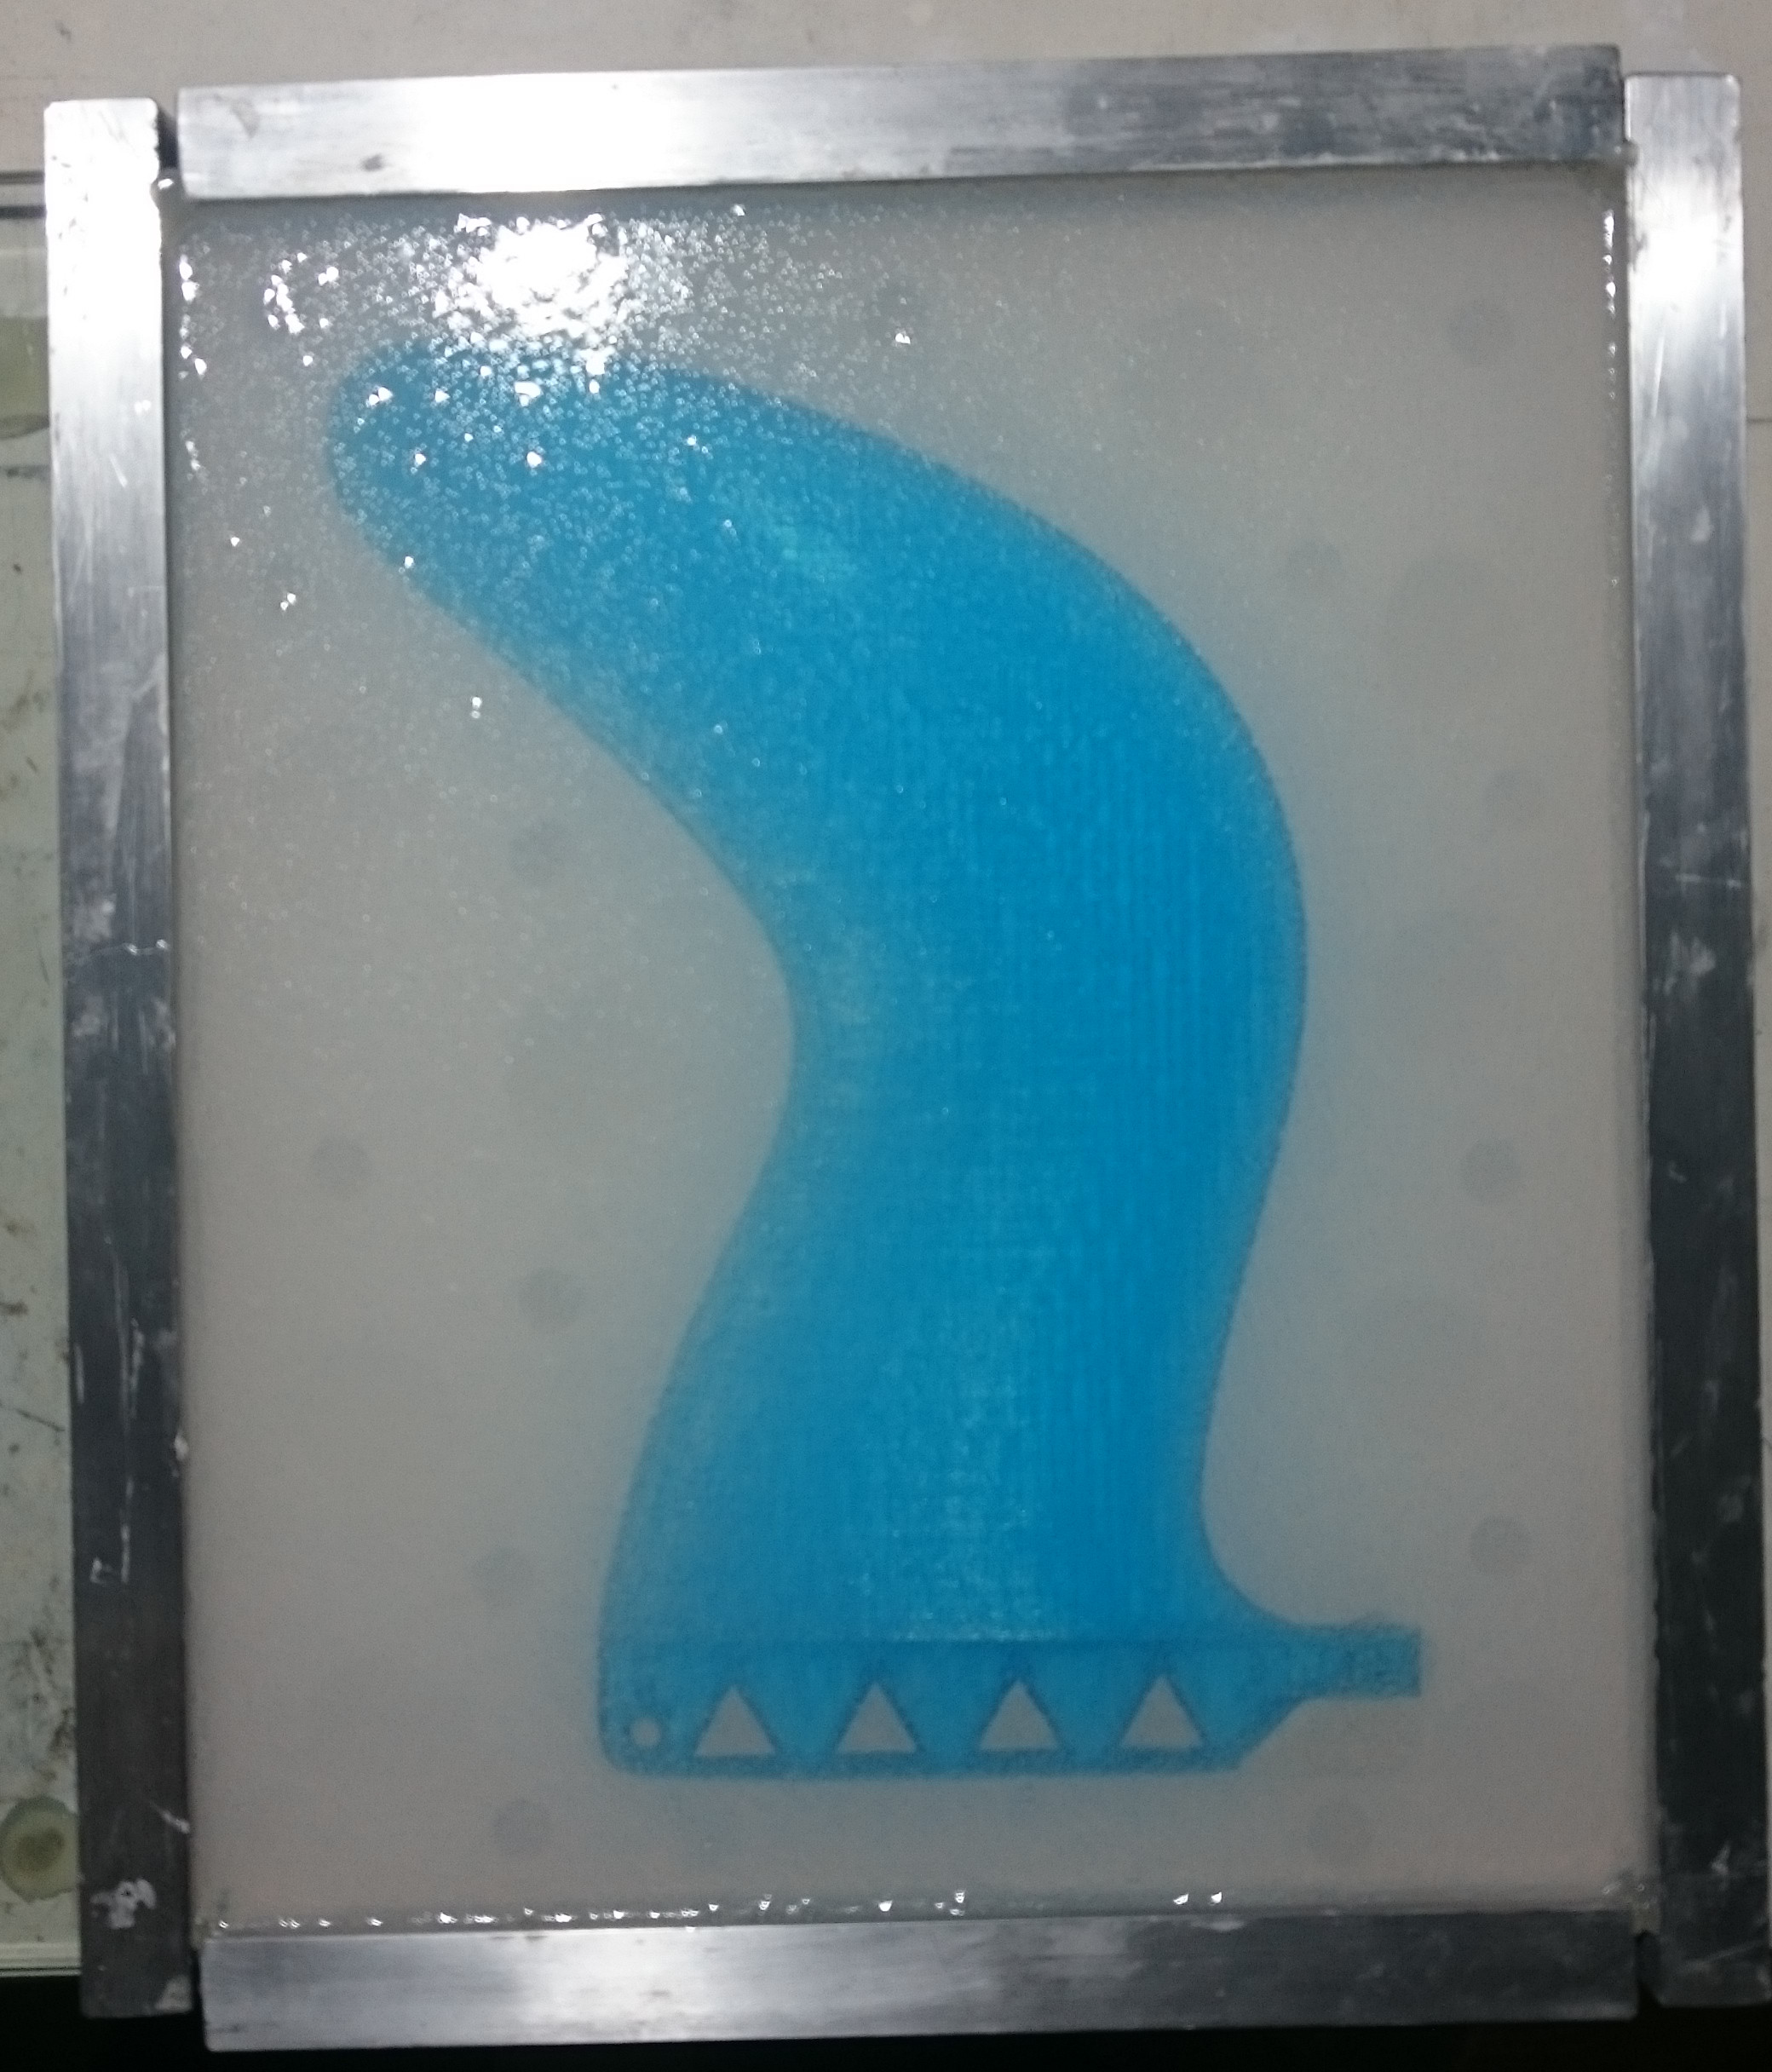
  2. Sink it to half-line in Pop

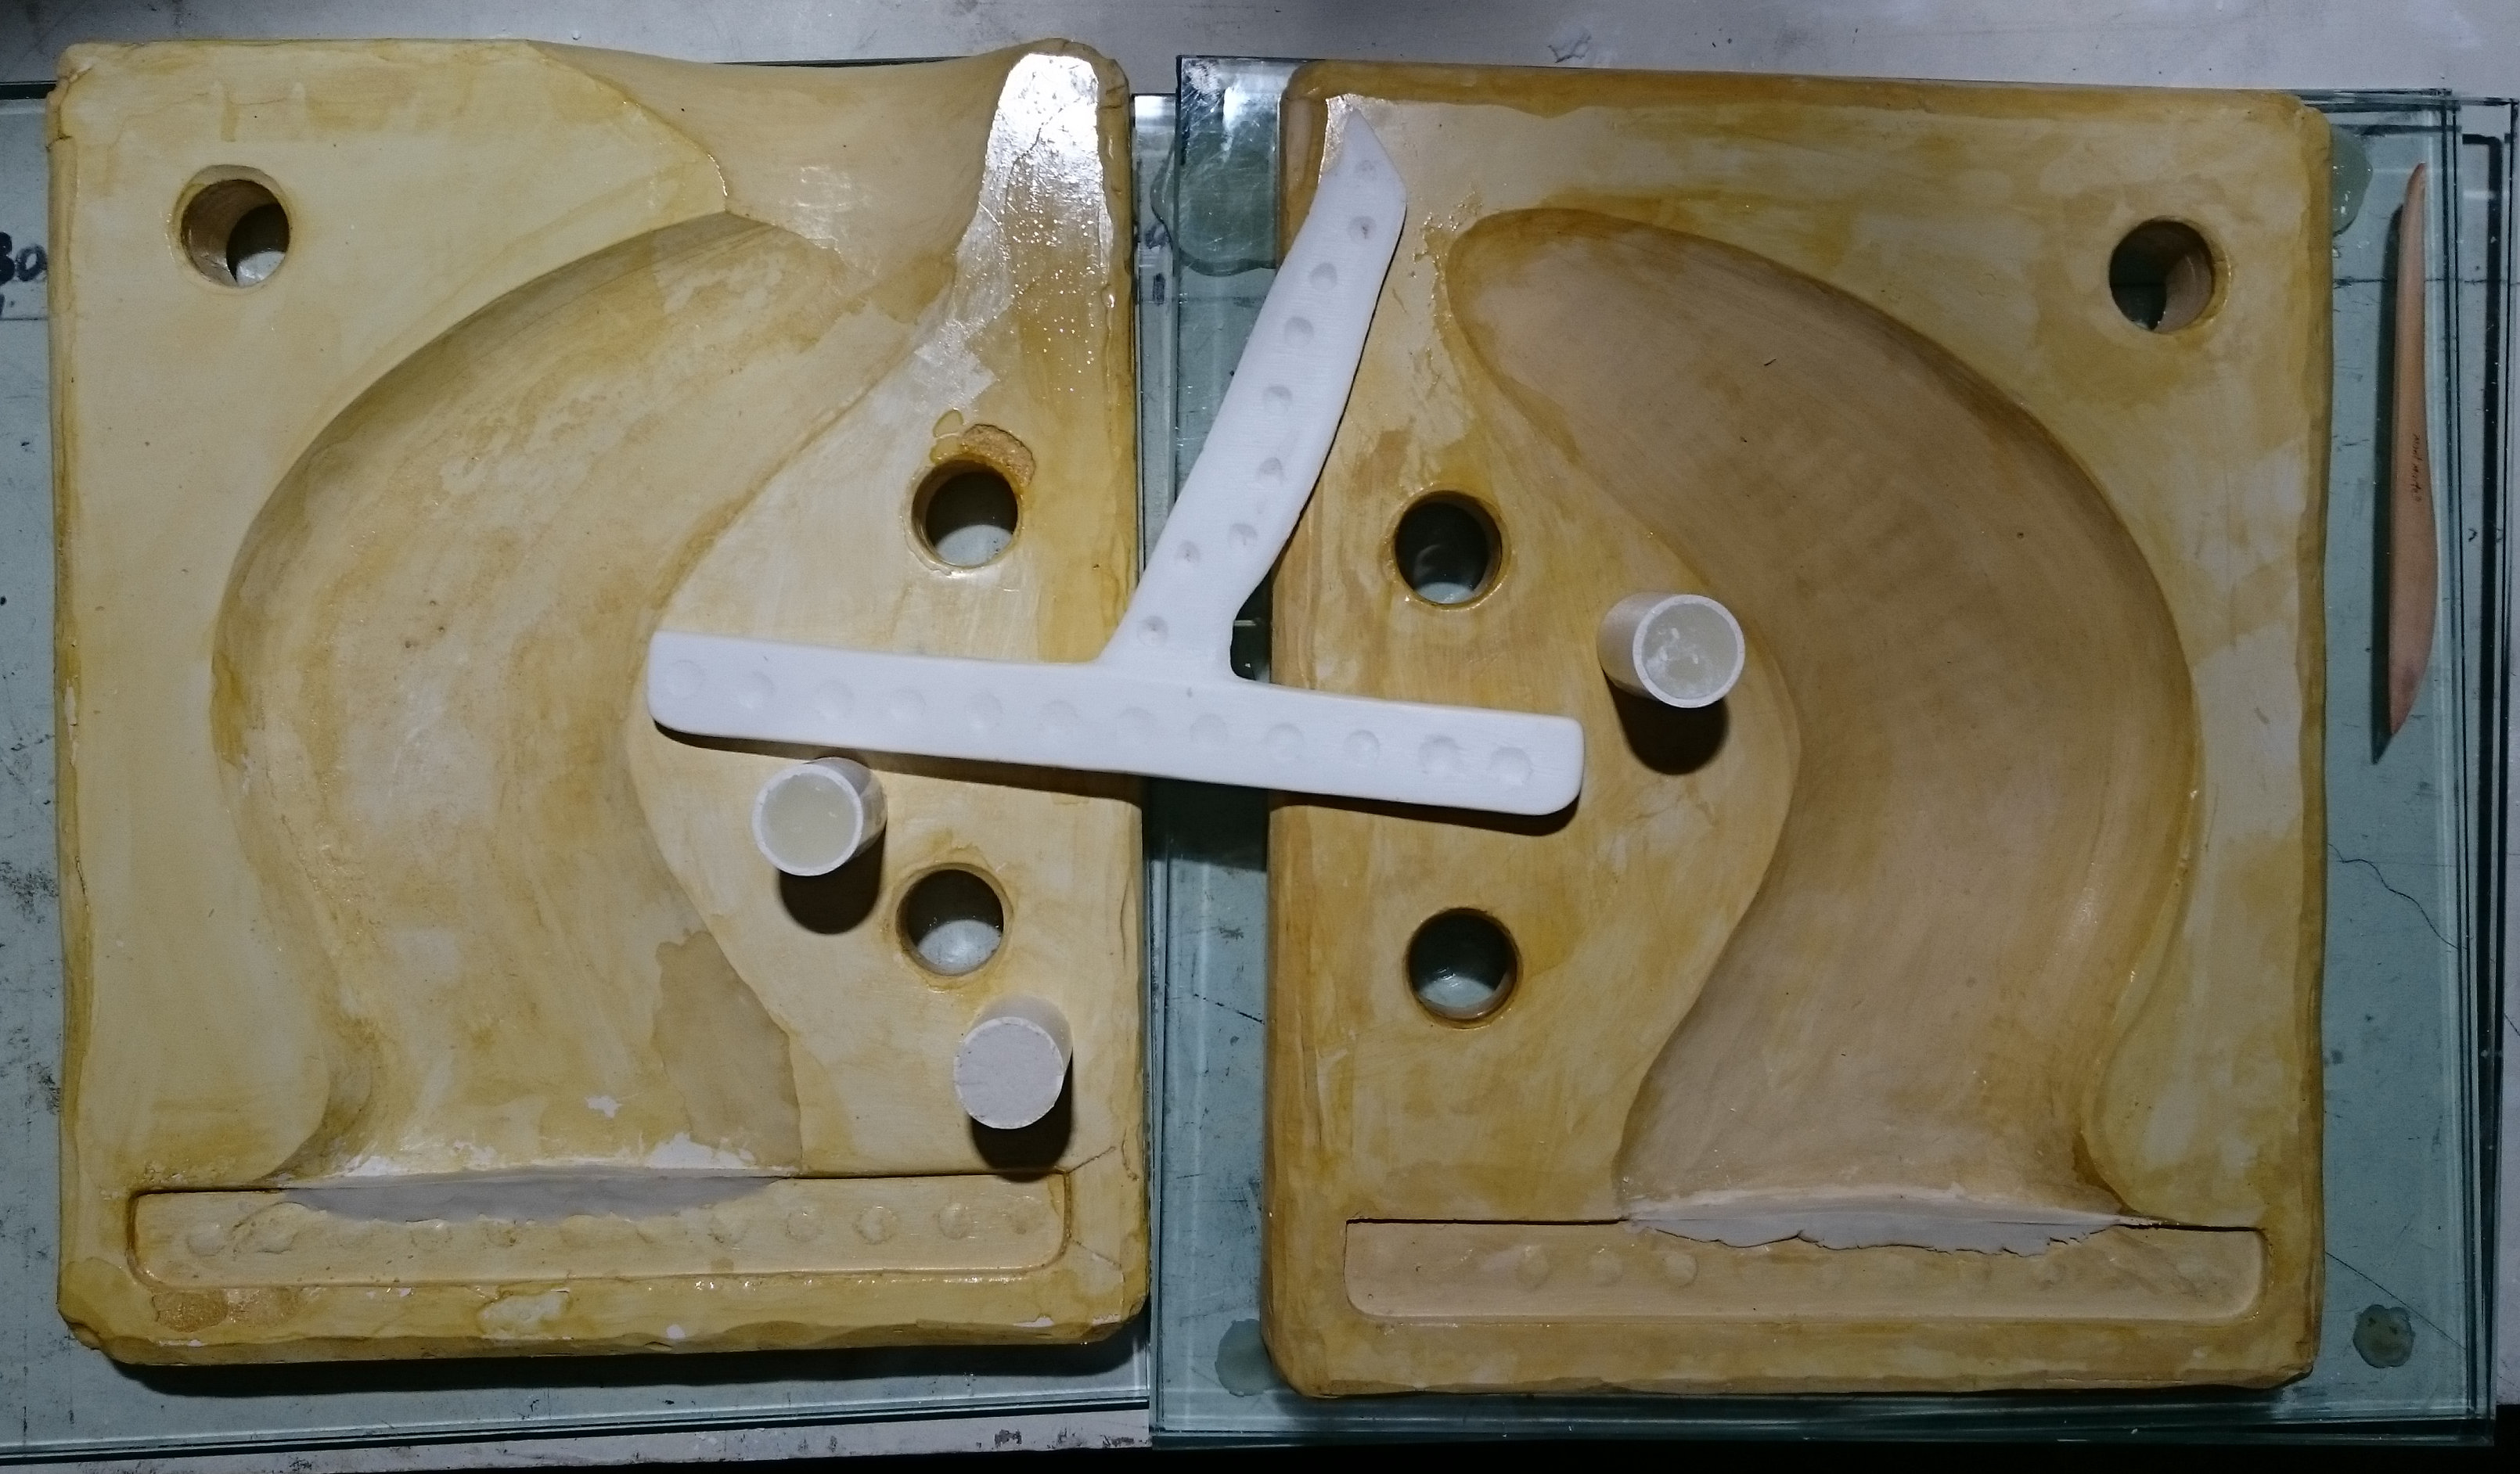
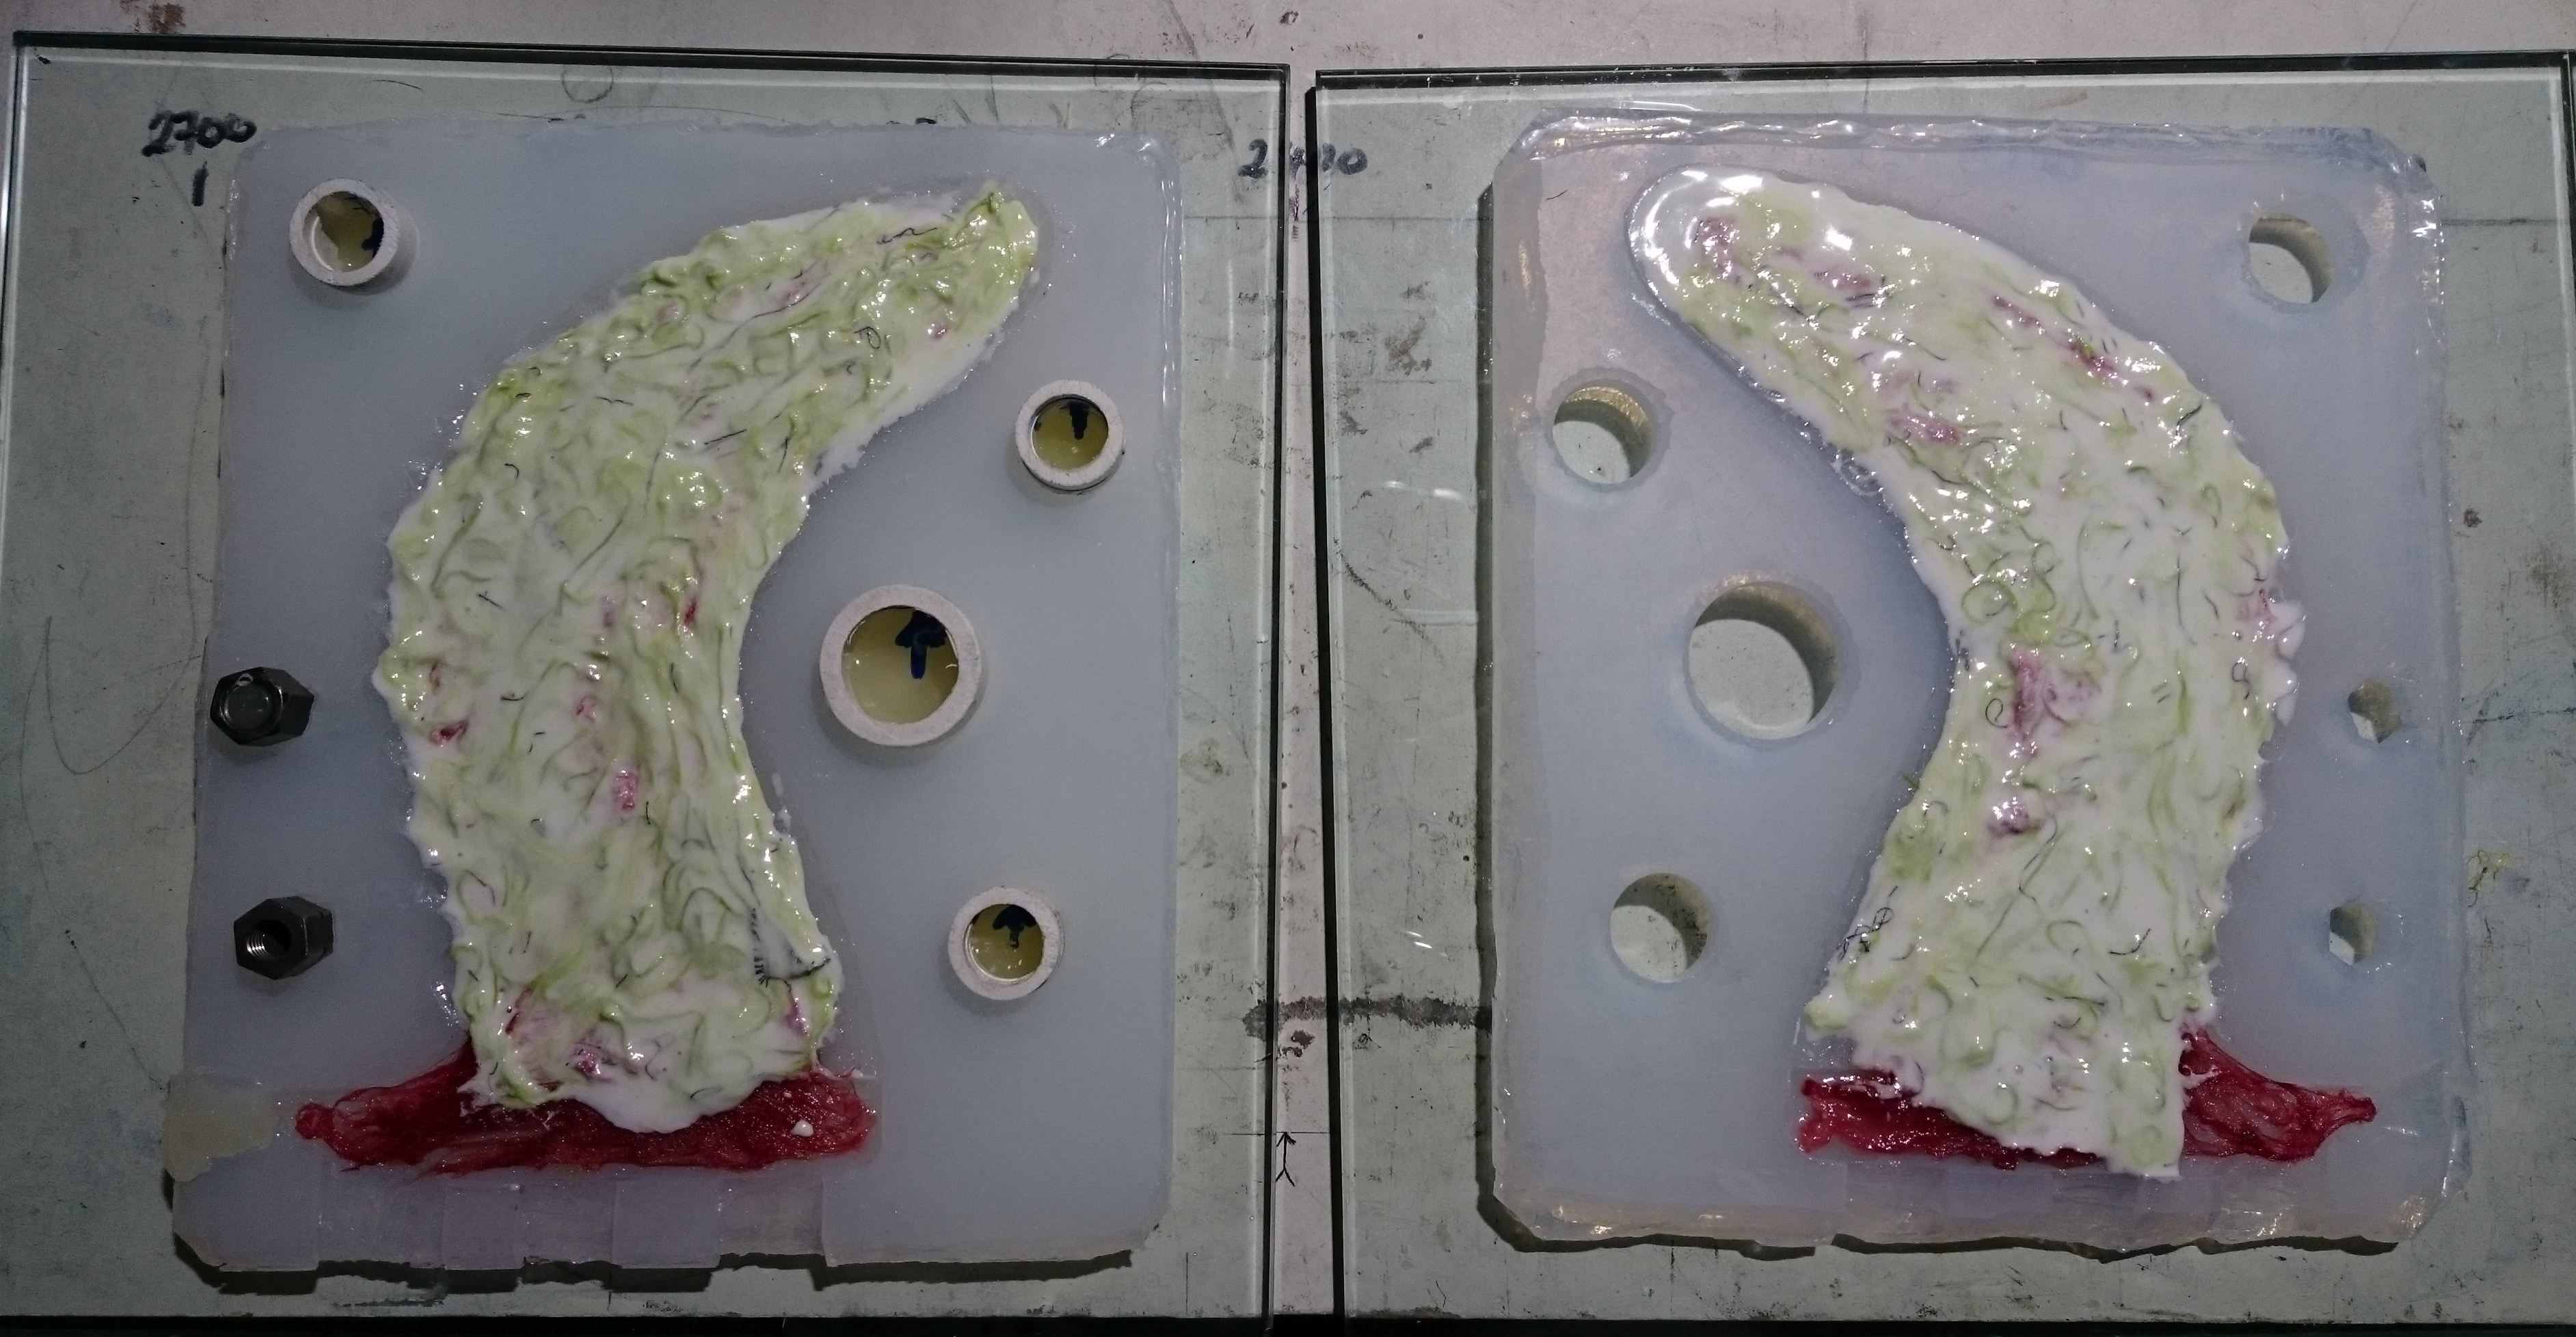
  3. Clean surface of Pop while still soft (within 1-2 hrs of pouring it) with tissues, scraper, vacuum cleaner, various tools and attention to detail. Cut multiple “keys” into the Pop surface. All this without dislodging the fin from the plaster. I’m still aiming for a level surface between split mould halves.

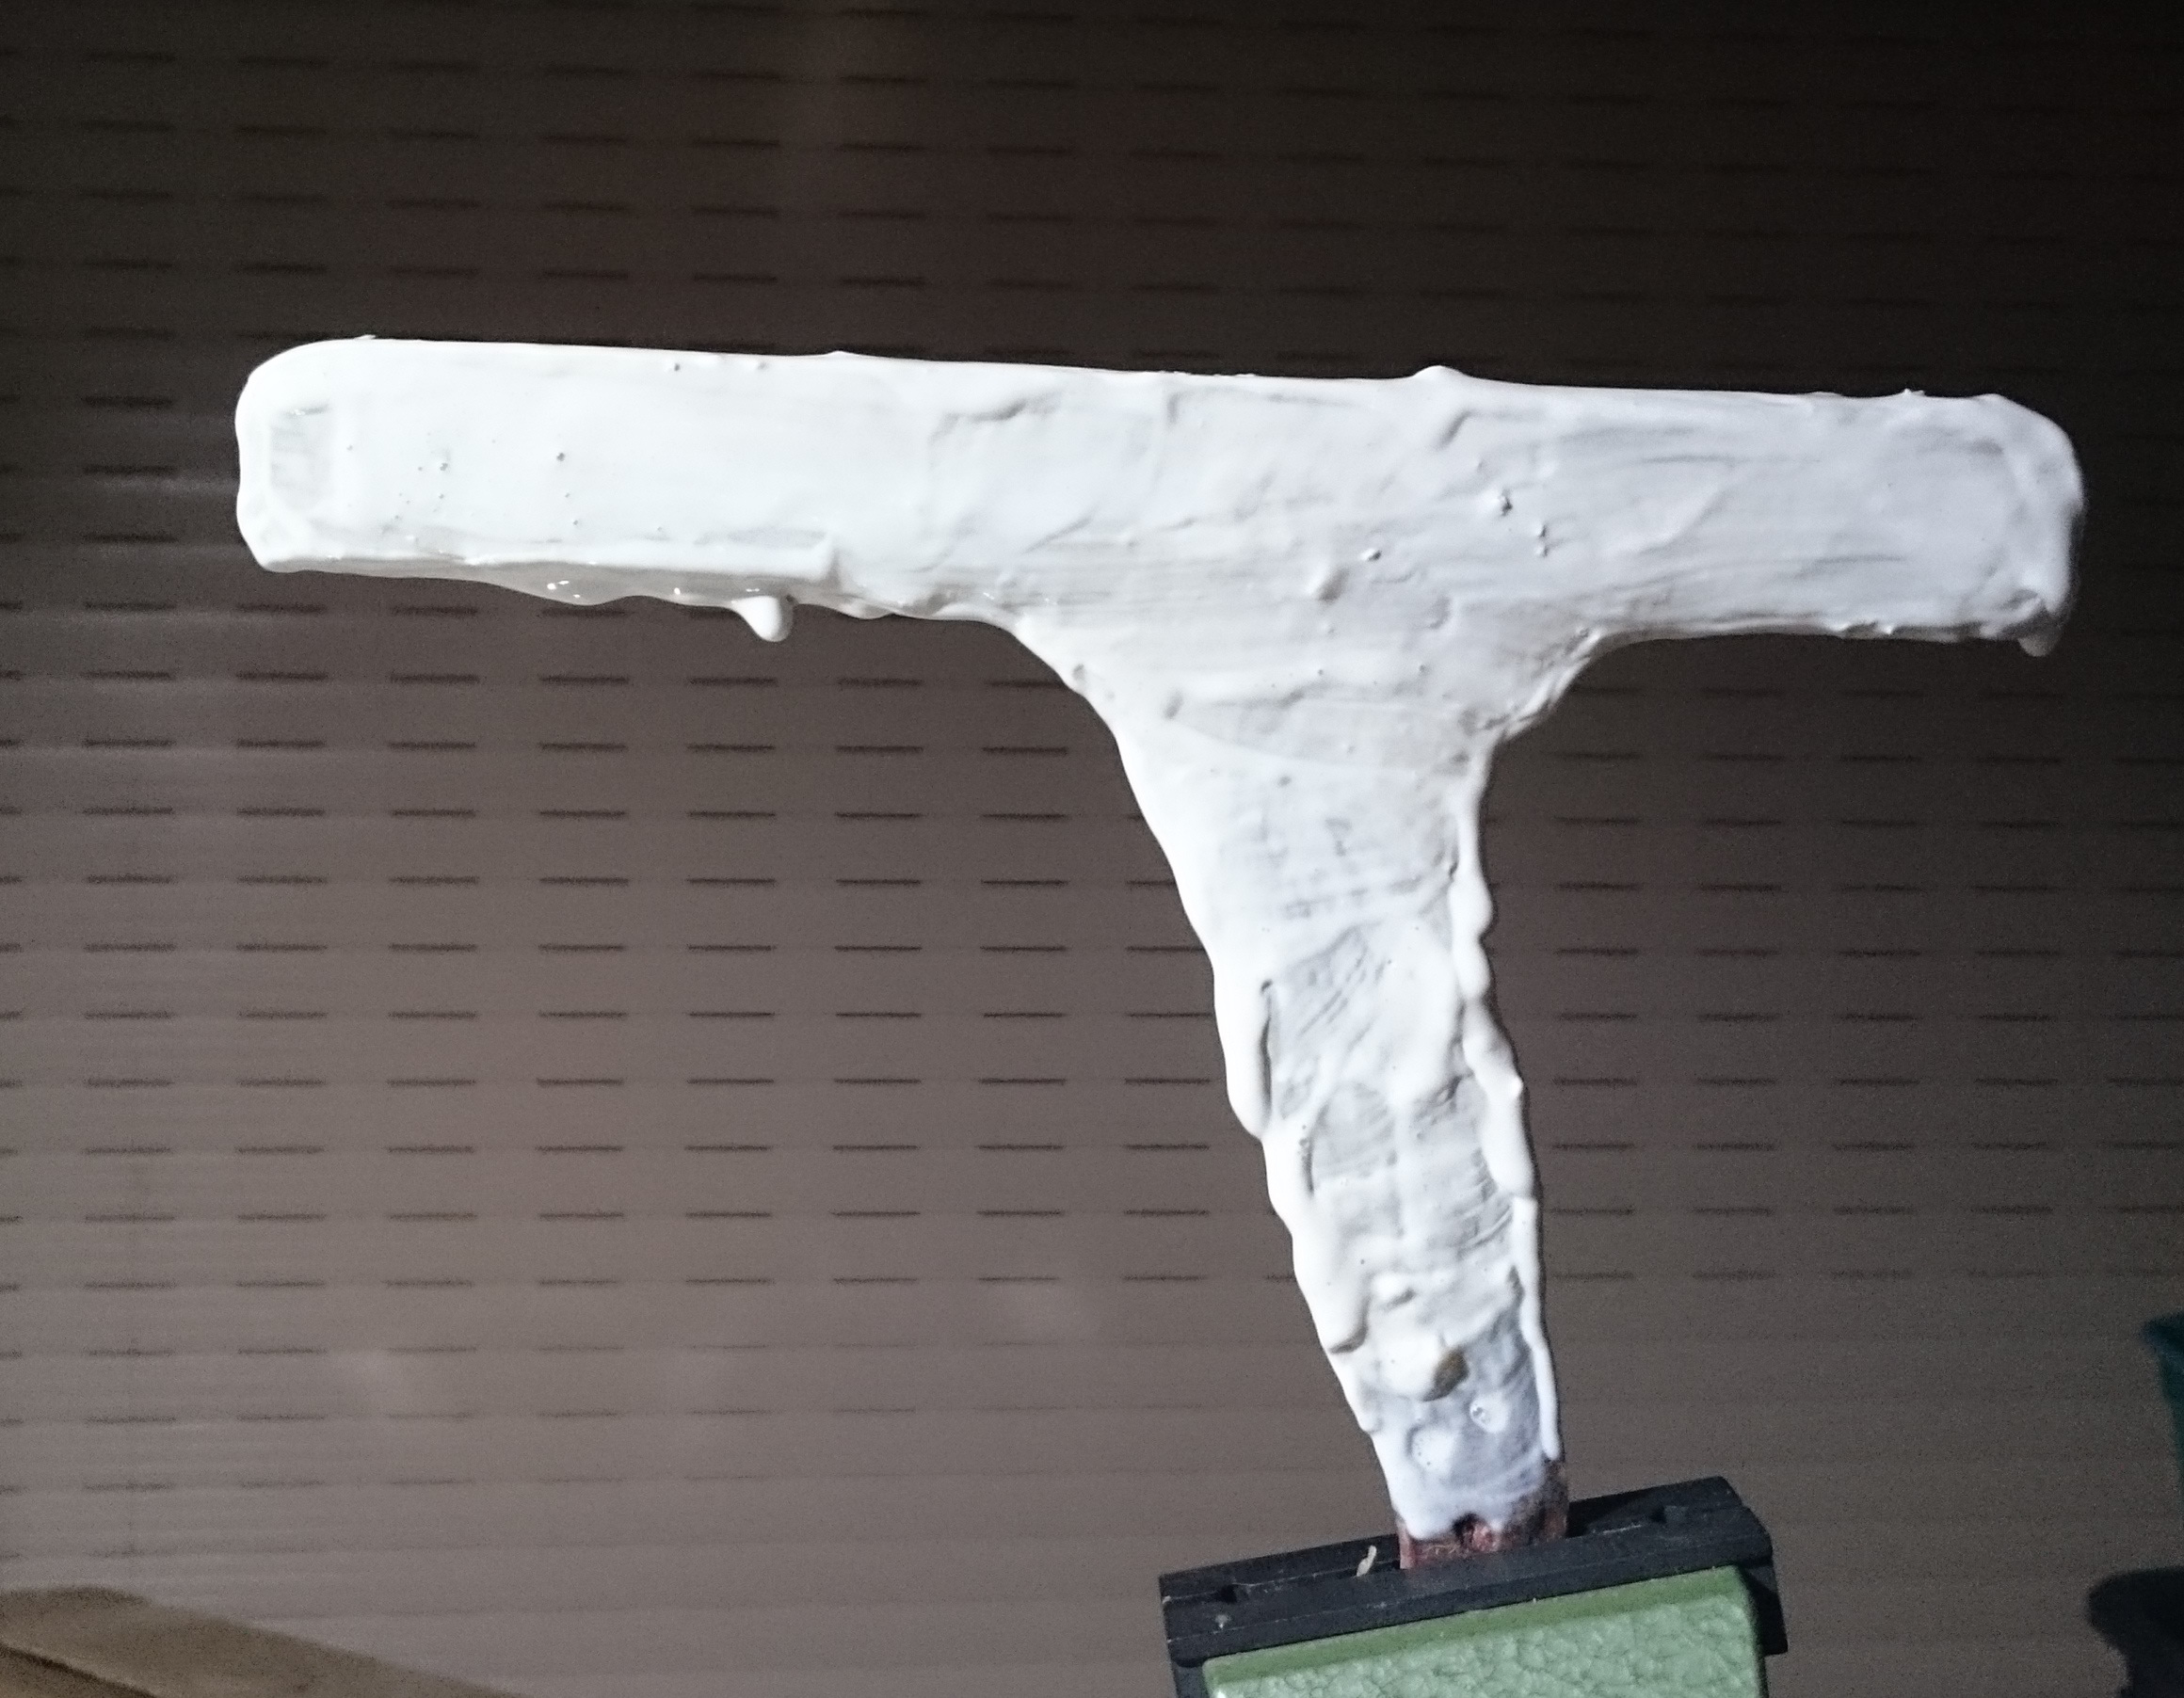
  4. Apply mould release.

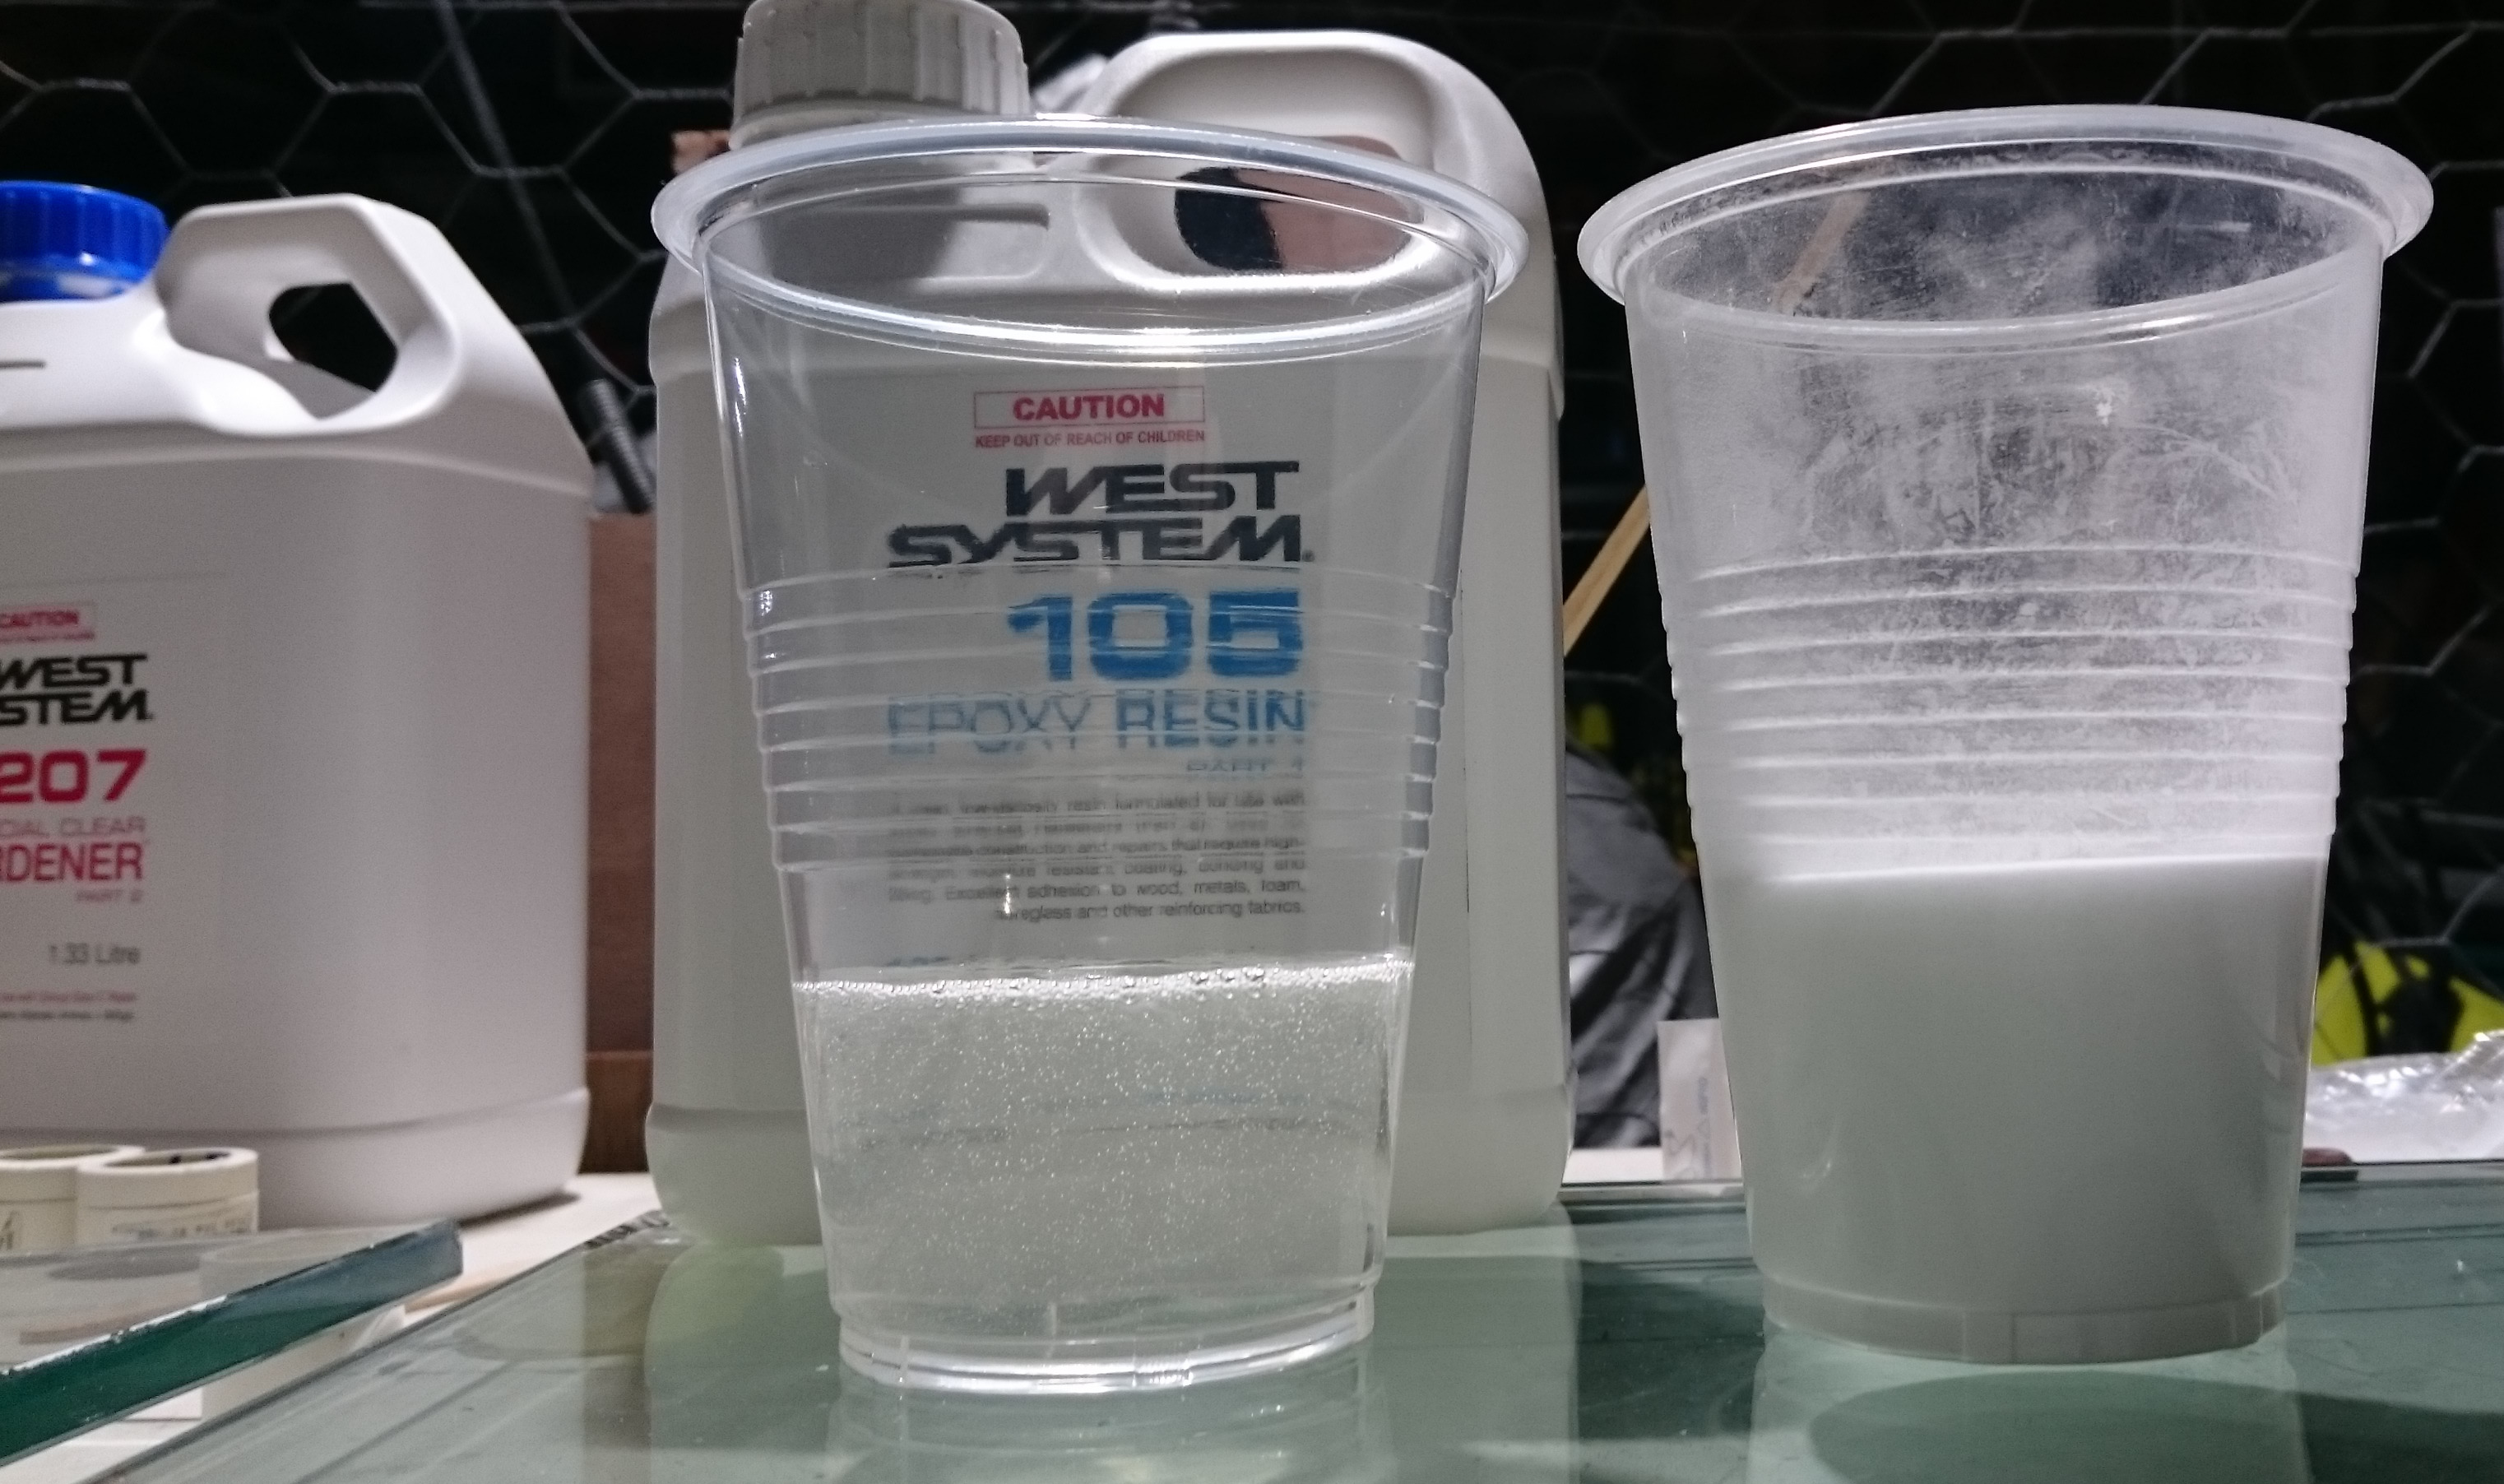
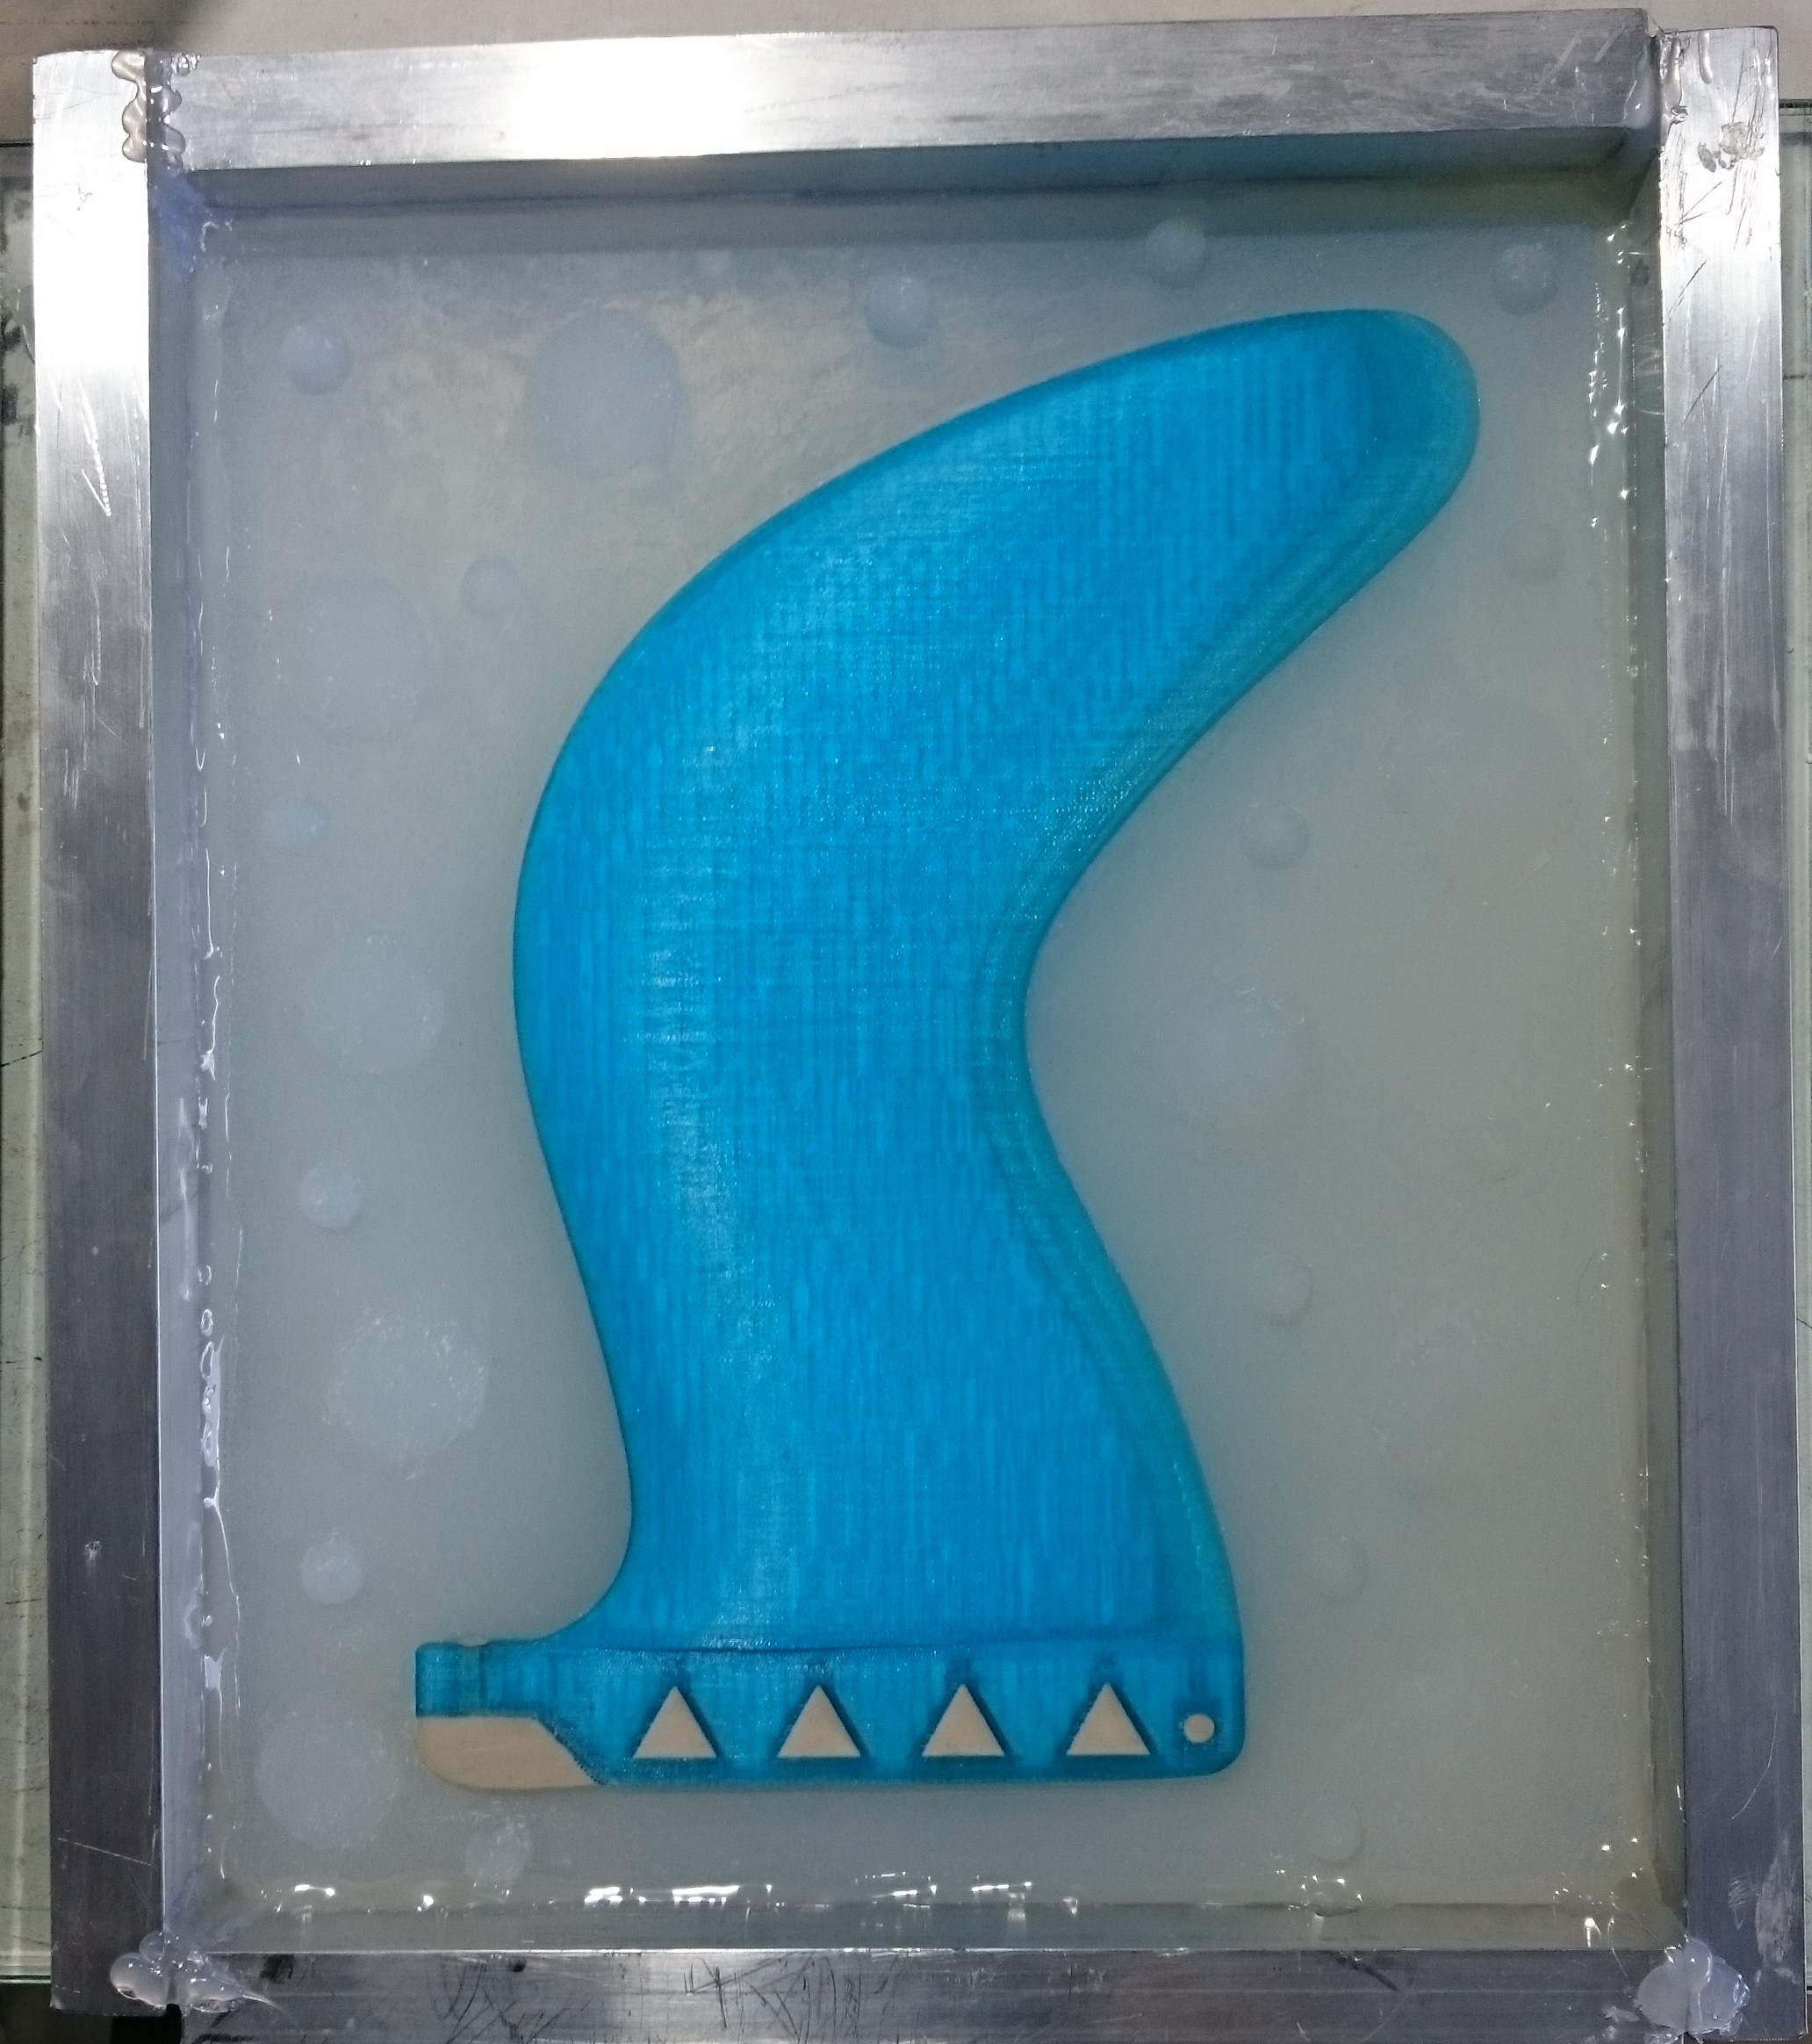
  5. Mix and pour Silastomer P40 1kg part A and 100g part B.

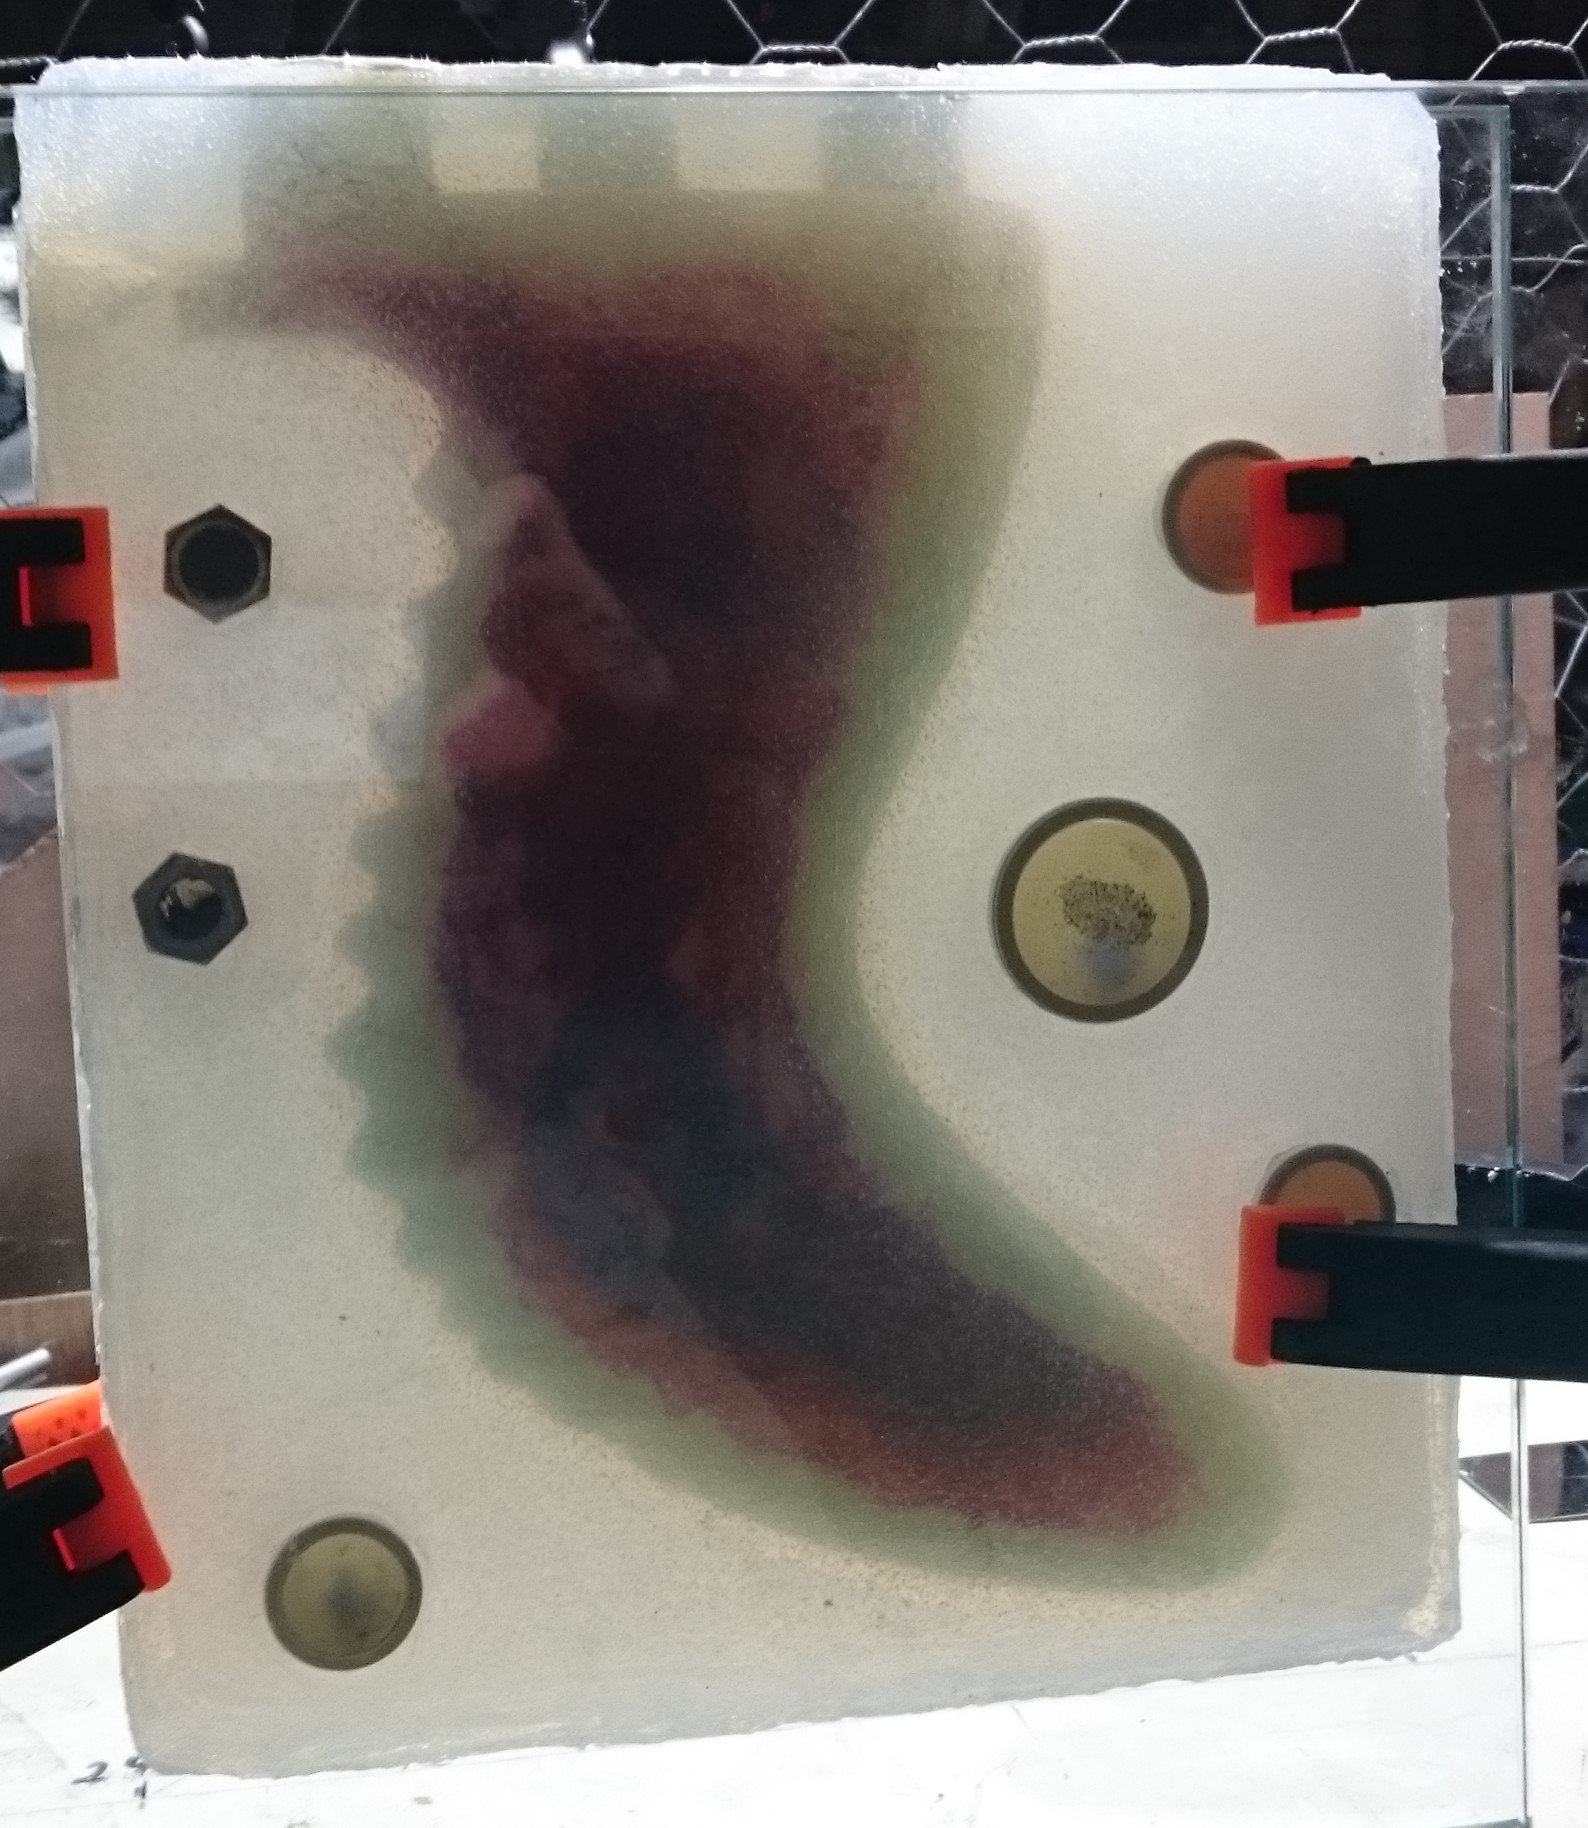
  6. 16-24hrs later: Turn over and smash / remove Pop layer, preferably without separating the fin from the silicone. Then clean the surface very well by hosing, brushing, scaping.
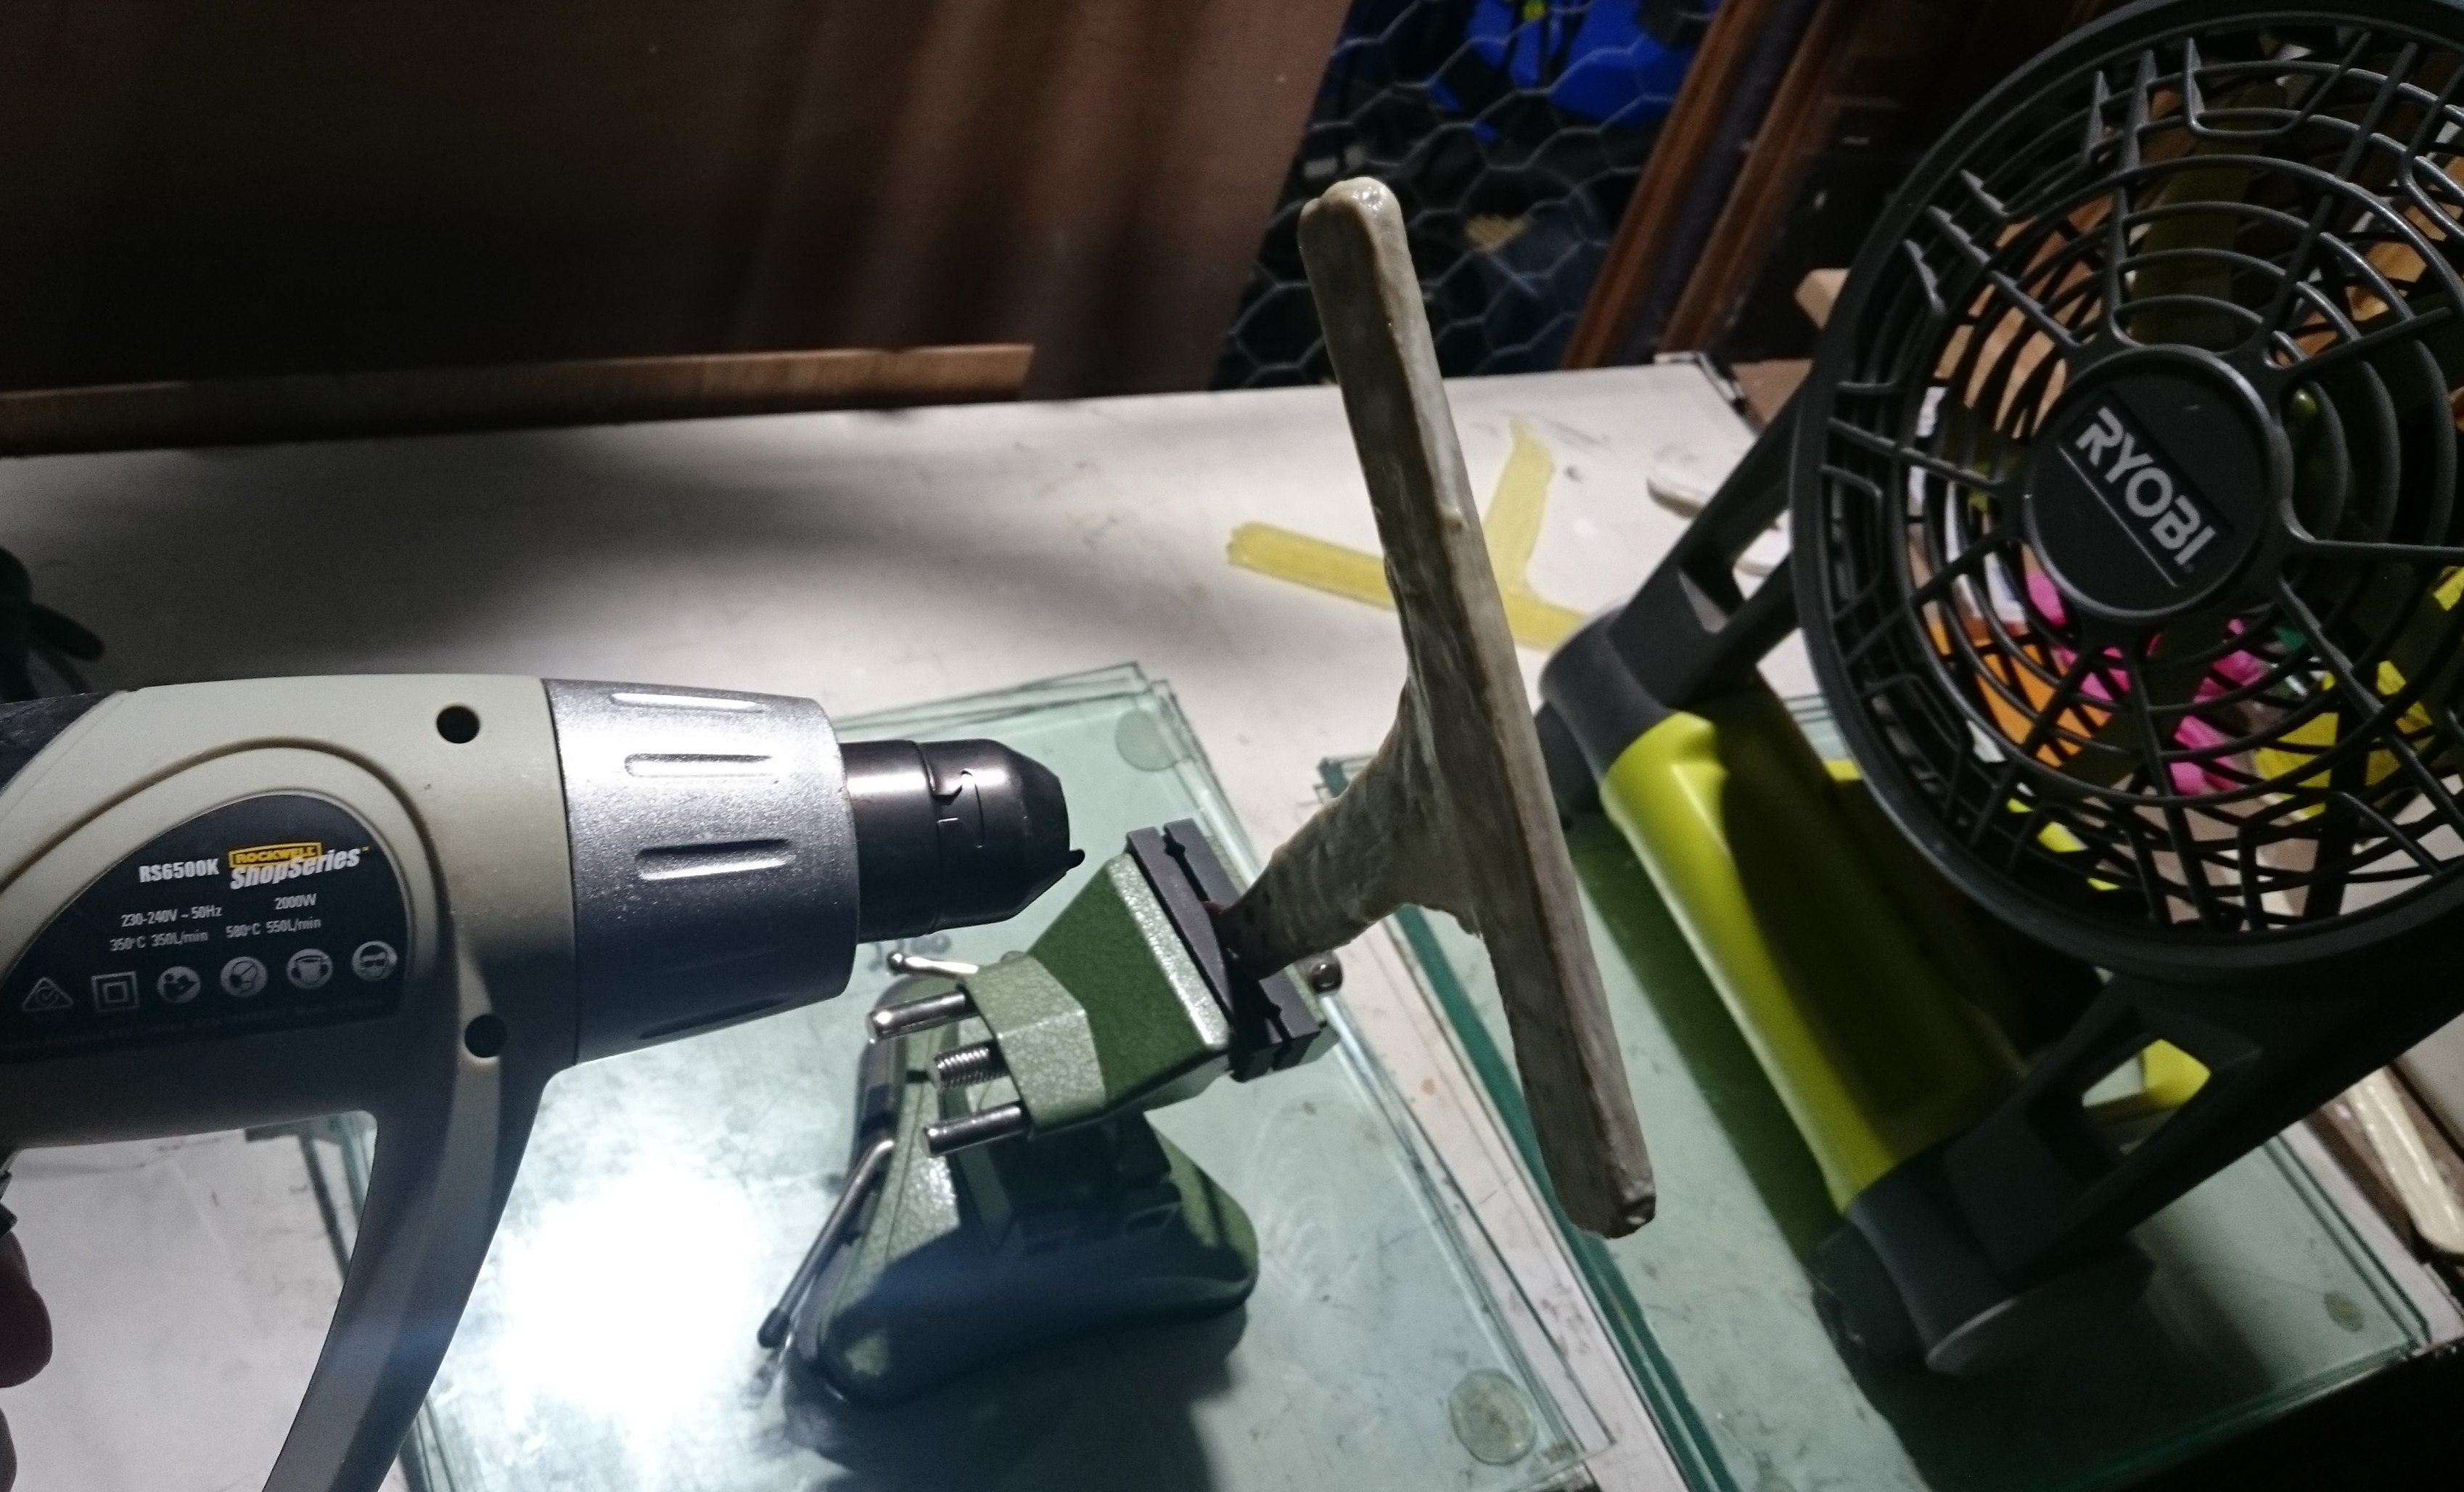
  7. Dry it

  8. Re-apply aluminium walls and use hot melt glue to close all gaps, or the silicone will run out. It finds the smallest cracks.

  9. Again apply mould release to prevent the new silicone from sticking to the old. Tomorrow I’ll know if it worked…I used a mould release spray this time.

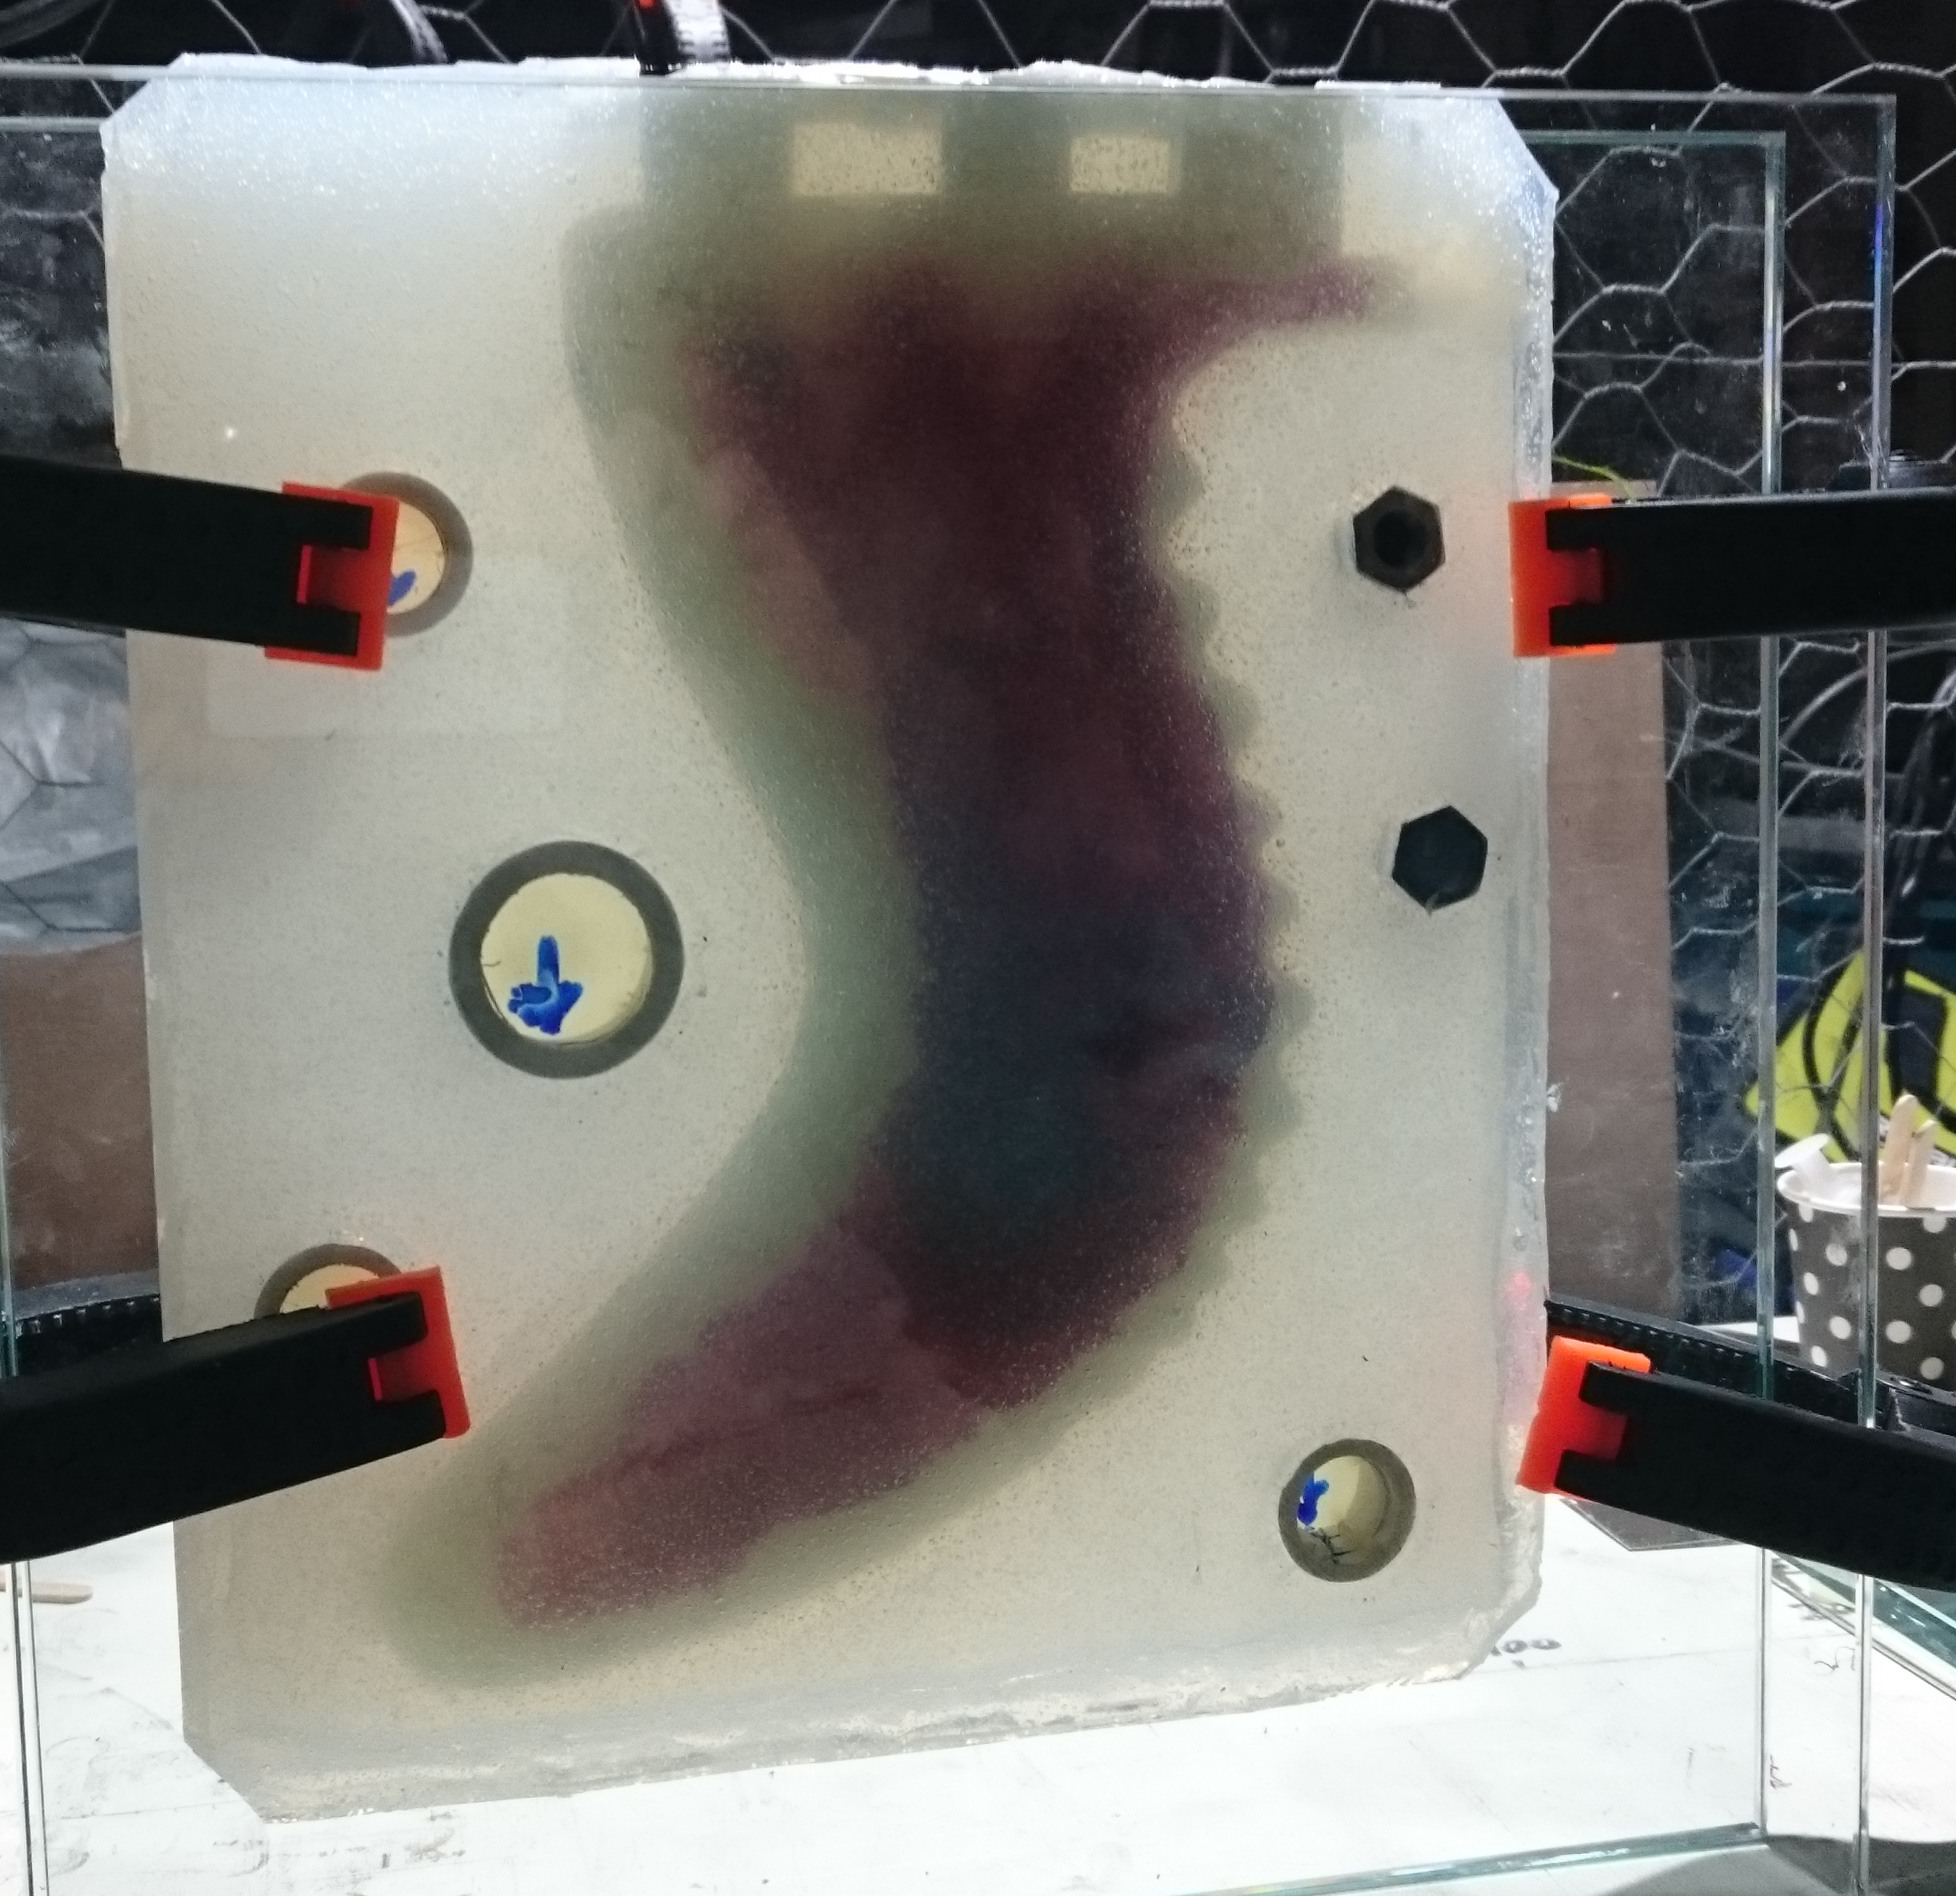
  10. Pour second half of silicone split mould.

  11. Wait…