Casting hybrid lamination fins

If I worked as hard at my paid job as I do at home, I’d have …  lets not go there…

The latex around the wooden DFB pattern keeps growing.

I used silk and Q-cel mixed into West epoxy for my first attempt to pour the E 168 Gullwing fin in the new silicone split mould.

“Silk roving” was cut into about 10-20mm long chops, then mixed into the epoxy, then Q-cel mixed in, then catalyst added and mixed thoroughly. It was a bit of a challenge to get it into the mould, and tomorrow will tell if the few bubbles I saw (and tackled with real-time quality control and a chop-stick) have settled inside, or on the surface.

And last not least, I managed to get a good POP-only cast out of the mould, without breaking much of it. It is drying in the oven at 60degC (admirable patience!) before I try to clean it up.


To make a volume of plaster of Paris:

1: Measure dimensions of mould and calculate required volume.

2: Multiply required volume by 2/3 (divide by three, then multiply by 2 or the other way around).

3: The result is the volume of water required. Due to waters density of 1mg / ml , you can either measure the volume or weigh the water (try that with ounces and feet if you still believe the ‘imperial system’ is better than metric).

4: Add plaster of Paris to the water by hand, spreading it evenly over the water surface. Once ‘islands’ appear in the water, add a bit more Pop to the deeper areas, until there are roughly 50:50 puddles and islands. To get it right, measure the correct amount of Pop a few times, then spread it around as if you did not know when to stop, and make a mental note of what it looks like.

Example: To make 1litre of set plaster, measure 666ml = 666g of water, than add Pop until it looks right, mix it by hand , pour it.

 -------------------------------------------------------------------------------------------------------

.

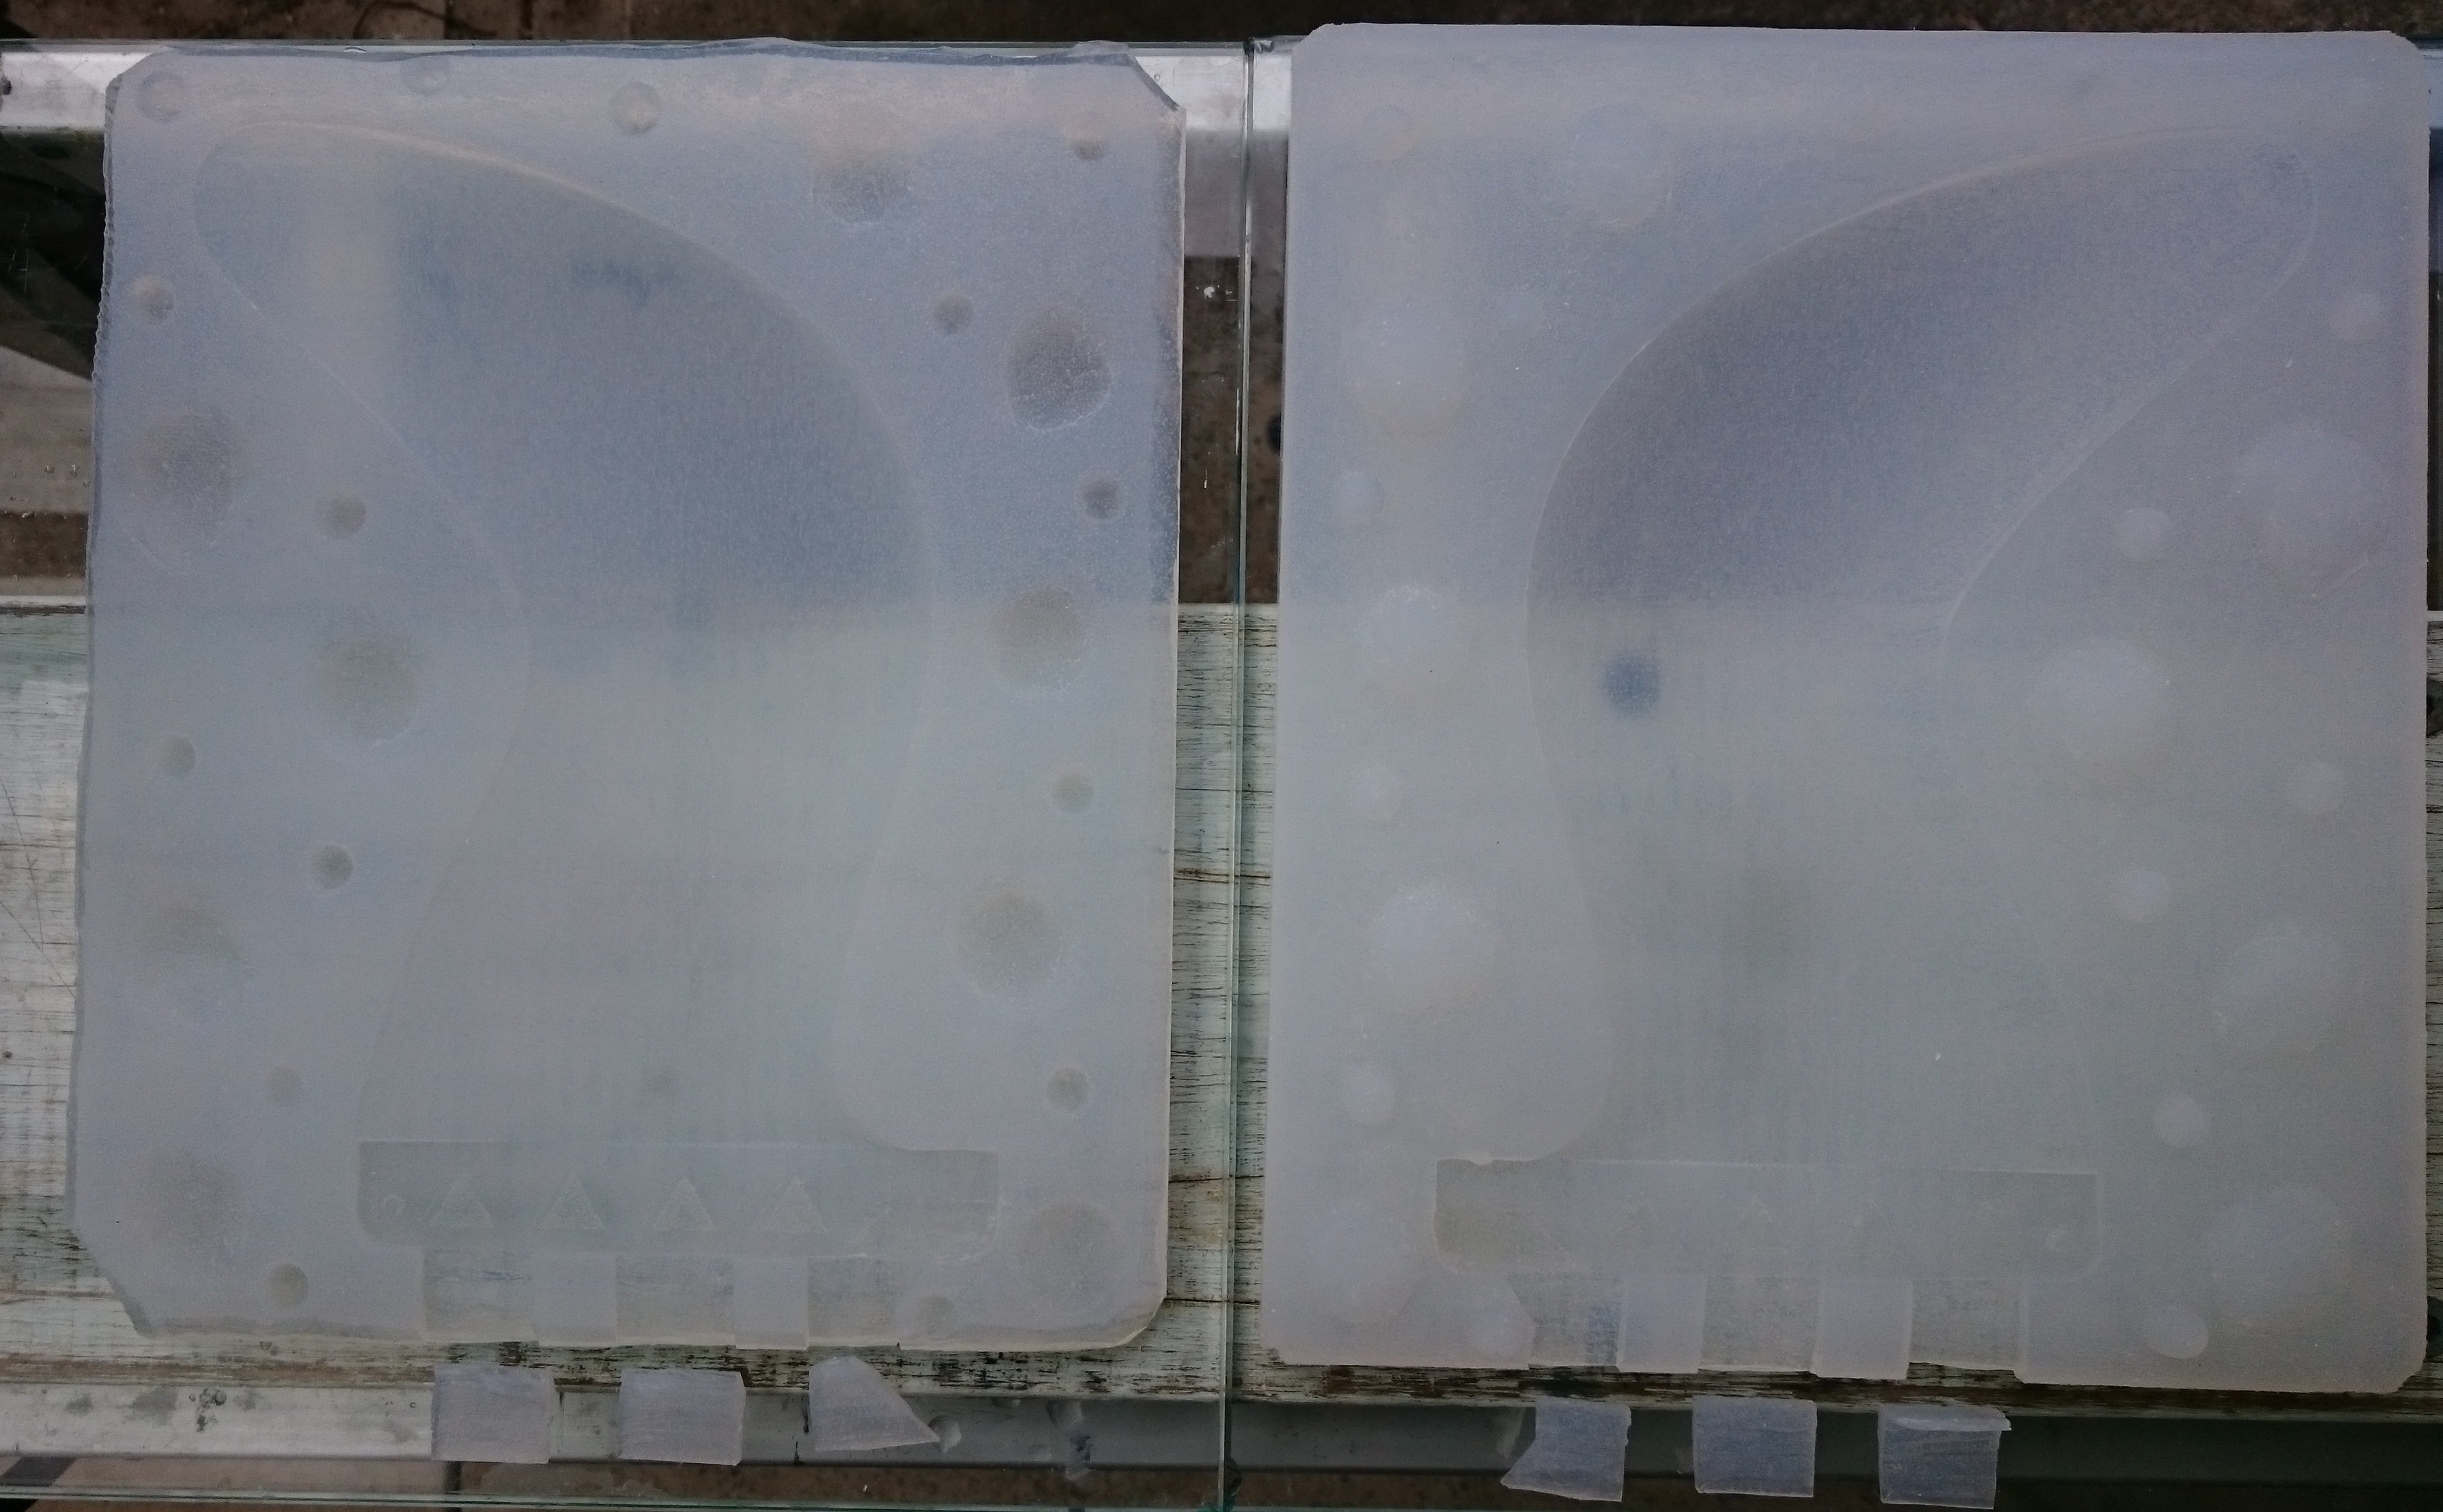
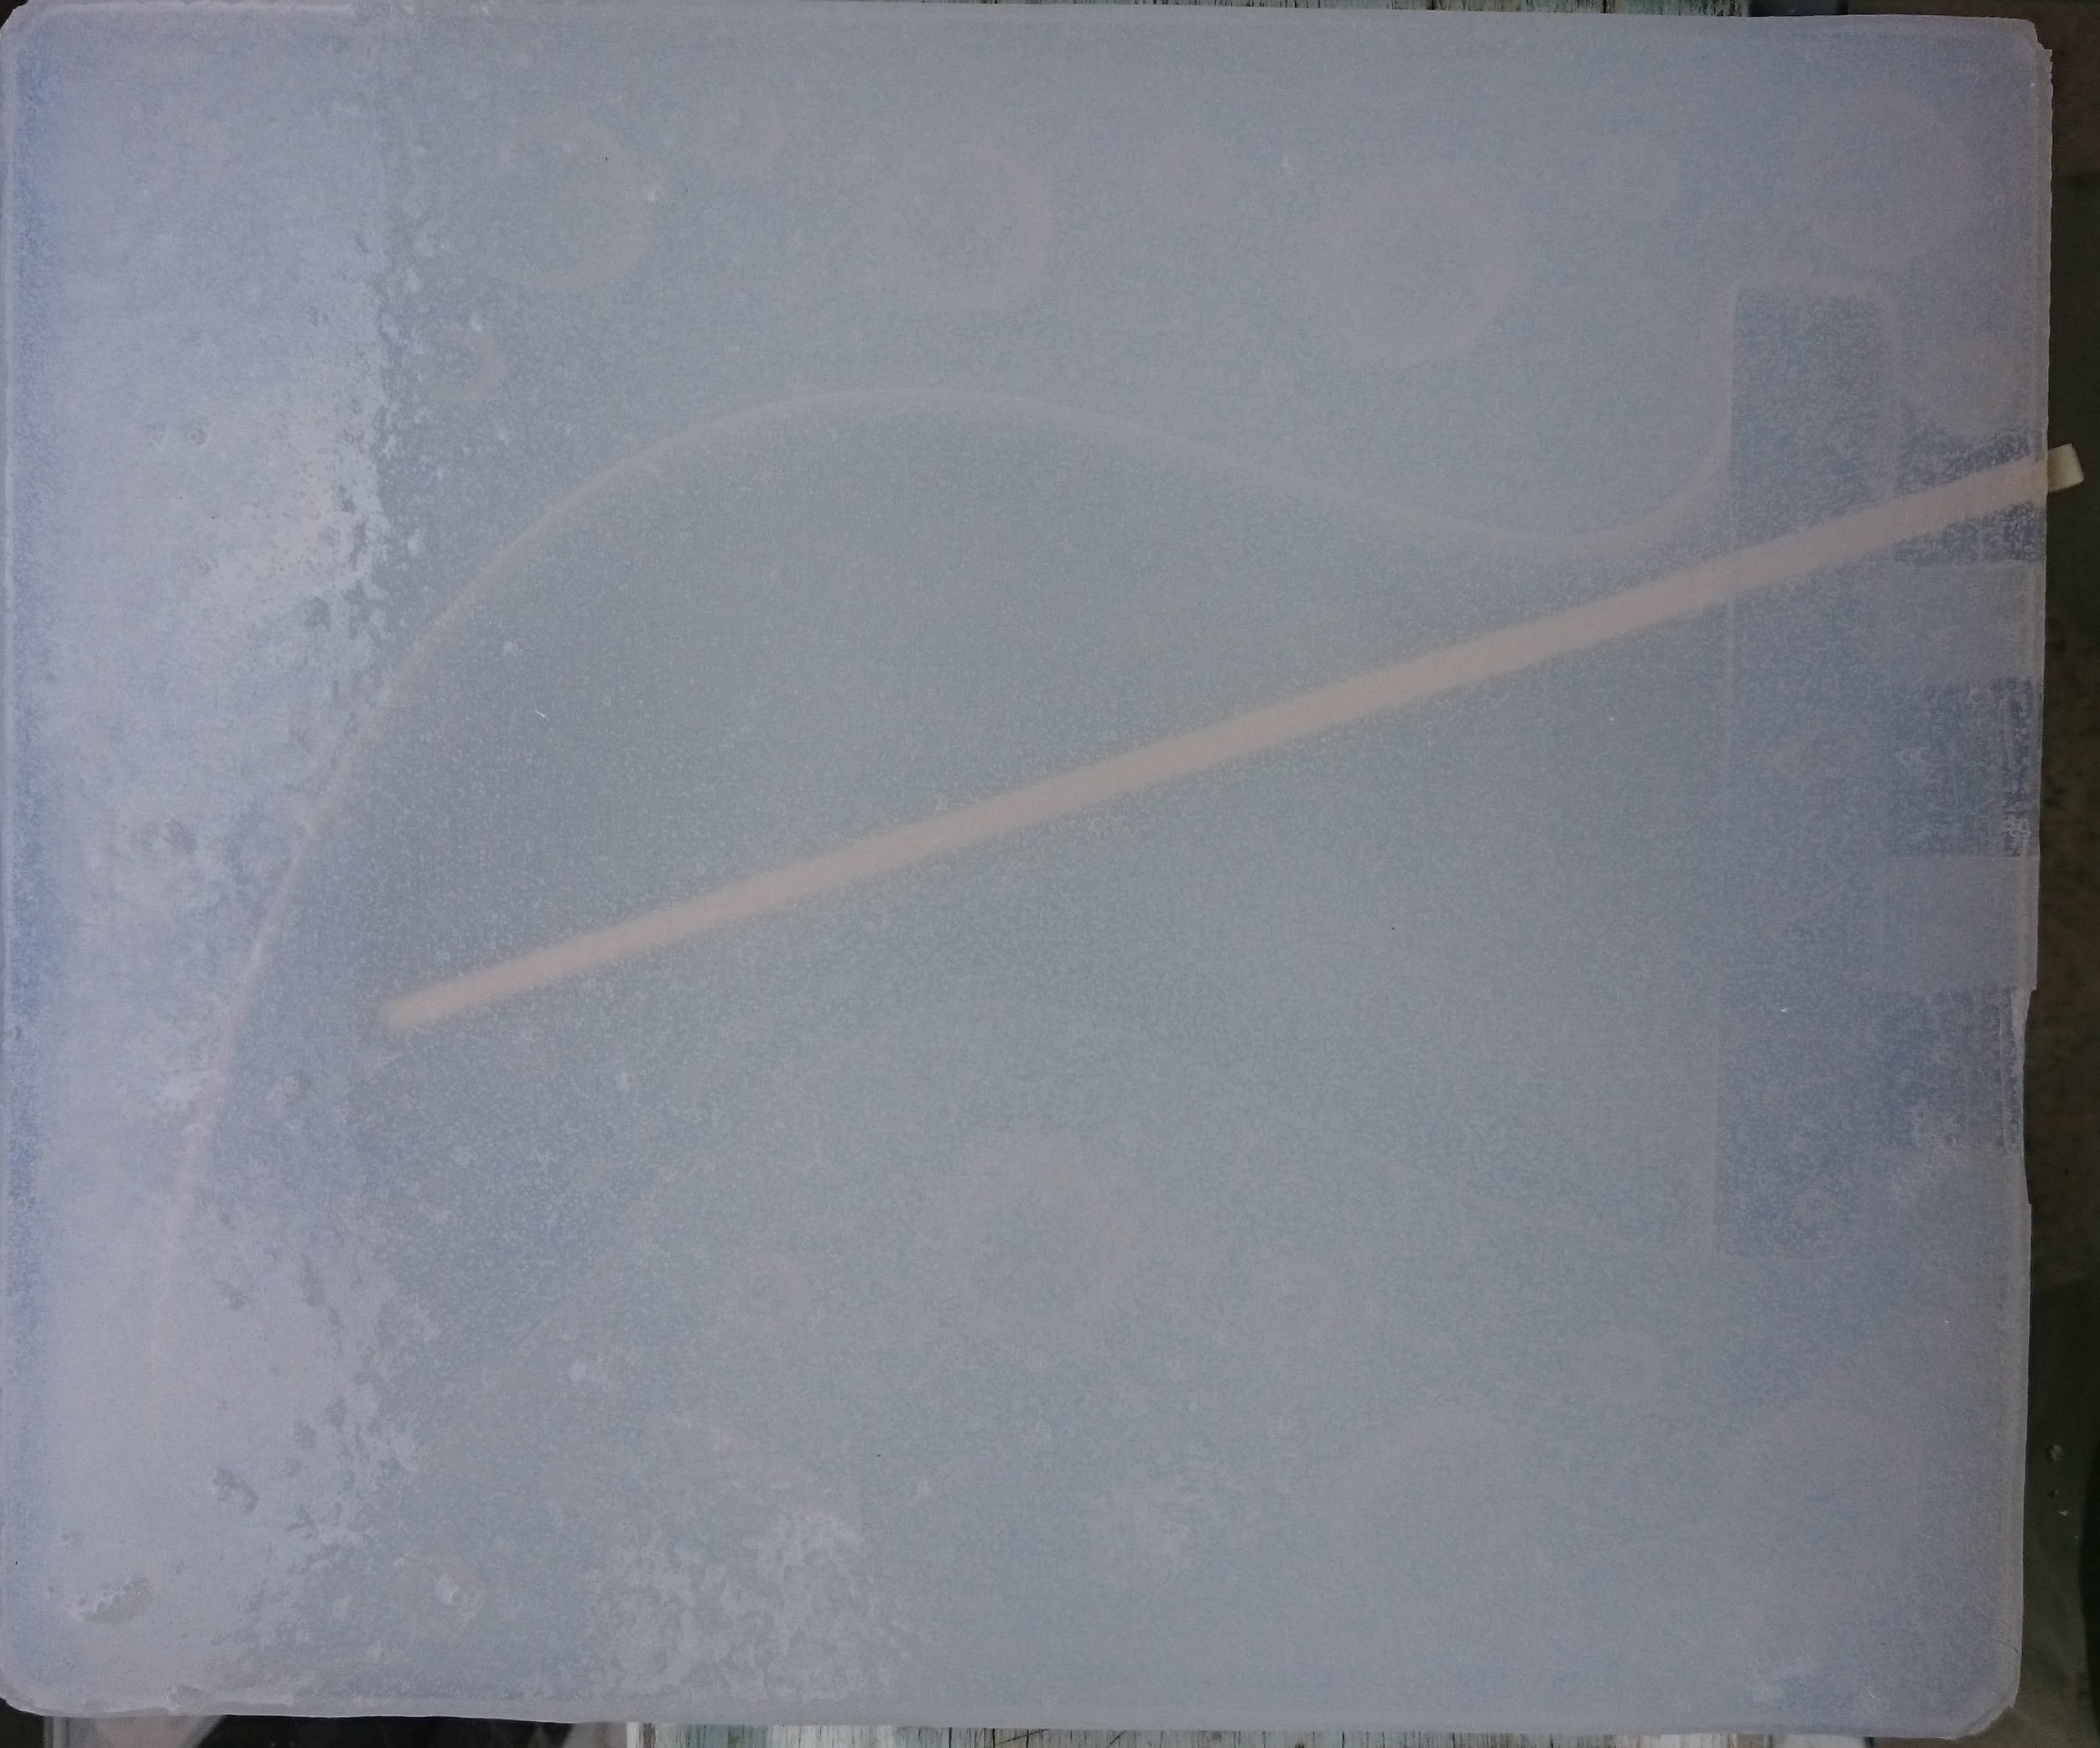
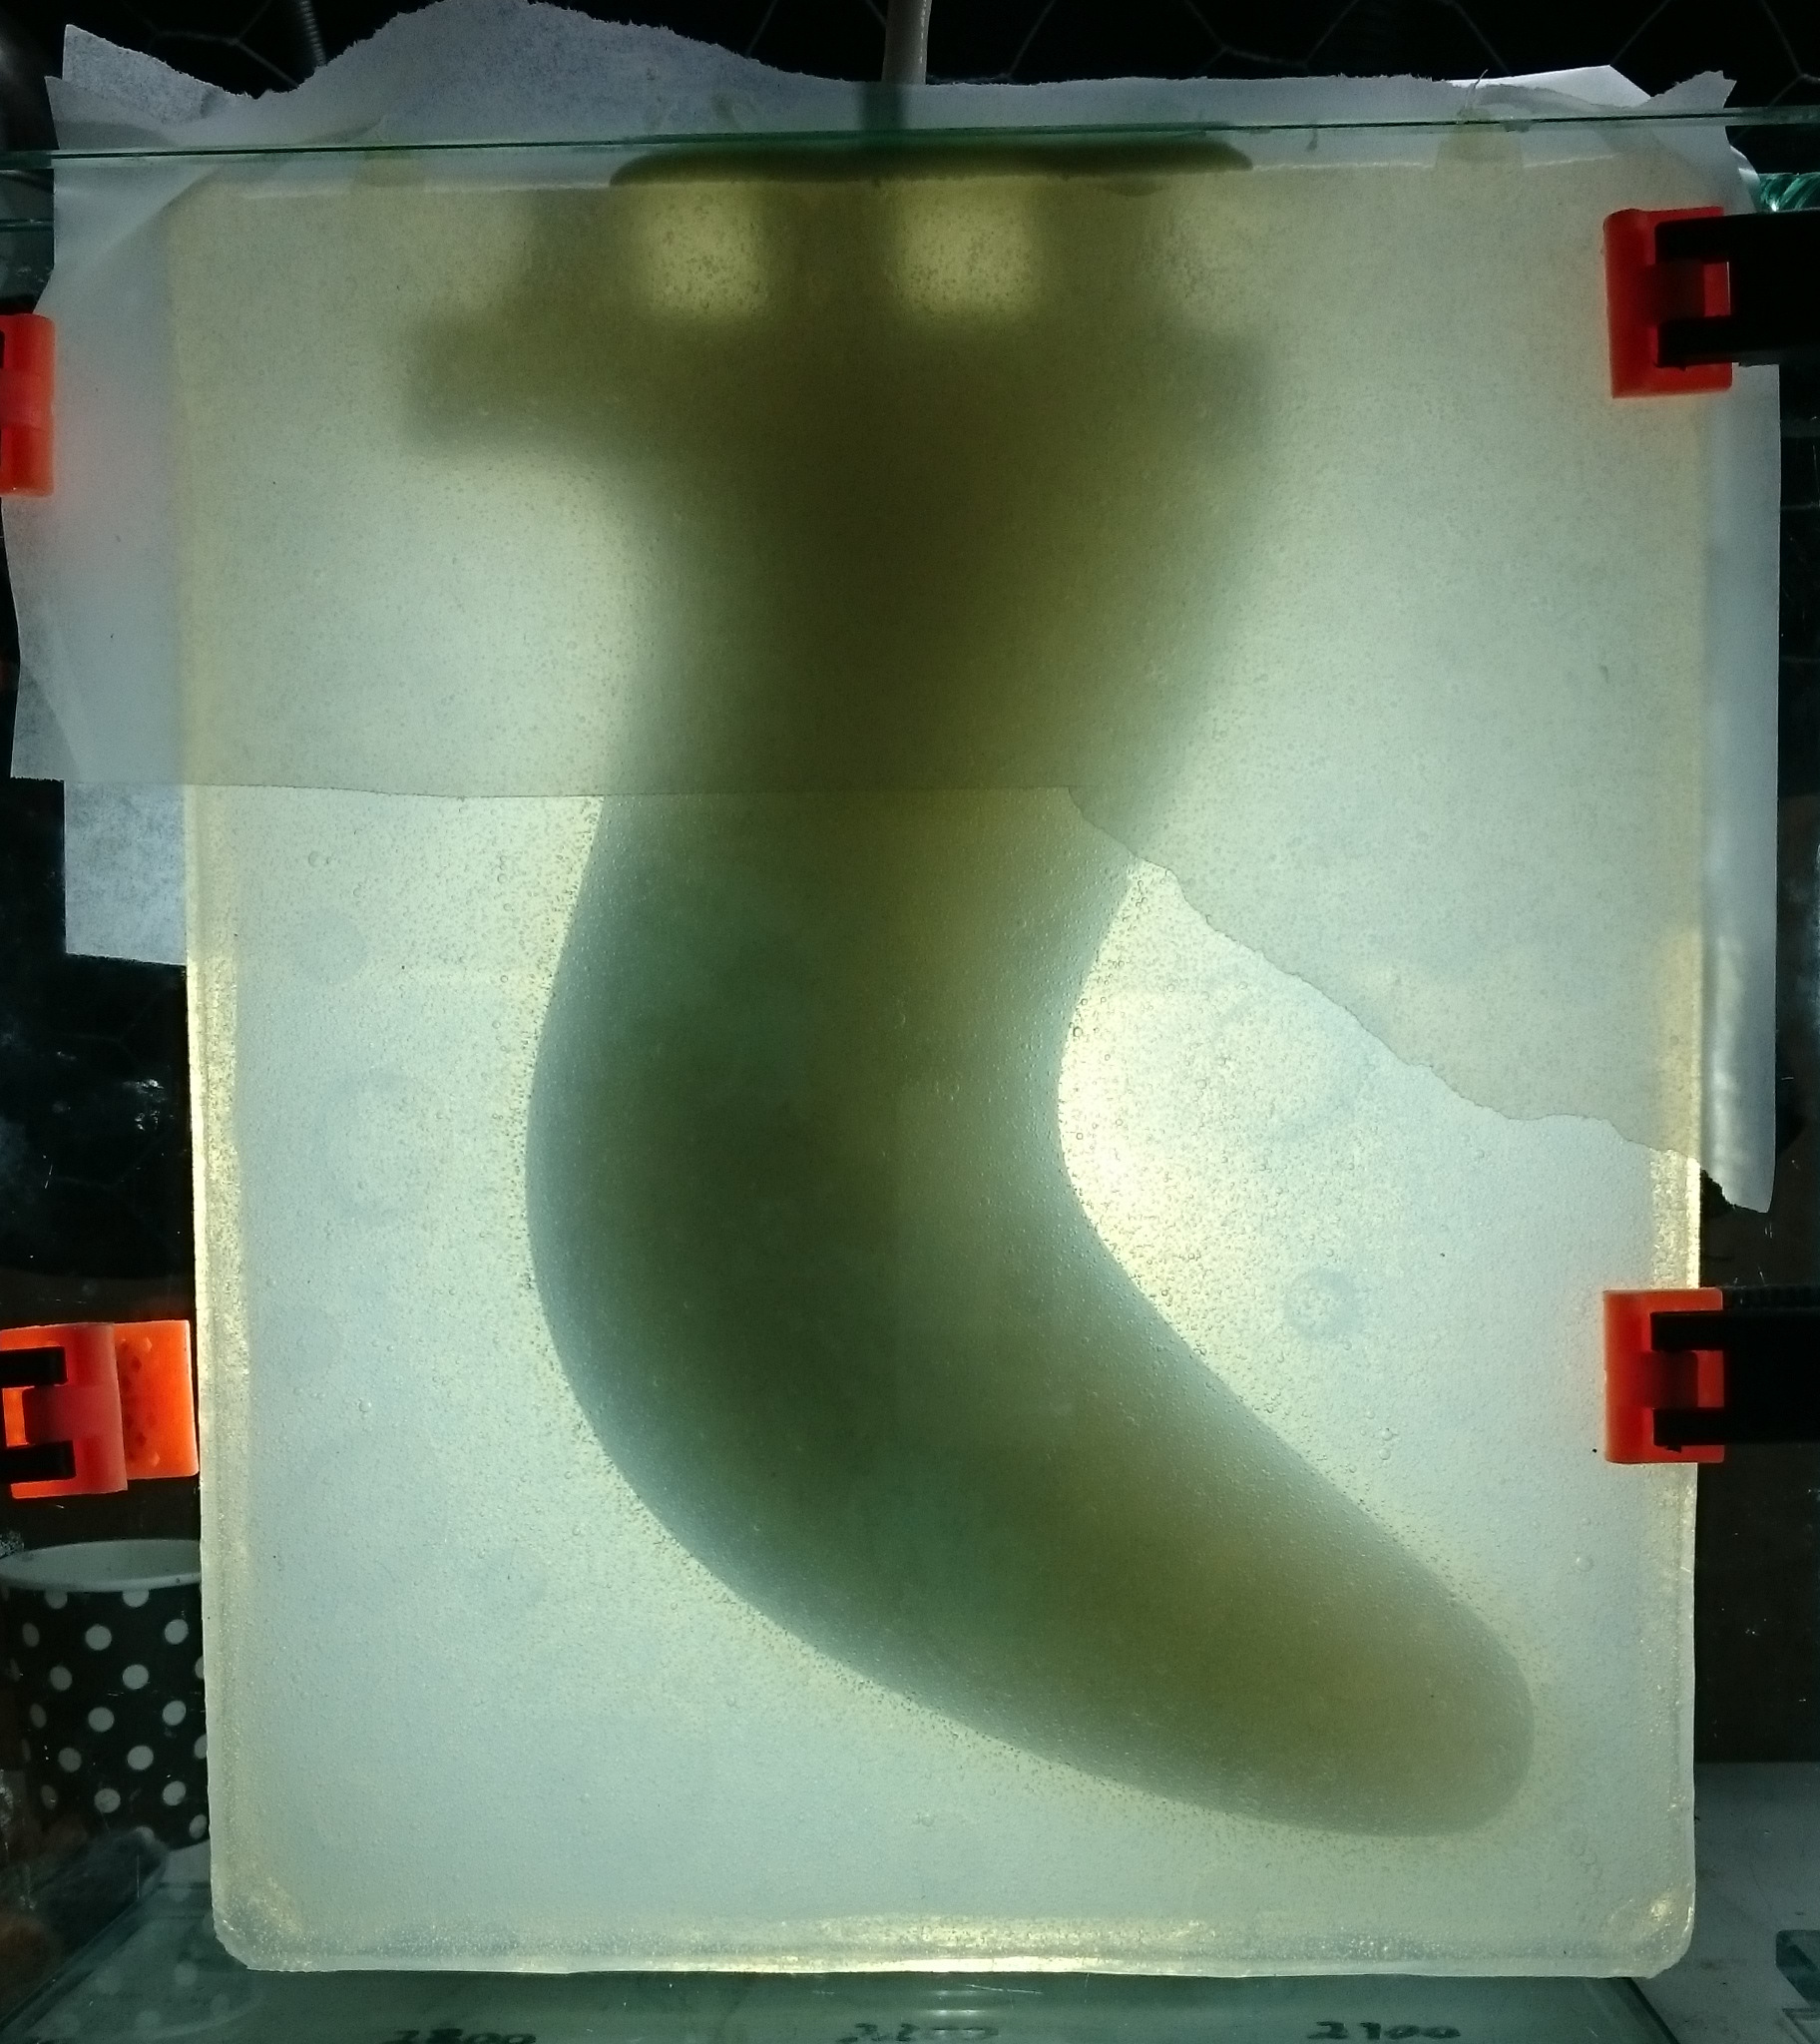
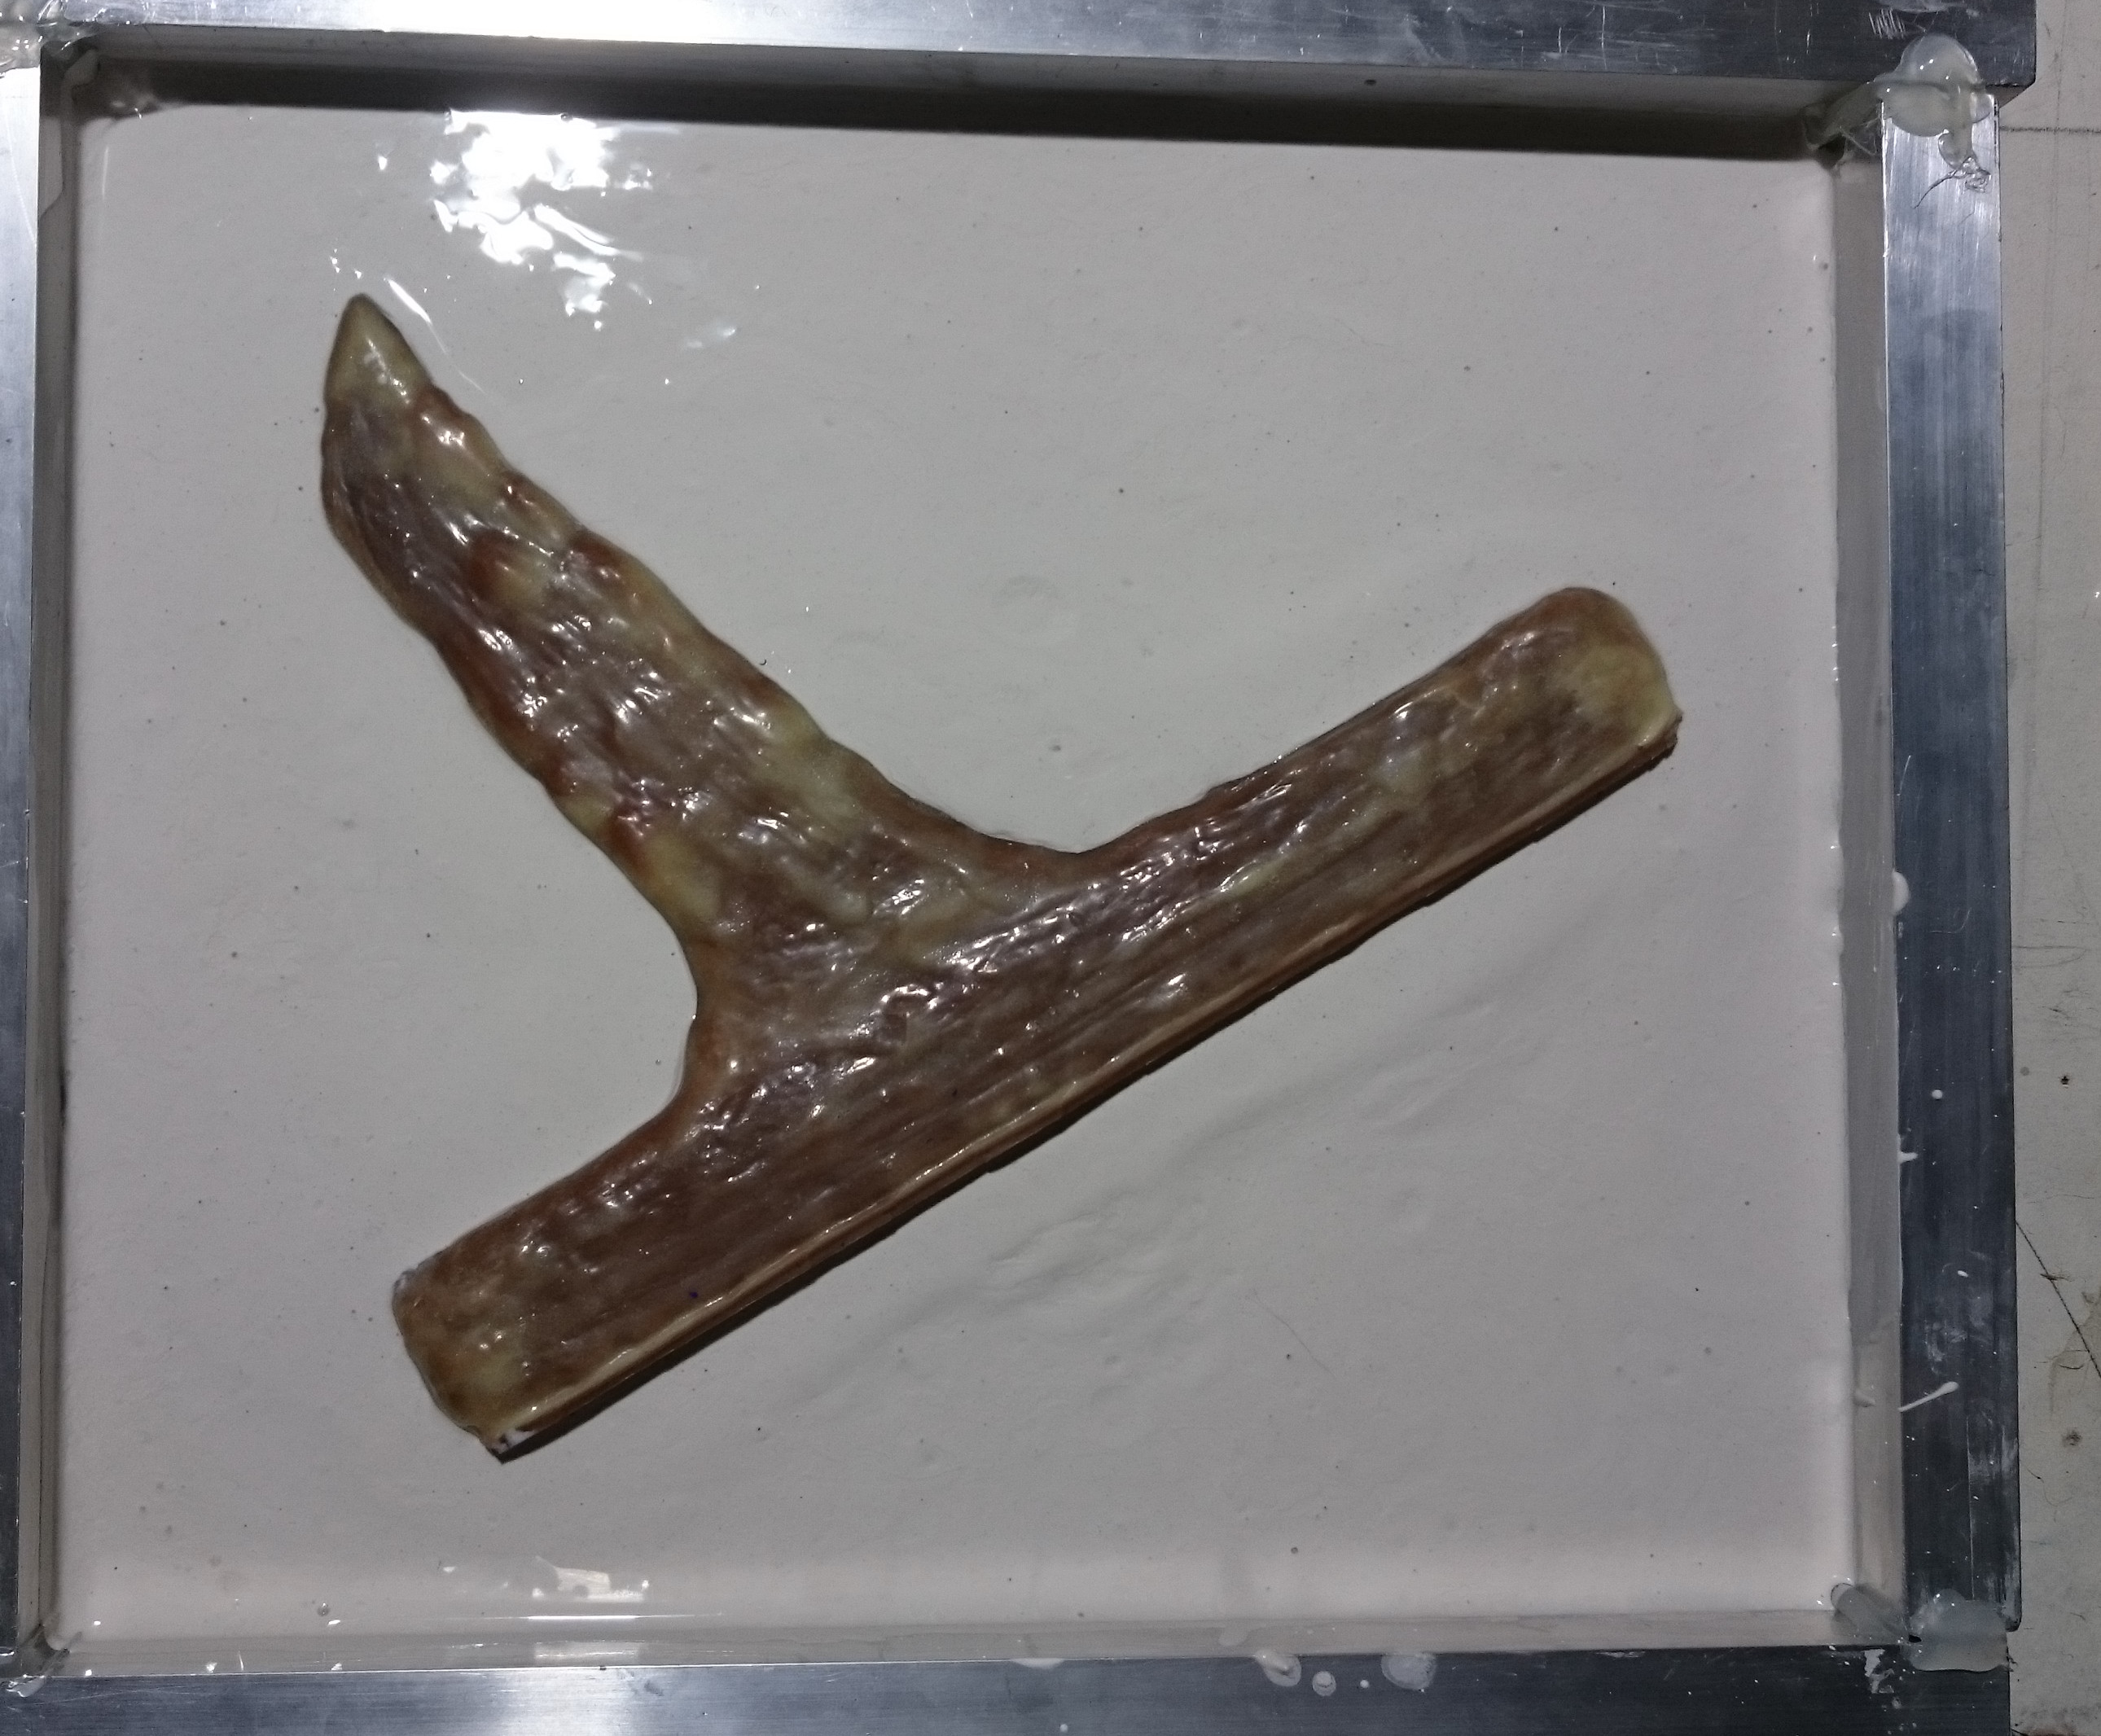
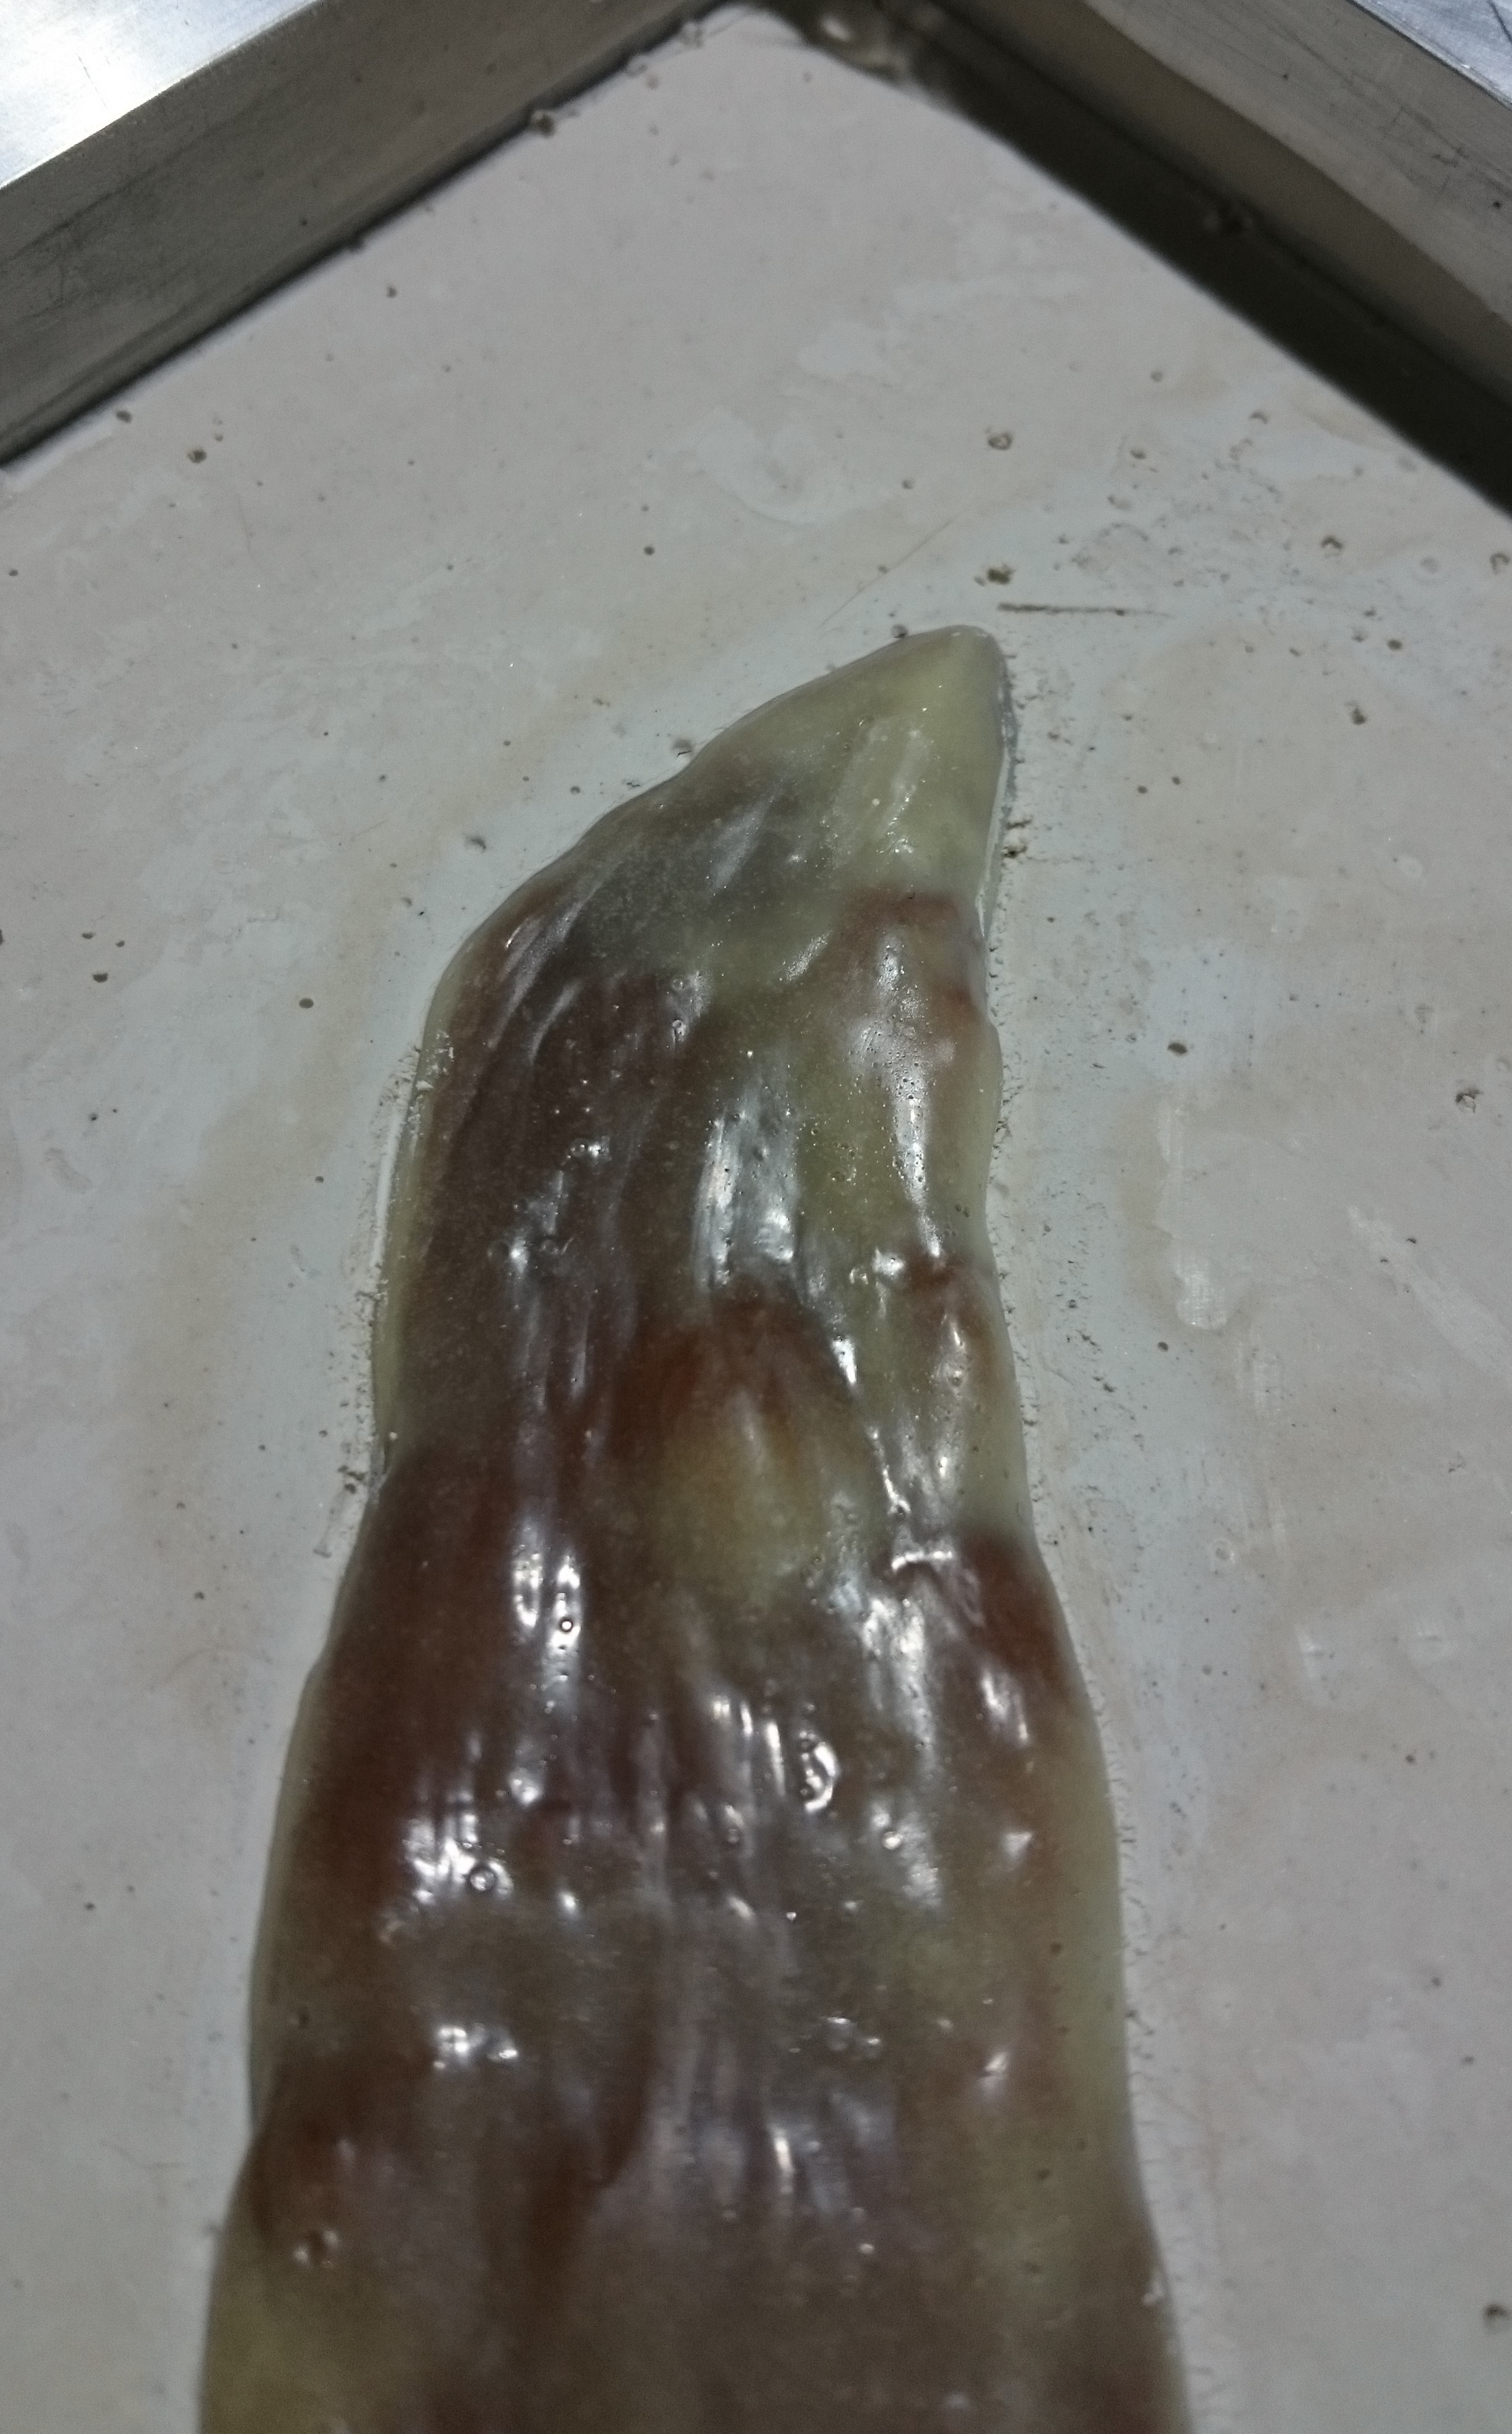
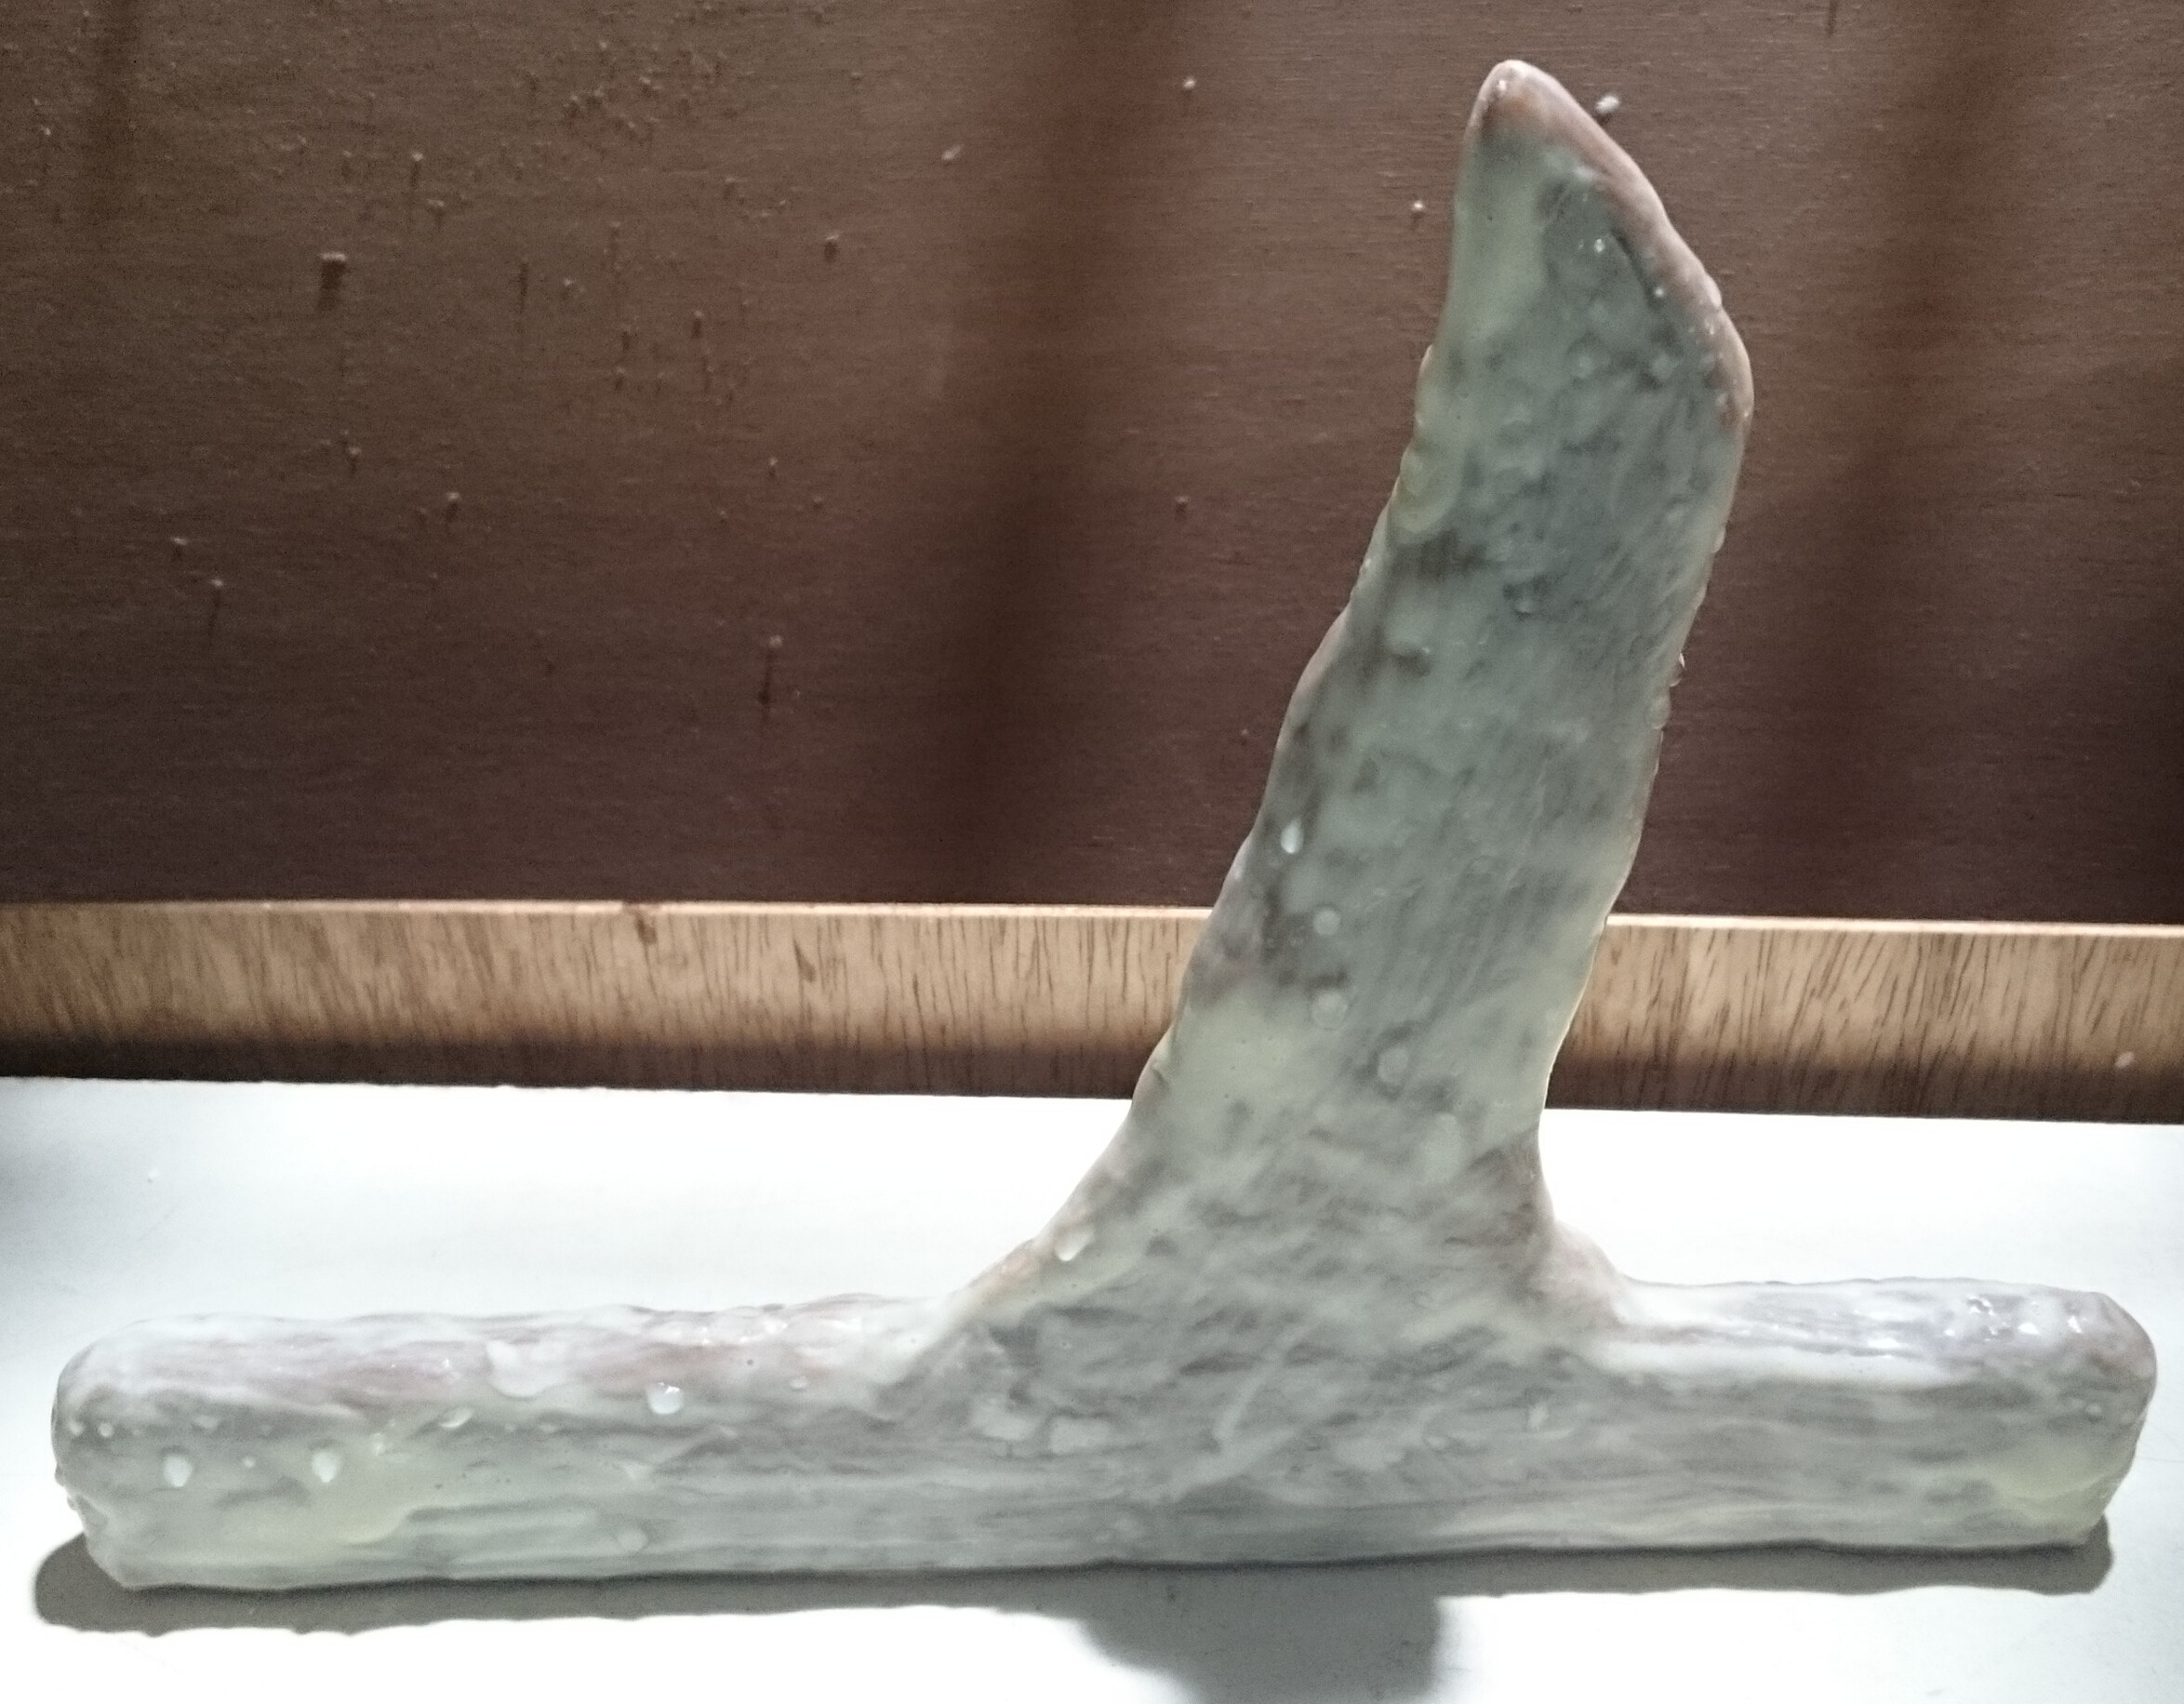
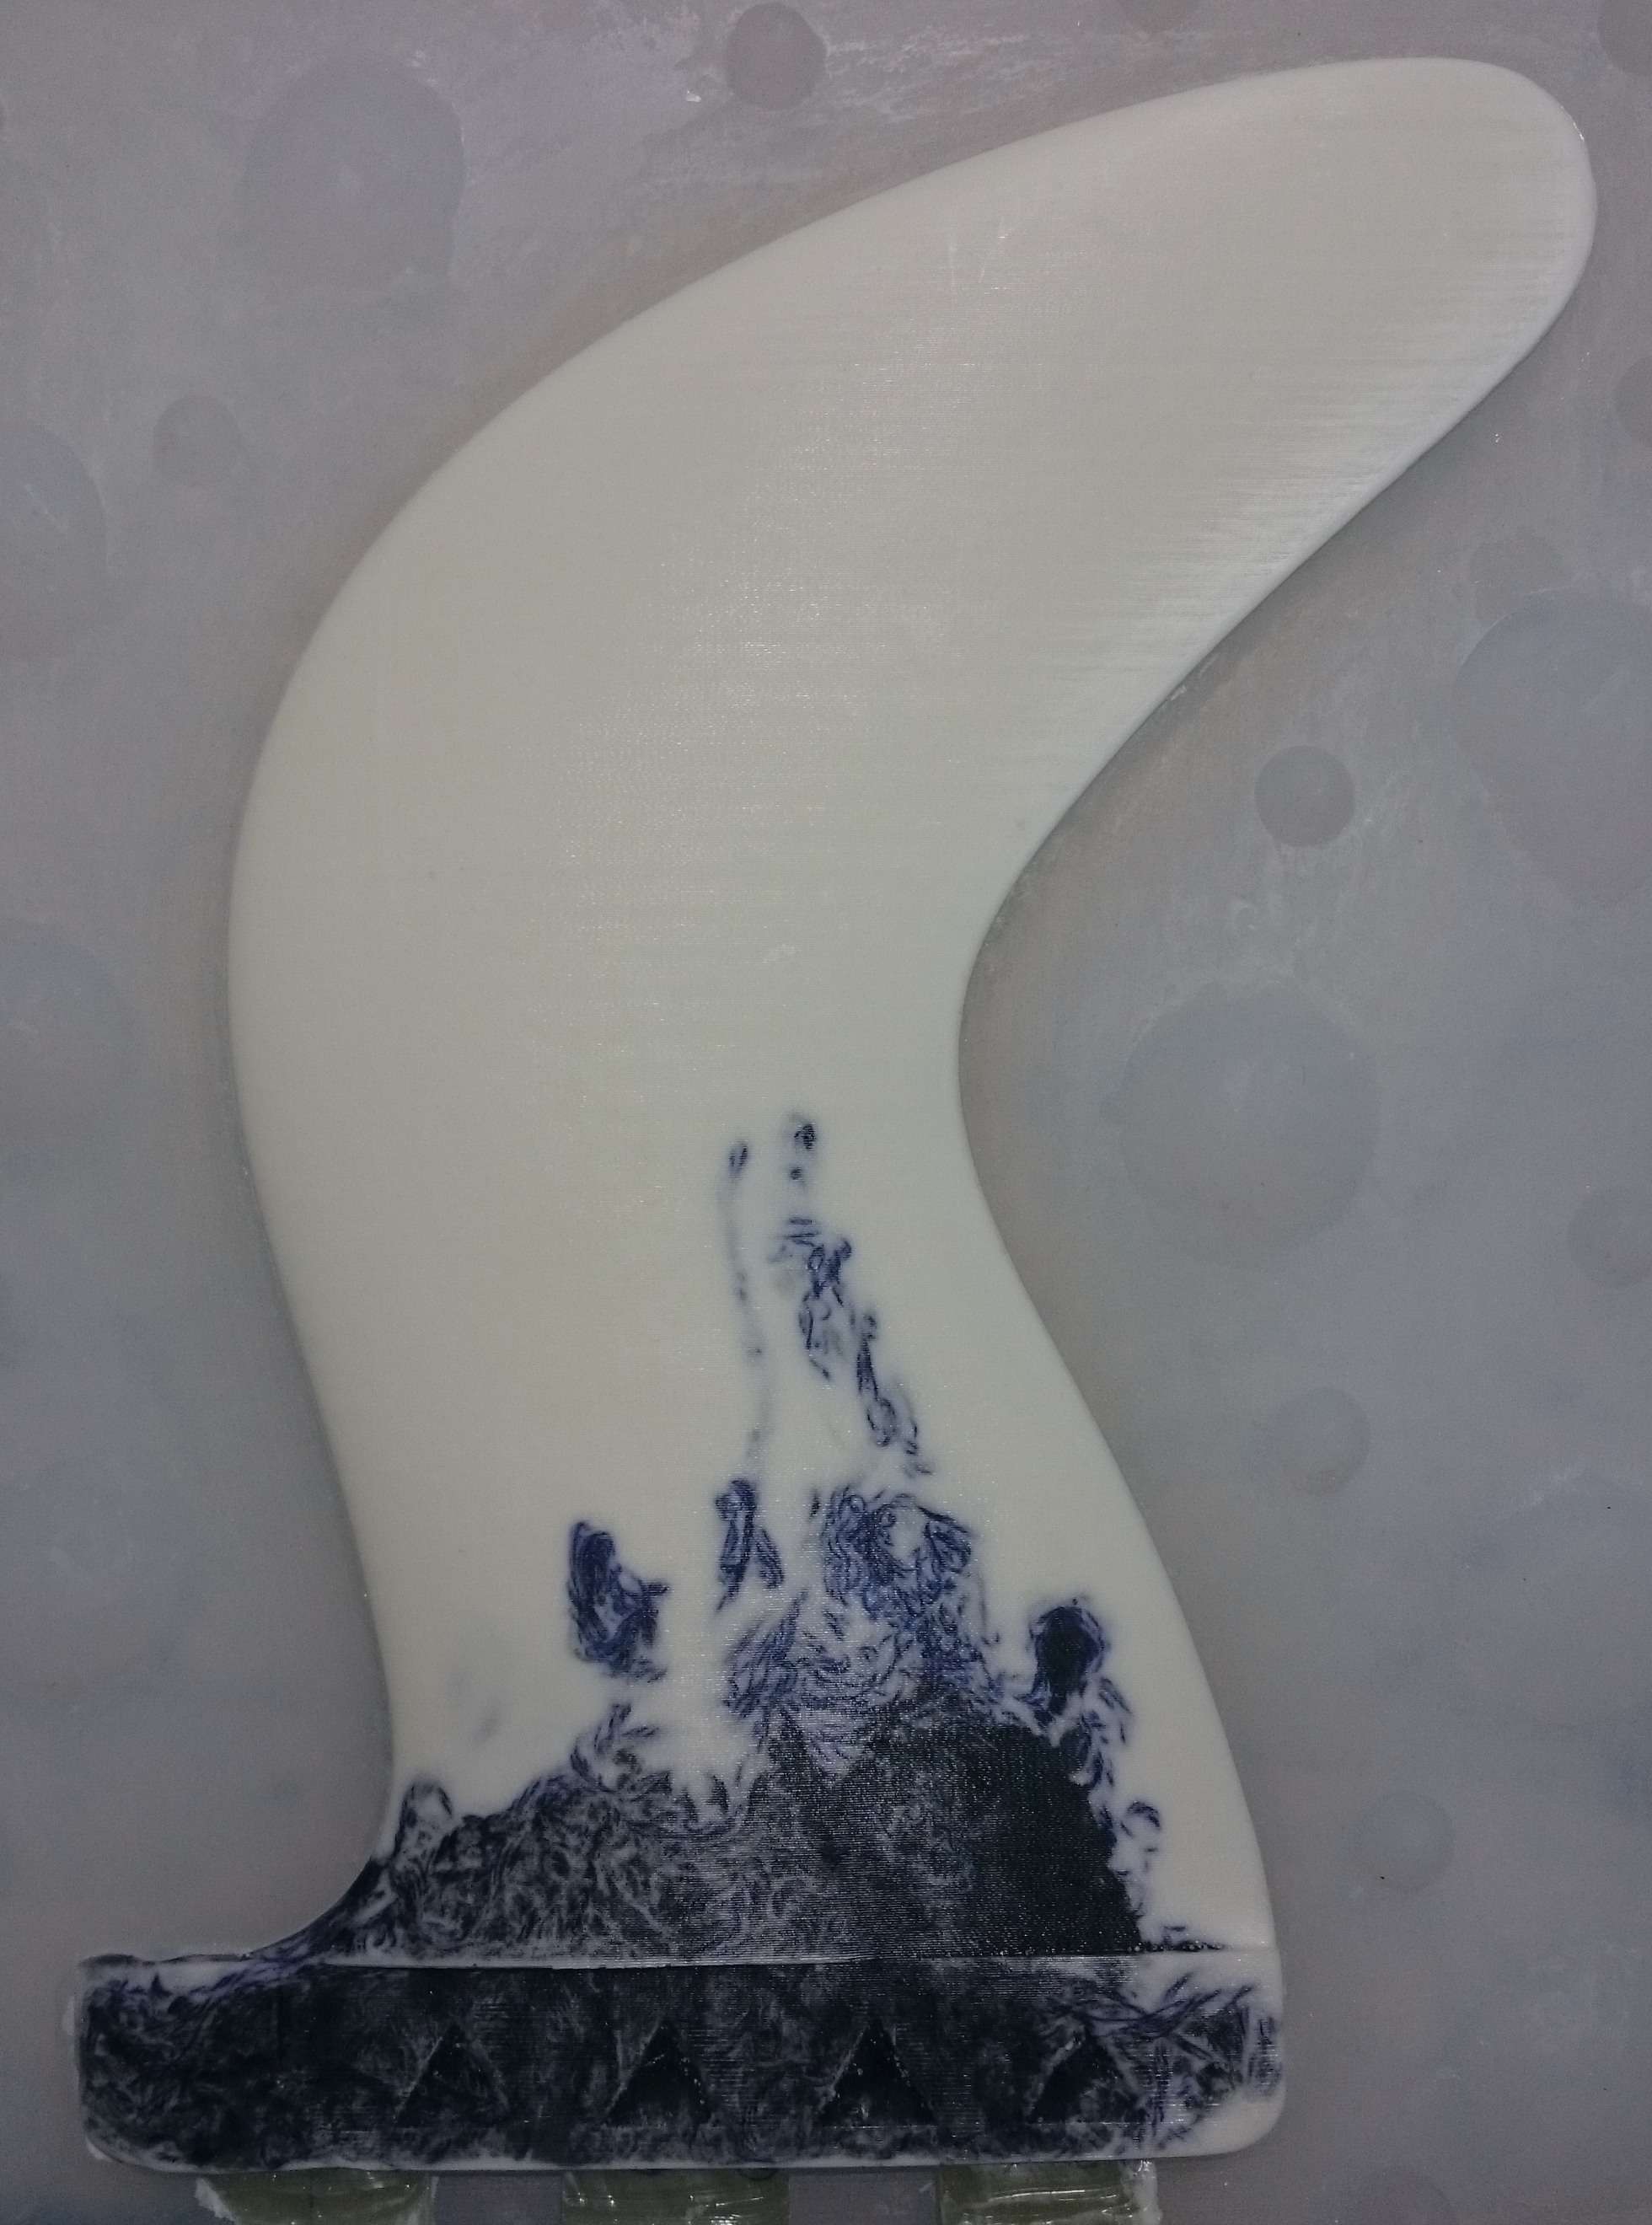
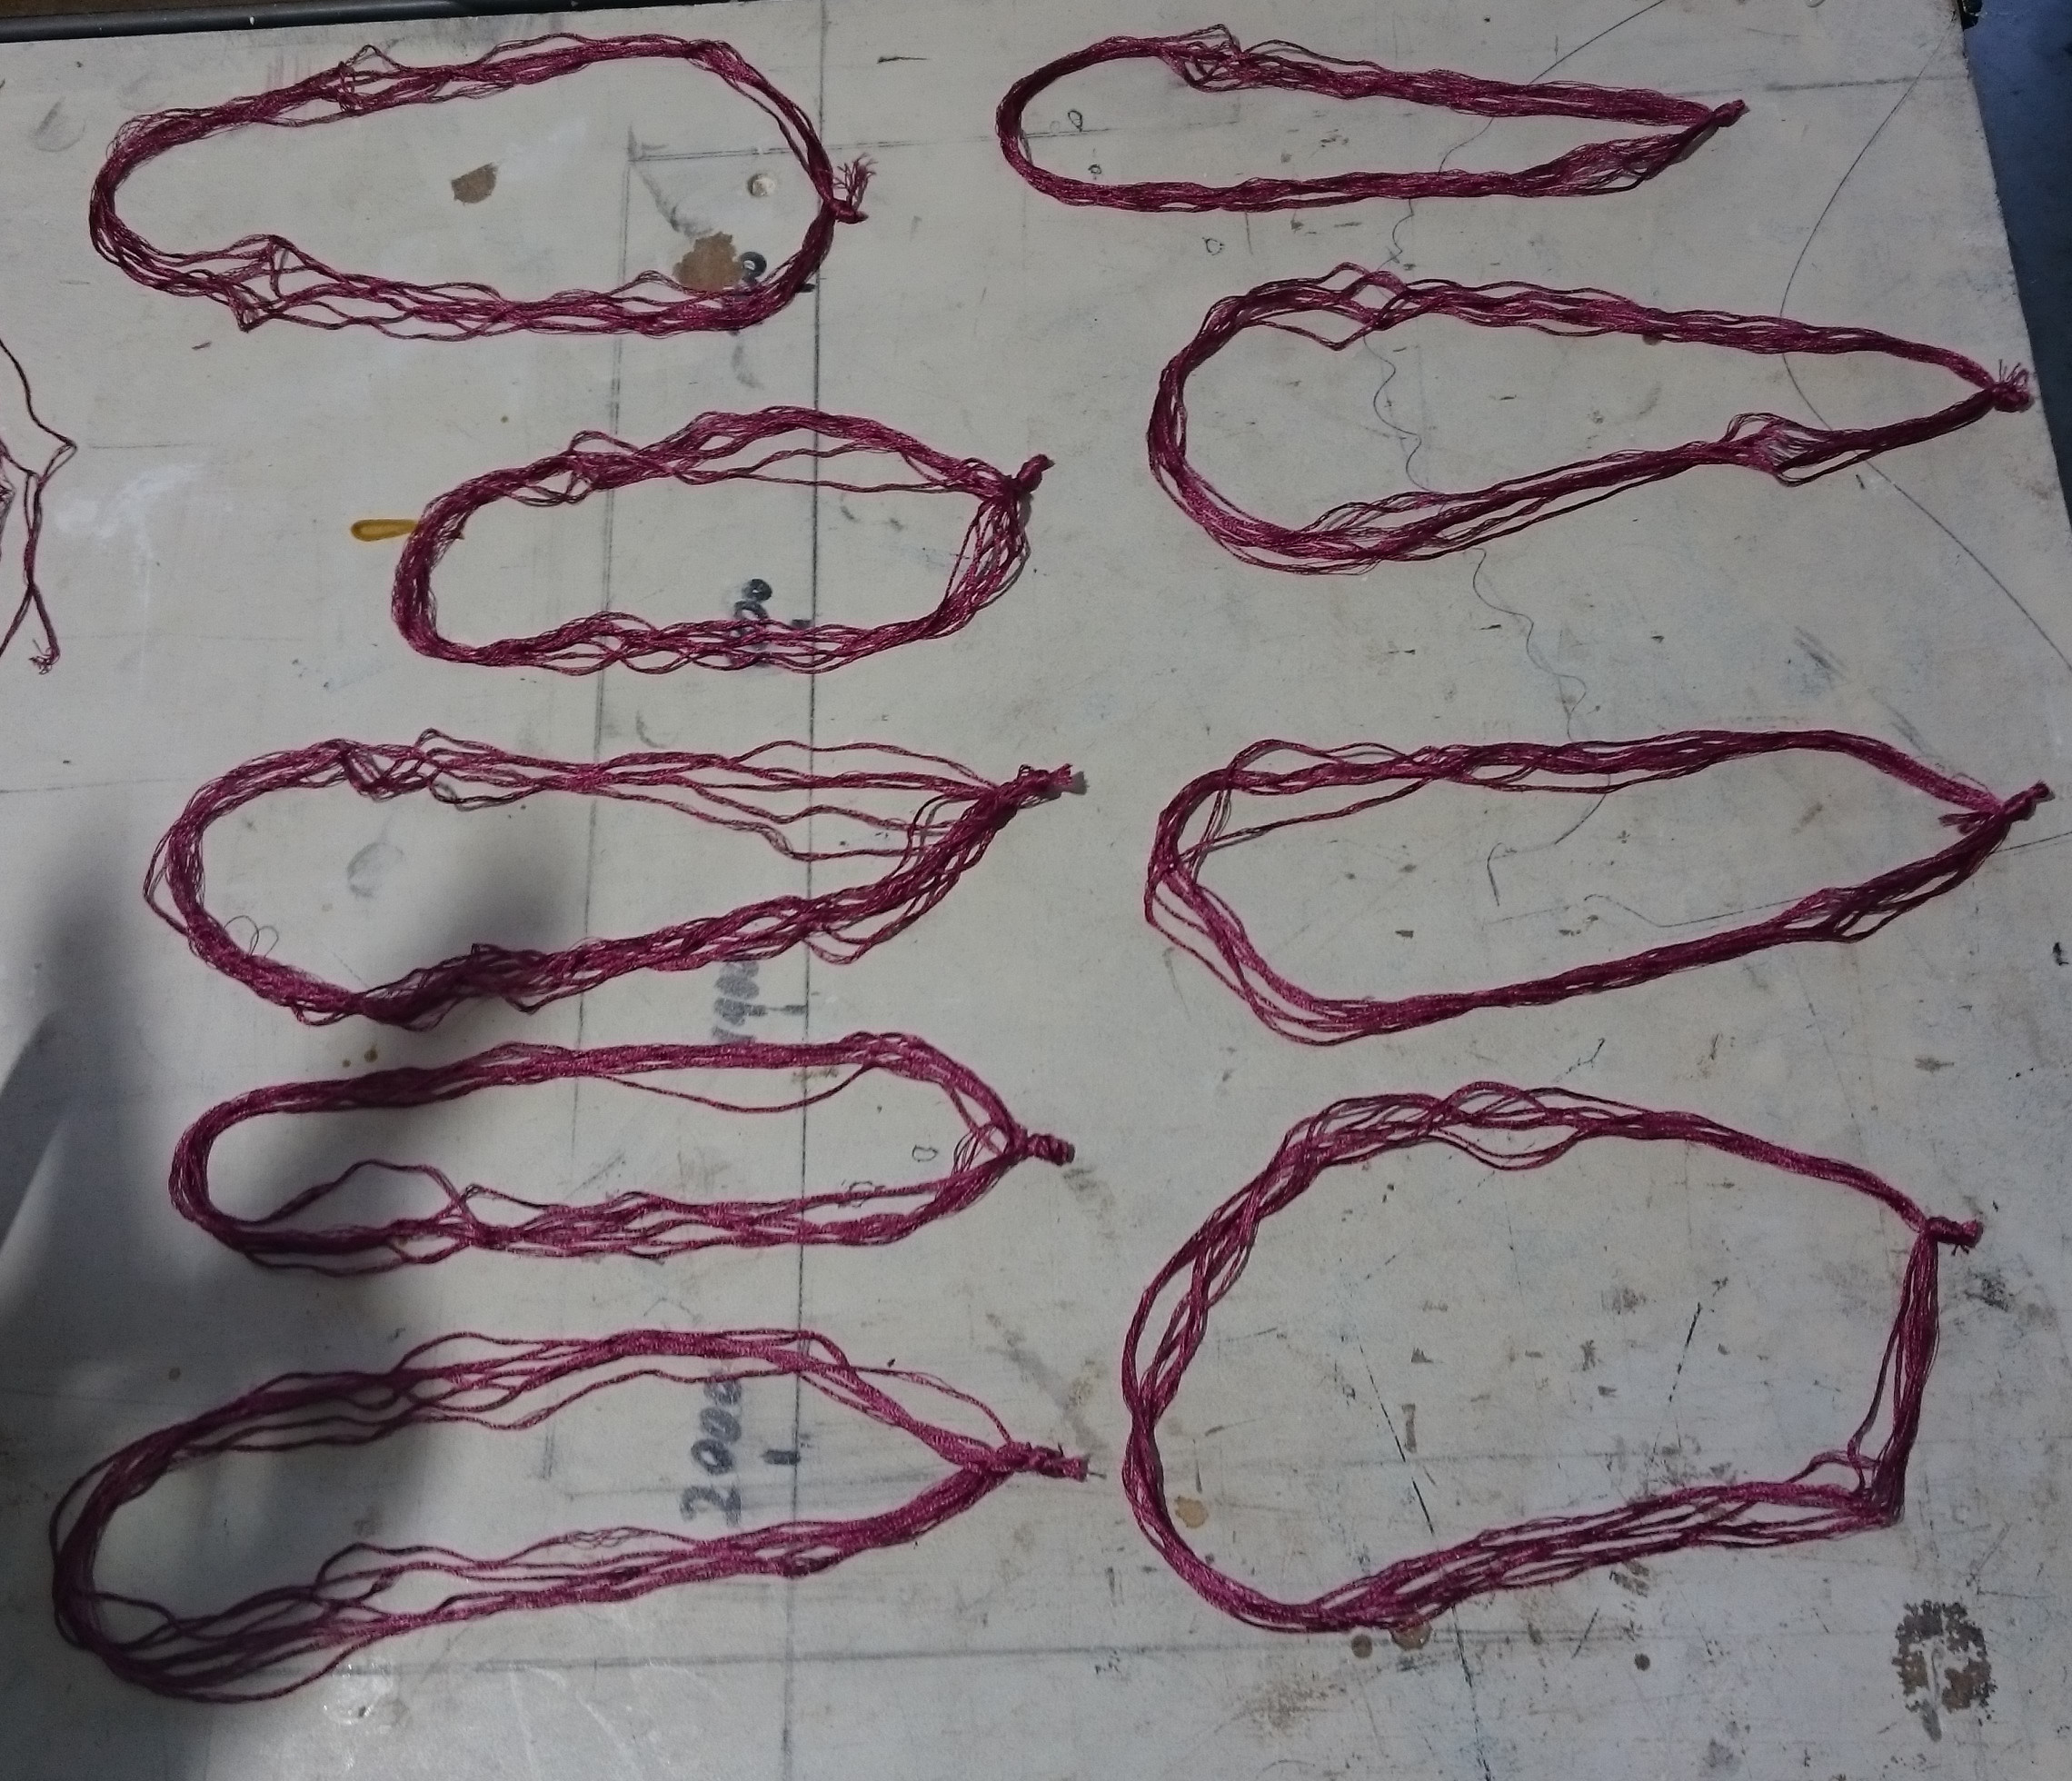
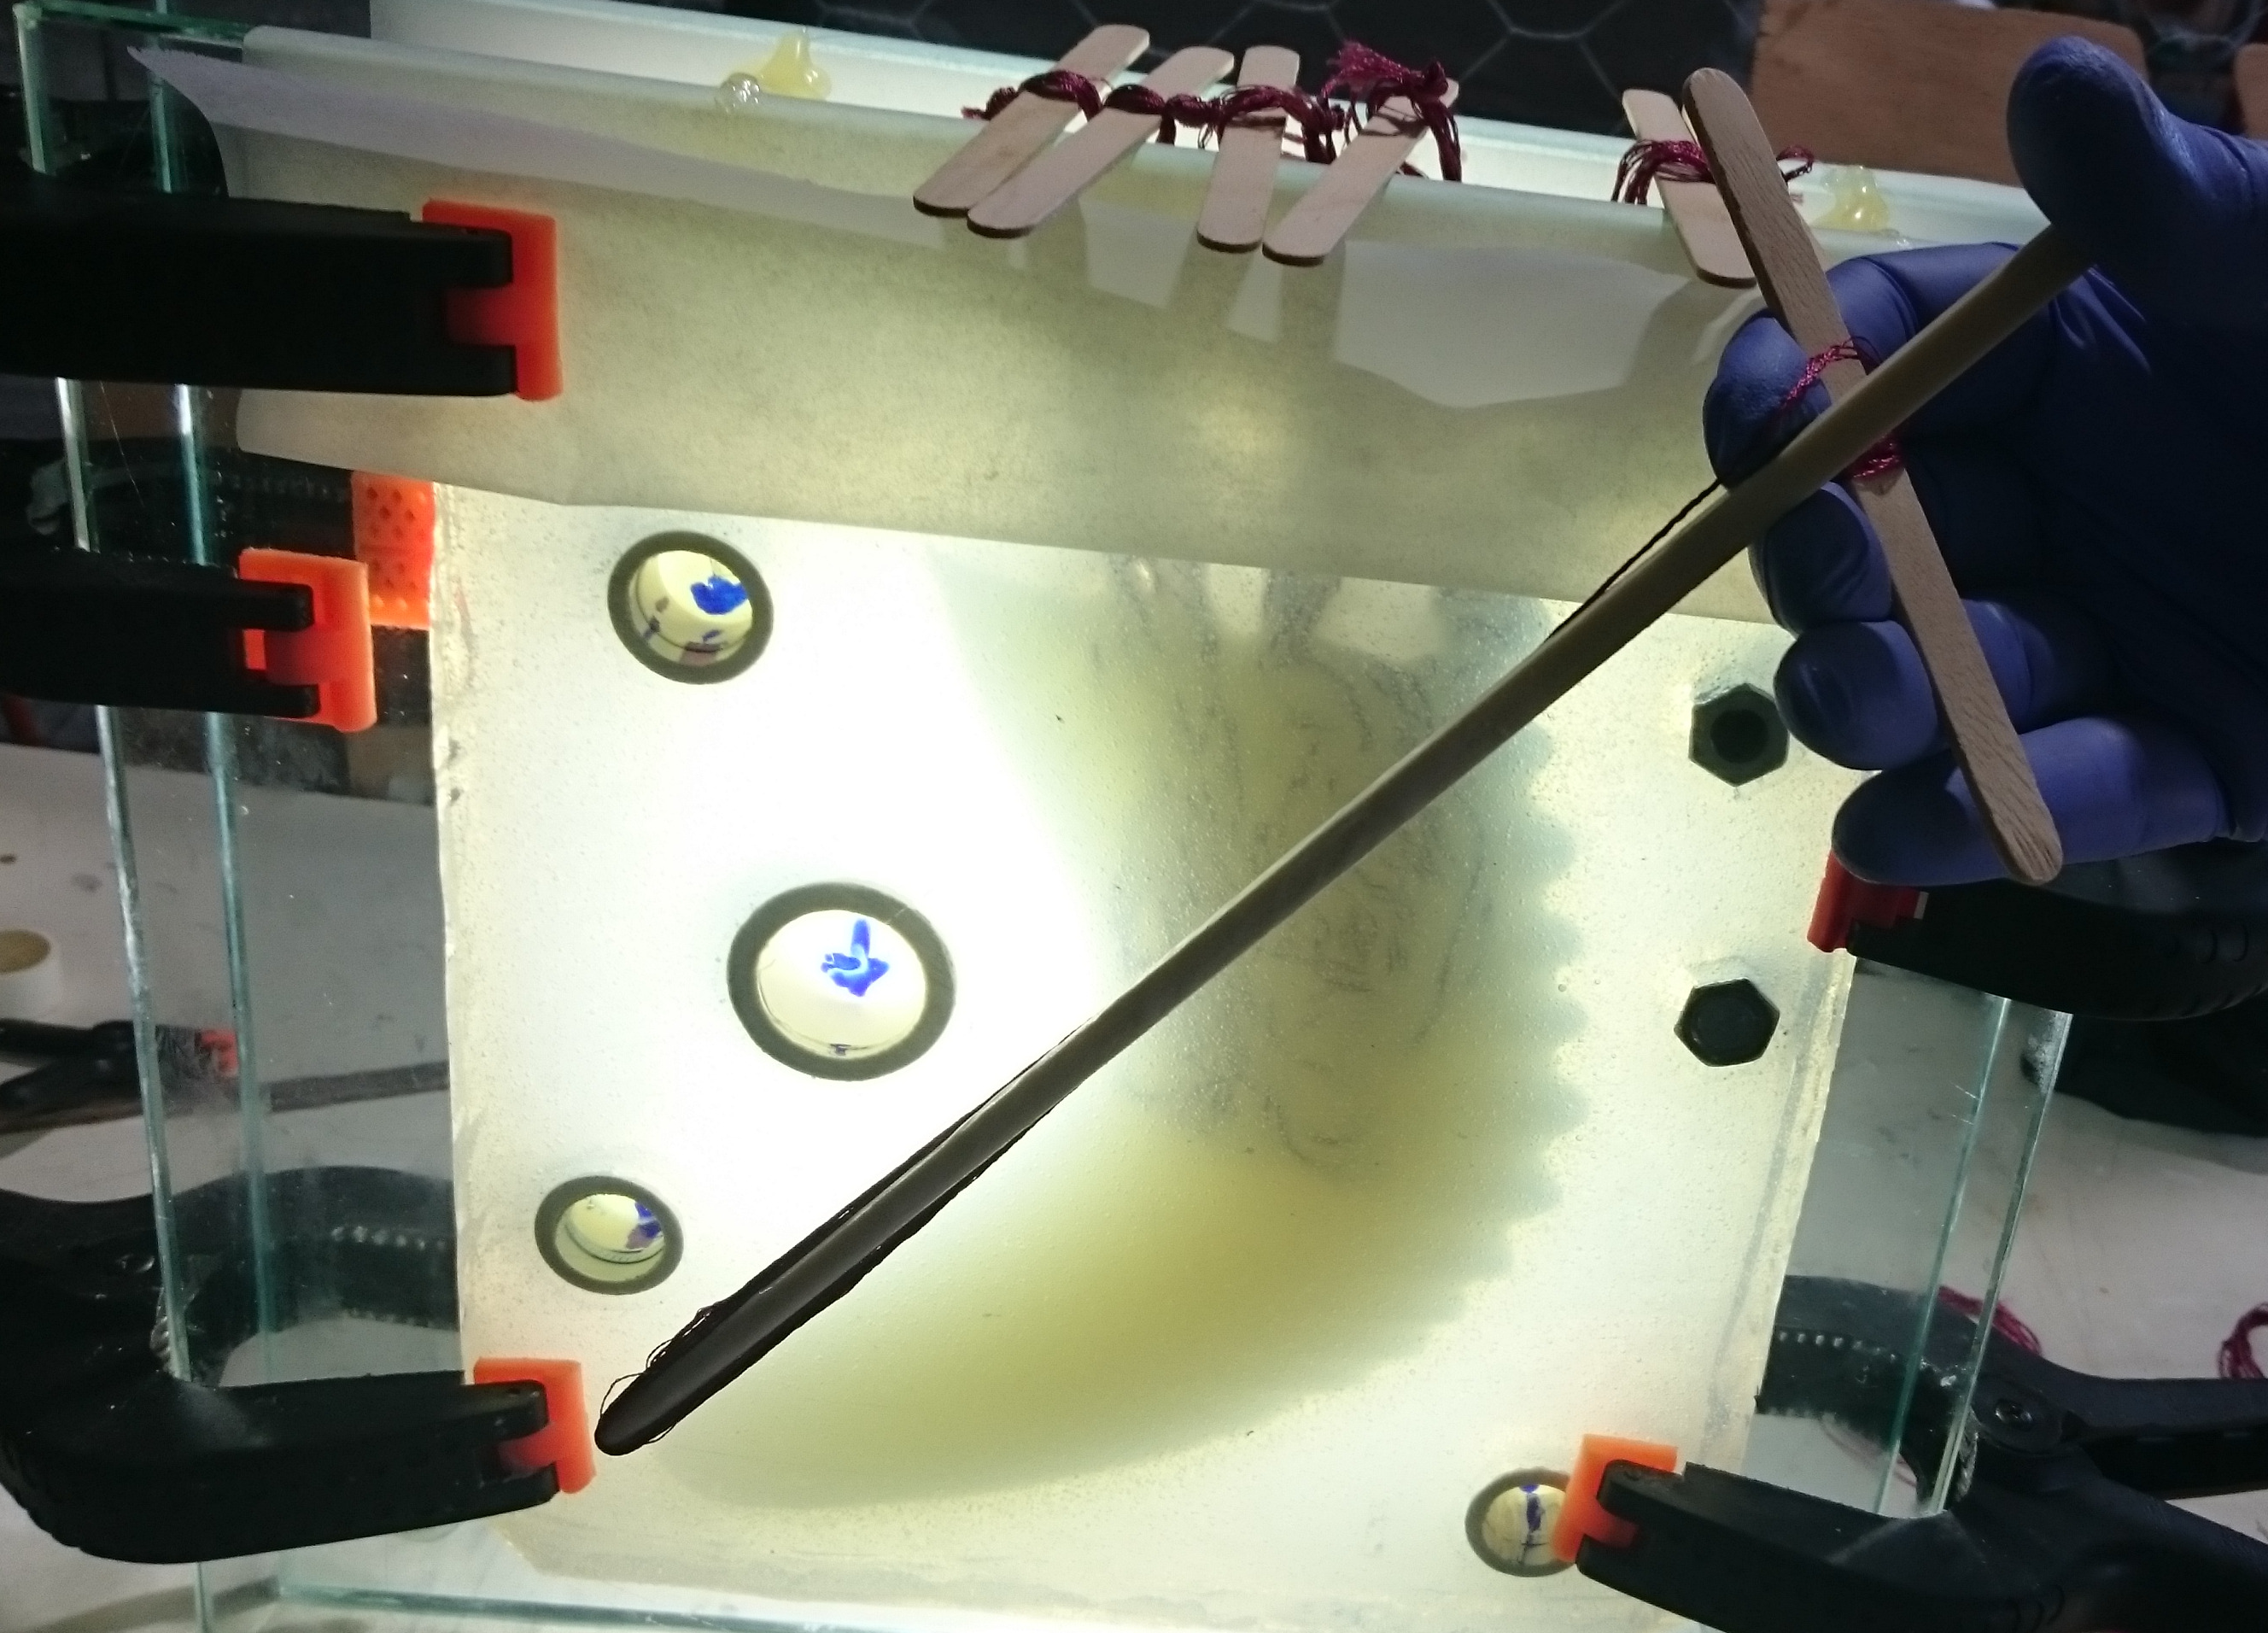
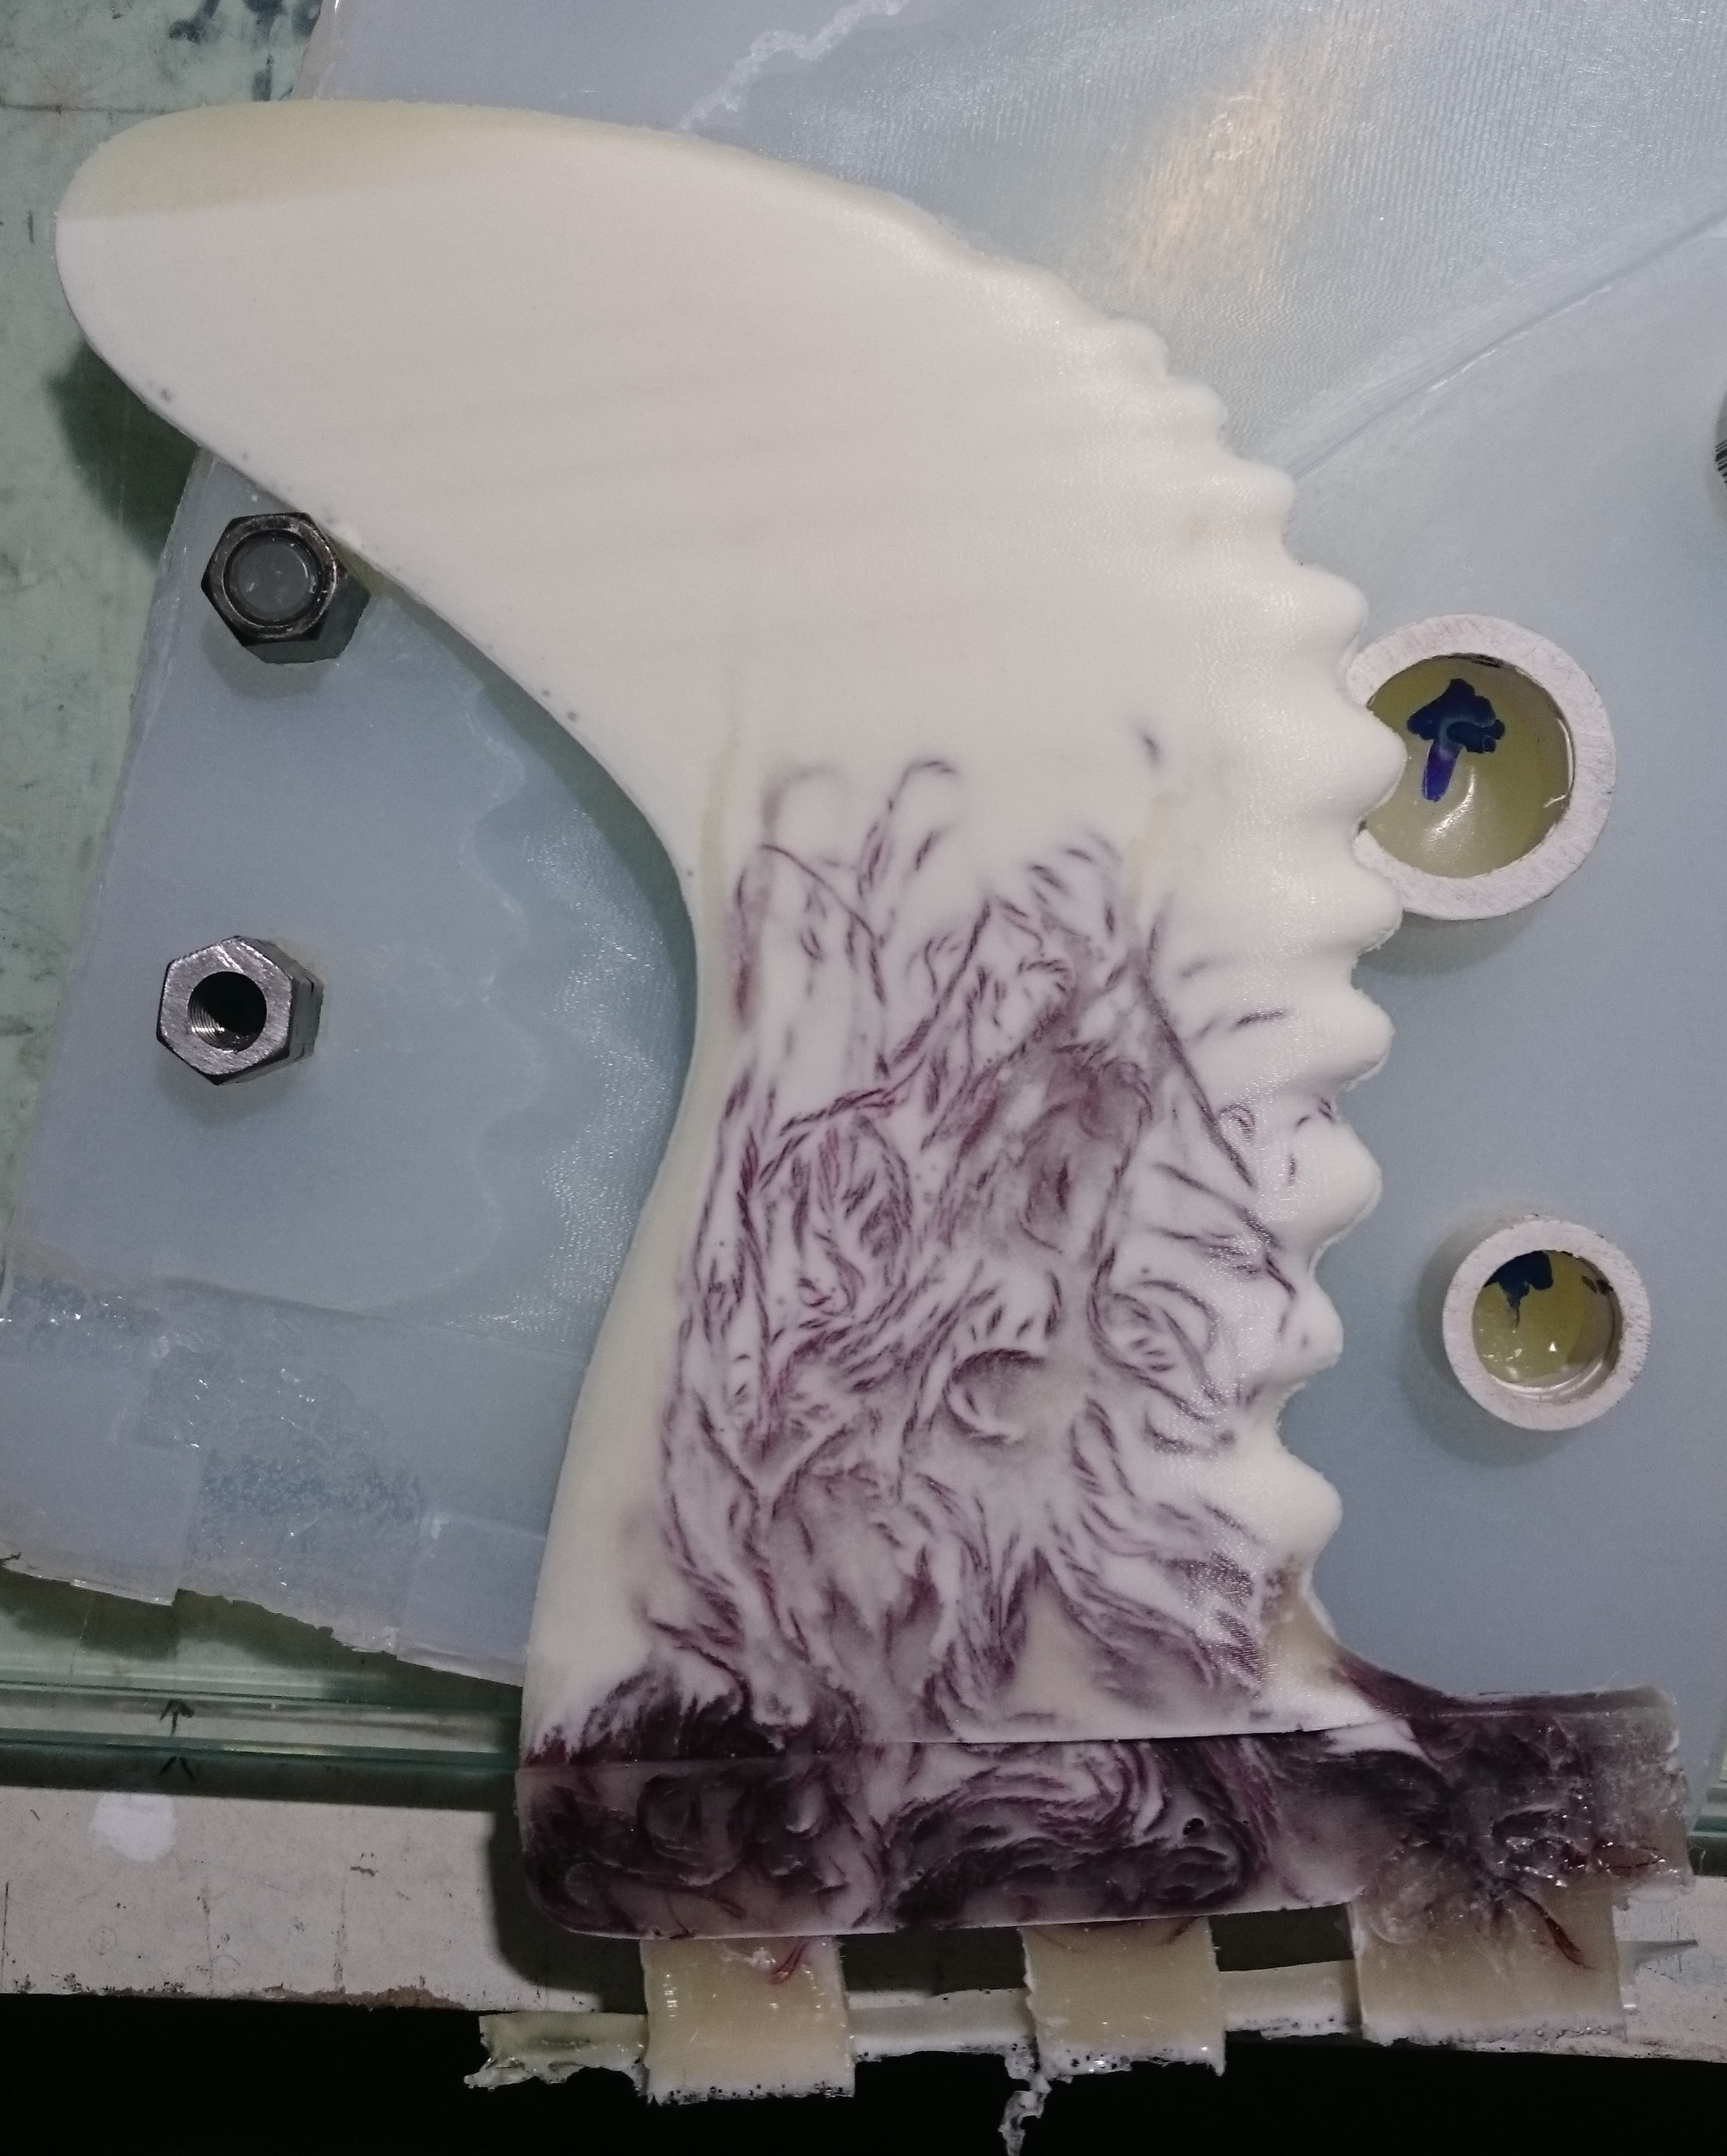
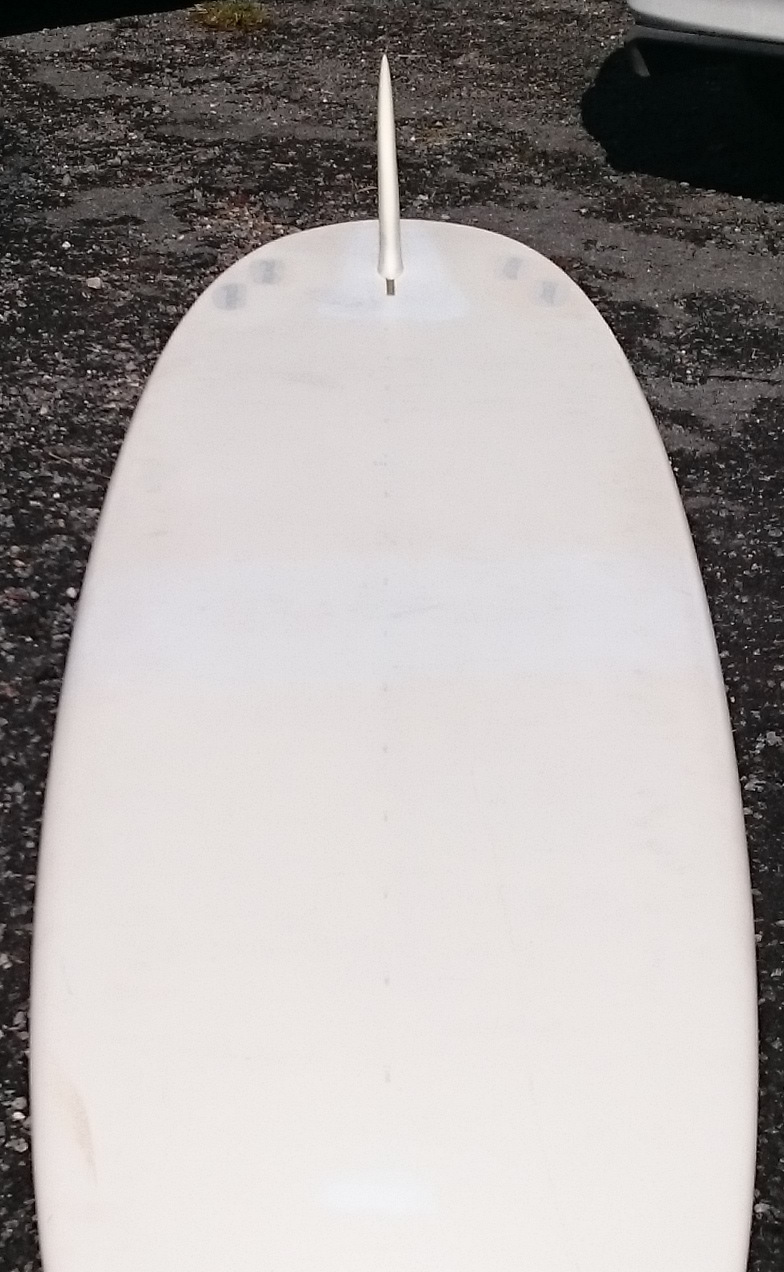
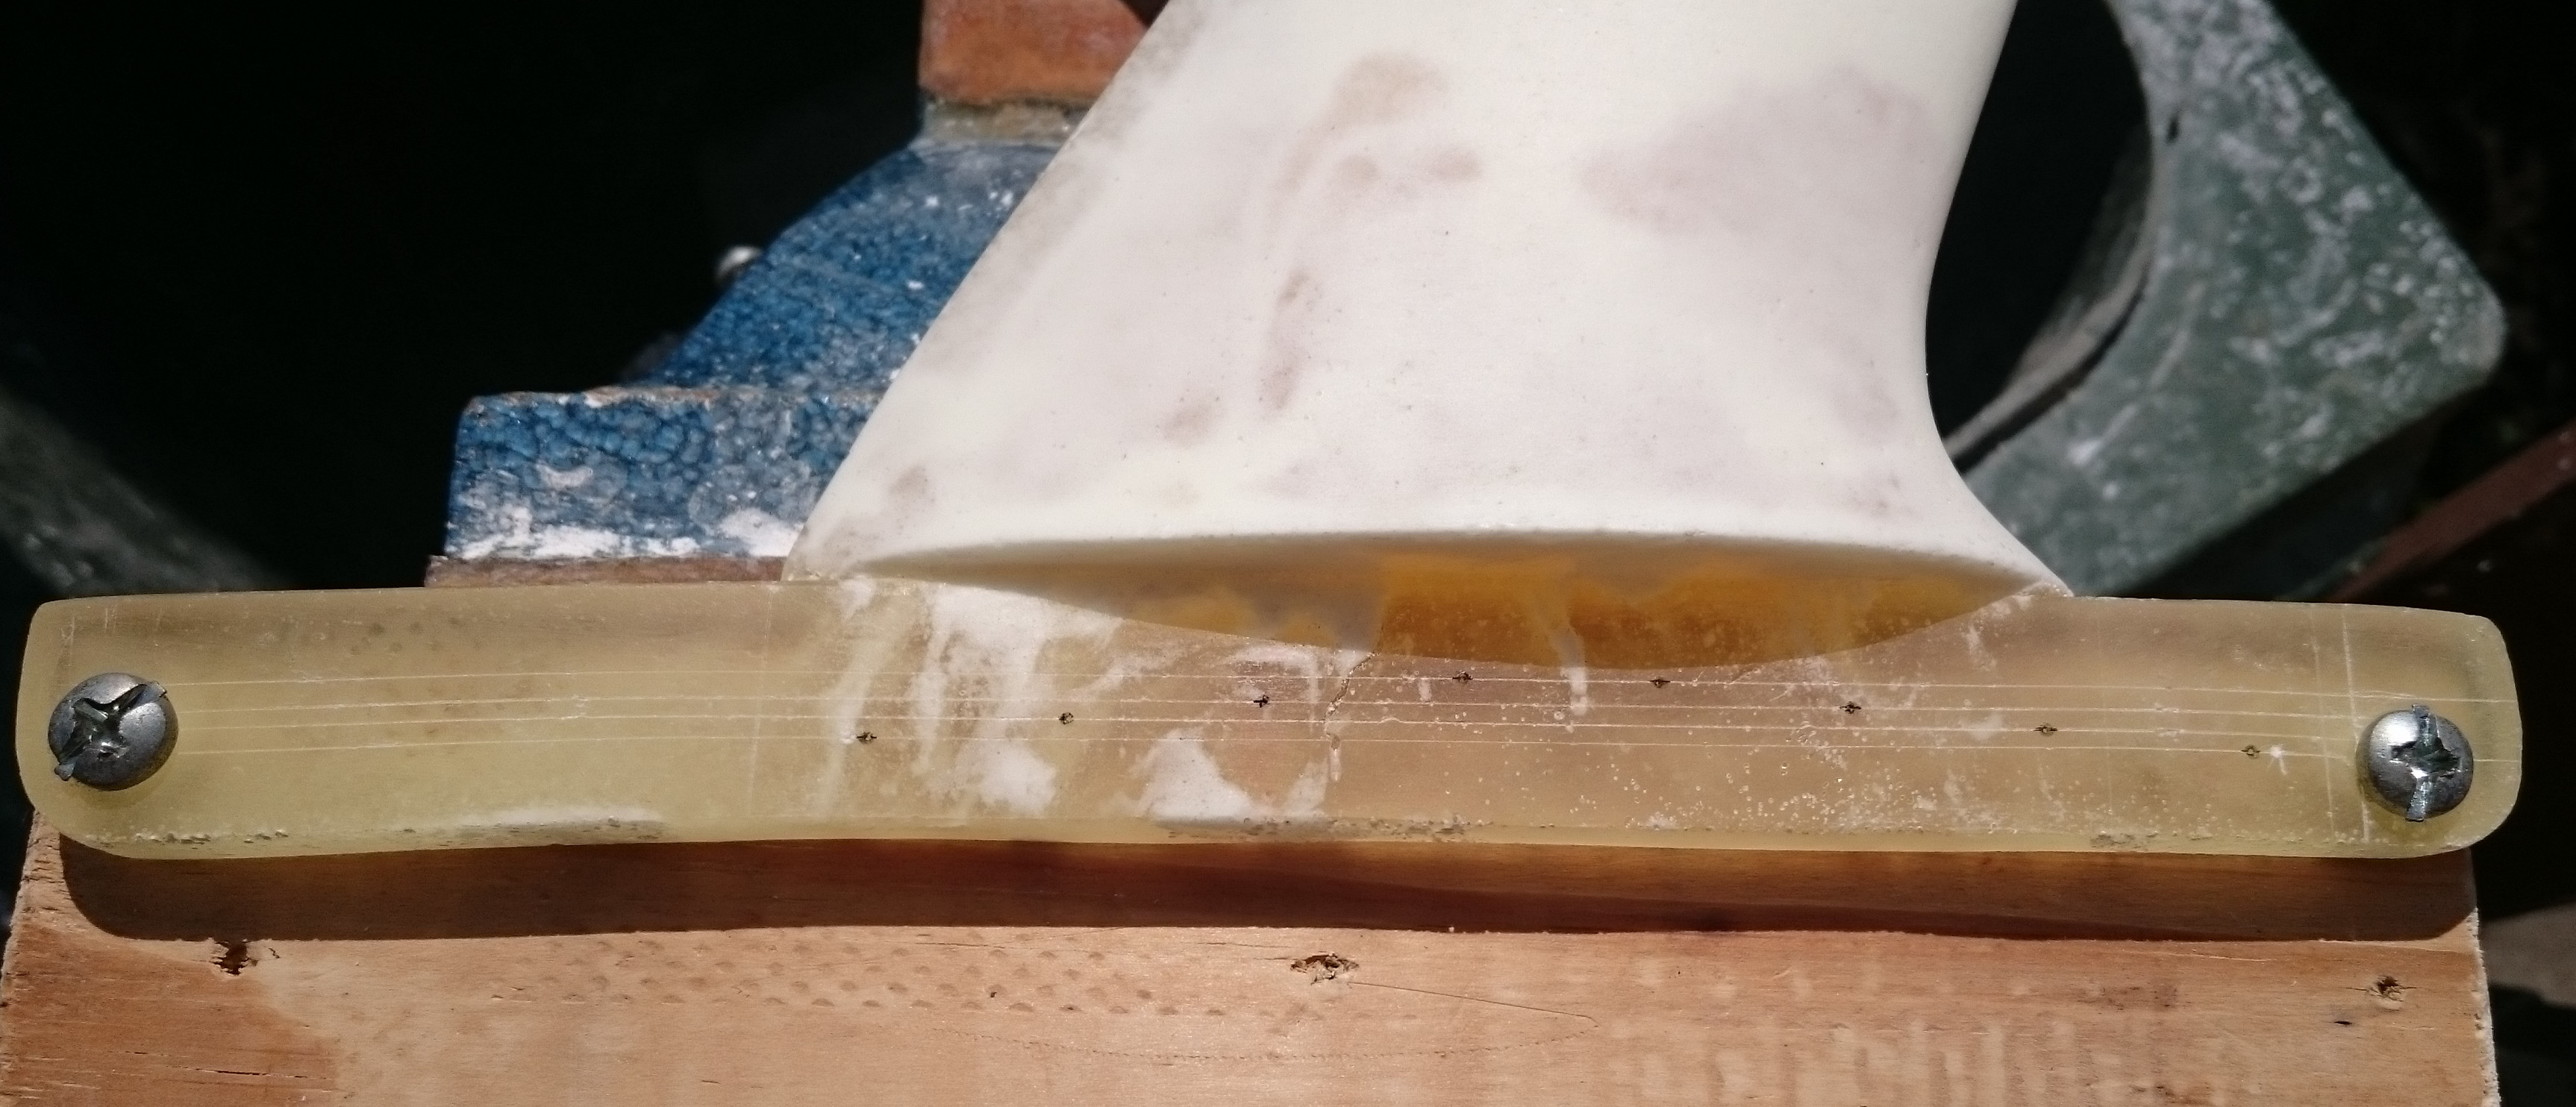
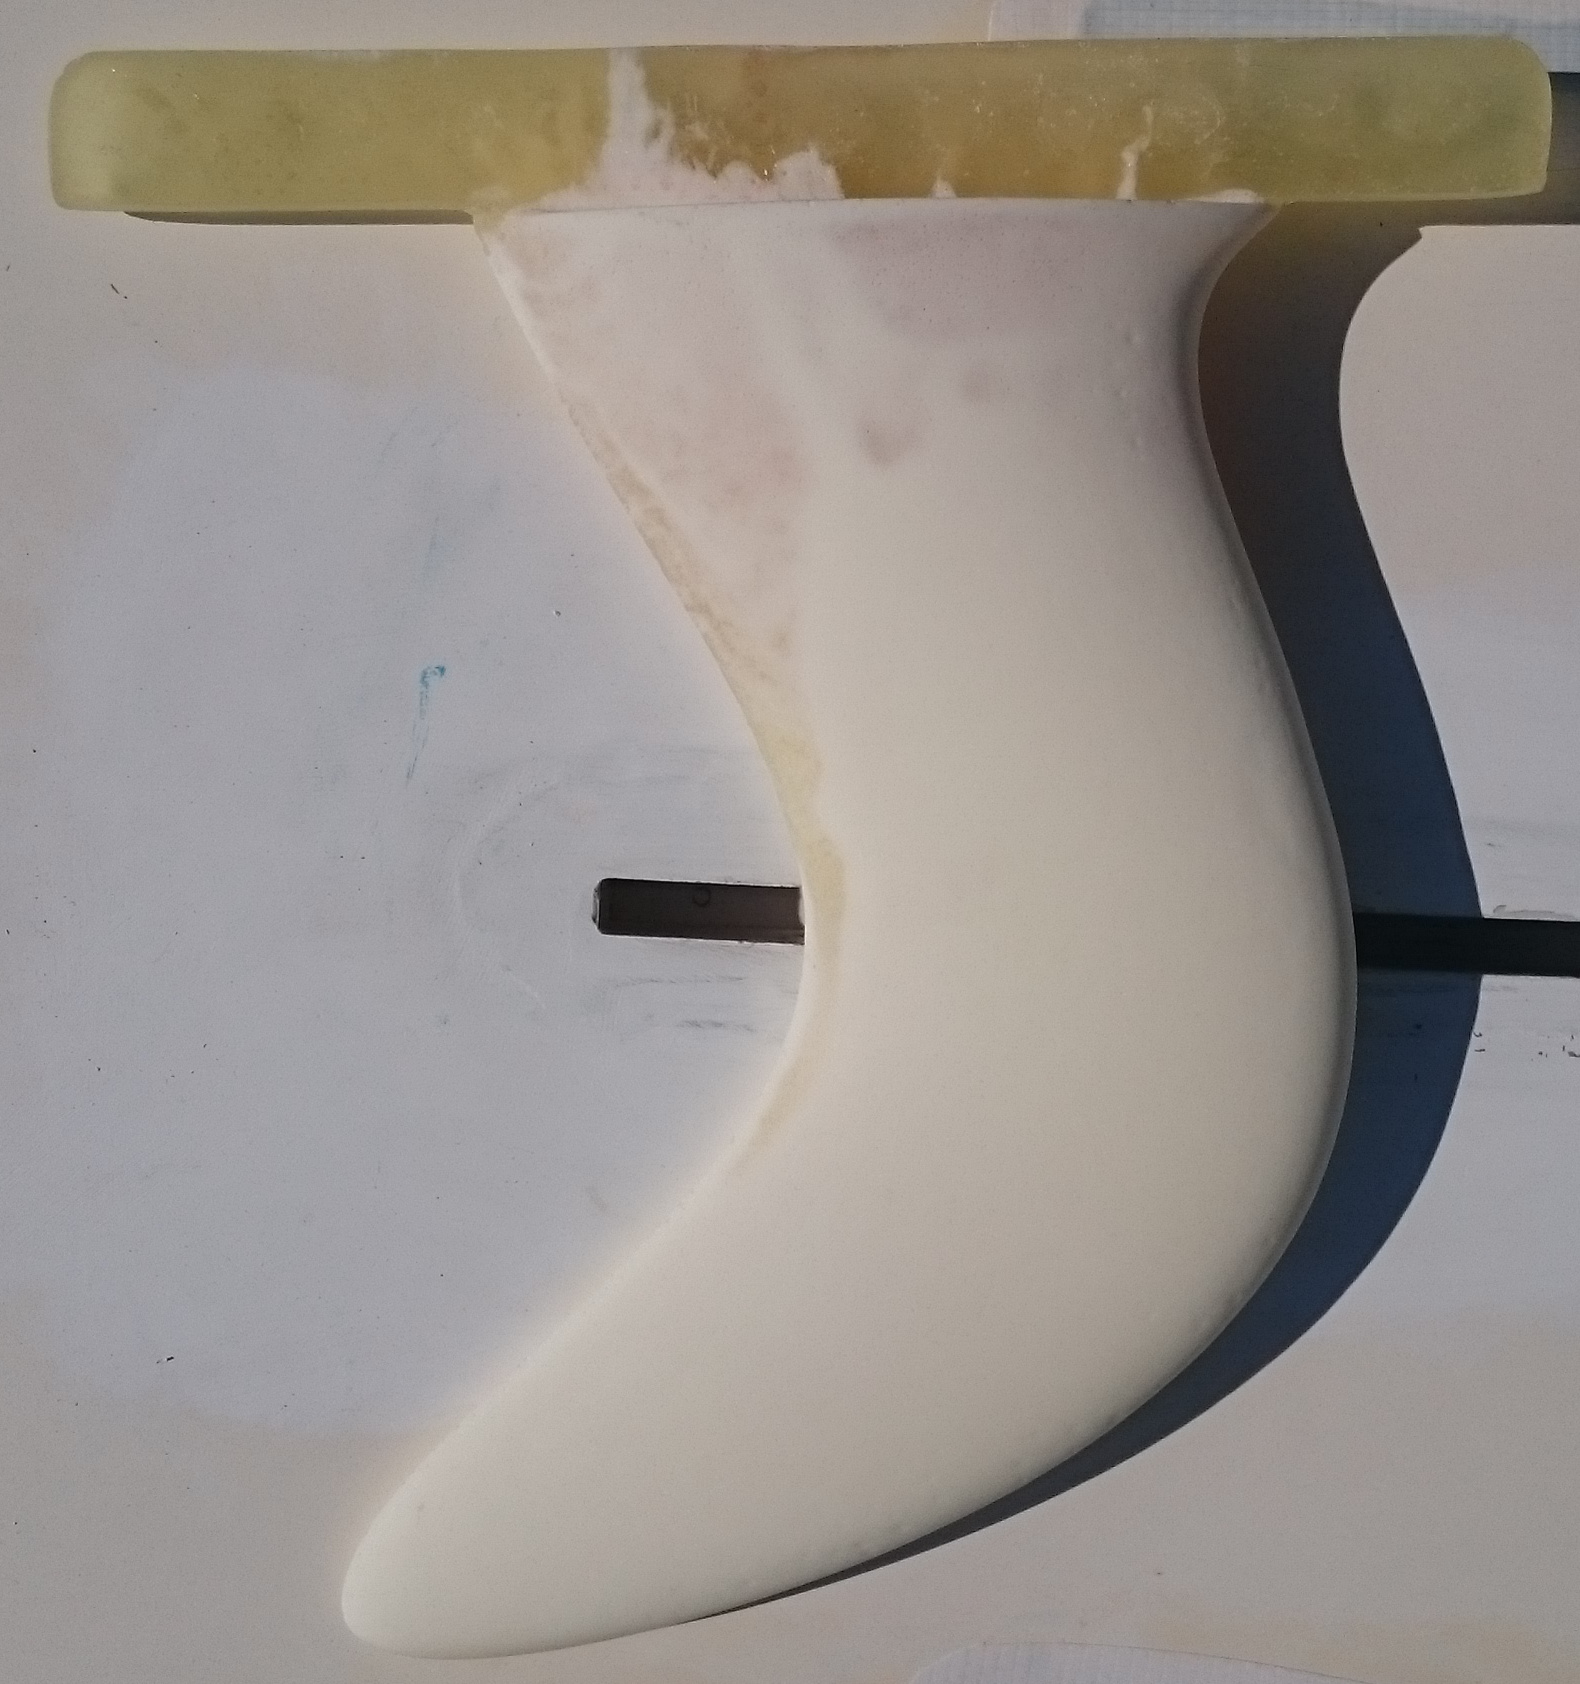
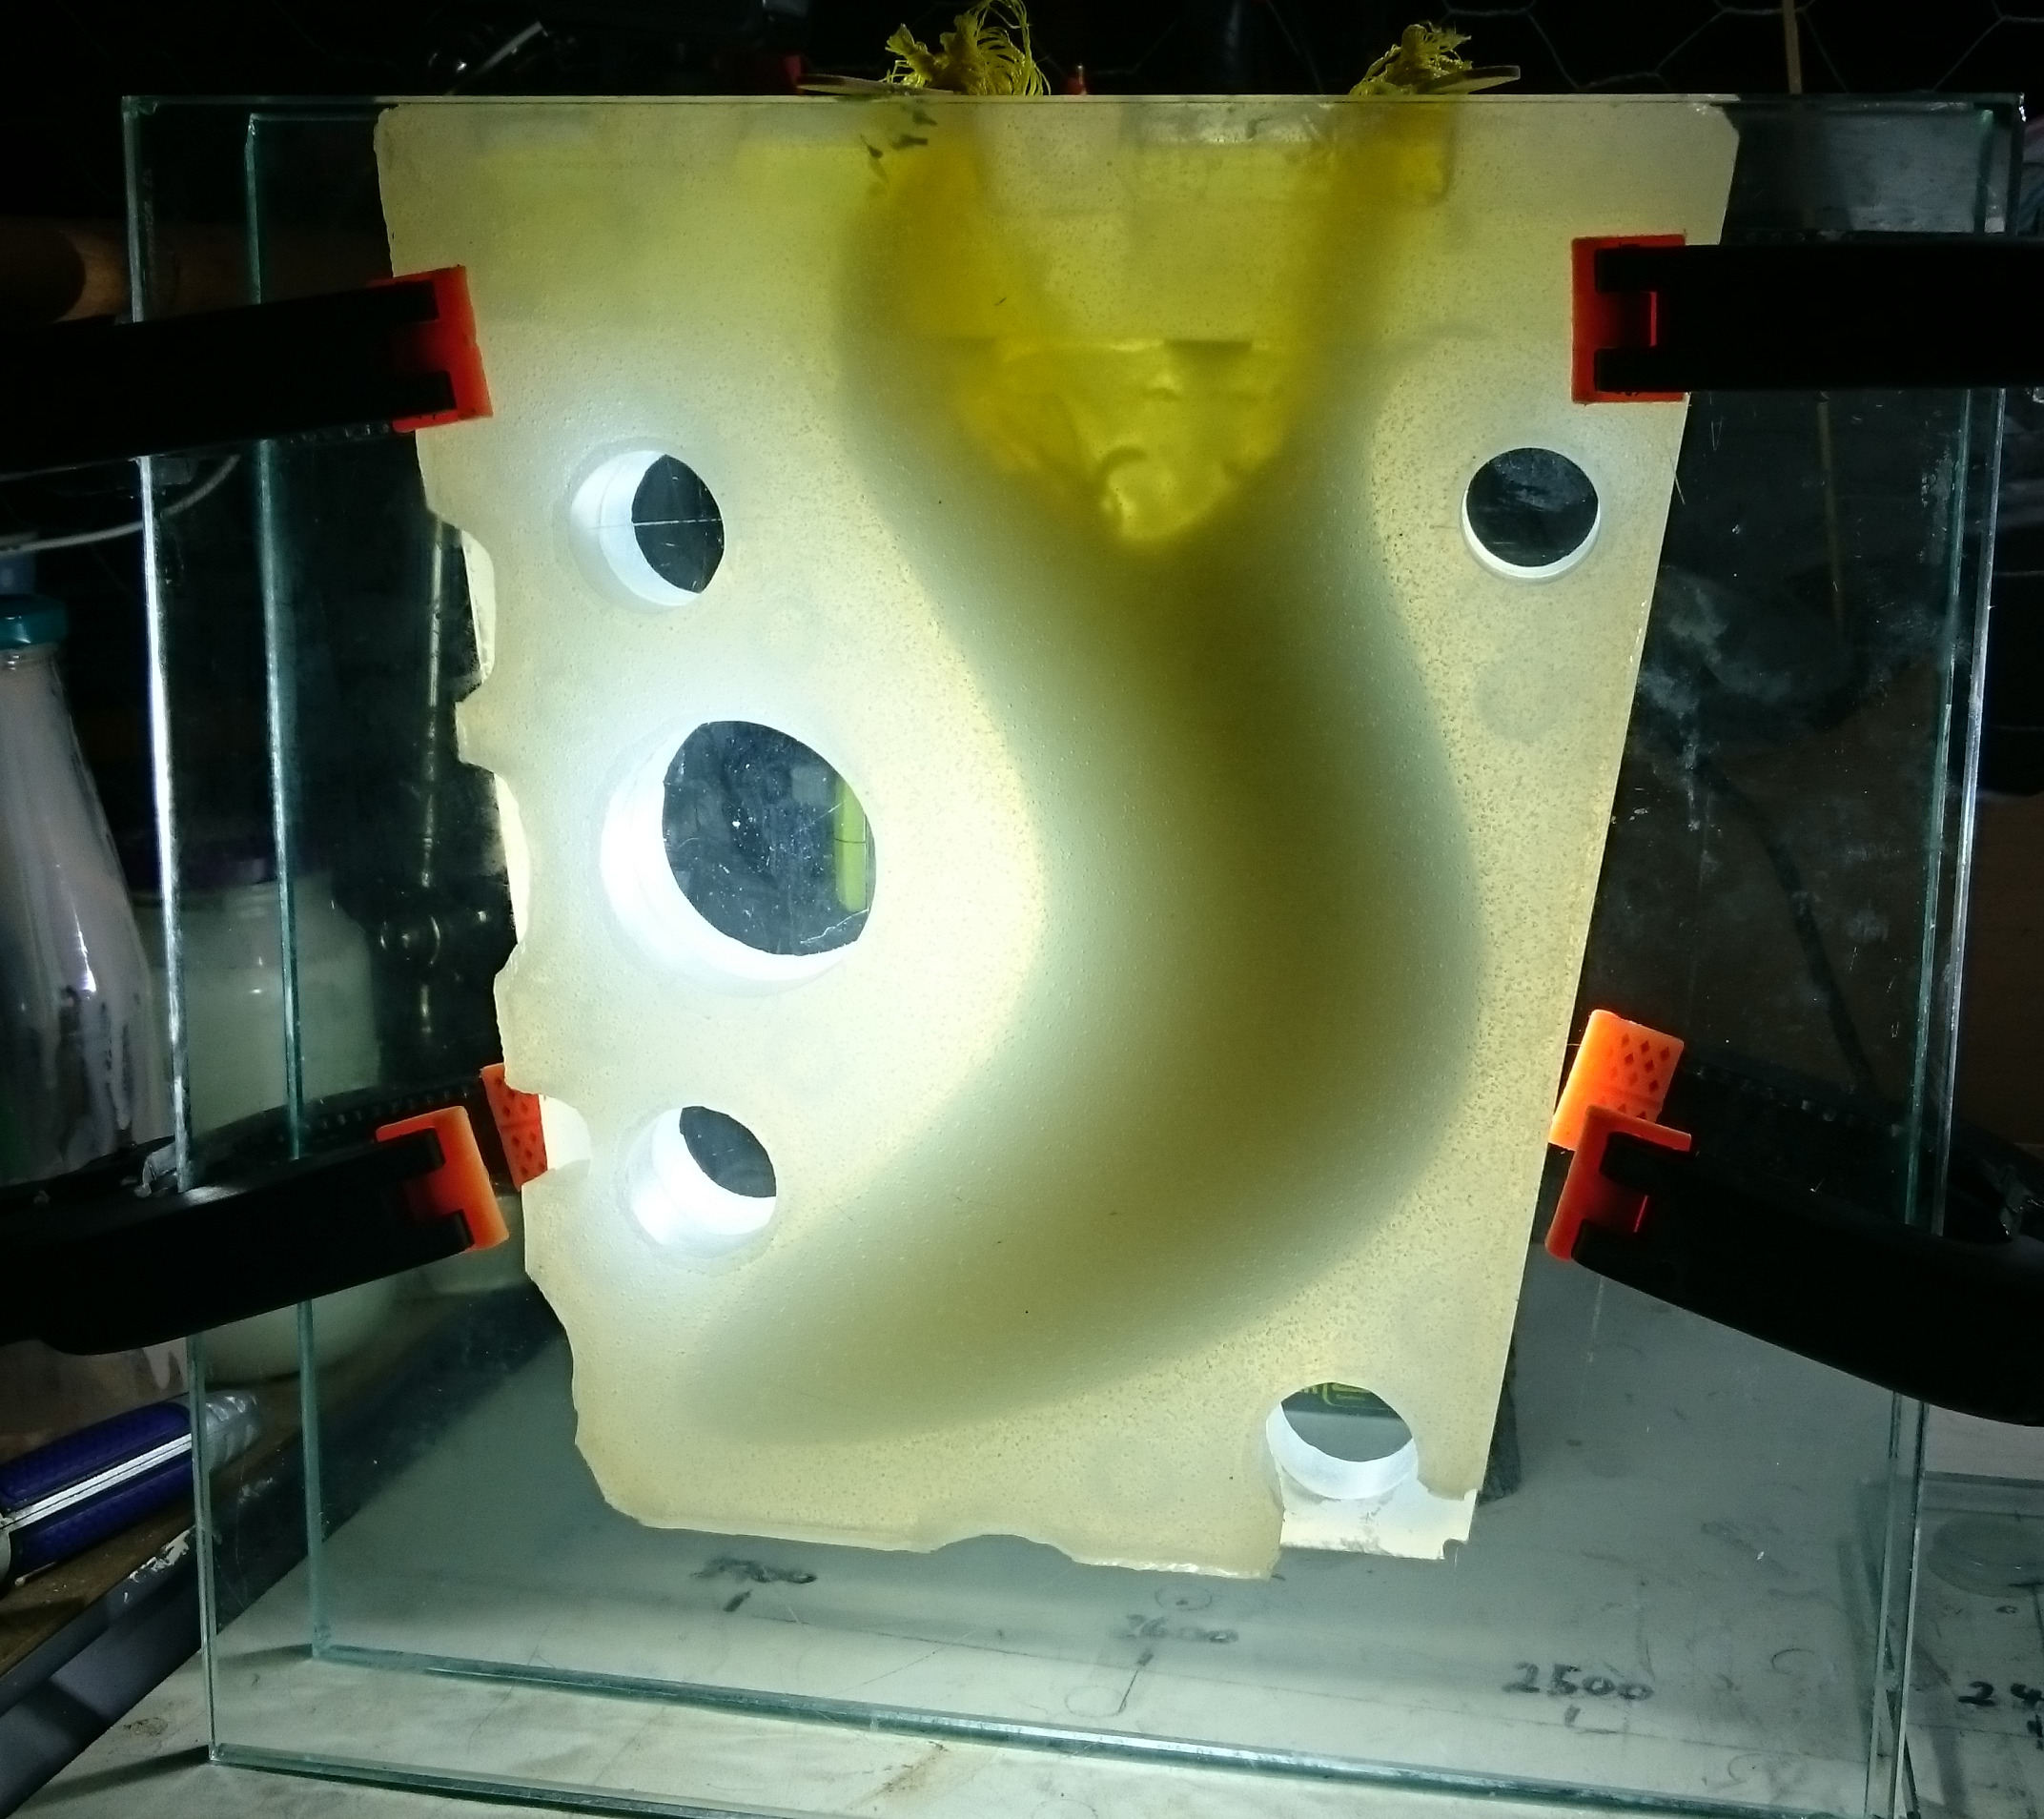
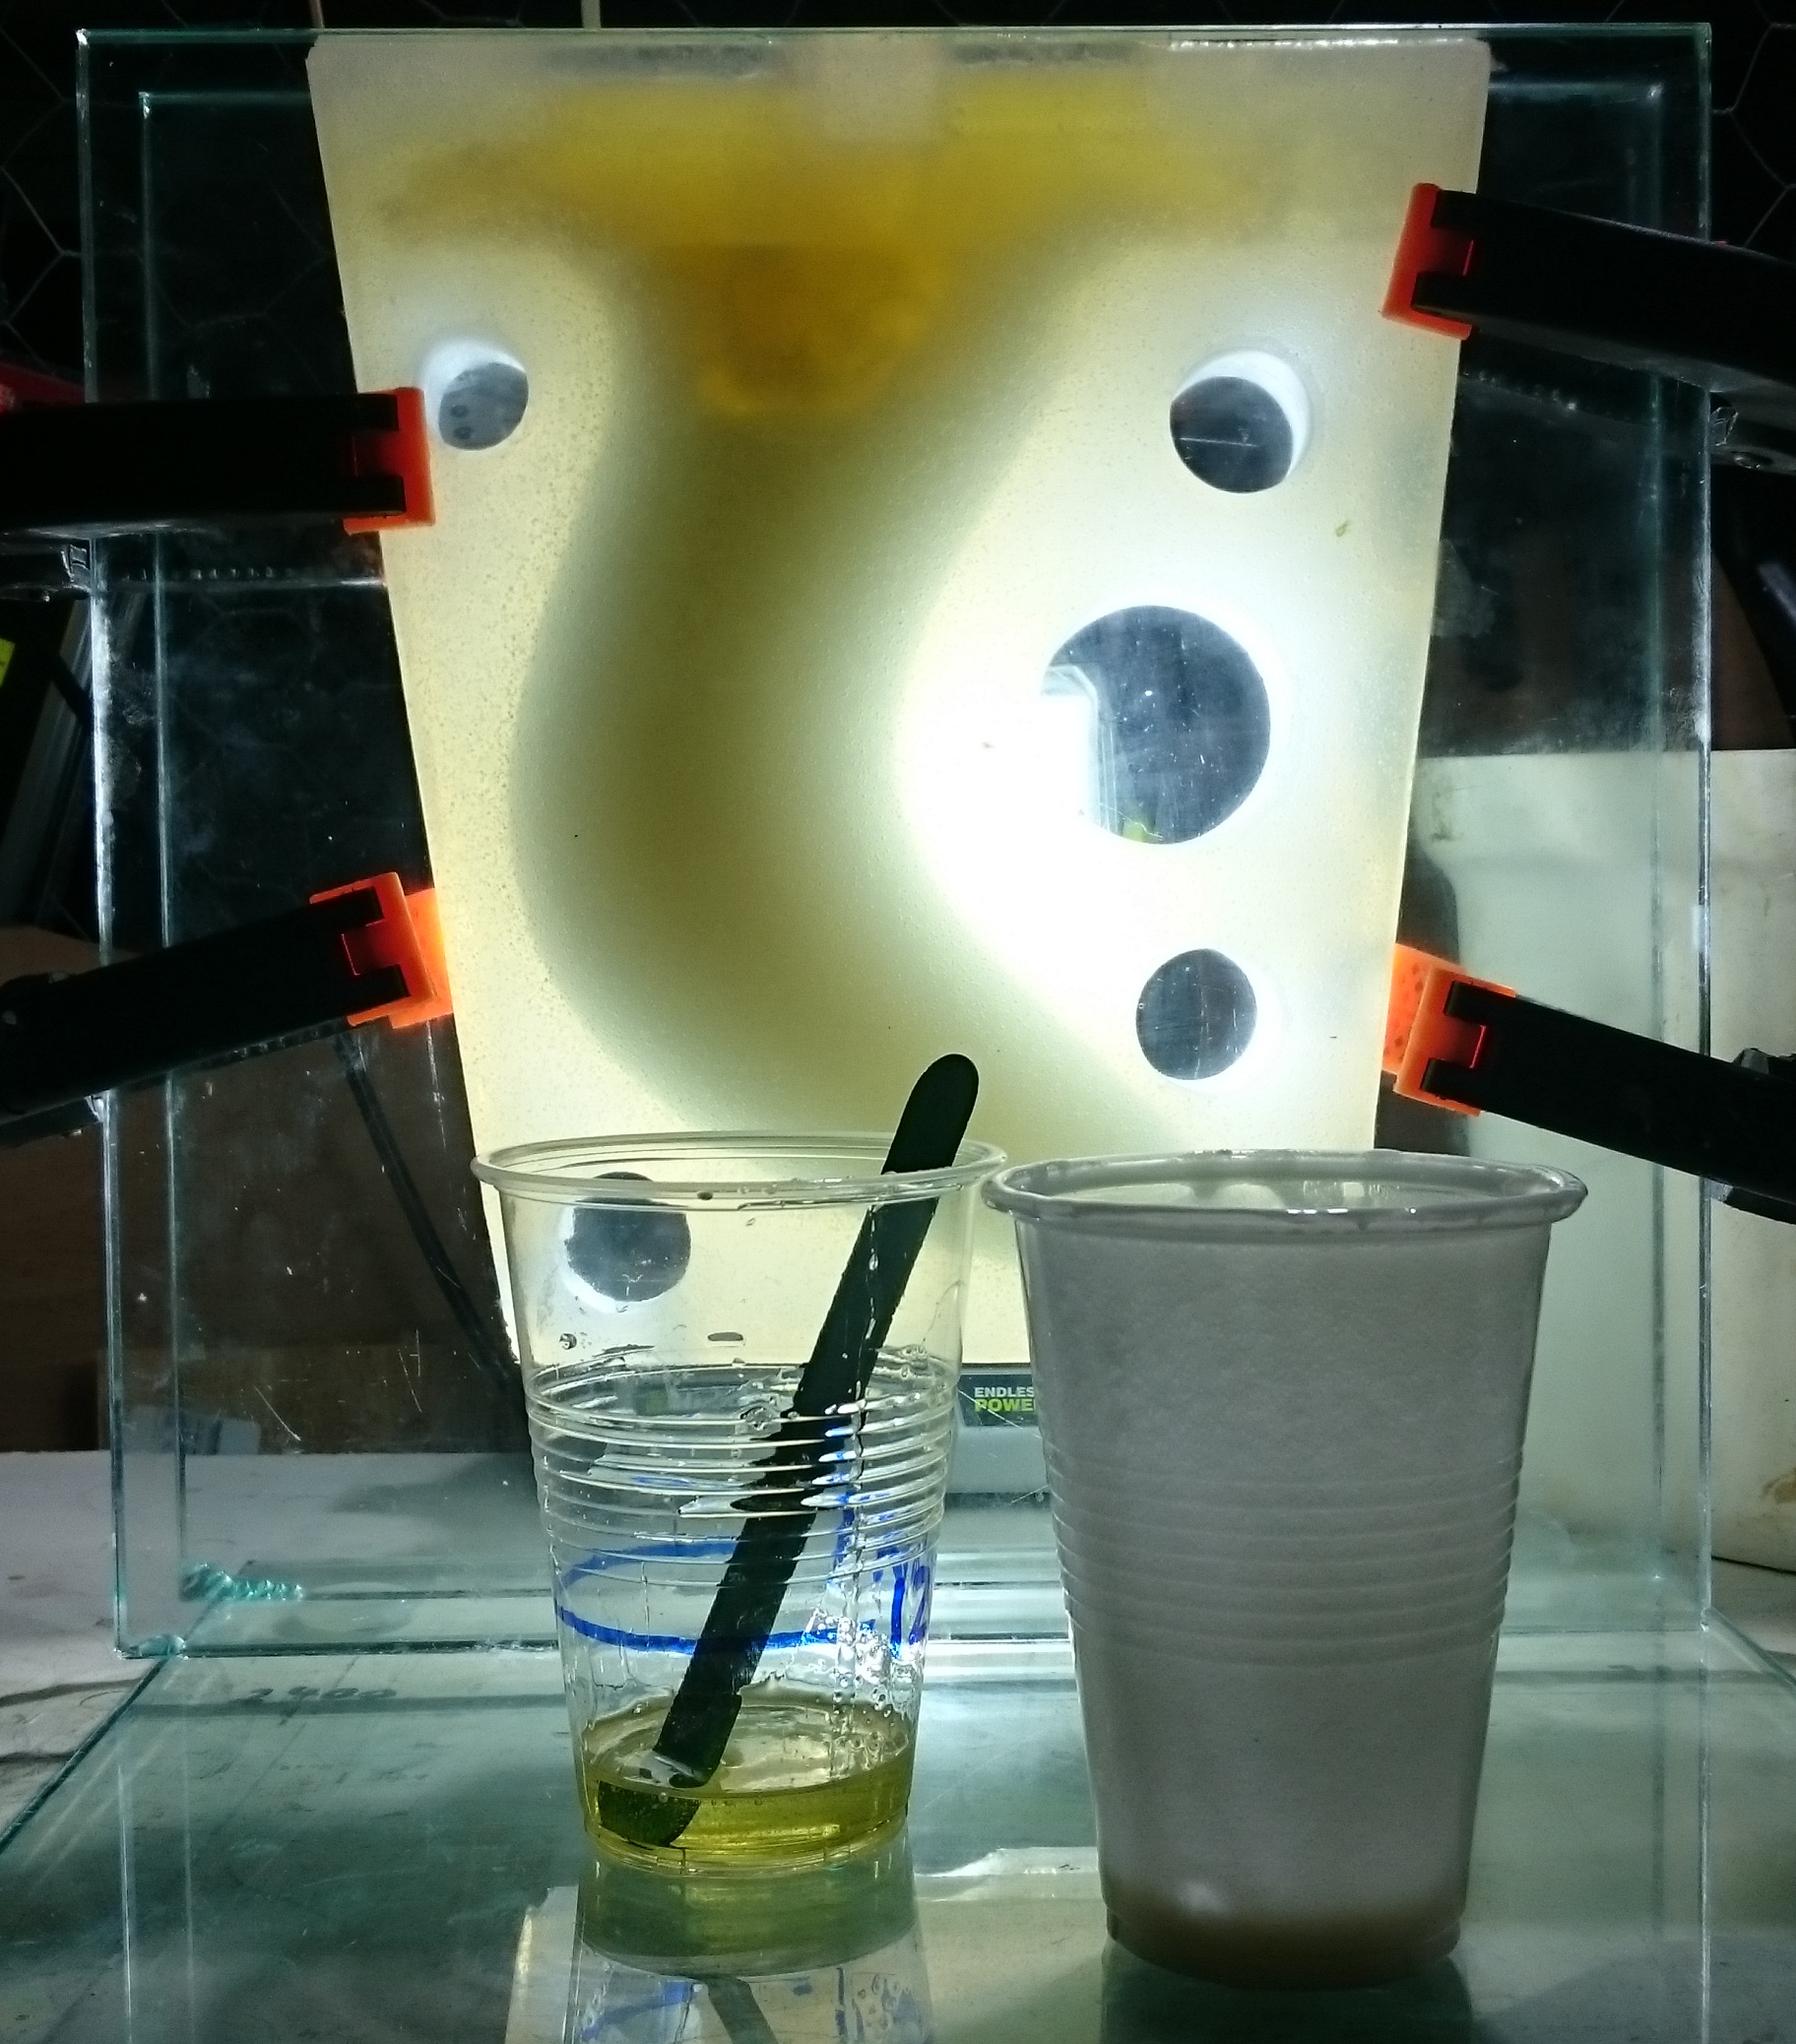
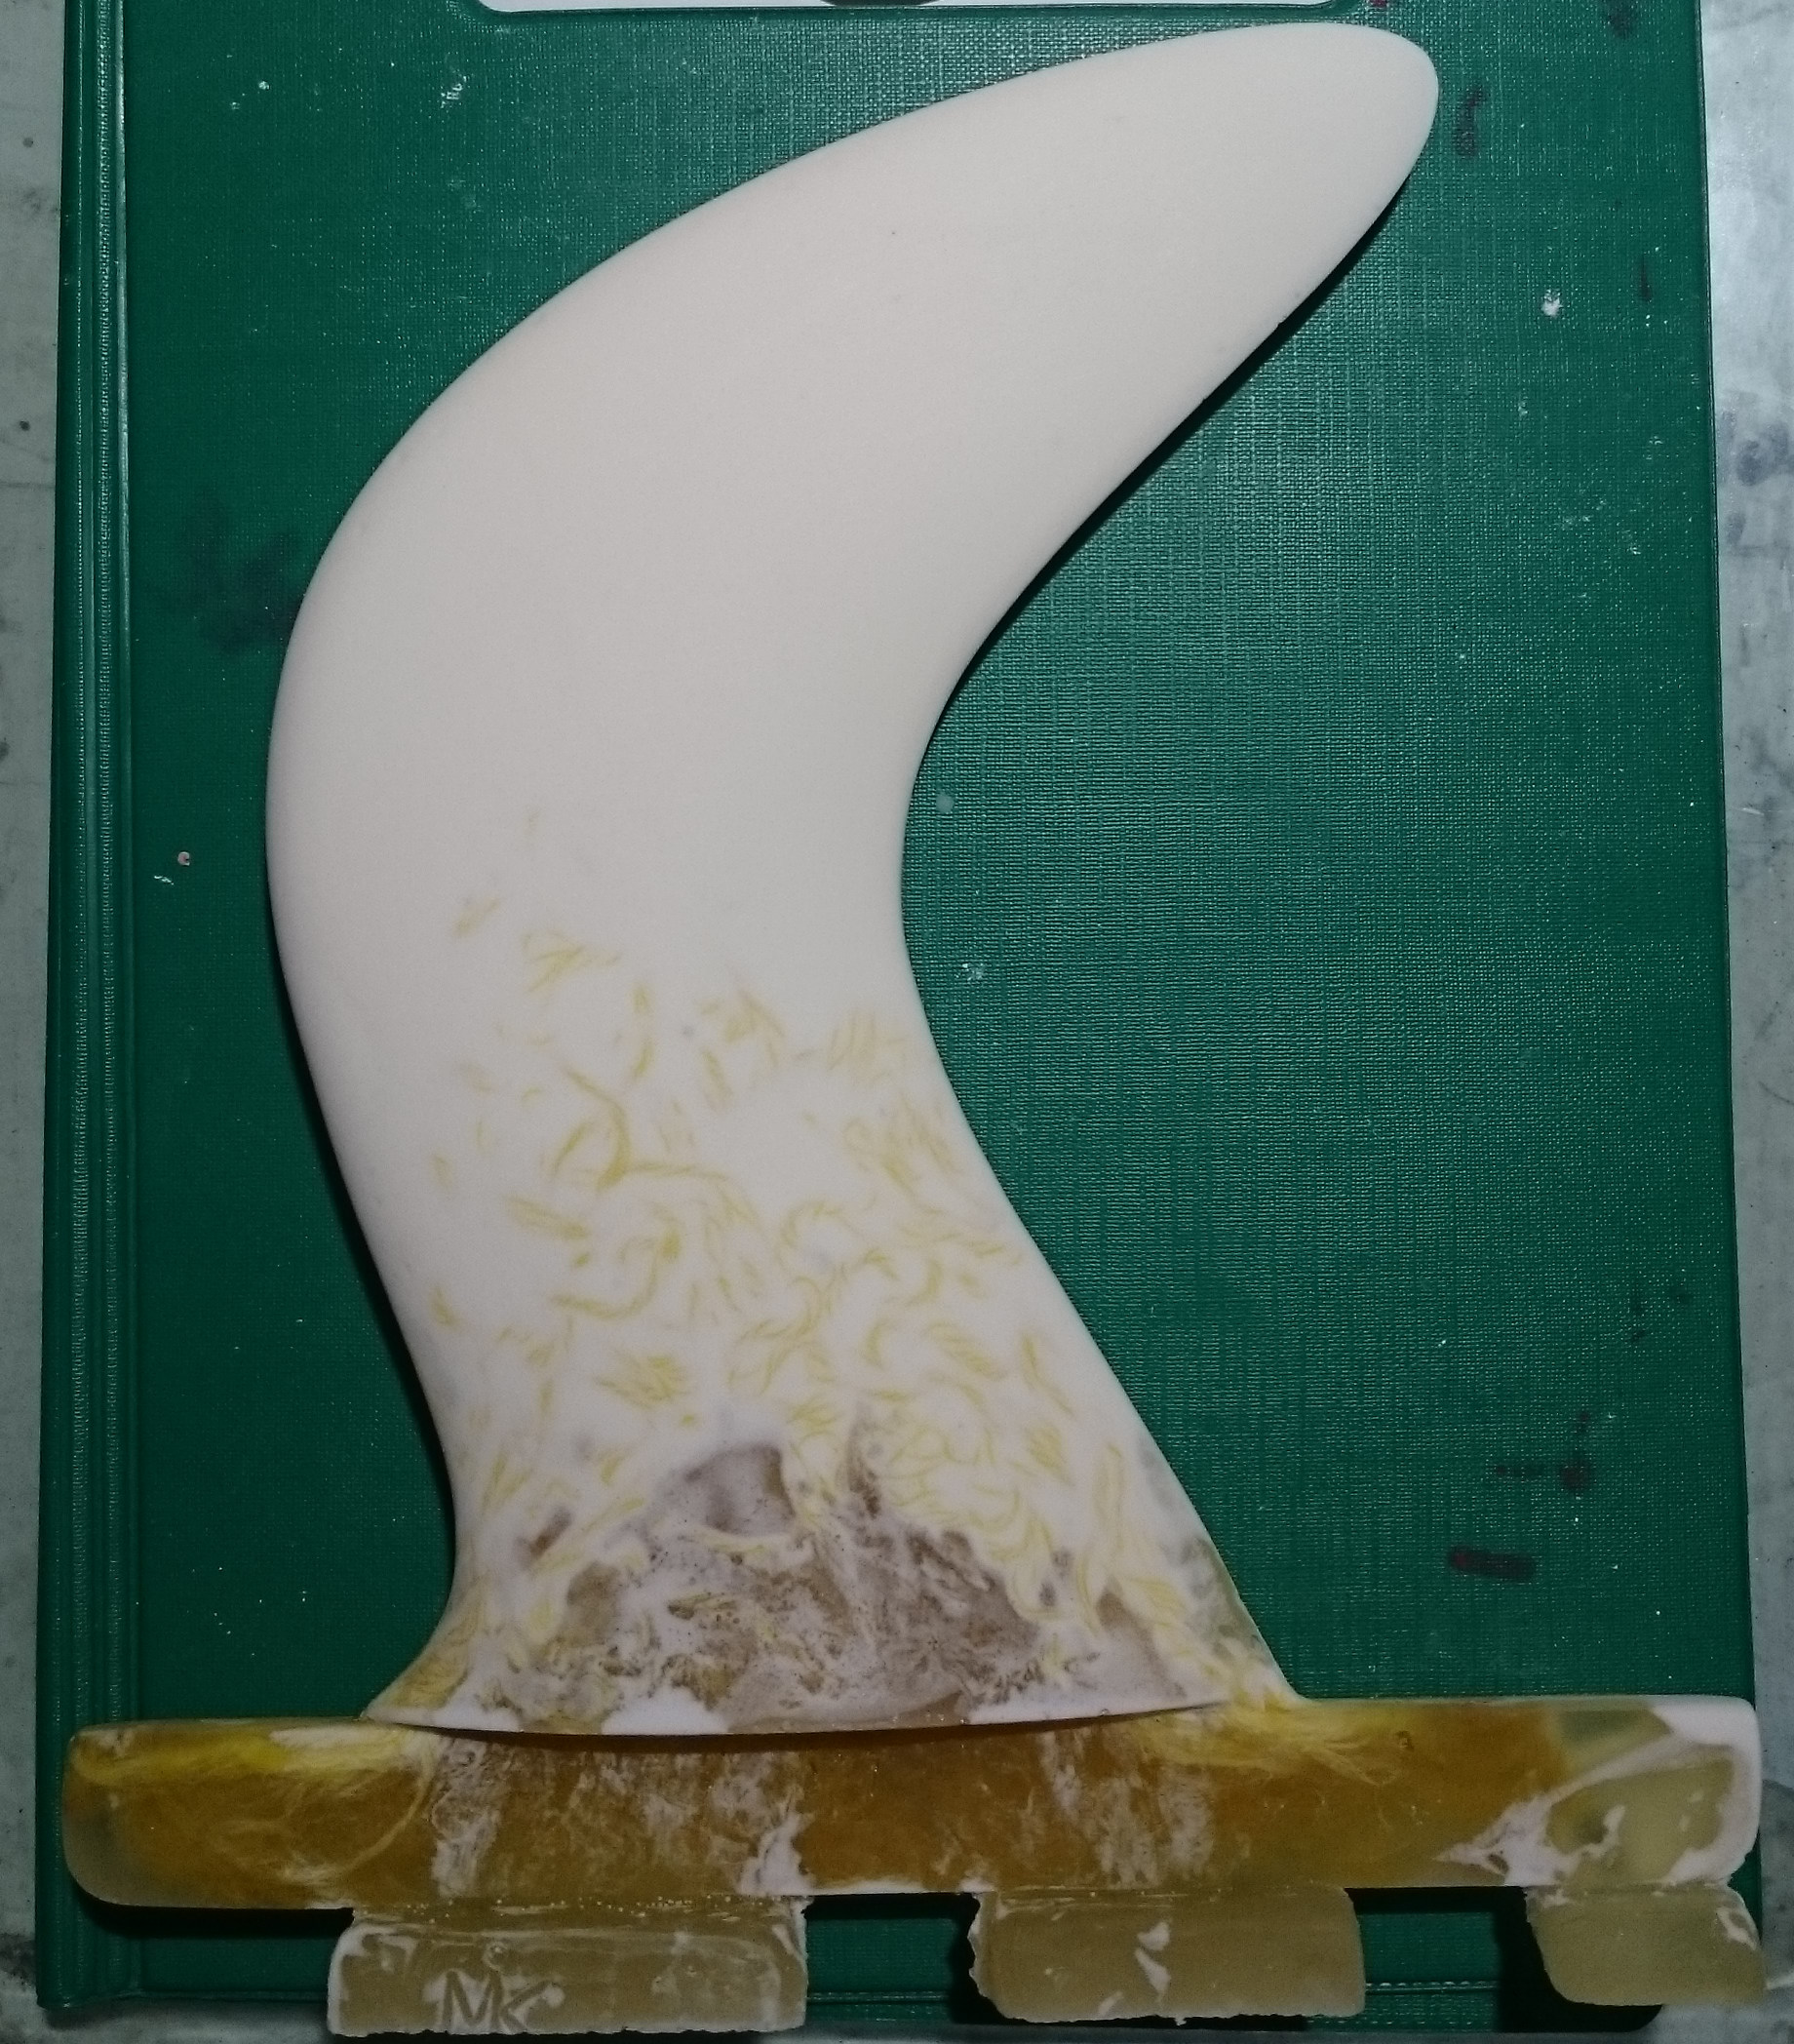
The first cast of the Eppler Gullwing fin turned out near perfect. That’s assuming that it is strong enough to not snap off when surfing…the 10-15mm long silk fibres certainly made the runny resin much thicker, I hope they also strengthen set epoxy a lot.

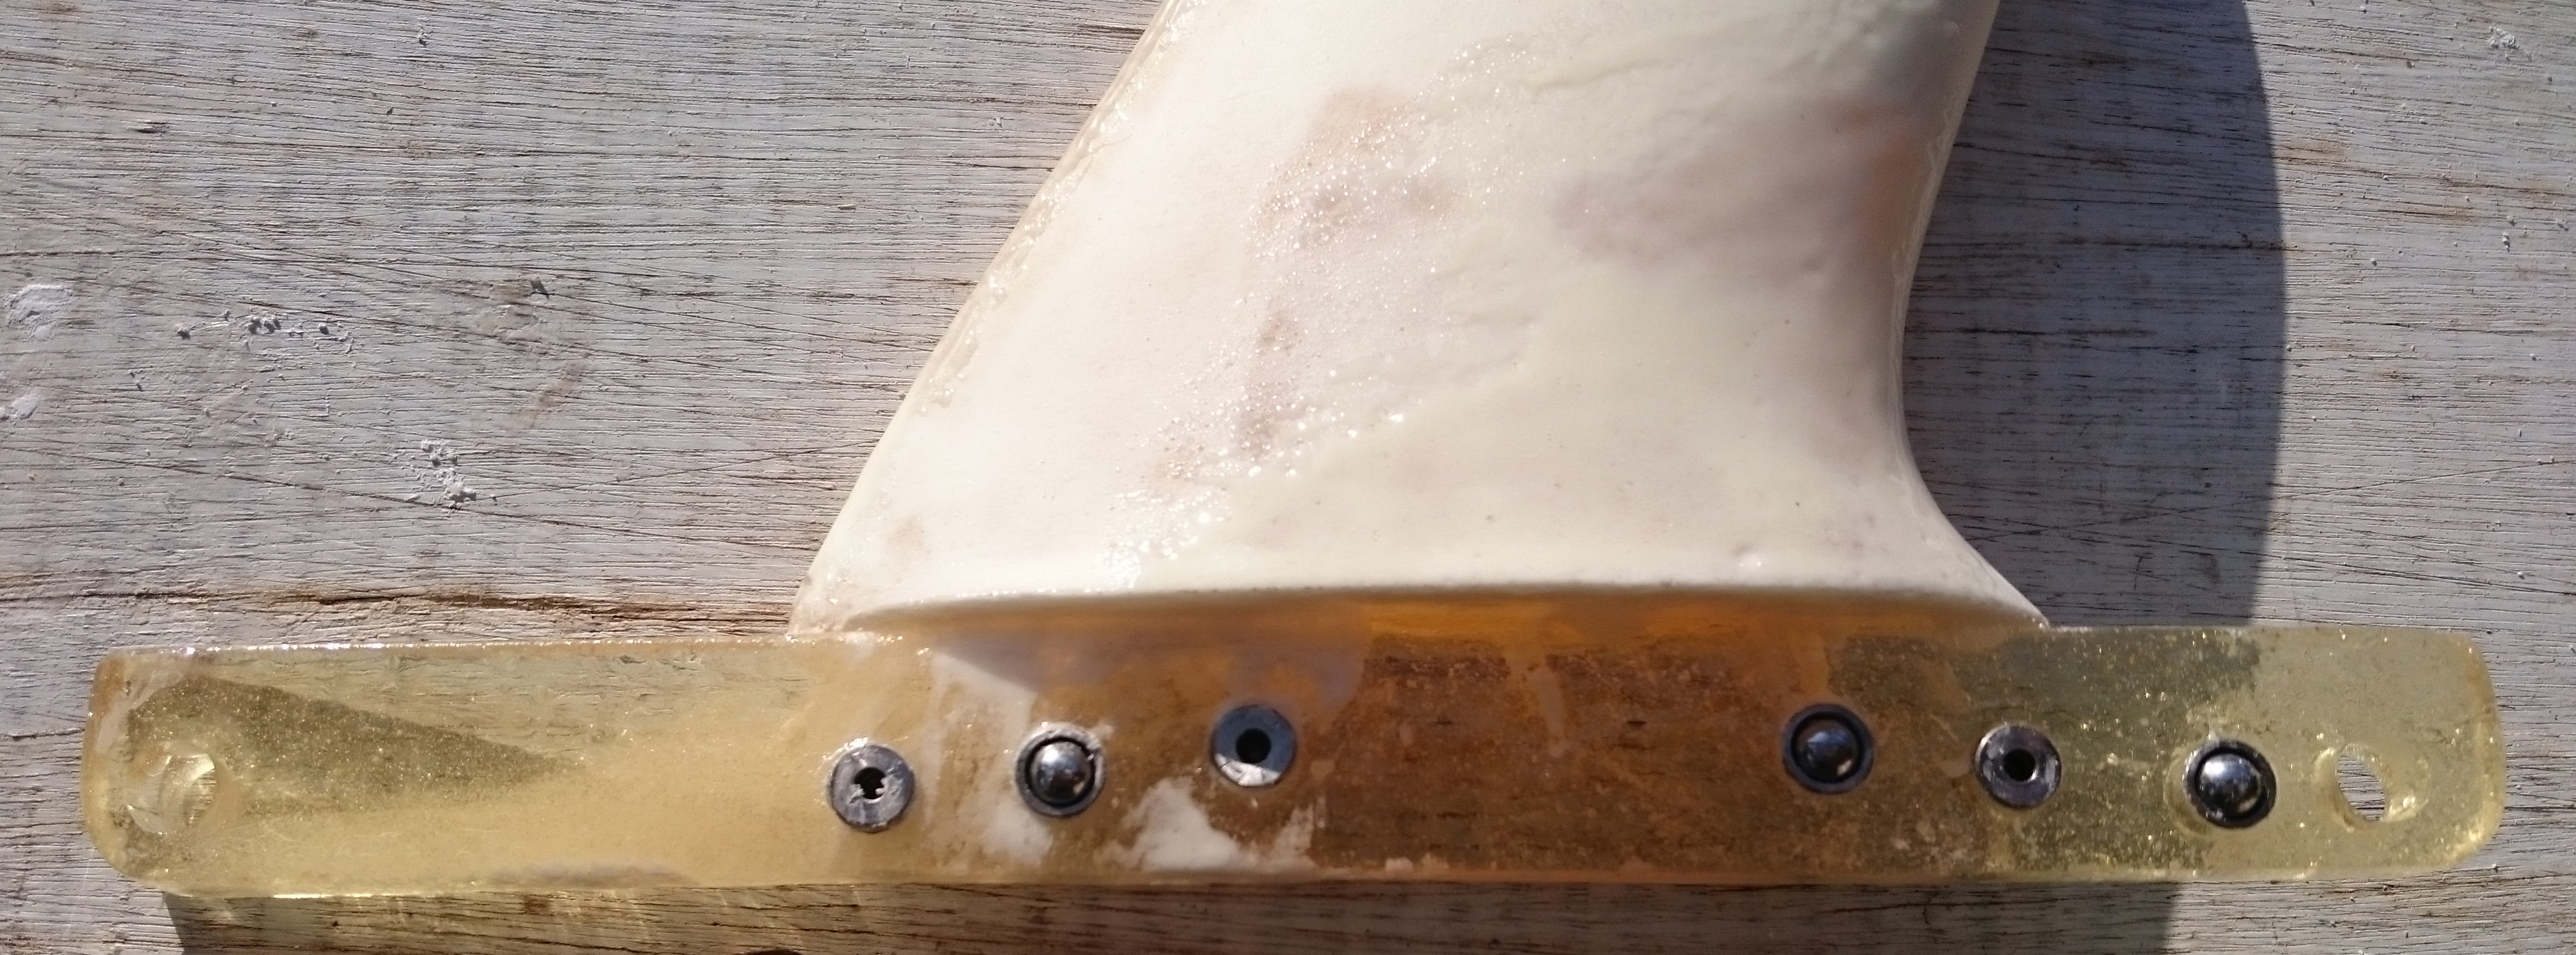
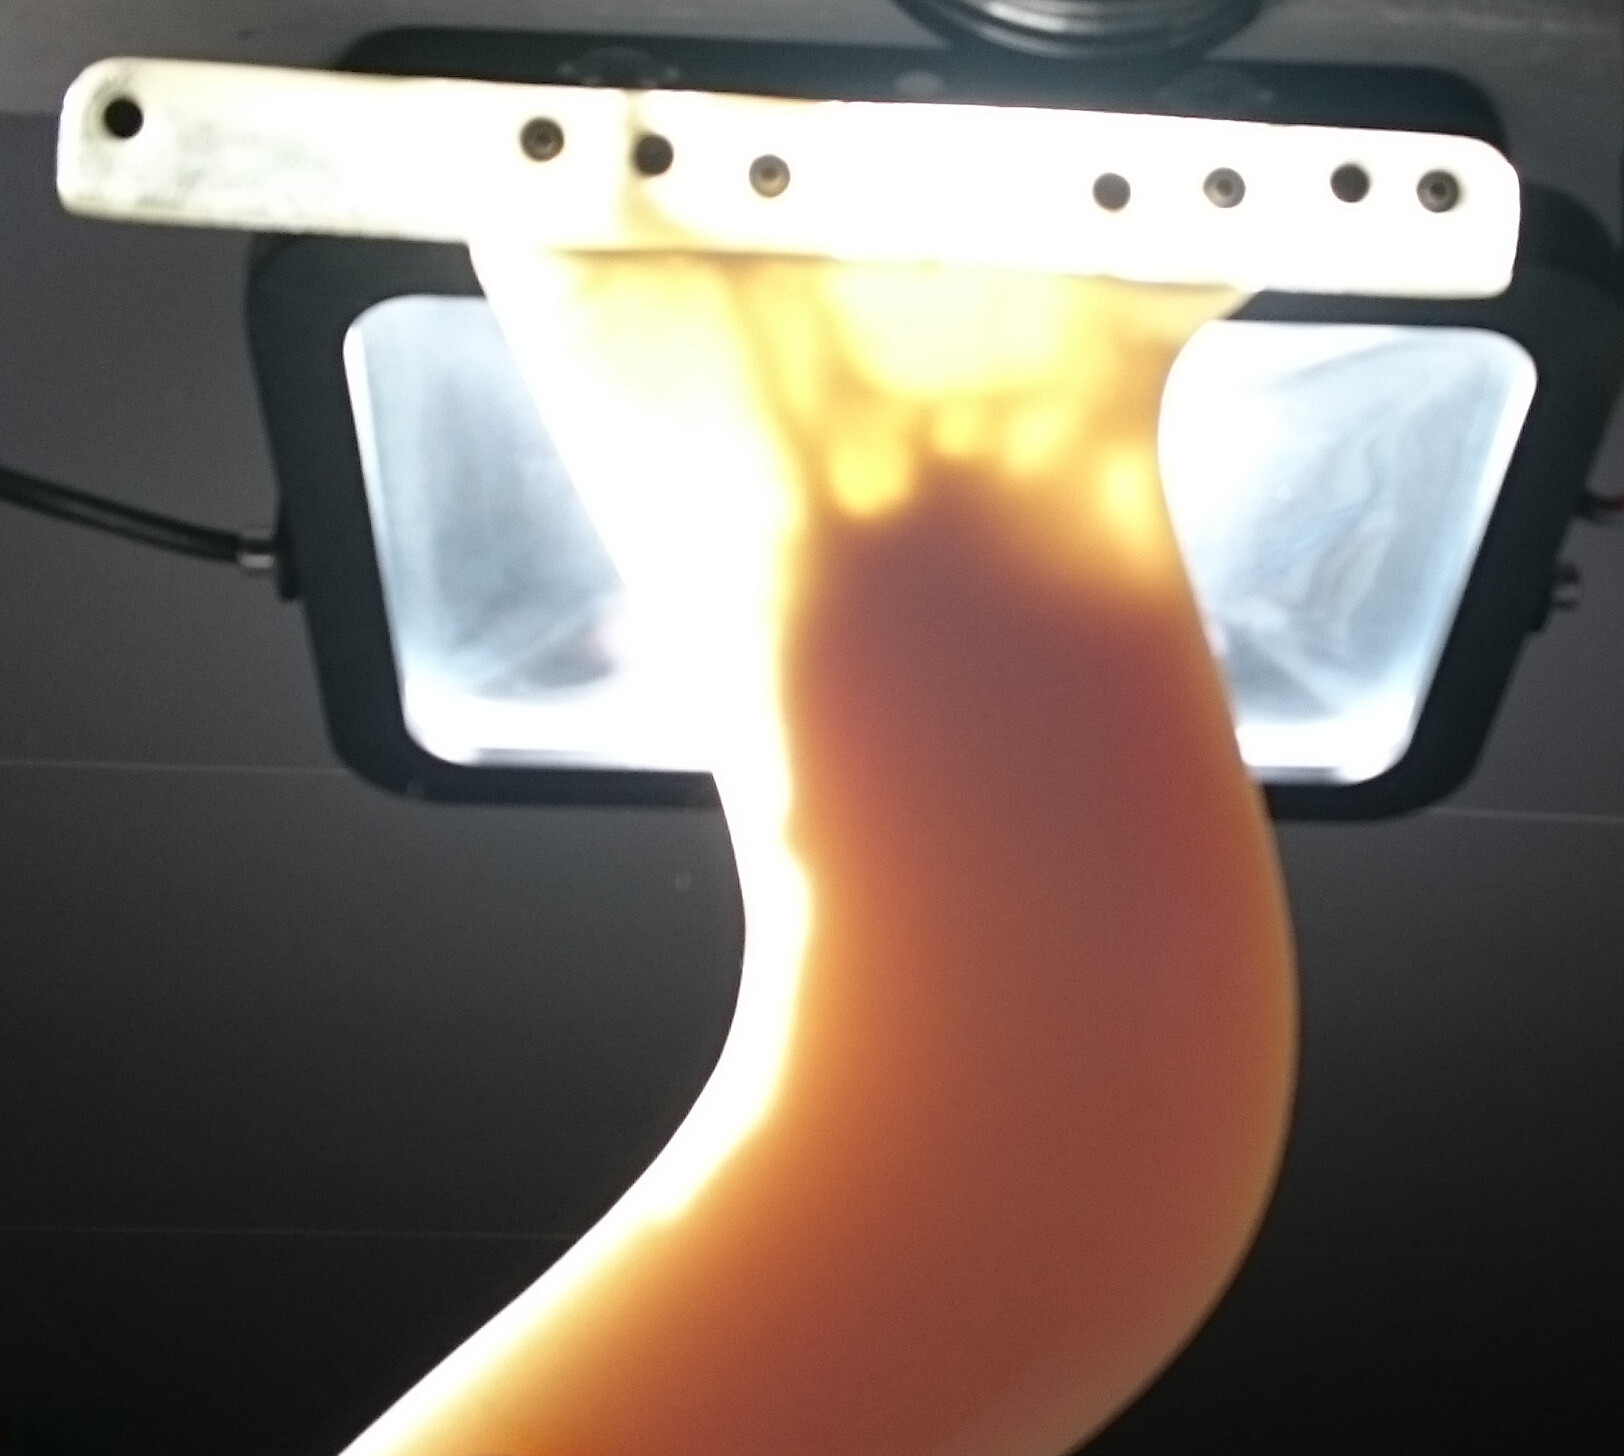
Just two small bubbles at the trailing edge (and a big inconsequential bubble towards the back of the fin tab) got away from my ‘real time visual quality control’ (transparent silicone between glass plates). These two bubbles got away because yours truly was stupid enough to put baking paper in the way, so that the bubbles could not be seen. In my defence, I tried to pull the paper out, but the paper would not budge, and I figured that separating the glass plates while the resin was still liquid would have been much riskier than not being able to see what happened close to the fin tab.

The baking paper works very well to prevent resin and hot glue bonding to the glass plates, but it needs to be applied more judiciously. A short length between glass and silicone is enough, and a longer part on the outside of the glass can be torn off once the potentially messy pouring of resin is completed. So, overall, this is still a very good result, because bubbles like these two will be removed from the edge during future casting procedures. 

The slightly higher cost for transparent silicone is very much worth it, just to repeat myself. Of course you also need the glass plates to reap the benefits.

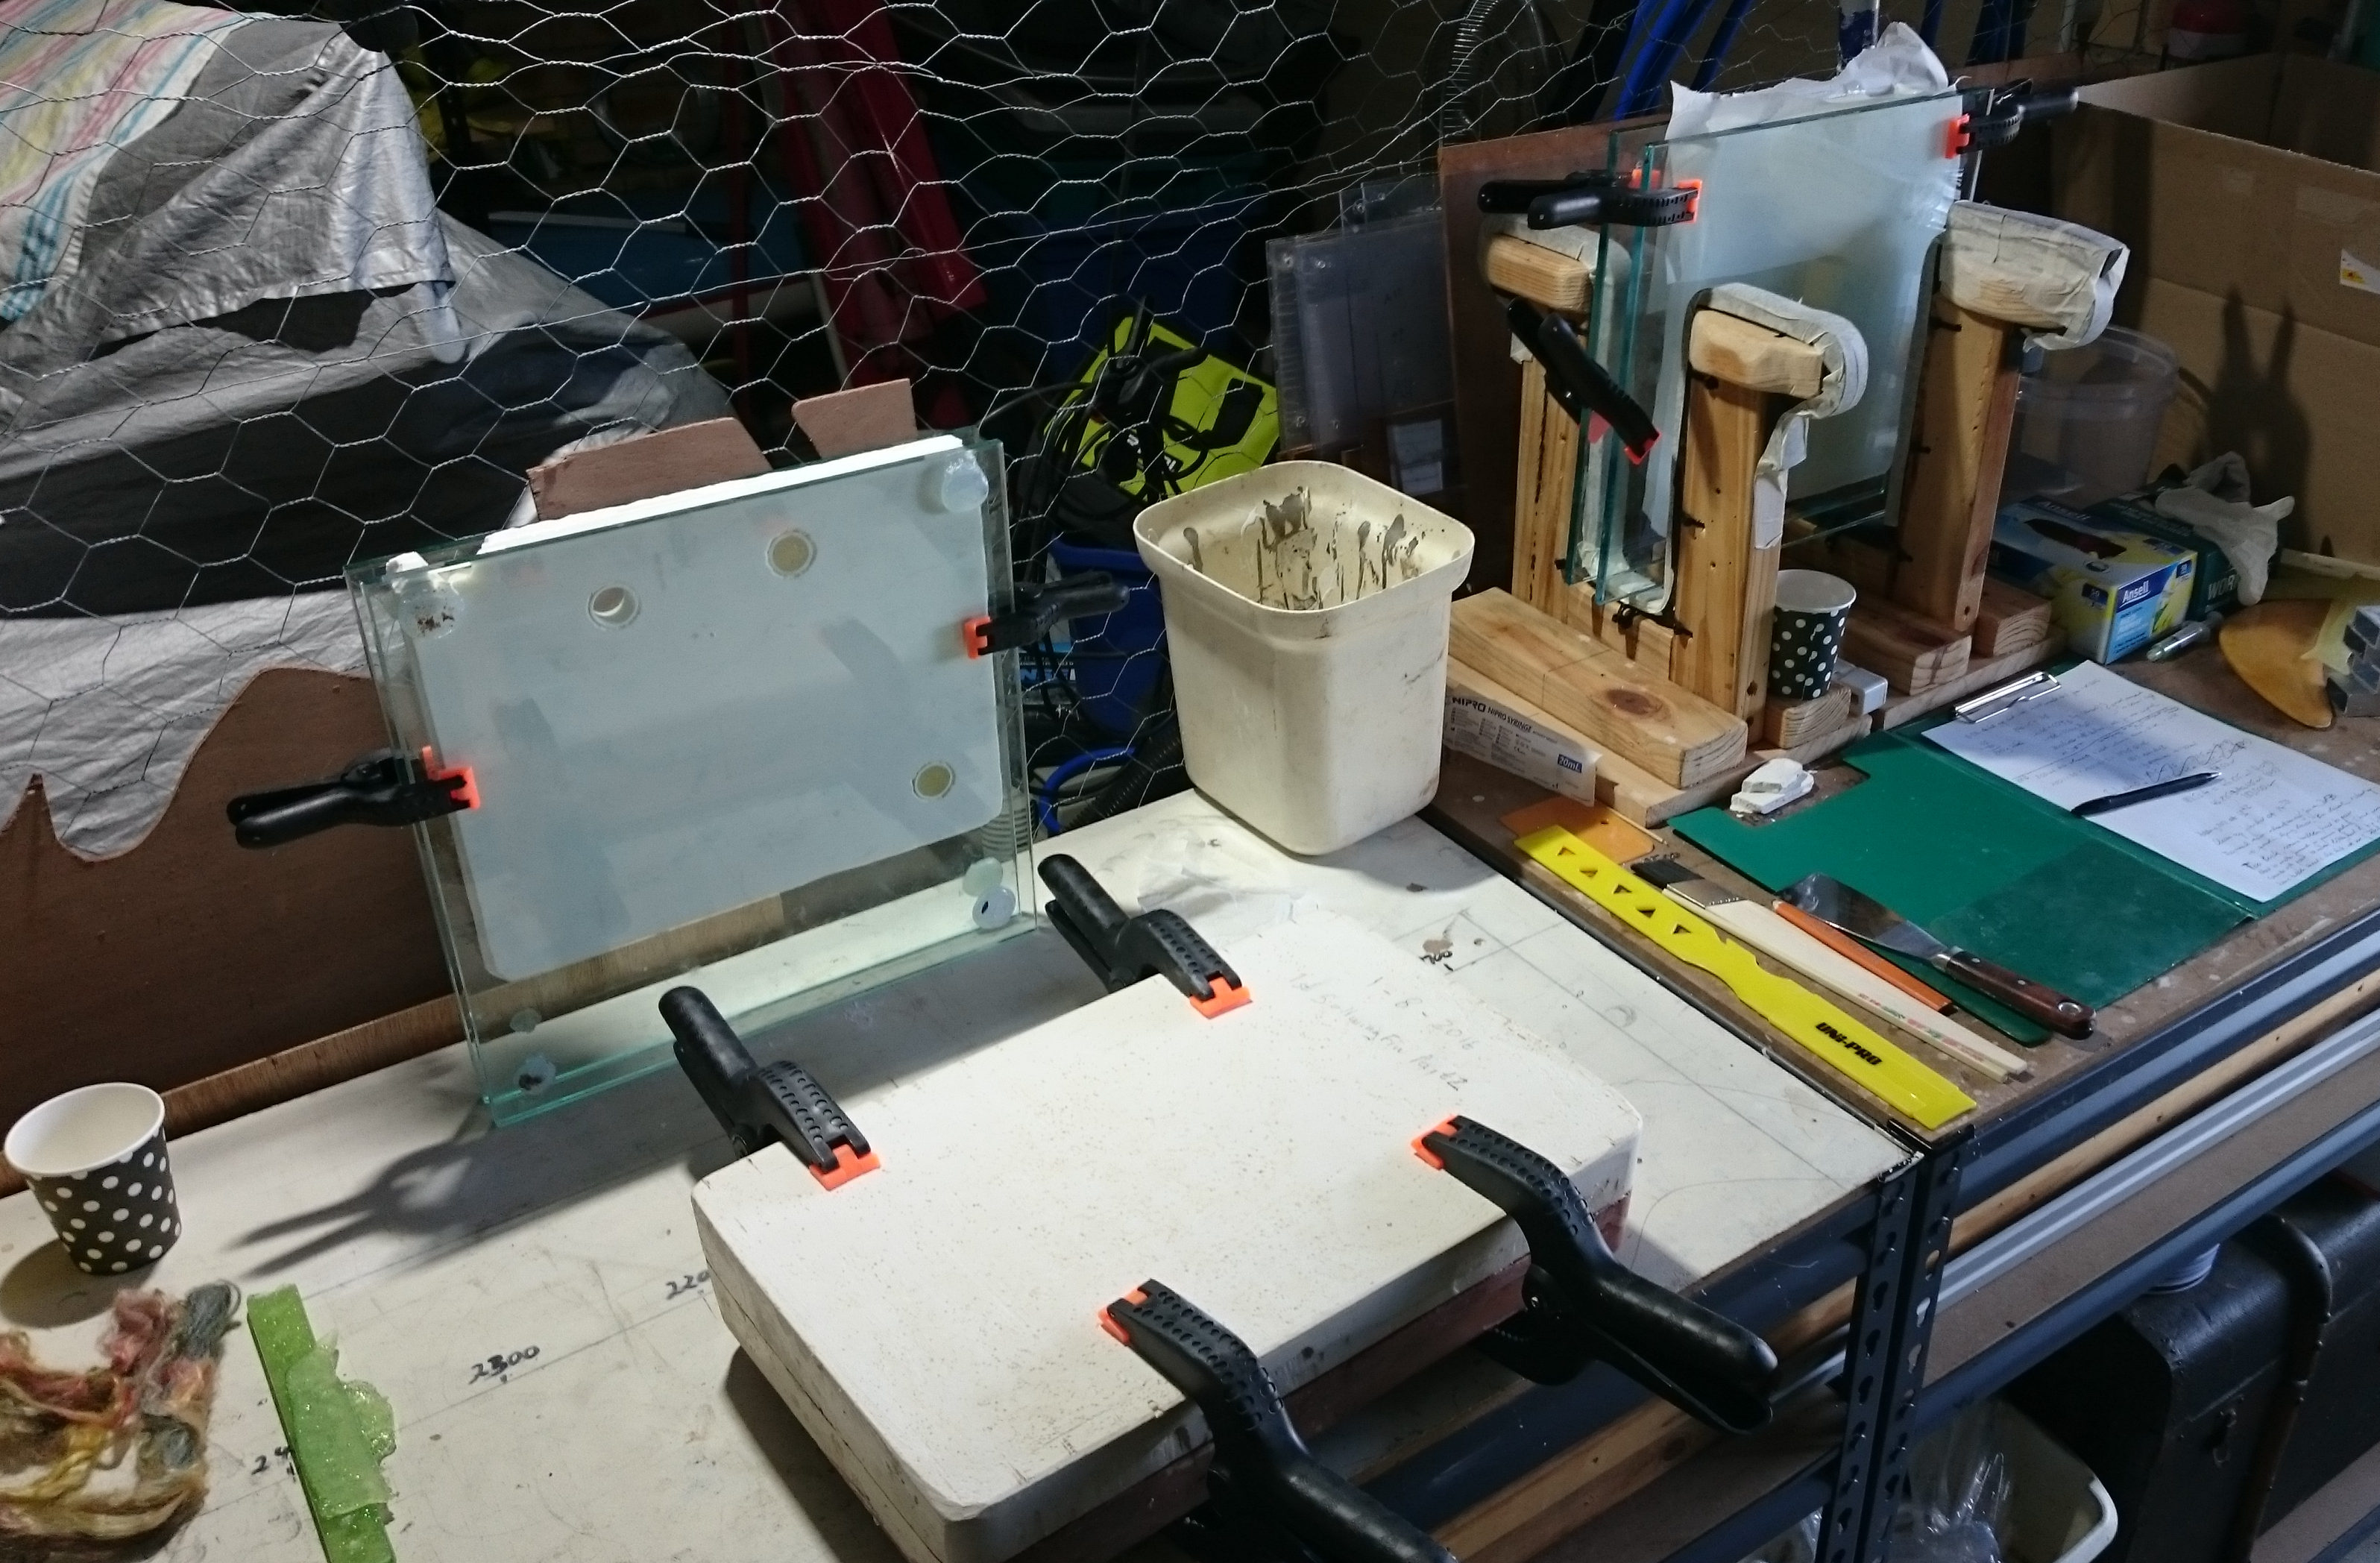
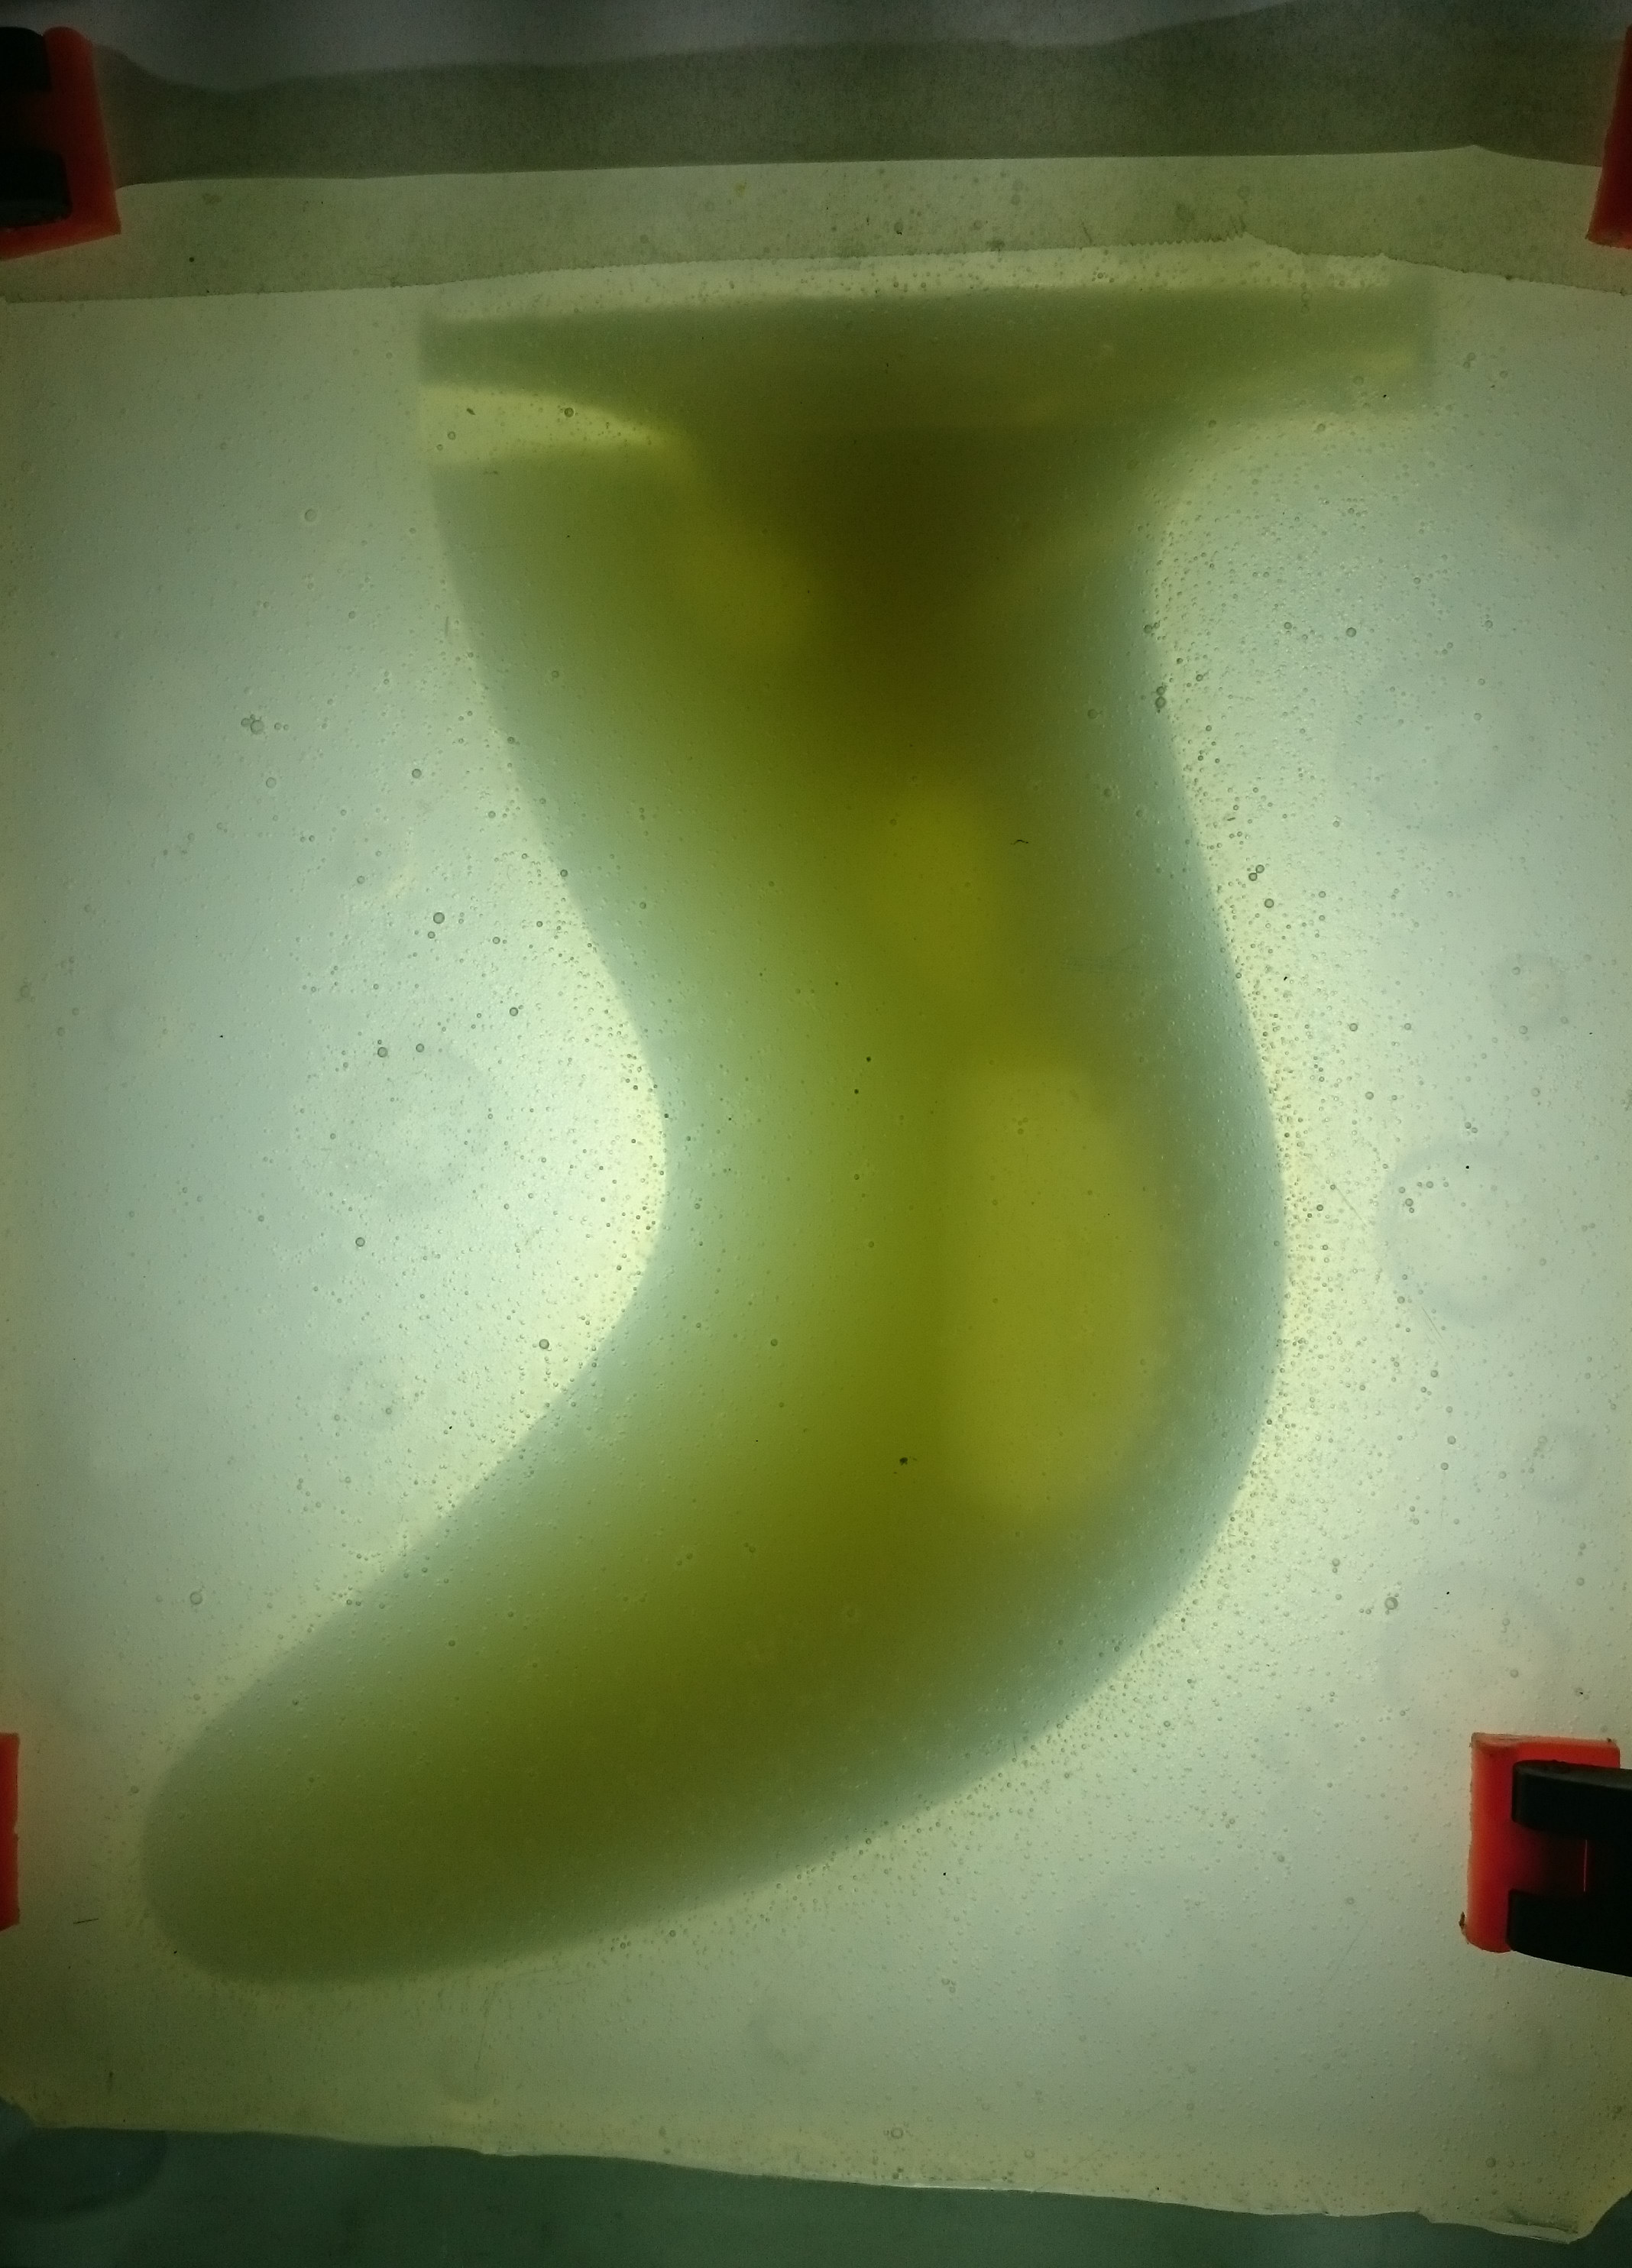
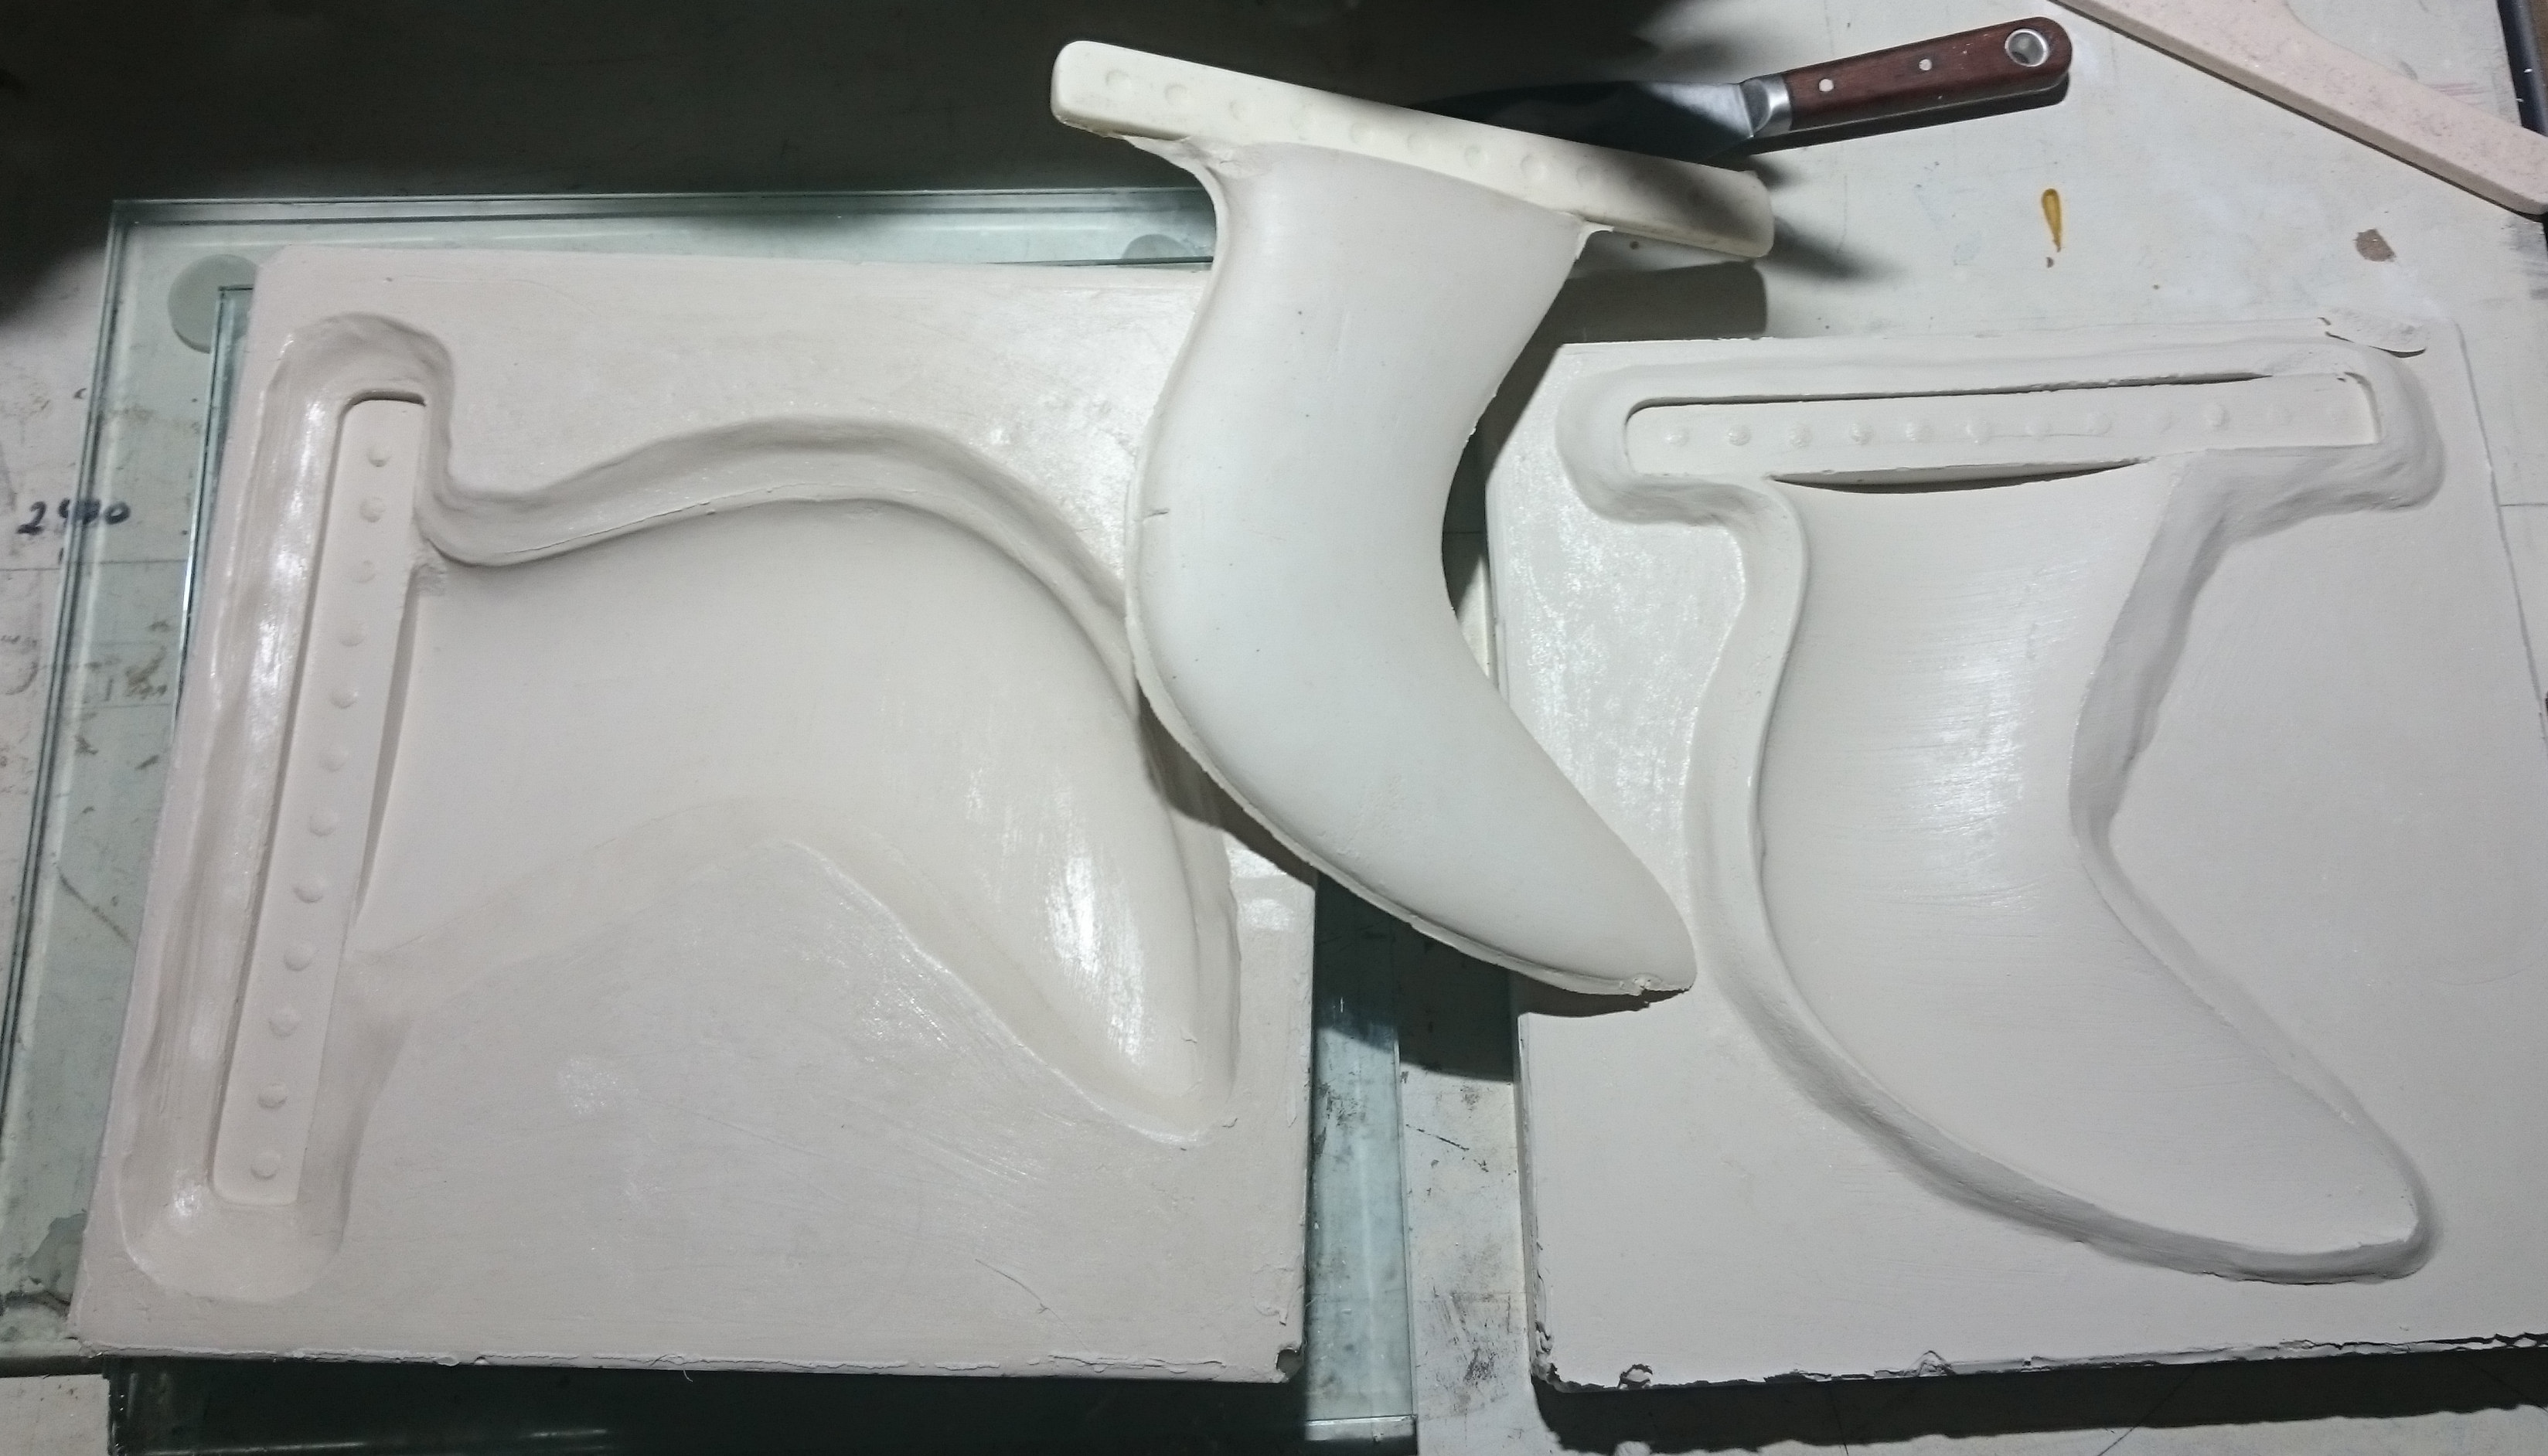
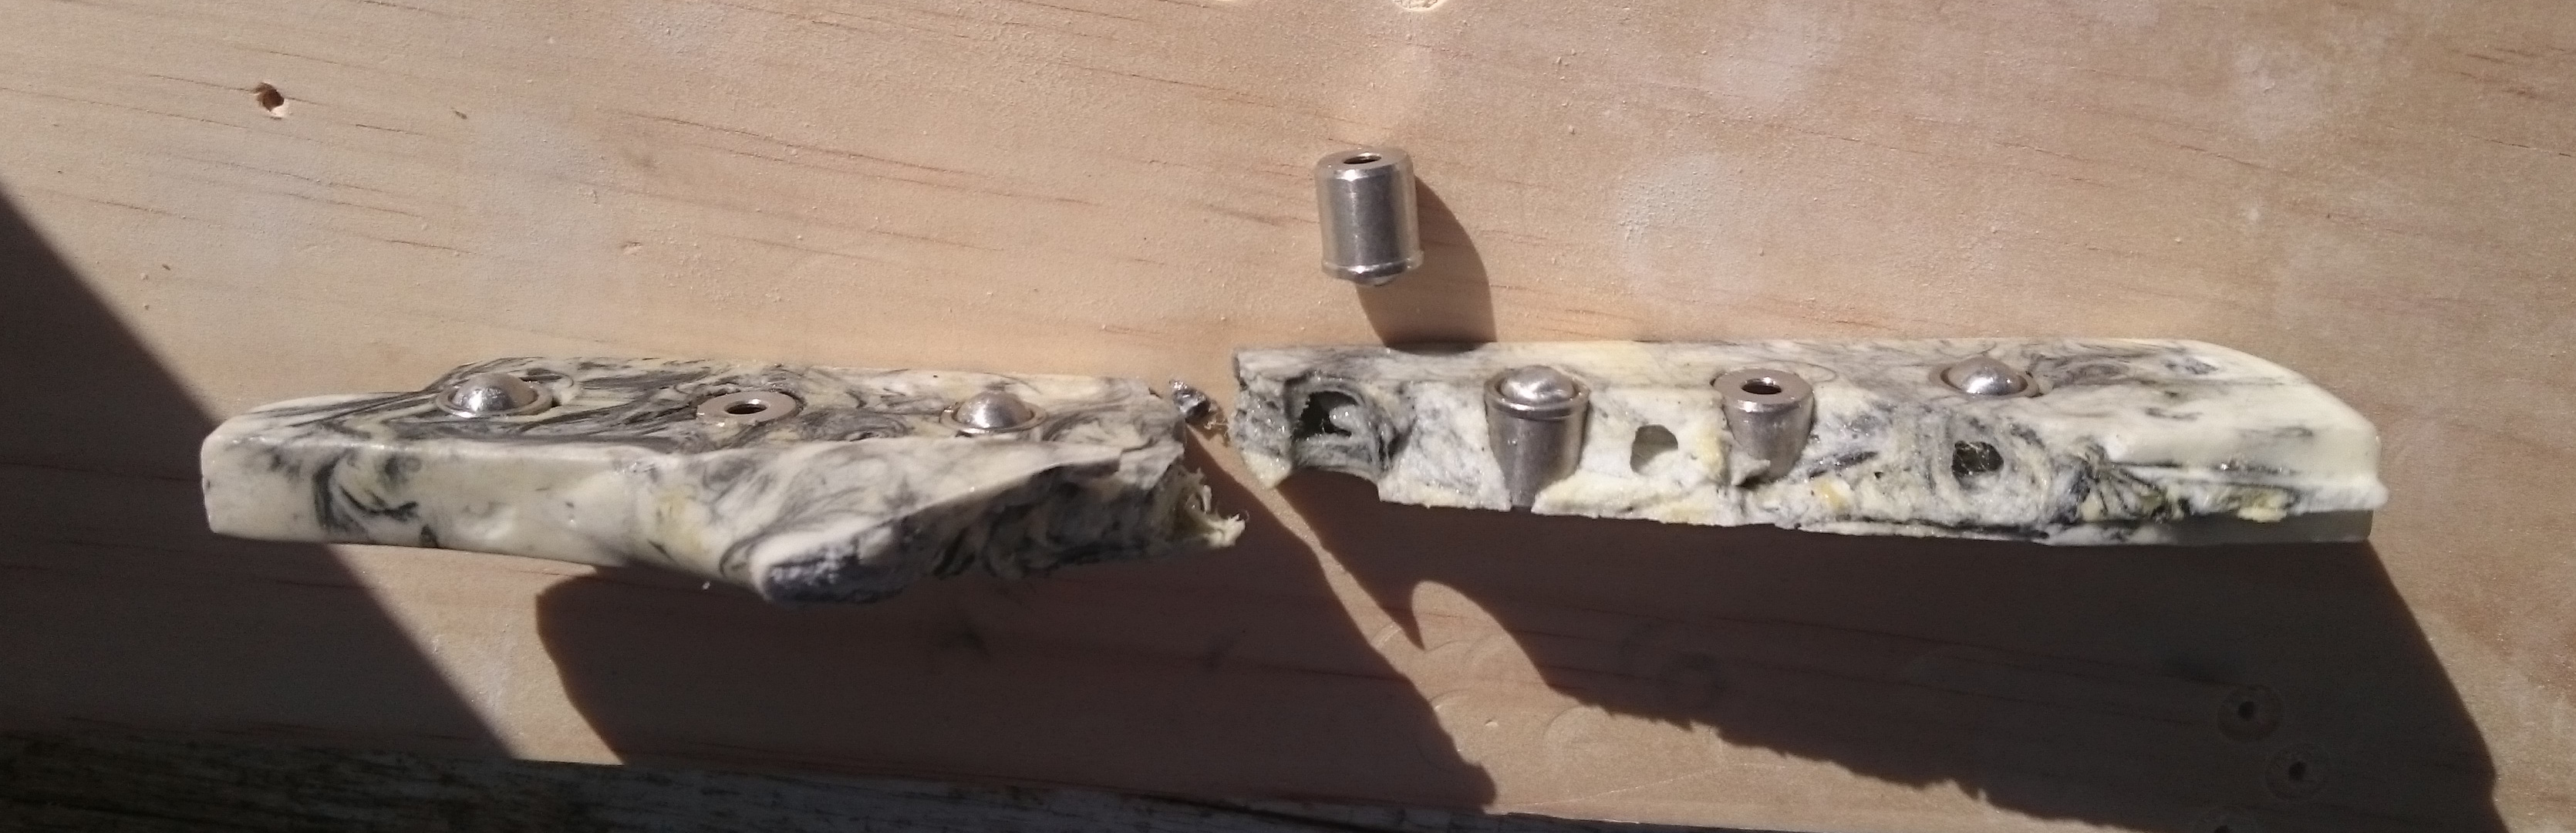
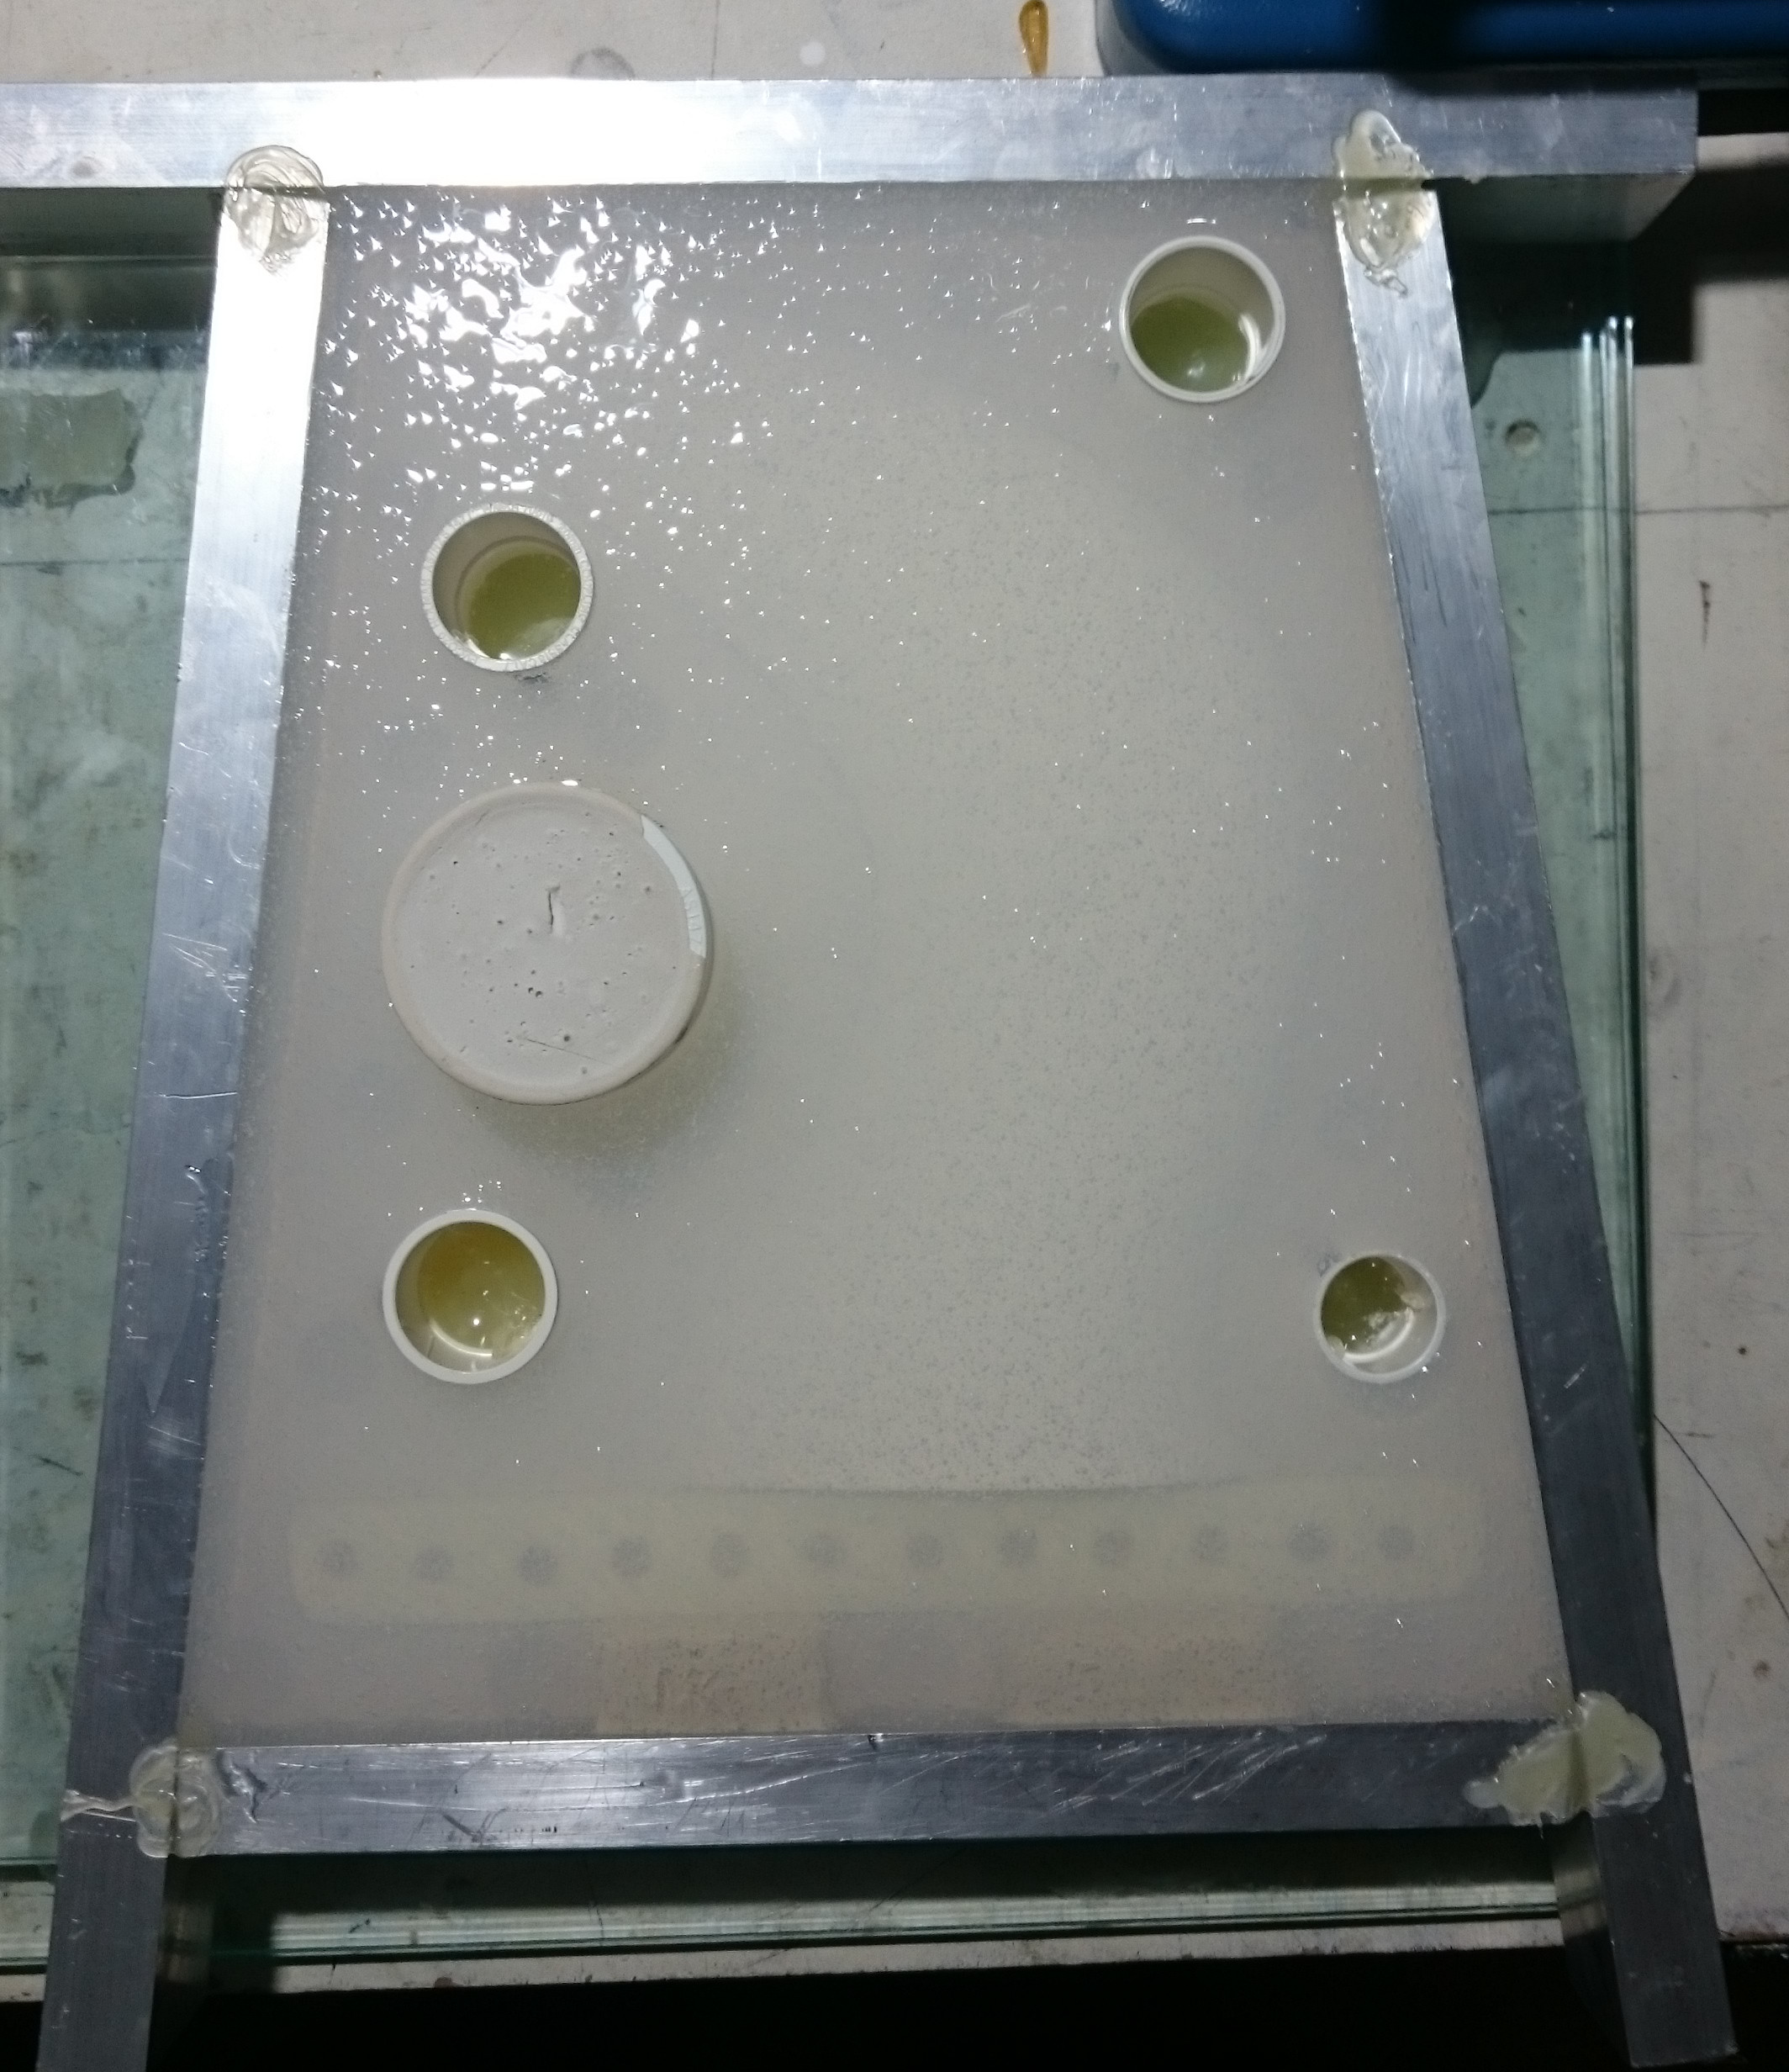
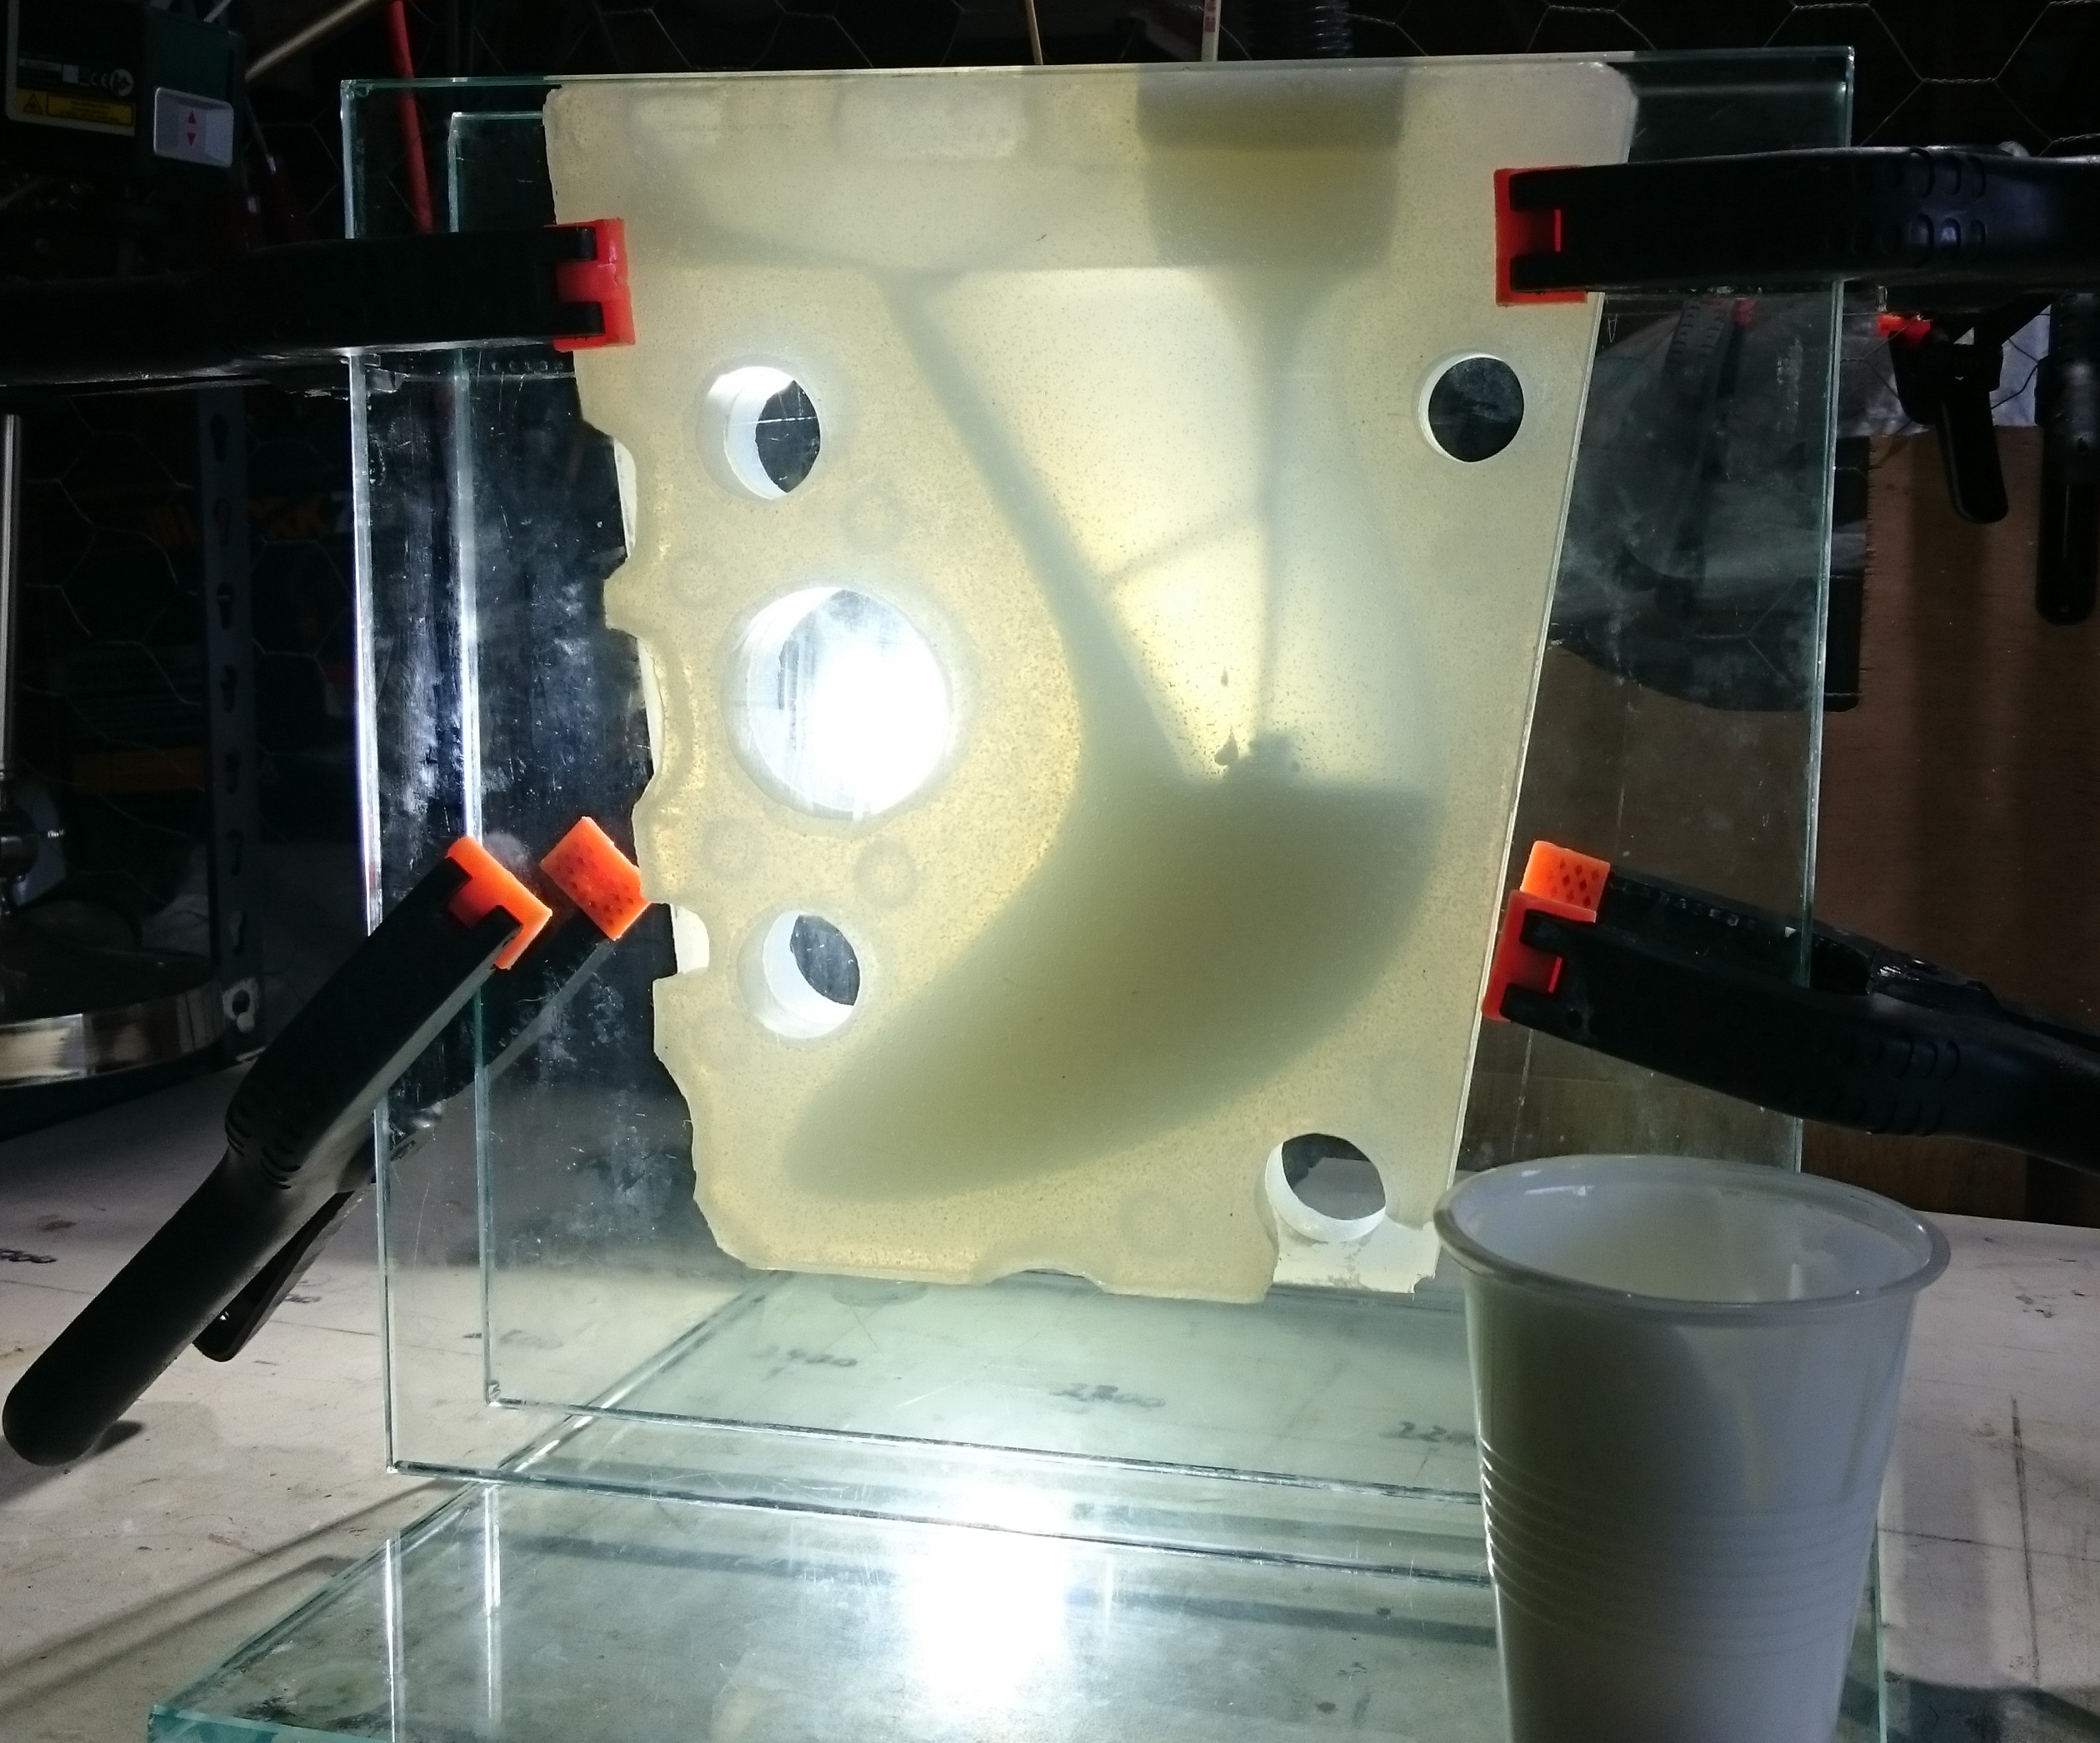
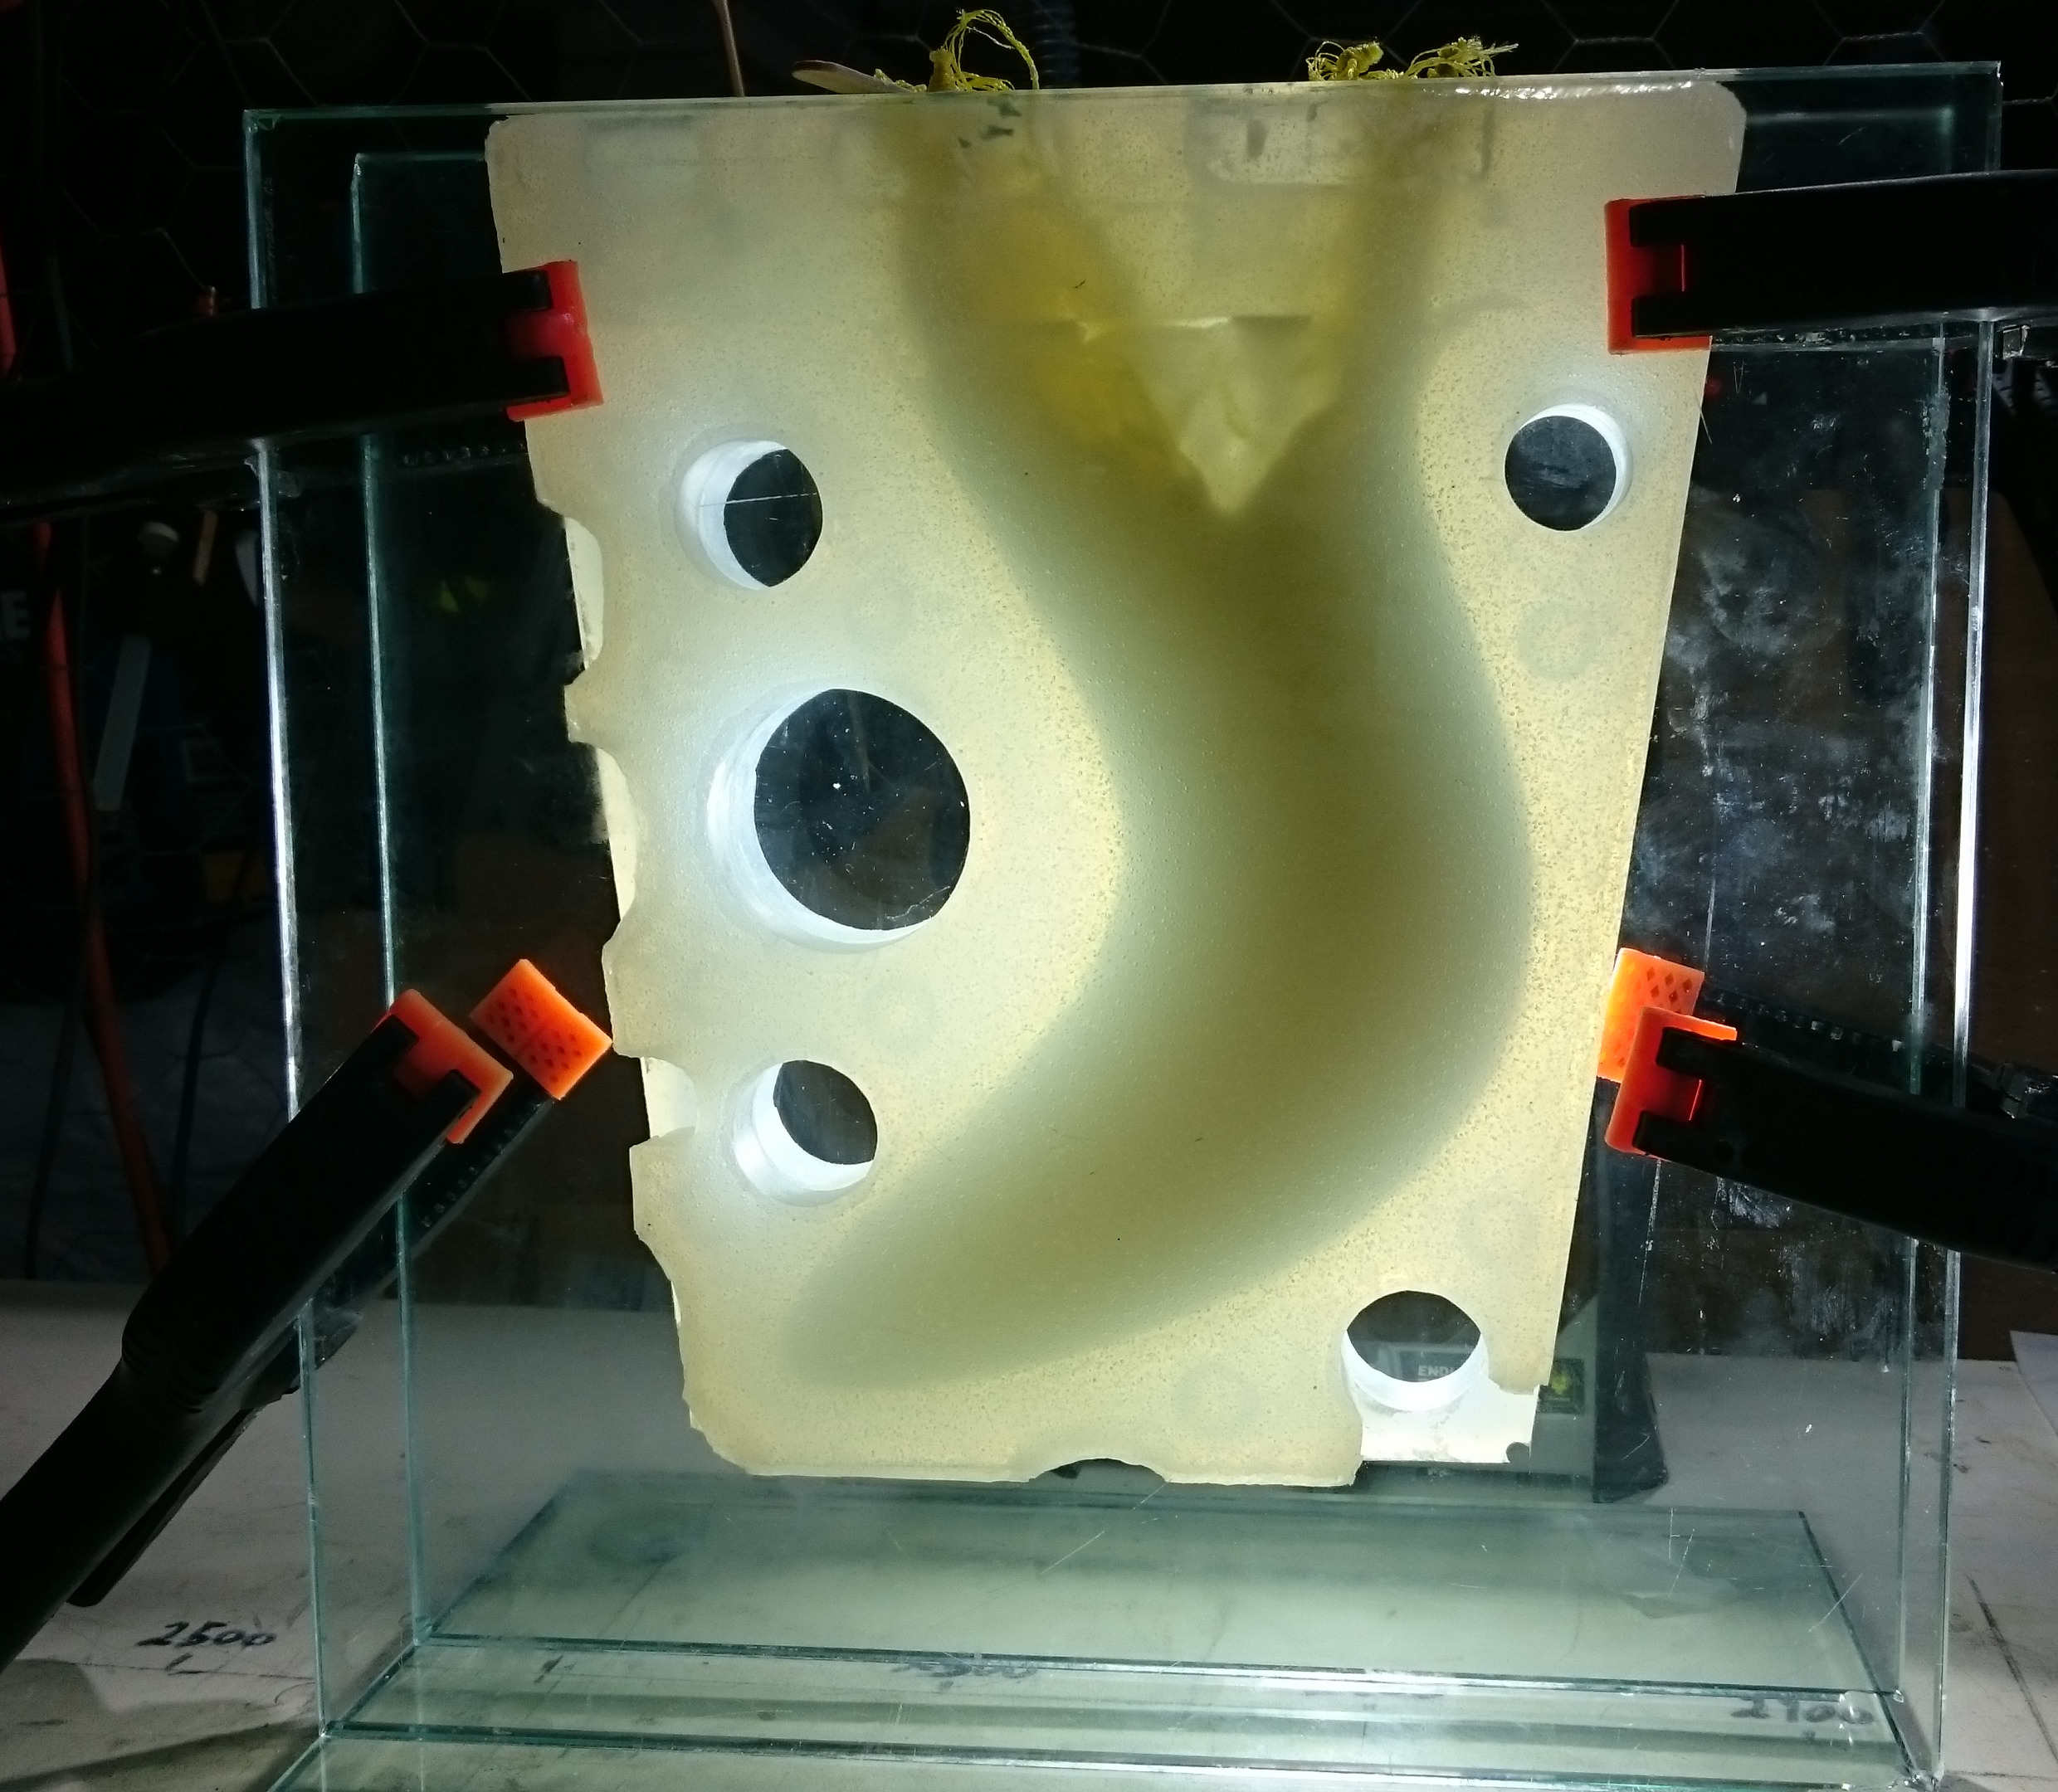
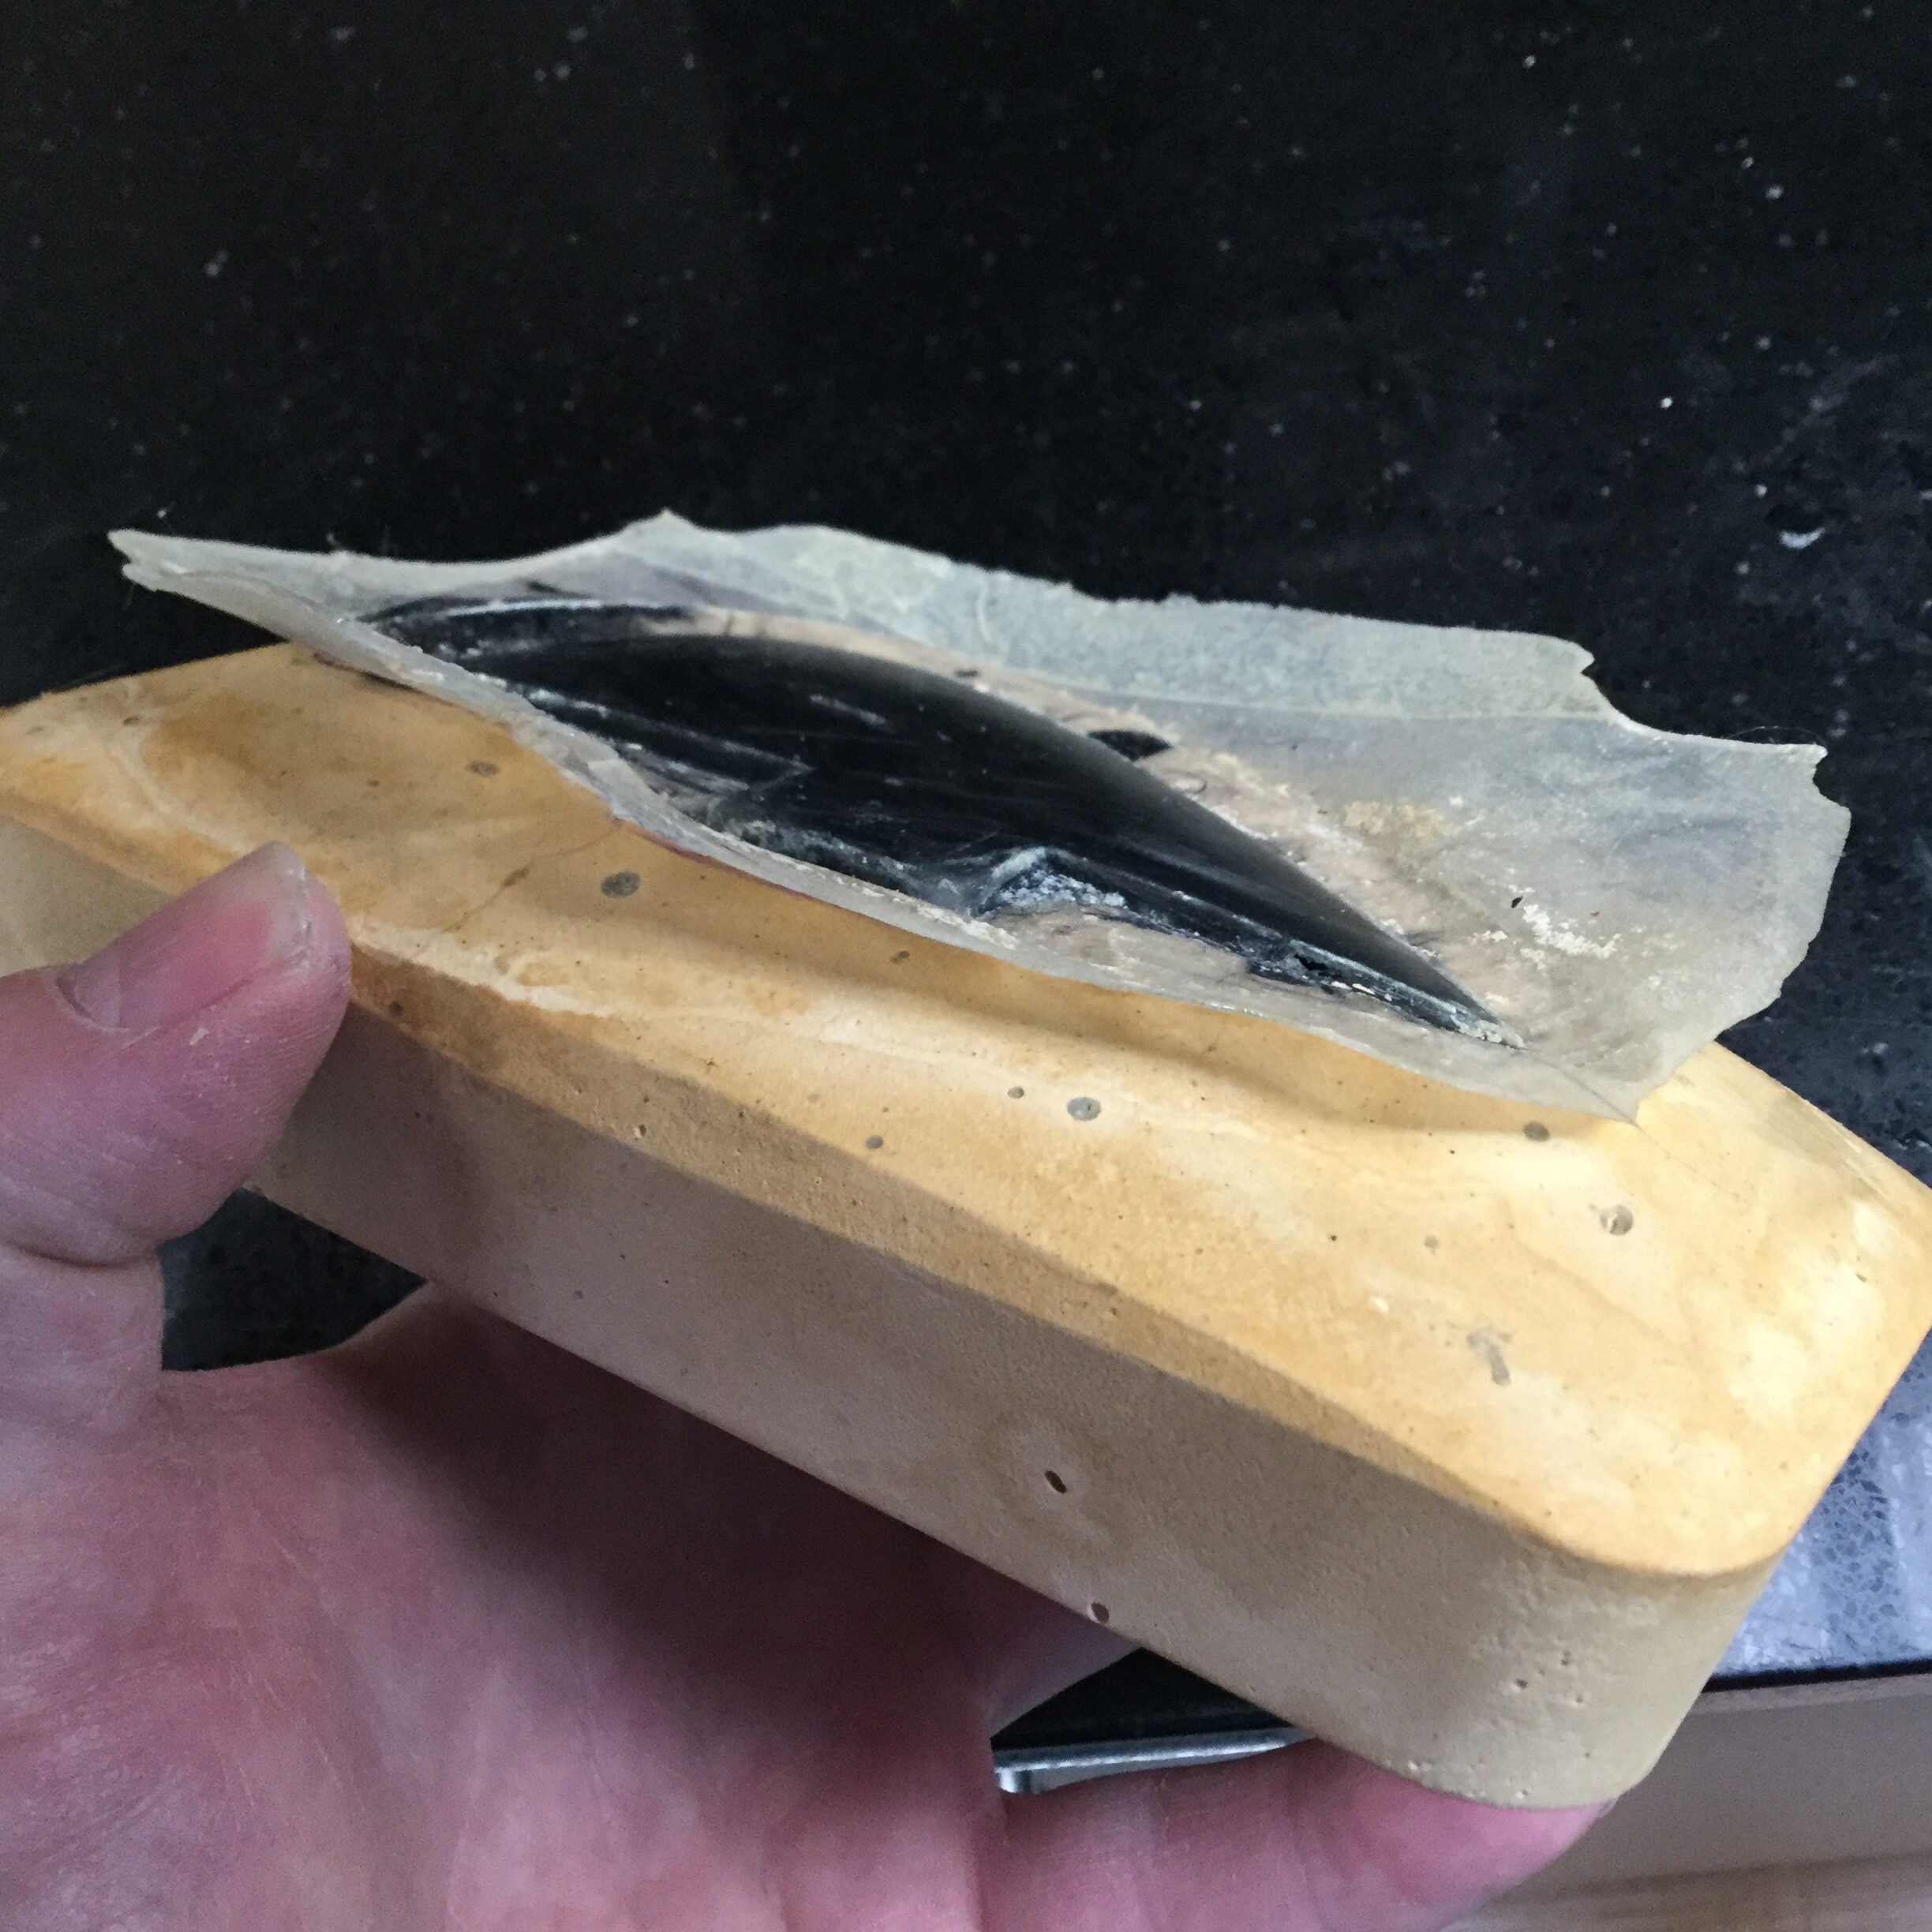
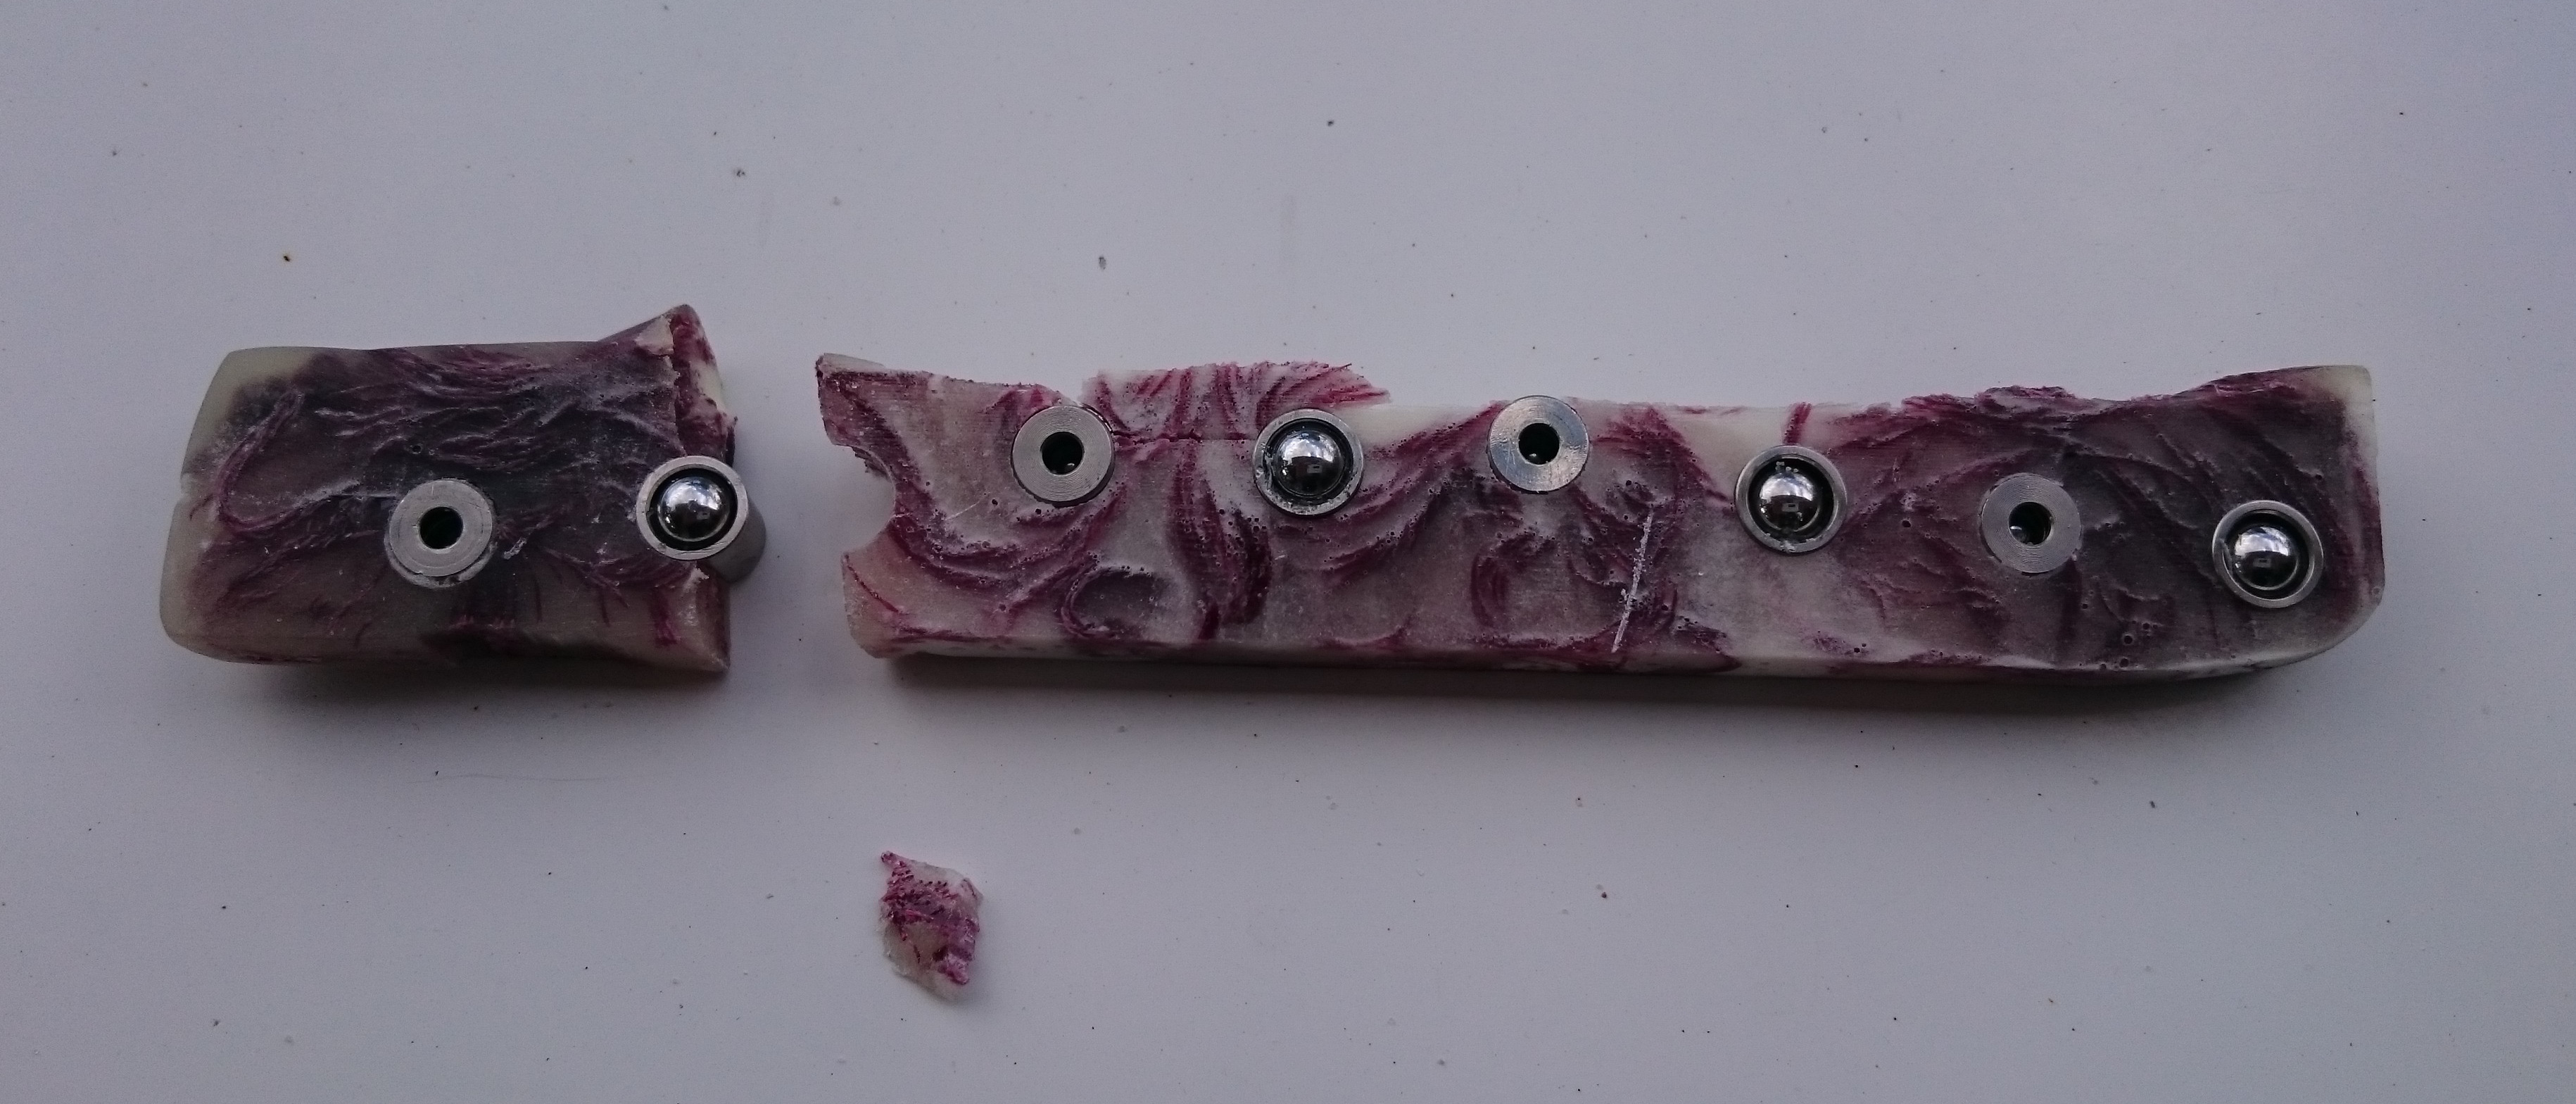
The rest of the pictures show another minor stuffup, and a lesson learned. While trying to make a ‘mother mould’ to support the latex mould around the DFB wood pattern, I learned that latex will re-absorb water, so that the Pop does not set properly in some of the areas adjacent to the latex. I think this might not happen if you wait long enough. Somewhere I read that you need to re-apply latex within 12-24hrs to ensure a proper bond between the multiple brush-on layers. I guess it means that after more than 24 hrs, the latex will have set sufficiently so that it does not re-absorb water when exposed to it. However, I’m certain this half-mother-mould is salvageable. Detail is not important for mother moulds, and I think I will be able to apply another layer of latex between plaster and latex mould to achieve a perfect fit. For now, the Pop is in the oven for 60degC x 24hr drying. Not sure what I’ll do with the latex part in the meantime.


The process of working out the bugs continues.

I still don’t have a reliable way to make exact enough copies of the dummy fin base, but I hope (not for the first time!) that I’ll have one tomorrow.

Problems encountered were mostly related to not having good DFBs.

The latex mould of the DFB pattern has shrunk considerably (enough so that the distance between the pre-marked locations for the spring ball plungers is incorrect). That might be due to use of a heat gun to accelerate drying, and maybe also due to metal contamination from the metal band that holds the brush bristles to the wooden brush handle. Now I have finally found some brushes without metal band on them.

The attempt to make a transparent silicone split mould of the DFB failed, due to some ‘inhibitor’ in the wooden DFB pattern. I suspect it was ammonia left in the wood from having been encased in latex for a week or so. The effect was that the latex (Dalchem Silastomer P40) remained liquid where it was in contact with the wood pattern. So the DFB’s coming out of that mould are a bit too large in all directions. They can be sanded to fit.

The Wacker silicone mould (white silicone) now has a split mother mould of dental Pop and produces good results, except for the bubbles in one half of the silicone causing a rough surface of the casts. I have tried to fill these bubbles with more Wacker silicone and soon I will know if it worked.

Today I de-moulded a near perfect fin (few bubbles inside but none on the surface). I call it the ‘lava lamp’ fin, because gravity spoiled my fabulous idea to increase the fin tab strength by pouring straight resin (without Q-cel) on top of the lighter Q-cel resin mix. It’s still a great idea, but I need to wait until the lighter Q-cel mix has started to gel, because otherwise the heavier resin sinks to the bottom like bubbles in a lava lamp. Once it is at the bottom, it starts to seep out of the mould until it is all gone, because of it’s low viscosity. That was very handy, because I managed to scoop some of it up and put it back in at the top.

The fibres are silk embroidery thread ‘skeins’.


DFB pattern with Wacker silicone split mould and plaster split mother mould.

The mother mould gets around the problem that the soft silicone distorts when put between glass plates. The glass plates don’t help when the silicone is not transparent, anyway.

The mother mould for the DFB snapped and the results are still not good enough.

But the fins are getting there…

This one is called ‘Bluebottle’.


MrMik, I like the look of the molded fin with the added silk fibers. Have you gotten to surf them? What is the plan for all the fin bases? Would there be merit in making a machined HDPE mold for those?

jrandy,

all those DFB’s shown above are imperfect to varying degrees. Each time I thought that the next one would be the start of a run of good ones, but no such luck yet. Well, I think it’s sorted now, by way of me accepting that I just have to do a few minutes of sanding each time to straighten them out, rather than chasing a perfect one.

However, work is progressing well.

I have spent a week applying 2 or more layers of latex per day onto some select fins. The idea is that one day they will re-emerge as snap-in fins.

And, for the first time after a few false starts, ‘Turmfalke (= Kestrel)’ has emerged from the mould without breaking it. I used a modified version of Surffoils method: Instead of sinking the model of the fin into Pop (and hoping that there would be no undercuts or other problems causing the model or mould (or both) to break), I ‘suspended’ the model on a bit of clay, then poured a layer of (sacrificial) Pop to well below the mid-line. I then carefully applied modelling clay aiming at the mid-line (see first picture at bottom), and then I poured the first half of the mould on top of that. 

To rule out any possibility of undercuts, I again applied a bit of modelling clay before pouring the second half of the mould. All it means is that there will be some bigger grates to be sanded back when the Pop cast comes out of the mould.


Ride report gull-whale fin

This fin tought me a lot. It is the first one that I made by casting into the split silicone mould, without layering of fibres. I just shoved some carbon / kevlar cutoffs in at the end, which is obviously not good enough.

On the first ride 5 weeks ago, it went well in gutless small waves at Rainbow Bay, but then I got run over by a beginner who tried to pull back but dropped in nevertheless. I received two fin chops from the other board and that kept me out of the water until a few days ago. The fin never fell out even when the leg rope got caught on it a bit.

Last weekend, I surfed with a different fin while another surfer used the fin shown in the photos below. It snapped off pretty much on the first attempt to pull into a 1m Kirra barrel.

The printed polycarbonate fins also snapped off in very similar situations, which leads me to believe that the biggest lateral load on a fin does not occur (as I previously thought) during powerful bottom turns, but when the board is relatively flat on the water on sucky sections of a wave, i.e. tube riding or maybe just before getting tubed. During a bottom turn, the tail of the board carries most of the load.

I have already modified the production process to strengthen the fin tab area on later version of this fin. The photos below show very well what goes wrong: Bubbles (or rather vacuoles) in the fin tab combine with the weakening effect of the holes drilled for the ball spring plungers. The fracture line runs through several vacuoles and ball spring plungers.

If the fibres get stuffed in with a chopstick at the end of casting the resin / Q-cel mix into the mould, then bubbles get introduced. They continue to rise until they meet the increased fibre density at the fin base, and/or until the resin gets too thick, and thus they concentrate exactly where you don’t want them: At the maximum stress line for the fin.


In the same surf session in which the Gull-Whale-Fin snapped off, I surfed the ‘Lavalamp’ model (red, green, yellow silk). It was my first attempt to pour straight resin on top of resin-Q-cel mix and the heavier resin sank to the bottom, but I scooped it back up and most of it ended up where I wanted it to be. Note the absence of vacuoles in the holes drilled in the fin tab. It did not snap off, but I did not manage to get anywhere near a barrel. The fin came out of the box once, maybe the leg rope got stuck on it after I fell off.

When pouring the next fin, ‘Bluebottle’, I erred in the other direction and waited a bit too long before pouring in the neat resin. Therefore I could not get the fibres in as deep as I wanted them to go.

I’ve got an improved process in mind for next time.


They only just float.

The picture shows two of the later fins (with less q-cel and more stainless steel ball spring plungers) floating in fresh water. Only the tips come out now. They will of course float a bit better in salt water, but there is not much wiggle room left to make them much stronger without them sinking.

The next photos show the making of a fin named 'Junglegrass". It went almost as planned, using prepared silk skeins and an applicator made from a chop stick (with a cross cut into the tip) and a paddle pop stick for each of the 9 skein halves used.

I started pouring the neat resin on top of the q-cel mix a bit too early, so there was a bit of ‘lava lamp effect’, as can be seen by the different colour of the tip.


My first self shaped fin is ready for the silicone mould making.

I don’t have quite enough transparent silicone left, so I made some adjustments to compensate for the increased silicone requirements for casting the much thicker fin. No more right angles for the mould outline, nor cutting out bits of silicone after casting. I added the PVC pipes not as ‘keys’, but to reduce silicone requirements. And I added moulding clay adjacent to the fin tab, where I would previously have cut out the cured silicone to create the holes for pouring in the resin.


A test cast of ‘Turmfalke’ from dental Pop went well.

I’m finally ready to make an epoxy copy of my first hand shaped fin.


The first epoxy resin ‘Turmfalke’ fin has a few issues.

But I think it’s a good start.

The white parts in the fin tab are areas where parts of the partially set Q-cel mix in the tip of the fin had broken off and floated up through the pure resin in the tab. I caused this by poking around in it at the wrong time.

The trailing edge has multiple small air bubbles in it, making it impossible to sand it smooth. This is caused by air bubbles rising in the tip area until they hit the trailing edge and get stuck. From the middle upward the trailing edge is much better.


The Tough Fin Base (TFB)

I have made a fin base with a much larger attachment area for the fin, to replace the "Dummy Fin Base’ which I have used so far. The attachment area is 9mm thick (same thickness as the tab) and I hope this TFB will reduce the weakness that causes the fins to snap off at the fin box.

I’ll make a split mould of the TFB and then make laminated carbon / kevlar / epoxy TFB’s.

I plan to either inset them into a nearly filled split mould for a fin, or put the TFB into the mould first, and then fill the mould with epoxy resin in some way.


Second ‘Turmfalke’ fin epoxy cast, this one with silk skeins.

I decided to fill 2/3 of the fin with Q-cel resin, and the last 1/3 with resin only.

I used 8 silk skeins in total. Initially, I prepared 5 skeins by knotting them twice and then cutting them in half between the knots. The resulting 10 loops of multiple silk threads were then inserted into the mould immediately after the Q-cel mix went in.

Prior to that, I poured some Q-cel laden epoxy into the mould and then tilted the mould for about 30 minutes, in the hope that this would direct all bubbles away from the trailing edge. The remainder of the Q-cel mix was kept in the freezer and stirred frequently to stop it from heating up in the centre in a runaway reaction. Then I put the mould upright again and quickly filled in the rest of the Q-cel epoxy.

Then I inserted the prepared 10 silk skein halves, using a sawn-off knitting needle (with a groove in the tip) to insert them. Paddle pop sticks were used to stop the loops from falling into the mould prematurely.

I set a timer to ring every 5 minutes or so, to remind me to check if the Q-cel resin is firm enough to pour the heavier resin on top of it, without the Q-cel resin floating up. Then, at the right time, I filled the rest of the mould with straight epoxy resin and pushed in the remaining ends of the silk skeins. It turned out there was not enough fibre in there for my liking, so I put in another 3 complete skeins. Now that I’m writing this up, it dawns on me that that was a stupid idea, because the fibres probably ended up lying horizontally rather than vertically and this may have weakened the fin. 


Here’s my plaster split molded fin.

Using excess resin and chopped carbon fibre.

Trim the edges with a knife and it’s ready to surf.

As long as the Mold gets a wipe of car wax it’s good to go again.


 Popped out another carbon fin this afternoon. 10 mins to mix, and only an hour in a warmed Mold.

As long as you care for the mold you can make dozens of fins this way.

MrMik.

Your persistence and inventiveness is much to be admired. I have learnt a lot from your efforts here (and from surffoils contributions as well). So thank you for that.

I have a roughly 20mm thick gullwing fin built from Paulaownia and Balsa that performs well. I think you’ll be very happy with your end result and the abilty to reproduce them easily.

Thank you RDM, I  can do with the encouragement at the moment. Another fin snapped off while surfing, confirming my suspicion that I need to make a much stronger fin base.

This time it was ‘Djunglegrass’ that snapped off, again at Burleigh Heads, this time I was the rider.

The waves were small (about 1m faces) but starting to get quite sucky on the outgoing (almost low) tide. And it was shallow, with submerged rocks a plenty. The fin might have hit a rock, but I think it was just not strong enough. Also, it had a pre-existing fracture line vertically through the second ball spring plunger, just where it fractured again. See photo. I took the photo while searching the shore line for the fin fragment, but I never found it. The initial fracture of the fin tab occurred when I was using a punch and a hammer to press the BSP into the 8mm hole in the fin base. I have since then changed the technique to avoid any further problems: Drill 8mm hole, then file it out a bit more until the BSP fits in easily. Add a little 'Tarzans Grip Ultra Strenght" and then put the BSP in. The BSP’s seem to hold solidly like that.

However, having been unable to retrieve the fractured fin on both occasions sheds doubt on my assumption that the buoyancy of the fins will prevent their loss if they accidentally come out of the fin box. 

The last three photos show Turmfalke1 with BSP’s, then with 2 more BSPs in transillumination, and last not least the result of the second cast into the Turmfalke mould, named ‘Goldilocks’ .


‘Goldilocks’ overlayed with the Dummy Fin Base (DFB) and the Tough Fin Base (TFB).

I think I’ll aim at these dimensions for the TFB:

200mm long

24mm high base

8.9mm thick at bottom

9.1mm thick at top of base

8.9mm thick ‘spine’

center of spine at 93mm from front of tab

This will require a bit to be cut or sanded off at front and back once finished,  and will fit into my existing moulds.