Cool process for vacuum bagging flat sheets then making non-flat parts

Check out the gallery on this article:

https://www.compositesworld.com/articles/a-highly-manufacturable-high-performance-hang-glider

Goes back to some comments Bert made many years ago about bagging up interior skins and bending them to the final shape.

The compound curves would cause some headache for a surfboard, but that problem has been solved in other ways by guys who’ve figured it out.

The round shape was interesting though, in that they just rolled a thin, flat sheet into a cylinder. Usually cylinders are pretty tough parts to infuse. Might be relevant for guys making SUP paddles.


Hi Lawless - Nice stuff in that gallery.  When I read your post, this old thread came to mind.  https://www.swaylocks.com/groups/i-think-i-figured-out-high-pressure-preformed-skin-thing

same principale as the prelam wood skins we made  “à la Bert” or “à la Loeher timberflex”. But we have a mold that make part of finish product : the blank.

John, I flipped through that thread just now.  It was fun to see all the old names of guys posting here from the old days. 

All the best 

I have been working on a shed-tech method for laying up sheets of fiberglass cloth as thin glass panels.  Used 2, sliding glass door panels on top of 4 plastic saw horses (Lowes).  Picked up the door glass for free on craigslist – and a 180-mile round trip drive.

Glass table is 34" x 76".

Only just recently came up with a way to keep the door panels from bowing (warping) when placed over the saw horses.  Switched from 2 saw horses to 4 saw horses (and a piece 0.5" x 24" x 30" BB plywood on top of each pair of saw horses).  Added the panels of white corrugated plastic between the pieces of glass to reinforce stiffness and add a touch of impact absorption (still need to trim the corrugated plastic).


That reminds me of what I did on my latest surfboard, using resin infusion. I did a different thing, not flat panels but somehow a close principle.

I wanted to make a sandwich surfboard, both sides at the same time and using resin infusion. Cork is a good medium for letting resin go from one side to the other as it is a porous material, so that was used as a core.

The surfboard foam core is EPS, so this is also porous, in my numerous tests and also whole board infusion (without sandwich skins), it was clear that a lot of resin goes into the core. So this time, I isolated the skins from the EPS to infuse them but giving them their final shape.

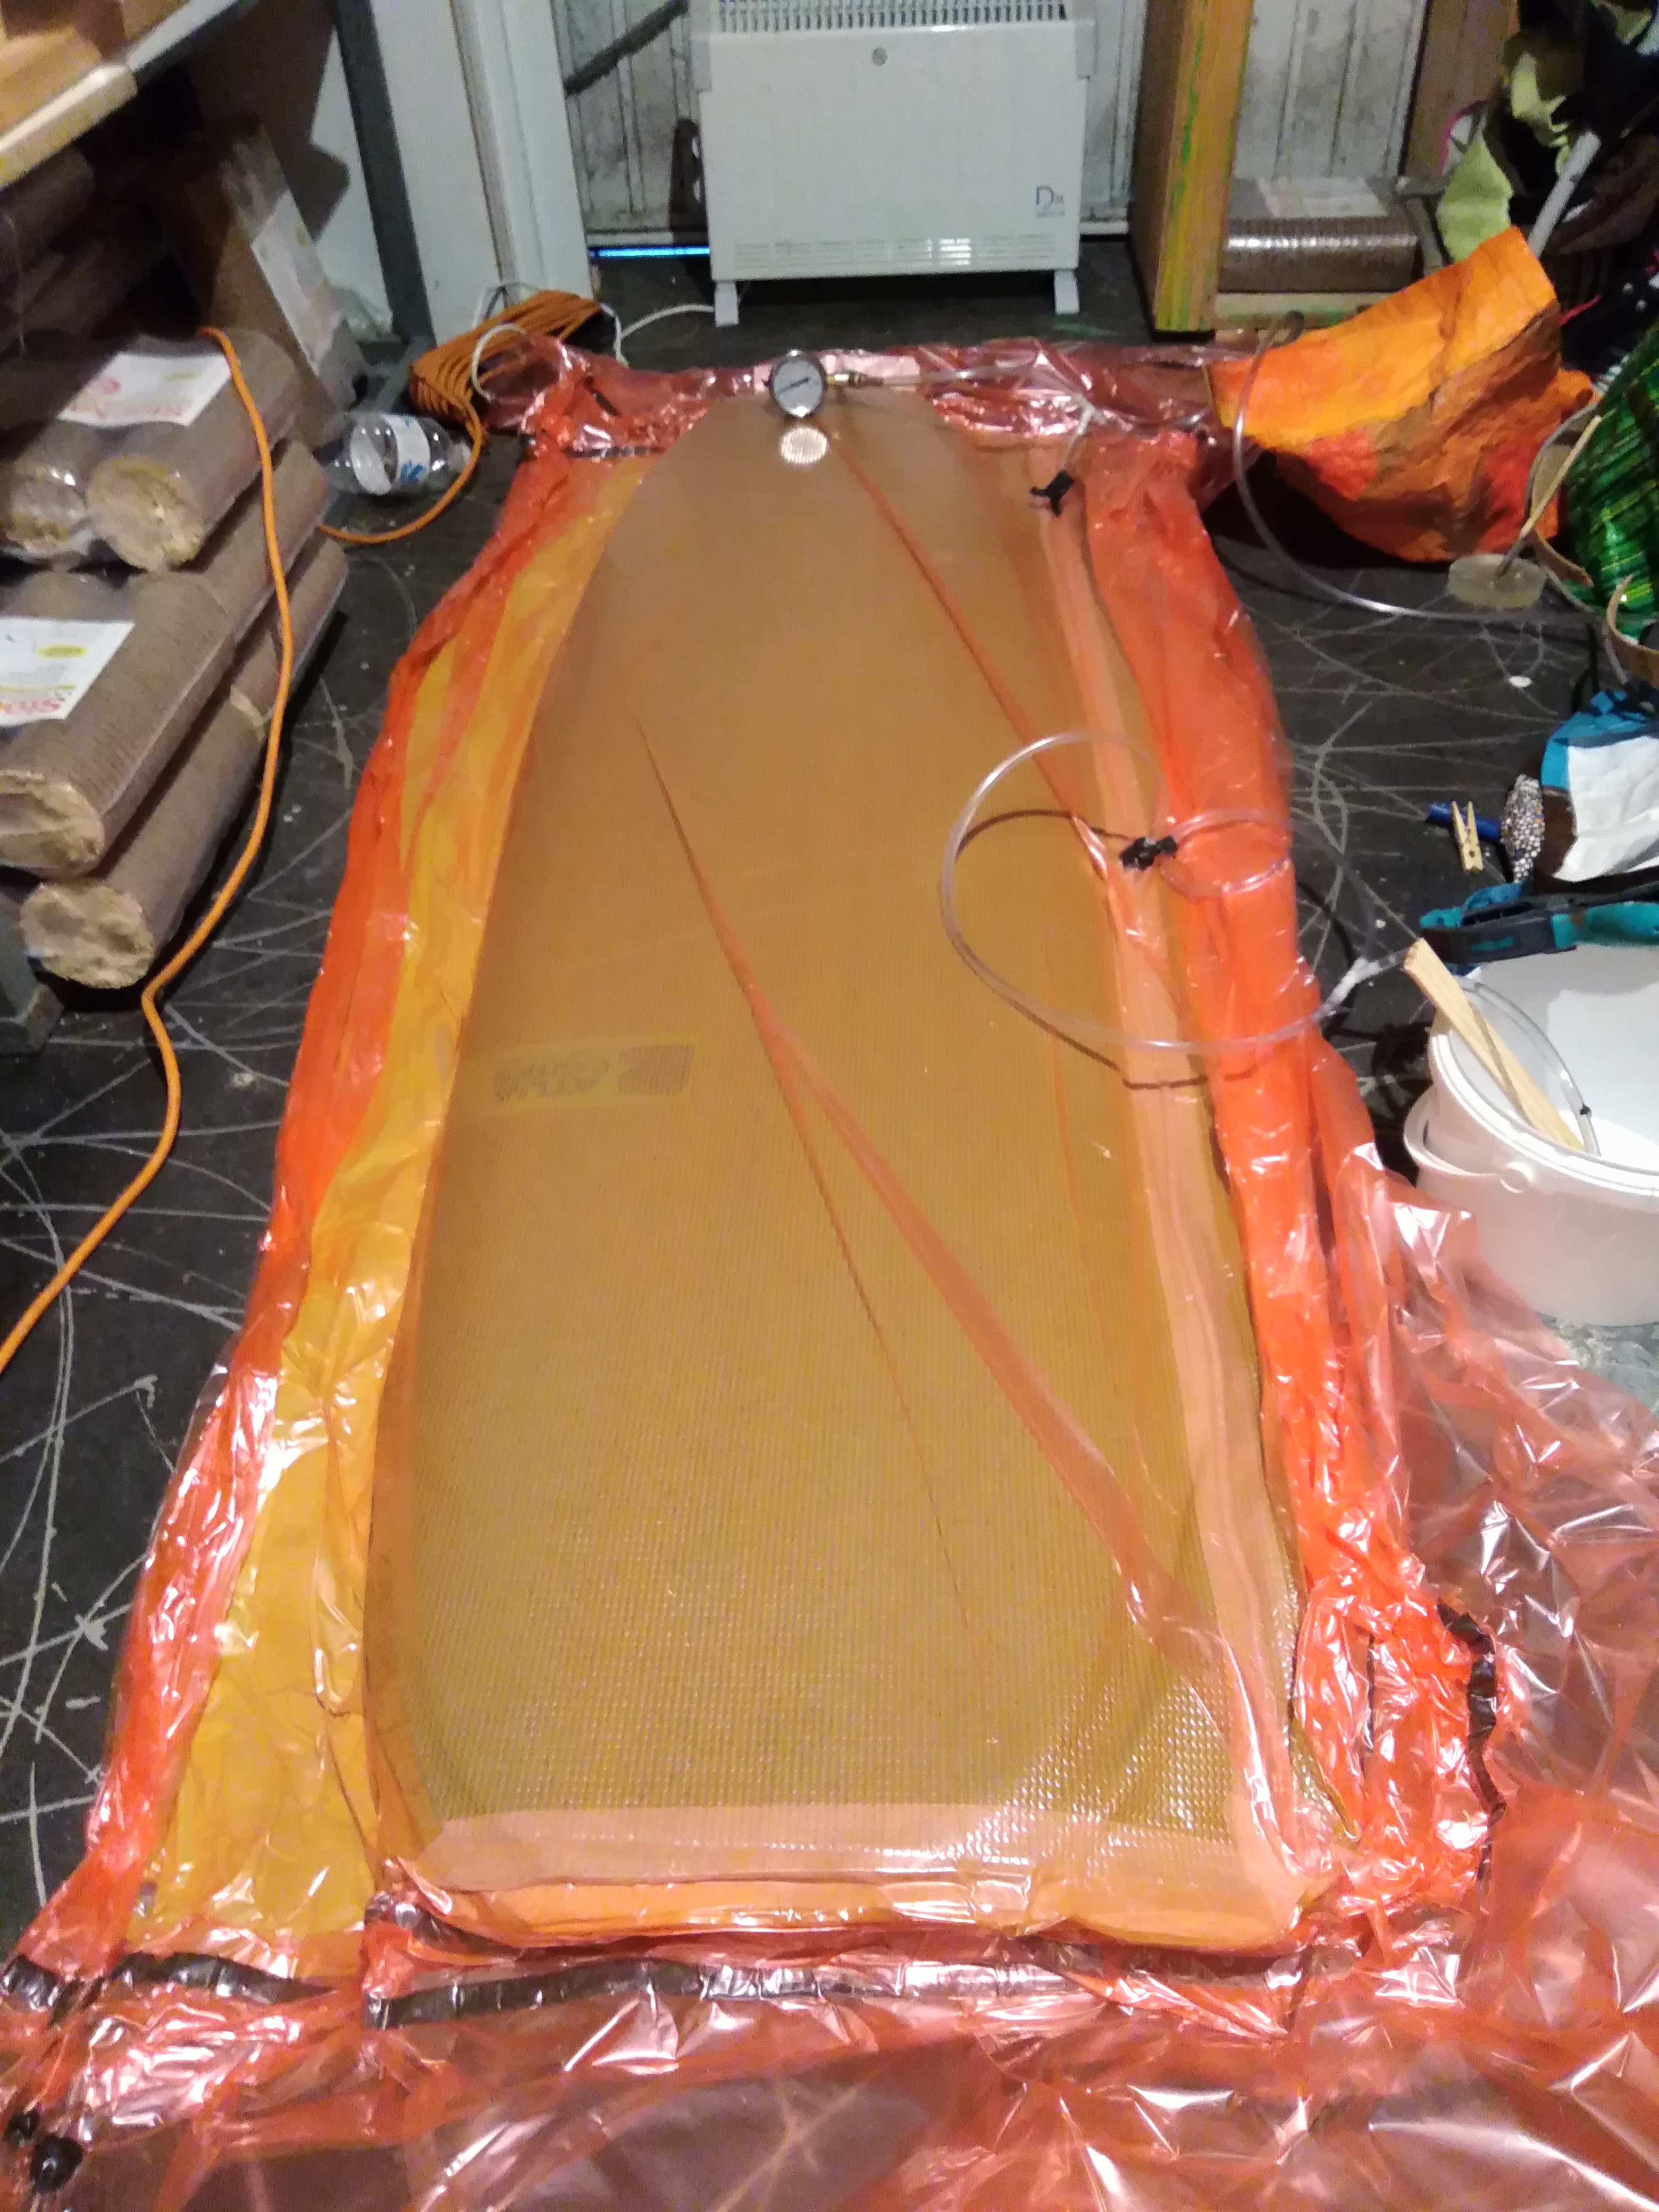
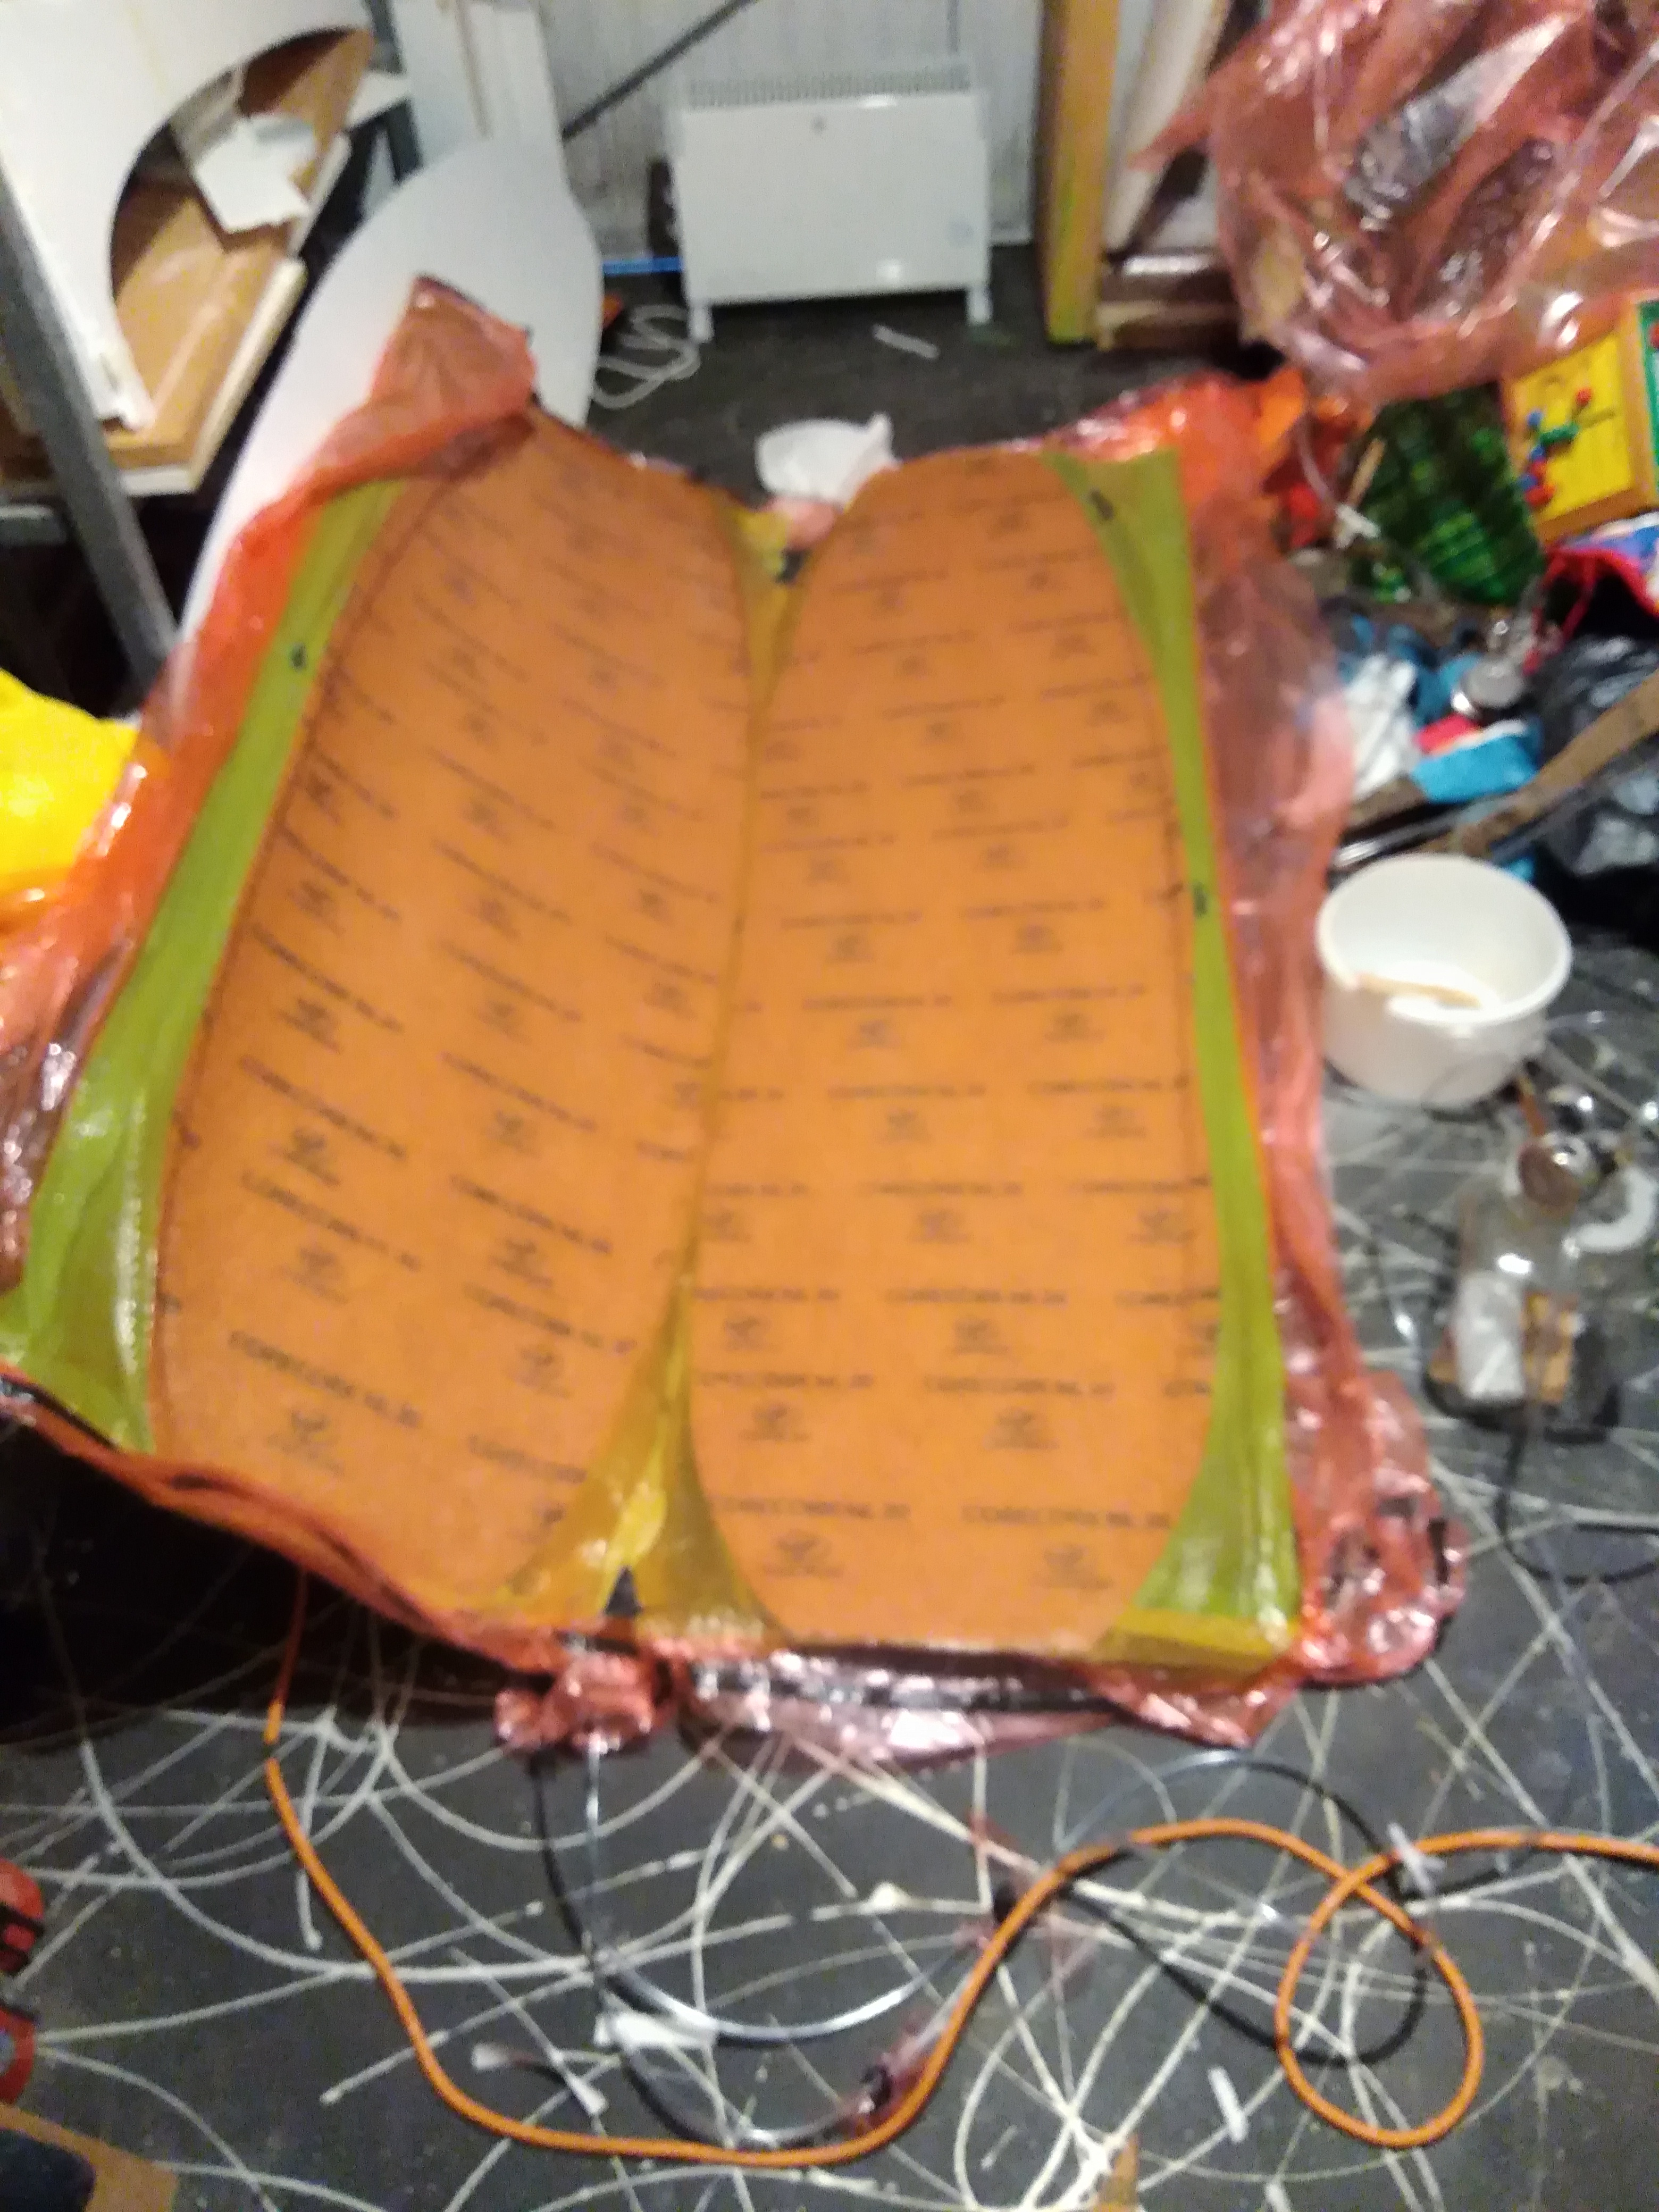
So first step was to prepare both sandwiches, dry, on the floor: 4oz glass, 2 mm Corecork, 4 oz glass (glass glued with infusion spray glue), peel ply, release film, infusion mesh with resin entry points and exit points and spiral tubing. Then each sandwich skin was placed in its own vacuum bag, and full vacuum drawn and each bag was checked for perfect seal.

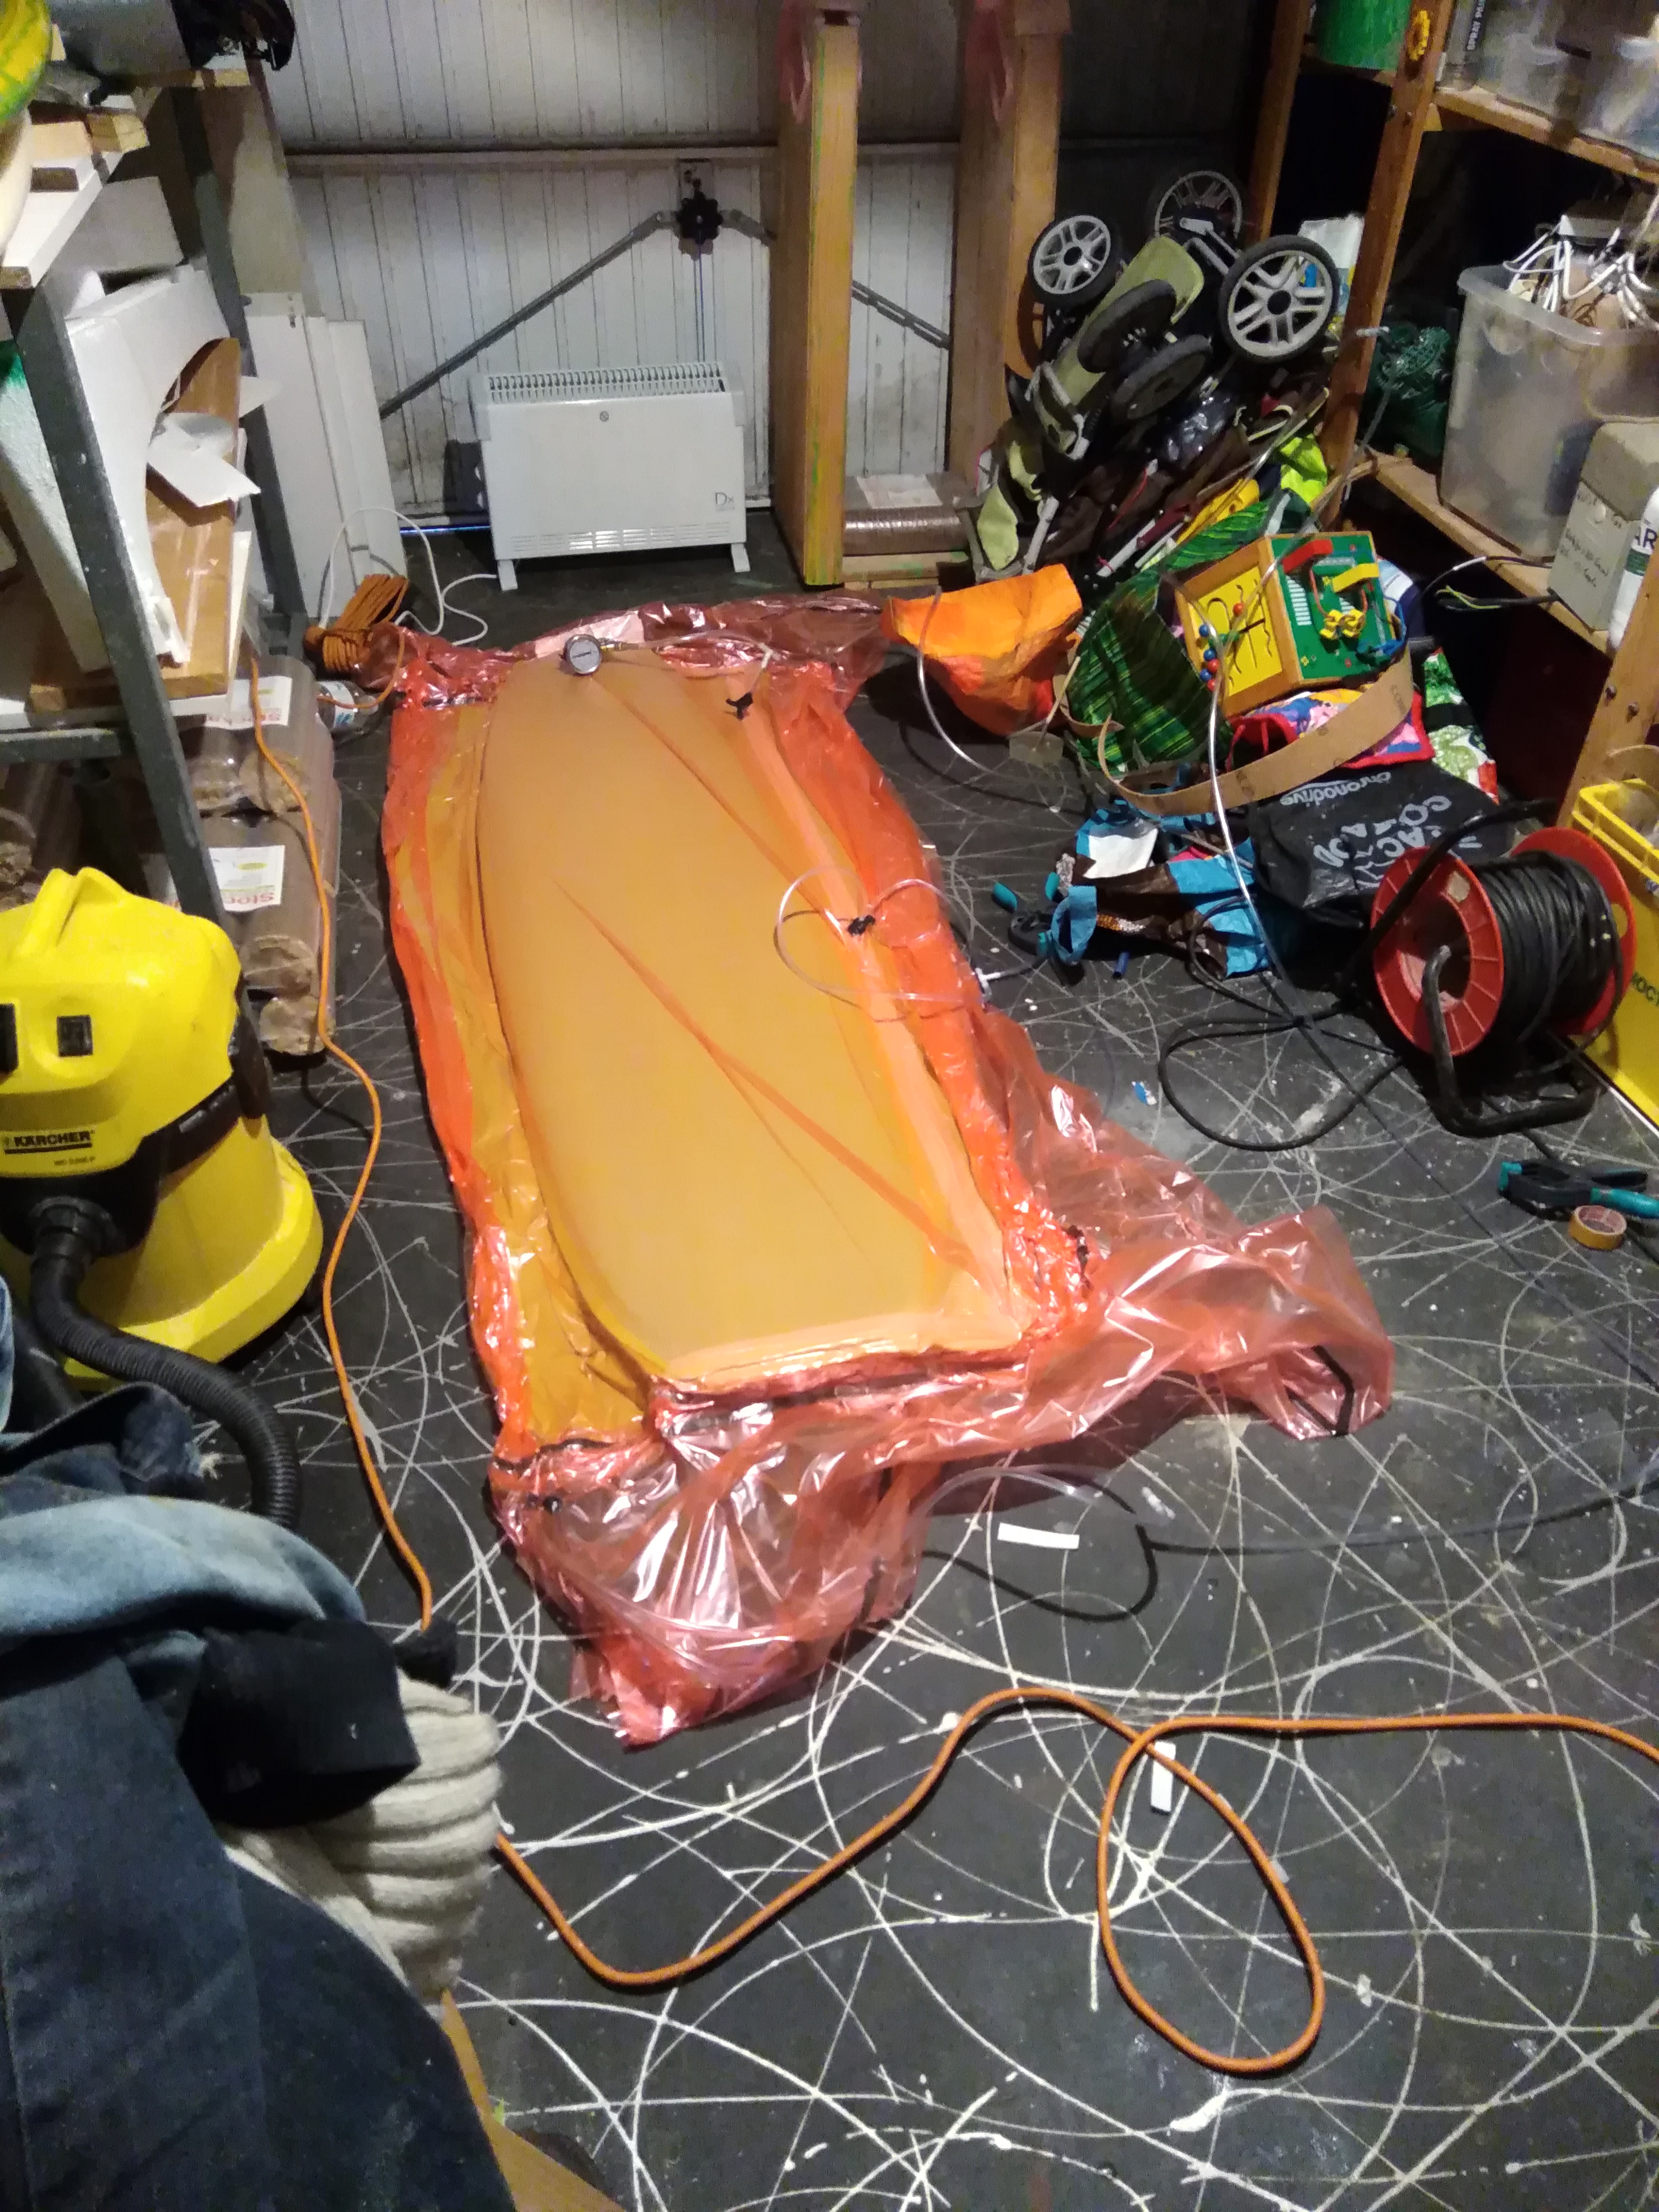
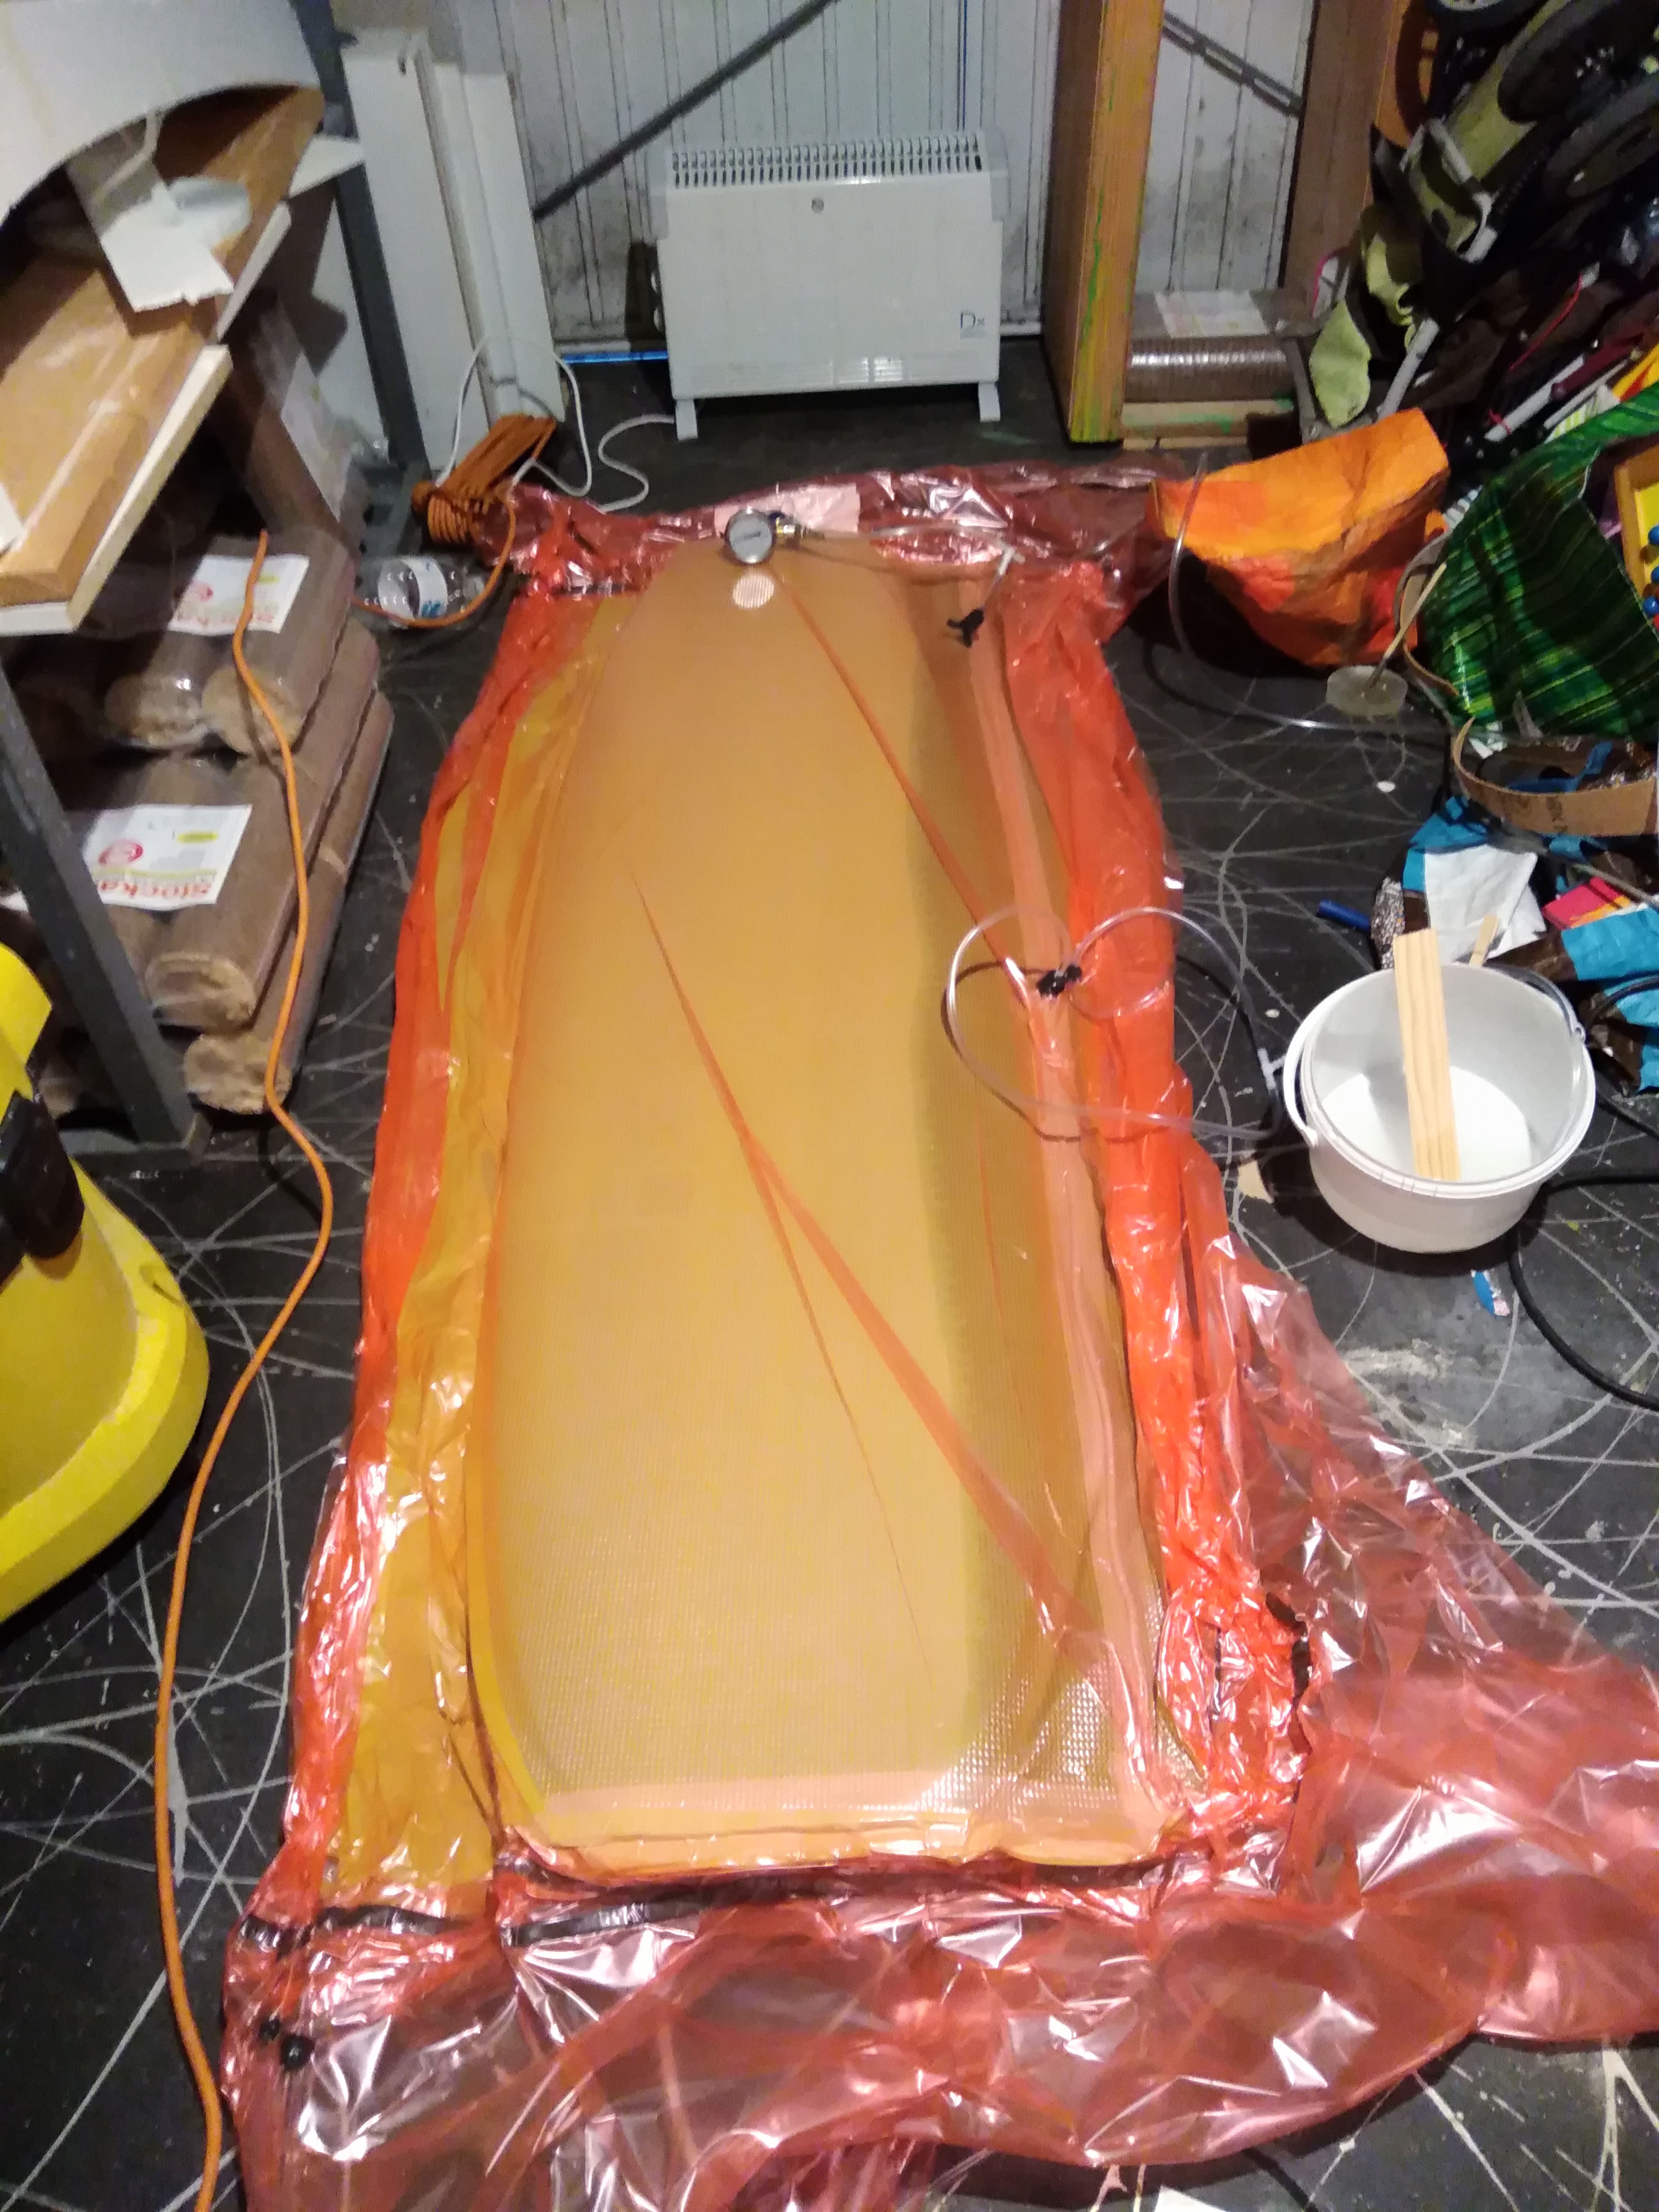
Then, each skin in its individual vacuum bag was placed in each side of the shaped blank (5’8" x 19" x 2.5") with wings, and the whole thing placed in another vacuum bag, letting the entry and exit pipes for infusion going through with a good sealant tape. Then a moderate vacuum was drawn to conform both sandwich skins well to the blank (20 kg/m3) without crushing it. So each skin was under high vacuum but was conformed to the blank with  a lower vacuum. Then when everything was good vacuum wise, air tight etc…, the sandwich skins were infused with infusion resin (Resoltech 1800) and once the resin reached the opposite side, the resin inlet was closed, and resin allowed to harden.

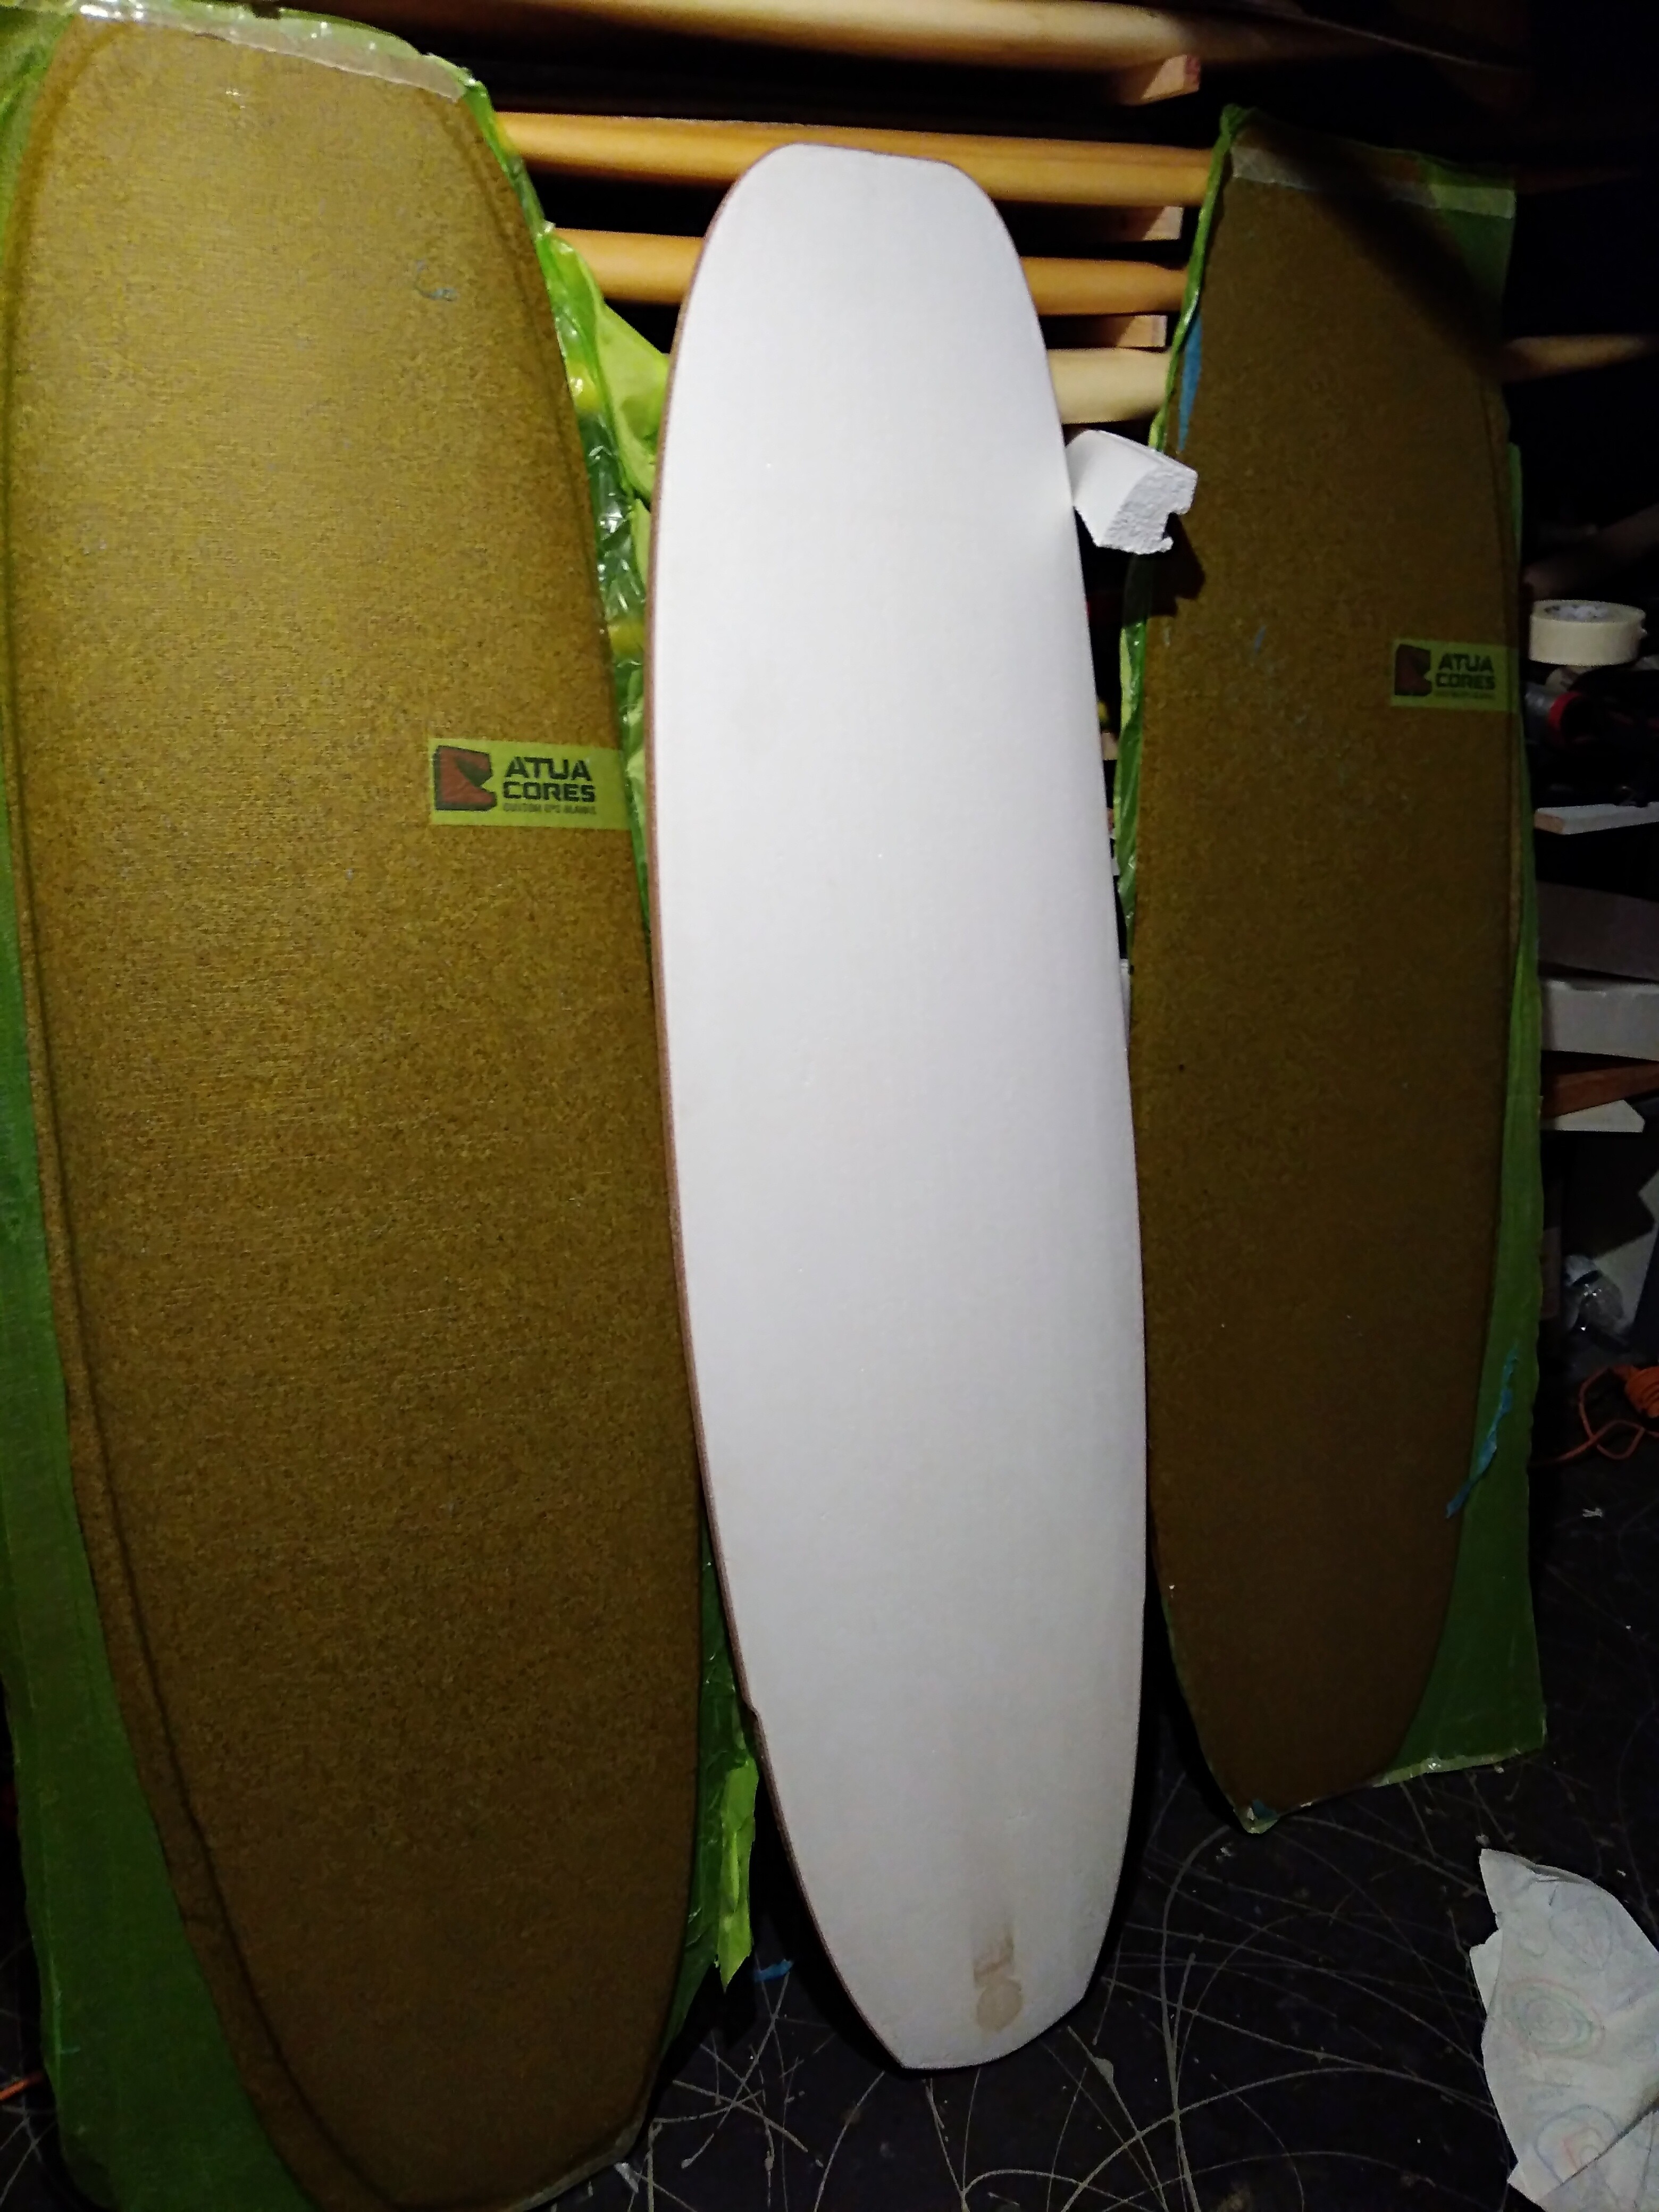
Once everything was taken out of the different vacuum bags, I had 2 skins (still with peel ply on them in the photo) fitting the blank perfectly and a blank. Each skin was then glued with PU under moderate vacuum and rails finished with 2x 4oz glass (I used too much positioning spray glue which gave a blurred fibeglass once manually saturated with resin).

Then hotcoat, fin plugs, sanding etc… as usual.


The method was good for being able to prepare different steps without wet resin, so once resin is involved, you have nothing to do besides watching that everything goes well.

The final weight is not that good, that board weighs around 3.3 Kg which is not light although still OK, and this board works well. The drawback with infusion is that at the end, the laminate is quite resin-rich, as vacuum is lost while resin (which is at atmospheric pressure) progresses through the fiberglass. Also, as cork is porous, you are sure that any void is filled with resin. I also put different fin boxes to test different fin options as I like testing different things, so this added also a little bit of weight.

Cork has a rather irregular surface (small holes everywhere), so the end laminated sandwich doesn’t have a slick aspect, more an irregular surface, which will need quite a lot of resin to get it fully flat after sanding. As I did not want to put too much on, I don’t have a perfect surface at the end.

See photos below.


1 Like

Gluing to the blank and final result (no photos of the other steps but those were quite usual).


The blank and Corecork materials were from Atua Cores, the infusion mesh Flownet (infusion mesh coupled with perforated release film) was kindly provided by Diatex for testing and the Fyn fins were kindly sent by Fynsurf for testing too. That is why this board has 4 Way fin systems for side fins, with an FCS 1 plug just behind, and a US box for center fin. I can either use 3 fins classically with cant and toe in on side fins or replace with the Fyns (with front FCS tab in 4wfs plug and back tab in FCS plug behind) after changing 4wfs plugs to not cant / no toe in (Fyn recommend to use no cant and no toe in). I can also use a single fin or any combination of the above.

salut pierrek 

why not seal the blank first glue resin on with laps both sides then cork then fiber and infuse all in one time with only one bag ?

risky but not more than your process, no?

Do some of you use epoxy foam to adhere the premanufactured skins to the core?

I thought of it when vacuum bagging, you could possibly use it to enhance the bond to the core.

Prelam the skin, 

apply a bit of foaming epoxy, 

than suck it into the core. 

Somebody tried that? 

@ jspr:  Do you know a source for foaming epoxy?

I know Sicomin has a foaming system with specified densities. In my area timeout composites distributes it. Other than that the composite supplier HP-textiles sells an additive. I don’t know if that’s helpful for you… Cheers 

What a buildthread by the way! You are a hero! 

Salut LeMat, Well, if there is the slightest hole, resin will enter from there. Sealing might be enough to retard this process, I have not tried it, but did not want to add too many steps to the process. The way I did it, there aren’t many steps, and each step is not taking too much time.

Anyway, I am not doing it again for now.

For making epoxy foam, I use this additive: https://shop1.r-g.de/en/art/130144


It makes epoxy foam a little. I would be good for gluing skins, it foams enough, but foams fairly quickly. It doesn’t make any pressure if the idea is that it would push itself deep into the EPS foam.

I use it for gluing plugs in slightly oversized holes under sandwirh skins. I haven’t tried the real foaming epoxy by Sicomin, it may foam much more and pressurize itself a little, like foaming PU ? I wonder what the additives can be, I tried to search without success.

I use both additive and foaming epoxy, both works same: fast foaming but not much pressure, far less than pu foam.

Thank you Matt,  that’s helpful.

Forgive the sidetrack, but I’m excited by foaming epoxy.

How does it sand/shape?

Can it be used to glue stringers in?

Well cured its sand like epoxy with micro mix. you can use it like a glue, it’s sell for this a gap filling glue. like pu foam glue it start to expand quickly but with low pressure.