First board thread

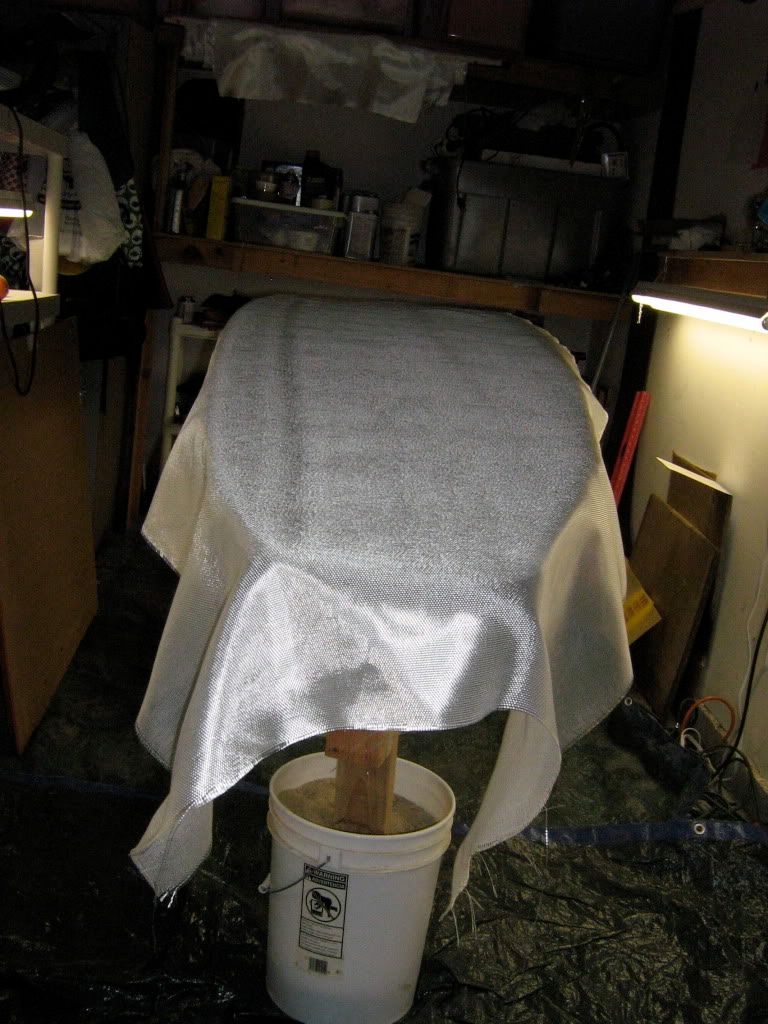
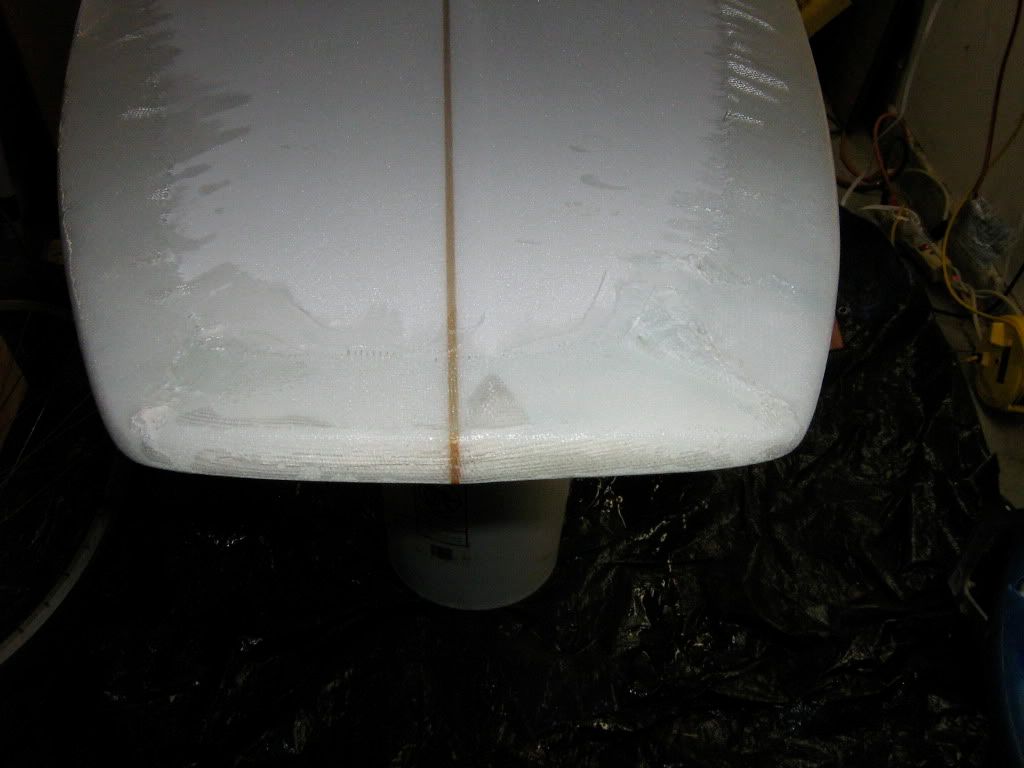
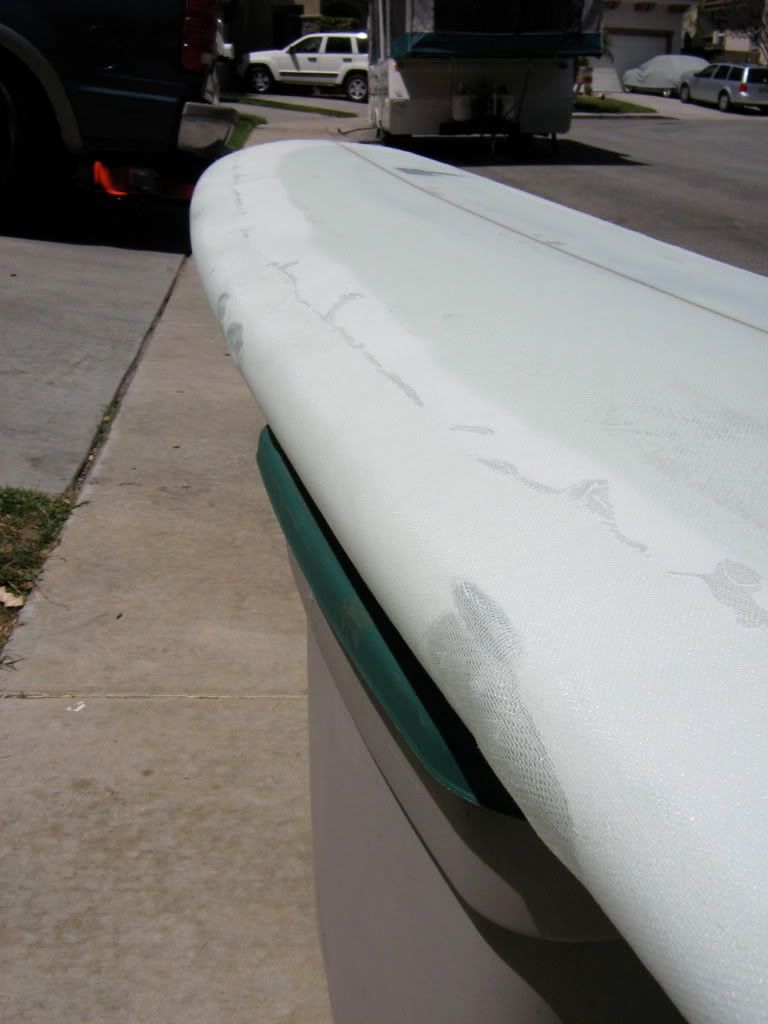
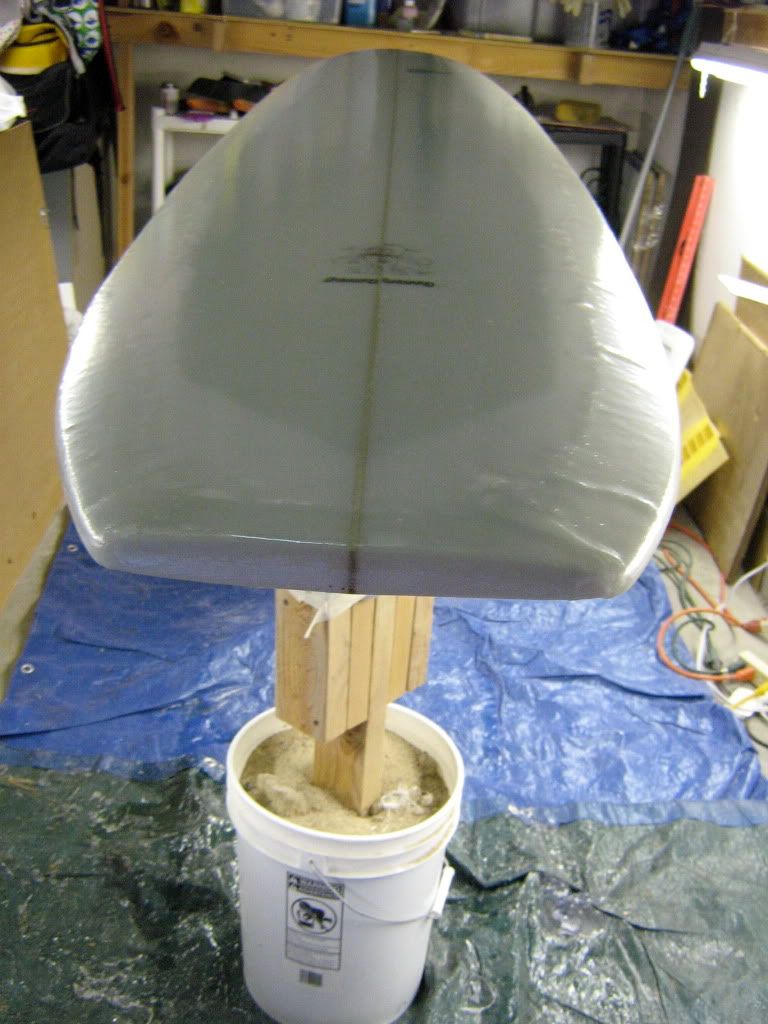
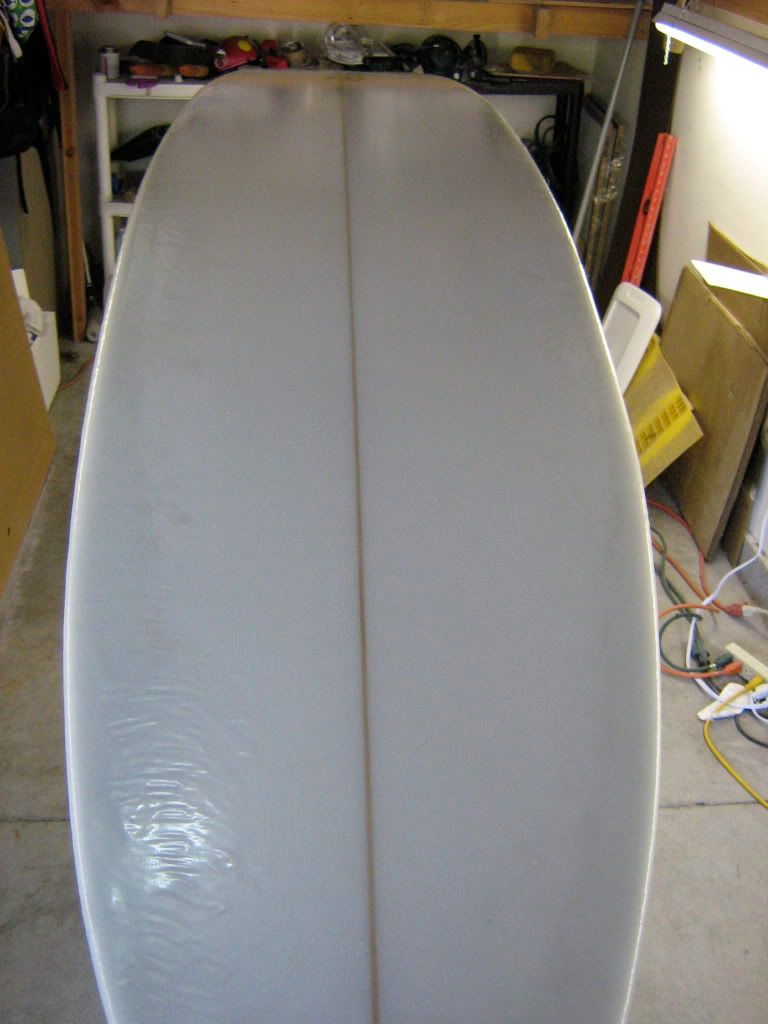
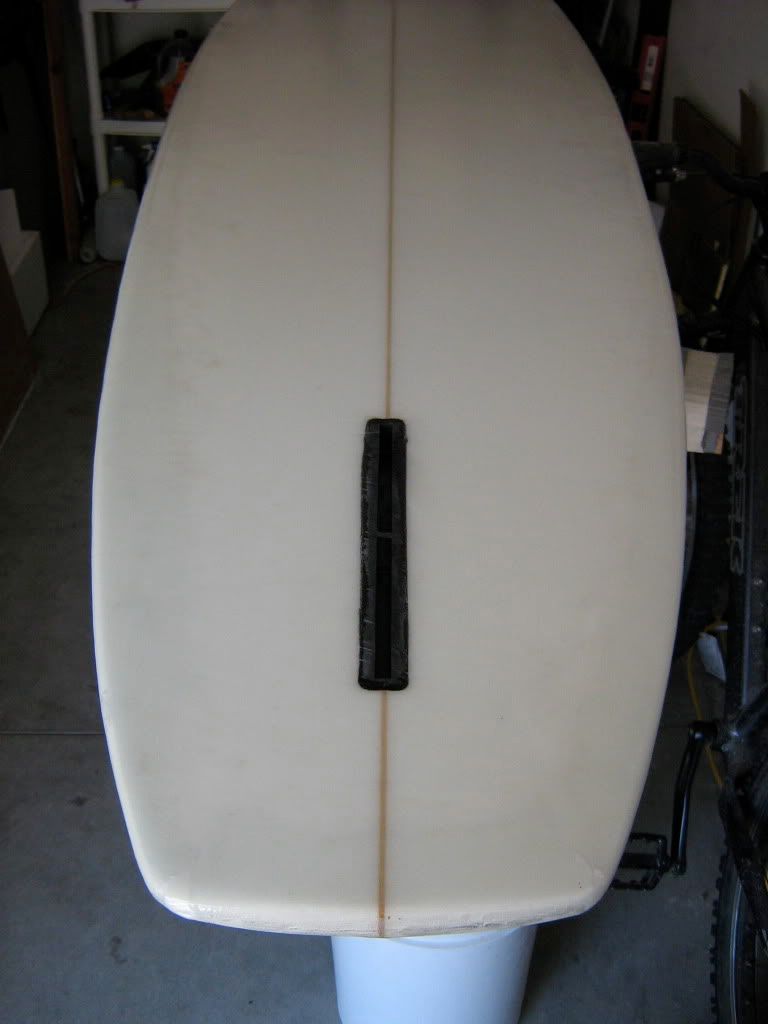
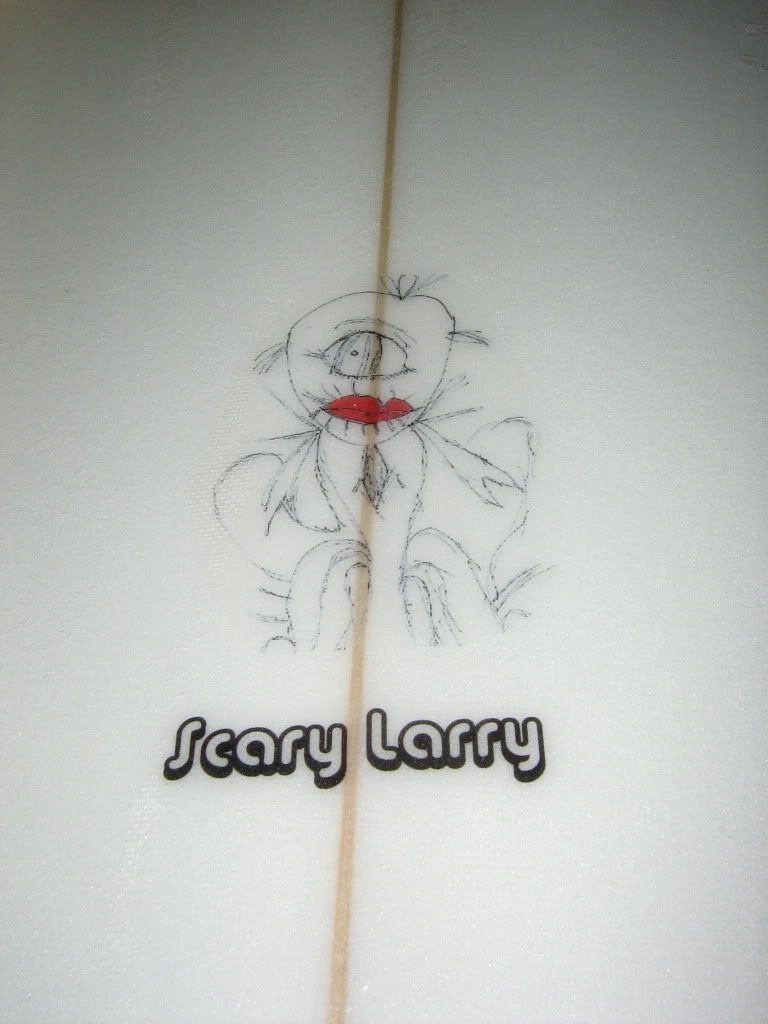
So I recently finished my first board (shaped and glassed) and was searching for a thread to showcase the first timers.  Unless I missed this thread, I couldn’t find it.  So I’m going to try and start the “first board thread” thread.  No real rules, just start posting.  While this is actually my second board, I’m considering this my first since I only shaped the first and asked a pro to glass and finish the rest.  Also, my first board didn’t require a template.  It was ready to go, just needed to sand it and put in the rails.  So I feel like this is my real “first” board since I made a template, cut out the shape from the blank, shaped, glassed, hot coat, sanded and put in the finbox.  So here it is, my first board: Scary Larry.  I made a template from my first longboard and quickly learned the importance of having a good template.  First time using a planer on this one and that was an interesting learning curve.  The glassing was the toughest step.  I used 6+4 on both top and bottom and an additional 4 oz Volan on the top.  Wanted to cut the Volan to match the outline of the board but quickly learned that fiberglass cloth is not the easiest to cut in large shapes with rounded edges.  Also encountered some air bubbles in the edge.  I think trying to glass in a garage was also a frustration; stepping in resin, limited space, dog hair and other particles in the resin, etc.  Should have taken more time sanding down the laps.  Sanded down the laps on the bottom but didn’t on the deck.  Now I know why I should have.  Need to learn tha art of pin striping but for now, the art of waxing the deck will do.  Hot coat was a breath of relief compared to the lam process but ended up with more paint brush bristles in the hot coat than I liked.  Finbox install was pretty smooth but grinding down the finbox wasn’t as easy as I thought it would be.  Sanded down the bottom of the board and learned a lot.  Left the deck as as is due to fear of hitting the weave (from not sanding down my laps).  The Scary Larry logo came from my daughter when she was six.  Simply scanned Scary Larry into the computer and printed it on rice paper.  Used MS Paint to just color in the red lips.  Surfed it this weekend and was pleasantly surprised.  Tracks straight, paddles well and stills turn (left and right).  Thanks for all the help from on this site and I’m fired up to do another board.
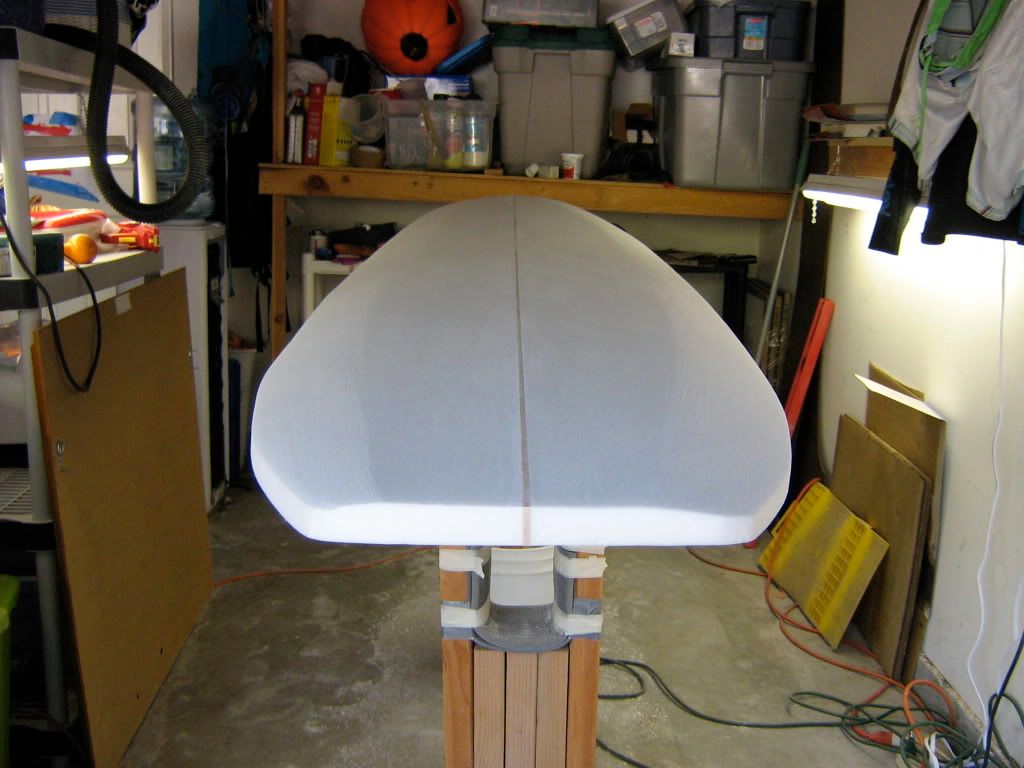
And for all you other first timers with the less than perfect first board, please post your experiences and pics!

[quote="$1"]

...And for all you other first timers with the less than perfect first board, please post your experiences and pics!

[/quote]

hahaha - the stuff wrong with my first board doesn't show up in the pics, but it had a lot of goofs - as did my second, third, fourth, fifth (a re-build of a board broken in two), and my sixth, which I've only just started and which already has a bunch of goofs.  I don't have time to list them all, but I'll name a couple - put the leash plug in first, routed out for the fin box and routed the bottom of the leash plug out, shaped all the foam off the top of the blank instead of the bottom, and ended up with a supermushysoft deck, which I had to triple glass, didn't use a jig for fcs plugs and now I have to grind the tabs to get the fins in...

good stuff. i’m working on my first now. got her shaped and painted. going on a tip from the archives i used Design Masters acrylic laquer spray paint from michaels. it had 6 weeks to set up on the board before i was able to start glassing, but totally ran under the glass. looks pretty sloppy now, but i expected to make mistakes. now just hoping for something surfable. i bought the john carper glassing 101 dvd to fill in some of the blanks from what i’ve been reading on here. in it dude says first time board glassers should go with 5cc of hardener to 1 1/2 liters of resin for a lil extra working time. also, it’s been 90 degrees out in my garage. it has been 3 days since i glassed the deck and after checking it out just now i have found that i can literally peel the glass right back off the deck. it is not hardened much, still very sticky. wtf? so i’m guessing that’ll probably be my best bet as of now. too late to save the elaborate paint job, but perhaps not too late to save the board?

pardon me, that was 1 1/2 quarts, not liters. it’s 3 a.m. here and i’m at a loss.

I also used the Glassing 101 DVD.  It was pretty good but as someone mentioned on this board, it doesn't tell you the common mistakes and how to avoid them well enough.  You watch that dude glass a board and think "...man, that's a piece of cake..."  It's still better than trying to piece it together by watching you tube videos, but you don't fully understand it until you do it yourself. 

For both the lam and hot coat, I added a UV catalyst to the resins so I didn't have to worry the hardener.  Just laminate and then throw it out in the sun when ready.  Downside, obviously, is that you have to do this during the day but the good side is not worrying about have too much or too little time to work with the resin.  I still bought some MEKP for the fin box install. 

Not bad at all for a first board. They all work right? Just need water and gravity!

You might have an easier time glassing the next one with regular E glass as it’ll wrap the rails easier and less chance for bubbles. Volan’s stiffer.

The Scary Larry logo’s really cool!

~Brian


yeah, man. i dig the scary larry logo. i may go ahead and try the uv catalyst on the next board(i actually got one already shaped-a 7’9" rounded pintail, and a 5’2" fish from a clark foam blank about 75% of the way there) i guess on this one the thing to do will be to go ahead and strip off the cloth from the deck and reglass with more hardener. she won’t be the beauty i was aimin for but hopefully she’ll be sea worthy. weather here around cocoa beach is like 90 degrees the next week so i probably oughta wait for cooler weather on the next attempt. deck will likely be pretty knobbly with the old resin still goopy on there. anybody know a trick for cleaning that crud off when it’s gone awry and not quite dry? i’ll try and get my old lady to show me how to post some pics for ya…should be good for a laugh at least.

     Howzit eviltwin, 5cc's for 48oz's of resin is not near enough even for a first timer. Even 15 cc's would have been not enough. I use about 12-15 for 22 oz on  longboar and that gives me plenty of time but I have done thousands of boards. For a quart you could use 10 cc's and have had more than 20 minutes at least beore it would even think of geling. Where did you see the 5 cc's quote? Aloha,Kokua

thanks kokua! it was on the john carper 101 dvd. he recommend 15 cc per quart of resin, and 5cc for a first timer…although now i’m second guessing myself. maybe i need to watch it again. i’ll definitely go with 15 cc when i reglass. i didn’t have any trouble getting things smoothed down initially, all the trouble i have had seems to stem mainly from the incredibly long time it spent wet. great coverage and saturation slowly drained out and caused drippys along the edge of the bottom even days later. had it set up right away i think it would have been good. not thousands of boards good, but certainly not shameful for a first timer. oh well, try try again. i was hoping it would be difficult…few things worth learning come easy

    Howzit eviltwin, I see you are in Fl, and it gets pretty hot and humid there. When you say you are oin for 15 cc's I hope you mean for 1 1/2 quarts of resin since you are a first timer and any less resin might be pushing it for you. As you get faster you can use less resin and more catalyst. Toss the 101 DVD and get the Damascus video, it is a lot better and the glasser is our own Cleanlines. I watched the 101 vid years ago and all I did was laugh, about the best thing about the 101 vid is the glasing rack the guy has. Aloha,Kokua

definitely will get the damascus vid. thanks for the heads up. where can i find it?

     Howzit eviltwin, Might try the Swayshop or just post a new thresd asking for where to get it in the title, it was done by swaylockers and a lot of guys have bought it. I was nominated to do the galssing for a second one but I am out of the business due to health issues and a new living location. Another thing you could do is go thru the members list and find Cleanlines or Jim the Genius and PM them since they are both affiliated with it's production. Aloha,Kokua


Here’s my first board.  Had two goals: spend less money for a new board and make something durable.  First goal accomplished.  We’ll see about the second.  I did go with the standard double 4oz E glass on the deck, but I also added 4oz S glass patches right where my feet usually crack the deck and the rear rail.  Of course I made lots of mistakes, but learned a ton.  No more shop or craigslist boards for me!  I started researching about a year ago and then the whole construction process took about 6 weeks.  Would have been shorter, but the school year started up and had to get back in the classroom.  

I used numerous recources, but found the most useful info on Swayloc’s.  Thank you!

Some things I’ll be more carefull about next time.

1.  Lay out template carefully and don’t go crazy trying to make a curve perfect.  Ended up with a narrower nose than I wanted.

2.  Practice with the power planer on an old stripped down board.  I started with the power planer but made nasty gouges before I switched to the shurform. 

3.  Use razor sharp planes for the stringer.  I kept ripping out chunks of the stringer cause the plane wasn’t as sharp as I thought.  It also kept smooshing the the foam around the stringer down so I kept having to sand and then plane the stringer again.  Finally just gave up and left it imperfect.

4.  Use a better glass rack.  I bought a cheap ironing board and flipped it for the glassing rack, but it was too wobbly.  Will build a sturdy one next time.

5.  Take time cuttling cloth around the rails. Ended up with sloppy fabric so it made lap lines harder to level out.

6.  Learn to do cut laps.  Free lapping was simple, but I had to work hard to level out the laps and then I gouged the foam while trying to sand them flush.

7.  Cover the floor before glassing.  Luckily, I have a shed to work in, but now I’ll have to pull of the linoleum to get all the resin outta there.

  1. Don’t use bristle brush for hotcoat.  The brush hairs kept getting stranded in resin so it was a pain to get them out.

9.  Don’t use power sander on the nose.  I sanded through the glass and had to patch it a couple times.  Also got  a little over confident and sanded too close near the fins on the rail and on the corner of tail.  Had to patch those up too.


I could probably think of more, but I gotta get this thing in the water.  Thanks for all the help!

[img_assist|nid=1054045|title=First Board|desc=|link=none|align=left|width=640|height=427]


Good points.  I also had the issues with brush bristles getting stuck in the hot coat.  Nice artwork.  I lacked the patience to do artwork.  Just wanted to get it in the water and test it out. 

How does it surf? 

     Howzit wbrame, If you used the hog bristle brushes then it takes a while before they stop shedding hairs but they will stop. If you are near a Fiberglass Hi store they have these white plastic handle 4" aussie brushes that may shed a couple of hairs the first couple of times but nothing like the wood handle hog bristles. One tip is to keep them in clean acetone ( if using poly) . Don't know about epoxy since from what I read most just toss them but those 4" ones are not cheap. My brushes lasted me for years. Aloha,Kokua

I work with epoxy and I use bristle brushes to hot coat and I basically run the pattern and then use tweezers to pull the stray bristles out.

Then if the coat is disturbed, I run another length wise pattern. 


I like to do a poly gloss coat – my woman does not like this.  But then, everything is sped up and I typically get the $10 brushes for both top and bottom and throw them away…  But, like I said, my woman doesn’t like the house smelling like a nail sealon…  Go figure.

So - it is epoxy to make sure I have a happy home. :slight_smile:

nice post Wbrame and nice board too...

these work well for me:

http://www.harborfreight.com/pack-of-12-3-inch-industrial-grade-chip-brushes-4183.html

hardly any bristle loss. usually none at all. use 'em then chuck 'em. after the resin has set, i rip the handles off for kindling when camping (thanks Stingray).

Thanks. I love Harbor Freight, and it’s just a few minutes away.  Definitely gonna be the go to place for the brushes.

Thanks for the tip.  How do you store the brushes in acetone?  I left one brush in a jar of acetone after the hotcoat on the bottom, but the next day, it was still all gummy with resin.  Maybe I didn’t use enough?

I was so stoked on the first wave.  It was a small, low-tide, peaky day, but still enough to get a good feel.  Picks up speed right away and feels stable, yet loose enough. Even got a clean little barel!