Thanks good luck @arlosilva perfect waves yesterday
!
Thanks good luck @arlosilva perfect waves yesterday
!
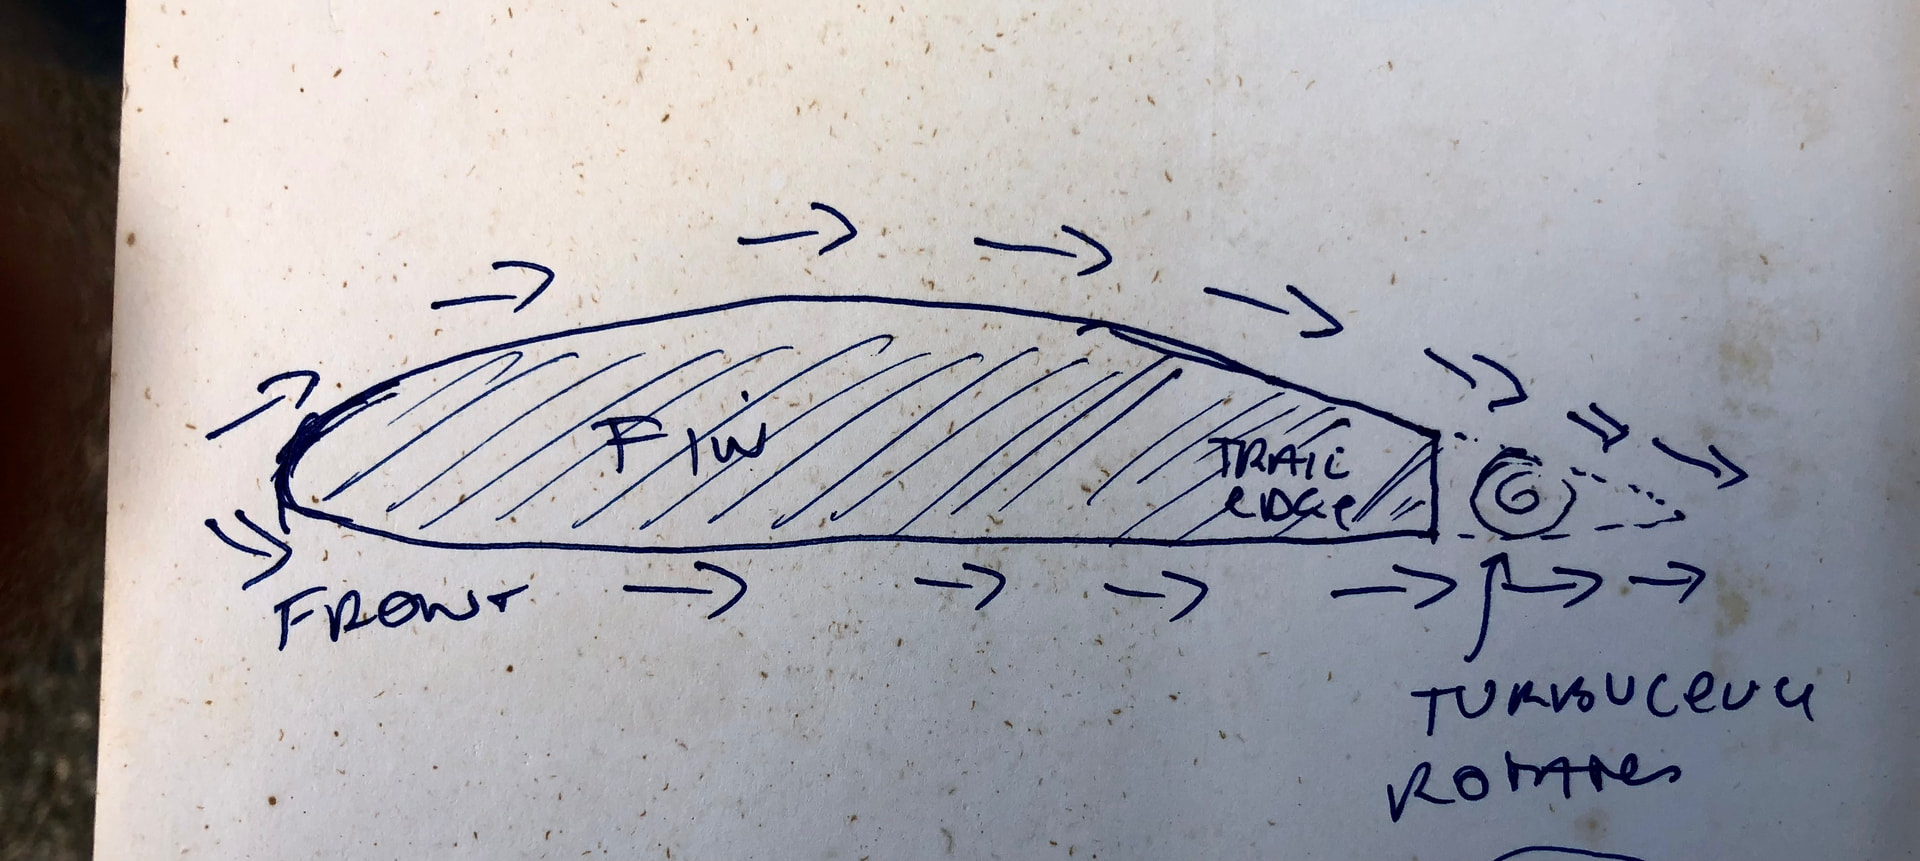
Greetings @stoneburner yes that’s right so I make my fin trailing edge 2 mm in my stl so 2 percent of eg 100 mm base (quads) then round it off once printed - there’s good research on wind turbines for example on Researchgate showing max trailing edge thickness because they try and make their prop blades as thick as possible but still aerodynamic - stops them breaking ![]() For hydrodynamics water can gather in the lee of the fin trailing edge to make a rotating turbulence like ball bearings so the water from the high and low pressure sides of the fin skips over it , basically the rotating turbulence fills in the trailing edge and “completes” the fin, so you don’t need the knife edge. At least that is my understanding and I’m certainly no expert!
For hydrodynamics water can gather in the lee of the fin trailing edge to make a rotating turbulence like ball bearings so the water from the high and low pressure sides of the fin skips over it , basically the rotating turbulence fills in the trailing edge and “completes” the fin, so you don’t need the knife edge. At least that is my understanding and I’m certainly no expert!
So you are using 2% of the chord “length” at the base of the fin.
So 2 mm = 0.0787 in and 1/16 in = 0.0625 in.
BTW pretty sure Hans Robeers did research with wind turbine blades
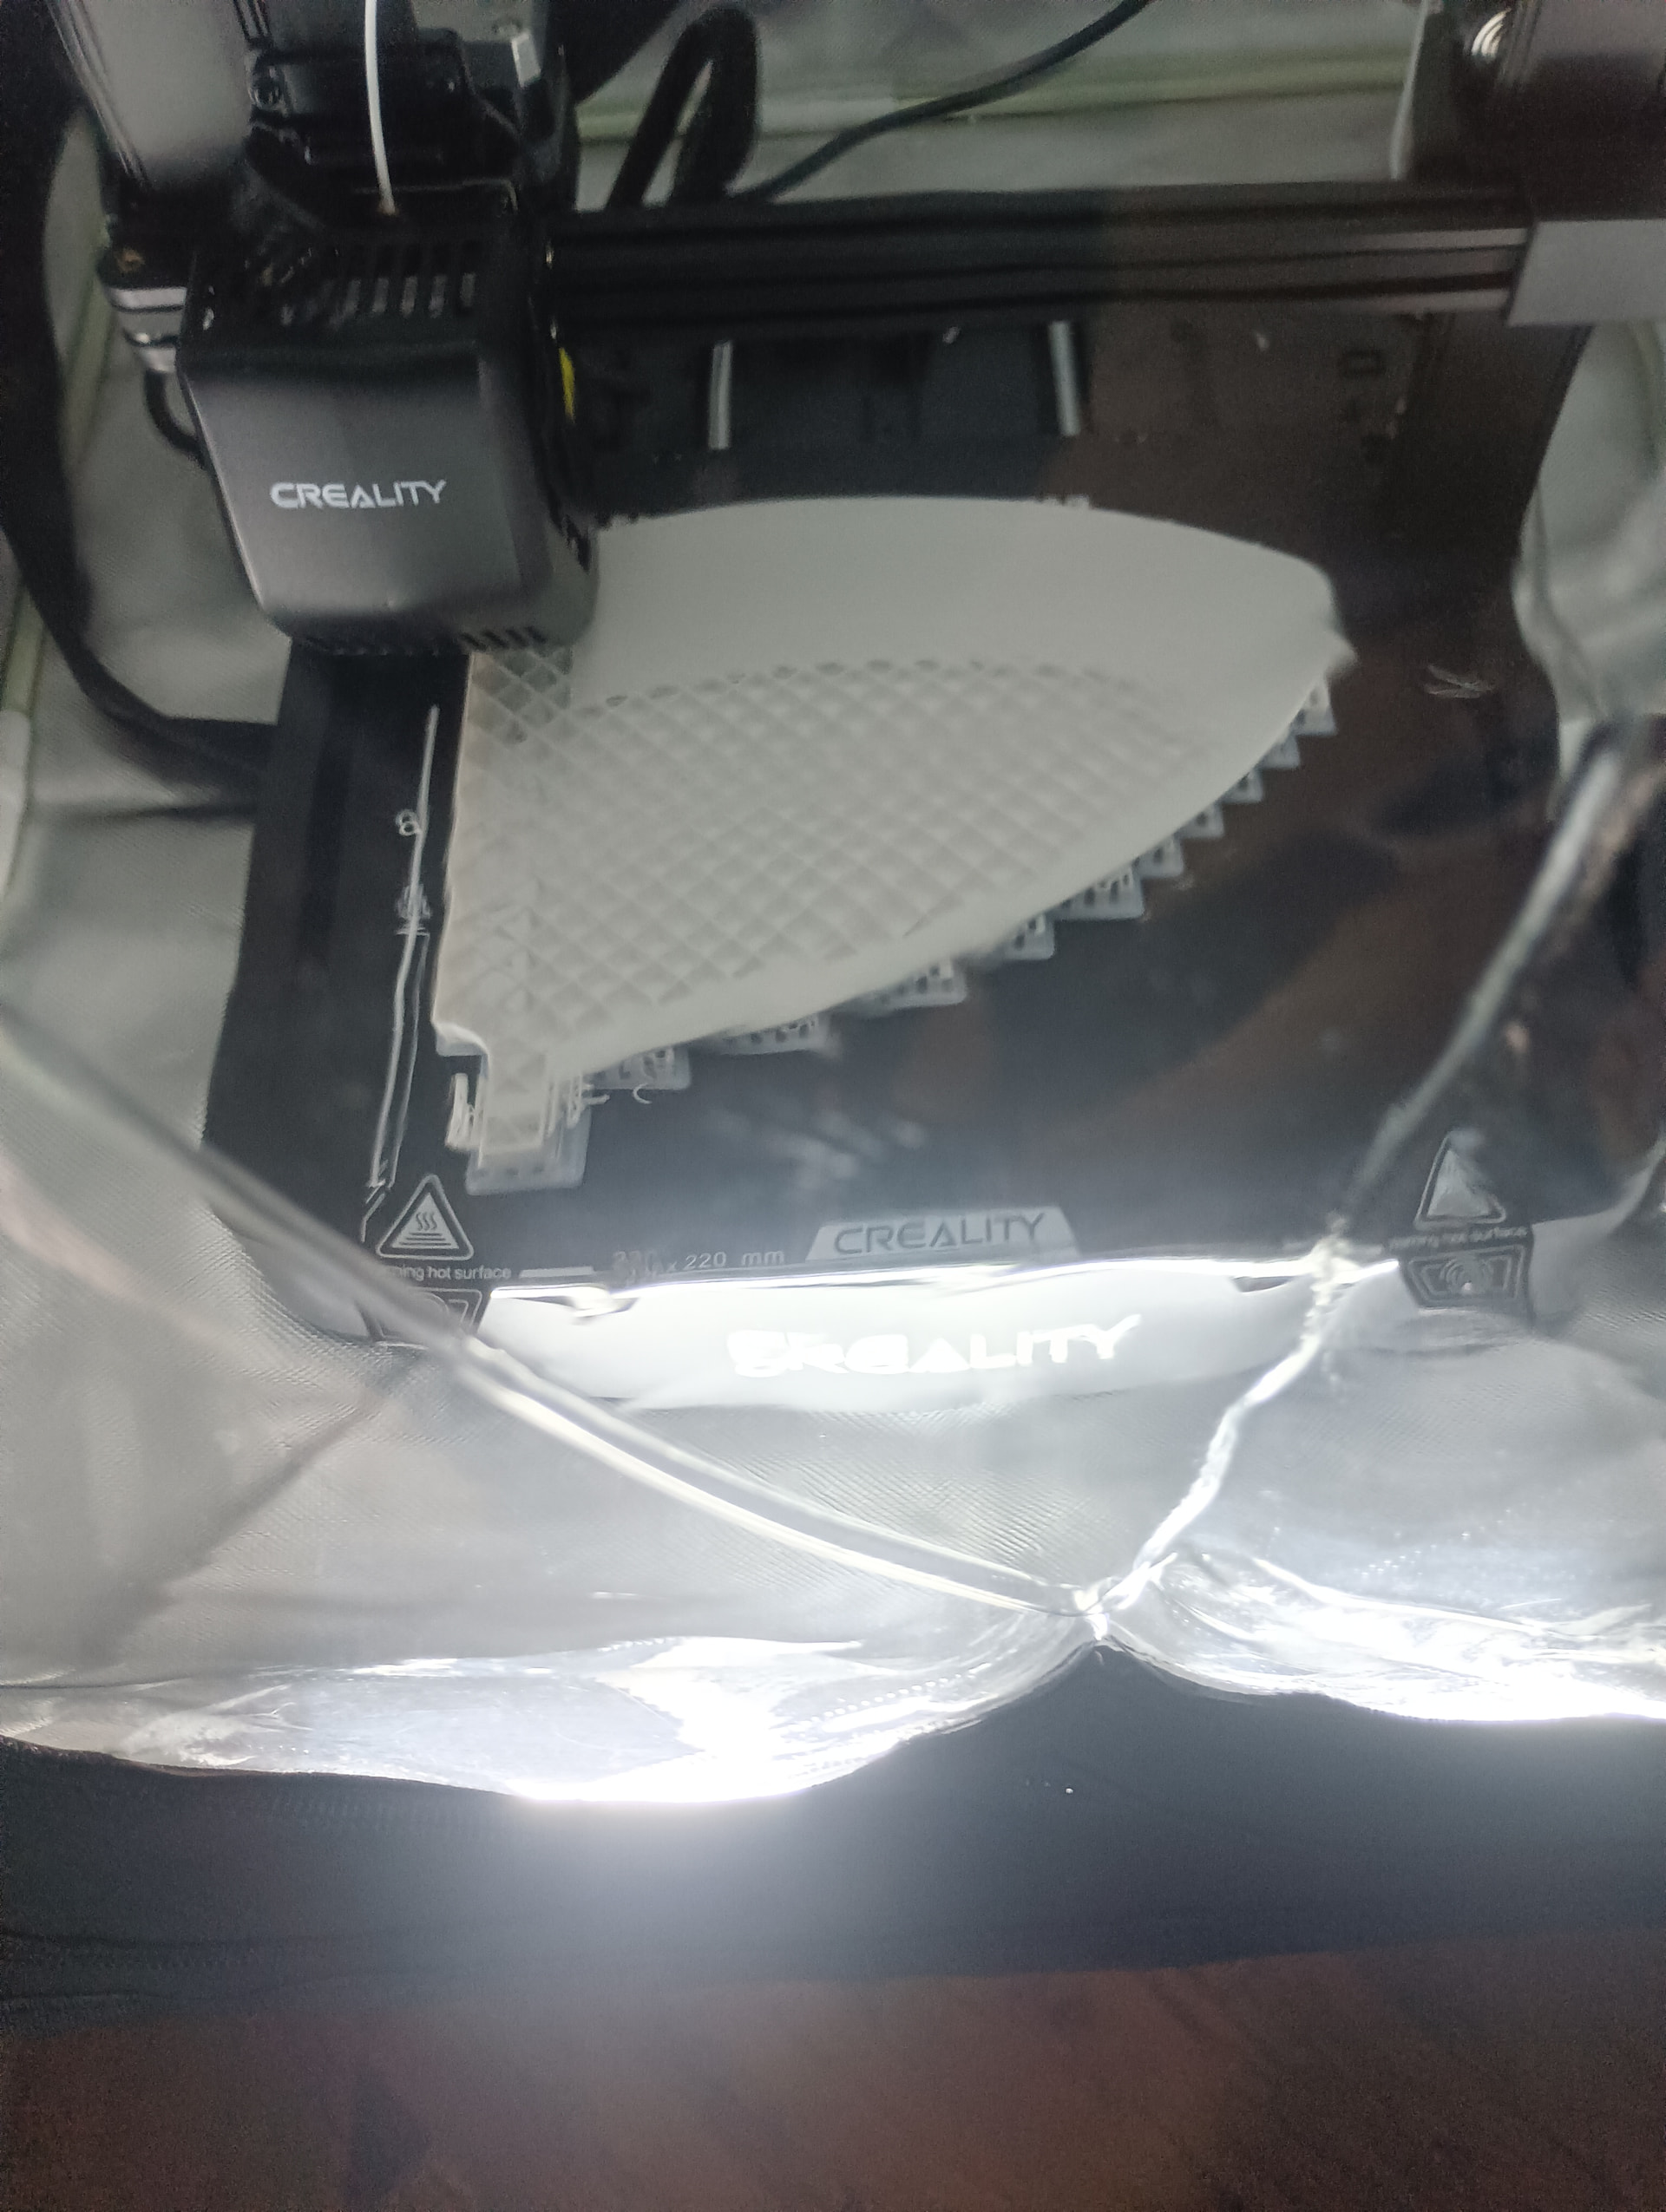
So i tried your settings it was a propper mess, after i tried the high quality setup from creality software and slowed down the speed to 30%.
After 10h i think i will be getting a D-Fin.
hope it all goes well.
@stoneburner stoneburner yes 2mm will give 10 layers at .2mm layer thickness when Printing the fin. So enough to stop the trailing edge failing as well. I round it off with wet and dry. I see Hans Robeers is referenced quite often with wind turbines etc. Smart chap!
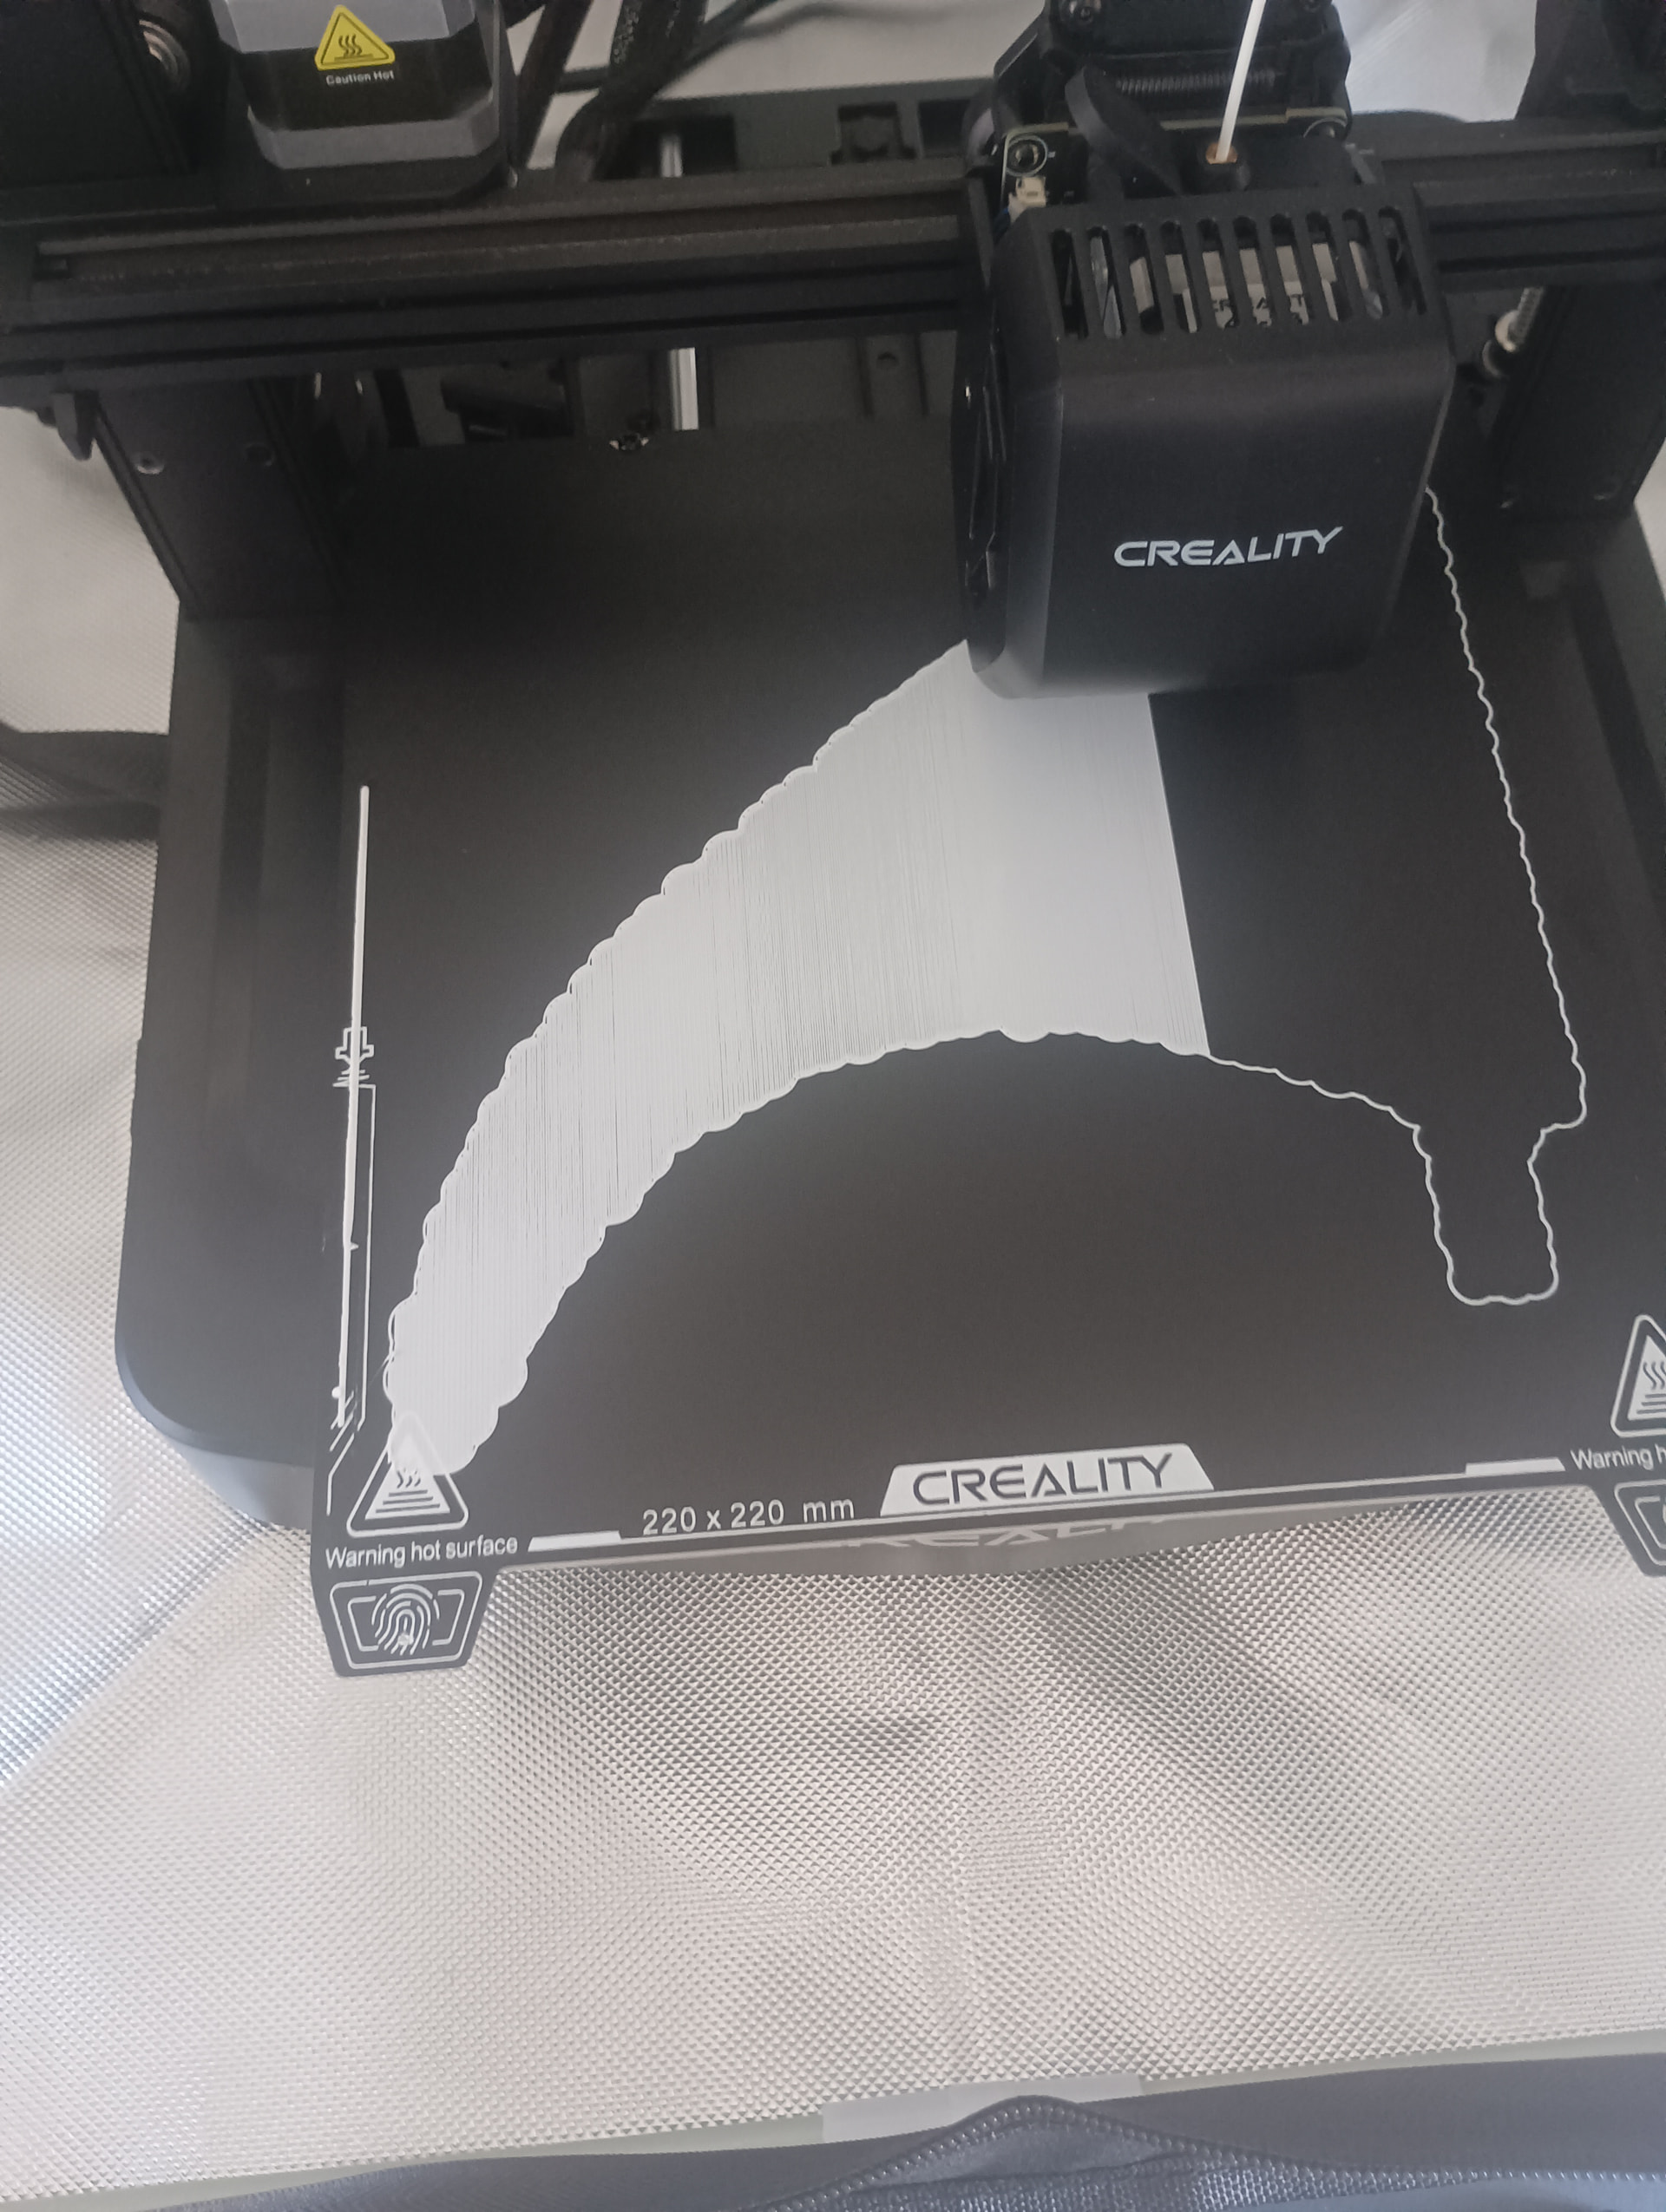
@arlosilva arlosilva greetings, what creality printer do you have? This print should only take a few hours . You shouldnt have to print it at 30 percent speed. Try printing it at .22 mm layer height. I take it you stopped the print before it was finished? Edit, the printer is in an enclosure? Sometimes that makes it harder to print pla.
creality ender 3 v3 se
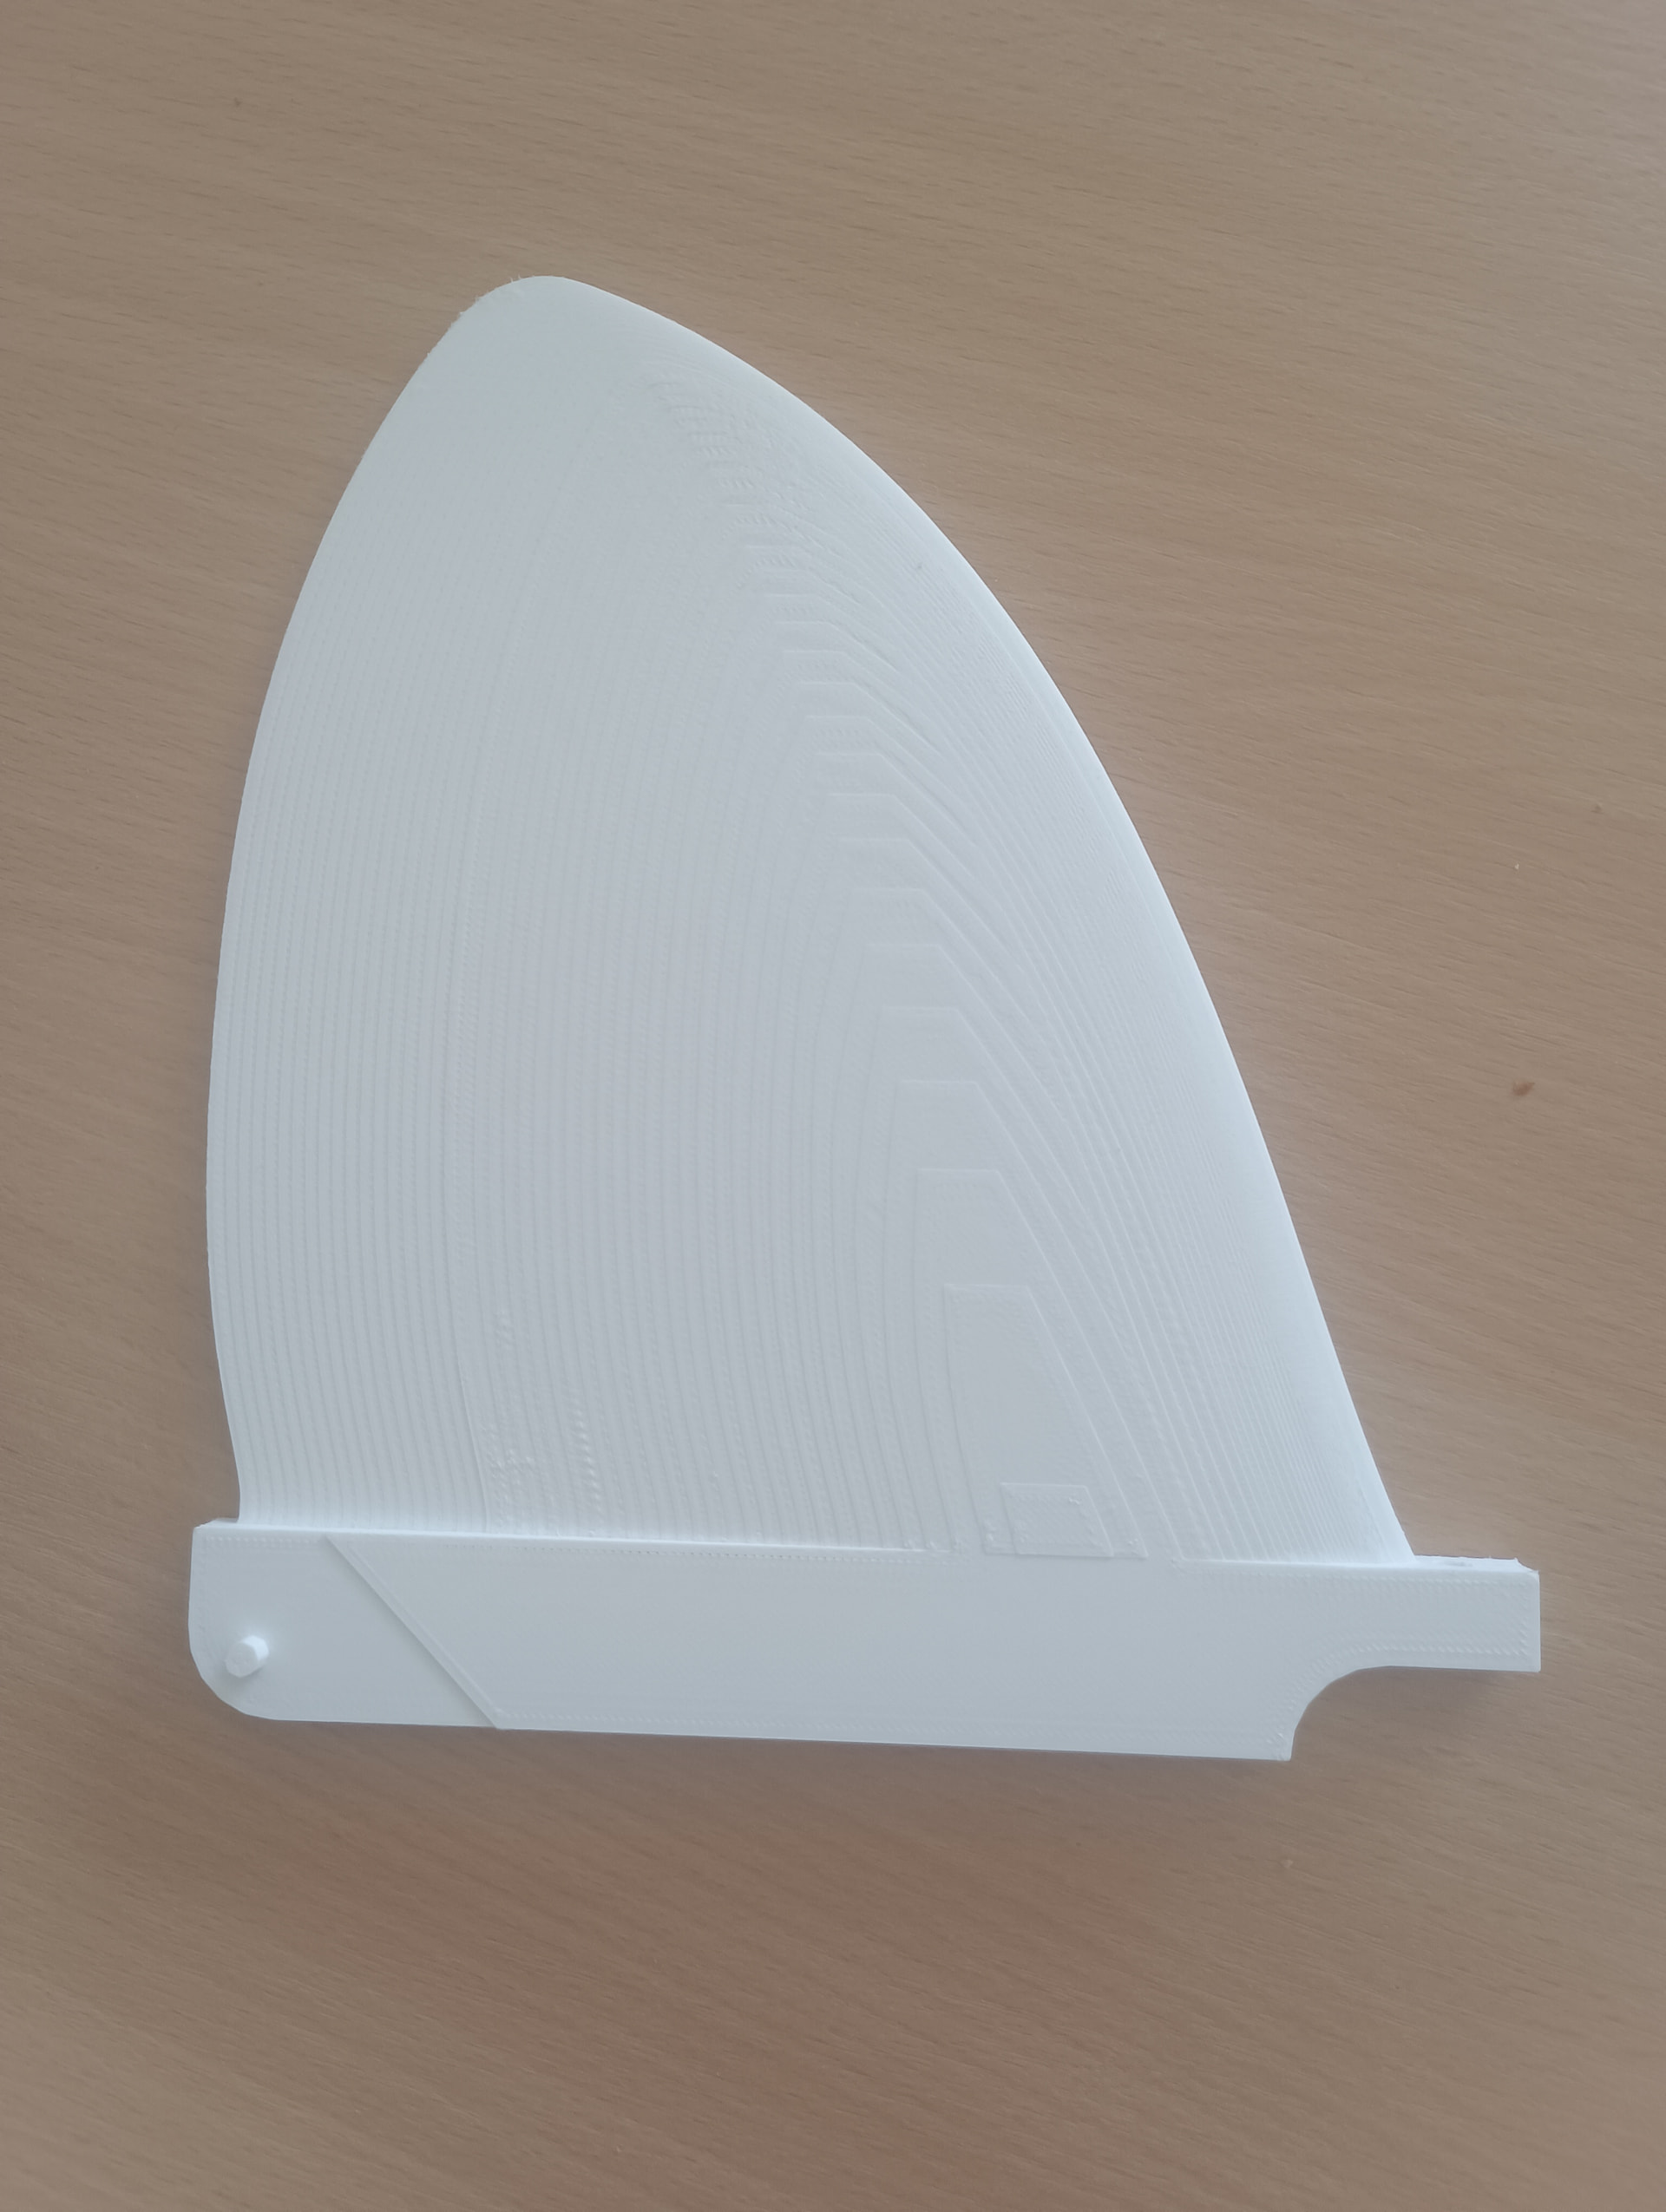
hello i got a pretty good result.
i will try without the enclosure, i have to figure out suports. i will speed it up.
Also sorry to bother you but is pla sandable, can i get a smooth finish out it?
cheers and good waves.
Great news! Sure pla is sandable, do it by hand, not power tools as will melt , after coarse sanding finish off with wet and dry of course. Spray with clear acrylic gloss if you want, layer lines will still be visible, depending on colour . E3 v3 se sounds good, yes supports are necessary evil, creality has a forum but it is pretty useless. I use an e3 v3 , runs pretty well touch wood , on Facebook there is a group for practical prints, could be of interest, also have a look at my tech fun on YouTube if you want to see tests on various filaments for rigidity and breaking points - important for fins
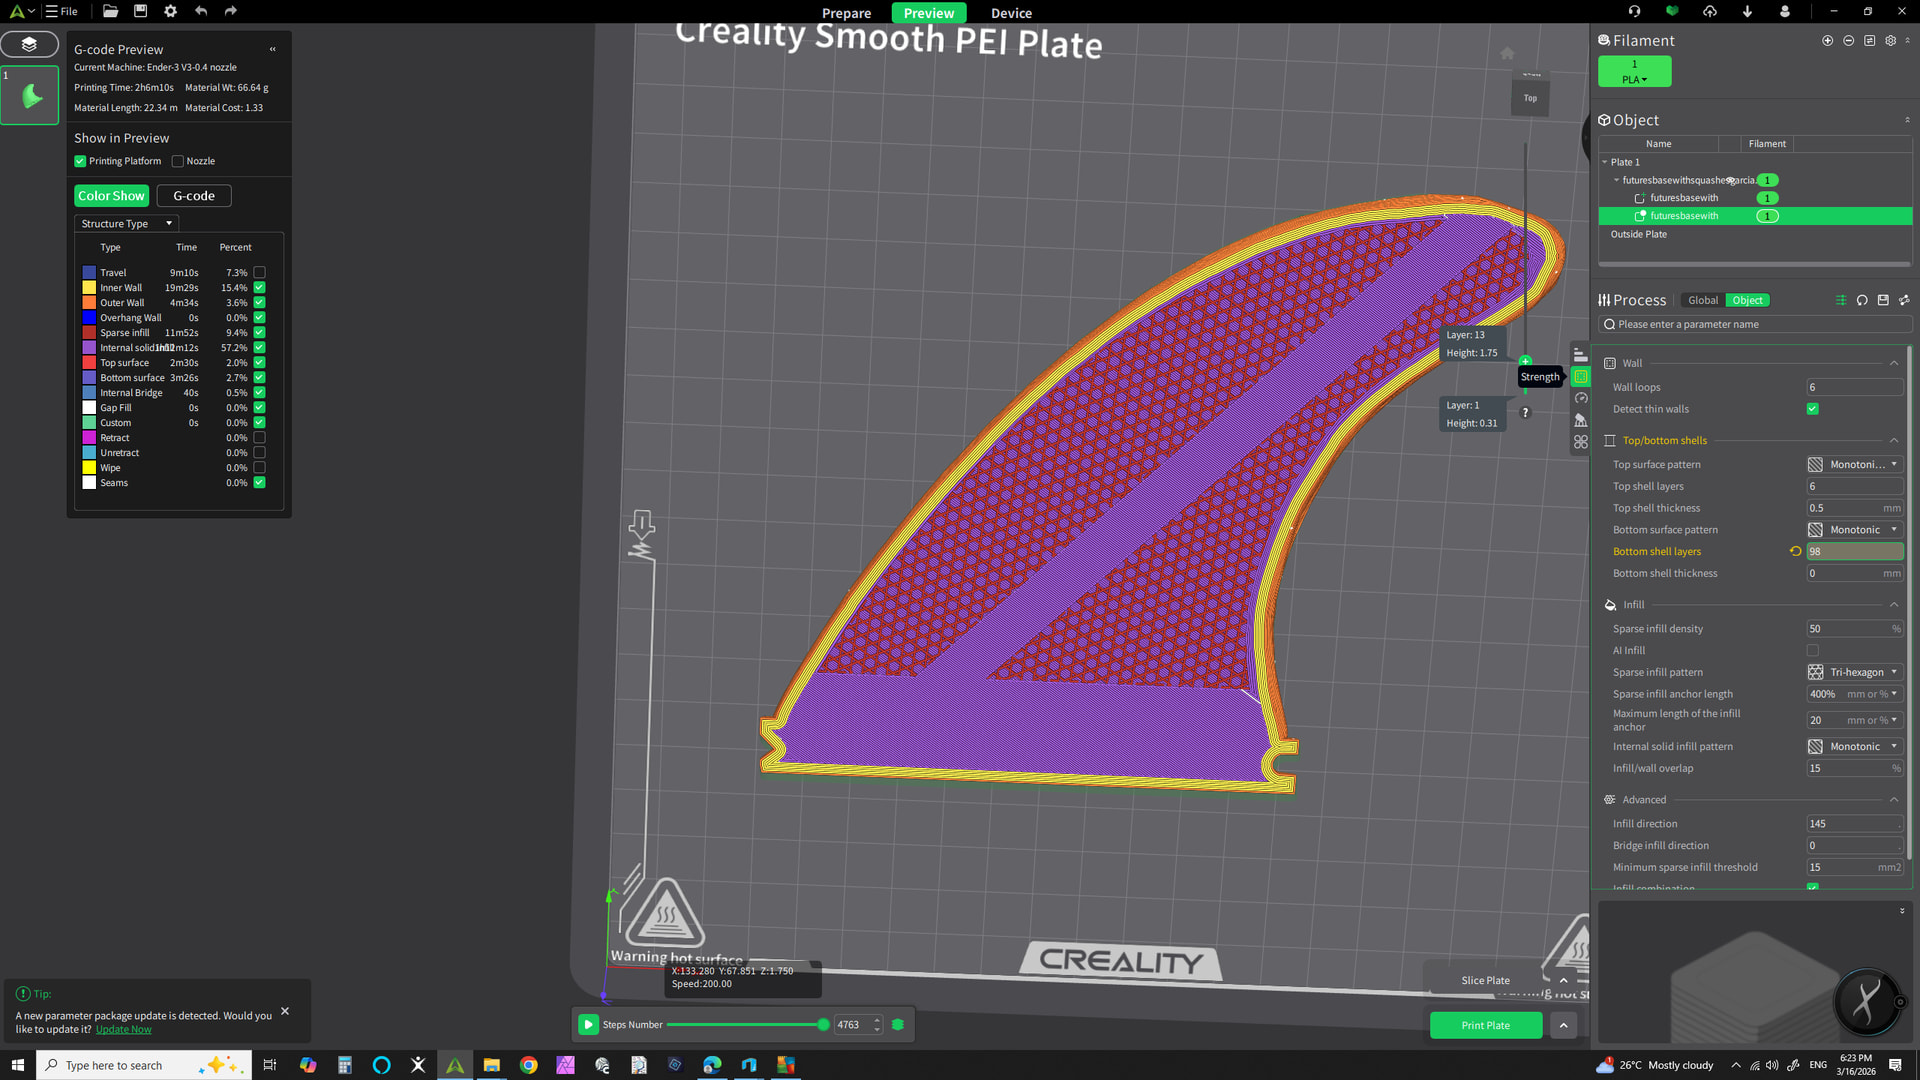
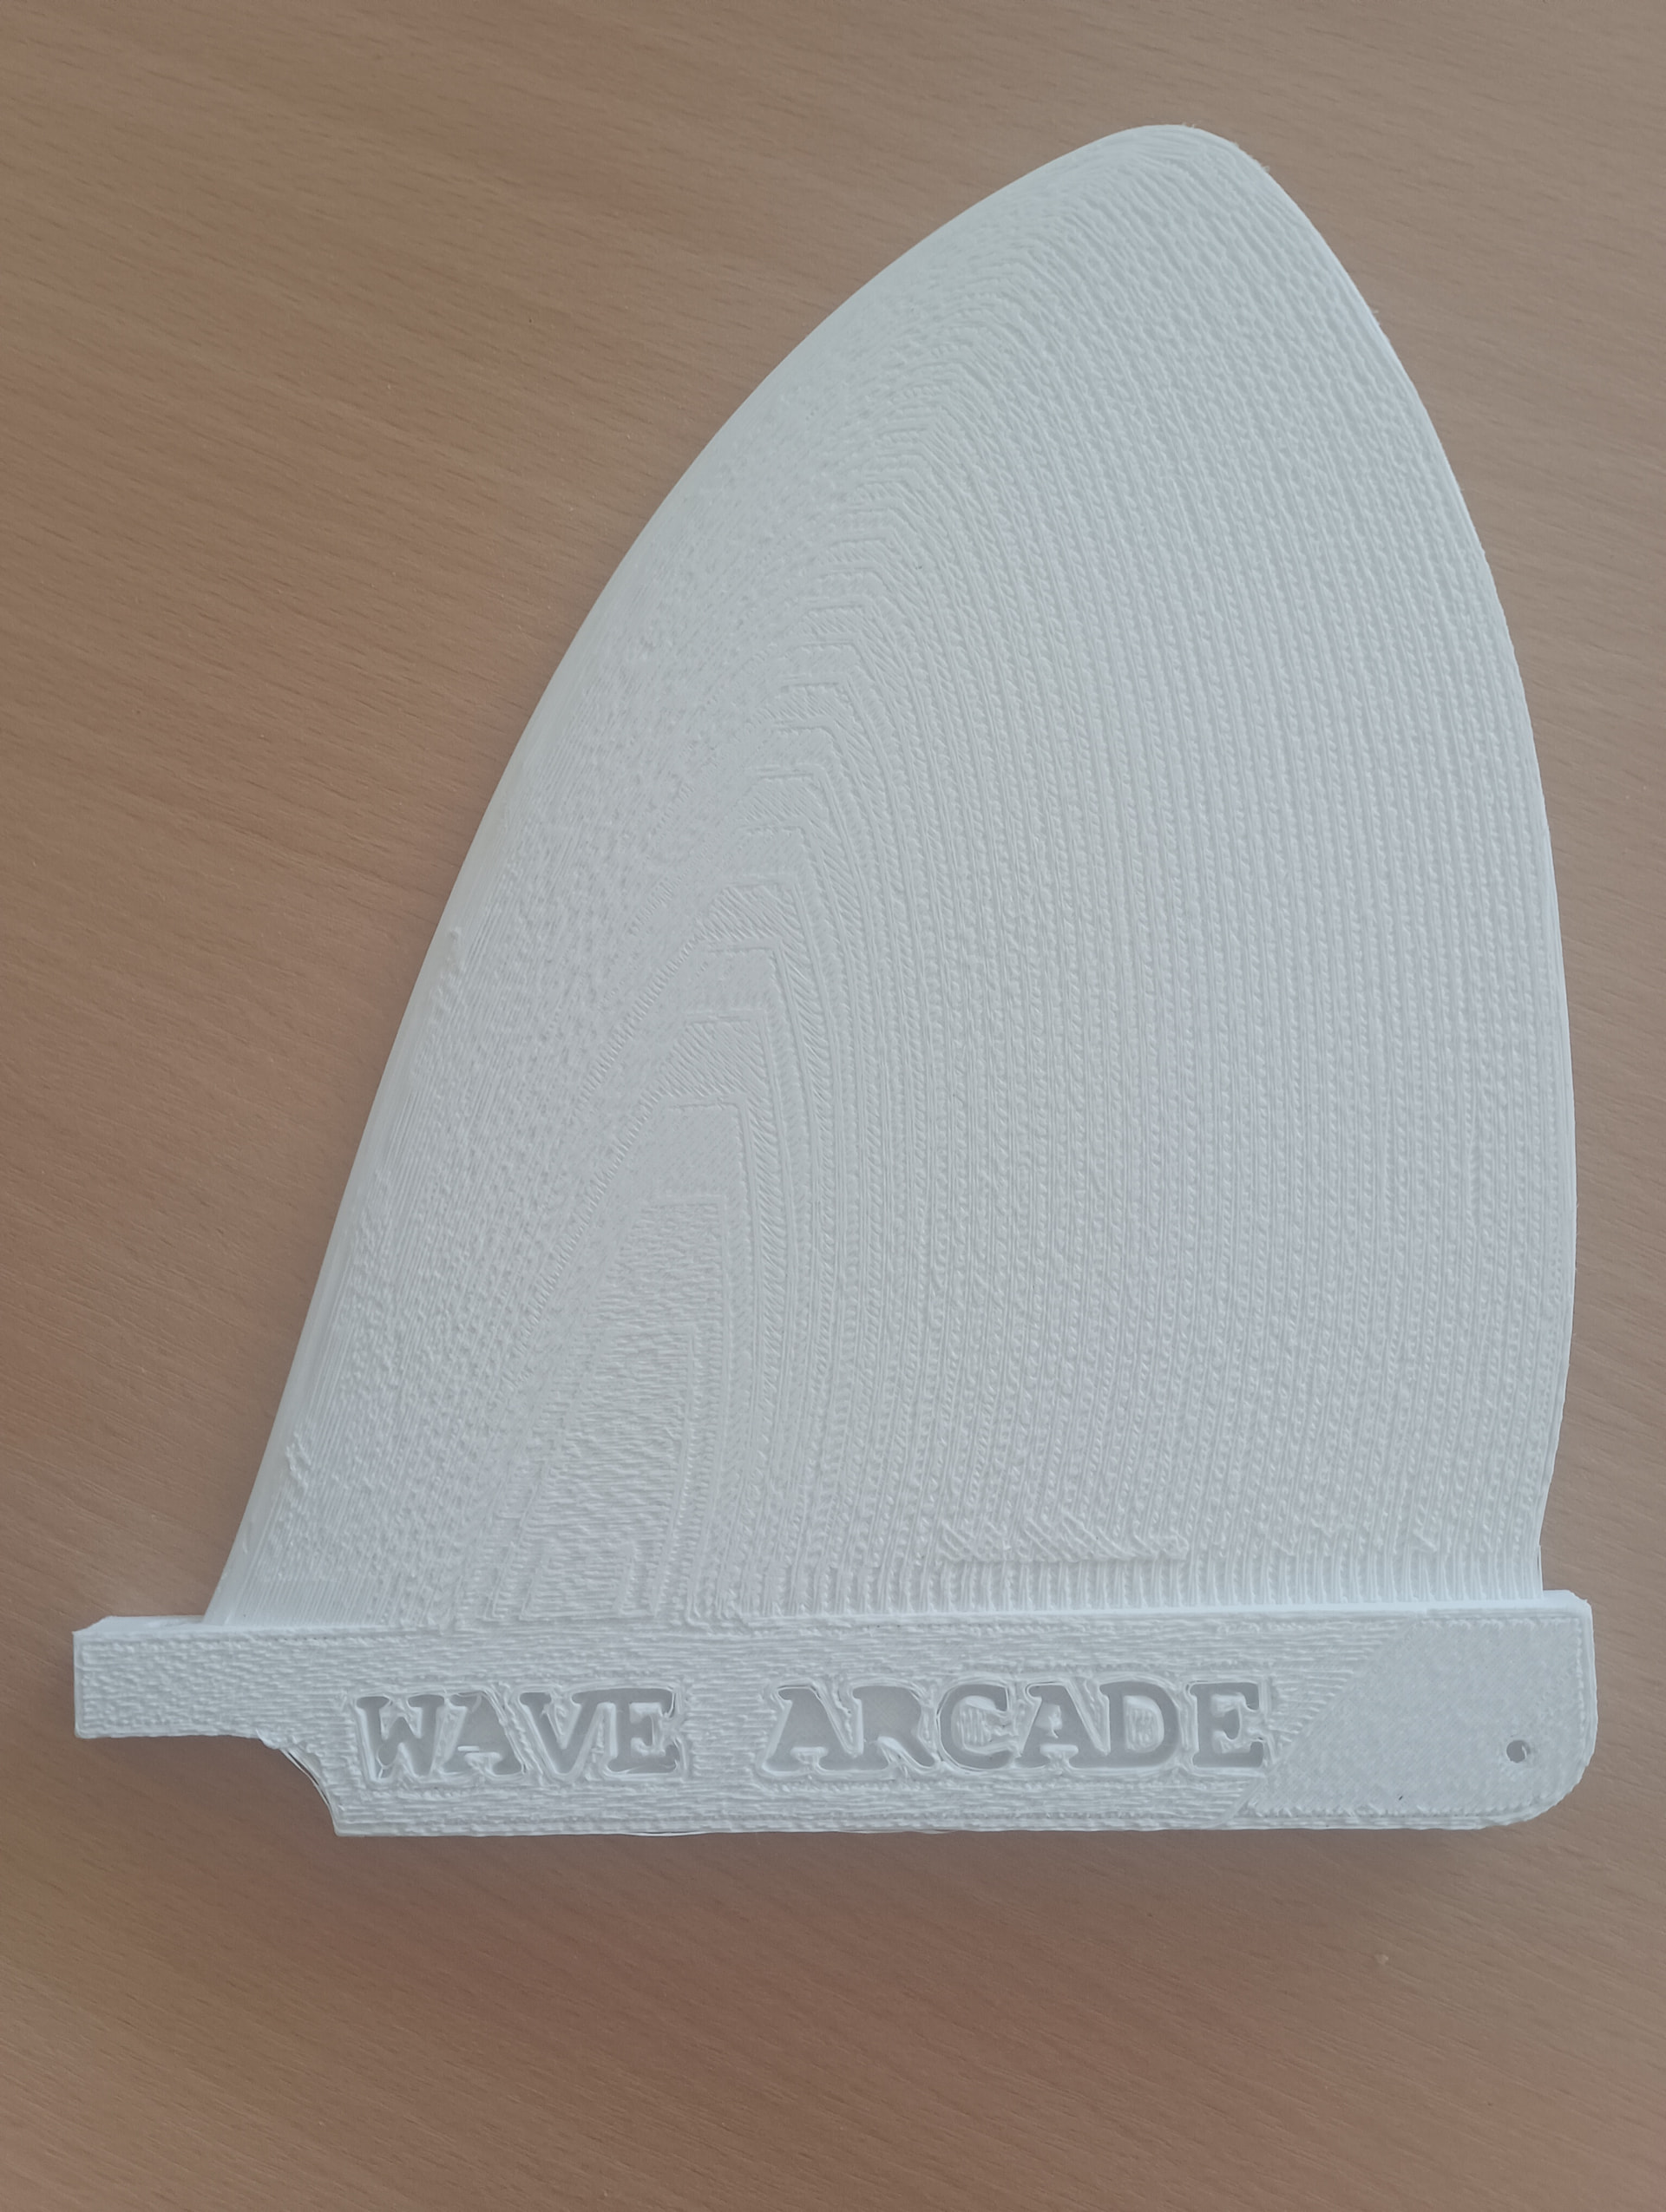
this shows the 100 percent infill parts to stop the fin breaking, you have to sand the leading edge, there will be a bump at the top especially - takes a few minutes and will round off the leading edge nicely, I dont have futures fins but this base should fit , also shows the parameters you need, the next shows the parameters for the modifier which is just increasing the bottom layers
ill try to upload a creality print file (how do you share files here?) , this is a fin which is flat on one side, the shape of the fin is a morphed sonny garcia - made less wide so it fits the base tab, printing time 2 hours six mins at .12 mm layer height
i dont know how to share files here i think links for a google drive work.
hello here is first try.
Now the suport side comes out a bit ruff.
any pointer on suports?
thanks for all the help and i hope this topic is good for everyone out there trying to 3d print because i start to see the better the settings the best result we get.
You will surf with this ? It will never take forces a real fin take ! Plain molded fiberised “stronger” plastic small fins distored and or break. Need plain fiberglass/resin to resist, guys cut fins in G10.
Great job , !! Arlosilva , the surface just needs a little sanding. CLear coat acrylic spray will finish it off. Supports are an art , different for each model. You could try varying the z separation between support top and model. Ps i printed a curved sandpaper holder to make it easier.
@lemat Depends on lots of things eg the plastic type, eg nylon is rubbish but you find it in a lot of cheap fins. Nylon bends , nylon is hydrophylic. Also depends on the design of the fin eg fcs 1 will break at the tabs after a while, a gearbox or an old fashioned fin box will be fine if you print 100 percent in fill in the parts as per example. The main problem with 3d printed fins is the flex pattern , a good glass fin has flexibility in the tip rake, where as 3d printed fins the flexibility starts lower, you have to keep in mind rigidity doesn’t have a linear relationship with thickness (eg doubling thickness increase stiffness by a power of 8) so you can control the flex pattern with thickness, but it screws up the taper and cHanges the thickness to chord ratio (so your foil) . Also , you wouldn’t print out a high aspect ratio fin and expect it to work. Neither would you surf them at waimea, but a wide based fin or a keel fin or a 4 foot beach break will be fine. Probably best for quad trailers for some surfers. Works well for twinzer front fin and also nubster type stabilisers in a twinnie. To reduce flex I’ve tried carbon rod in some fins but it’s a pain in butt to cut with my blunt hacksaw so seldom do.
Ok, but i was thinking about laminating the plastic is this a dumb idea?
Assuming the resin sticks, not dumb. Check out threads etc on 3D printed boards , that will give some clues. You could laminate over the infill but having at least one wall would make it easier , less bumps and less drips into the infill
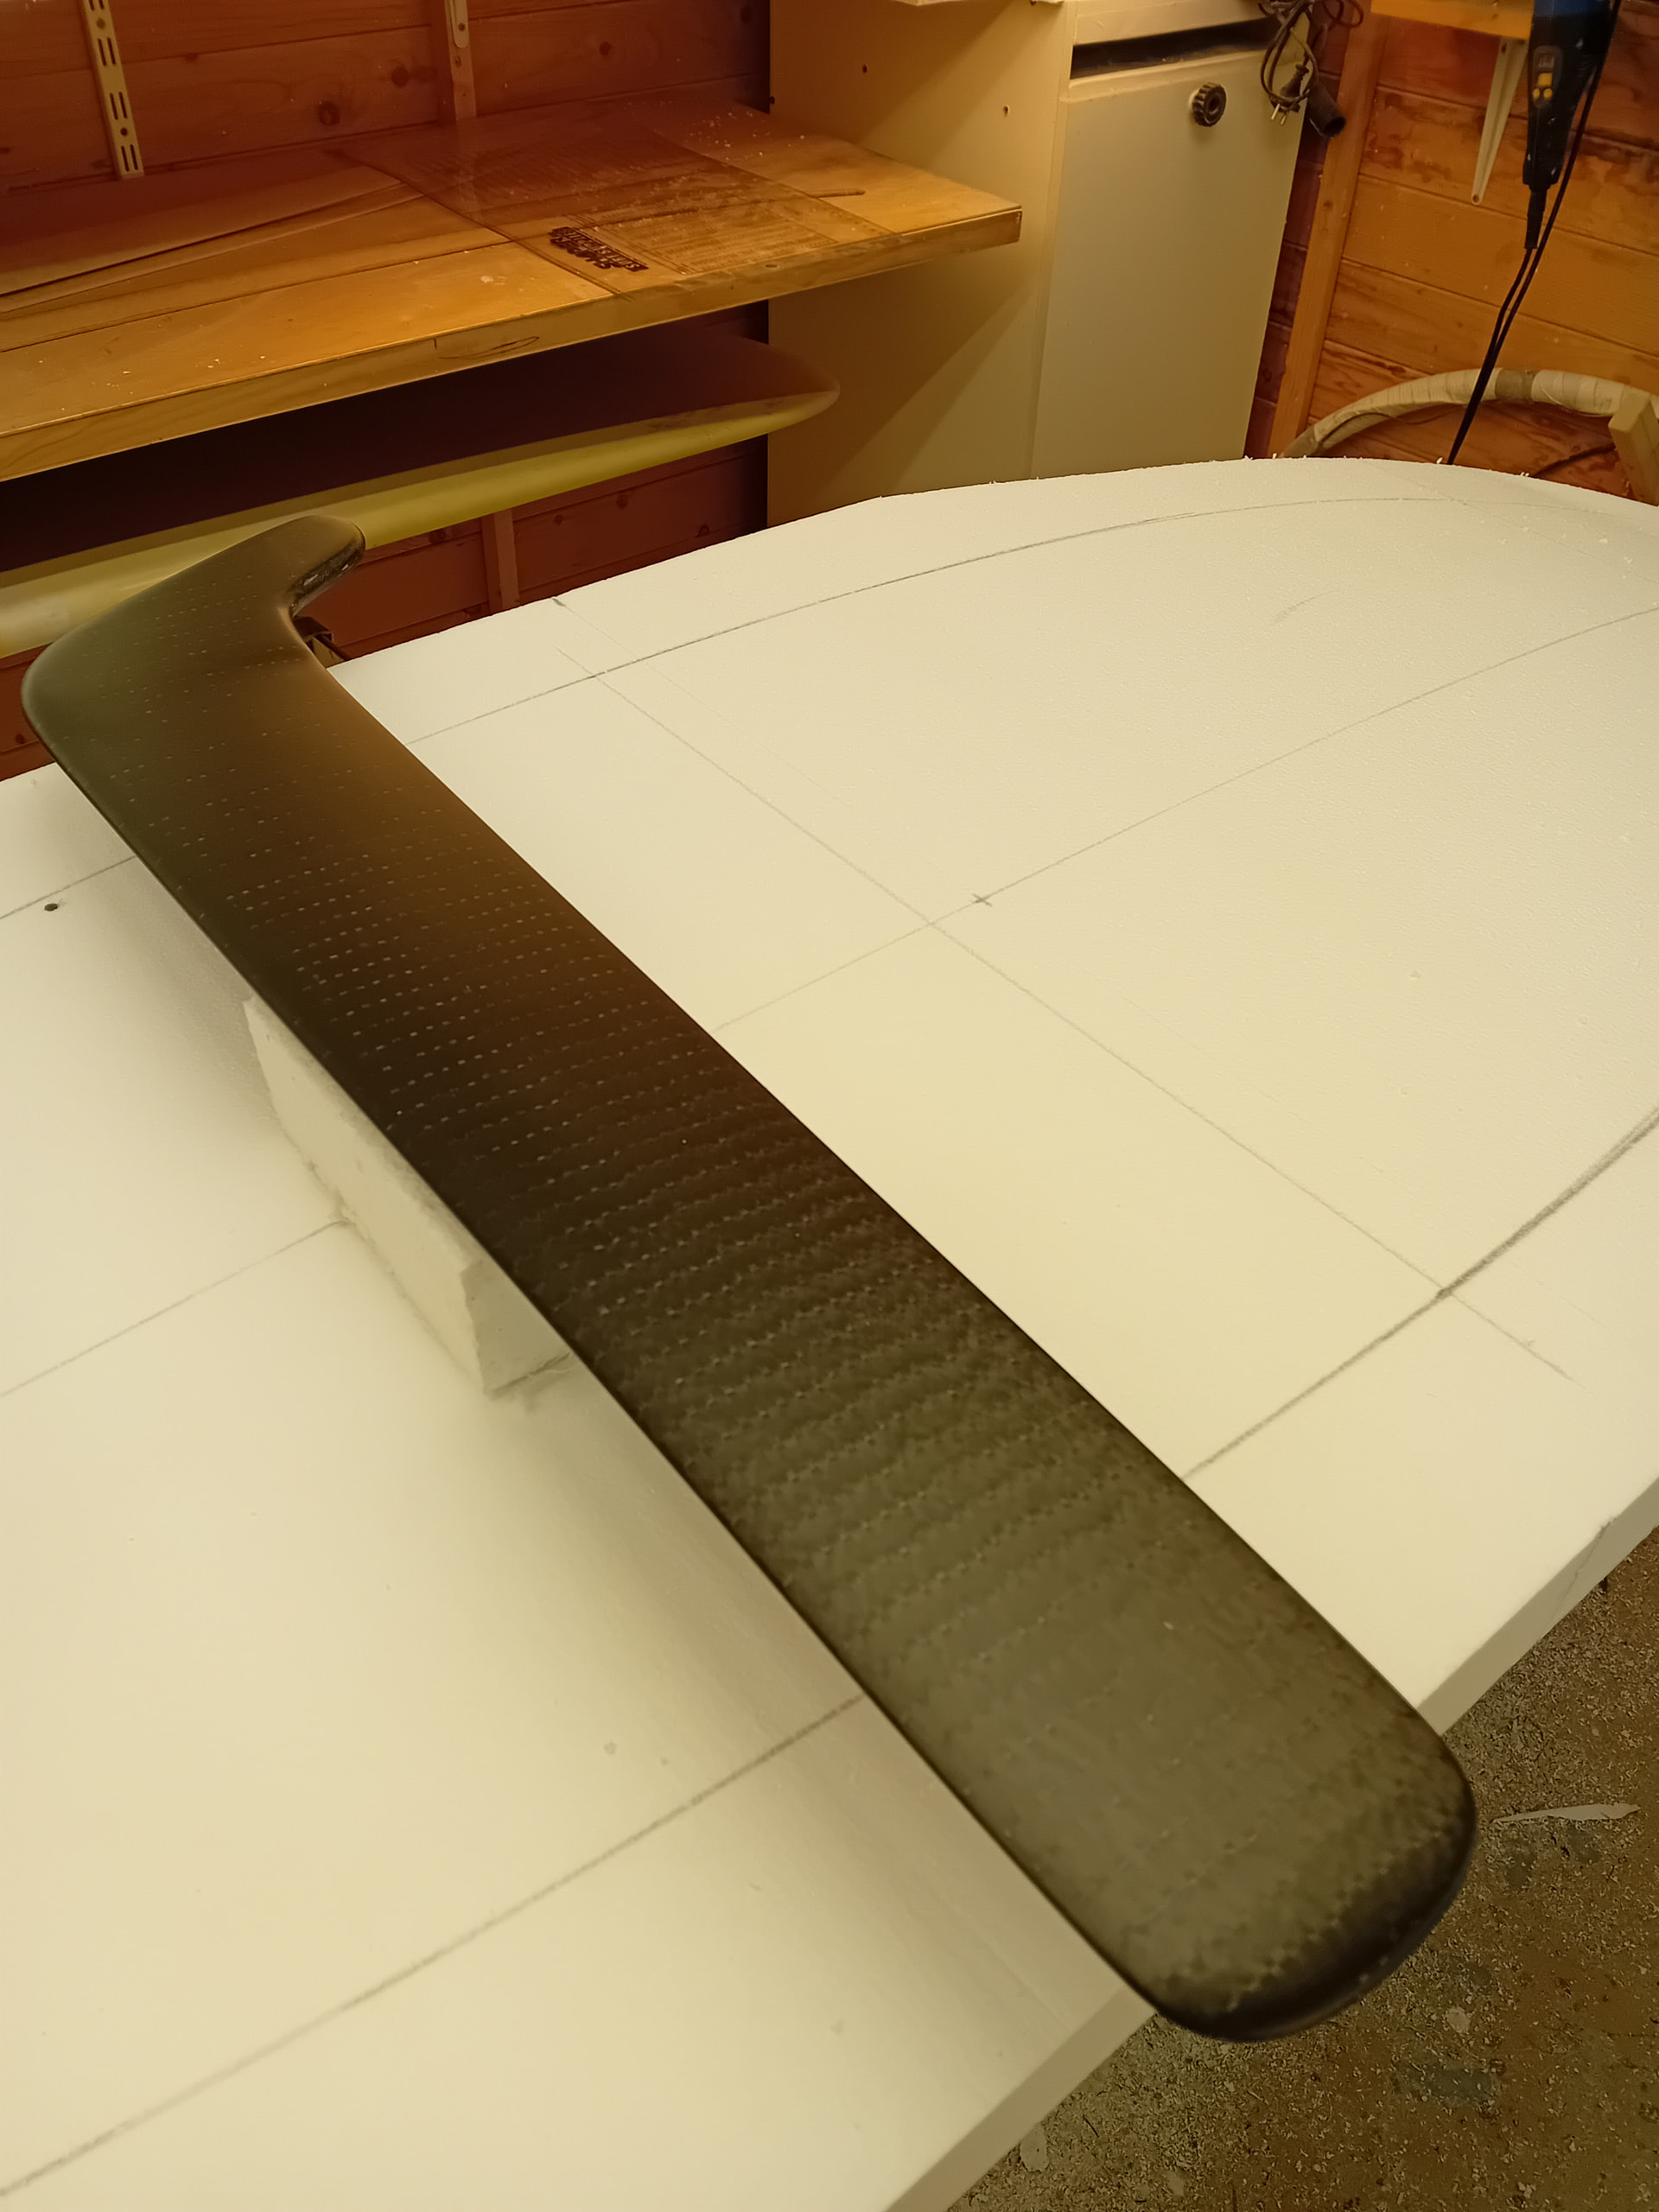
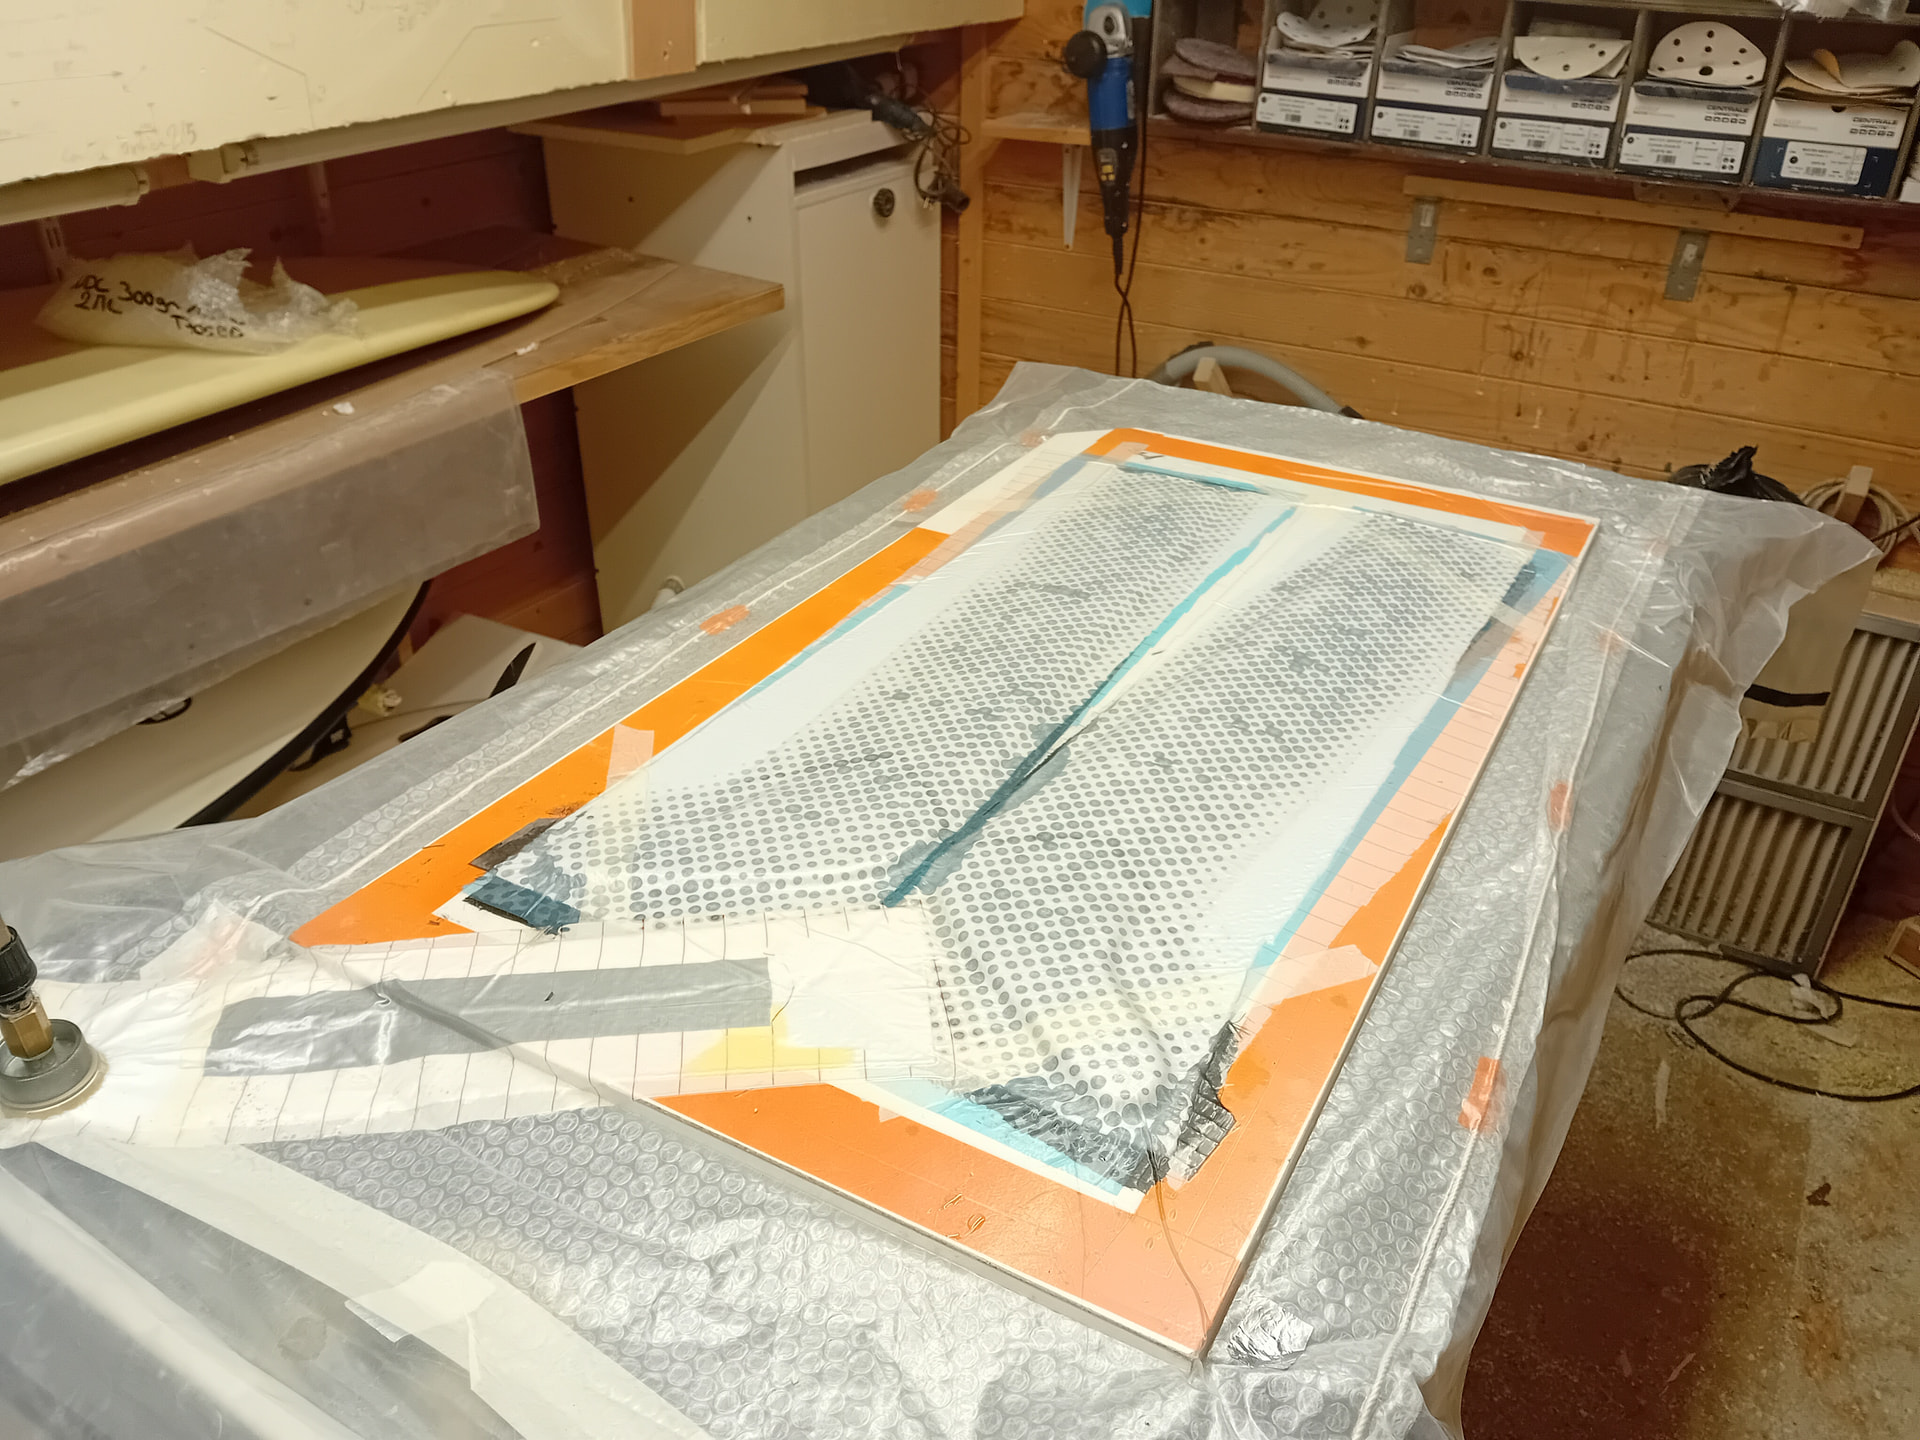
If i would build surfboard fins again, i do first in 1991, but mostly foil parts and windsurf fins nowadays, i certainly not use 3D printing. Because i do one shot parts and i “like” hand shaping i cut with hand power tools in fiber (glass and carbon) sheets i make under vaccum pressure or shape HD foam then fiber. If i had to do more i certainly use a CNC router and/or infused in mold. At day job i use 3D plastic printing for what it’s do, shape prototype.
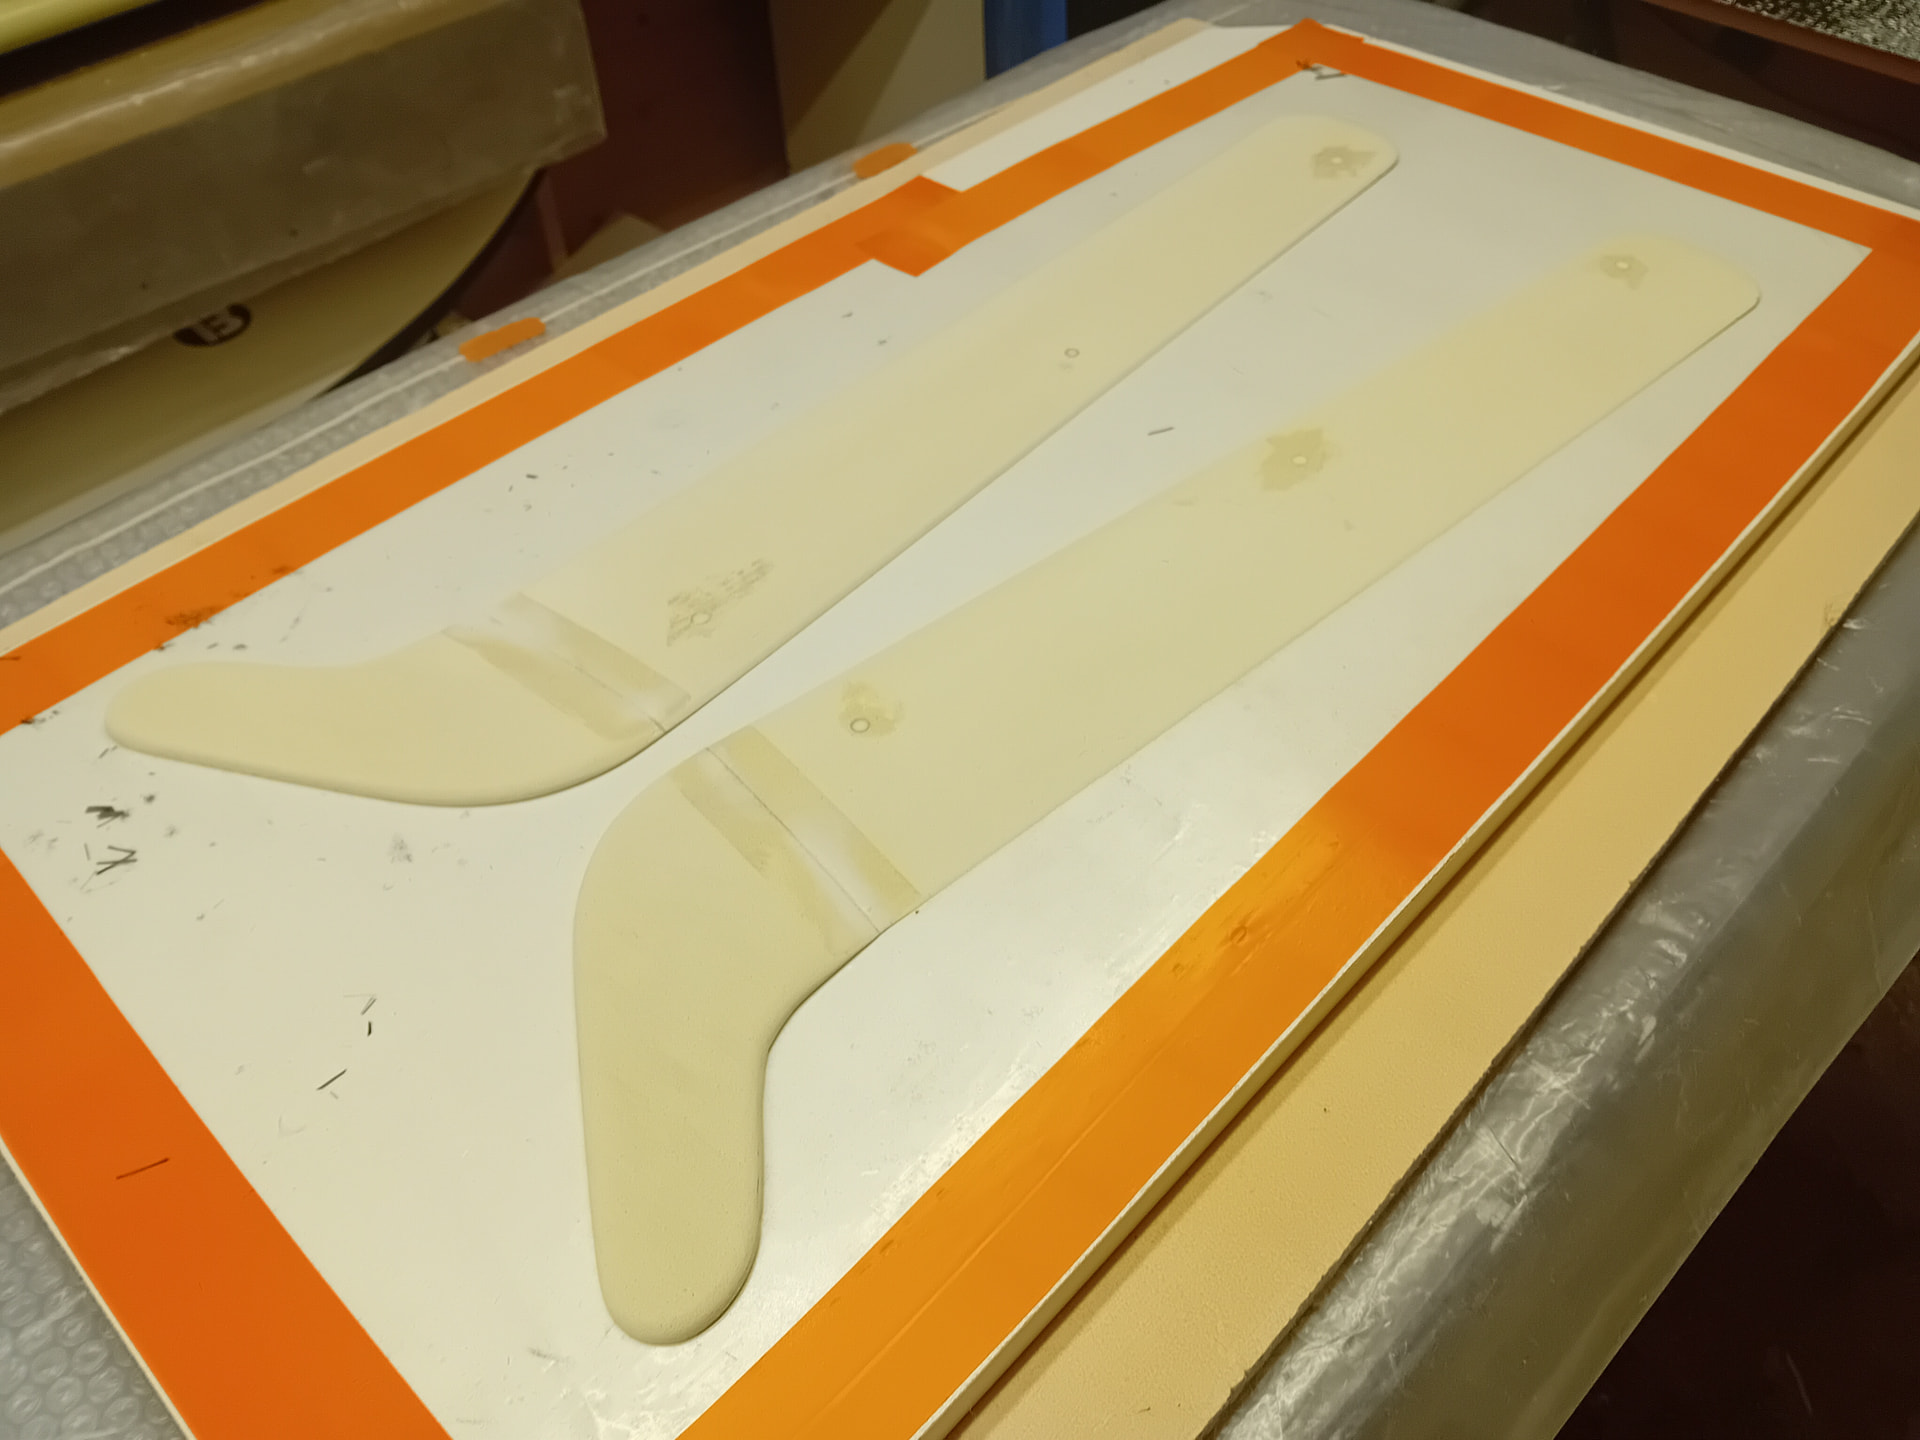
Here a daggerboard build: center is 350kg/m3 composit wood foam with 1000g/m2 carbon skin.
With this process you can build durable fins.
Beaut work @lemat. I think we use tools we are familiar with. Give a boy a hammer and the whole world becomes a nail. ![]()
For sure (new frenglish gimmick, LOL). As technology geek and teacher i stay open minded. I start working with 3D Printing at begining, with big new era hope, but more we go more we find boundaries that make us came back gradually to cnc routers for mechanical parts that allow stronger and accurate parts for not so much more money.