okay, this is my brother’s board and he wanted me to Probox it.
this is just how i did it. feel free to critique, comment, or ???
first i had to remove the old glass-ons.
my first method worked but was really slow.
okay, this is my brother’s board and he wanted me to Probox it.
this is just how i did it. feel free to critique, comment, or ???
first i had to remove the old glass-ons.
my first method worked but was really slow.
i’m glad i caught this before i started routing the boxes. if i had routed the rear box centered where the rear fin
had orignally been, i would have gone right into the leash plug. i measured the frontmost part of the leash plug
and marked it out on the bottom of the board. i needed to move the placement of the center probox forward a
little. luckily, with the adjustability of Probox, the fins will still be able to be positioned on the original shapers
placements and have a little bit of aft movement still.


let’s try the pics again…
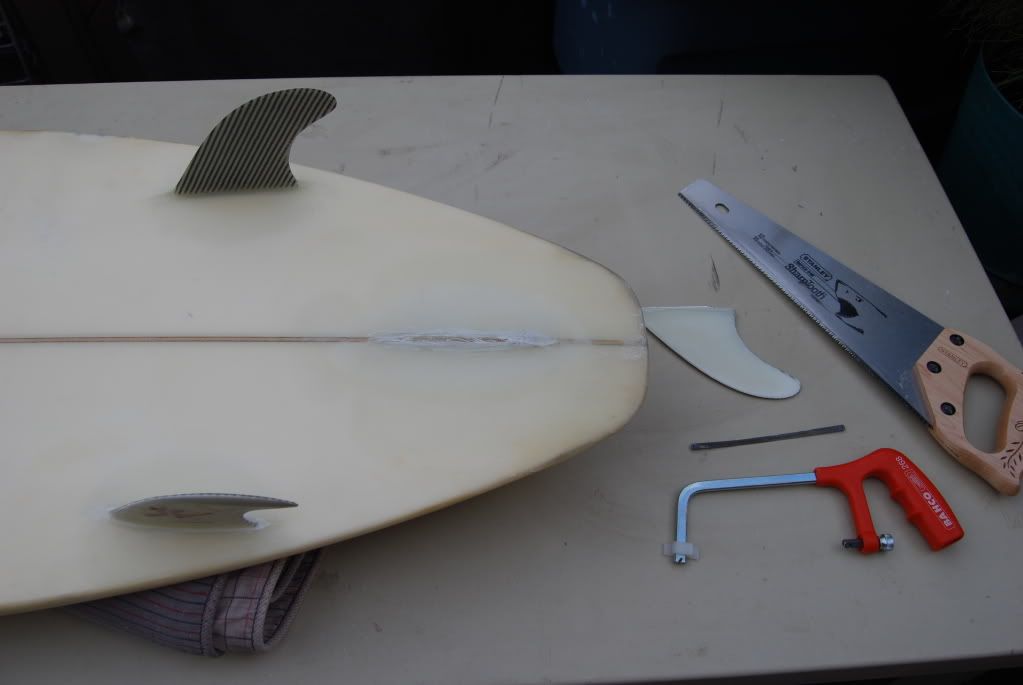
the next method (thanks to searching and finding the answer from Kokua in the archives) worked
GREAT! fast and easy. it probably would have been even better if i had a cutoff wheel instead of a grinding
wheel on my grinder…
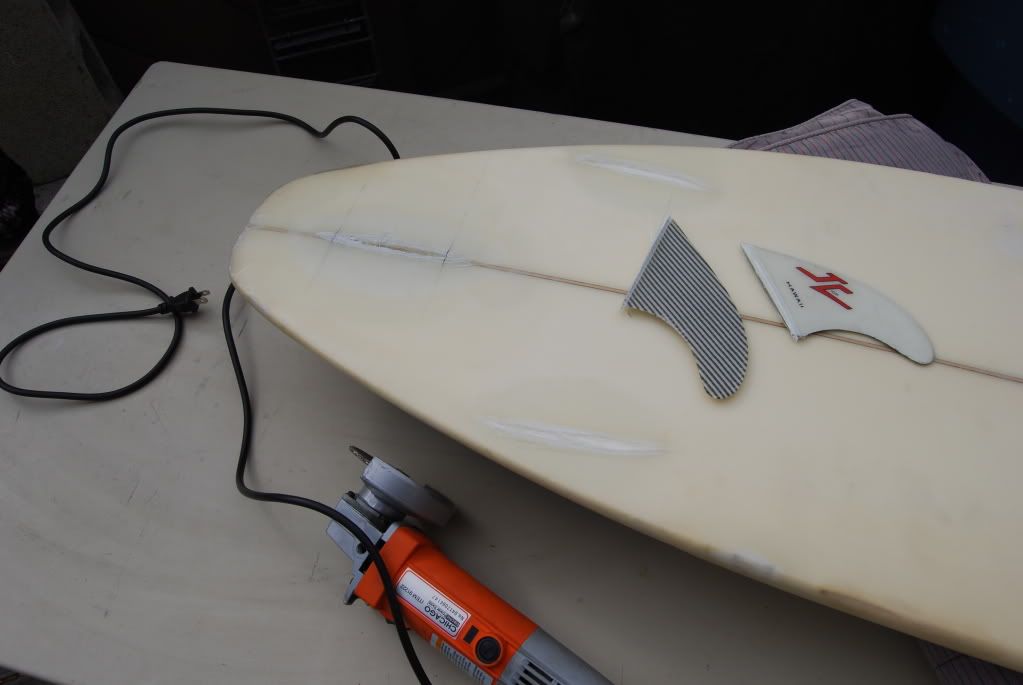
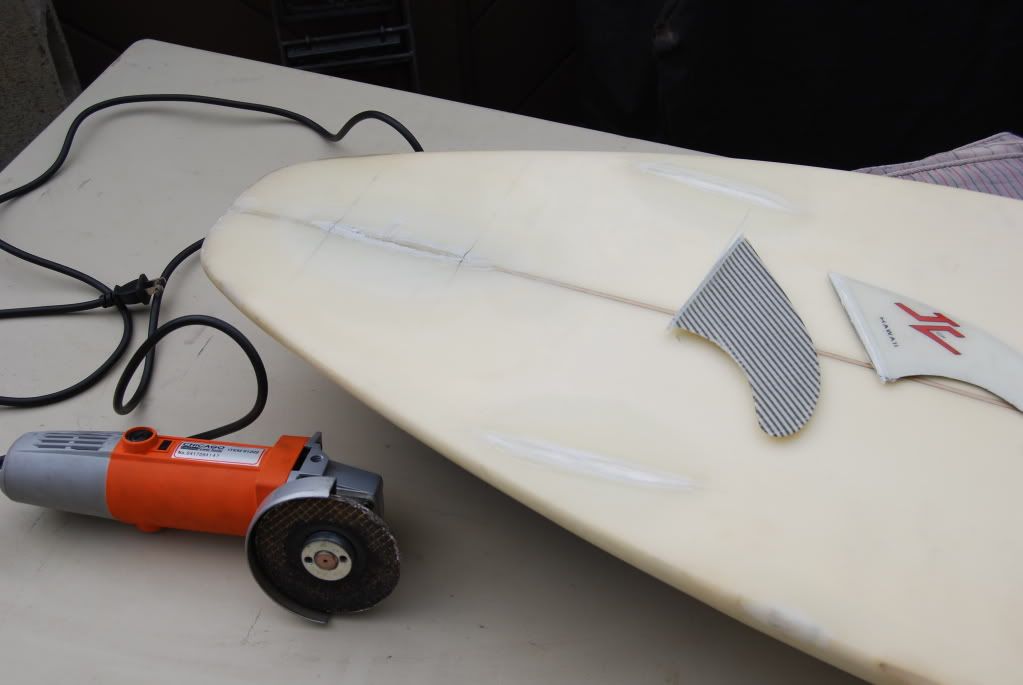
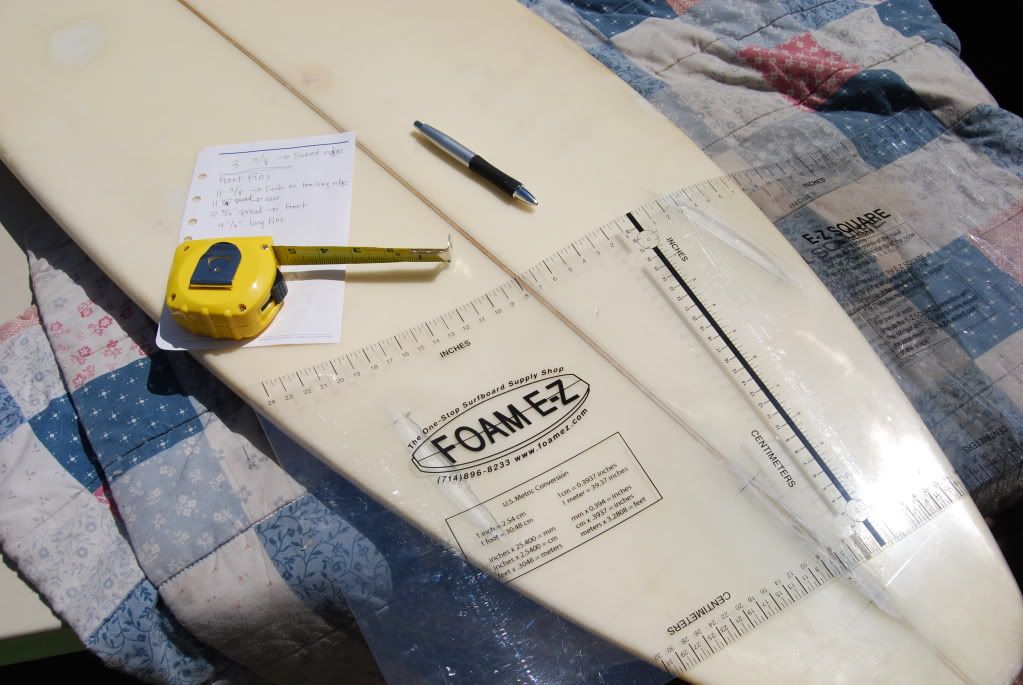
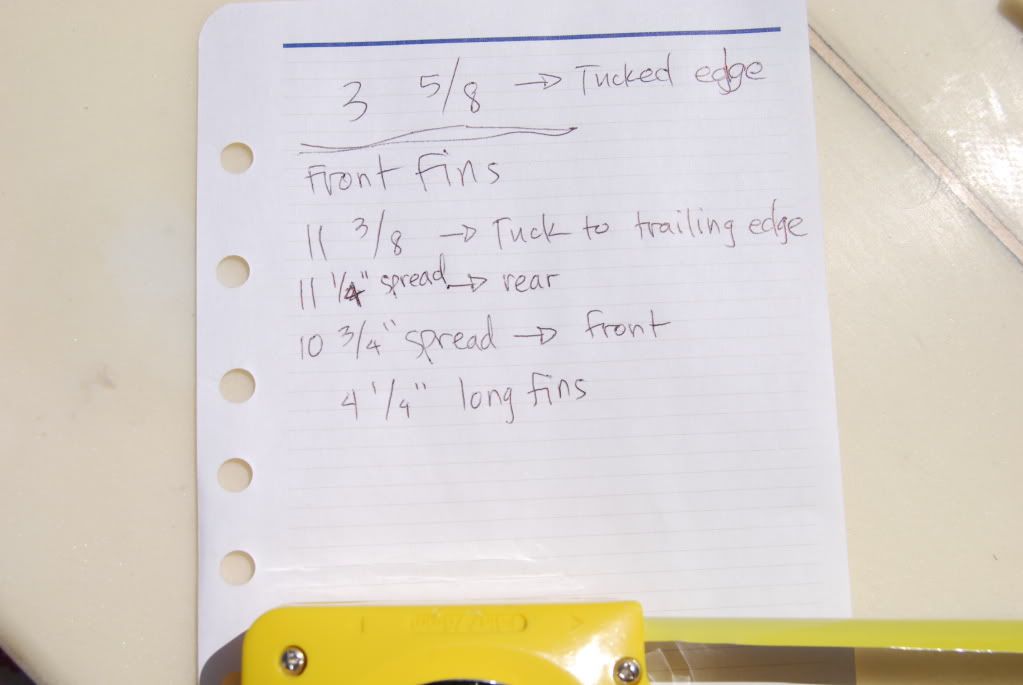
next i needed to measure out the fin placements so that i could put the boxes back in those
positions… the Probox’s will allow for movement around the shaper’s baseling positions.
where i have “11 1/4 spread” for the rear of the fins, it should actually be 11 1/2" spread.
good help is Key!!!

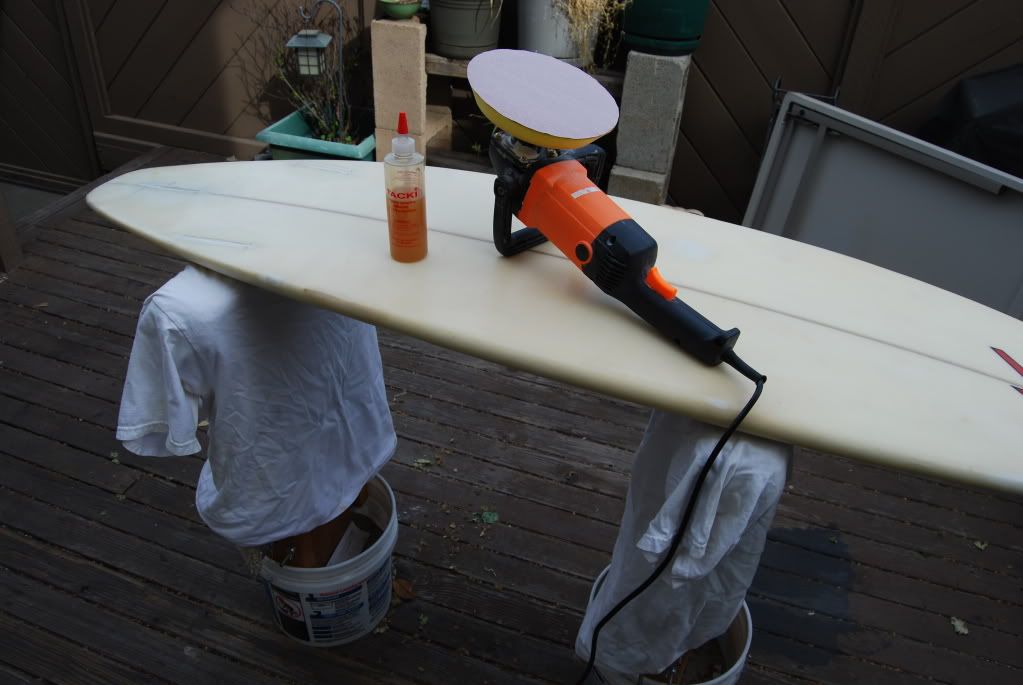
after removing the glass-ons, there was a build up of resin that i needed to flatten out.
Probox needs a relatively flat, smooth surface for the jigs to stick to… obviously concaves
and such are fine… out comes the Harbor Freight sander/polisher. i used 150 grit paper on
a medium pad. probably could have gone grittier.
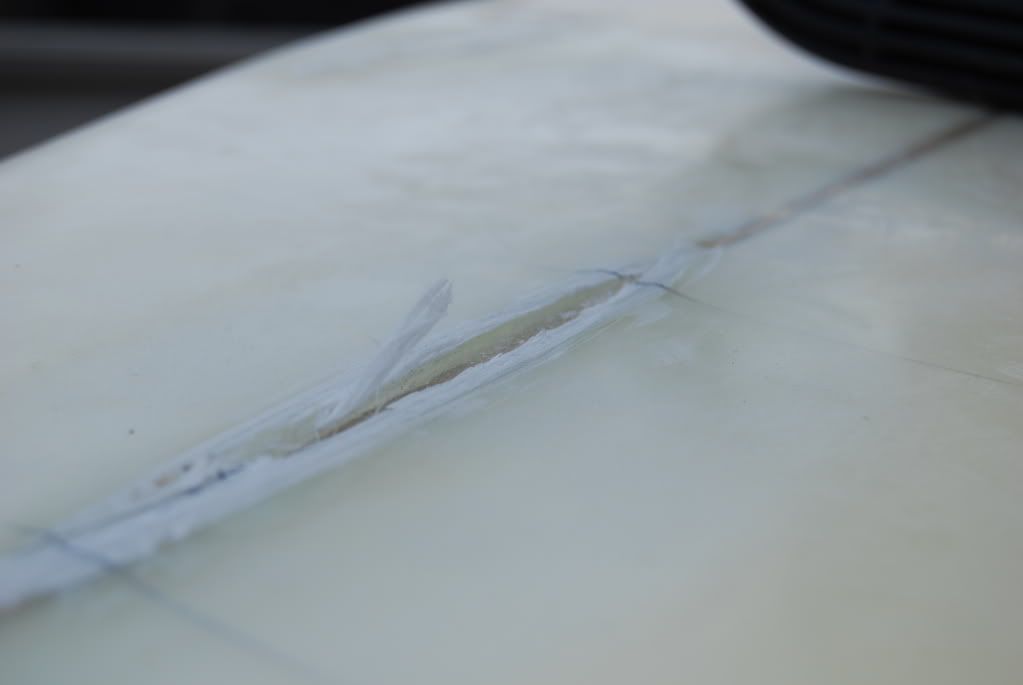
after sanding…
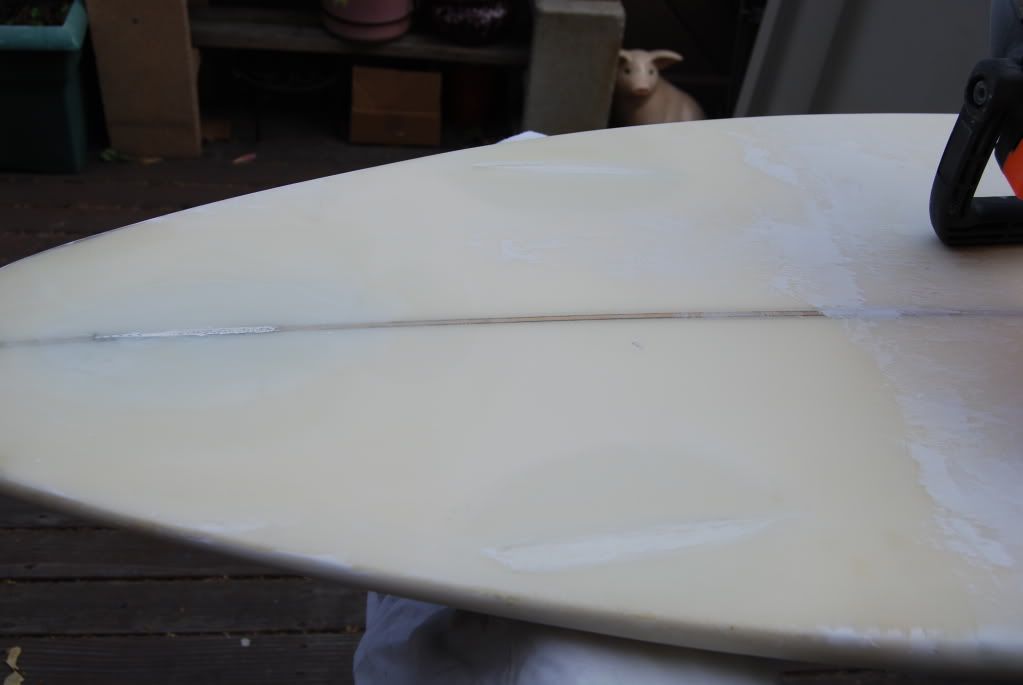
marking the fin placement back on the board…
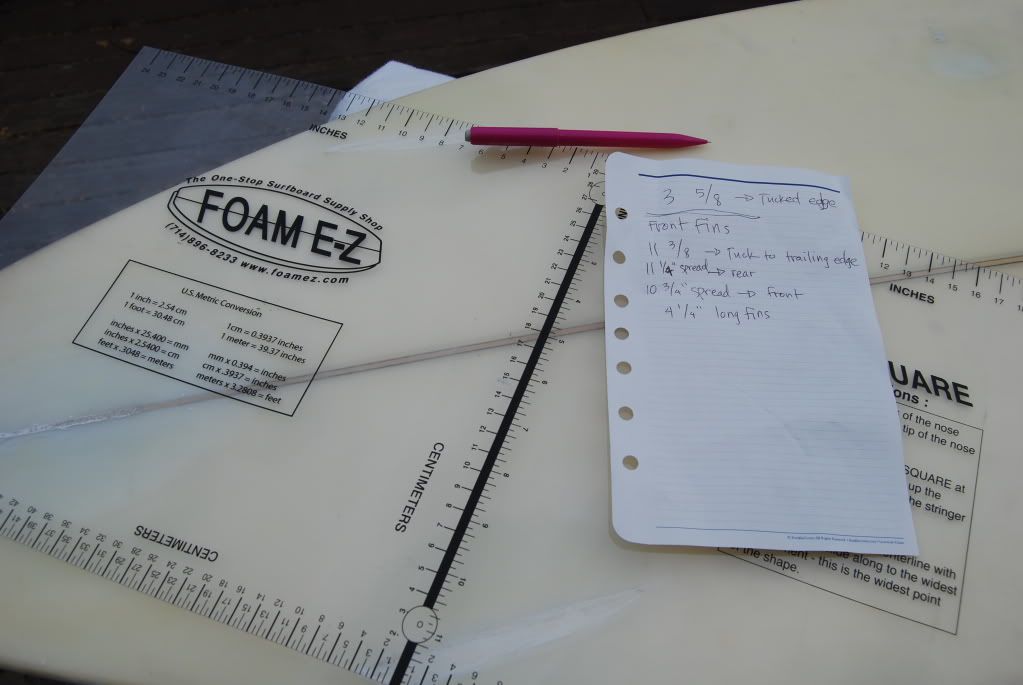
for the rear fin in a thruster configuration, you need to put a horizontal line on the rear
shaper’s dot perpendicular to the stringer…

before i started, the board had a 10 3/4" spread at the front of 4 1/4" fins…
i first marked out a line parallel to the stringer at a 10 3/4" spread then, i marked a 4 1/4" line
from the rear shapers dot that ended at the first line. this is how i made sure that toe in would
remain consistent with the original fin placement. i extended the “fin line” well past so that when
i put the Probox jigs on i would be able to line it up in the little view port.


couldn’t find my spray adhesive, had to run out to the local craft store…
spray the jigs… i also spray the board at each fin position… might be overkill but,…
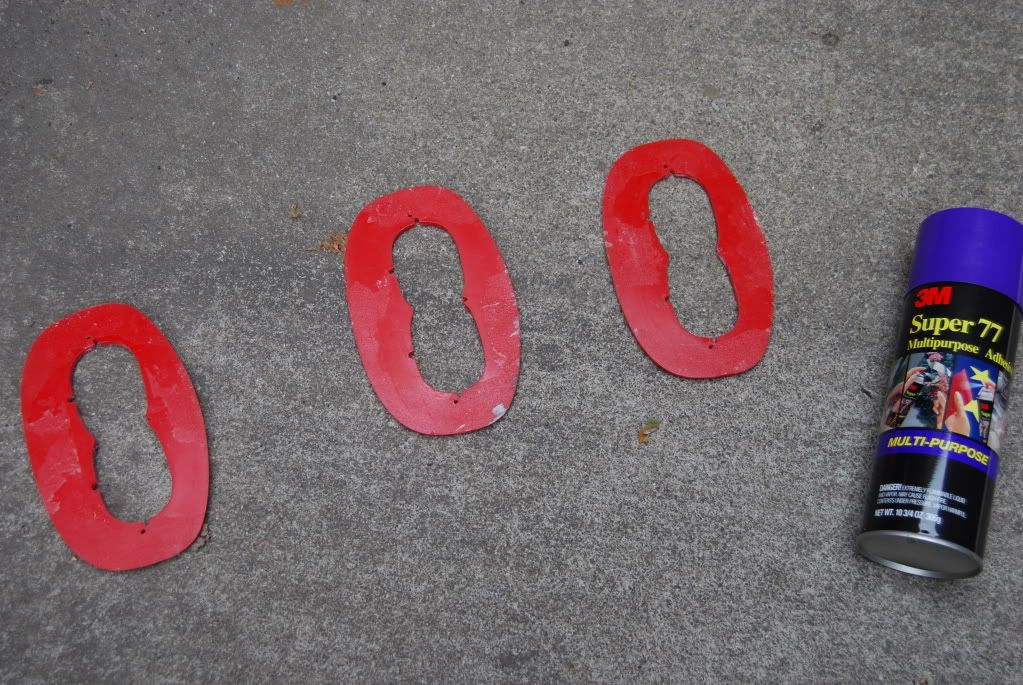
ready to route… i only have this big craftsman router. wish i had a trim router for fin installs.
it’s got a lot of kick. be careful when plunging! the tip from afoaf on this thread:
http://www2.swaylocks.com/forums/how-i-probox was very timely and worked great! thanks afoaf

routed…

measuring for the leash plug worked great…
i just kissed the front of the plug with the route…

more to come… my brother is leaving for so-Cal tomorrow afternoon…
i’ll be finishing this tomorrow morning. i’ve got to set the boxes, sand them down, and fix
an unrelated ding before he can take it.
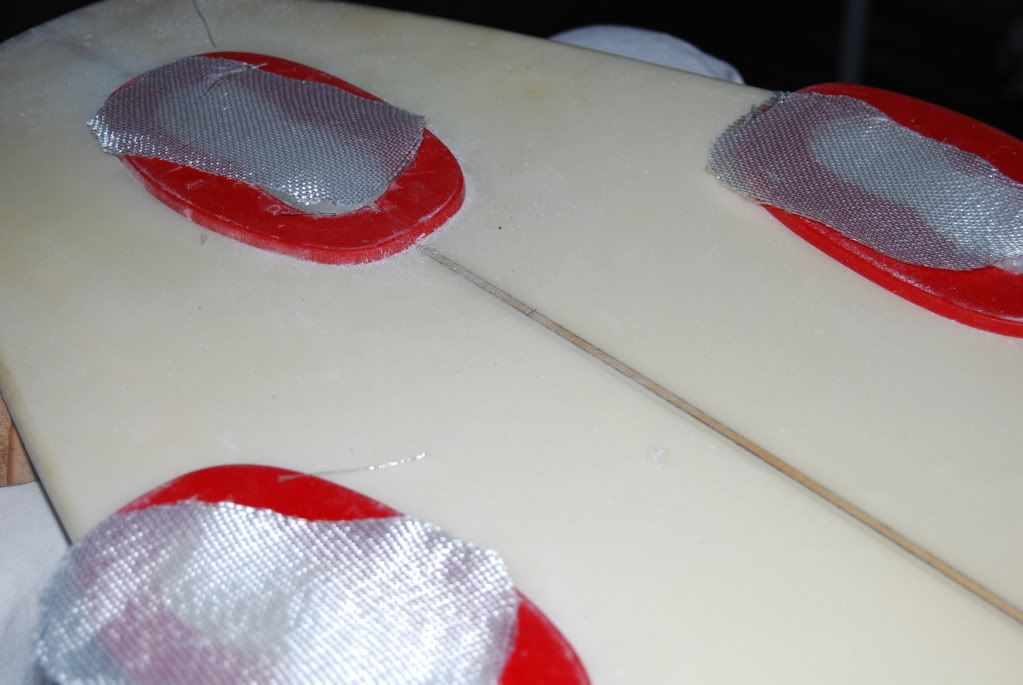
okay, some photos are missing. things kinda got hectic… bottom line, USE THE CLAY!!! to plug the screw holes.
i may have ruined 2 boxes by not following the install instructions on the Proboxhawaii.com site. this happened because
i broke one of my own rules. i was working on this after only sleeping 2 hours in the previous 24. that usually causes problems.
anyway, i got everything worked out and the install came out great nevermind that the side boxes are white and the rear
box is black. i’m just lucky that i had a couple extra sideboxes laying around.


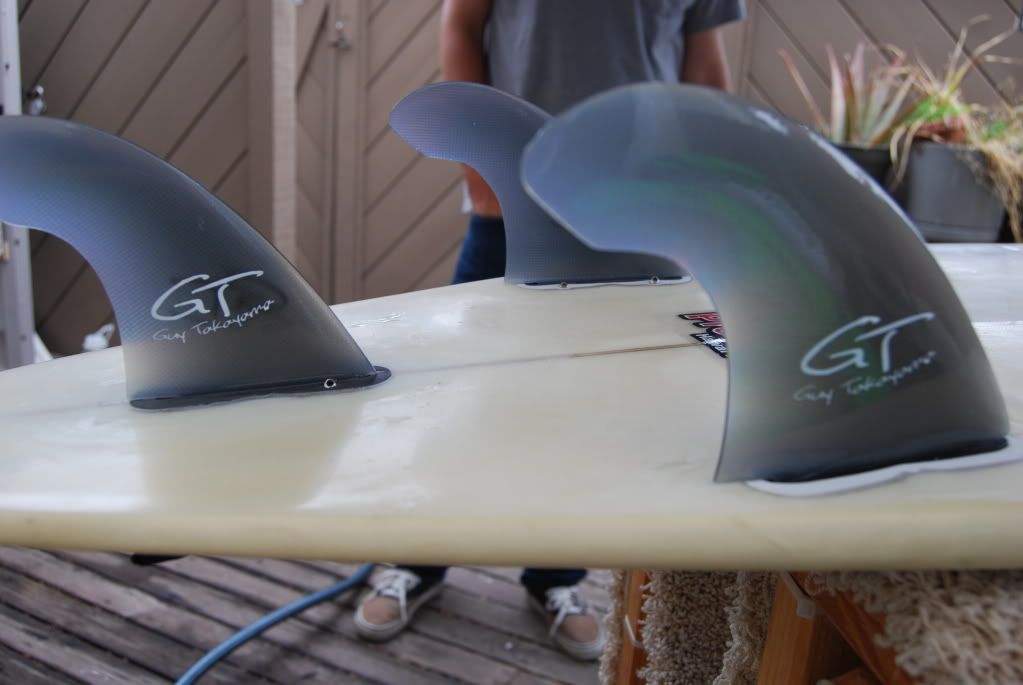
as far as fins go, these are a set of Guy Takayama thruster fins that Larry made for me. these things are
beautiful! i highly recommend calling him up and ordering a set of fins. there are lot’s of templates on the
website but there are lot’s that aren’t on there also.
anyway, my brother was happy, and i was happy that i didn’t screw it up too bad. the instructions and methods
that are on the probox website are there for a reason and should be followed. learn from my mistake.
A COUPLE HOURS OF WORK AND A PLETHORA OF POSSIBILITIES!!! http://www.youtube.com/watch?v=-mTUmczVdik
Your leash plug has a crack in it. Tidy install by the way.