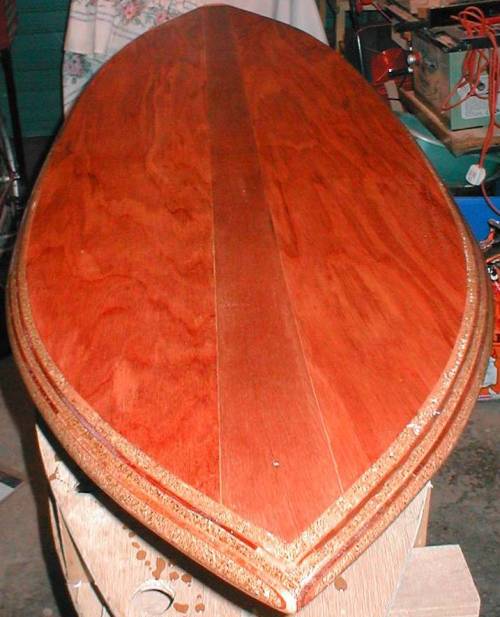
No I didn’t glass the fin, just a couple of coats of resin and set it into a mold with rovings and sanded to suit the box. First experiment though so now it’s got 2 layers of 4 oz either side extending below the base and that was put into the mold, sanded and finished to fit the channel box. Works a dream now.
As far as fitting the box to the hollow concept I put 4 layers of 5 ply either side of the stringer in the tail extending 2" each end of the proposed box, ie 10" box = 14" of support ply. I chiseled out the wood after the hull was put in (mental note, remember where the structure is, measure and write it down, tapping on the hull or drilling tiny pilot holes is not a good indication of where it is). Into that I put 2 layers of 4oz cloth extending 2" onto the hull and put the resin in and wetted it out, put the box in and poured around to fill the void. Saned it all flush with the wood when set and bingo, done.
I attached a piccie of the type of box I used, in hindsight it had a central tubular projection sticking out from the base that I just cut off thinking “What the hell is this thing sticking out” when I could have kept it and put it through the deck for a through deck leash plug. Next time, always learning.
Keep us posted.
Roy that Papio is looking fantastic, keep up the good work, I love looking at your boards.
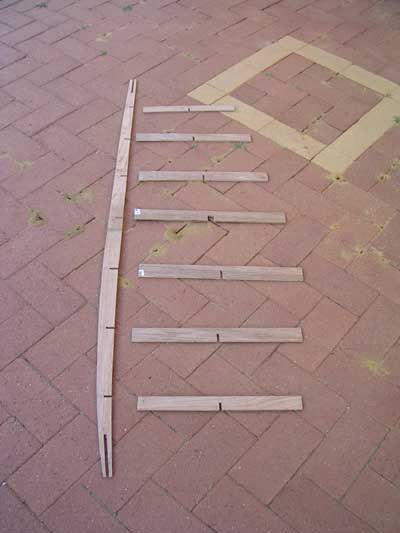
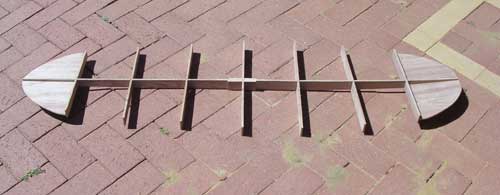
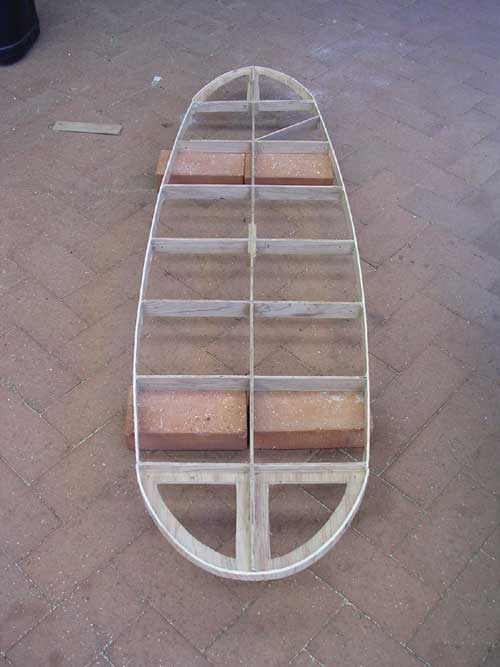
Yes I am now an addict. I started my next project on the weekend and I thought I’d share with you a step by step pictorial on how I was building it. Started with one piece of 4’x3’ 5.5mm ply and built the frame.
I drew the outline of the board and rocker on graph paper to scale and cut the wood to size.
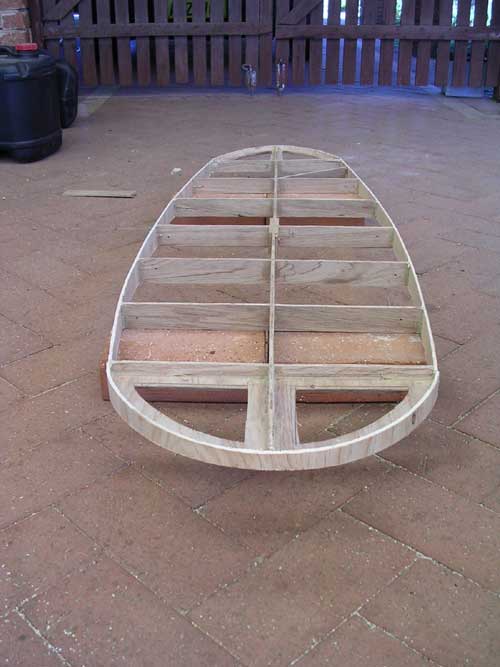
All fits together like a jigsaw now I just have to glue the ribs and then start on the rail supports.
In the end this should be a 5’ 4" Mini Minimal for my daughters who are only 4’ tall at the moment.
They all want to paint the board with stars, hearts, flowers…I said OK…don’t know why but it is for them to use…should be interesting.
I can’t believe how much easier this one is compared to the first one I made!! All this in one day when the other one took me a month at least getting to this stage.
Yeah same thing happened to me, I built the frame of my 5’6’’ lis fish in just 2 days, imagine how fast you will be in your third… I used the wood leftovers of my first board, and glassed the stringer with cotton cloth and epoxy that I get for free. I still have some epoxy and I’m planning to glass the inside of the board the same way . Until now I’ve spent 2 dlls in building the frame and the keels (plywood for free and some carpenters glue). Jack.
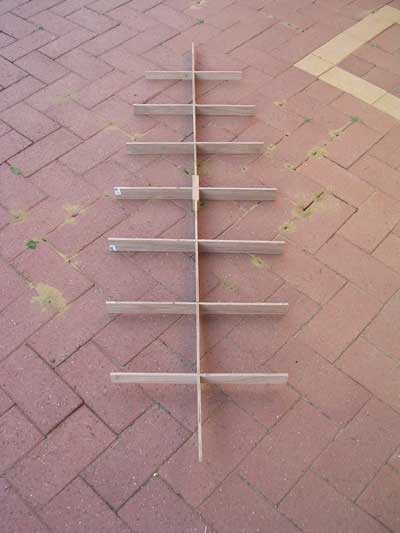
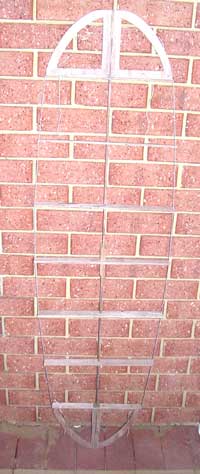
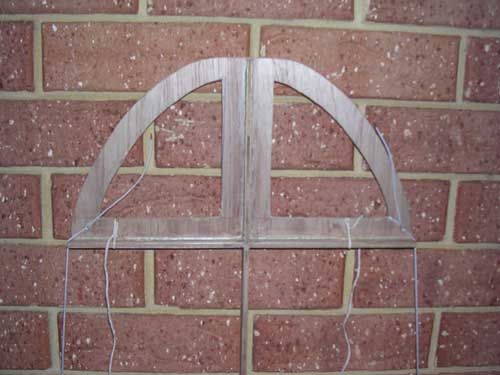
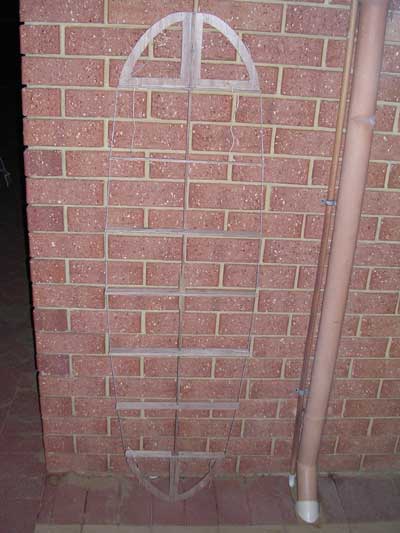
I haven’t done the rail supports yet. I put sashcord into little grooves to keep the sides even and tight, tying the ends to the nose and tail sections. The ends of each of the ribs are flat to join to the ply rail support. That’s the next stage.
I’m sick of trying to divide inches into centimetres so this is going to be a revolutionary METRIC Mini Minimal. Totally radical idea eh… The ribs are 20 cm or 8" apart, the widest point is 46 cm ?" without the added 3 cm ?" each side for the cork rails.
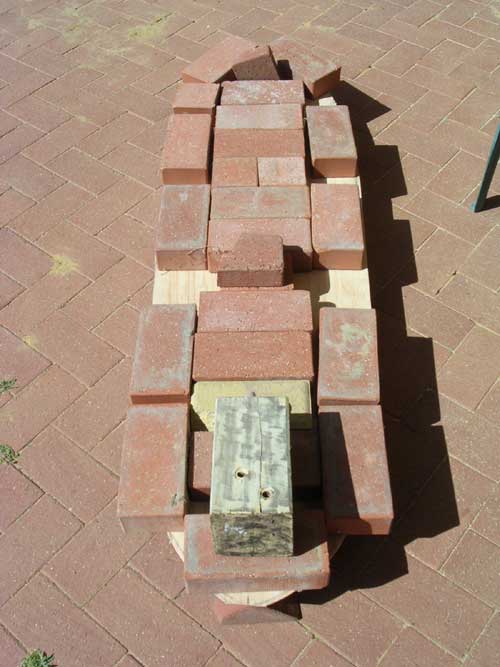
The ribs are flat until I put the rail supports on each side. I’ll be putting a slight concave towards the rear of the board by sanding down the stringer and shaping the last 3 ribs. Once that is done the hull skin will be glued to the frame and held down with weights (bricks) This will conform to the shape of the frame and give the concave shape.
I went to Bunnings yesterday (yes I know how exciting that is for us) and found sheets of 3.6mm 3ply pinewood, Not the maranti stuff. I cut a 6 cm strip off it, right angles to the grain and it curved around enough to form a 12" circle. Very soft wood and really light. I paid $13.00 for a 6’ x 4’ sheet.
This next board is going to be super light…and the pine is going to look great under glass.
That Diamond board of mine is now going to be a single fin Stubbie, after looking at how good and easy yours turned out I went and got an old board and traced it on to the ribs, I will jibsaw it out tonight so and then put the stringer in the midle, I like that idea, thanks for the eh… insparation. My hollowboard is suddenly looking easier.
Hey Hicksy, progress has slowed on my latest project since the deck stuff up, anyway I’m back onto it this weekend.
I’m liking the idea of this new ply you’ve found, which bunoz was it? they all seem to carry different stuff, since they have taken over every other hardware store in WA. If it was only $13 I’m backing up the ute and getting a few sheets as a sheet of 8’ x 4’ flexi ply will cost $80.
Onto another matter… There is another thread on vacuum bagging, I’ve been thinking of trying it on a hollow…what do you reckon?, would get the weight down. I have no idea where to start or really understand the technology, however I do have an old freezer which has a pump on it, its a start.
I got it at Bunnings Clarkson. There was a heap there too. Drive into the trades area at the back and it’s on your left as you go in.
This stuff is very pliable cross grain and pretty tight with the grain. You could probably use it for the rails but I like the look and colour of cork against what will be a pine yellow colour.
I haven’t thought much about vacuum bagging, just getting the basics together with ordinary glassing. I’m trying to reduce weight in the materials that I’m using. I know that I’ll be using a lot less resin this time around which will help.
I put the rail supports on last night so I’ll be shaping them tonight to be level with the rib edges. Glue the top and bottom on then it’s corking time.
I’ll post some more piccies over the weekend, Sunday’s looking good for a wave too.
Having heaps of fun doing this now. I’ve attached some more piccies of the progress. This time I’m using masking tape to hold everything in place while the glue sets.
I acheived the curve in the nose and tail sections by holding the wood over a pot of boiling water and bending it slowly before holding it in that shape with the tape.
The rail supports were the hardest part so far. I only had to measure one side and made a mirror image for the other. My reasoning is that if one side is correct and I’ve measured everything properly the other side will be the same. Luckily it was.
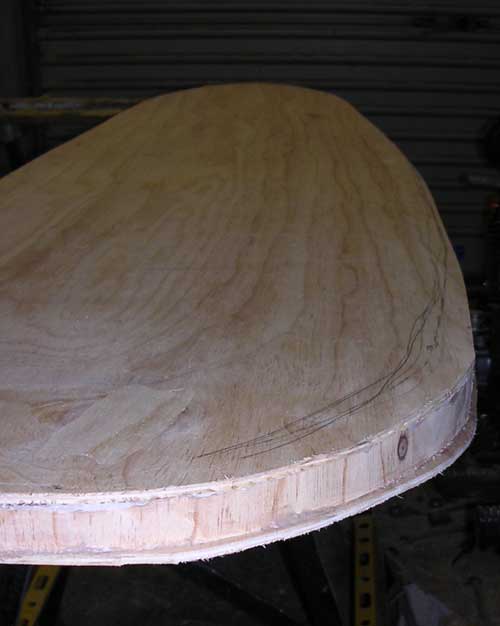
The frame is now complete. Just have to flatten any lumps out on the tops and bottoms of the rail supports and then the deck goes on. I do the deck first because it holds the frame better for shaping the hull in the ribs and stringer.
I put a slight concave in the tail by sanding down the stringer/spine over the last 15" of the board and shaping the ribs down to meet the spine.
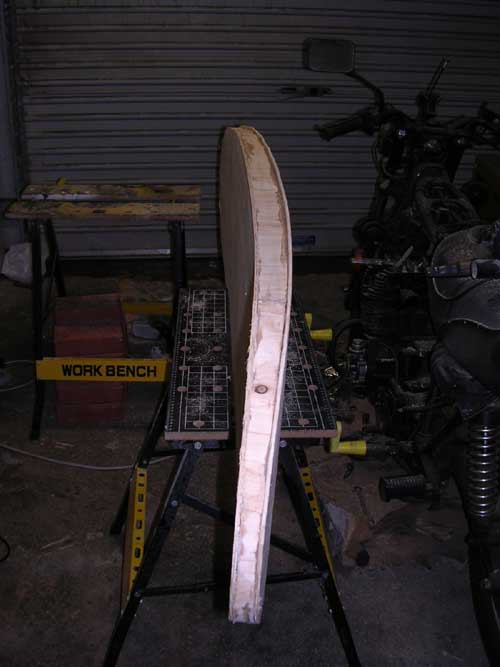
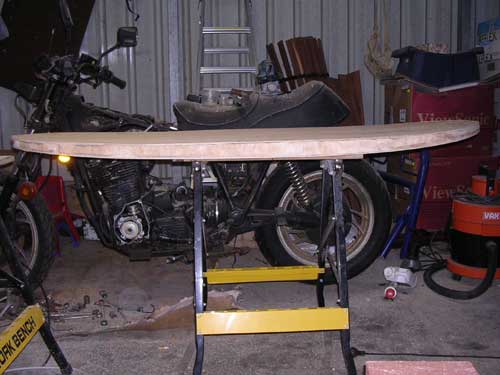
Since the last photo with the bricks on it I’ve finished the hull and that’s glued under weights as I type. I used Liquid Nails to join everything together.
You’re absolutely nuts to be putting yourself through all that again… But Whoa!! Are you ever flying on this one!!! Looks great. You gonna do some more logoing or inlays on this one before glass? Good luck.
My 3 little girls are doing the graphics on the hull, I promised them after their designs were rejected for my first board. They want to put flowers and stars and hearts and and…
More progress piccies
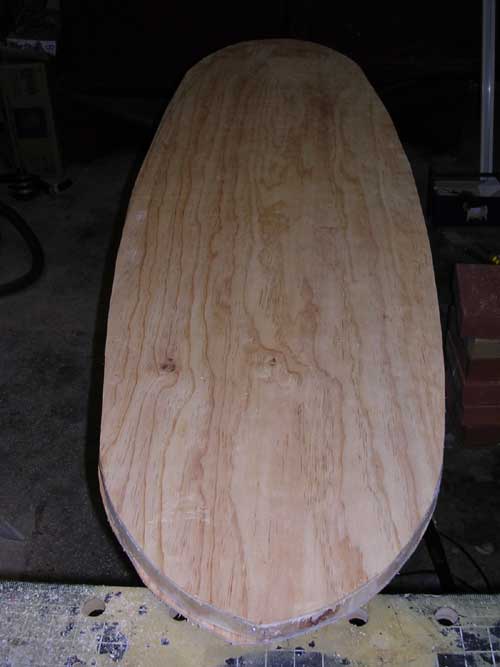
Hull and deck are now sandwiched around the skeleton. Trim off excess so it’s flush with the rail supports sand smooth and start with laying on the cork tiles.
Should have it finished in a couple of weekends if my financial adviser says it’s ok. (I love her dearly, she keeps me in line…)
nice one, the board’s looking great, I bet your girls are well pleased. Any chance of poaching some dimensions from you, that looks about perfect for my next project for my son Dan.
I’ve nearly finished my board but have discovered that glassing is an art-form in itself, a few balls ups along the way so far. I’m on to the hot coat tomorrow if I can find time after the Birmingham snowboard exhibition. I think I squeegeed too much resin out of the bottom glass coat as there are loads of tiny bubbles in the glass that show up as white patches when the light catches it, oh well too late to do anything about it now other than learn from it. Christ, you need to be quick with this resin I’m using, 8-10 mins before kicking, and it’s bloody freezing in my “crappy shed”, think I’ll try less catalist next time. Me and Dan made a set of fins for it today, glass them up tomorrow as well. I’ll post some pics of them when I get some more batteries in the camera.
I’m at work at the moment but I’ll get a scan of the graph paper I designed it on and post here tomorrow.
Going ahead great guns now. I put 4 layers of 4mm cork tiles all round the rails. Got another 5 layers to go until it’s ready for shaping. One thing I did remember though was to put the vent hole in. Once the cork goes on the board is a sealed unit. Blew air into it by breathing into the hole and all the air came back, good sign that it’s airtight.
Your board is looking great, you might want to chuck some antifreeze into the resin, your winter is coming up very fast…