Since it's hypothetical at this stage....
1. USE GOOD TAPE! (Yes, I'm shouting that. 3M #233 is a favorite around here and is worth the extra $ - just ask Resinhead.)
2. Stick it down good - use something smooth like the back of a teaspoon to make sure the edges are firmly attached to the foam and cover all exposed deck foam with craft paper. It's easy to make a mess if you don't.
3. Mix your color additive well and mix more than you think you'll need. Save a bit in an extra container just in case. Pour the colored resin through a filter cone to remove any pigment chunks.
4. Use a flexible squeegee with the corners rounded off a bit. Getting even color is difficult but this will help.
5. Pour your resin liberally - flood the board and fiberglass. Squeegee lightly to get it spread around, then let it soak in for a minute or two before squeegeeing a bit harder. Don't get too crazy with pressure and try to get the color even.
6. When resin is cured to a stage where it's not too sticky, put some wax paper protection on your racks, flip the board and do your cut with a new razor blade. It is helpful to peel your laps back to the tapeline and hold the razor blade at an angle so it doesn't cut too deep in to the foam. It's hard to describe exactly when is the perfect time but if timed correctly, it does cut fairly easily.
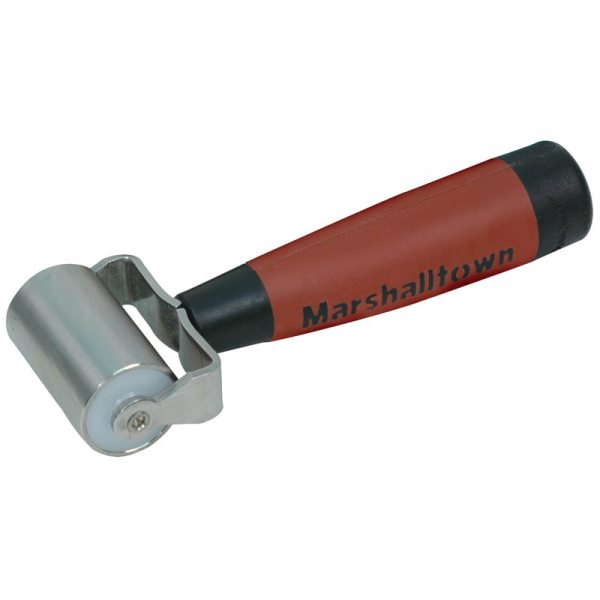
7. Use a seam roller to press the edge of the cutlap down in to the foam. That is a nice tip that was posted here several years back by Gene Cooper. It saves you from having to grind/sand/file the edges.
8. That should give you a fairly smooth surface to glass over when you do the deck lamination. If using Silane finished cloth, the laps going to the bottom from the deck can be freelapped - no need to trim, just leave the ragged edge but squeegee it as flat as you can. You may still have a bit of a ridge or 'step' where the laps end on either side... as suggested, 'baste' those areas with clear catalyzed laminating resin with a brush. Once that sets, go ahead and hotcoat it.
9. Don't sweat too bad if you expose some weave here or there while sanding. A gloss coat or speed (acrylic) finish will make that disappear.
10. Do your homework before glassing it. There is a ton of information on the internet, including videos on Youtube, as well as instructional DVDs available through retailers.
PS - Sorry Huie. Was busy typing and didn't see your post.