I’ve been working on a board for my brother’s co-worker for about a year now. She gave him a bunch of woodworking tools her late partner had, and I figure the whole bunch of tools are worth about $5K. In return I wanted to make her a surfboard even though she doesn’t surf and plans to move back to Arizona where she has a farm.
I wanted to try to do something similar to a Haleiwa Surfboards wood board, but with a balsa frame. My initial idea was to try to use some of the model airplane balsa I have to make something that ends up like a chambered Balsa board. But as I build out the core, I’m seeing it start to get heavier and with the woods I chose for the fancy skin, it will be too heavy. So, I’m making the core the same way we do our Home Depot compsands. I’ve taken a few shots of the work I did and started taking more as I got back to working on the board recently.
I do this in multiple posts to have appropriate captions.
First, I decided to make an inner section with bands of Koa and Wiliwili wood surrounded by long bands of koa and wiliwili. I also wanted to make a diamond shape with something special, but I was hoping my brother would do that with a nice scroll saw she gave him.
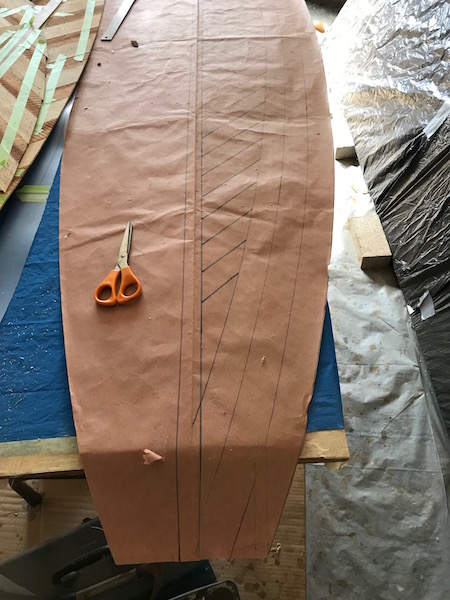
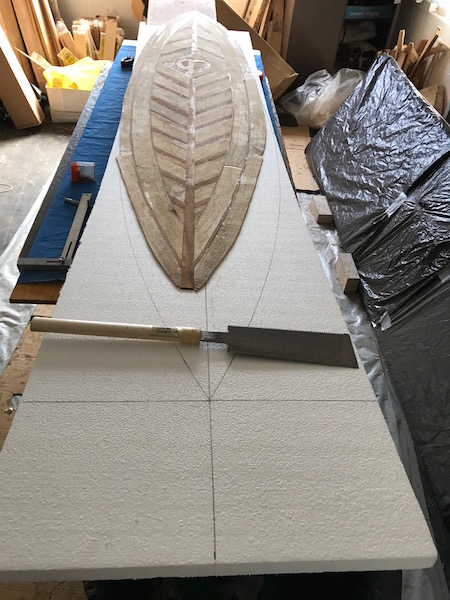
First step was to draw out an outline and design for the wood. I drew up an old school single fin style from the 70’s on a piece of heavy paper. Initially, I was going to make it with about a 4 inch wide square, but I left options for making the tail different. I also drew the diamond design then started laying out bands for the alternating wood pieces.
After I showed my brother what I was going to do, I started cutting wood. My brother had a box of Koa wood that was about 1/8" thick, 1.5" wide and maybe 15" long, so I decided to use that as my starting pieces. So the thickness would be around 1/8". I gathered up pieces of wiliwili we harvested years ago when they cut down the beautiful tree on the grounds of Iolani Palace. The Palace is on Sovereign land, and was the home of our last reigning monarch, Queen Liliuokalani. I milled an assortment of Wiliwili branches in various thicknesses years ago, so I took what was close to 1/8" and 3/16" and my brother and I used his thickness planer to make 1/8" and 3/16" thick slices. We also thinned out some long strips of Koa, Mahogany, Redwood and Balsa I cut up for wood skins. Sorry no photos of that work.
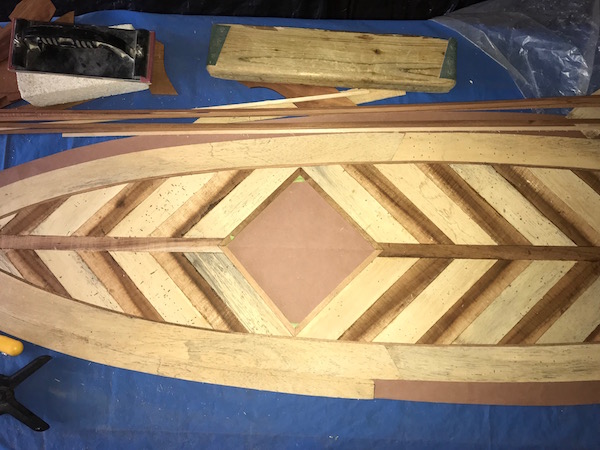
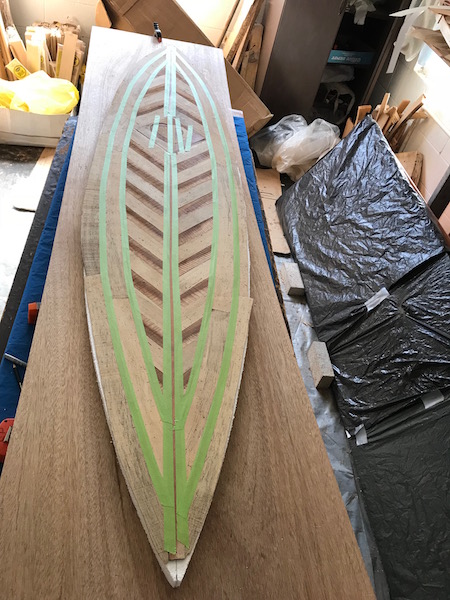
Once the wood was down to 1/8" I started laying out the design on the paper template, and cut the pieces to size. The stringer is Koa, then there are strips of Koa and Wiliwili going out diagonally meeting at the diamond. A thin band of Koa goes around that followed by a wide outline band of Wiliwili, thin strip of Redwood, and more Wiliwili. I used wood glue and glued these pieces together.
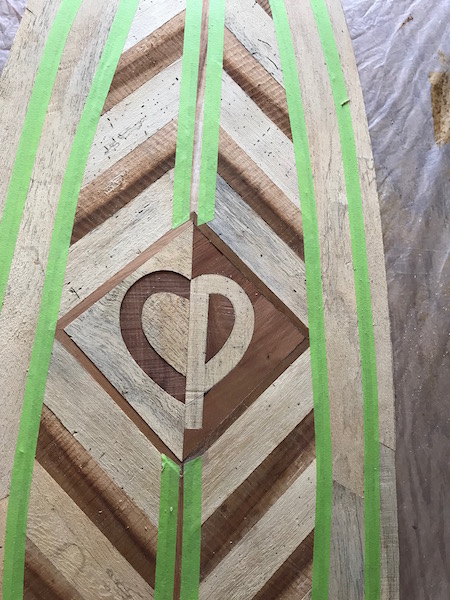
I was hoping my brother would do the insert for the diamond, but he’s been too busy, so I decided to work off a heart with the initials of the 2 people who gave us the tools. I started with 2 pieces of Koa in a mirror image, but then I decided to alternate between Koa and Wiliwili. The initials are C and P.
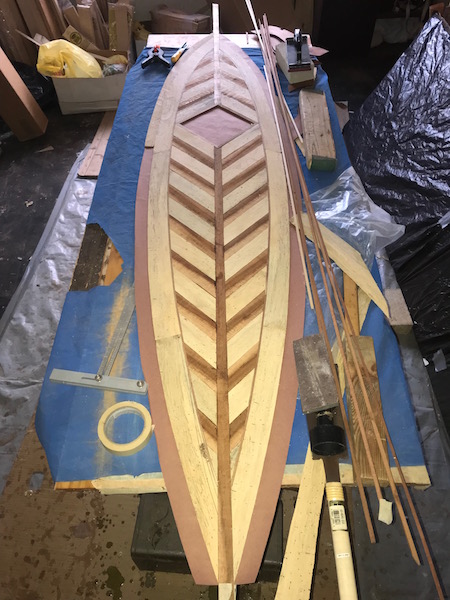
Once the skin was finished, I cut out a piece of 1" thick EPS from Home Depot about 1/4" wider than the template. The skin is also wider that the template, but I’ll cut them back later. The next step is to cut out the top layer of EPS (1.5" thick), then I’ll glue it all together using epoxy resin and probably just use bricks to weigh it all down onto my rocker bed. I may add a layer of 4oz glass under the wood, not sure.
FYI… this is the bottom skin because I don’t think these woods will bend enough for the top.
The reason we use 1" thick EPS on the bottom is because we used to add a wood springer between the foam layers. It is similar to what Incide blanks do, but not as scientifically calculated. It also helps with securing the fin box if the hole is routed down into the springer. I may not use a springer, but add balsa strips perpendicular to the box. I should also clarify that I started with the heavy paper for the template, but I also have a half template made from poster board. The template is 1/2" narrower than the final because I’ll be adding wood strips to lock in the rocker and they’ll be the outer rail band.
Harry, this is awesome on all sorts of levels. I hope you get to finish the board together w/ Bernie and take it for a surf before it is gifted to your friend.
I haven’t spent much time on the board, but I did get a little more done.
I’m doing this build differently than the typical Home Depot compsands we would turn out quickly because the skin is much more complicated than the all balsa boards I’ve made in the past.
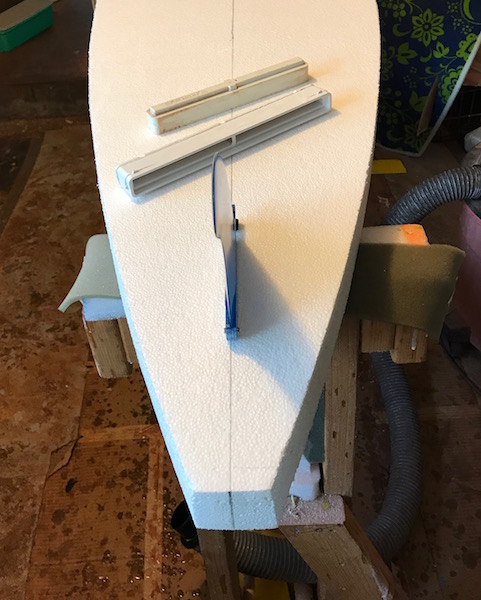
I decided to try another version of the heart and initials using Koa for both letters. I thought the other version had too much contrast between the 2 halves. I also decided to cut the foam to size and add the 1st layer of wood rails before I glue the bottom skin on. I started making another rocker bed, but inverted from the one I have now. I plan to make the rocker bed with an 8’ board outline to make it easier to glue on the rails. I may eventually just make a single rocker bed that has the same rocker on each side. My brother did that and it’s way easier to make these boards using that one.
At this time the 2 layers of foam are glued together with an Elmer’s version of gorilla glue. The next step is to clean up the outline and add the rails. Once the rails are set, I’ll attach the bottom skin, then I’ll cut it to match the edge of the board.
Thanks for all the hard work , hopefully will have more time now with the new job to help out
keep posting, I’m extracting it all and will use the material to create a book that will tell the story of how the board was created
we can then give her the book and the board at the same time
That should make a nice addition to her ranch in arizona
This garage hack method we developed right here via all the swaylocks friends we’ve met and refined over the past decade or so has produced some nice toys and special gifts for friends.
its more crafting something out of nothing than surfboard building
Did more work the last couple of days.
Once the 2 layers of foam were glued up, I cleaned up the outline. Then I decided where I think the fin will go and added wood inserts to give the fin box strength. I thought I took shots, but I didn’t. What I did was route 2 grooves that were 1/2" wide, 3/4" deep and 4" long perpendicular to the stringer an inch or so in from the end of the box.
I inserted balsa wood strips with the foaming glue, and once the glue was dried, I glued the bottom skin to the foam using the rocker table.
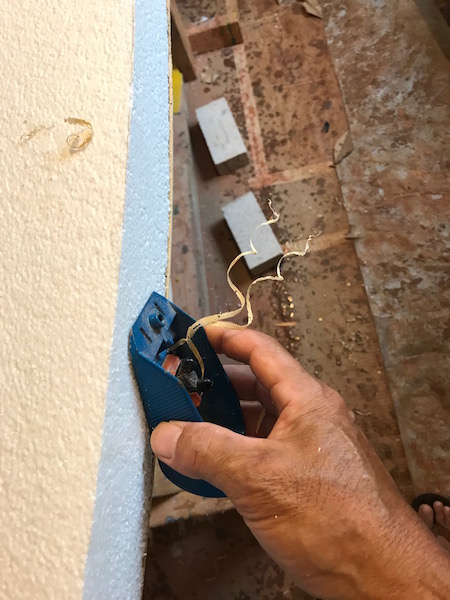
The blank has the rocker pressed in and will hold it for a short time, but it will eventually creep back to flat. So, we add a layer of wood on the rails to lock the rocker in place. I had pre-cut 2 pieces of 1/8" plywood with the same rocker, but I decided to use 1/4" balsa. Years ago, I bought a bunch of Balsa from the widow of a man who made large remote controlled, gas powered model airplanes. They were beautiful planes, and some were up to 8’ across. This man had so much wood in so many sizes, I’ve made a dozen or more boards and still have a lot of wood left.
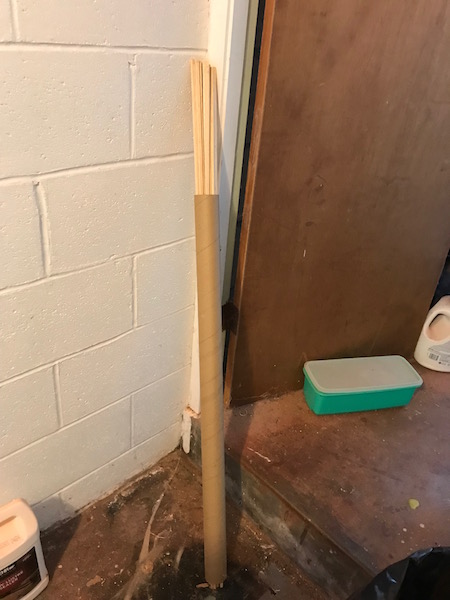
I have these 1/4" X 1/4" sticks from 18" long up to 4’ long. I like to use them to make rails because they’ll bend to match the complex curves of a rail. No waste from cutting straight wider pieces than can only bend one way. I will probably use the wider pieces for the outer band because it looks better.
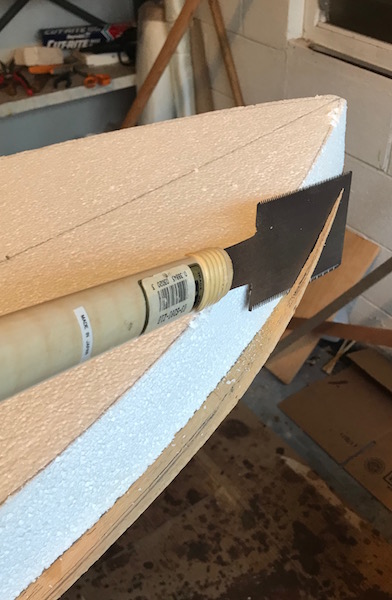
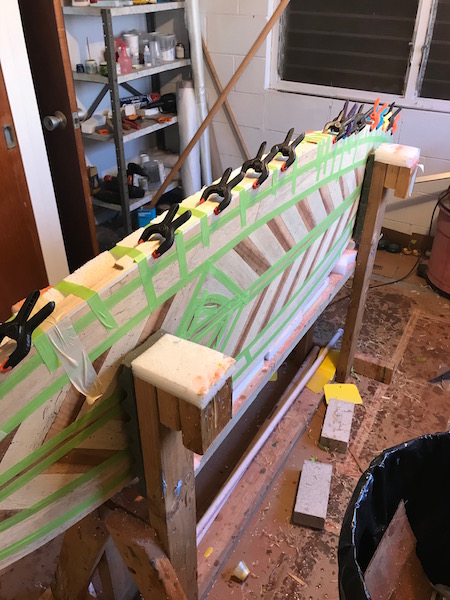
I used some of the 4’ long pieces an staggered them to keep from having a straight line weak point. This part uses a lot of tape.
I’m planning on only having 1/2" of wood on the rail, so this is half way there. I placed the blank back on the rocker table to make sure I don’t lose rocker while the rail band dries.
The next step is to profile the deck, When I do this, I have to take into consideration that there’s 1/4" of rail left to add. I have to get close to the final shape, but it will be missing that last bit so the rail won’t be turned.
After the deck is shaped, I build the top skin, attach it, then add the last rail band and turn the rails. More to come.
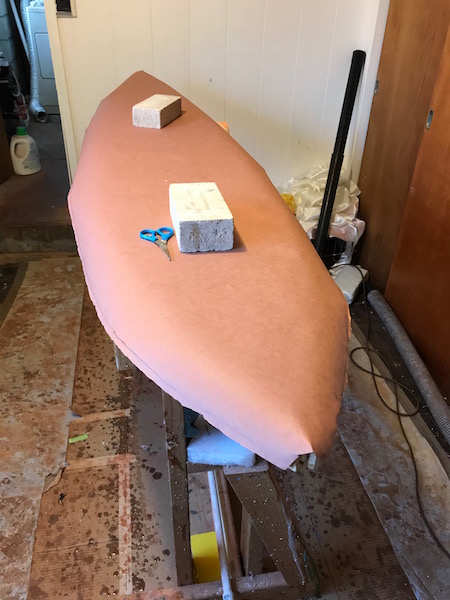
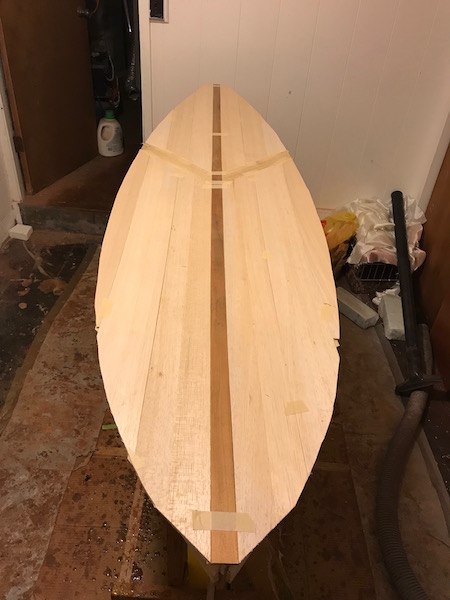
This is the board with the bottom skin and the first rail band attached. Next step will be profiling (top rocker or board thickness from nose to tail) and shaping the deck. It’s all one thickness but I’ll plane it down to the thickness I want then do the rail bands, and crown the deck.
The plan is to have a fairly flat deck with down rails and a tucked edge, something they used to call Brewer or Chapman Brewer rails.
Shaped the deck today, and taped up the skin. The top will have a simple skin because the fancy design is on the bottom. It is just a Koa strip and Balsa.
I planned to use 1/8" wood, and the deck has a lot of crowning along the rails, so I started out by making a template with a roll of heavy paper. The same stuff I used for the bottom. I drew a line where I hope to have the wood wrap down to the rail. Once the template was made I lined up my wood and taped it together. I don’t know if I’ll glue the pieces together or just tape them. I will cut groves along the underside of the outer part of the skin to help it bend around the deck. I haven’t gotten there yet.