I have glassed a few boards now and am looking to get some feedback on my lams. I have a feeling that I am doing them too dry. I used a lot of excess resin and let it pool for at least a few minutes before pulling it out of the cloth. I even with light pressure the resin seems to want to leave the void bettween the cloth weave.
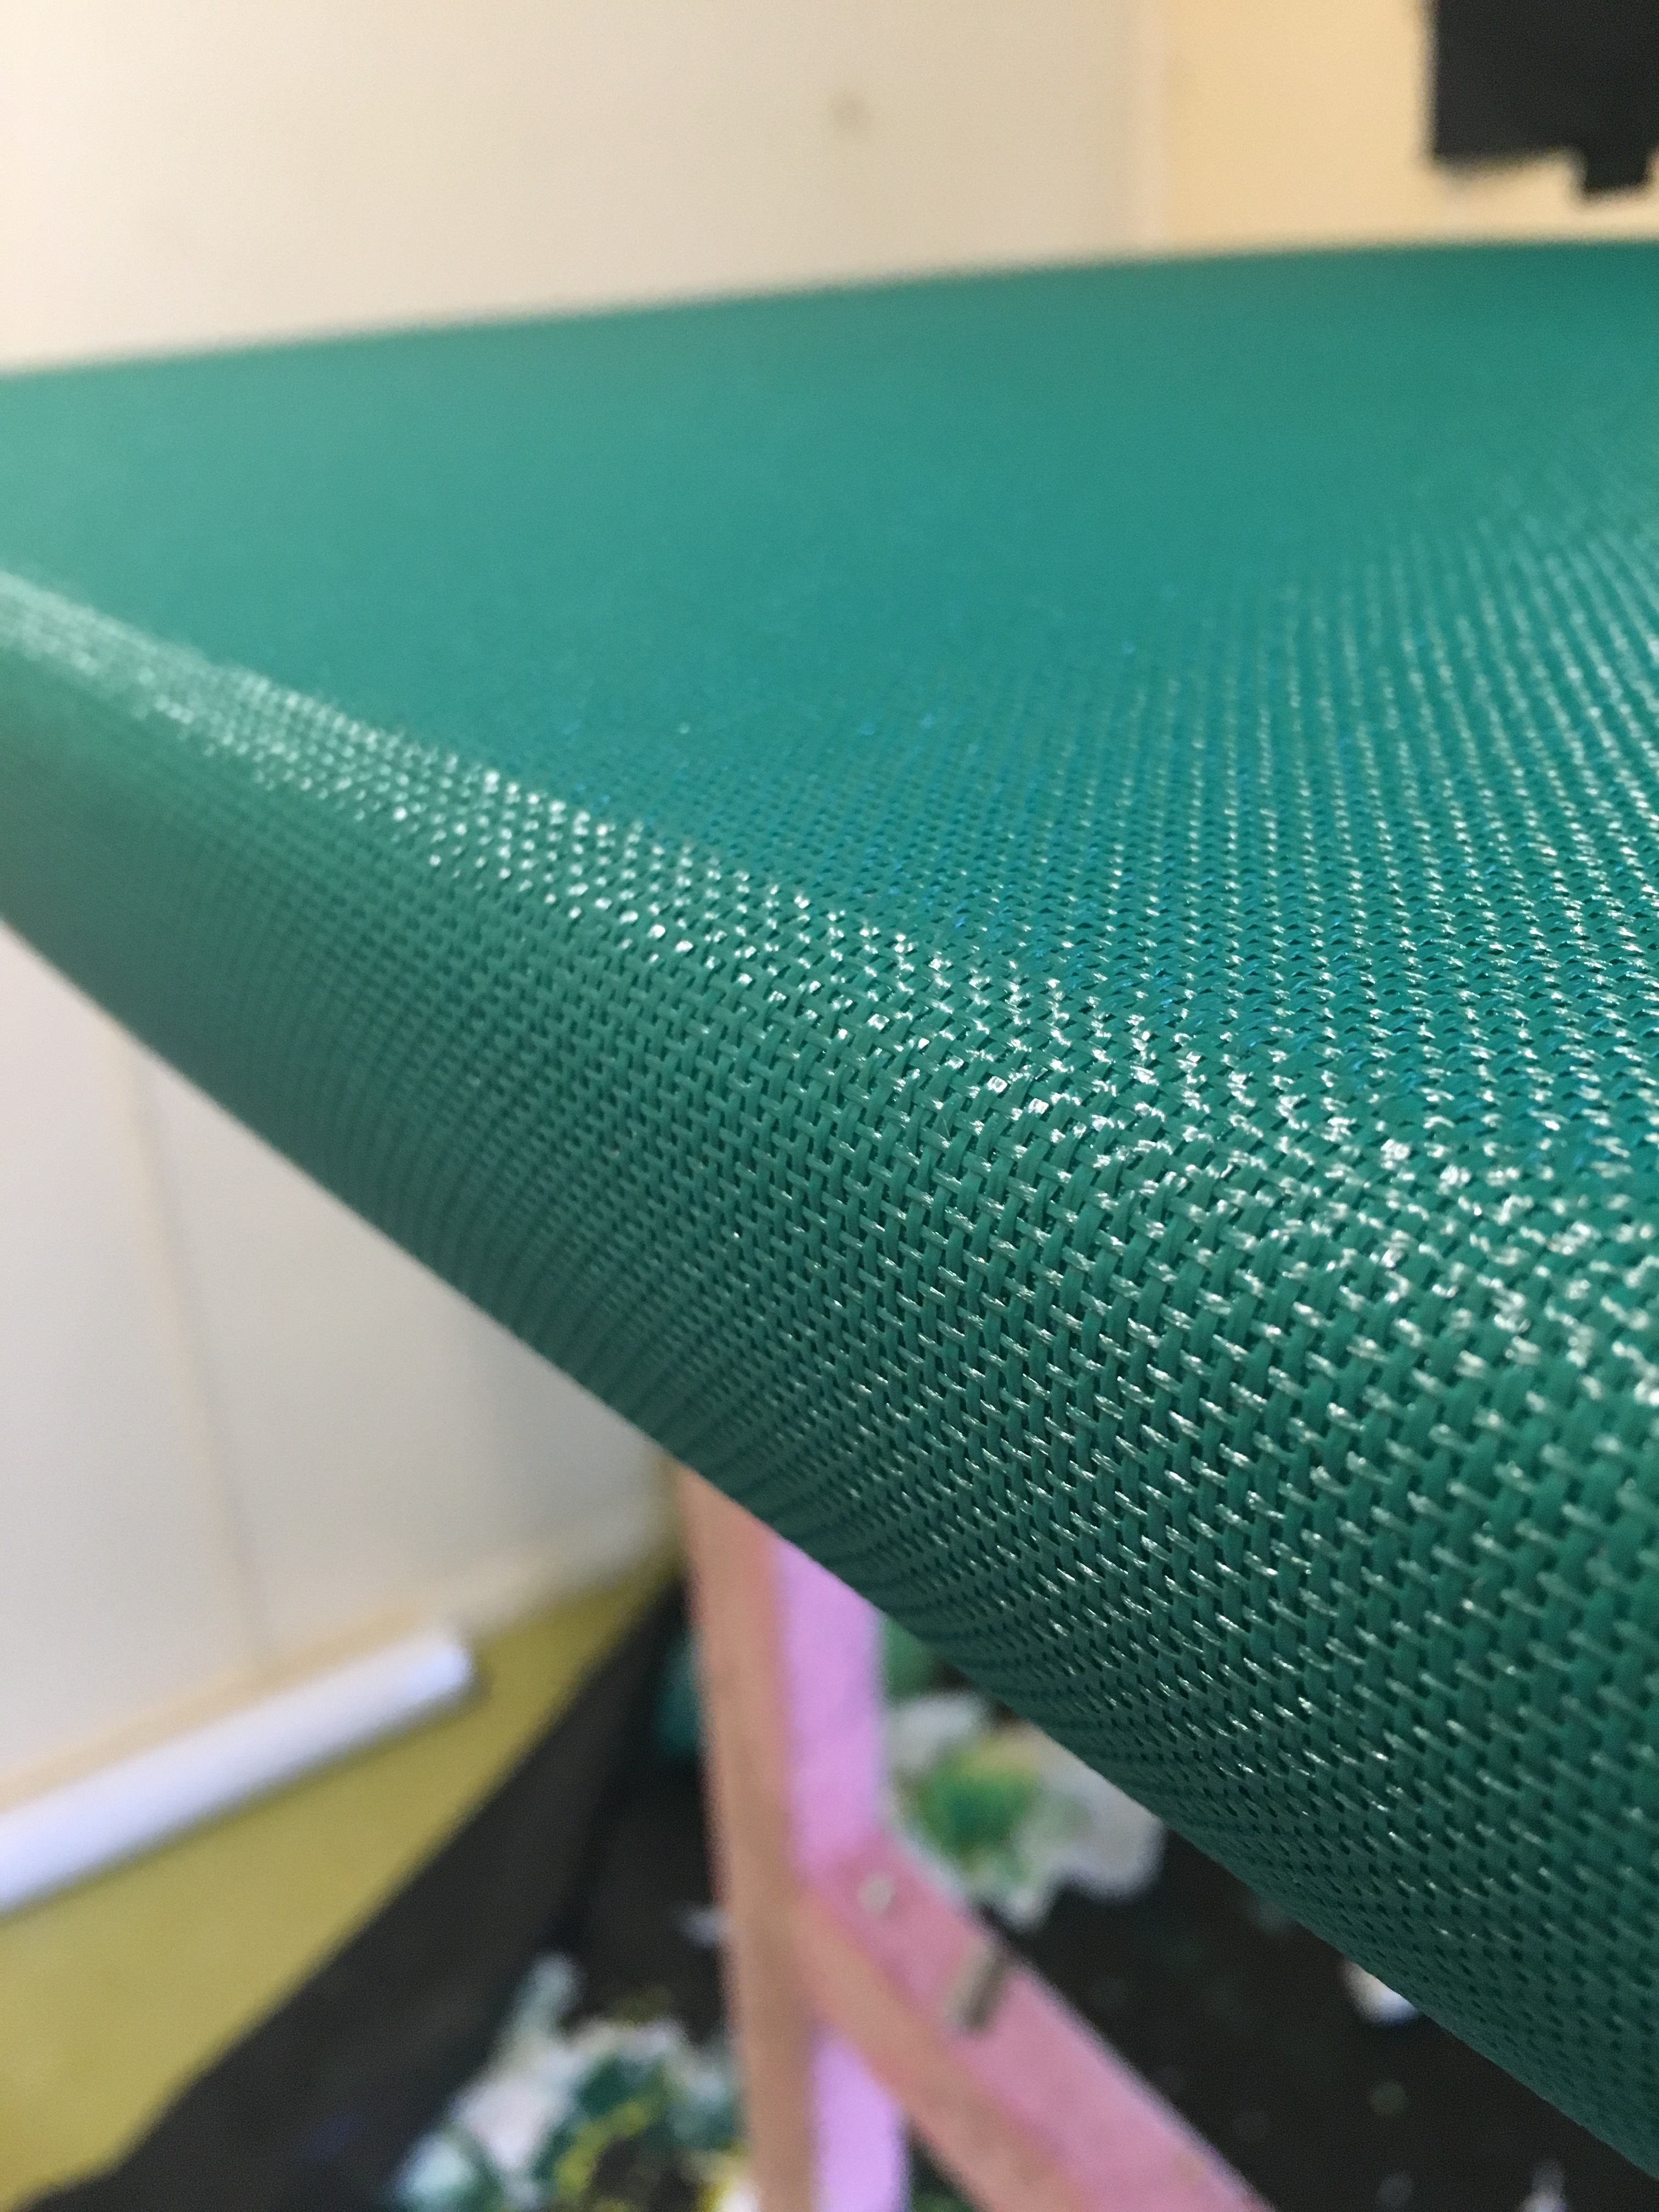
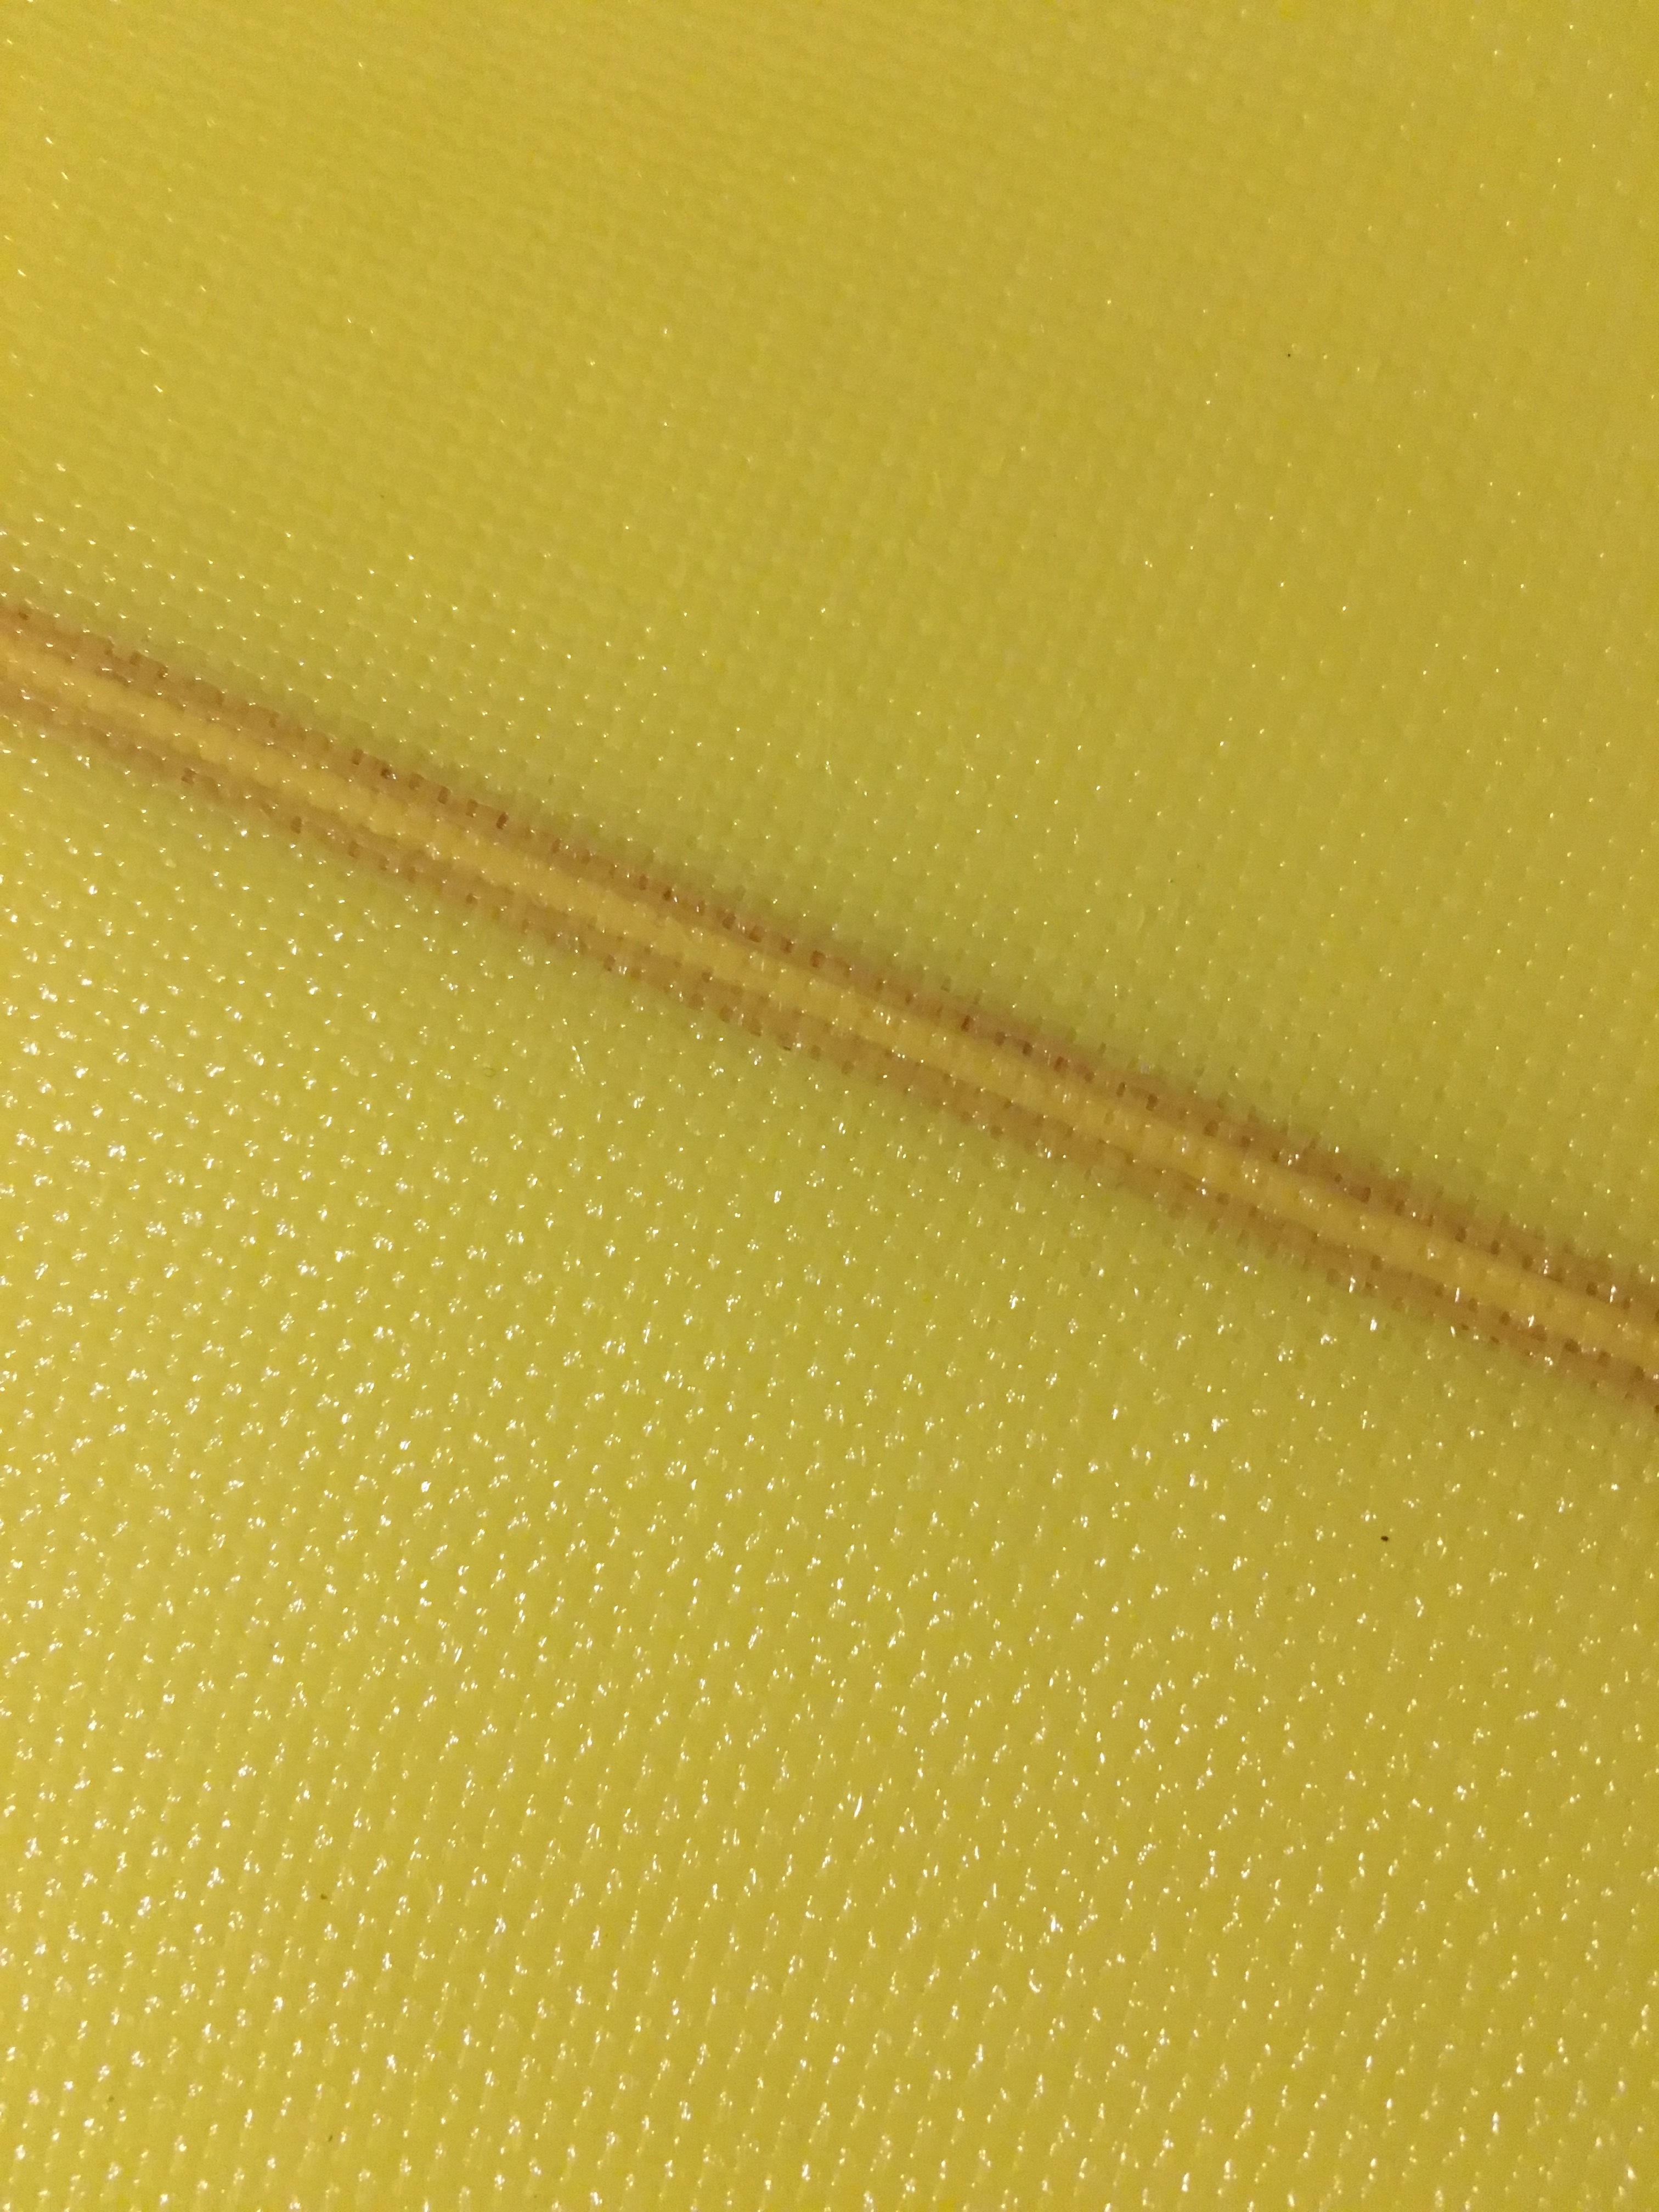
I have attached photos of my lams for feedback. I the lam you can clearly see there is no resin between the weave. Is this to dry? Keen for feedback and photos of master lamination jobs and how they should look.
Yellow board (pingment 4oz) (squeegeed yellow pigment into the void)
Green board (pigment 6oz) (filled the void with clear resin) (also photo after hotcoat)
That second pic shows that it’s way too dry. Not sure what you’re doing, but it’s obvious you are pulling far too much resin out. There should still be some texture from the weave, but no gaps. You failed to mention what kind of foam and resin you use. Since you are using pigmented resin the gaps should be even less obvious. The spaces in the weave should be filled with resin.
I´m only a backyarder with maybe 20 boards under my belt, so take this with a grain of salt…
Your second picture looks really very dry to me. The third picture looks better. But there are still holes, the lam seems slightly on the dry side for me. (on the stringer for example)
What resin and blanks are you using ?
I can´t imagine how it is possible to pull a lam as dry as in your second picture. Is it a blank that was soaking really bad ? (light EPS ? but I can´t see any beads)
Pulling the squeegee in a very flat angle helped for me to keep my lams wet.
Maybe try different angles and pressures and see what happens.
With my lams I try to shoot for “snake skin”. I pull till the weave pattern shows, but not so hard that any voids can be seen.
(this is epoxy on eps blank)
I don´t know if the pros / experienced guys call this to wet or to dry. But it works out for me.
Yours looks just about right, MiWie. And you are right about the angle of the squeegee. Holding it straight up and down is a bad method. With practice, you learn how to angle it so you get the glass to load properly with resin. It takes time, but eventually you learn what’s “just right”.
Dépend what you take as good fiber/resin ratio. Often in composites world people say that best ratio is 50/50 (by volume with glass by weight it’s near 70/30). It’s best ratio for weight/strengh in tensil, it look really dry. It’s not so good for compression, flex and it’s not waterproof. For surfboards more résine is better, 3rd photo look really good for me, no need more at this stage.
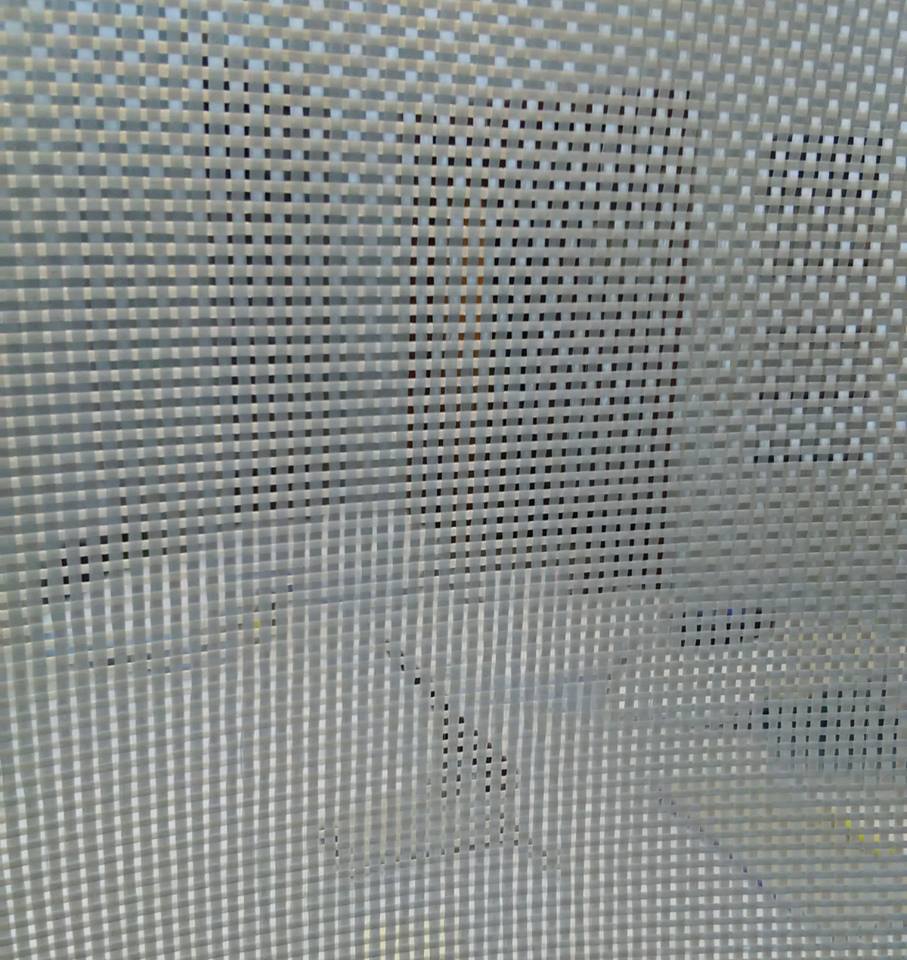
I´m using german industry/aero cloth.
Plain weave, 160g/m² which is 5oz, FK 144 finish.
The warp count and fill count are appr. 6 threads/cm which is appr. 15 threads/inch.
It looks very similar to what your pictures show.
The lam pictures of the boards above are 2x5oz (stringerless boards).
Here is a picture of a 1x5oz test piece I once did for a colour check.
Save a bit of the uncatalyzed colored resin and go back with a cheater coat or flood coat… just catalyze some of the left over resin, pour it on the board, and fill any gaps or pin holes using a light touch on the squeegee. It becomes more difficult, if not impossible with double layers if gaps or pin air get trapped in the inside layer. Experienced glassers can sometimes detect a telltale ‘zipper-like’ sound when they’re scraping too hard with the squeegee. Use your eyes and your ears as you squeegee and don’t try to make a super-light weight board.
I did not glass more than 6 boards, but I never used a squeegee. I use foam rollers, a quite “hairy” one for the lam coat and after this starts settling I usually do a second, hot coat, using a roller with a very fine foam surface. To me, its much easier to spread the epoxy and spread it evenly with a roller than with a squeegee and I never experienced “dry” laminates. I’m using epoxy resin and usually the weight of the resin equals the weight of the cloth, 1:1. (If the weight of is 5oz/sqy I mix for the same surface 5oz of resin). Sometimes I need to add a little more…
Yes, that is obviously true, but if you are only laminating some boards, I prefer an easier handling against some loss of resin. I would not recommend a roller for a professional glasser, but for the hobby builder doing some boards a year, 50 gr or one or two oz plus some cents for the rollers itself per layer is quite affordable. And if you do not wait too long, you can use one roller for lam and hot coat, then the losses appear only once per side.
Even with my first board I did not face any problems using a roller, the resin is easily spread evenly.
Proper angle of the spreader dangle is the way its done. An upright spreader with too much pressure will pull too much resin. I like a low angle which forces resin in while pulling excess away.
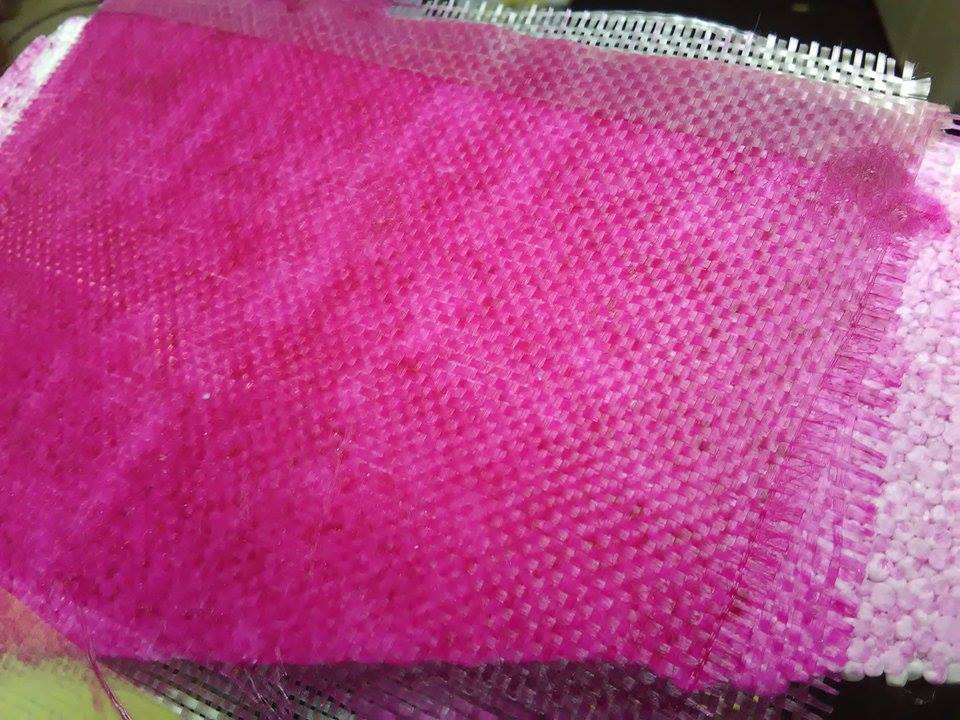
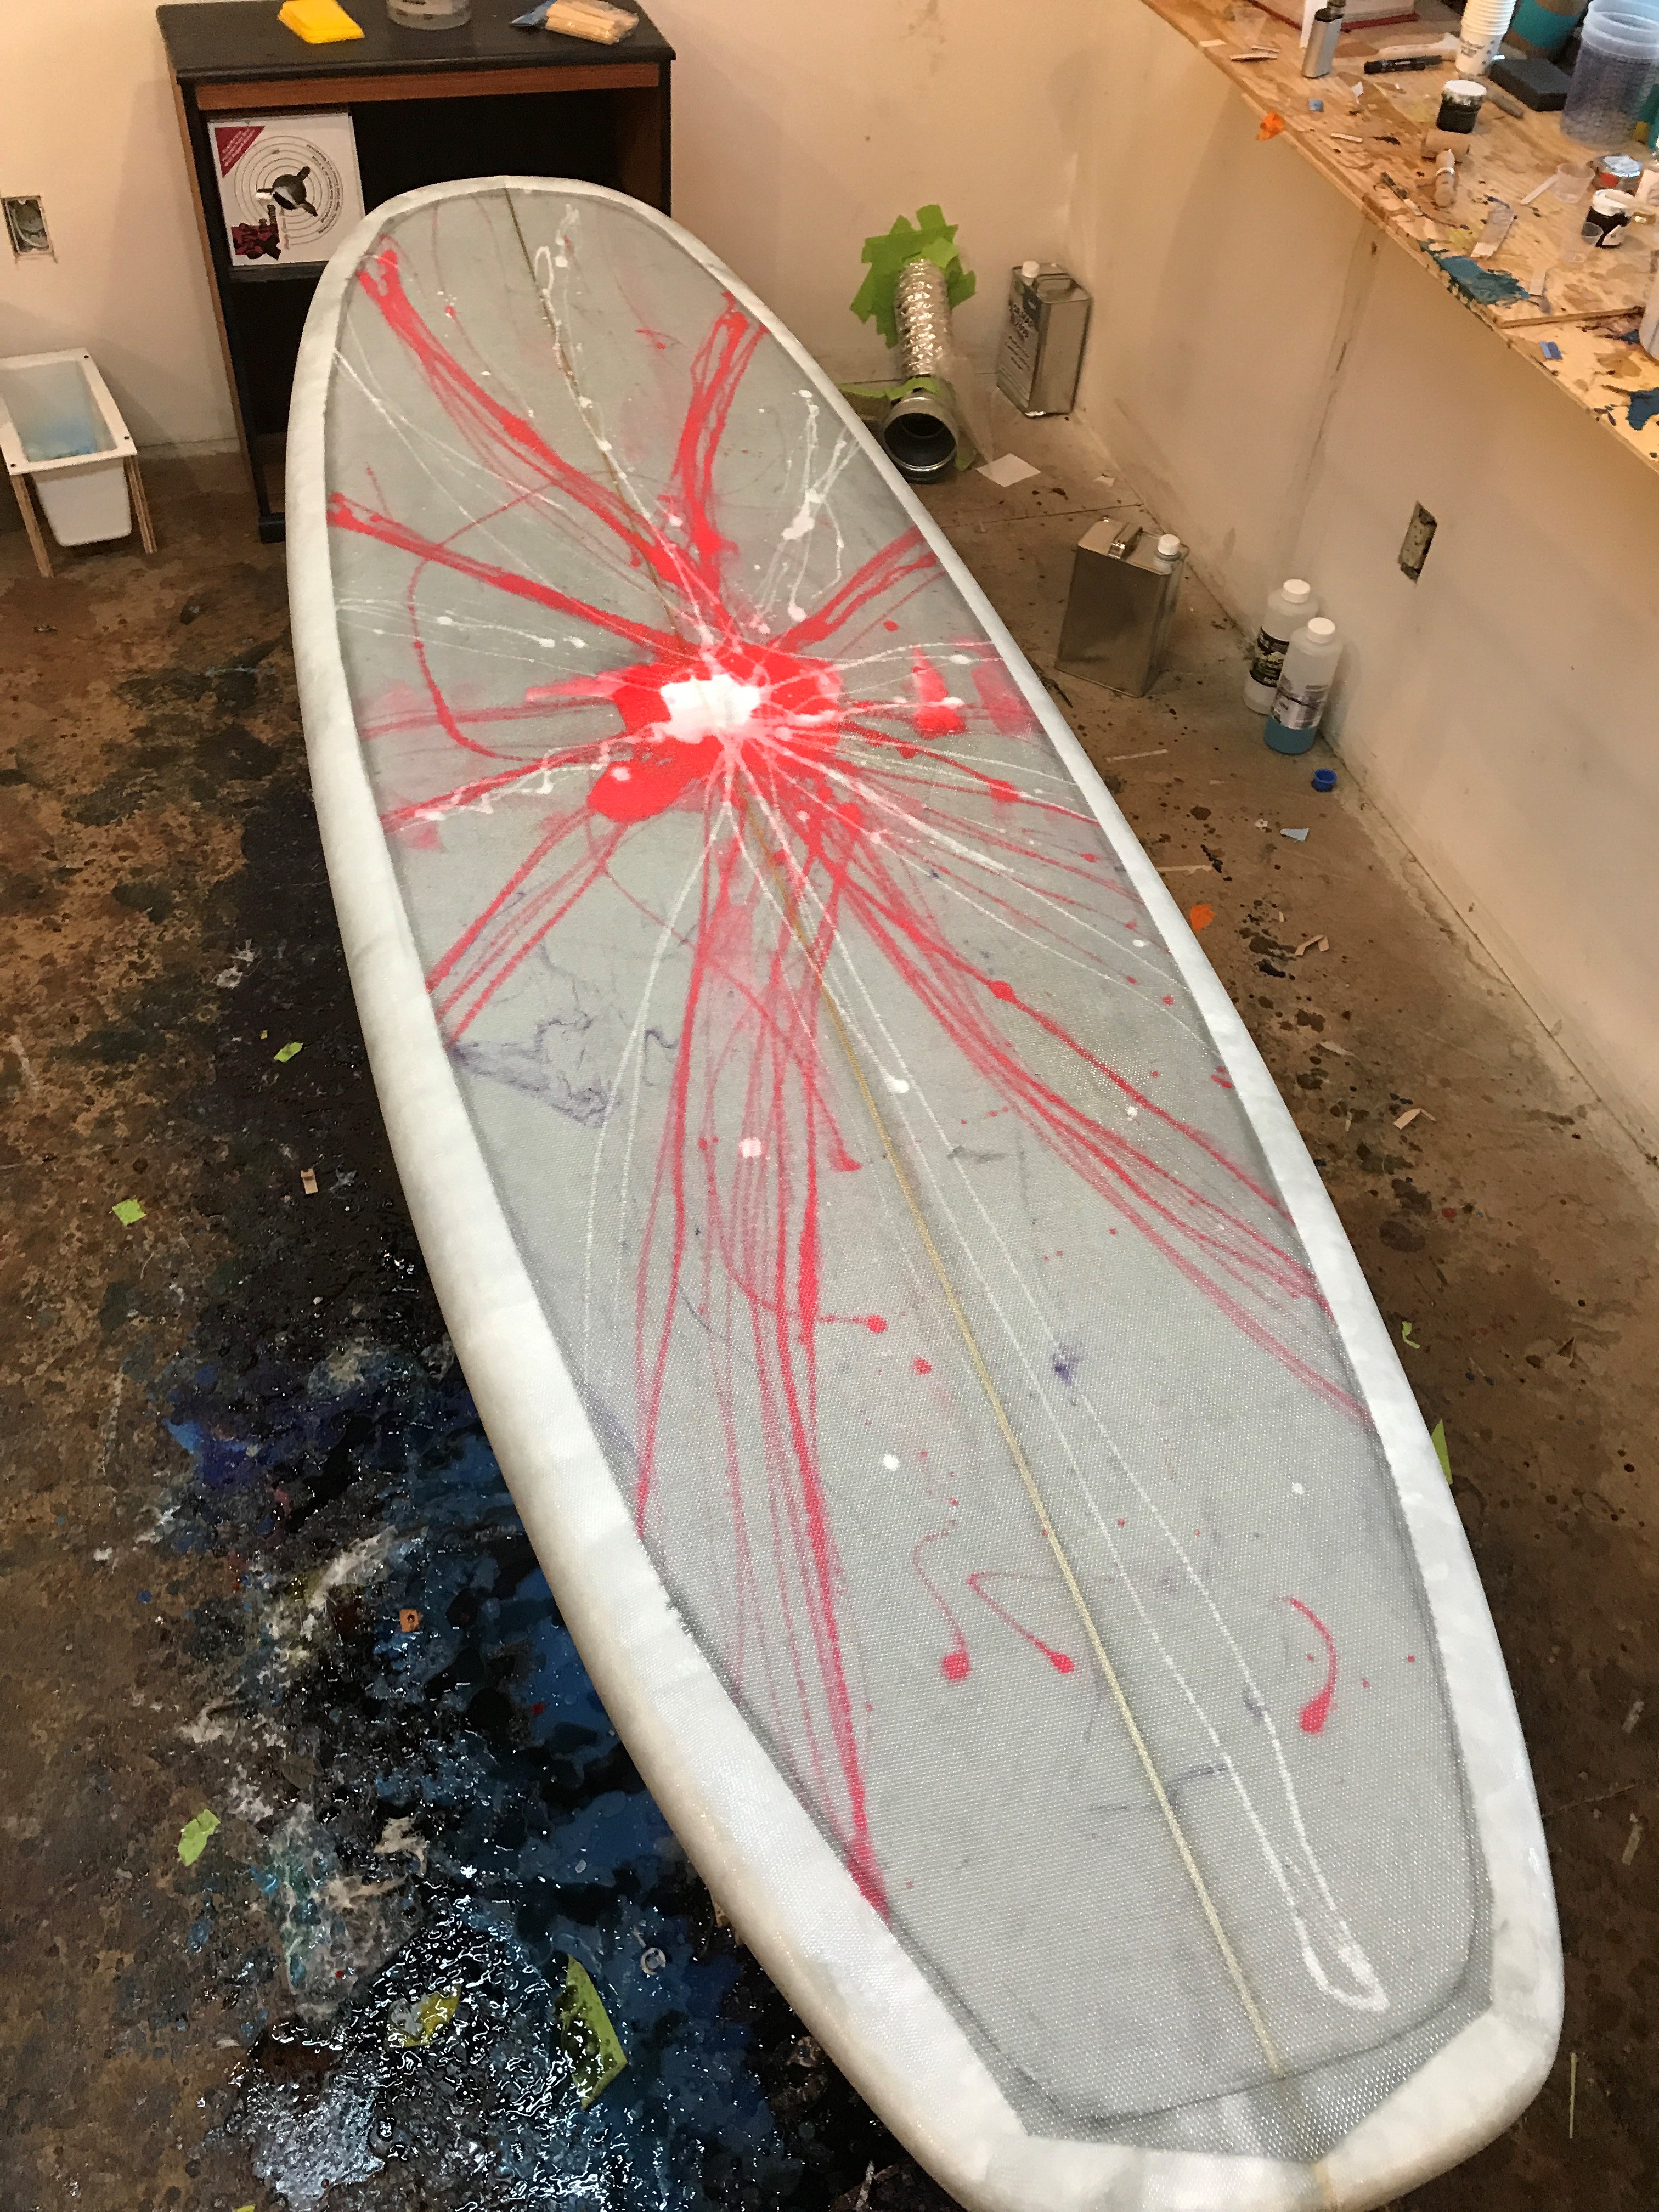
Below is my latest lamination. If it were not for terrible artistic ability I would have zero.
They make rollers for fiberglass and resin if you want to wet out cloth that way. For clear it works really well but it’s just as easy to use a proper technique with a squeegee. Low angle - light pressure. You want resin to still be on the board - just not pooling.
I would not use the big hairy sponge suggested above, but that’s just me.
Roller for resin is an industrial standard for thick reinforcement and big parts with vertical surfaces, boat for exemple. i used both for surfboards, but find squegge more effective to spread resin and laminate over thin glass (up to 9 oz). When roller is use to spread resin then specific laminating roller need to be use to laminate ie press fiber on support pop out air gap in fibers and drain out excess resin. With thin fiber lamination is do with spreader, play with angle and pressure of squegge. Most effective way to laminate is vaccum bag with specific flow/drain consommables.
For me photo 2 look to be a good laminate fiber (fiber/resin) for tensil strengh with appropriate finish for waterproof (photo 1). But because surfboard skin break by compression first, you can/need use more resin to secure gluing on foam wich stabilize thin compress skin against buckling.
I’m a real beginner with only a couple boards under my belt (and numerous repairs over 40 years, lol) but I try to repeat what my mentor tells me.
Move the resin around, don’t just spread it out. Move it up down with the squeegee at a low angle so you’re not cutting into the resin, just moving it over and into the weave. Keep going over the same spots.
Once the deck is well wetted, pour along rails and drag resin out to the rails with squeegee more vertical. Use squeegee on both sides of hanging laps to get them good and wet before pulling them tight and under. Then, using the squeegee upright cut the resin towards the rails and around. You should hear popping as air bubbles go and a zipping noise as you move the squeegee over the cloth.
I don’t know how all this translates to rollers.
If you weigh your cloth and calculate your resin weight at 150% or so (my mentor sits at 120% or so but can get to 50:50 using steel squeegees), then the amount of excess you pull off will tell you what your cloth:resin ratio is on the board. and whether you need to go back (easy with slower curing epoxy, not so easy with 20 min poly).
That’s all I know and I value any corrections from proper board builders.