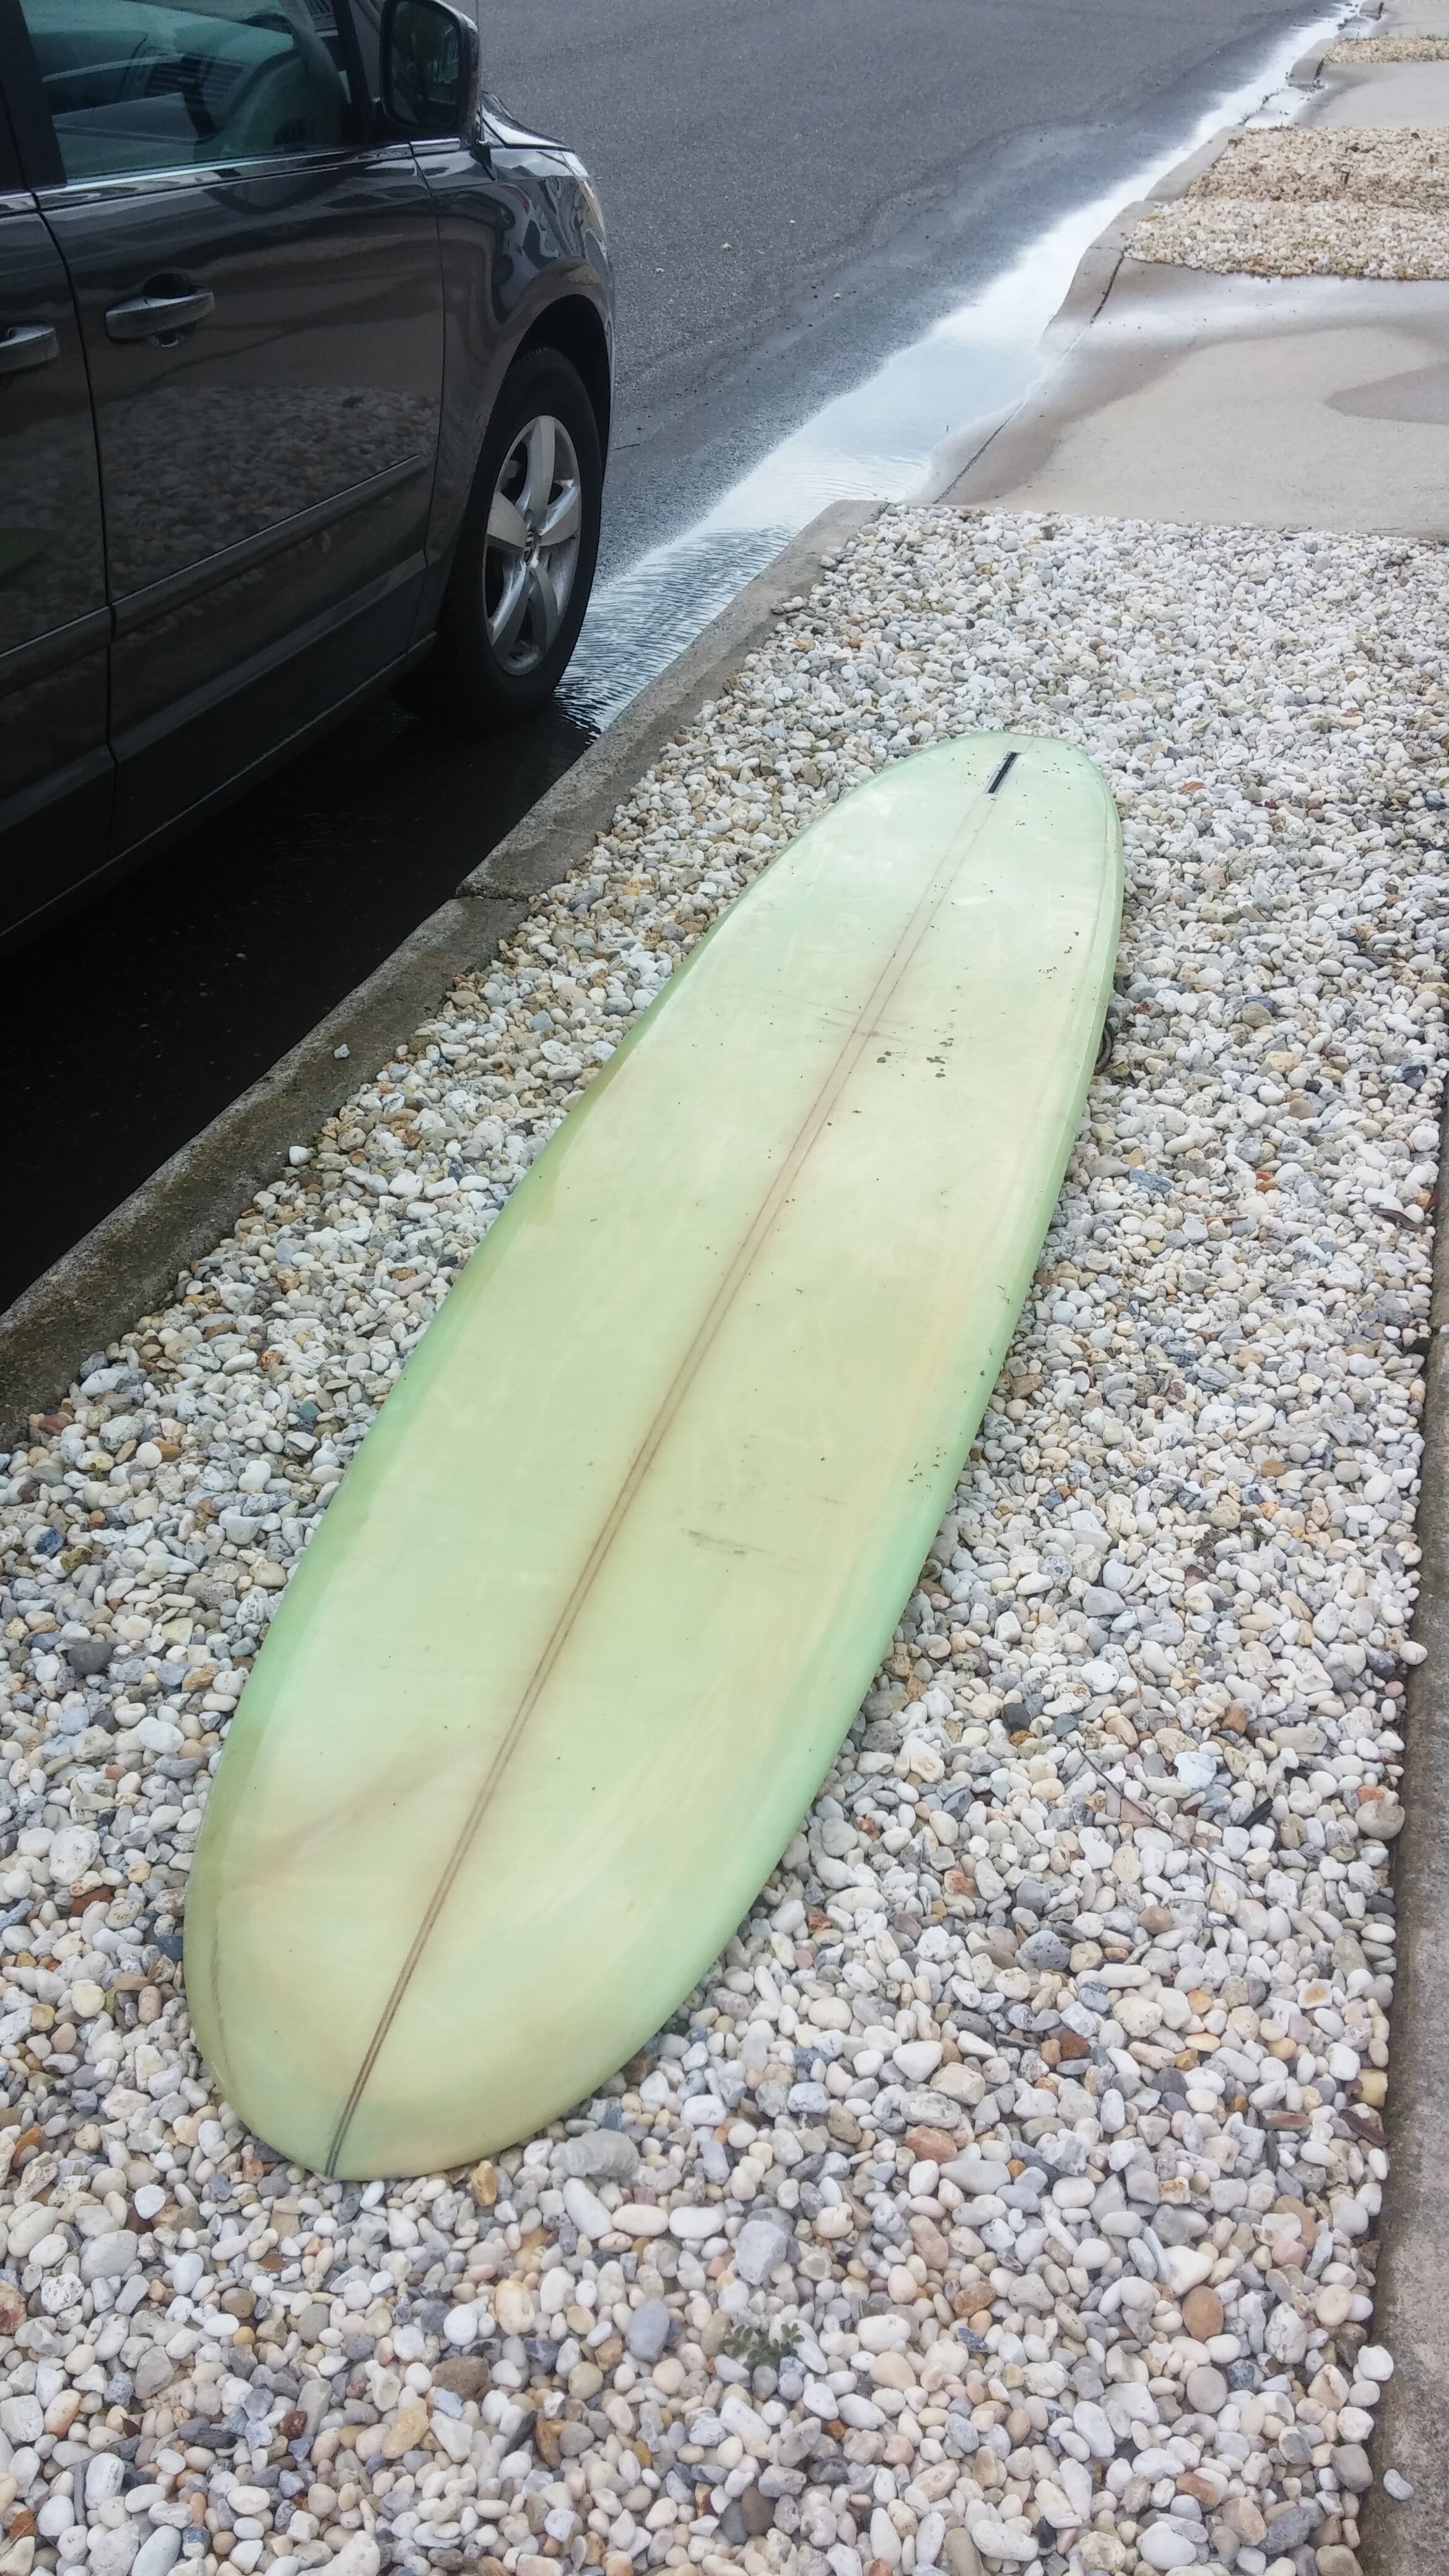
I came across a beautiful old 10’ longboard while biking down the shore this past weekend that was slated for the dump. I’ve always wanted to restore an old board back to its former self, and this looked like my lucky day! So I knocked on the door and spoke with the owner, who told me to take the board off his hands because he had too many projects going on and just couldn’t hold on to it any longer. See photos attached.
The last owner must have began this revival long ago by tearing off the entire deck. There are no other markings on the board, so I do not know who may have built it or when. The only hint as to where this board came from is the tail, which you can barely see in the photos, but it resembles some old Bing boards I’ve seen with a ~1 inch wood insert at the tail. Any thoughts?
Obviously, this board needs a LOT of work. As this will be my first time restoring a board, I’m looking for some advice from all of the knowledgable folks on this forum. I’m not too concerned just yet with matching the finish to that awesome green on the bottom, I just want to get it to the point where it could be glassed again! The local shop told me to make the board a wall decoration rather than try to restore it, but no shot am I walking away without trying my luck! I’ve looked online for countless hours and believe this blog may be my best bet:
I’d love to not have to rout out half of the foam or use panel type foam, but as you can see from the photos, the UV damage is terrible and getting rid of a bit of foam might help dry up any water that may be hanging around. The bottom glass is in nearly perfect condition, just needs a fin.
Could anyone offer some advice or confirm that the method in the link above may be my best bet? If so, after routing the foam flat, i’ll start by dremel’ing out a section of the stringers that has cracked and replacing them with lath and qcell/resin. I’d rather build the board back up with pour foam instead of foam panels, but I’ll make that decision later depending on the responses here. Any help is greatly appreciated!!
I think Chris is on the right track. Keep in mind, you don’t have to make the deck a clean shape for it to ride well, just fill the divots and reglass. You could add a little color post hot coat or maybe a cloth inlay over the entire deck to cover the dirt.
Thanks for the responses, I know I’m new here but I look forward to posting and learning from everyone!
So you don’t think it’s necessary to slice any of the old foam out, or at least sanding down to a more solid layer? I’ve heard of guys using lightweight spackle or microballoon/resin mix to fill voids as you suggested, but I question how well either of these would adhere to the old UV damaged foam…
I’ve seen plenty of Yater longboards with a double stringer in a wedge like that. I do not however see any indication of a logo - like a whiter area where the logo may have provided some UV protection(?)
Anyway… pick away at the deck and remove any obviously damaged/peeling foam. Don’t worry about discolored foam, just the structurally compromised areas.
Do what Chris says: Mix up some laminating resin, microballoons and some white pigment. Squeegee it over the entire deck and let up over the deep spots so it will fill in more or less even. Then glass over the whole thing.
It looks like a shape with a ton of potential so I hope you’re able to get it done! PM me if you need a fin.
My eyes are going with age, but is that a step deck I see?
I can just confirm what everyone else has said. Blow the deck as clean as you can, light sand and grate where you need to remove the flaking, disintegrating foam if any. Do a filler coat with microballons and resin in the worst areas to level things out a bit. Don’t overdo it in thickness or it’ll get brittle. Clean this up a bit, sand your rails to prep for the new deck glass, glass that, hotcoat, sand, gloss and you’re outta there. Sounds like a lot of work but if you just go step by step it’s really not bad!
It is a stepdeck! Wow, how the heck did you catch that from those photos?! After some further searching, I’m convinced this is an old Yater Spoon. So cool!! Before glassing, maybe I’ll try to print a Yater logo for some extra authenticity. It’s ashame I don’t have the original… check out the attached photo for comparison.
Thanks again for all of the advice. I’m going to start this weekend by routing out the damaged stringer and replacing with the closest match i can find. Then I’ll pick up some resin and microballoons and go from there. Can’t wait to share my progress!
for when I get around to glassing the board - how would you handle the rails? I’ve attached closer views of the rails and they’re pretty beat up. Would you trim the existing glass closer to the edge of the board or just leave what is there and sand to prep for a new glass layer? I’ve got the cutting attachment on the dremel ready to go to trim some of that uneven glass, so let me know your thoughts. Also, how far would you lap the new lam onto the existing glass? Wrap it under a bit or trim the new cloth just past the existing stuff?
As soon as I saw the double wedge stringer, I was prompted to ask if it has a stepdeck. Jeffrey beat me to it. Now, you have to give us a very good, close-up pic of the finbox. I will be able to tell you roughly how old the board is. I am pretty sure you have a Yater Spoon.
But time is money…For example… 2 hours of overtime in the local coal mine is worth much more than 2 hours sanding a basket case surfboard. I’ve fixed quite a few basket cases but the overtime at the coal mine is way better money. Track your hours so you know… The board is cool. The re-sale value is low. I’m not telling you to stop fixing old boards. I want you to be realistic about time and money and the value of your time…I’d go with a fabric inlay on the deck…Ray
A clean fabric inlay right up to the cutlap would both look good and add some depth as you make your surfaces level. Do a test panel first, some fabrics soak up so much resin! Wash, dry and iron first to avoid problems. If you don’t want to go with a colorful pattern, even an off-white inlay or muted design would look clean.
Sammy, attached is a photo of the fin box, let me know what you think! There are no markings left on the board whatsoever.
Stingray, great advice, but I’d never sell this board! I really just want to make it rideable and have fun with my first project. It could take me 20+ hours for all I care, I just can’t wait to get started.
The fabric inlay is also a great idea, so many options!
Typical FU box with leash rope through it. So, the board isn’t very old. Certainly not a “vintage” Spoon. The fact that the deck was stripped and has so much damage would explain why there’s no markings. Yater typically signs and numbers the Spoons in between the stringers near the tail, or slightly below the lam. This board is worth a rehab and should be surfed. It hasn’t been treated well, but there’s enough of the original meat to qualify it as the real thing. You have something from the hands of a true craftsman. Lucky find.
By the way, that “1 inch wood insert” you refer to is called a tailblock and is common on many longboards, especially those built in the 60s.