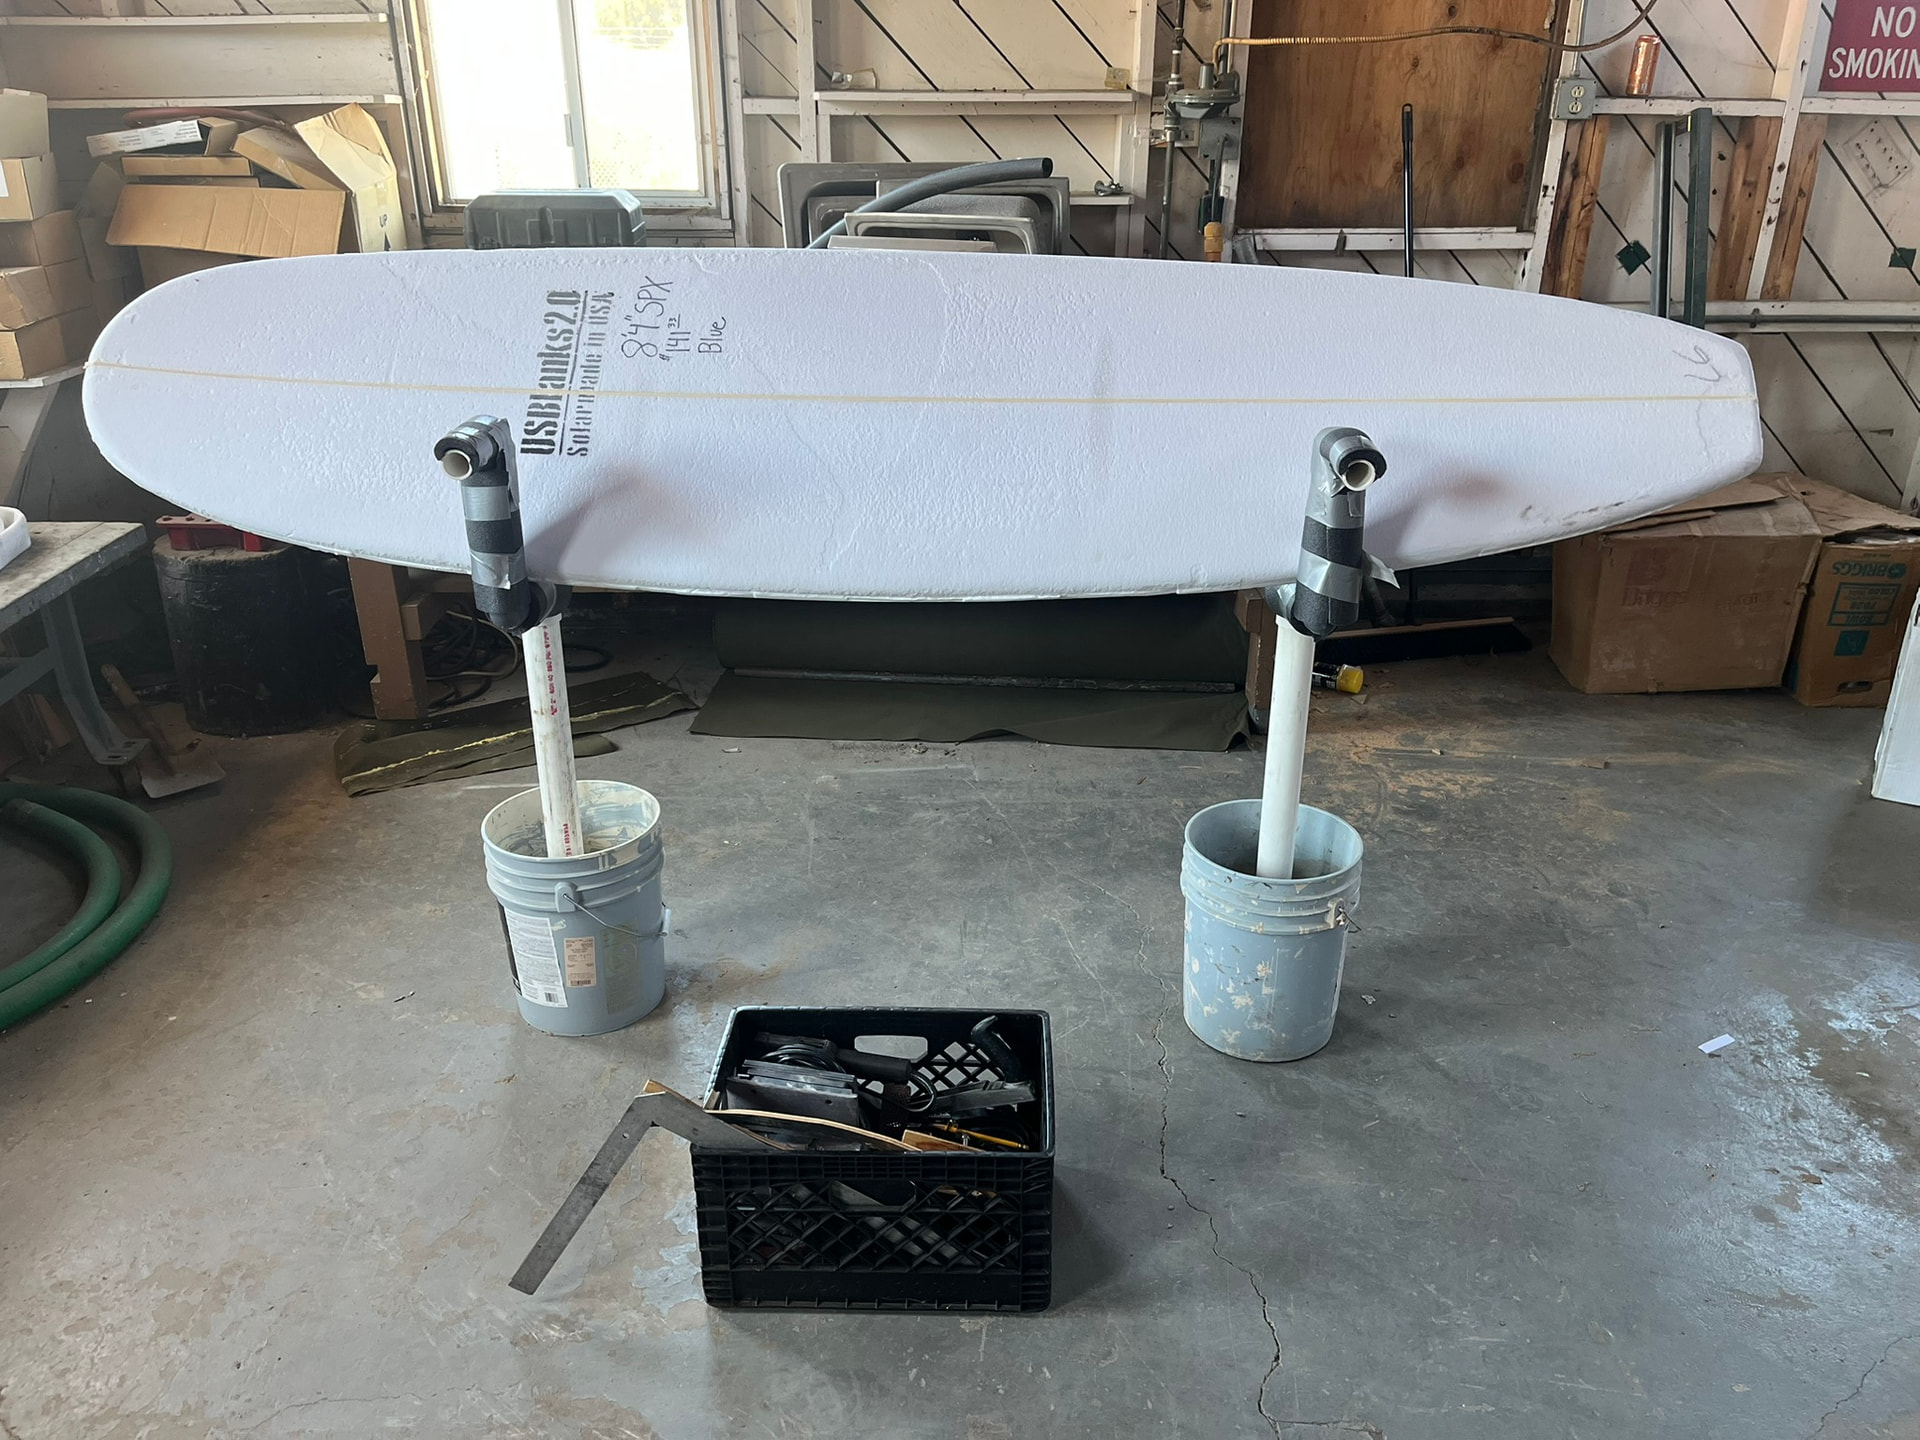
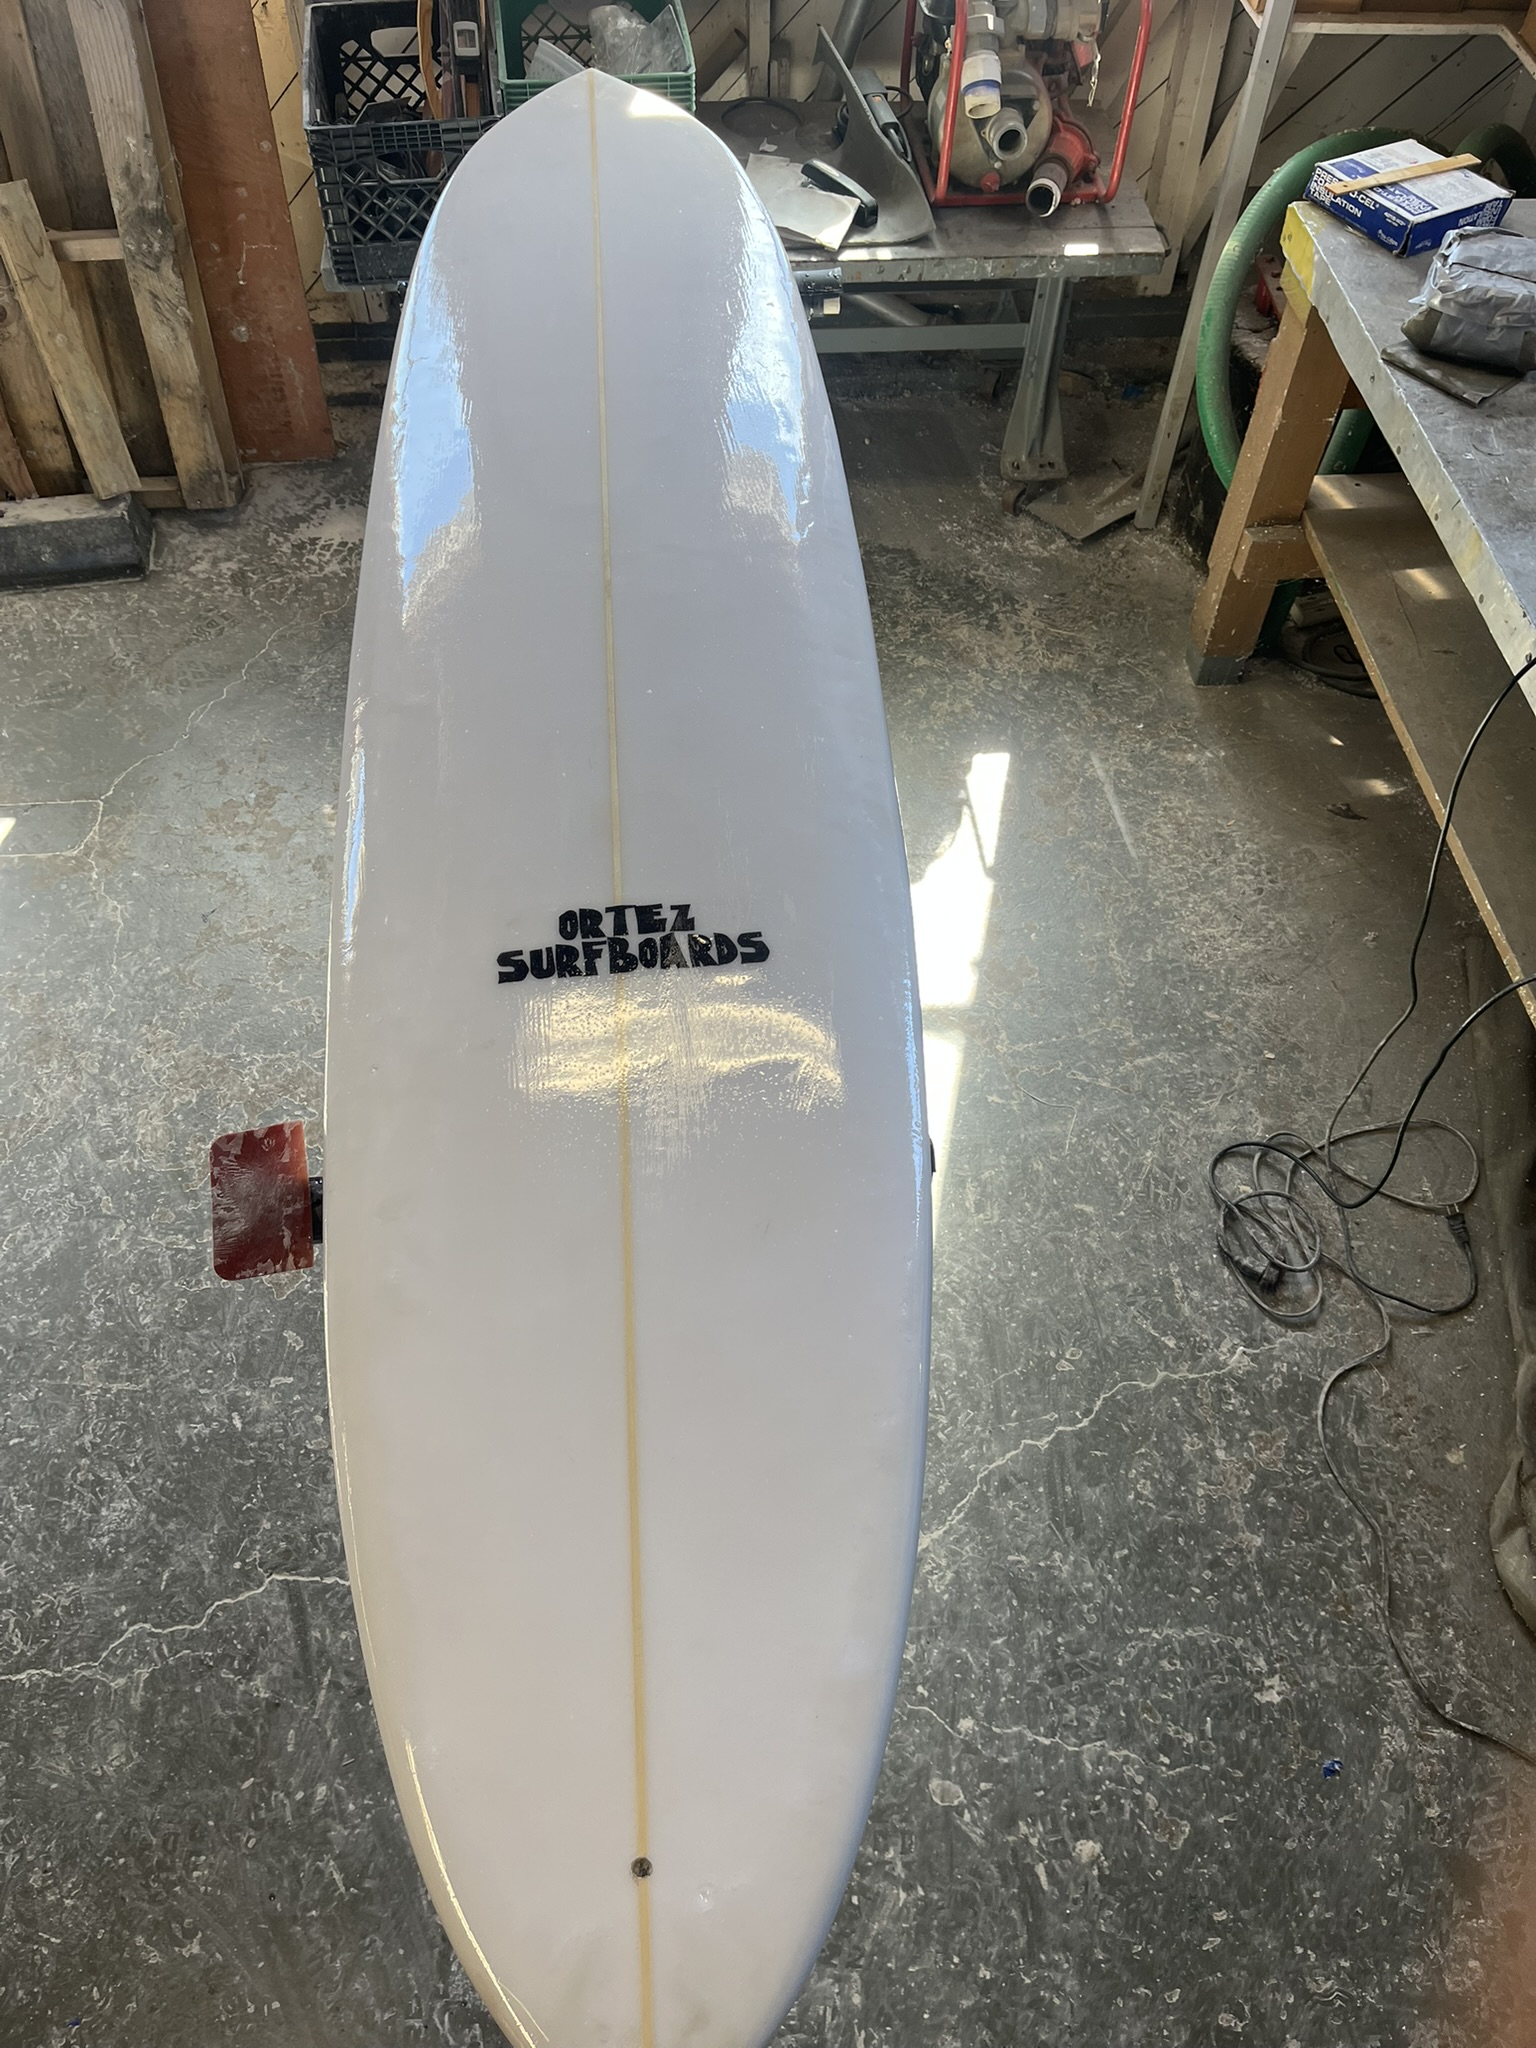
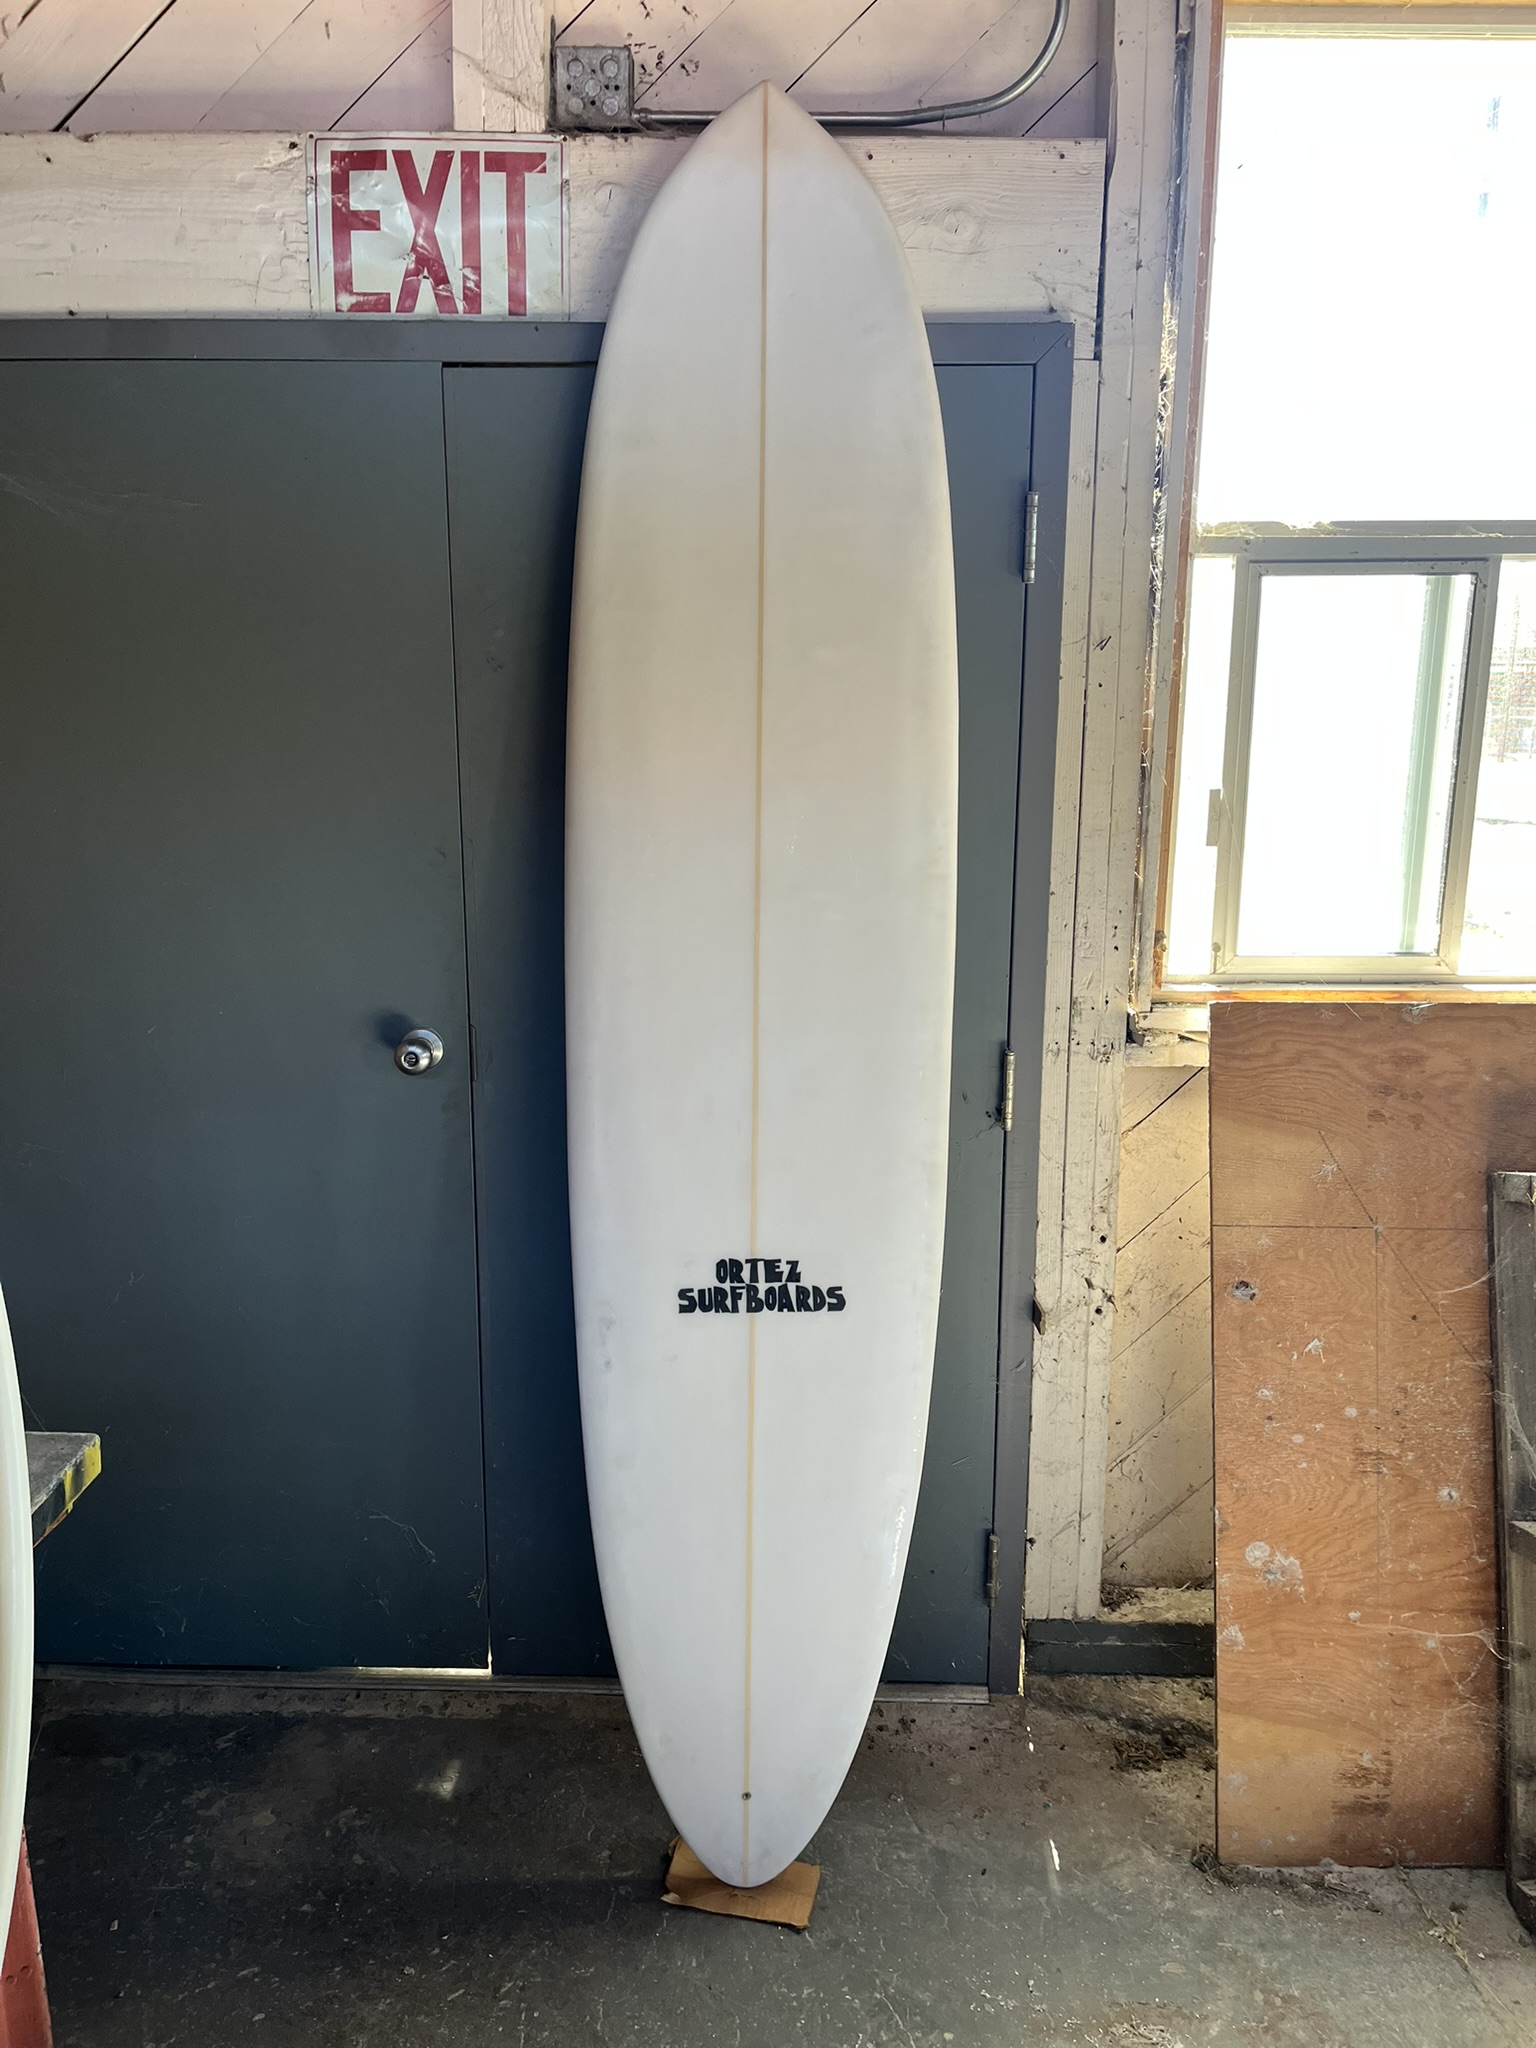
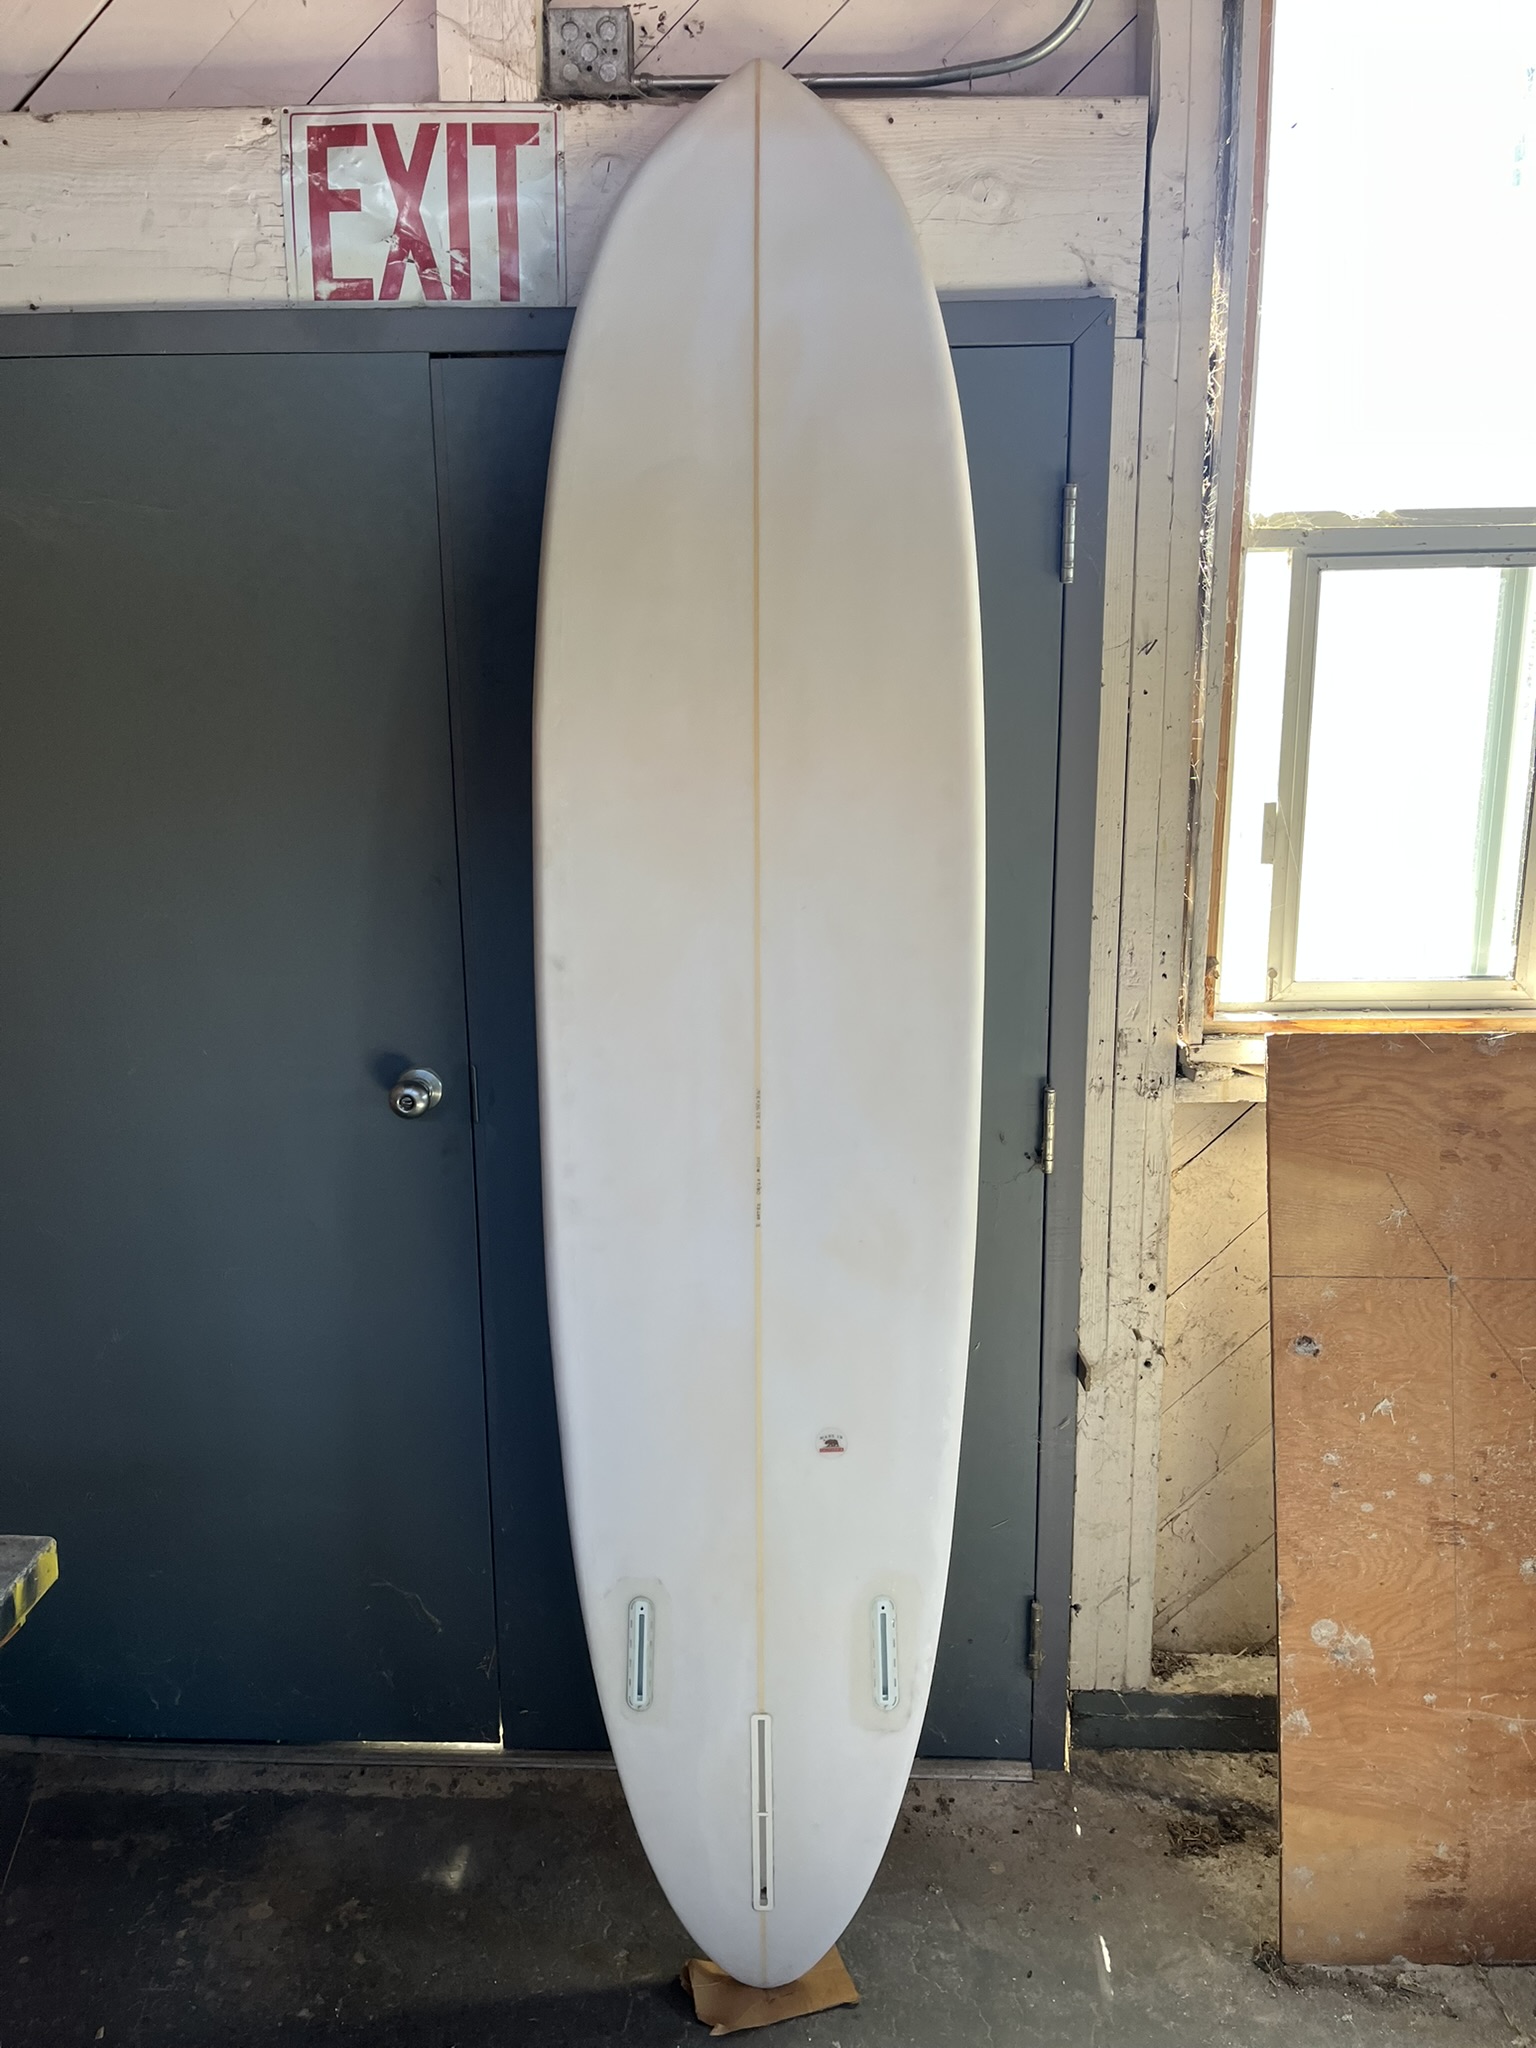
this is something ive been wanting to do for a long time, and when i found out there is a local shaper supplier, and realized how few basic tools are needed, i finally pulled the trigger. i didnt come out perfect but it was an amazing experience. thanks alot to the 20+ years of posts on this forum as well as @greenlight surf supply for all the knowledge.
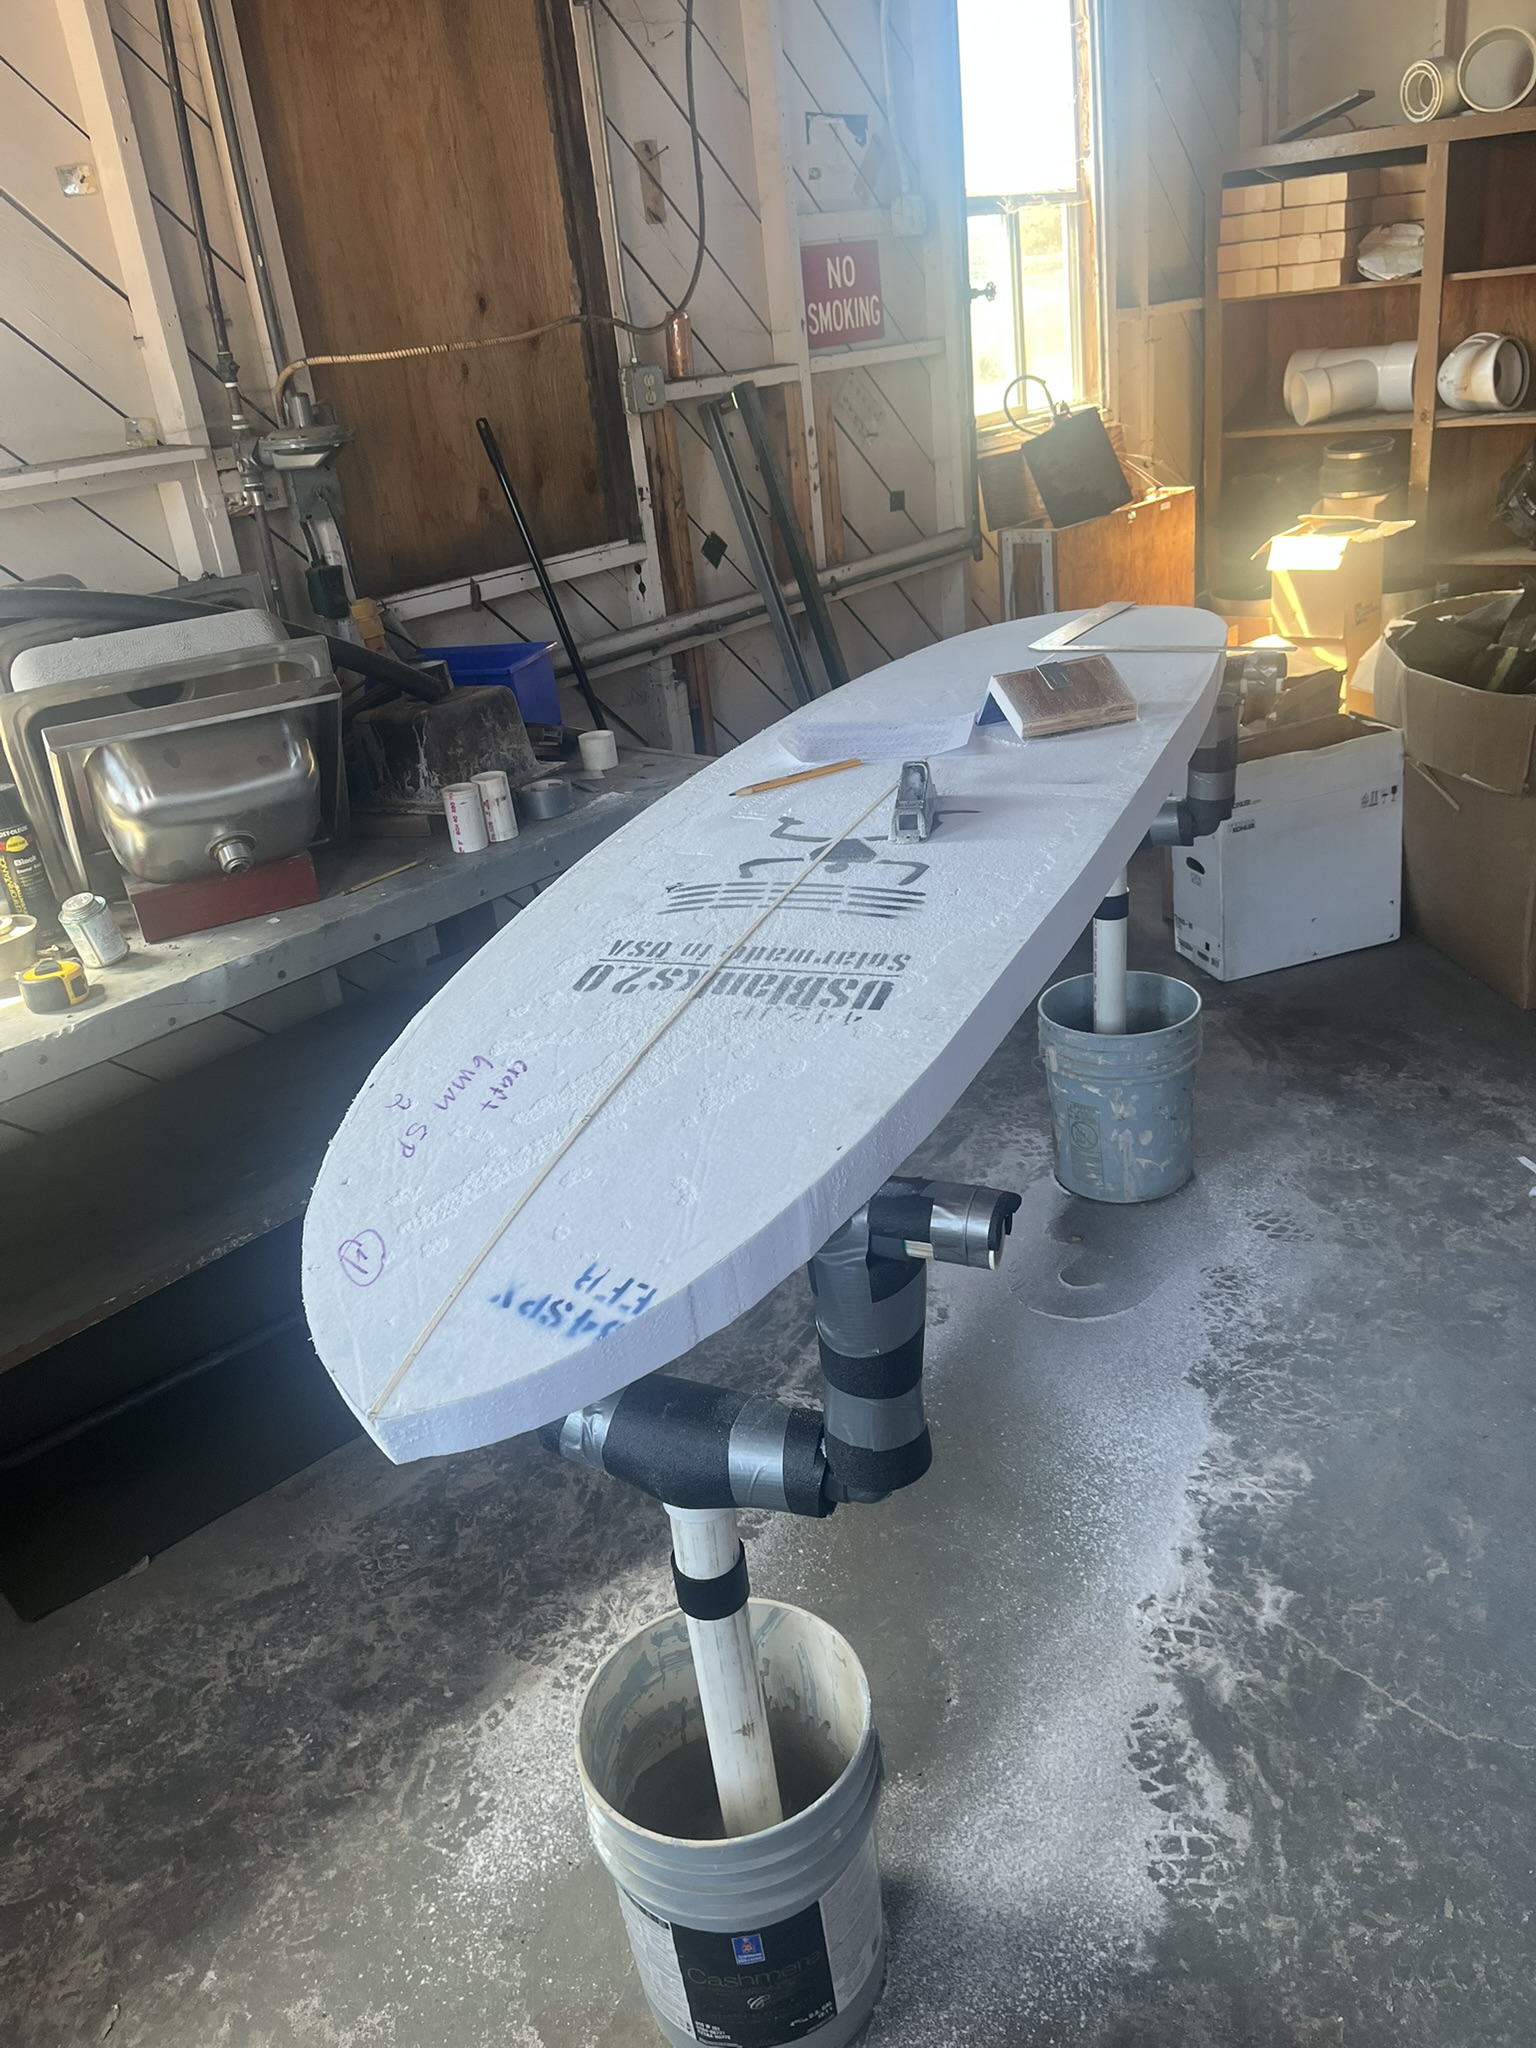
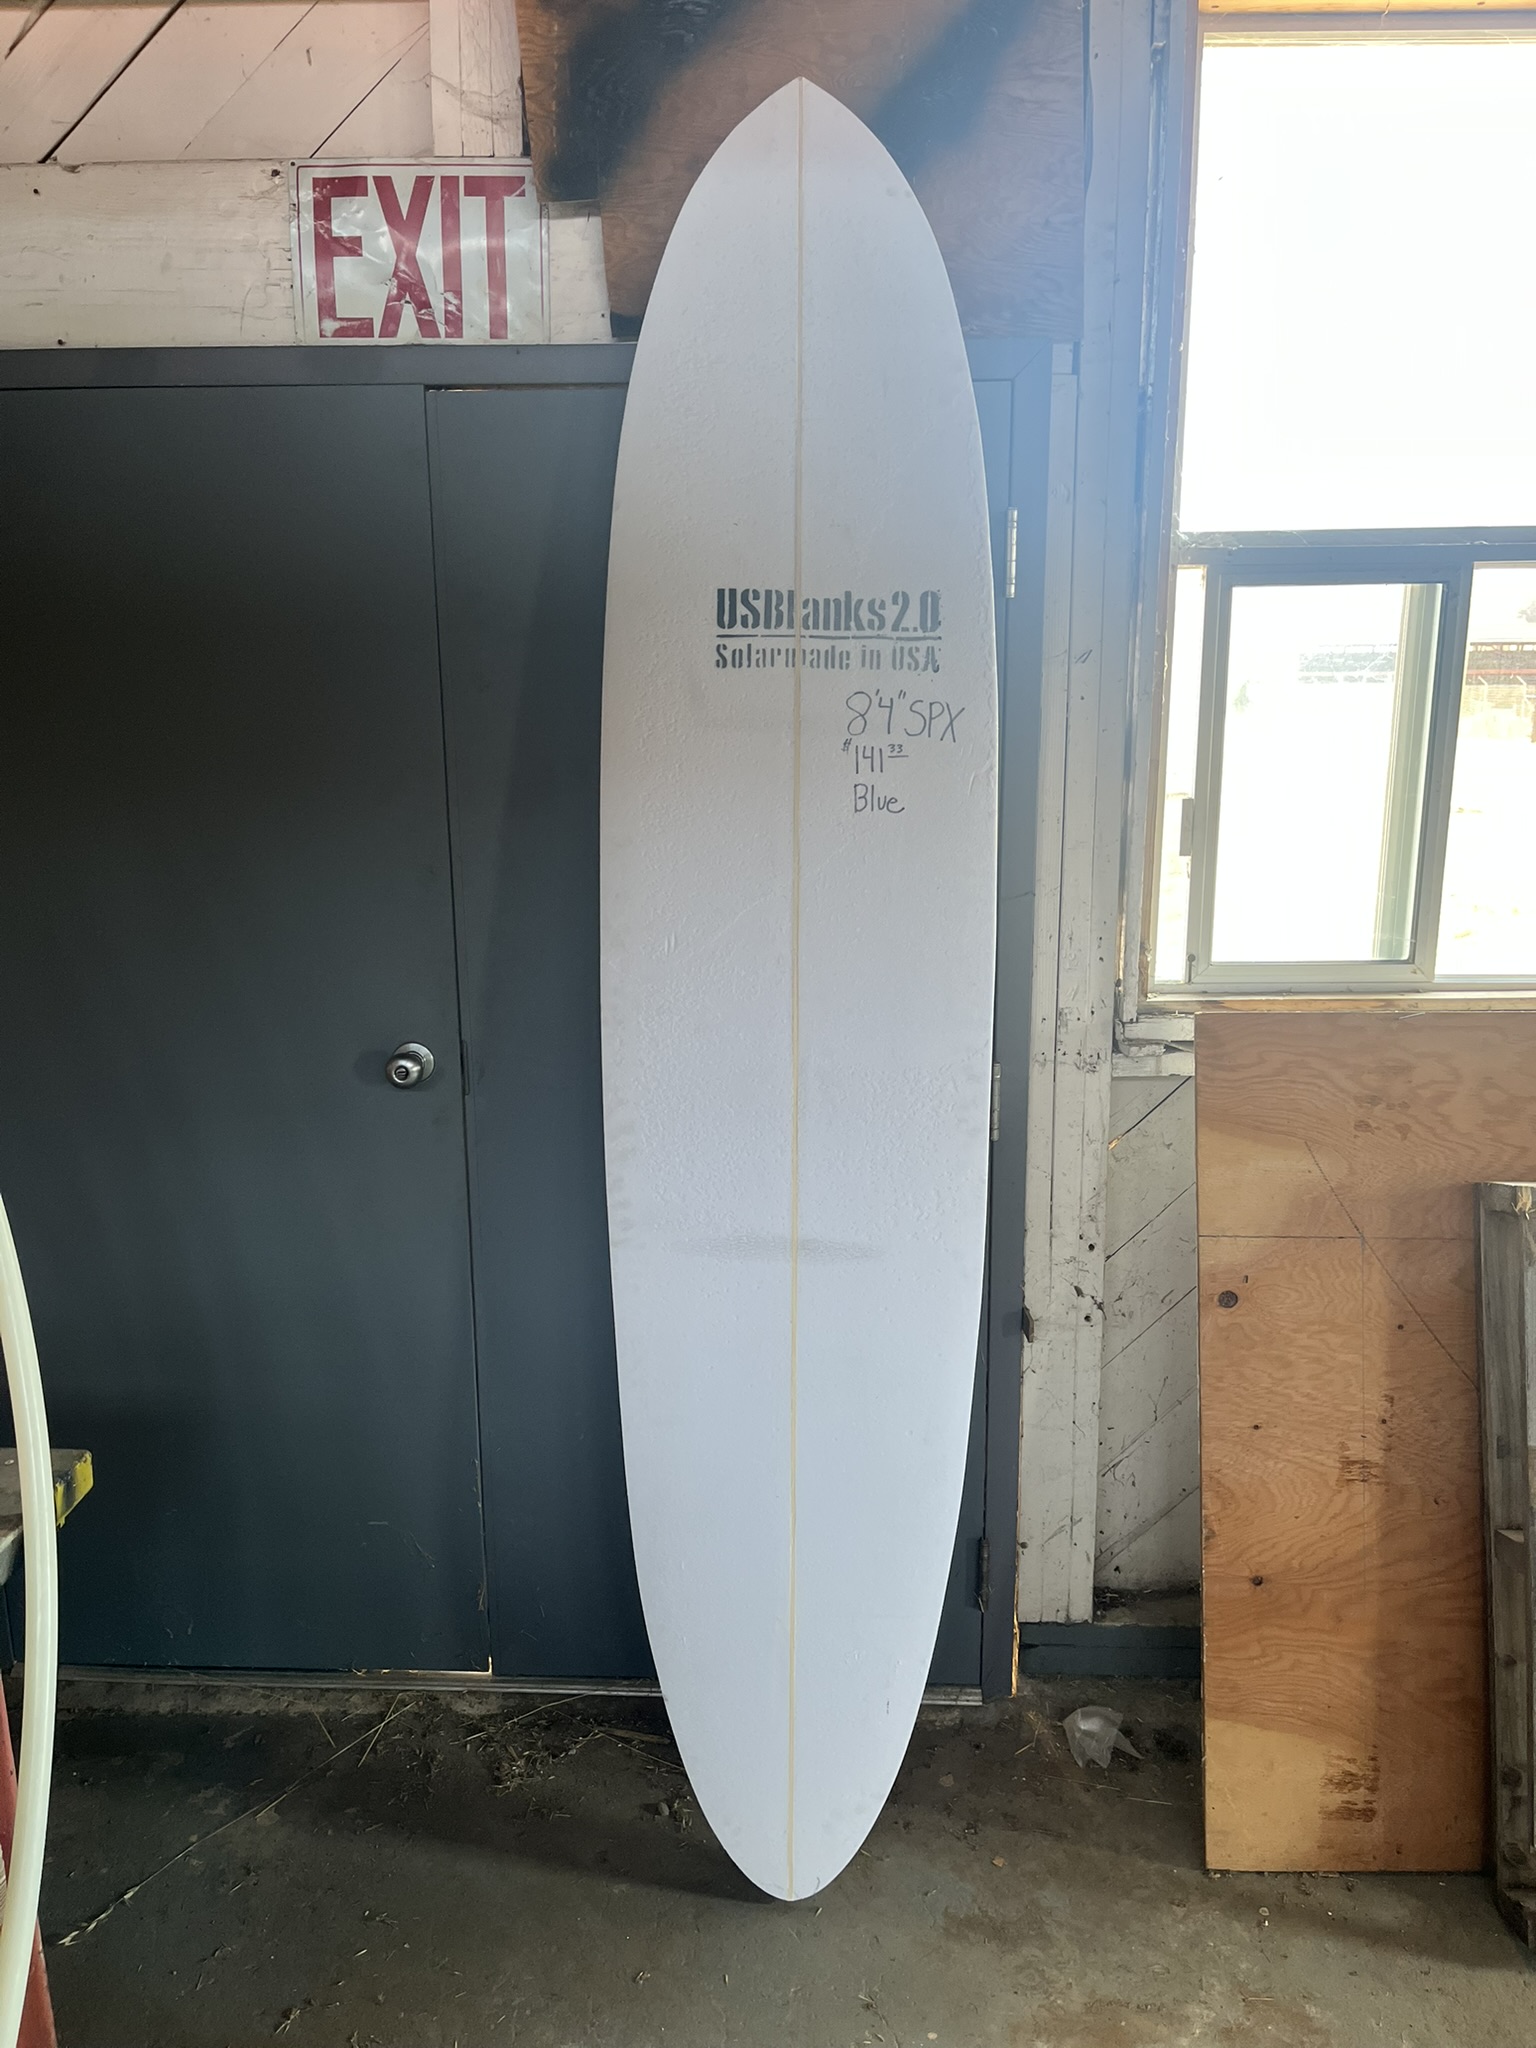
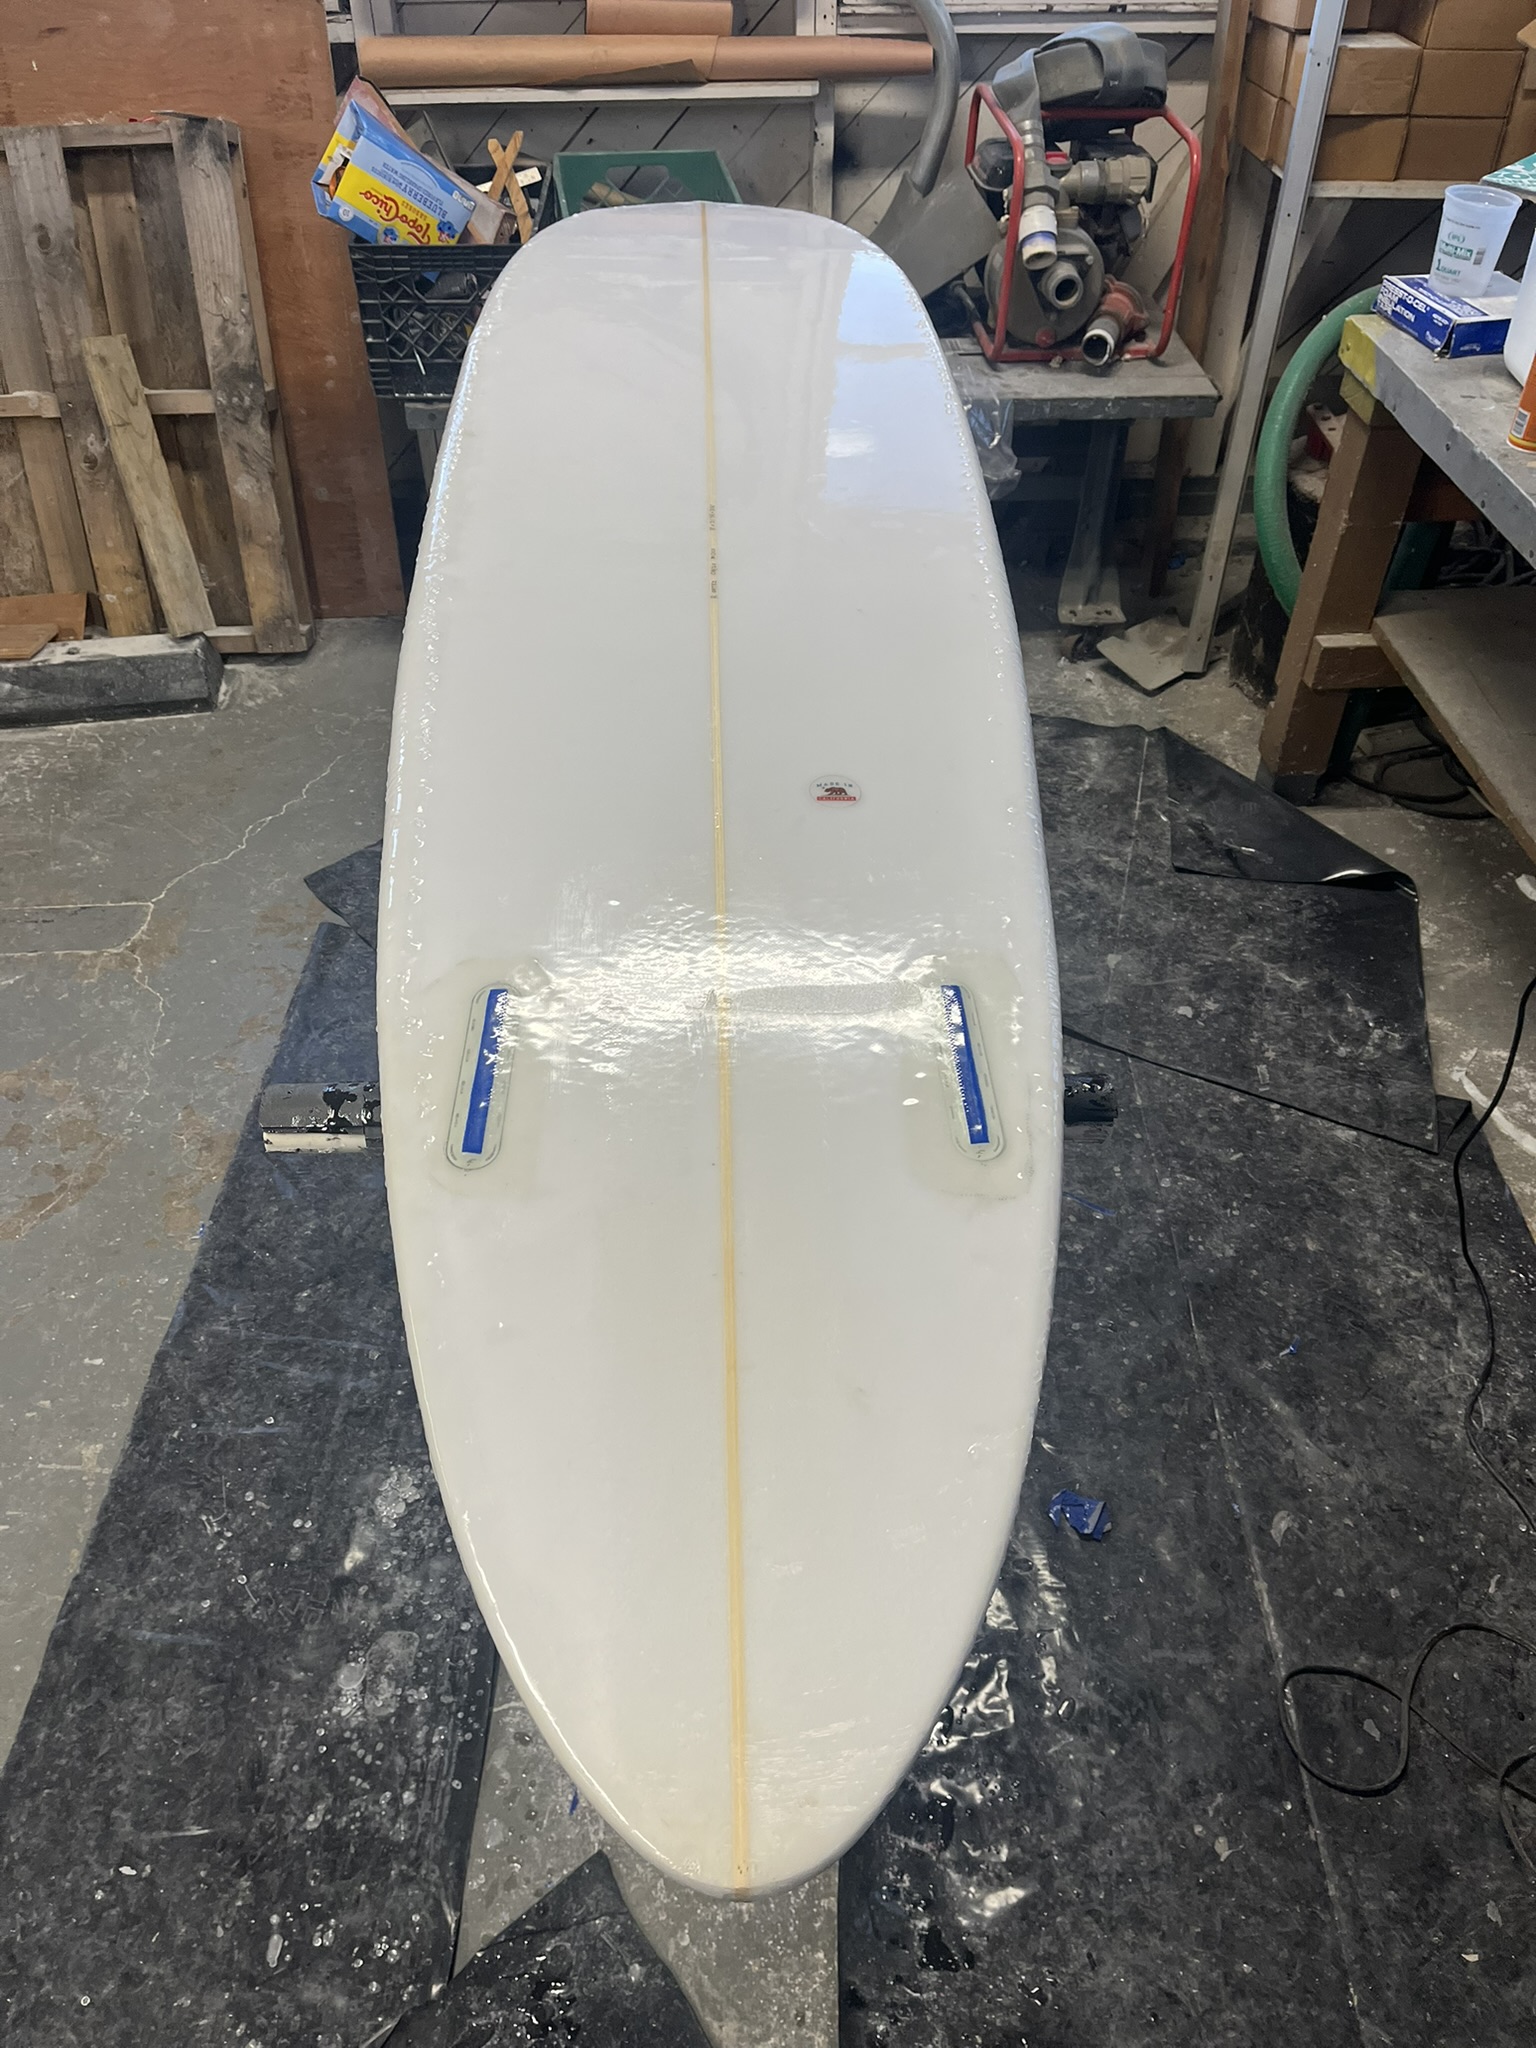
8 x 21 3/4 x 23 1/2 (im a big dude and wanted something i knew would float me, definitely going smaller on the next one) flat to vee bottom, 2+1 round tail 6x6x6 glassing (again, big boy) my one real big issue, which has nothing to do with the performance of the board, is the nose not being quite symmetrical.
Great job. Glass job looks really good. Overall shape is good and will get better with each blank. Keep in mind that EPS is tougher to hand shape than a Poly blank. A secret I was told a long time ago by John Mel. Wait to cut your outline/plan shape until you have the bottom and deck rough shaped. Especially the bottom. Get down to within to 1/8 or 1/16” of your desired thickness overall. This will give you a fairly flat bottom to lay your template on and trace. Get yourself what I used to call my “$40 piece of plastic”. A Shaper’s Square. You’ll then be able to center your template and check for symmetry throughout the rest of the process. From marking the outline, cutting, cleaning up the outline and turning the rail. You be able to stop anywhere during the process and check for bobbles and symmetry.
Ive actually wondered why most people skin the blank before cutting the outline. It seemed like it made more work, but this actually makes total sense.
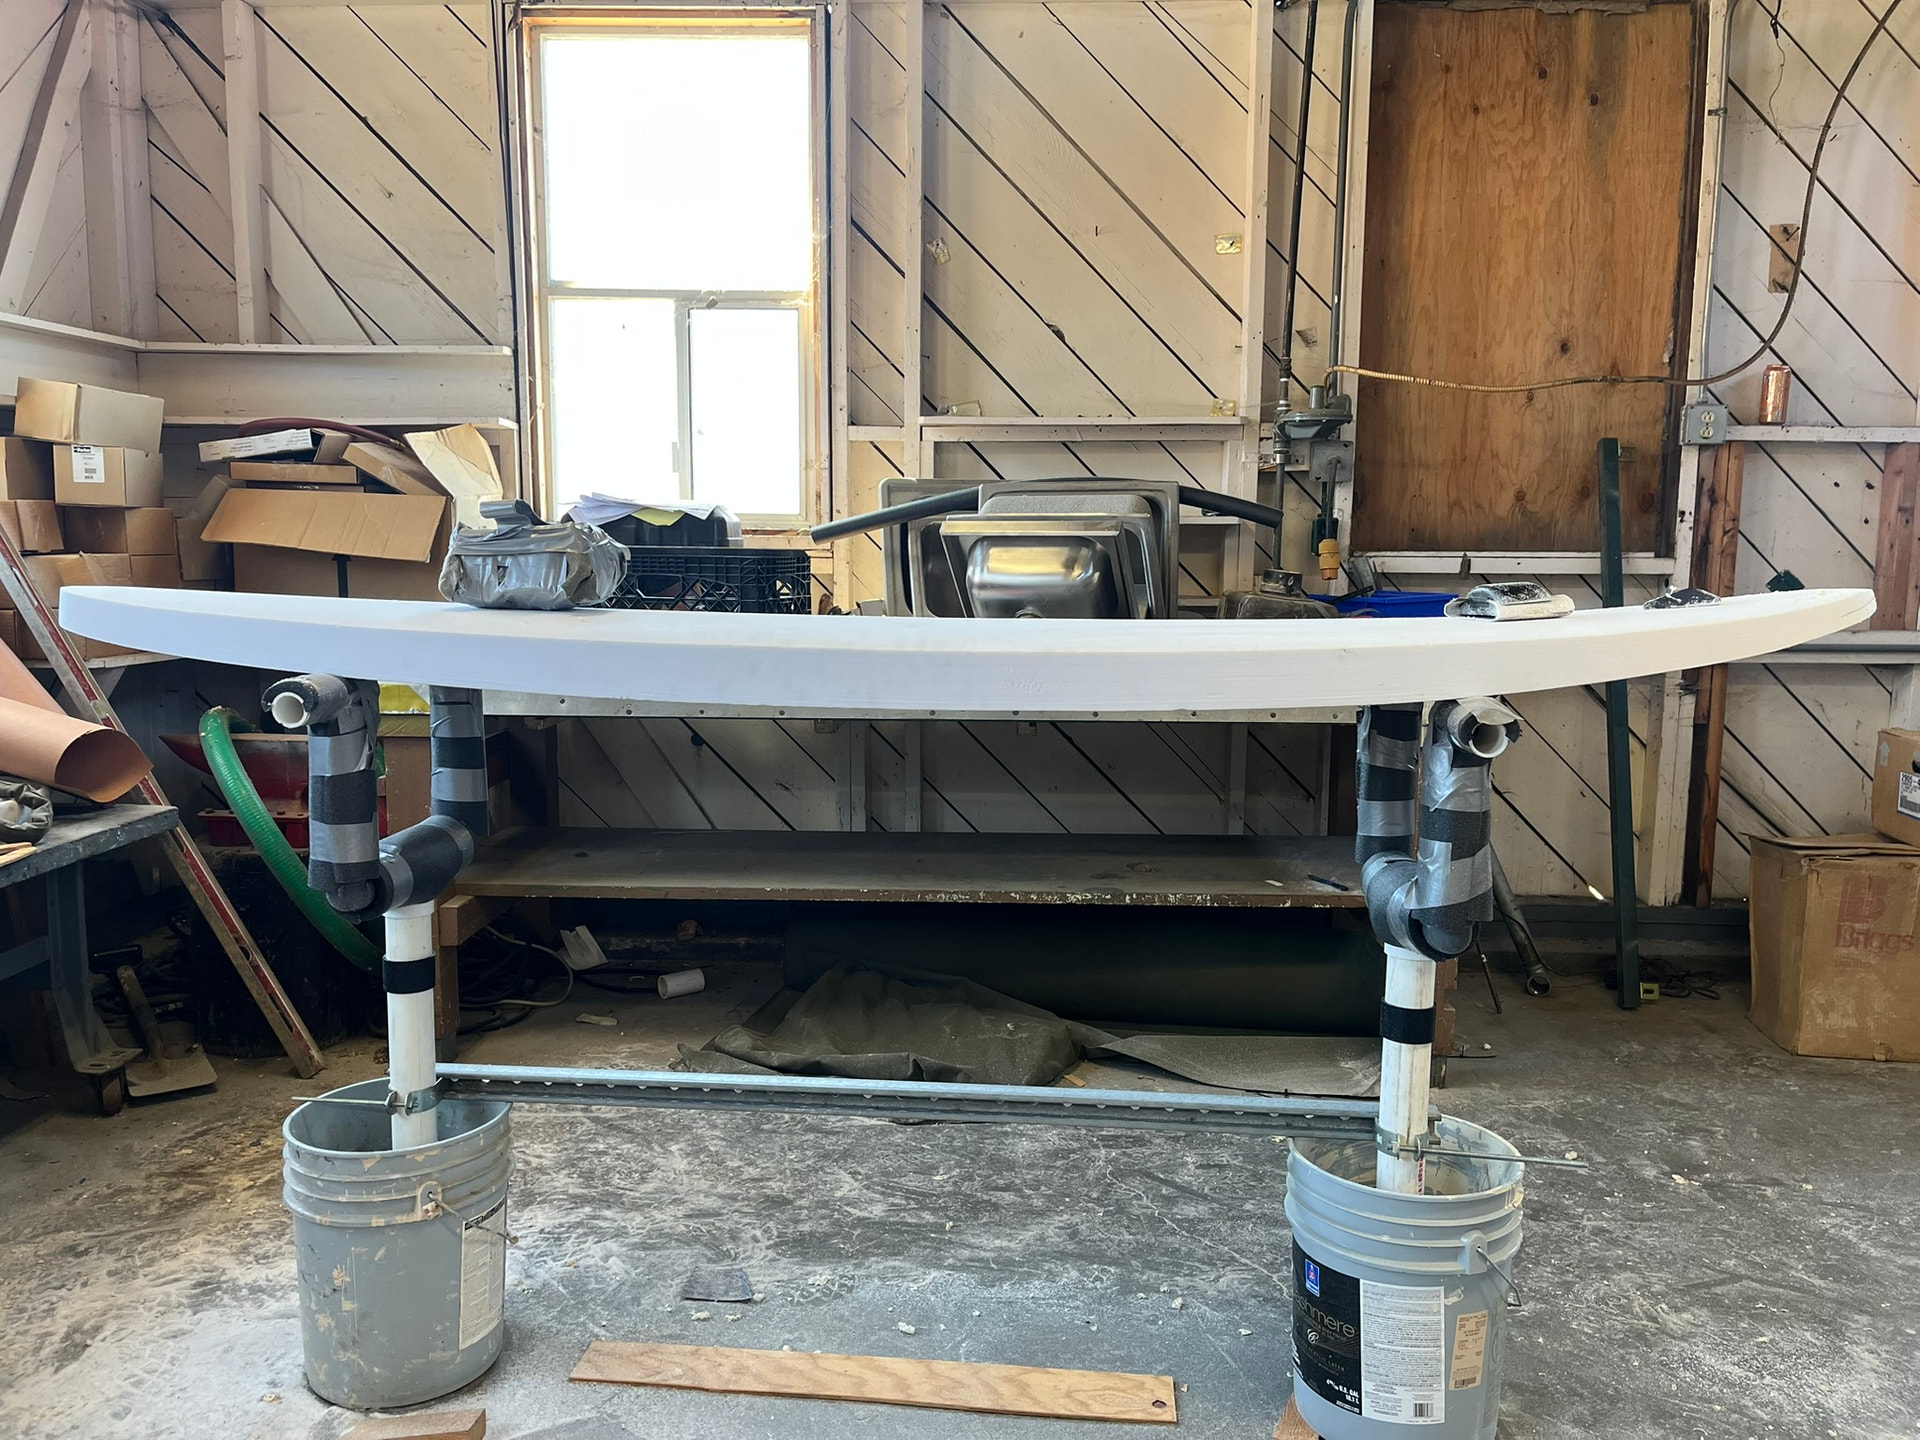
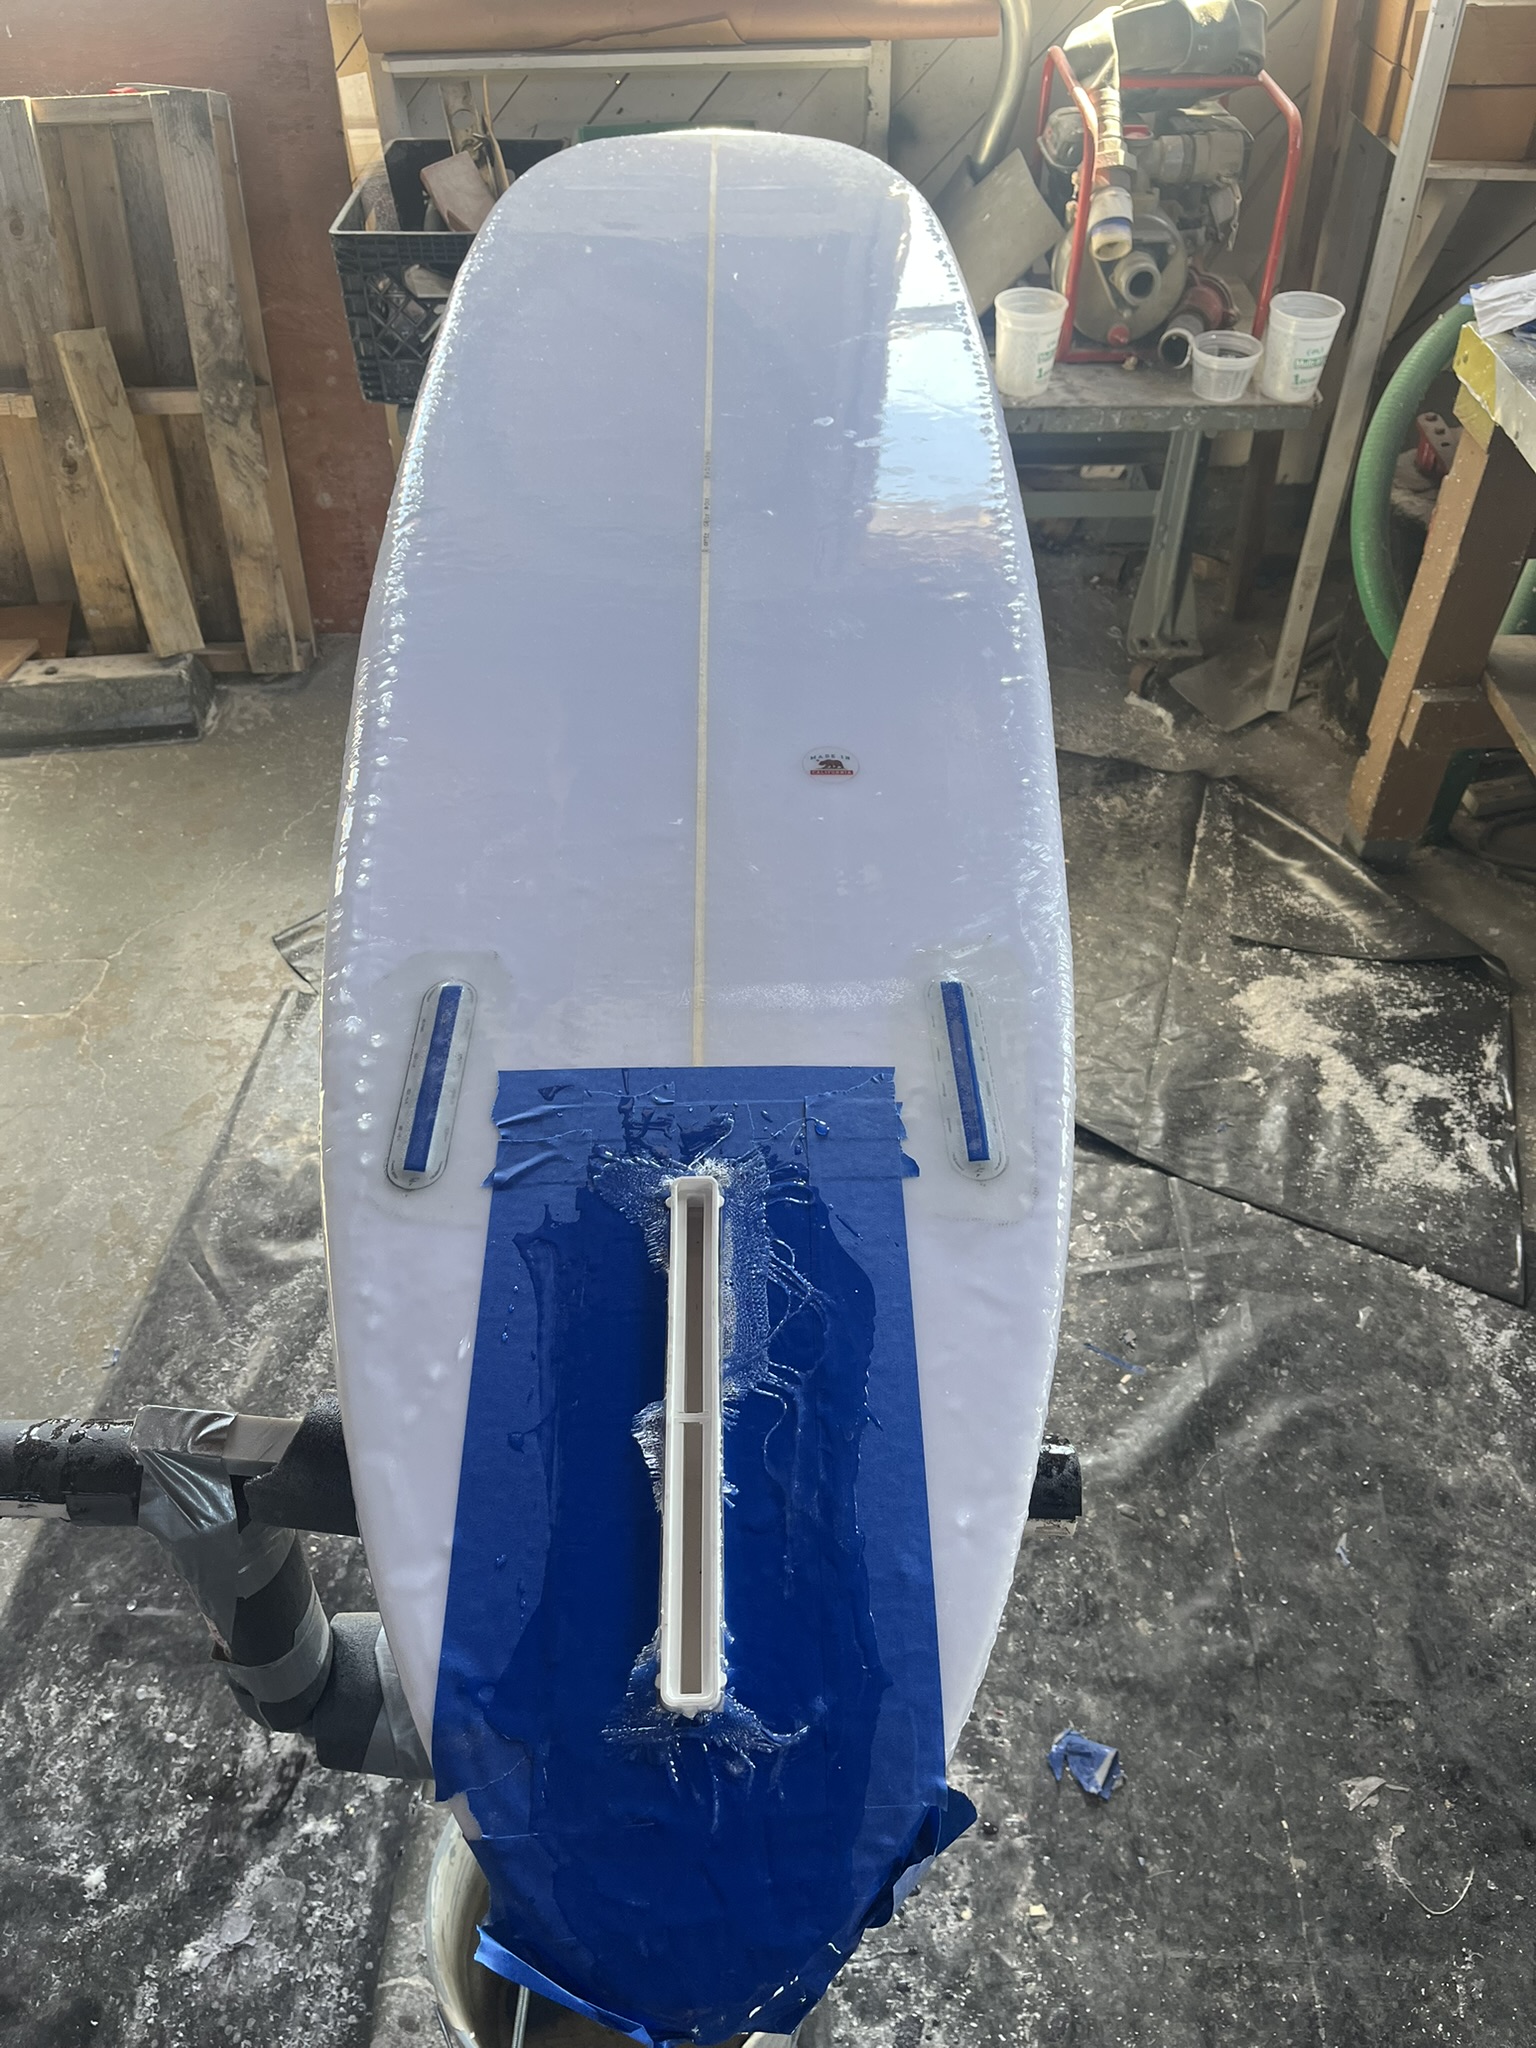
From a distance the glass looks good, but i ended up with quite a few air bubbles i had to sand away and fix. I found out i put too much pressure to the squeegee likely causing the cloth to suck up air.
Yes and I am guilty of putting too much pressure on the squeegee. The glass job comes out too dry. There will be dry spots all over the blank that can’t be seen until it sets up. The evidence will be crystal looking spots in the glass. These spots are dry glass. The air bubbles are usually on and under the rail. This is because too much resin is pulled off the the blank. Try using a “cheater coat”. Half as much resin catalyzed and added to you first coat of resin before it sets. Much like a painter second coats a wall. It insures everything thing is “resin rich”.