I recently posted some pics of my first hand shaped board. I was very fortunate to get some excellent coaching from a 40 year veteran of the art of shaping. His name is Brent Clark. I am very grateful to Brent for all is help. As I was going through the process, I wrote down much of what he told me and what I did. I decided to post it here in the case that other beginners like me might benefit. These notes are not meant to say that this is the best or only way to do things. But I will say that I followed them and the results were excellent. I wish I had taken more pictures to illustrate the process.
Here you go…
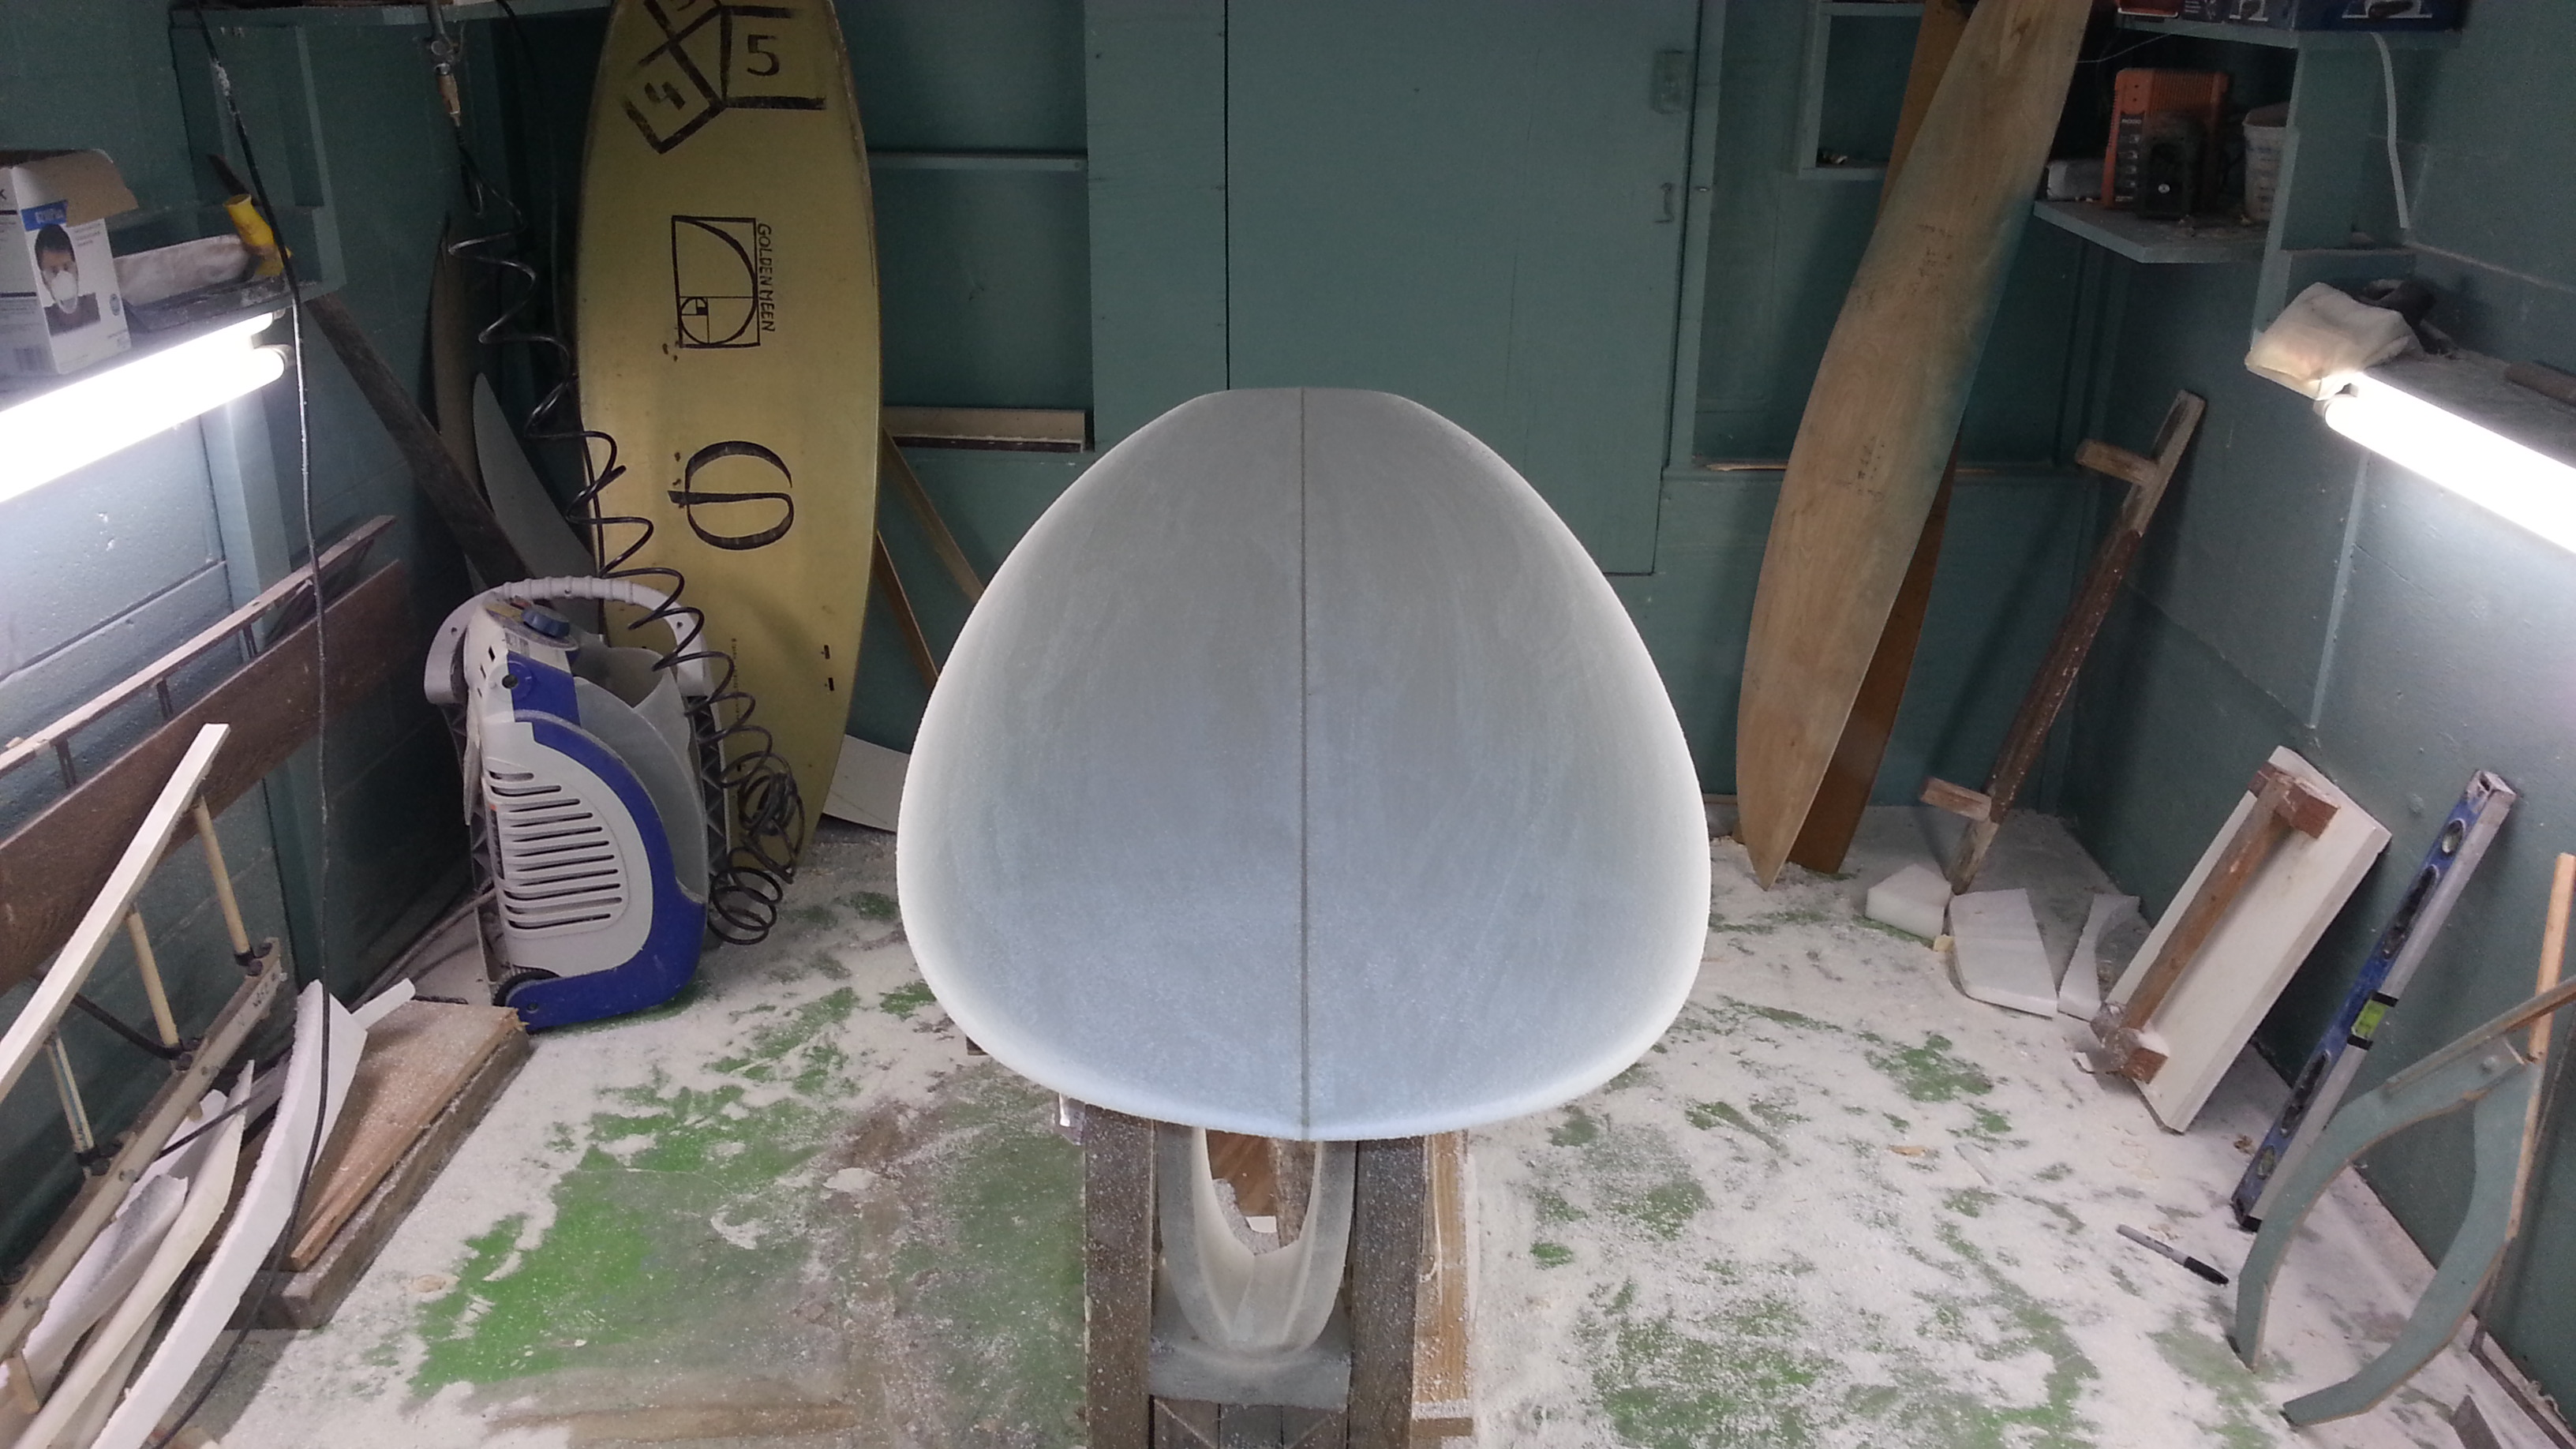
Shaping – EPS Marko 1.9 (5’6x21x2.5)
Tips and instruction from Brent Clark.
First thing is to make a template. I did a full rail template by first printing from AKU. I transferred this to masonite. Cut out the template using a circular saw with blade set really shallow. This allows you to follow the radius. Leave the line. Then break out a 40 grit long sanding block. Hardwood floor sand paper with spray adhesive on a 18 inch block works great. The goal is to make this template perfect. No flat spots. Take some of the line but not all.
Next you have to lay out the outline on the blank. This is not as easy as it might appear. I was using a close tolerance blank. The rocker in these blanks work as they are. As a novice shaper, my goal was to use the rocker in the blank. That said, if you layout the template towards the back of the blank you get more tail and less nose rocker or vice versa depending on how much shorter your template is than the blank.
Since bottom contour (concave, etc) effects rocker, and you have not shaped bottom contour prior to laying out the outline, you have to approximate where to position the template to give you the nose and tail rocker you are looking for. I did this using the level on the blank method, measuring the rocker at nose and tail. I then factored in the amount of concave i expected to shape (reduces rocker) and guestimated. In this case I wanted about 1 ¾” tail and around 4” or less nose. My concave was going to be around ¼. Therefore I moved the template until I had about 4 ¼ nose and around 2 in the tail. Mark the tip of the nose and tail.
Once the position of the outline is established, you need to trace the outline on the blank from the template. I measured and marked the width of the template at 12 inches off the nose and tail. I made points on the blank measuring from the stringer to match the widths using a square. You then lay the template on the blank matching the nose and tail end positions and the width marks. Trace the outline. I used a Sharpie. Pencil did not show very well on the eps blank. Flip and repeat. Double check that you have exactly the same outline on both sides of the stringer.
Next, rough cut the outline. Brent said getting the outline right is the most important step if you want to build the board you designed. The finished outline has to be cut to the line and the cut has to be PERFECTLY square. Using a hand saw, have at it. If you cant cut it square, use a small square next to the saw blade. Go slow, its not like you have to do 50 of them today.
Once you have the outline rough cut, carefully check the outline for square. Using a rough sanding block carefully bring the outline to the line and square up the cut. The goal is to leave a portion of the line all the way around the outline of the board. If you get this step right, you can visualize a place on your outline cut that will virtually never be touched throughout the rest of the shaping process. This represents the apex of your rail.
Next I flipped the blank over and started working on the bottom contour. As mentioned earlier, I intended to use the rocker already shaped into the blank. Practically speaking, this means I was not going to take much foam off the bottom except what was necessary for bottom contour.
In my case, I had some V in the tail which required I remove some foam out to the rail in the tail area. Therefore I marked the tail and rail accordingly. The marks helped me to not go too deep and to keep the v uniform. All of the bottom contours were shaped using long, coarse sanding blocks. The key with any type of sanding is long even strokes. You can even count how many strokes so that you repeat on both sides. Carefully check your work by placing a straight edge rail to rail to make sure your contours are uniform and as you like. Use a small hand plane to remove stringer material.
The next step is to start mowing some foam. Brent actually had me do this step with a router, rather than a planer. The first step was to draw the basic thickness profile onto the rail of the blank. I used a sharpie and free handed a line along the top (deck side) of the rail that approximated the thickness and foam distribution of my design. In my case, I had to remove a lot of material from the deck on the tail third of the board, minimal in the center and bit more in the nose.
I cant recall the name of the bit we used but it was about an 1 ¼” wide. We set it up to mow about 3/16’s per pass. I am not sure if this type of bit would work on a poly blank but it worked great on a Marko EPS. Brent had me use the router not so much as the main implement of destruction, but to rout guide lines into the blank. I would do this by in effect making stripes on the board in areas where I needed to remove foam. By making passes that don’t touch each other it is easier to keep the router flat and the depth uniform. The goal was to then sand by hand the same area until the router lines were just barely visible. By doing this, Brent explained that you could always keep track of how much foam you have removed and that you were doing it uniformly on both sides. Repeat until you have the foam distribution 90% where you want it. This can be determined by checking the thickness at the stringer using a caliper until you are around an 1/8th of where you want it. Also make sure it looks right to your eye. Everything should flow.
Brent explained that for the average beginner shaper, finish sanding would remove more foam than you would normally expect so its good to have some extra. He was right. In my case, the 1/8” I allowed was actually not quite enough. My finished board ended up about 1/8” thinner than planned.
Use a small hand plane to take down the stringer as necessary. Be very careful not to catch the router on the nose. I tried to blend the cuts from shallow to deep in the nose area when using the router. I relied much more on hand sanding in this area to minimize the effect of mistakes.
One of the most important things I was told, was to keep in mind is that you constantly need to remind yourself of where you are going. Each step is a means to an end and not an end in and of itself. Know where you are going and have a plan for how to get there. Think ahead as you are doing each step to make sure you are in line with the goal.
Next it was time to shape the rail. There is lots of great advice out there for shaping rails. But the best advice I received was to make sure your outline is perfectly square and true to your template. If this is the case, it is pretty easy to free hand rail bands and to shape them accordingly. In my case I wasn’t looking for anything fancy. I wanted a nice hard edge from tail to just in front of the front fin boxes. From there it was a gradual transition to a 50/50 in the mid section of the board, to a more turned down rail in the nose. I also wanted a fairly domed deck given the wide board design.
Brent had me free hand rail bands that represented the areas where foam needed to be removed. By free hand I mean I was able to draw a uniform band by holding the sharpie while running along the edge so that the offset was uniform. I have seen tools for doing this recommended on Sways and would like to use one next time. However, free handing was a good exercise on its own. I will not repeat here the placement of the rail bands. There is plenty of advice on how to do that in the archives.
Again, using a long coarse sanding block make long sweeping passes and remove the foam between the bands. There are lots of videos out there on how to do this. Continue to make bands until you are close to the rail profile that you want. Each new set of bands will be draw above and below the last bands that you sanded. At some point in the process you will be able to sand using a screen or sand paper without a block. It seems to me that shaping rails is way more art than science. Constantly check your work and keep going until what you see pleases your eye.
Once the rails are done, its time for the finish sanding. I used screen on foam blocks. Continue until you have a smooth uniform finish. Your best chance of getting here is by employing long passes with equal effort on both sides of the stringer. Make one final pass over the stringer with the hand plane and you are ready to set your boxes and go!
LB