Wow thanks to everyone for all of the amazing history and kind words on this restoration. Bing was a part of the resto from the beginning as well as Tom Moss at www.classicbingsurfboards.com which is a great source as Platty mentioned.
There were a few questions, so let me know if I miss any…
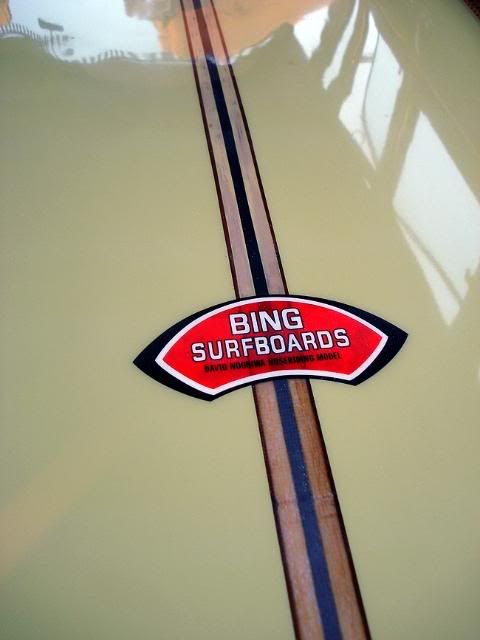
The completed weight is 34 lbs. which is actually under the 38 lb. original weight. Bing sent me an original laminate that he and David used in '98 for a encore of this special model and a great book detailing the history of the Bing design and legacy.
The process of the restoration followed true to the restoration of Bing #4211 on www.classicbingsurfboards.com by Dr. Ding and Tom Moss. I wanted the board to be ridable again even though it will most likely be a wall hanger.
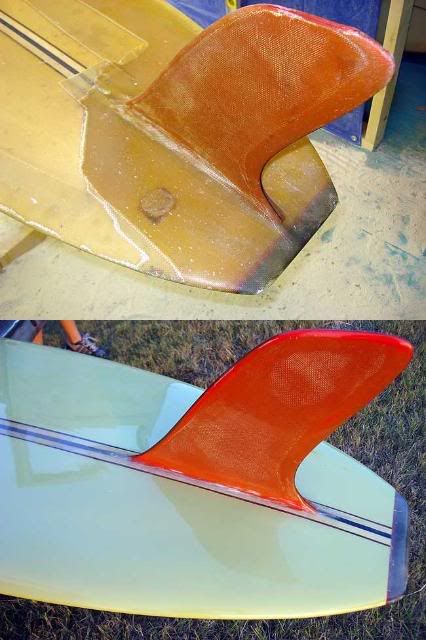
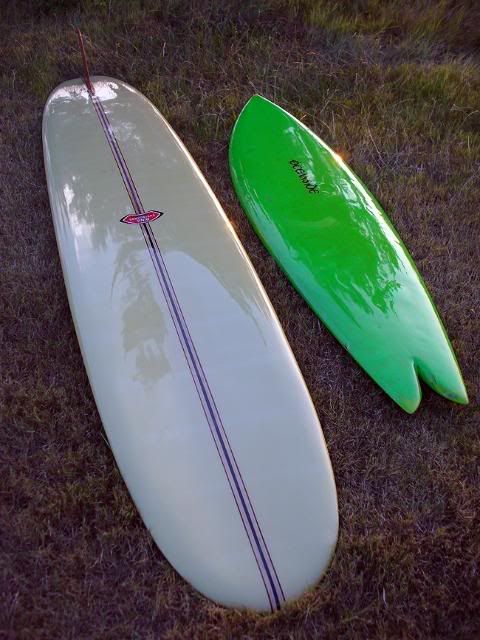
I used a 4 1/2" Dewalt grinder with a nice metal cutting wheel to cut the remaining glass along the cut lap on the bottom side. From this point the glass pulled away smoothly. I left the original deck intact as it had no delamination issues. This was also a great tool for cleanly removing the fin on both the Bing and the Oceanside (destroyed fin-box).
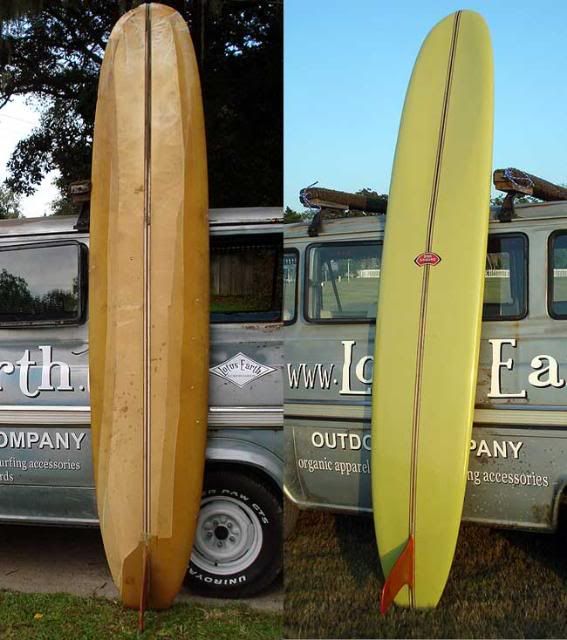
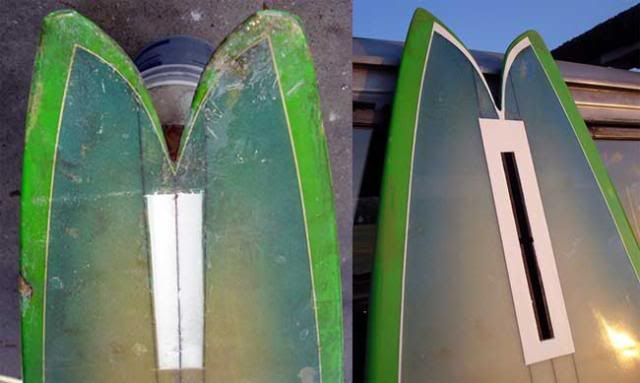
The bottom of the board had some major canyons from what appeared to be solvent damage from long ago and the stringer was completely rotted away from the point I placed Bing’s logo forward.
Bing asked Margaret at the factory about a new stringer section for me, but the new sections have a slighly different dimension from the original and the entire board would have needed to be disassembled to look uniform.
I opted to pour the stringer section with thin q-cell mixture and fill all of the remaining pits and canyons with a thicker version of this same mixture using a large putty knife.
With all of the craters roughly filled I need a stable surface to begin smoothing out the dips and to re-create the signature Nuuhiwa concave on this model. I did a lamination with 6 oz. glass and cut-lapped on the original deck line. I then used the same large putty knife procedure to re-shape and fill the voids on the more stable laminated surface.
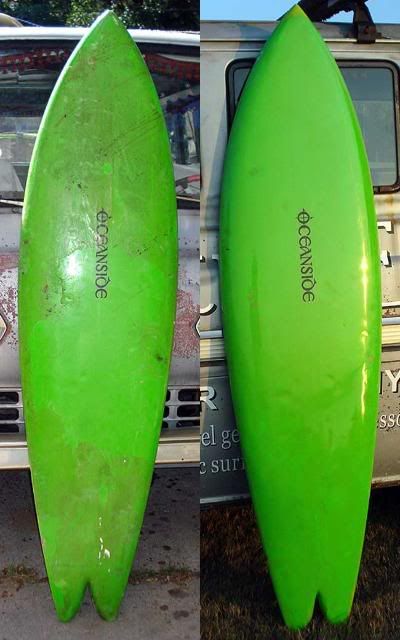
Next I hot coated both sides and sanded everything smooth. I then fine tuned any voids with then q-cell and re-sanded. Next I coated the bottom around to the deck’s original cut lap in a color I call “Green Bamboo” which seemed to go nicely with the untouched original patina of the deck. Now I must say I have never used paint on my boards, strictly pigmented resin, but in this case I saw no alternative. I was worried about the extra weight of more resin knowing I had several more layers of glass to the process.
The paint turned out great and I hand faux painted the stringer from about halfway up the board to the nose. This turned out so nice that with the laminate in place hiding the splice, it’s pretty much undetectable even at close examination.
I then clear laminated the bottom and the deck using cut-laps and 4 oz. cloth placing Bing’s laminate on the bottom of the board. Next, I tuned up the fin and laminated it in place. From there it was the standard hot coat, resin pin lines on the deck, gloss and polish.
All this in just under a hundred hours labor ha ha. Sure looks great and the experience has influenced my shaping style. Bing had it right, even all those years ago. I much prefer the straight lines of his noserider to the fat noses and extreme rocker of today’s longboards. I’m even ordering some reverse rocker blanks and plan to take a template of this board today.
If anyone is replicating traditional noseriders like these, let me know as I would really appreciate some knowledge. Thanks again guys.