Thanks for the encouragement Jim. I am in the process of purchasing/finding another 10-12 relatively clear 2X4s. I think I have a line on some 1/4"X4"X8’ redwood boards to add a couple stripes in the design. Hopefully by the end of the month, I’ll have the 100+ lb. beast assembled and the outline cut to begin planing the body and rails. I’ll keep everyone posted with pics as things progress.
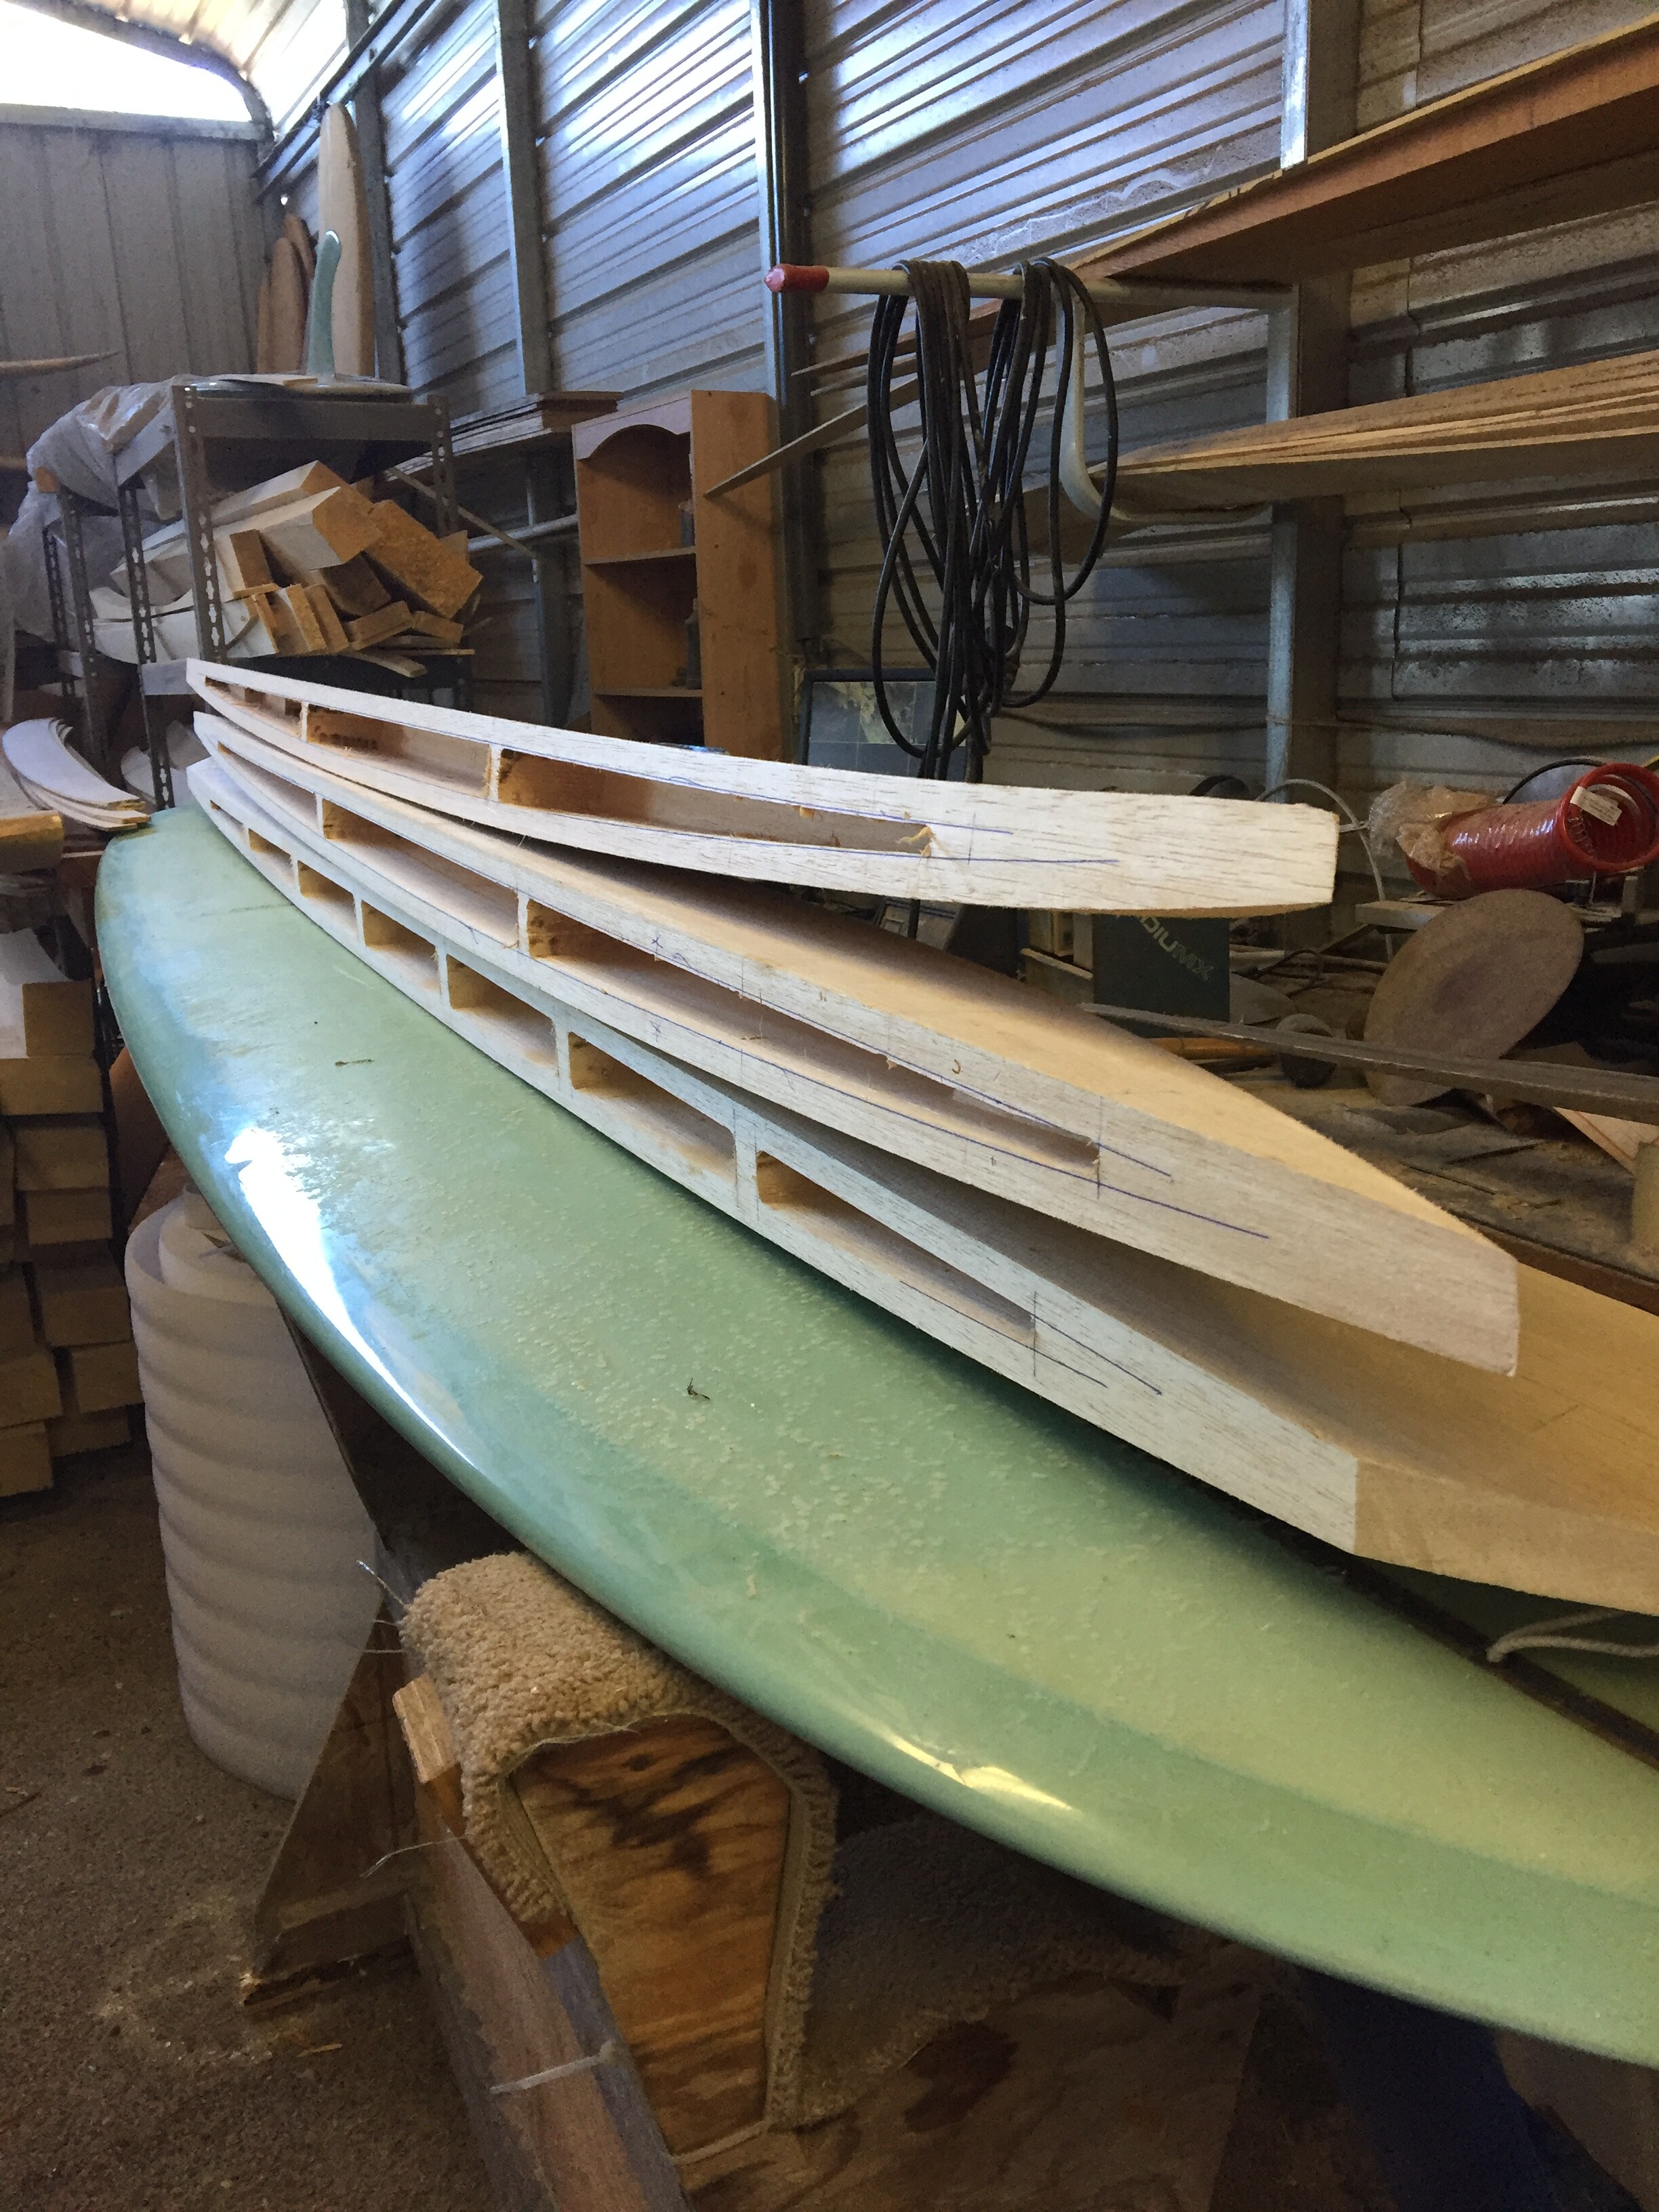
Here is the 9’.6" just before cracking apart, finished regluing this afternoon.
Now I have 2 balsas to finish sand this weekend

Made it out to get some more 2X4 boards today. $2.88 each.
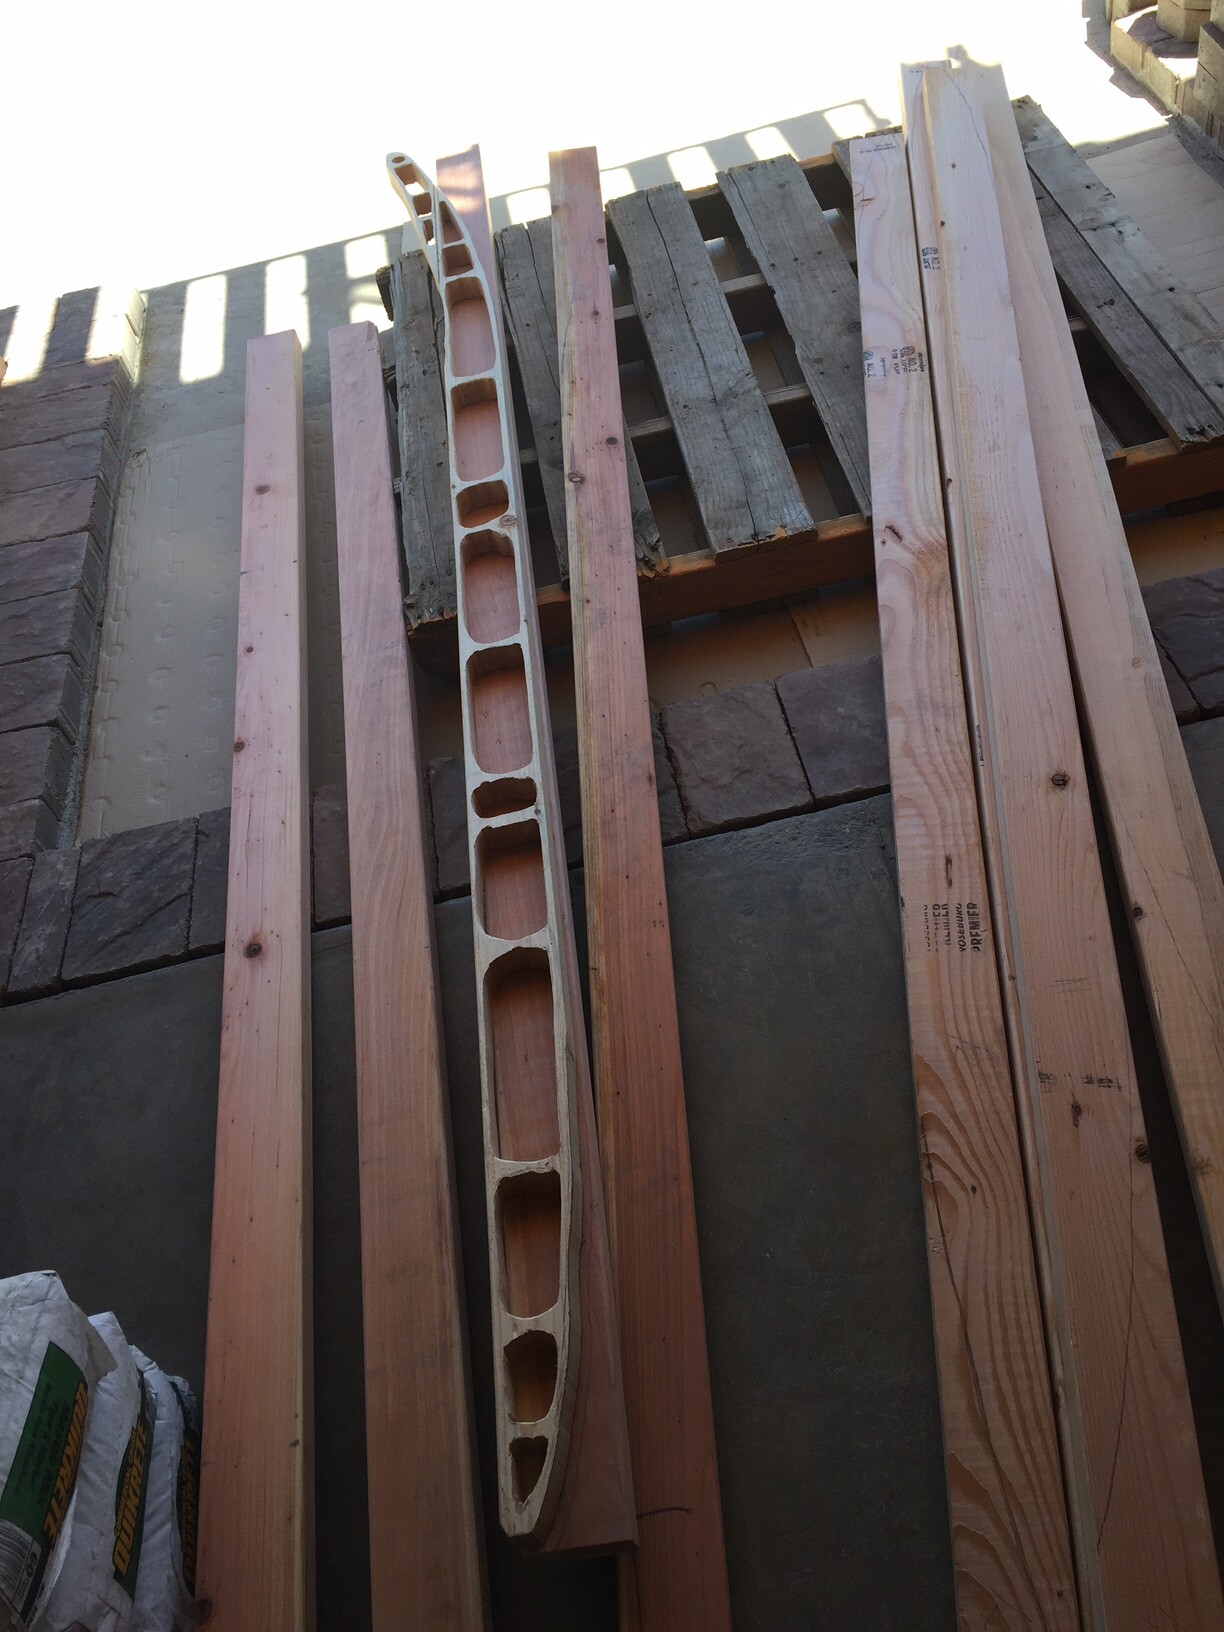
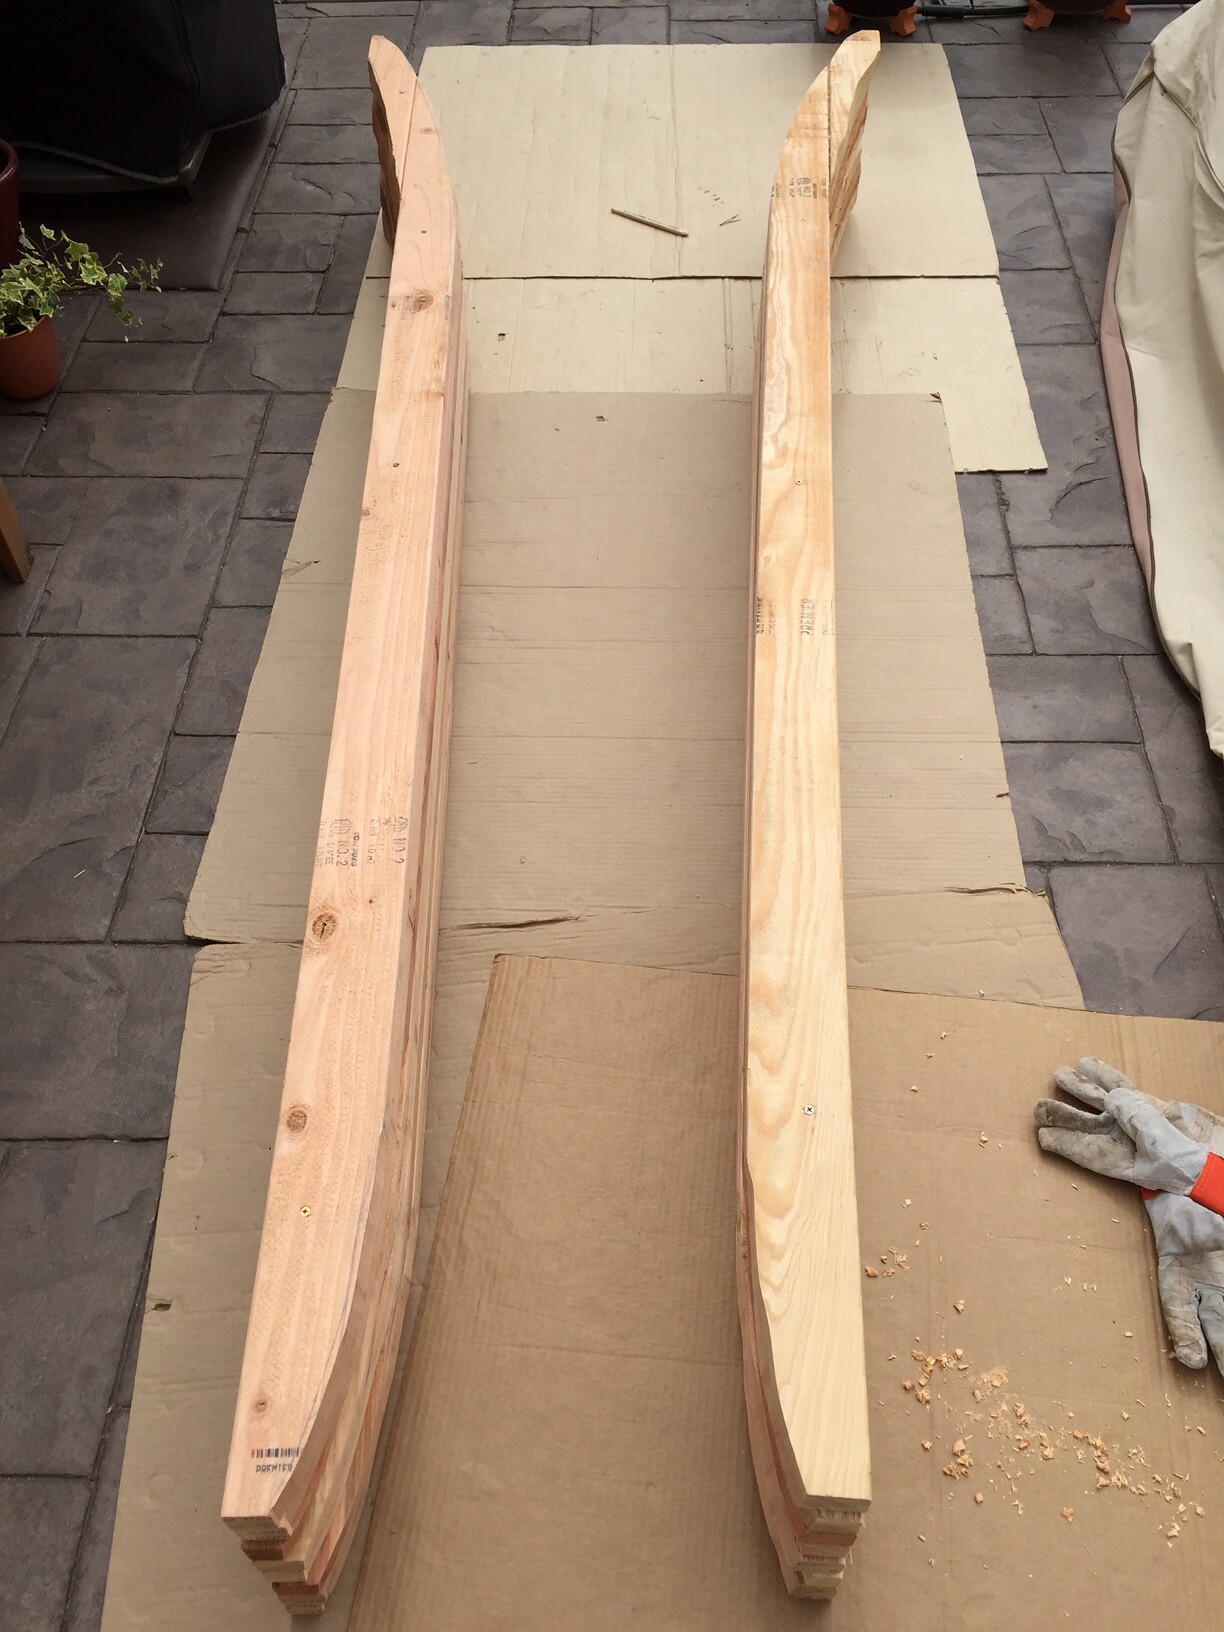
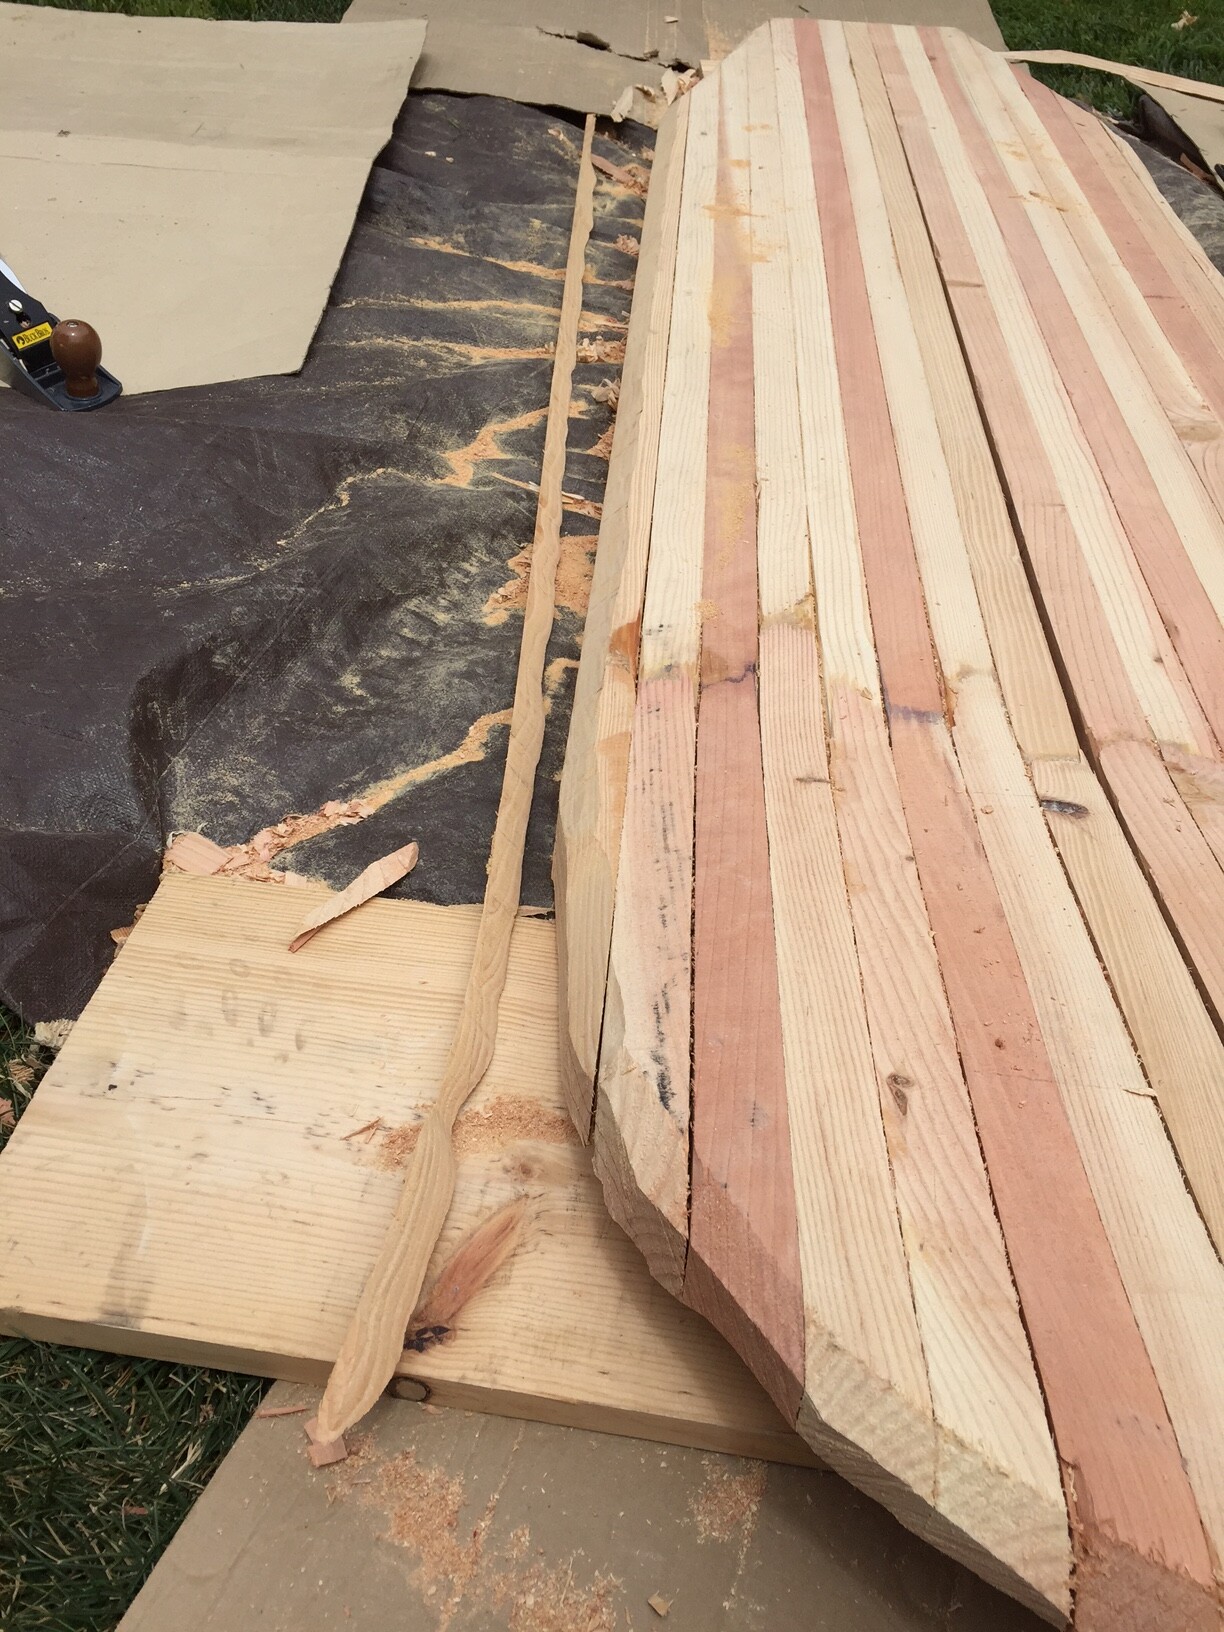
Used the experimental/sample rib as the rocker template. This worked really well. The form was light and easy to handle and very stable. Scarf joined the piece cut out for the nose rocker to the top to give more length and allow to cut a good 5" nose rocker. I suspect from reading this forum there will be a glue line visible on the top deck, but this is a simple fun summer project, and not meant to be super pretty. The alternative method of making the joint underneath is a good one, discussed elsewhere, but I do not have that many clamps and could not cut a consistent straight or curved line along most of the length of the board. Besides, I can barely cut a short straight line as is is.
Managed to find some redwood 2X4’s as well, so I will add them in for some stripes in redwood color. (None of these are pictured here.) It does not feel as strong as the other wood, but it is nicely finished and a beautiful color (3X the price however).
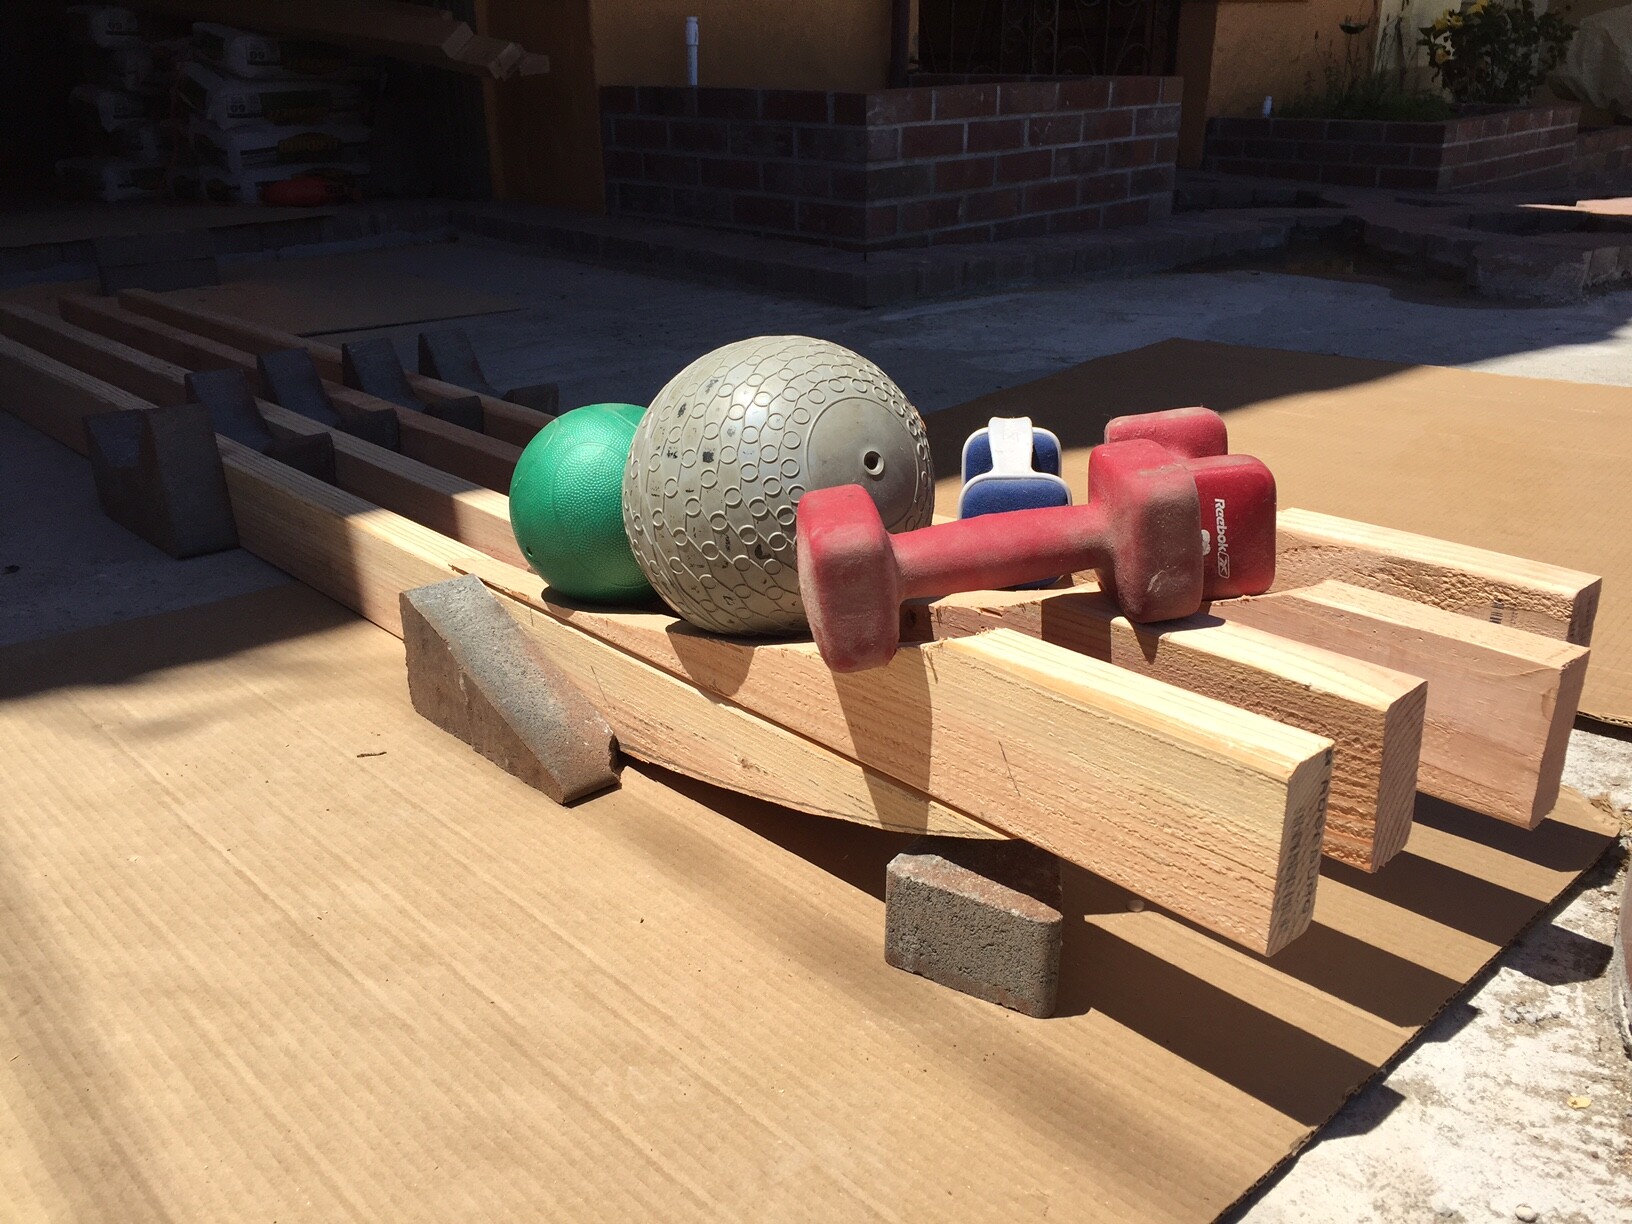
Using Titebond III wood glue and bricks and weighs to hold things together. It worked OK for the sample rib, so we’ll keep with the same program.
8 ribs done, about 8 more to go.
Found a local bike shop that can give me as many punctured inner tubes as I need for the glue up (after chambering).
I am only using simple tools (a 4.5 Amp $25 jigsaw, and a $25 corded drill). Not completely sure how I will cut the outline through the 3.5" width of 2X4, but I am leaning to using a hand saw or maybe renting/borrowing a circular saw.
Here is a close up of the nose rocker cut and the scarf joint and the boards laid out to let the glue dry.

JtG,
That is a great looking board. Gorgeous shape to it. Looks wide and stable. You work is inspiring me to keep on going with my board.
Enjoy the sanding. Hopefully you will have good weather for the weekend.
Maybe fire up the BBQ for atmosphere?
love the work on here, YEW!!!
Back at it this weekend. A couple new things:
- It turns out the wood is Douglas Fir. Just picking it up at Home Depot/Lowes. nothing fancy. But it is not pine, per se.
- Bought 4 redwood 2X4’s for some color in the board. These were $8 each instead of $3 for the Douglas Fir.
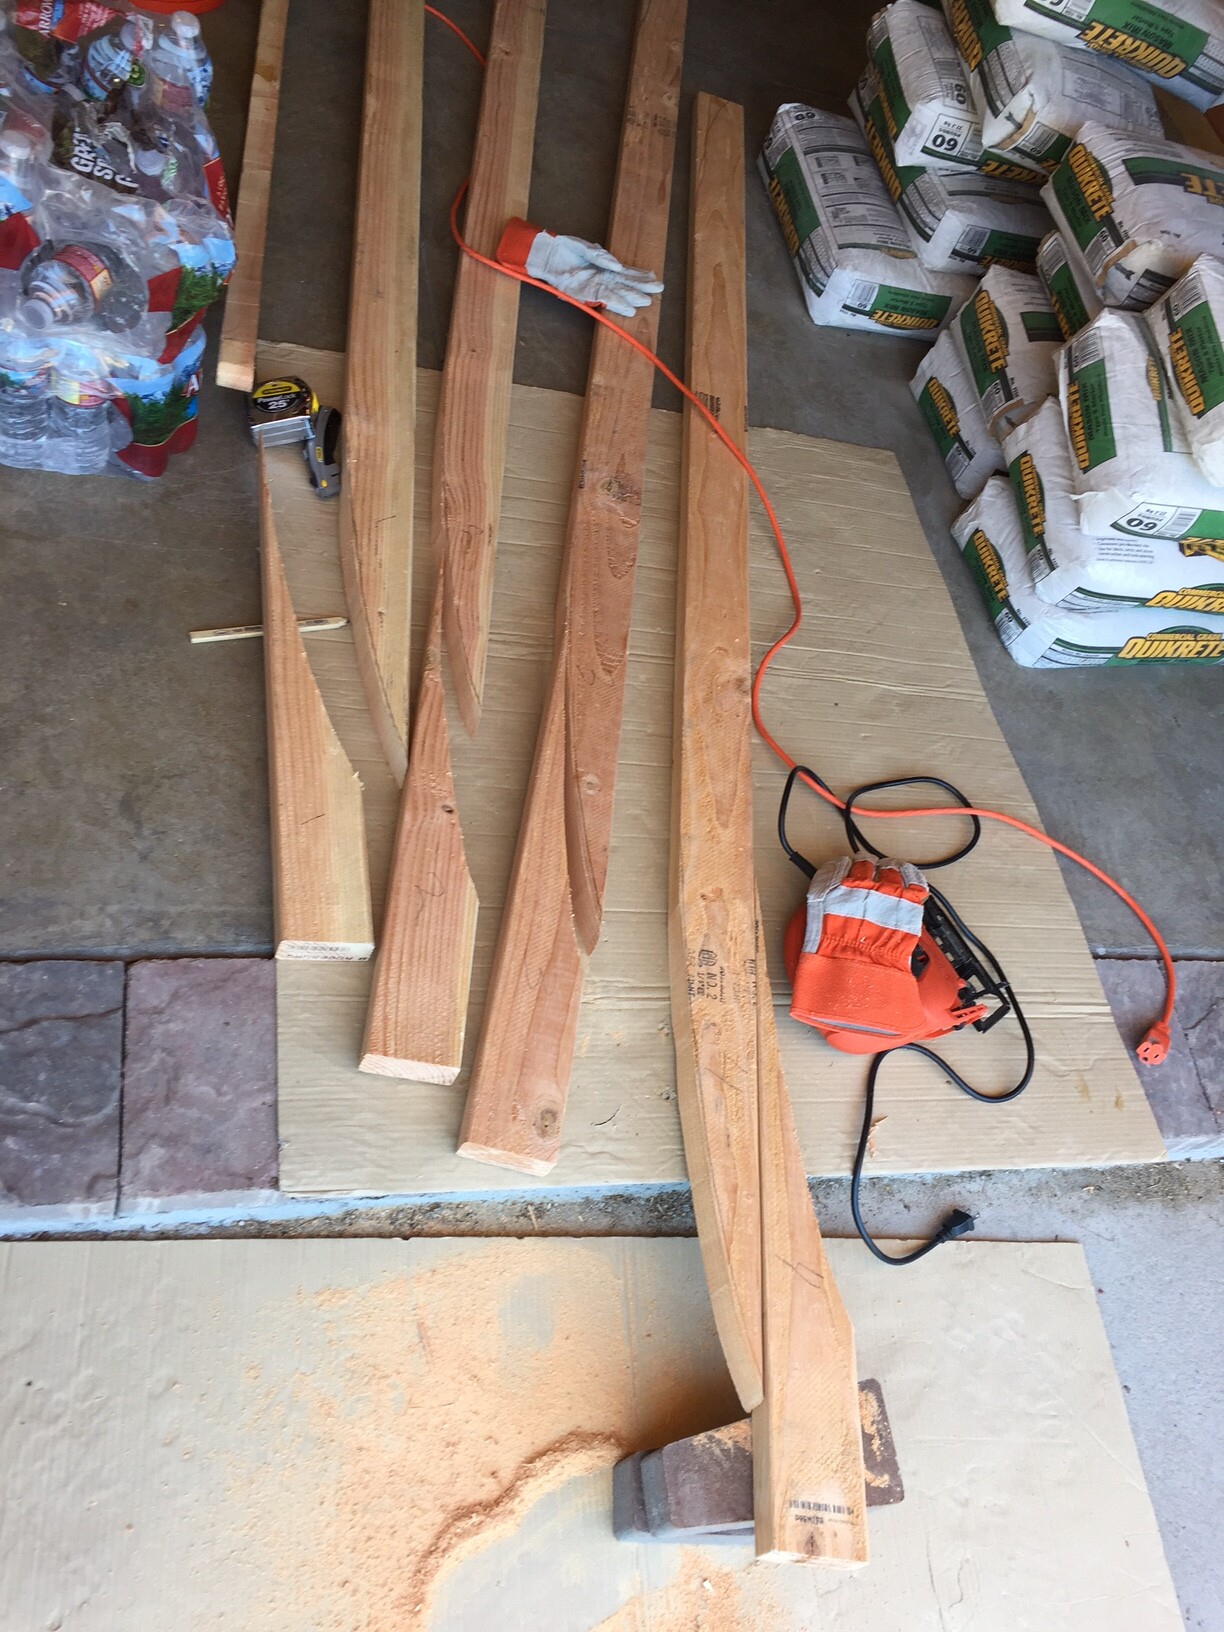
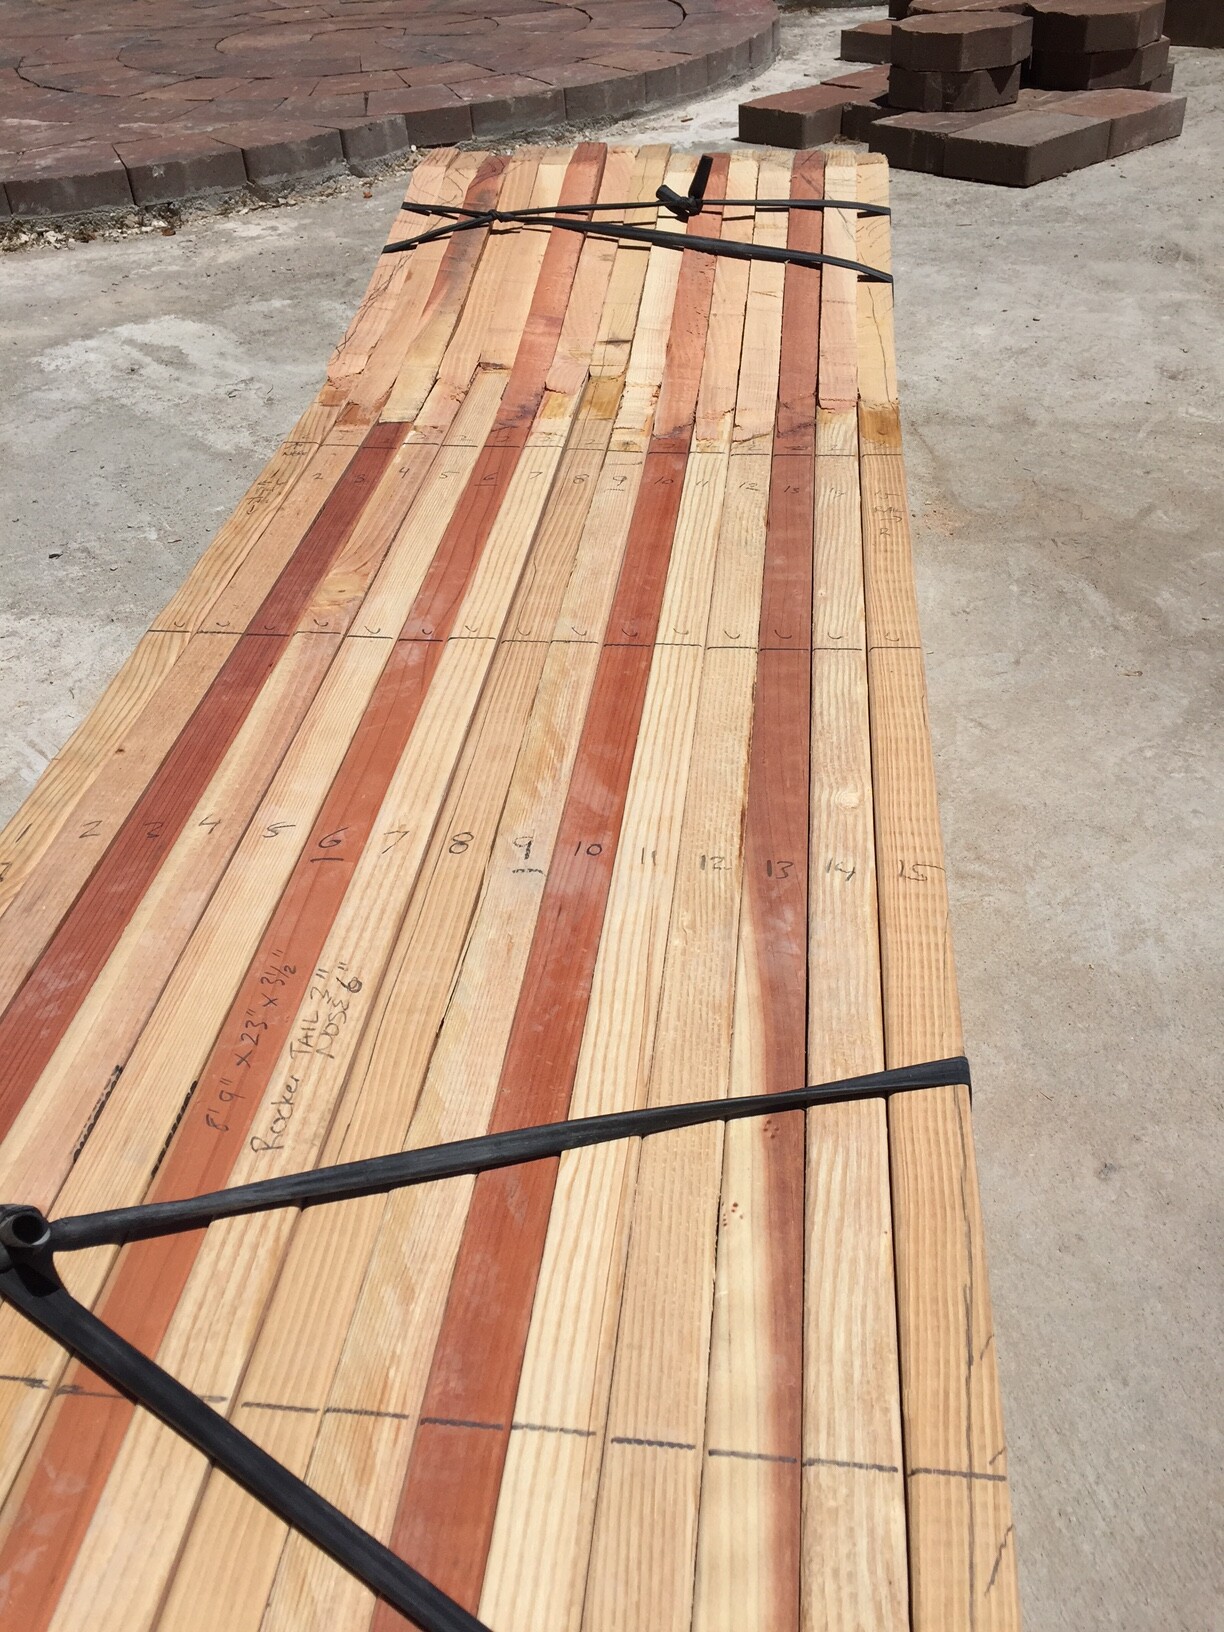
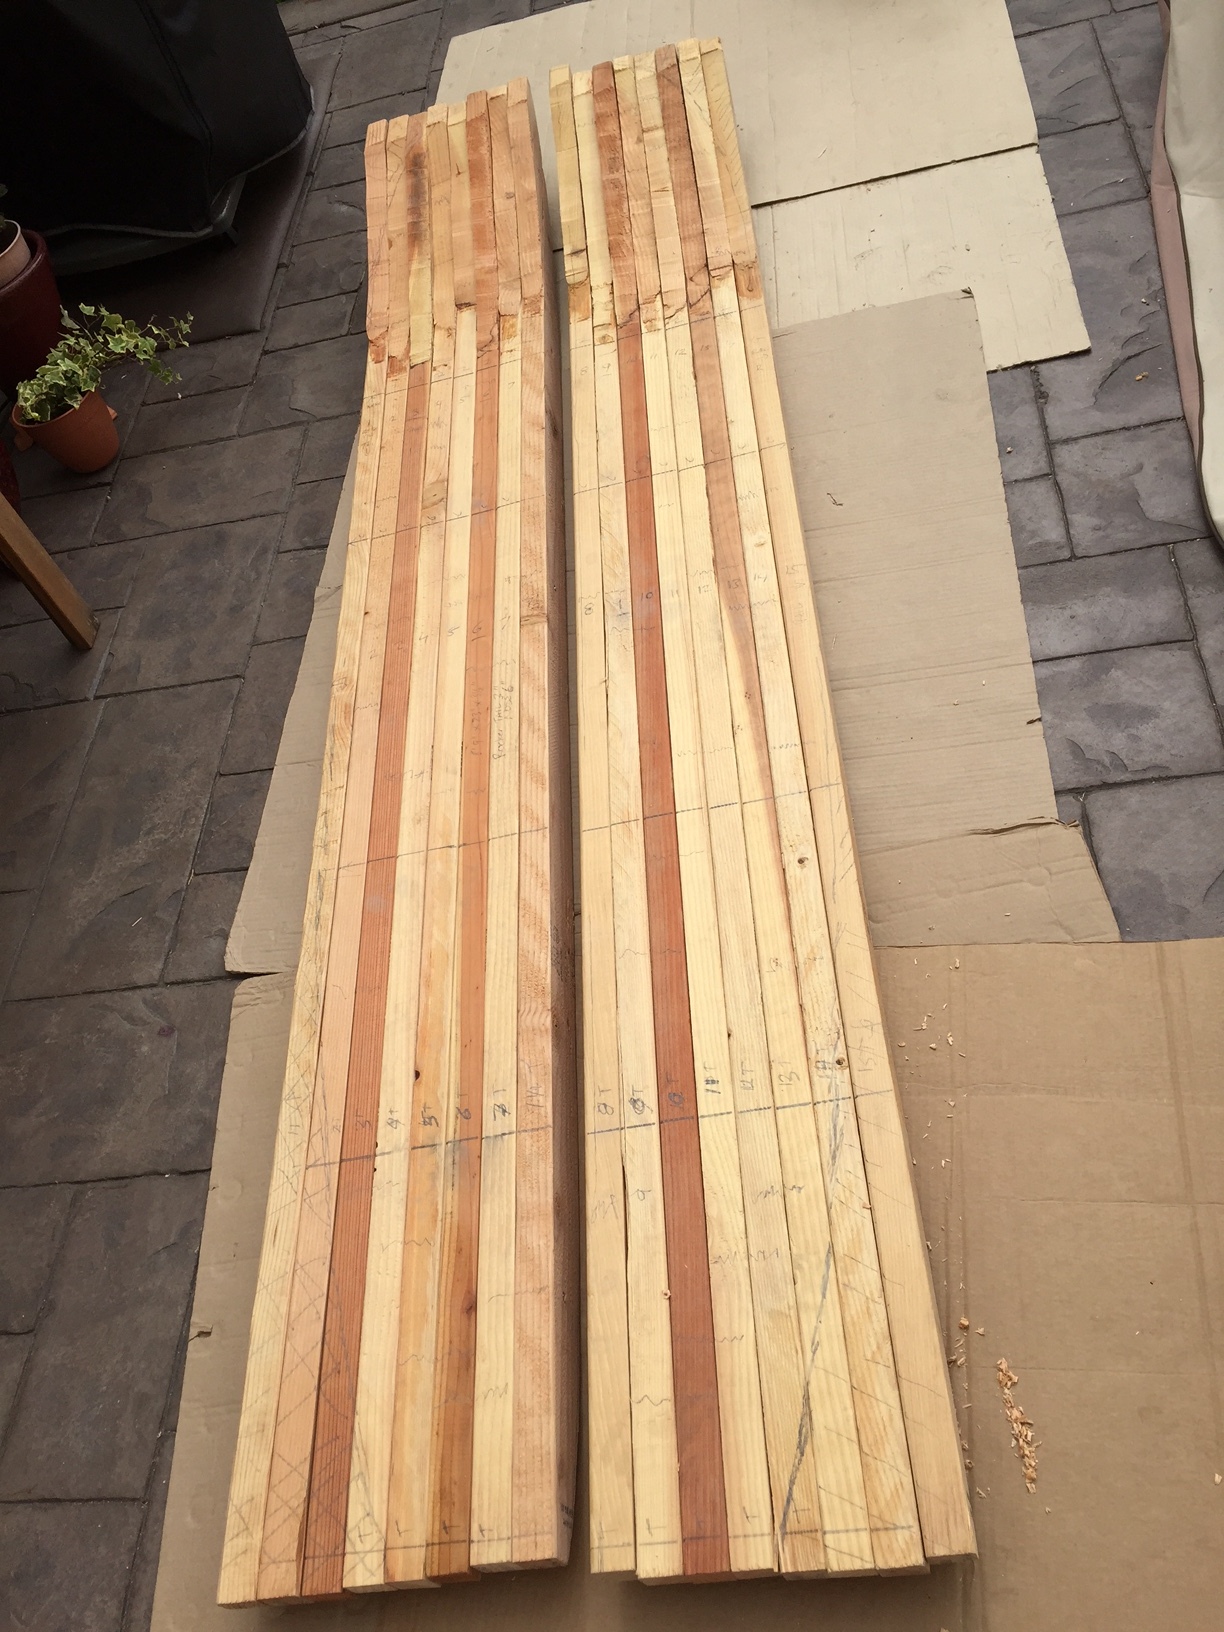
- When looking for 2X4’s I mainly looked for ones without knots on the edges (the 2" sides), as I figured I could always cut out center knots when chambering. I have included a pic of a few of the boards here.
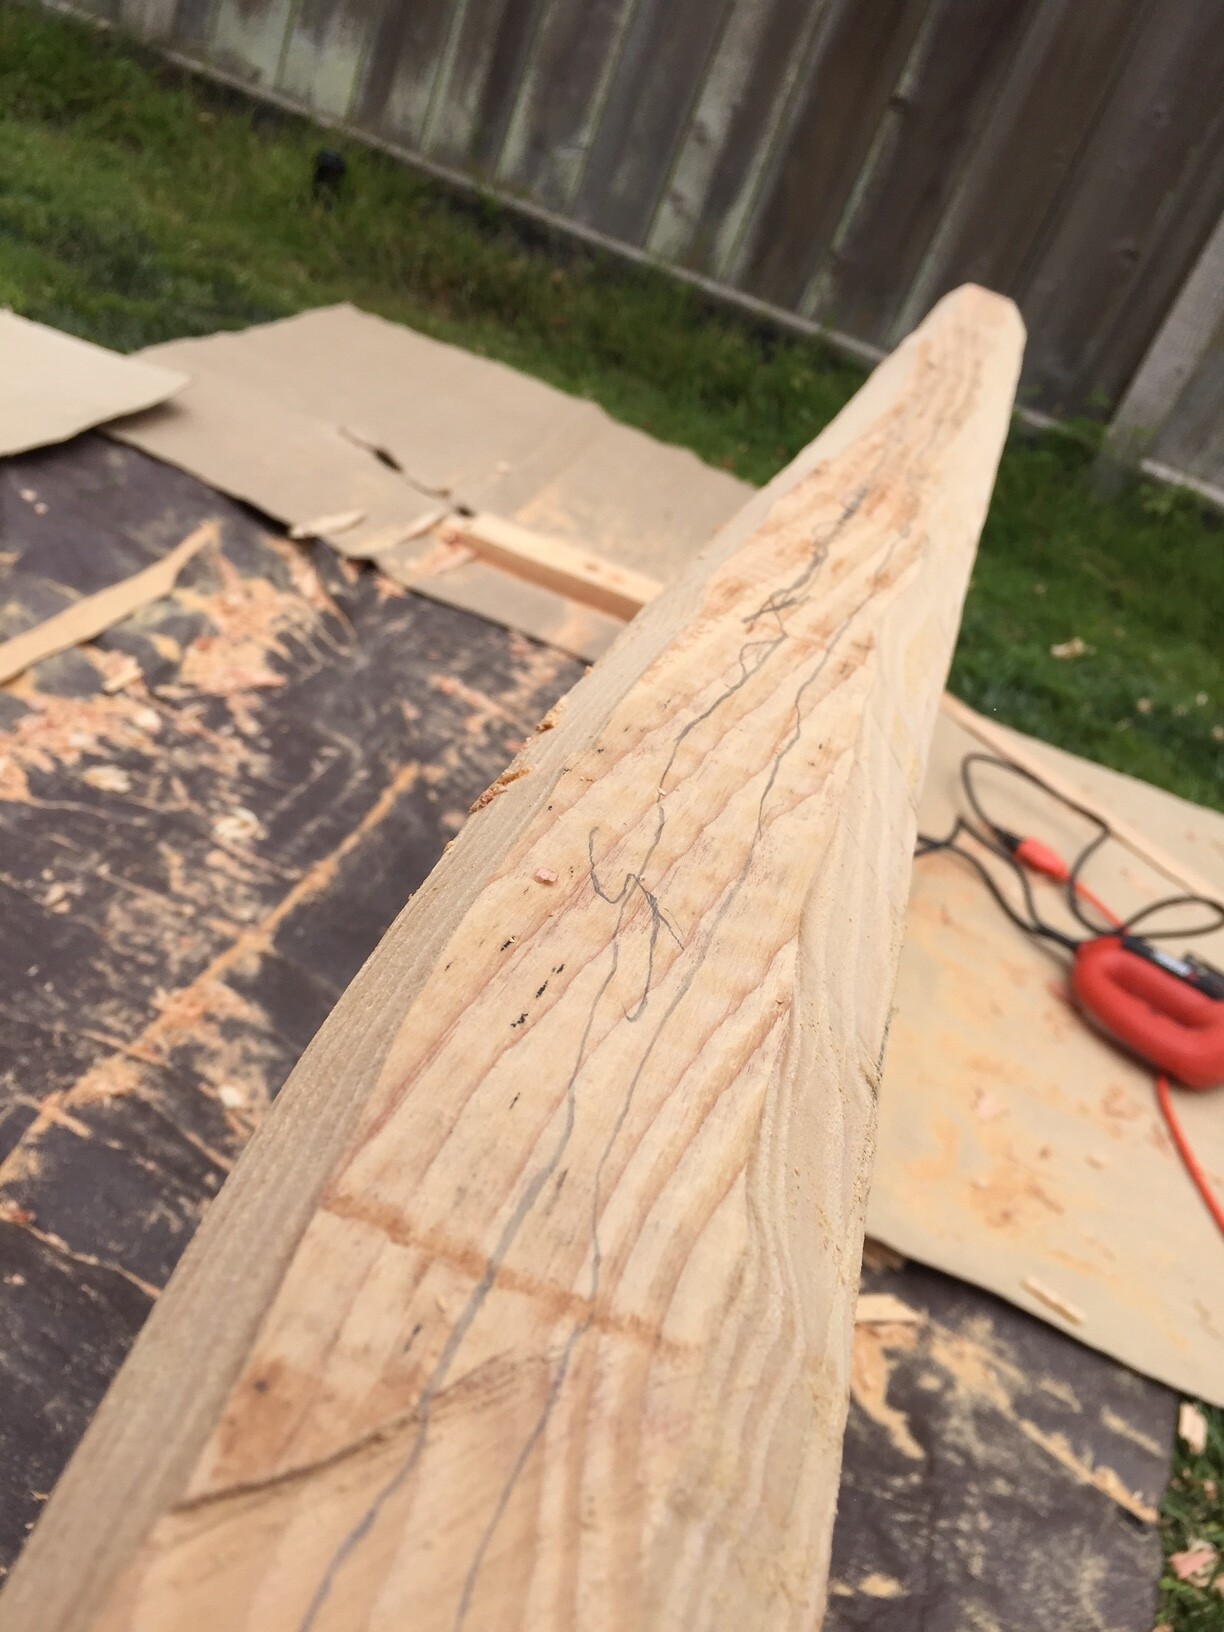
- I mentioned I was using the sample rib to cut trace the rocker. Here is a pic of that process. The solid feels of the same rib has been very nice to use.
- Here is the gluing of the second batch of 8 ribs.
Next, the plan is to ‘clamp’ them all together side-by-side and trace the outline of the board. Going to try to use old punctured bicycle inner tubes. Bike shops here give them away no questions asked. Then ‘unclamp’ it and cut the outline on each board with a hand saw.
Part of this summer project has been to enjoy doing something hands-on related to surfing. As we know, the experience of connecting with the ocean and waves is a unique experience, and my hope is that shaping a wood board will bring me some of the same stoke while at home.
I have kept the tools and technology simple for a few reasons:
- I don’t own a workshop setup. I only have a drill, a hand saw, a jigsaw, and screw drivers. My neighbor said he can loan me a belt sander, and I think I will take him up on this. I’ll buy a hand plane soon ($20). In general, trying to keep life fairly simple.
- I am not good at woodworking or DIY projects in general. No natural aptitude, no eye for detail.
- If even moderately successful at either goal (some stoke at home or a surfable board) the project can show others that such things can be attempted without a full woodworking shop. And if it all turns into firewood, well, my mind was on surfing, lessons were learned, and it was a fun summer folly.
- One of the things I most enjoy in surfing is its simplicity. Waves, a board, and a person. I’m trying to mirror this simplicity in the board’s genesis.
Thanks everyone for all the knowlege shared on this site and the encouragement.
I’ll post the pic of the board’s outline when it is traced.

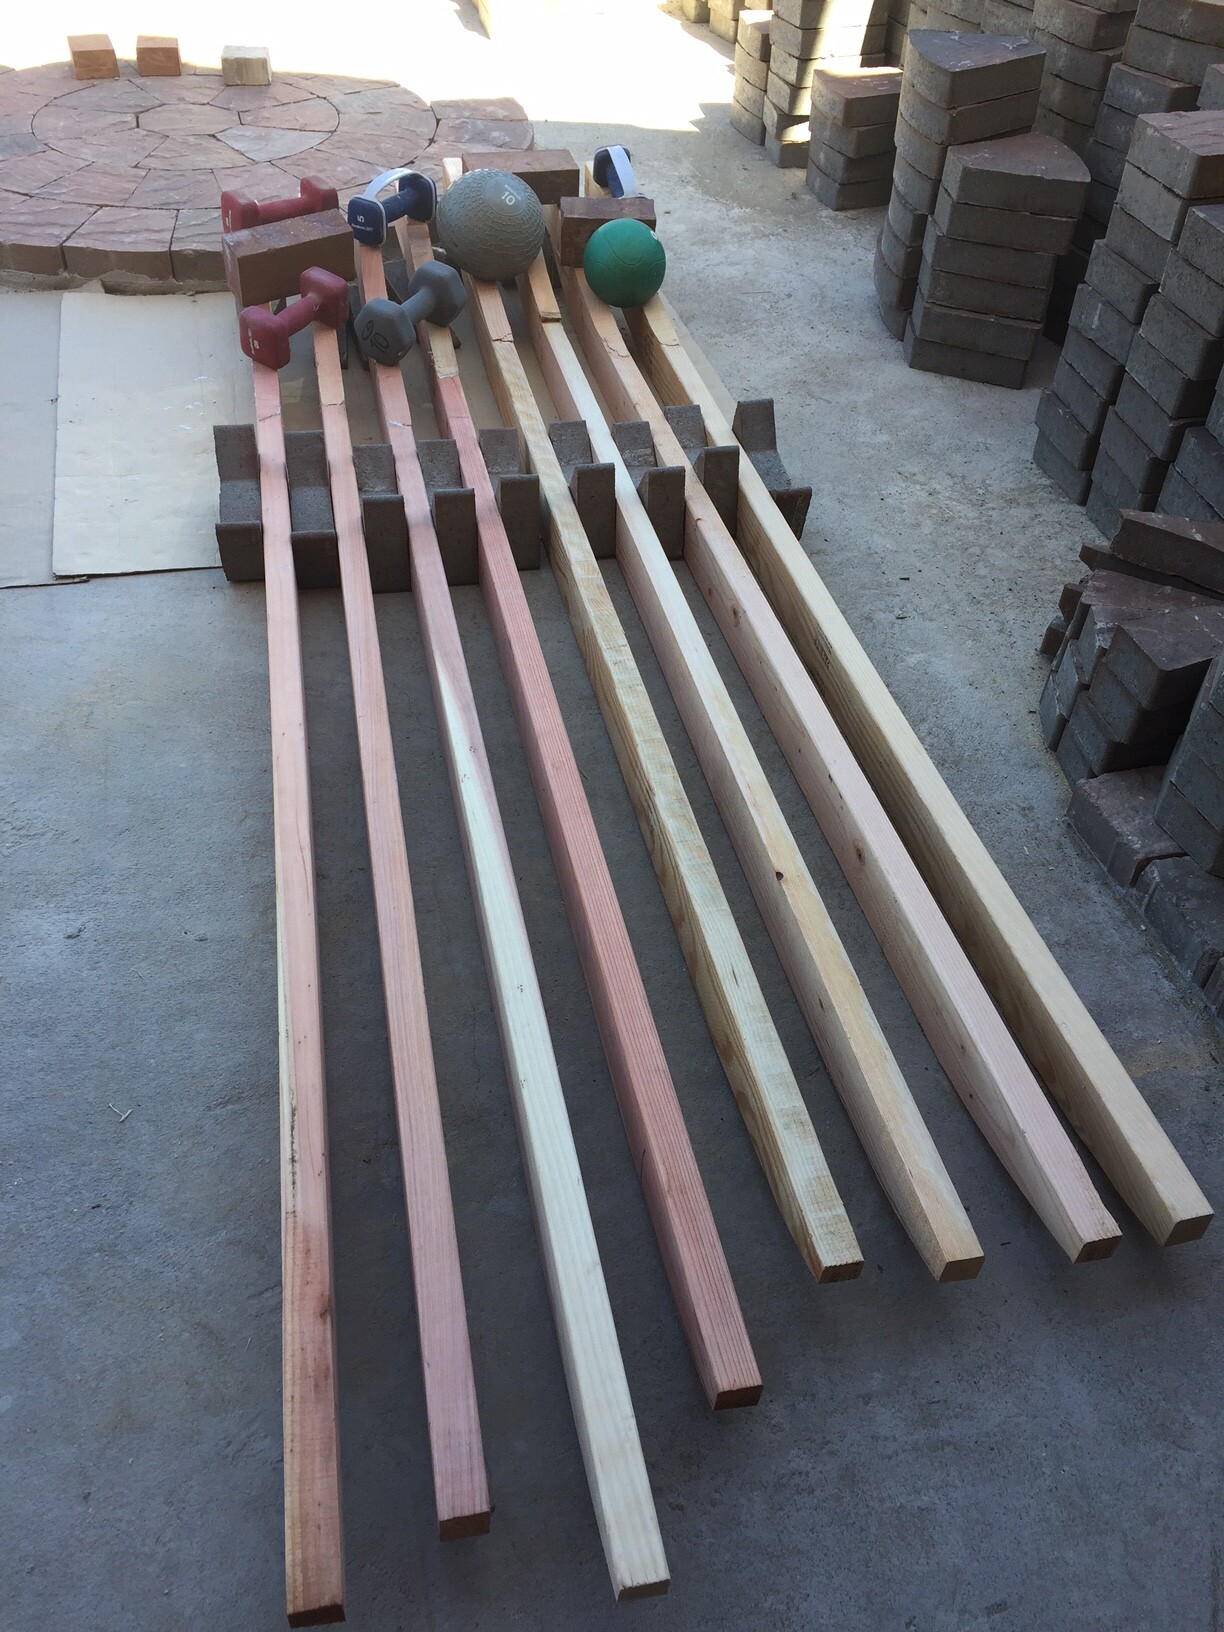
Another milestone (of hopefully many to come) - I have completed the rough ribs.
We are having some unusually warm wether here in San Francisco, so I am going to let them sit out in the sun separated for a few days and see if they will dry out a bit more, to make them easier to wield and work with. Some are very light and others are quite heavy. My assumption is water weight, as the grain does not seem more dense in the heavy boards. Glad to have spent the extra total $20 on the redwood. It adds nice color and was way easier to jigsaw.
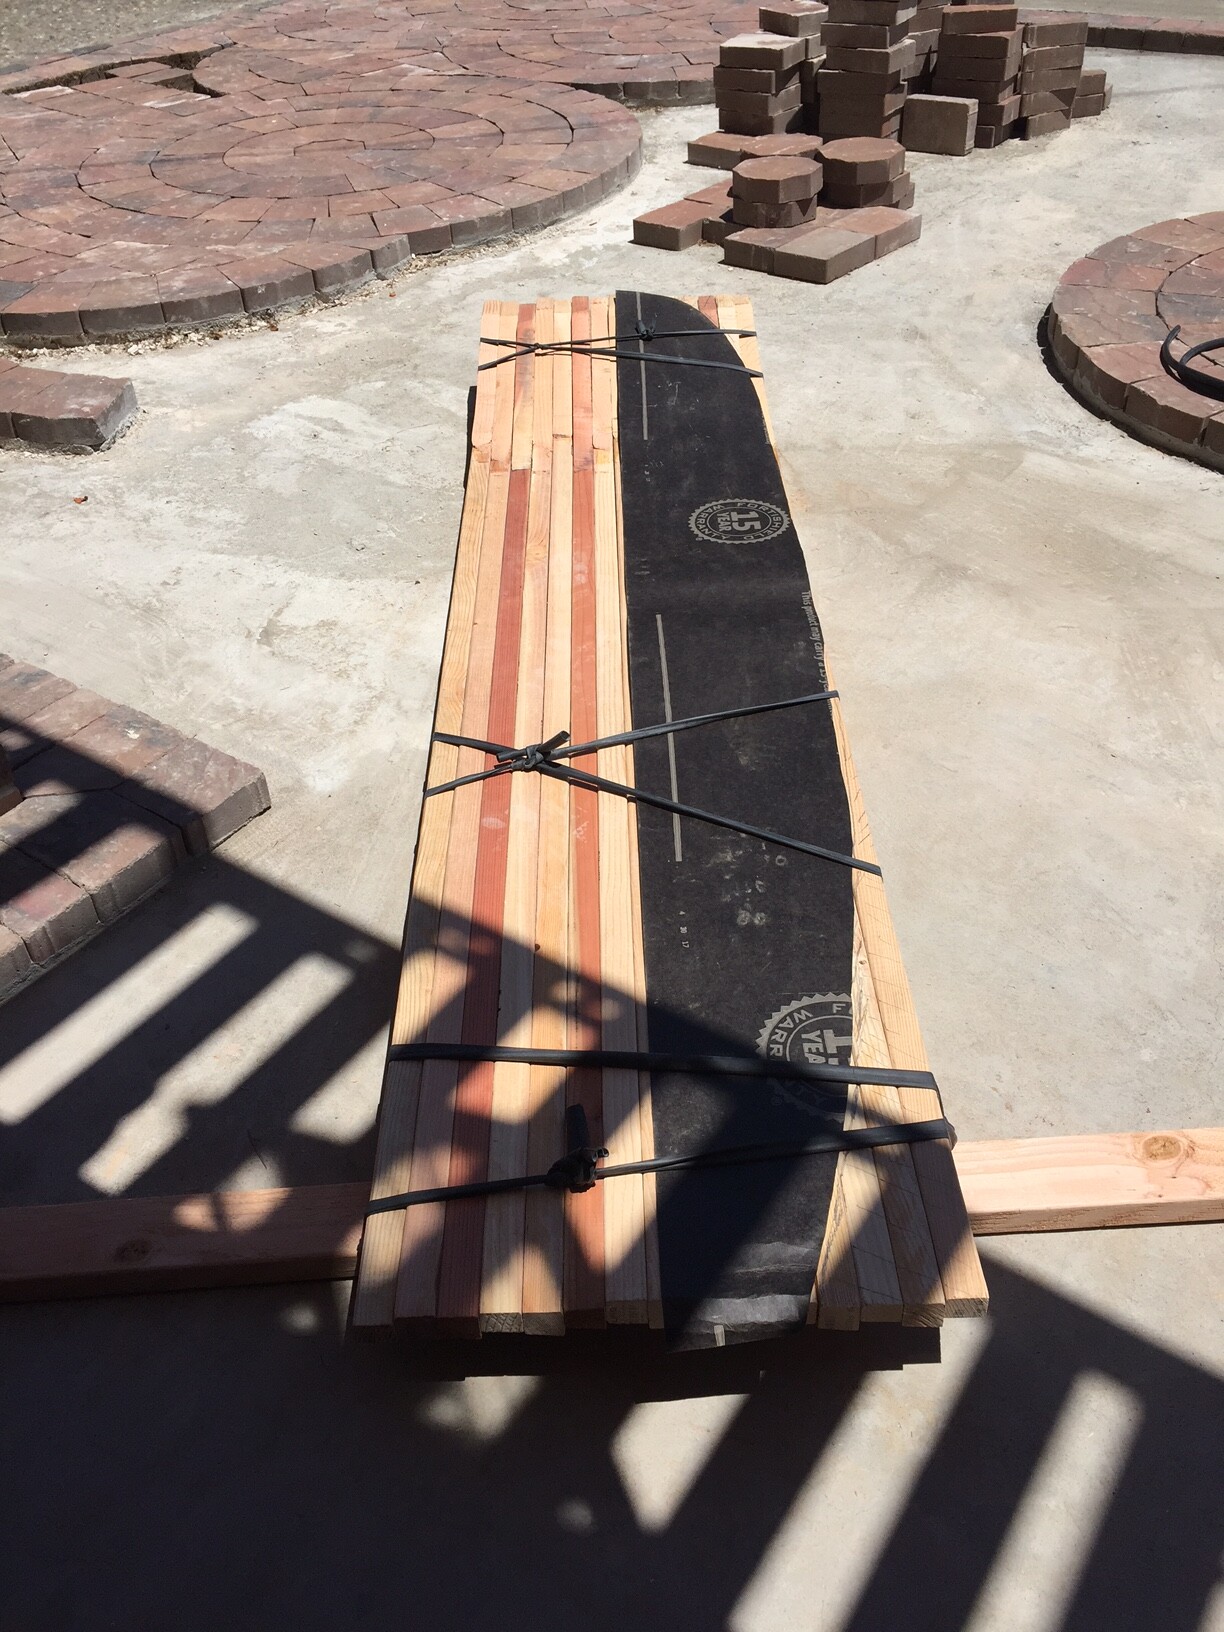
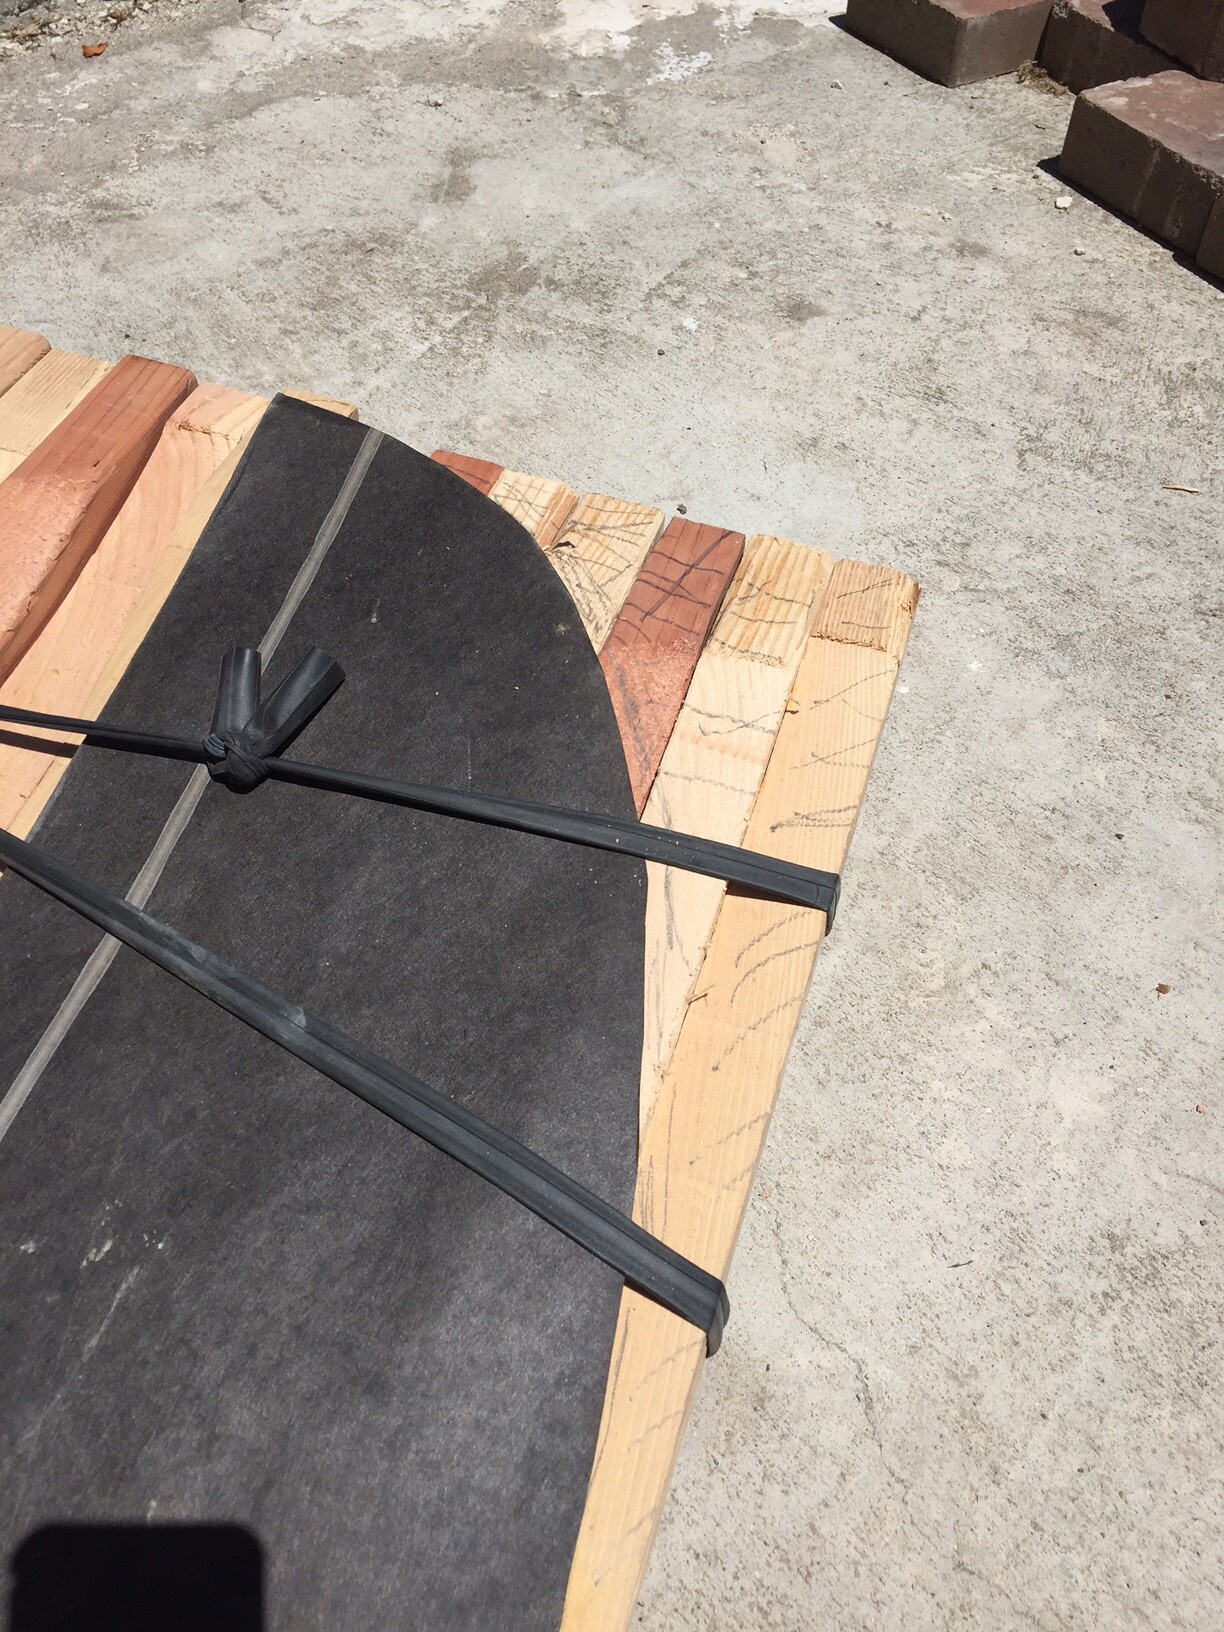
I held them together with bicycle inner tubes, and I think these will work well for glue up after chambering, though I will use many more for even pressure.
I traced the outline from my ‘floaty board’ onto roofing paper, and used this to copy the outline on to the wooden raft of ribs. A while ago, this was the same technique for copying the rocker.
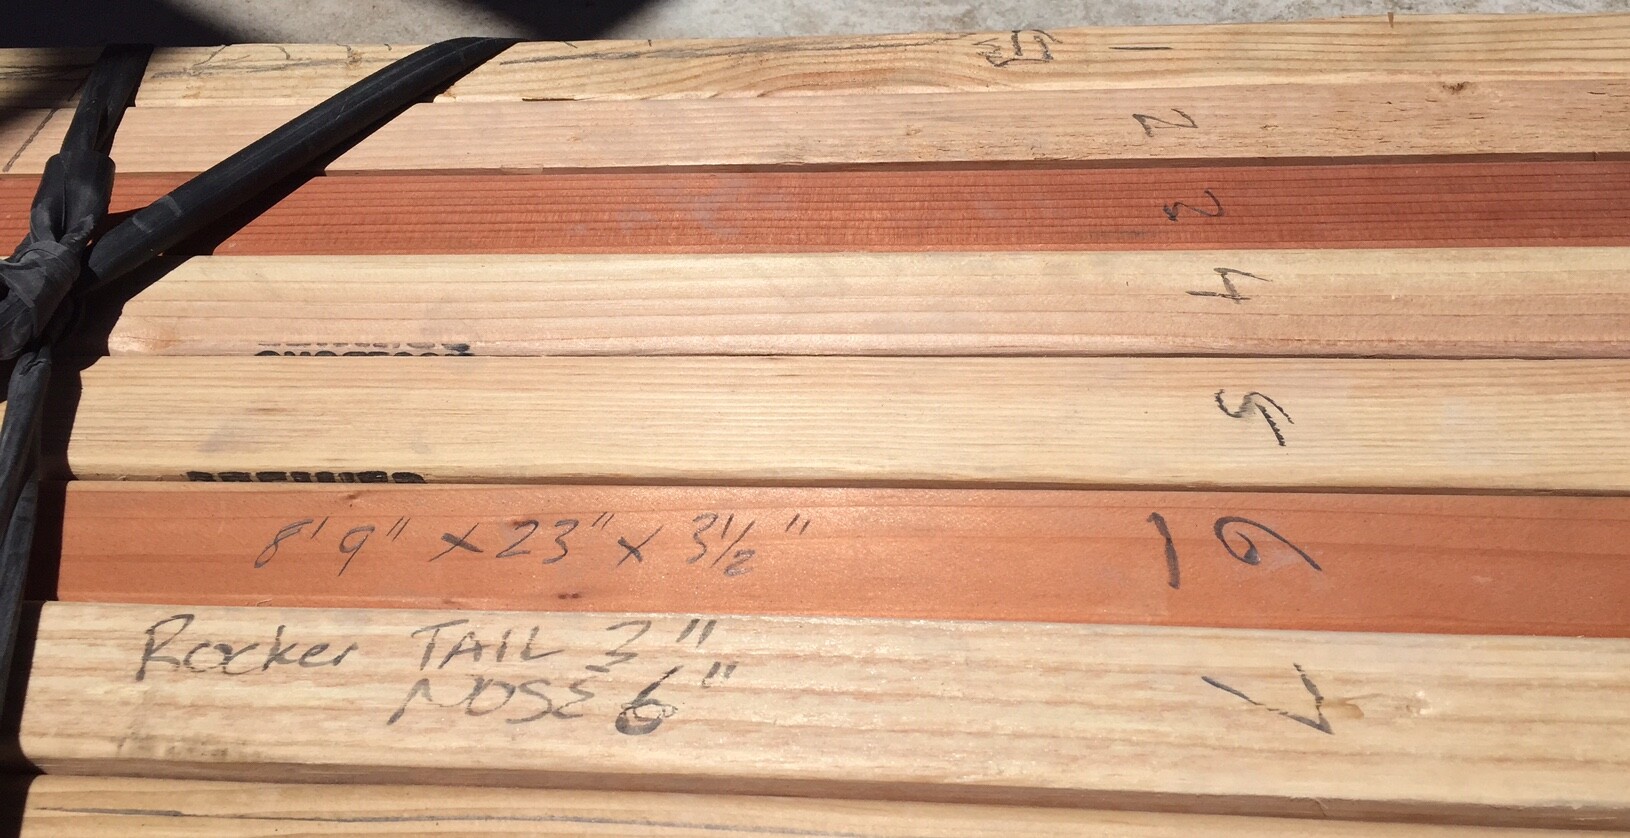
Each rib is numbered several times and there are four lines across the ribs to help line them up when I begin to screw them together. The plan is not to spot glue them, but instead screw them each together from the center out, then connect the two halves with a few dowels in drilled holes.
Rough dimensions are 8’9"X23"X3.5", Nose rocker 6", Tail rocker 3". I am guessing I’ll lose 1" to 1 1/2" all around after planing and shaping. Still should be a respectable size for flotation.
I had made 16 ribs to work with, but decided to go with an odd number so that the center stringer can house the longboard fin box, rather then split this between two center ribs. I guess there is a spare, if one totally flakes out, or I find a poorly placed knot that I overlooked.
This week will be letting the ribs dry in the sun, then hopefully next weekend screw them all together, and maybe start rough planing/belt-sanding the deck and bottom.
Have a good week, everyone.

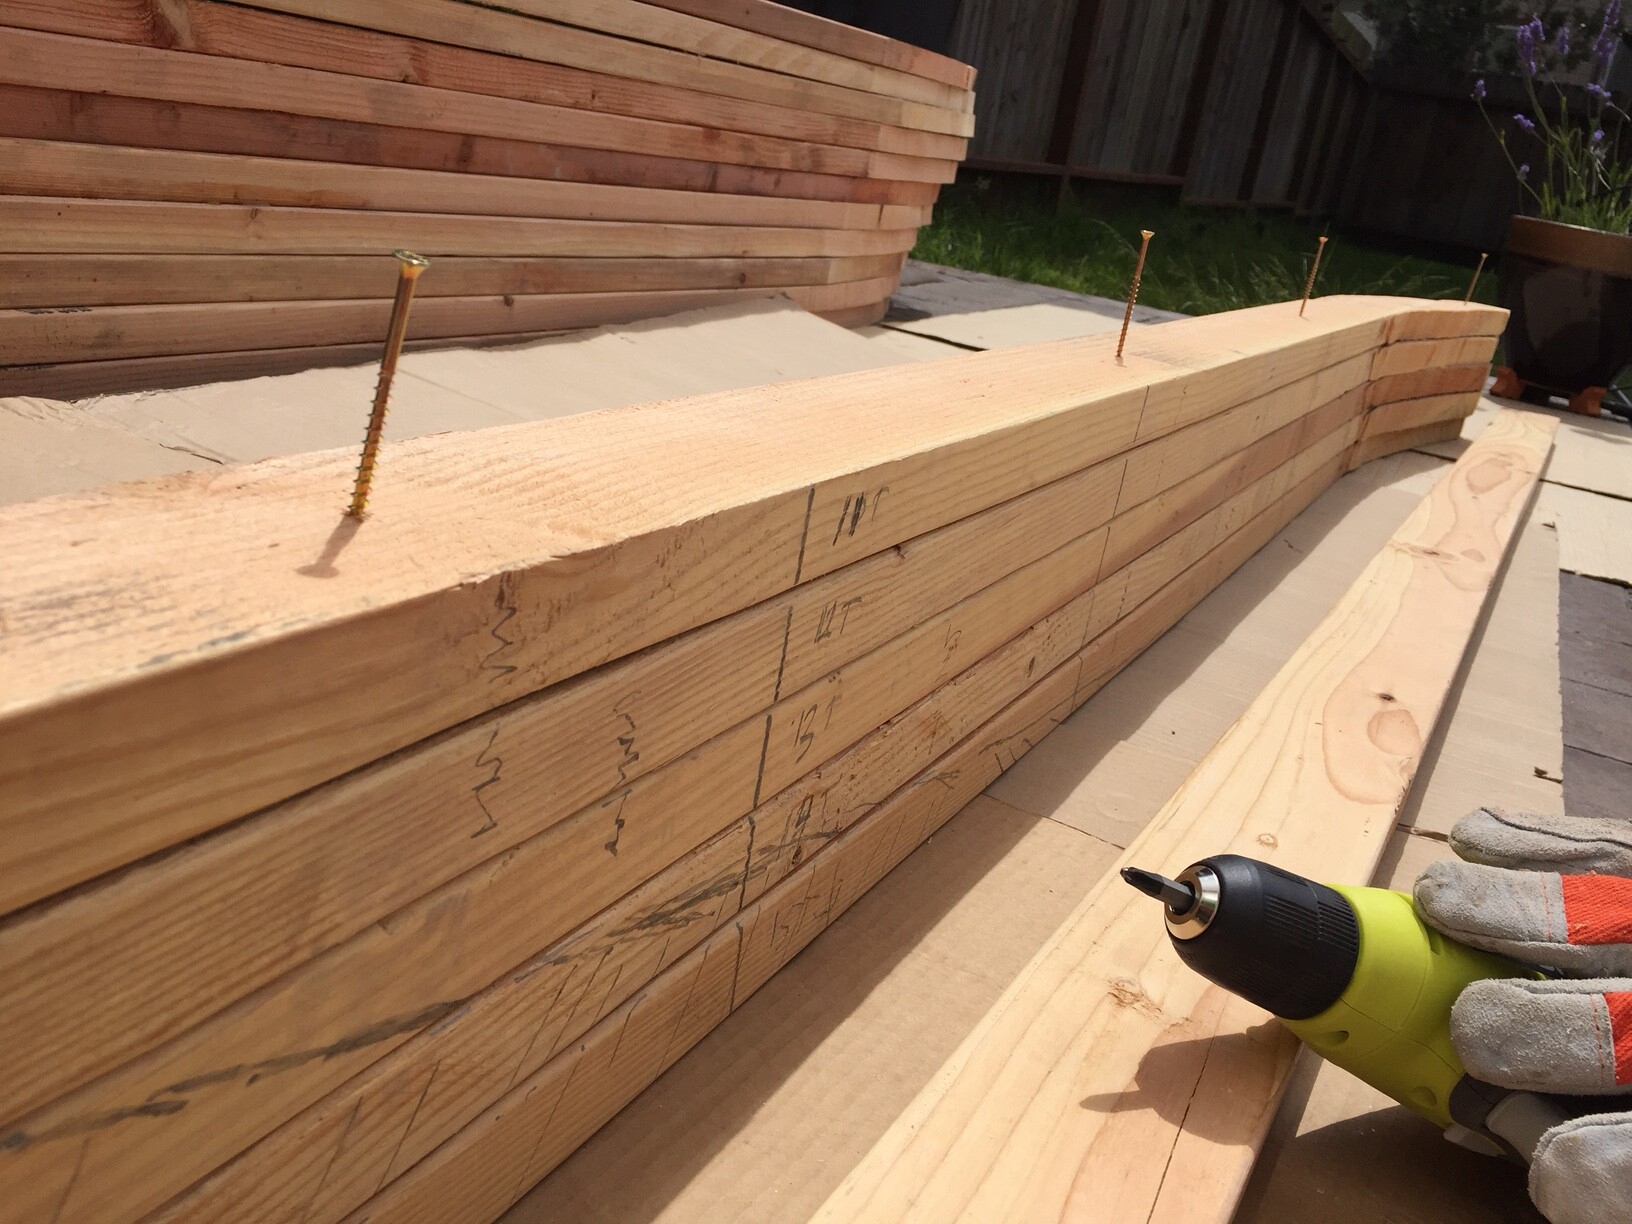
Today’s progress is screwing the ribs together. I have decided to use screws rather than glue, as I think it will come apart easier and I could do it all in a couple hours. The squiggly lines mark where each screw went in, so that I did not put one on top of the other. I used about 4 screws on each rib.
There is a risk some of the screw tips may protrude at the rails, but we’ll see. Even if they do, I can always fill in the gap and an epoxy/fiberglass coat will ensure the board is waterproof. Might take a small chunk out the the hand plane blade, but again we’ll see. I tried to give about 1/2" clearance at minimum.
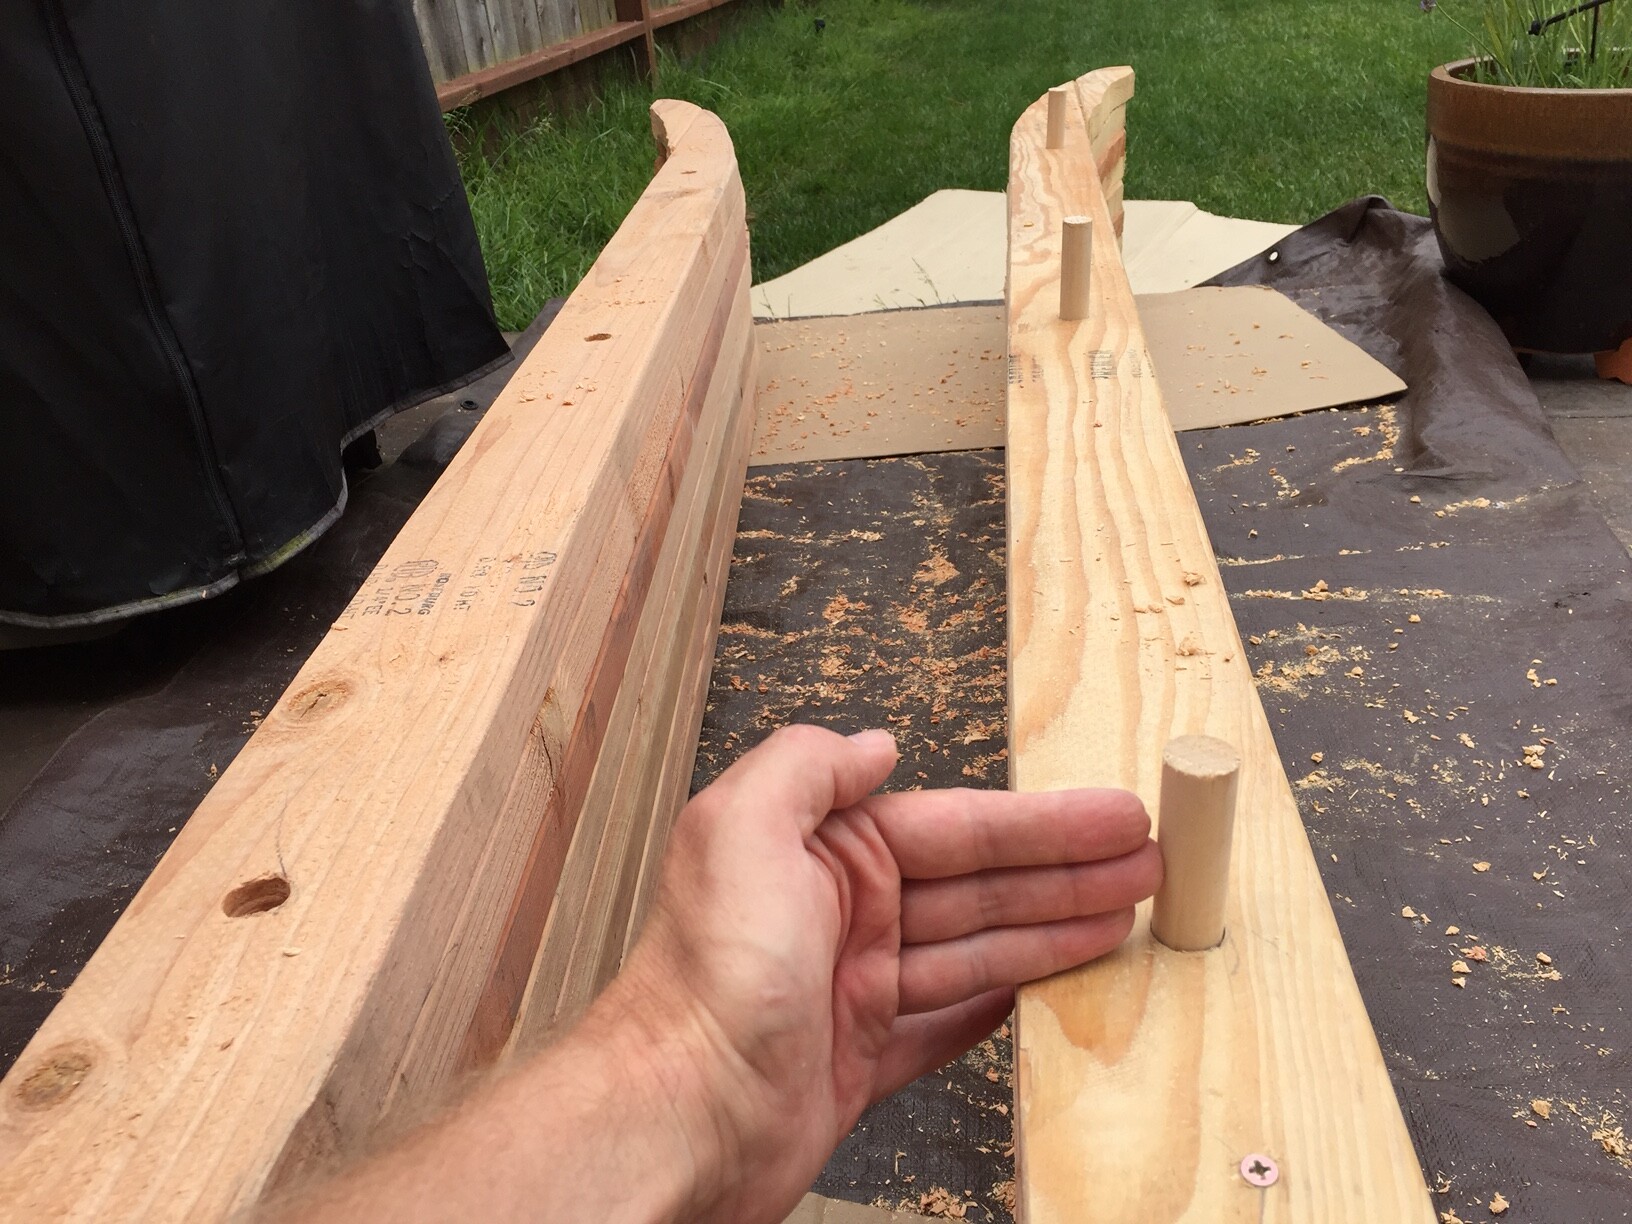
I started screwing the ribs at the rails and worked inward. The plan is to join the two halves with 1/2" or 1" dowels, dry-fitted into holes, then simply pull the halves apart when it is time to chamber the ribs. The screws should let me pull them off one at a time for chambering and gluing. Hopefully this weekend I’ll get the dowels put in and the outline shape sawn (hand saw is the plan). Next it is flattening the deck top and bottom (belt sander and hand plane). then work on the foil shape and rails.
For anyone looking closely, I chickened out and added back the extra rib (8 ribs on each half), so the rough width is now 24 1/2". My thinking is that I can sacrifice a bit of weight for stability and a more easy to ride board once it is in the water.
Thanks again for all the information and encouragement on this site.

Be sure to give us before and after weights. Interested to see what the reduction % is.
Thanks
The 9’6" balsa I just dropped off at Watermans Guild was just under 40# before starting shaping.
After finishing all the machine work it was 34#, cracked it apart, chambering each piece was reducing the weight by half or better.
Reglued and finish sanded, 15# 15 oz
Jim, that’s mighty clean chambering. Under 16 lbs is terrific and the board is gorgeous. I’ll do my best to try to keep up, and do right by wood board builders everywhere.
Tom, I’ll measure the gross weight this weekend, weigh after shaping, then again after chambering and see about the weight % reduction. The solid sections around the finboxes might end up being more significant than anticipated, but we’ll see. I’m planning on trying to keep the decks around 1/8" and chambers around 10" to 12" long. I have been more and more impressed with the strength of fir and redwood. (I hope that I am not foreshadowing “famous last words”.)
Have a great weekend.
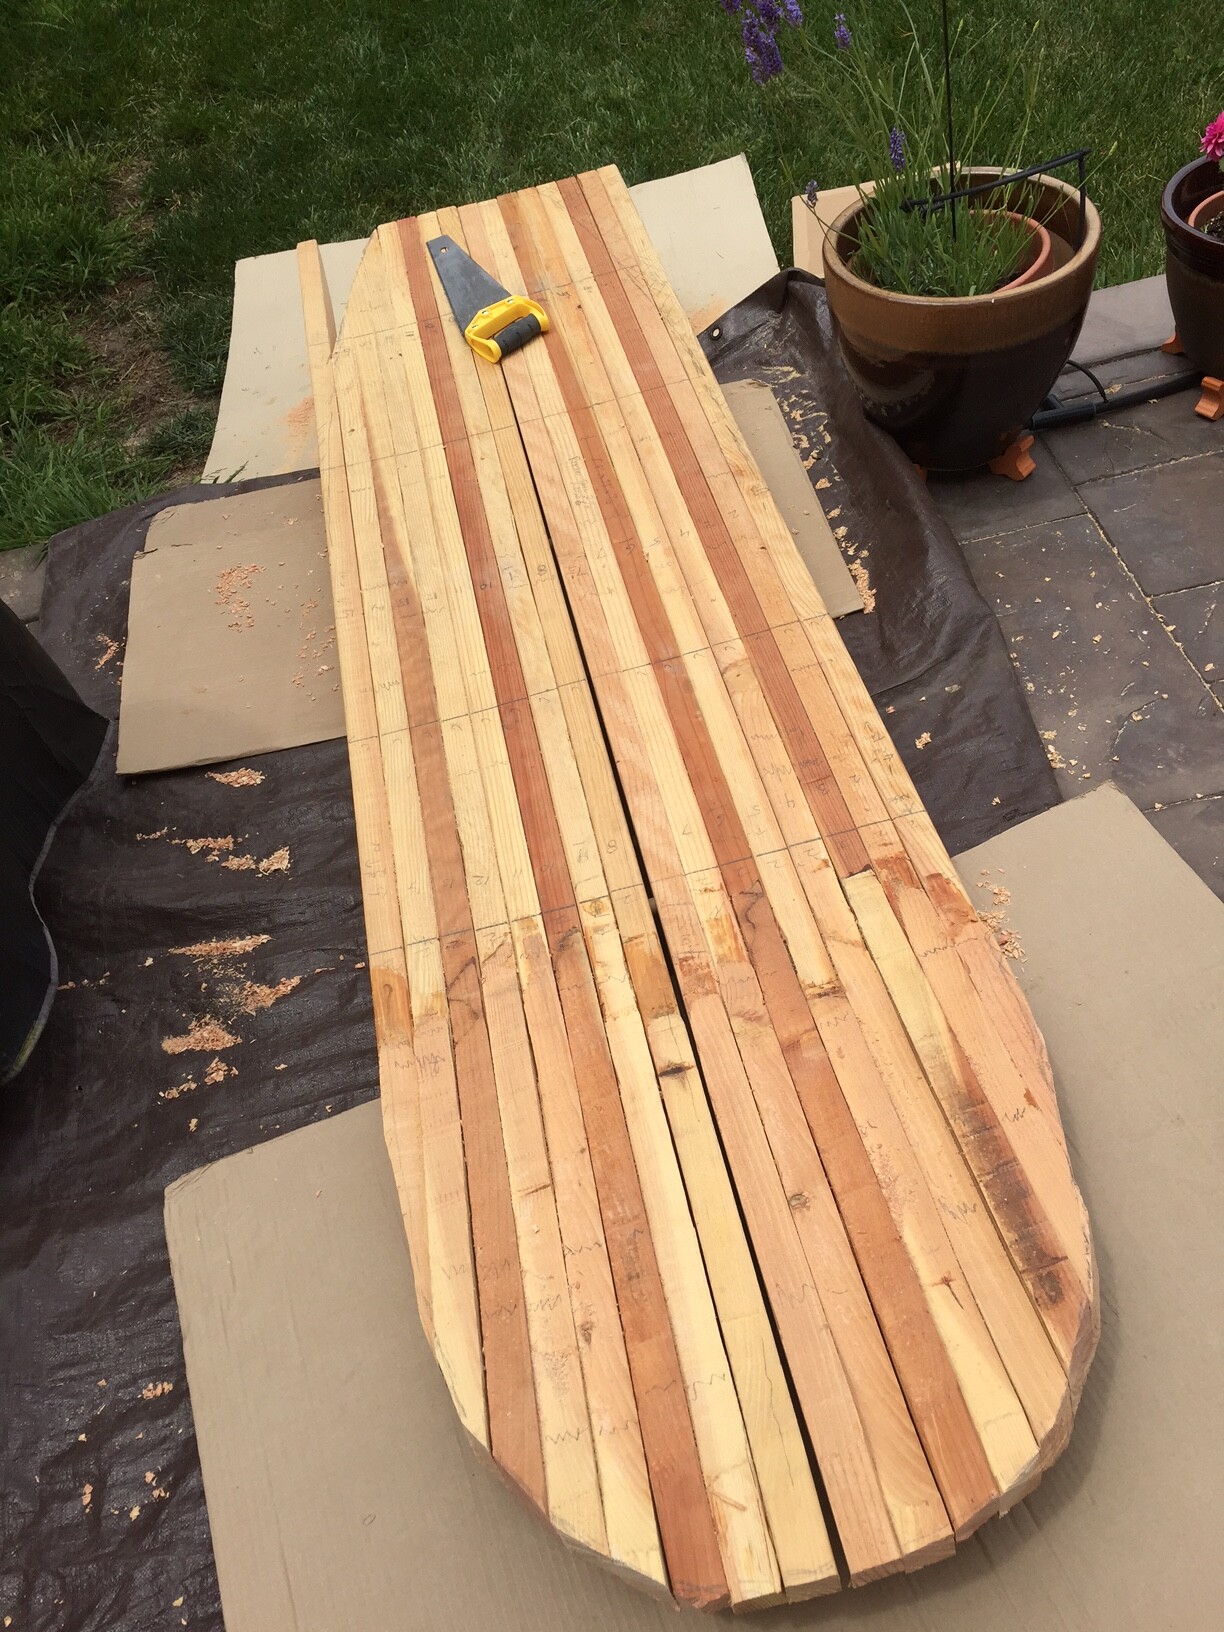
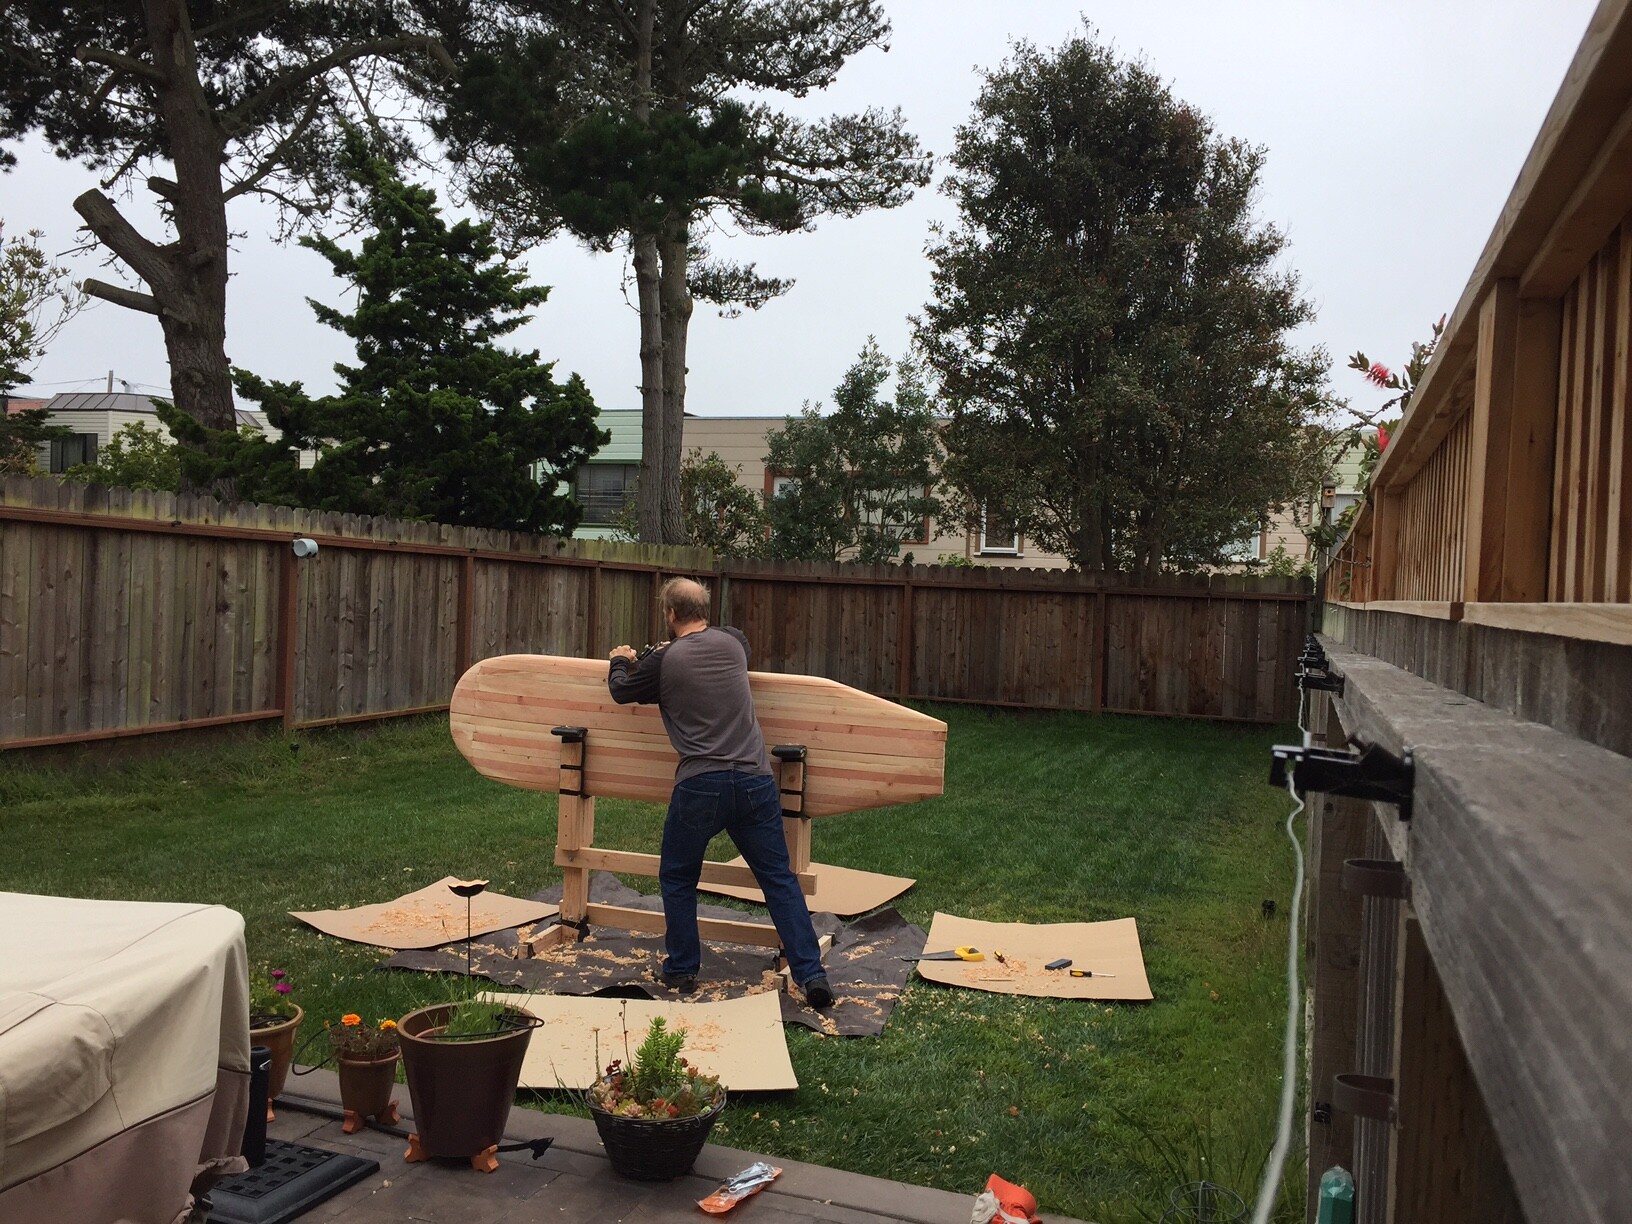
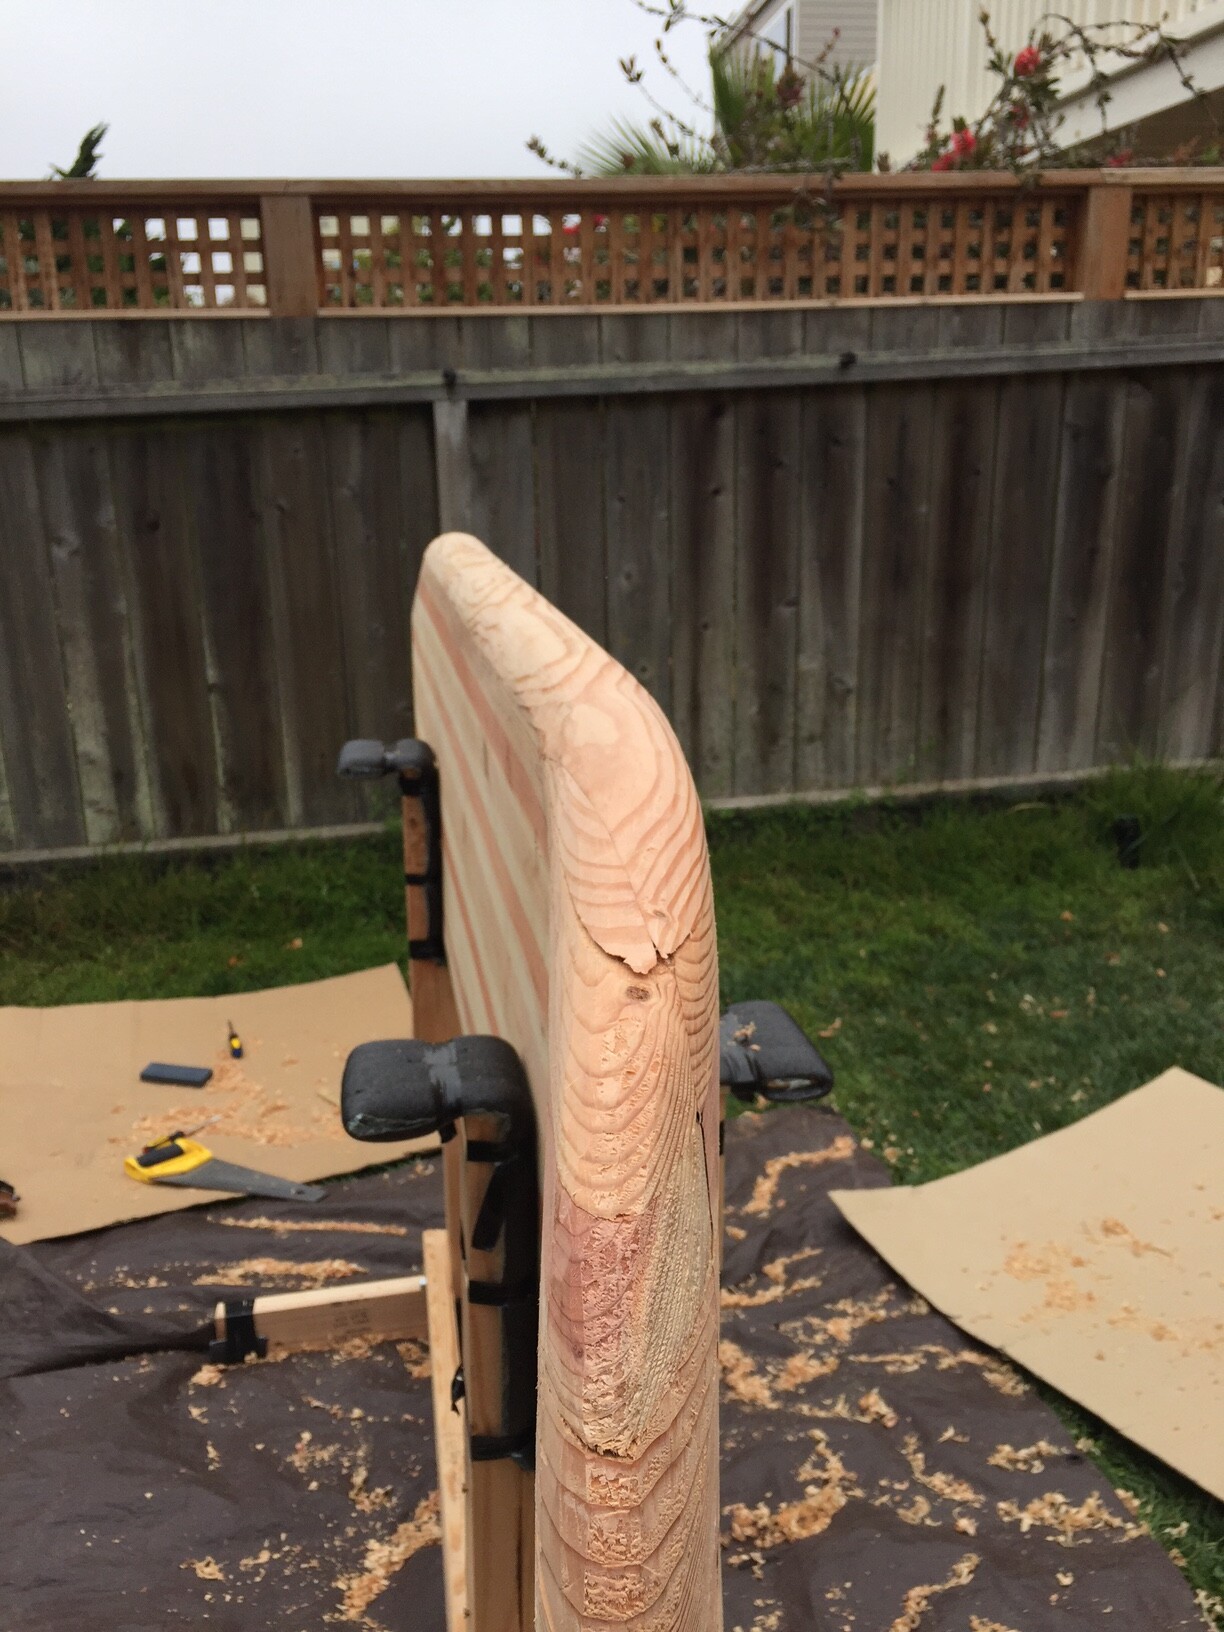
Here is today’s effort. About 4 hours of hand sawing and planing. It is a delight to start to see the board take shape. And one does not quite appreciate how think 3.5" of wood is till one has to repeatedly saw through it by hand.
First, the weight. Prior to any shaping cuts, the 16 2X4’s all screwed together weigh 142lbs. Yep, that is nearly 150lbs. I doubt I can reduce the weight by 90%, but I am hopeful to reduce it by 80%. The test rib went from about 9lbs to 2.5lbs, but I could have been more aggressive in the chambering and finishing. We shall see.
Safety discovery #1. 142lbs is massive and if it falls on one’s foot, injury is likely. So, I have used dowels to connect the two halves and will work on them separately until it has been lightened and is at a more suitable weight for placing on the shaping stand.
Safety discovery #2: Longer 3/4" dowels to connect the halves are safer. The first ones pictured here only stuck into the sides by 1 1/2", and as soon as we picked up the board, they slipped out and the timbers crashed to the floor. No one was hurt, but it was close. The current dowels stick into each side 3". In retrospect, I think 6" would be better, but I’ll be cautious and take my time.
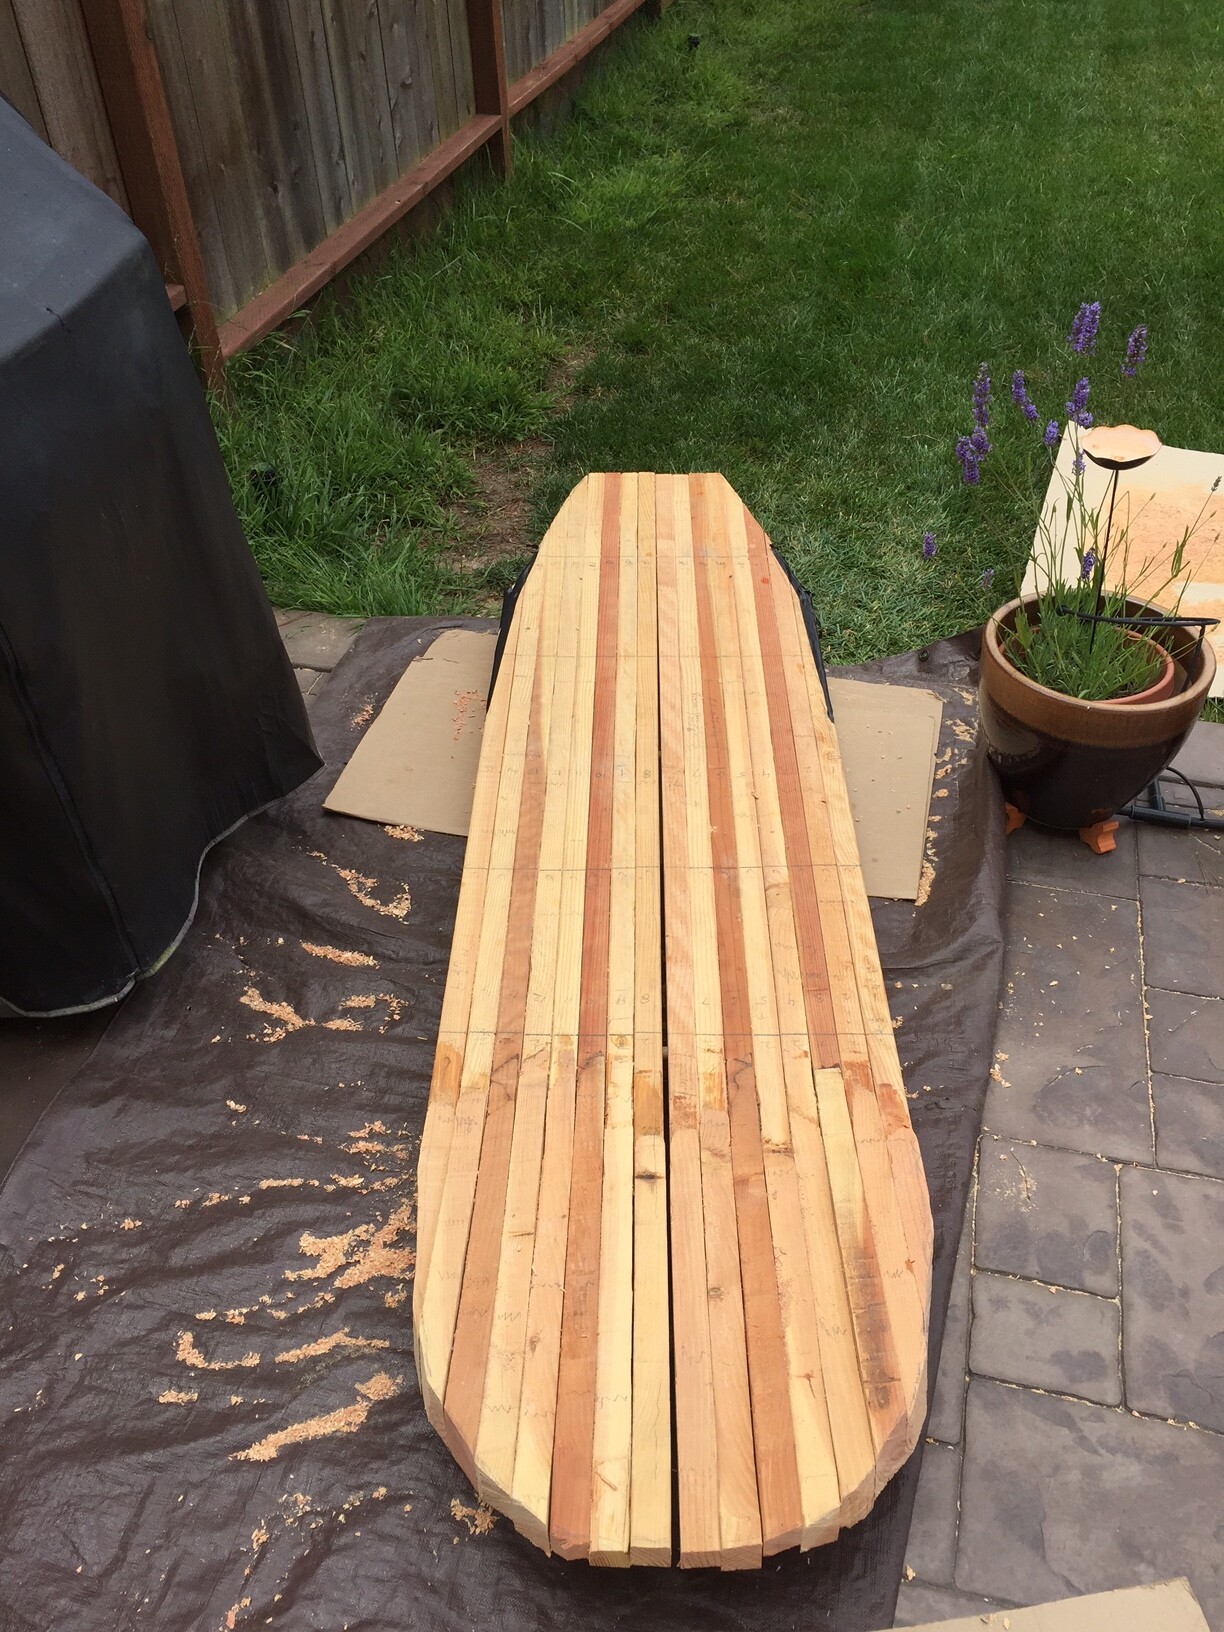
In one of the pics, I have used electrical tape to better show the final outline of the board. I was not able to cut with the grain long strips with the hand saw. I’ll gradually get the shape smoother as the process moves along. Likewise, the snout will also be slightly more narrow, with a longer taper into the rails.
An hour or so of planing dulled the hand plane blade so I’ll sharpen it up in the next couple days. I am also going to borrow that belt sander from a neighbor and try 36 grit on the board for very rough leveling and shaping.

What sort of handsaw are you using there? If you get a brand new disposable one they’re usually really sharp and cut pine like hot knife through butter.
Great idea. For $10 I probably should have picked up a new one.
The one I have is a very inexpensive small hand saw from Home Depot/Lowes. It is a few years old and has served its purpose around the house for the last several years. It cuts across the grain wonderfully, still. But cutting with the grain is tiring. It is not a rip-saw, per se. (https://en.m.wikipedia.org/wiki/Rip_saw).
Regardless, a new saw is a good idea as this one is getting dull (and certainly more dull than a new one).
Thanks for the tip.
Made an overnight trip down to Santa Cruz. If you get the chance, stop by the Museum of Surfing. It is free and tiny (one room) in a cool location (at the lighthouse). One of the inspiring parts of the museum is the small collection of wood boards. For me, the various shapes and sizes suggested that exact dimensions are not critical for a hobby board. Just do it and have fun. Additionally, the story of how surfing was brought to California, and the original dimensions of the 1885 redwood boards was fascinating.
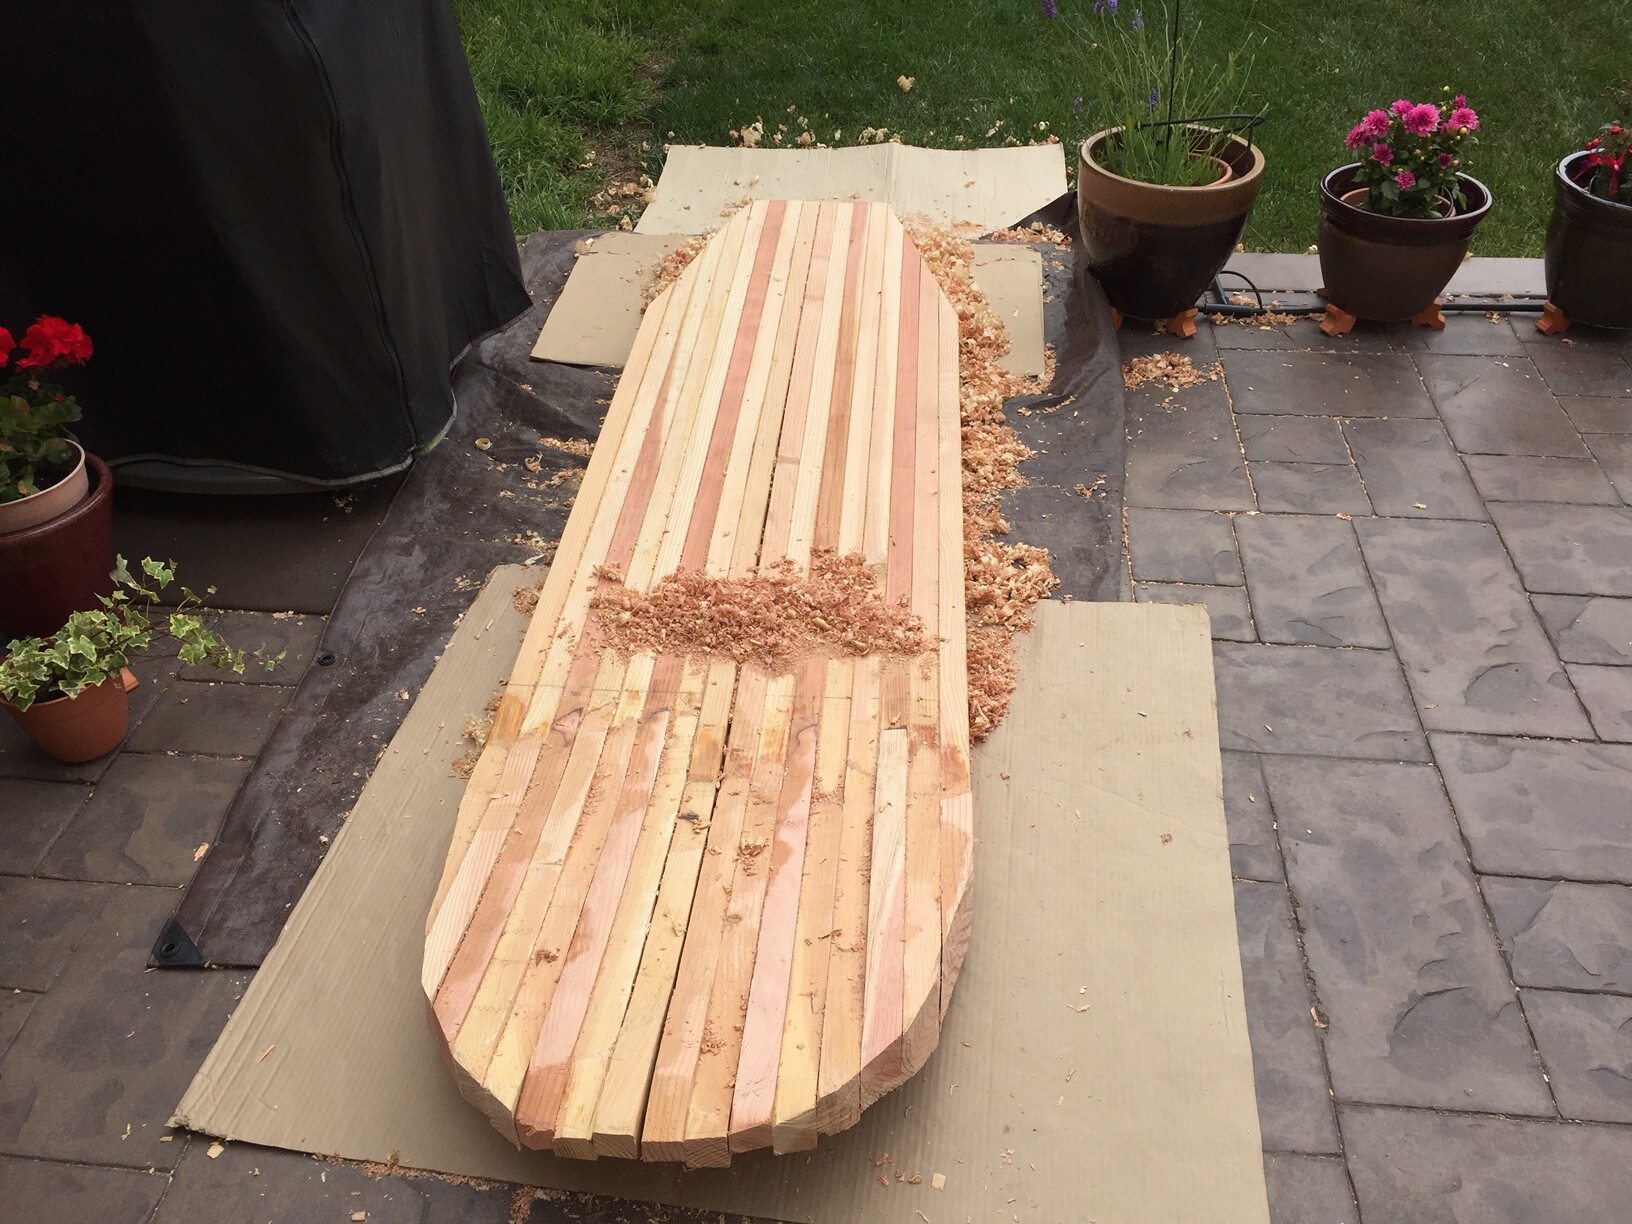
Three hours today and the top and bottom deck have been planed and sanded. 36 grit paper on a hand belt sander is sufficient to sand off the top layer of wood, but not sufficient to shape anything. Glad I did not try to start with 60 or 80 grit.
I am going for 50/50 rails, and used the jigsaw on a 45 degree angle to cut the rough rail bands at about 1" top and side. this leaves about 1" between top and bottom for rounding the edge of the rails. Goofed up part of the bottom band, not knowing how to control depth, but figured it out for the rest of the board. I am hoping I can get it onto the shaping stand next weekend and hand plane the rest of the primary rail line, then maybe the following week, get into the secondary rail bands. Yes, an electric planer would be way faster and probably better, but I am going to stick with the hand plane for as long as I can. Once it gets sharpened and tuned, the sound of stripping off curls of wood is intoxicating. If you go for a hand plane, buy a sharpening stone as well. You’ll need to sharpen the blade about every hour or so. It is pretty easy to do and makes a huge difference.
Here is something I wish I’d known before beginning the project: 2X4’s have “eased” edges (aka slightly rounded edges running along their entire length). They are not perfectly square and therefore there is a gap between all the boards when they are laid side by side. To close these gaps and level the decks I now have to plane and sand down 1/16" to 1/8" over the entire board. If I had known this when I started, I would have paid the $50 to have all the boards run through commercial planer and made square on all their edges and faces before starting. I hope this tip will be helpful to someone in the future.
Here are a few pics of the rough rails.

Why did no one ever tell me how fun it is to hand plane the rails of a wooden surfboard? It is a blast! the sound and feel is simply wonderful. The plane acts like a rubber eraser. Just feel what you want rubbed out and go over it a couple times. Exactly what I was hoping for in this project. A really nice feeling to the entire rail planing process. From the jigsaw’d edges to the current planed and sanded rails (80 grit with a belt sander, though an orbital or random motion sander would have been better) it took about 7 hours, or in my case one weekend.
The weight of the board now is 110lbs. The dimensions are on the posted pic. 94" long 24" wide. It is 3 1/4" thick in the mid-section and tapers to about 1 1/2" in the nose and tail. So a rough volume estimate is: 92 liters, displacing 92kg, or 202lbs. Assuming a 25 lb board and me at about 180lb, plus another 10 for a wet suit, we should be good to go on the volume.
Instead of sanding further with 100 or 120 grit at this stage, I am going to start chambering, and then hand sand after that. The board at 110lbs is just too heavy to man-handle around safely and easily.
More famous last words, but I am very hopeful to bring this in under 25 lbs. We shall see.
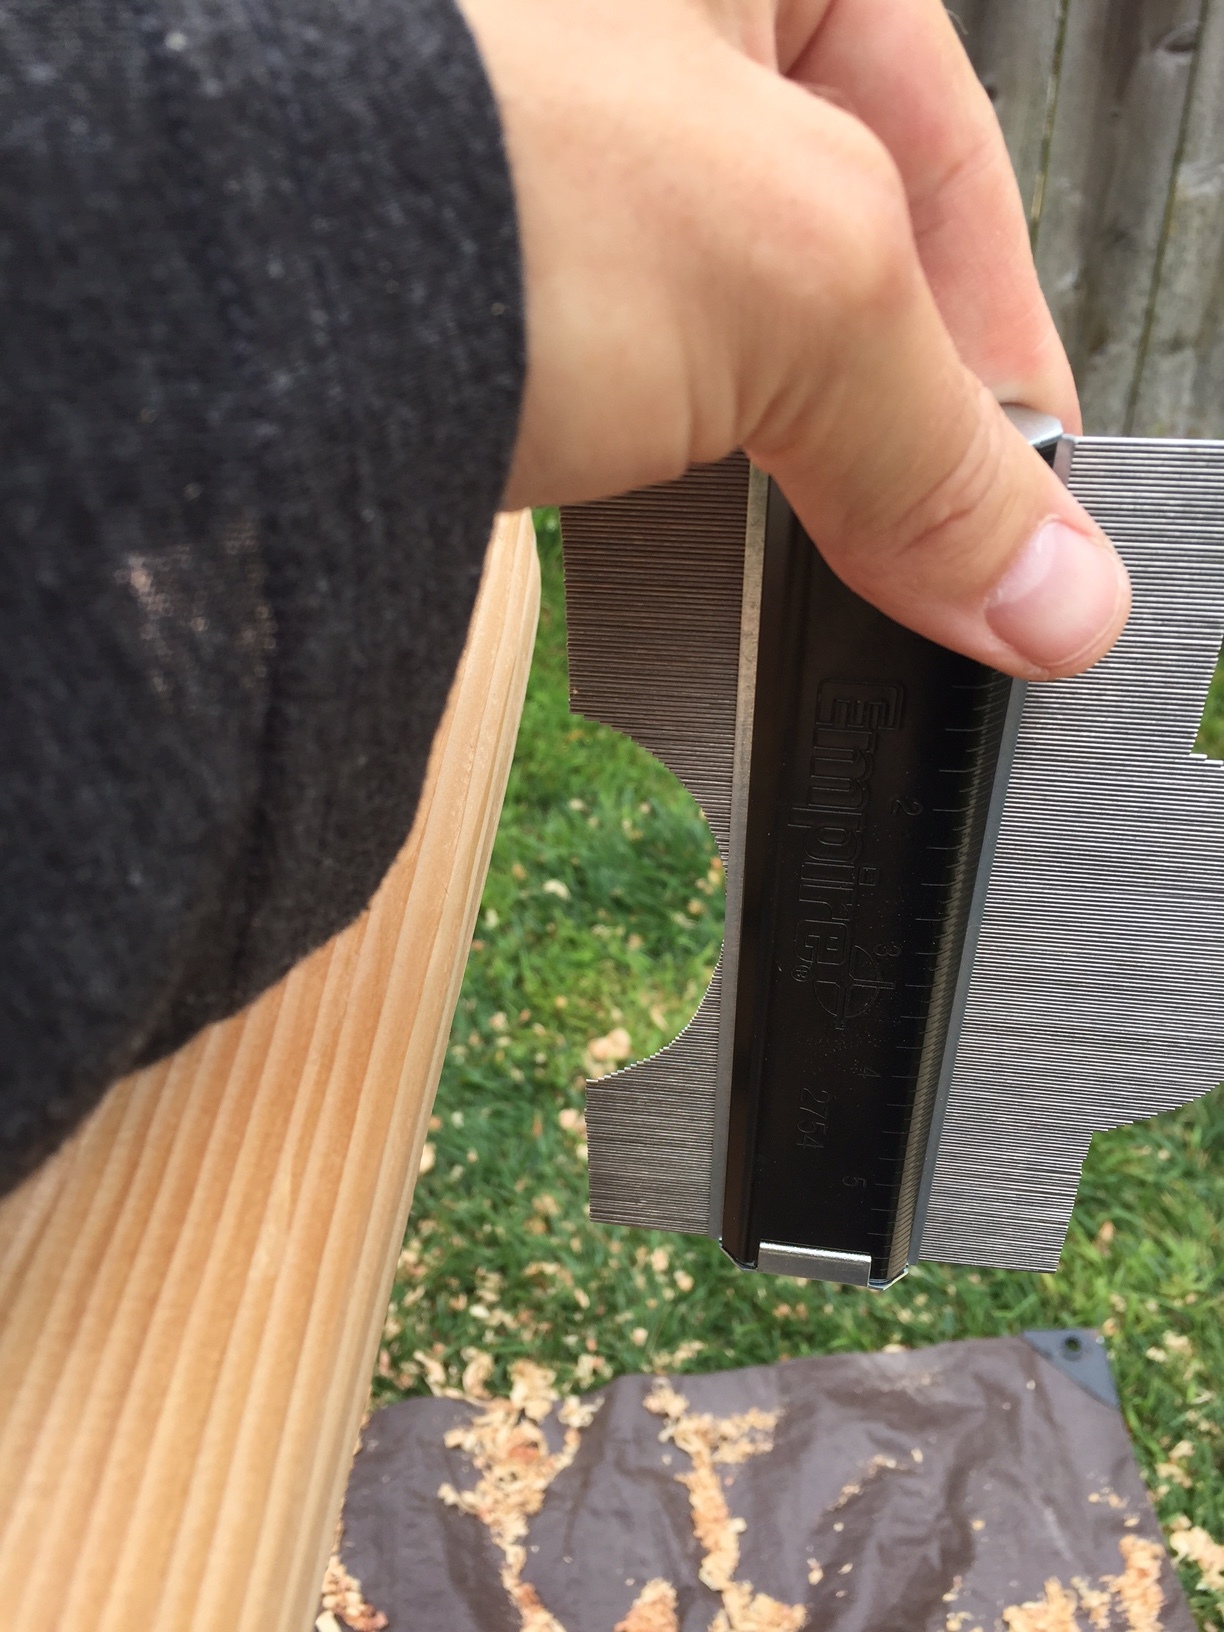
The rails are soft and 50/50. There is a pic of the profile with a profile gauge in this post.
Overall, a great weekend of work.
Next challenge is choosing the fin placement so as to leave solid wood in these areas (avoid chambering these areas). I am going to try for a 2+1 set up with a 10.5" longboard fin box and 2 side fins using FCS-X2 plugs.
Next weekend after marking out the fin placements and drawing lines to help line things up when glueing, the plans to start chambering the boards by unscrewing them one at a time, chambering one at a time and glueing them right after chambering - again one at a time. With 16 boards to do, this could take a month or so.
Thank you again to everyone for the encouragement and for all the helpful tips and posts here.


It is going to be obvious to everyone else, but I just realized that I have to smooth out the hips on the board. It cannot have an angular section leading to the tail, or anywhere, for that matter.
So back into the shaping stand next weekend.
I’ll trim it along the blue lines in the pic, first trying 36 grit on the belt sander, then the hand plane.

The middle 5’ of parallel rails on your outline may cause some turning problems for you. You might consider blending your curve tail to nose. In other words, no straight lines. Check profiles on other longboards or even visit Blending Curves website (www.blendingcurves.com) for inspiration. Great progress. Don’t get too impatient.
Thanks Tom for the encouragement and tips on curving off the the parallel edges and entire outline. I will take a deep breath, slow down a bit, and work on curving the entire outline. Part of the issue was not thinking about the outline once I started the planing and sanding. Once it started to look like a board, instead of a collection of 2X4’s, I became a little over excited and forgot the nature of smooth water flow around the board. In retrospect, it was a bit frustrating to try to cut curves with a straight edged handsaw, and I could have cut off a few more tangents or even used a $10 coping saw if I had taken one more day. Also, I am eagerly looking forward to the chambering process and got a bit ahead of myself.
Patience will be key (thanks again for the encouragement). The Blending Curves site is an excellent resource!
So next weekend, it is back to the plane and 36 grit belt sander (and maybe a coping saw). I will say the initial experience of planing and sanding was great. It is lovely to see the curves begin to take shape, so I suspect it will be another enjoyable weekend working with the wood.
This is why I prefer to work up my design before building, and utilize a template for the outline. I also, when building a wood board, use a rocker template, but you will probably want to avoid flat spots in your rocker as well. At any rate, (no expert here) here is a rough sketch of a suggested outline to clean up the shape… (and no protective ground cover needed for the sawdust and wood shavings over green grass)

