I'll update this thread with pictures as I make the board. I'm very lucky to have the guidance of Dave Yearwood helping me with this project and showing me all the tips and tricks, as well as shaping philosophies that can applied in other areas of life. Thanks to Jim Mincher who led me to meet Dave Yearwood. I'm glad I went surfing that morning!
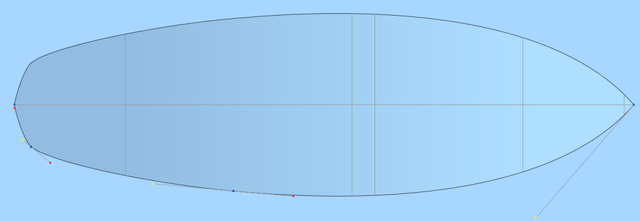
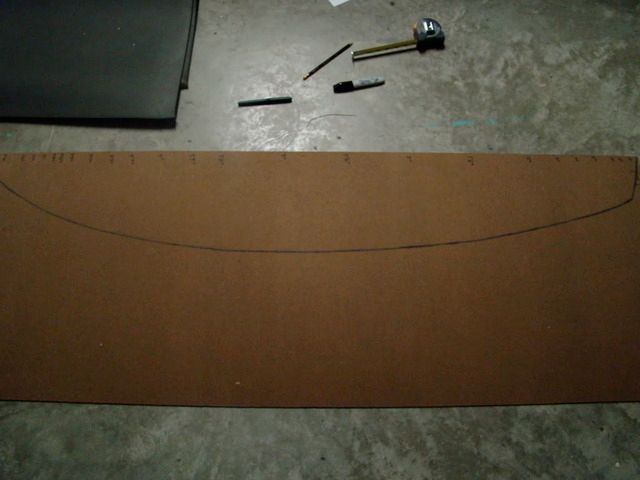
It takes a while to measure out the template, but make sure you get the line as true as possible. Dave Yearwood's advice applies throughout the whole process as well as life on general: Start off with a good, solid foundation, that way it will be much easier to come out with a perfect - or as close to it as possible - product. Actually, Dave didn't start helping until we got to the actual foam shaping.
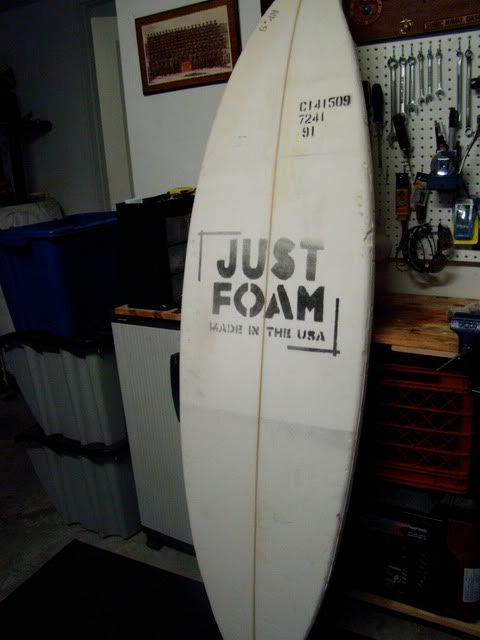
I got the blank from Wrightsville Glassing.
[IMG]http://i272.photobucket.com/albums/jj176/ledzepfreak94/DSC03658.jpg[/IMG][IMG]http://i272.photobucket.com/albums/jj176/ledzepfreak94/DSC03657.jpg[/IMG][IMG]http://i272.photobucket.com/albums/jj176/ledzepfreak94/DSC03659.jpg[/IMG]
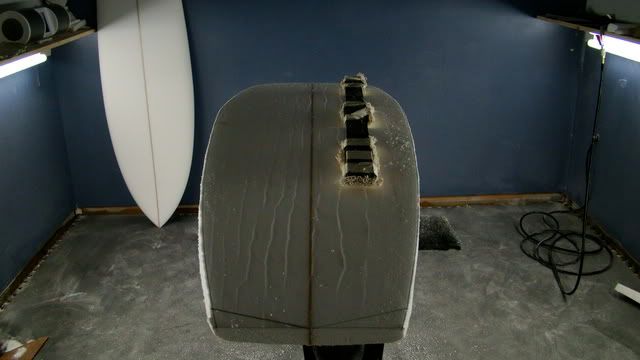
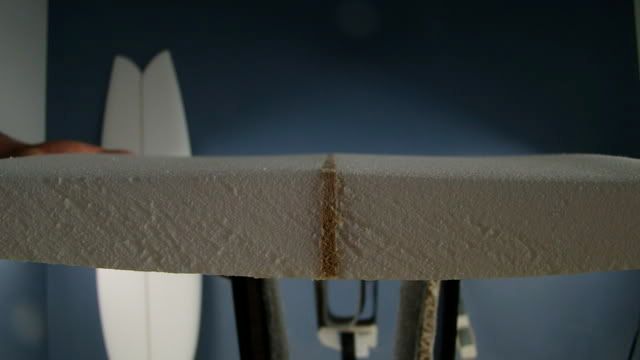
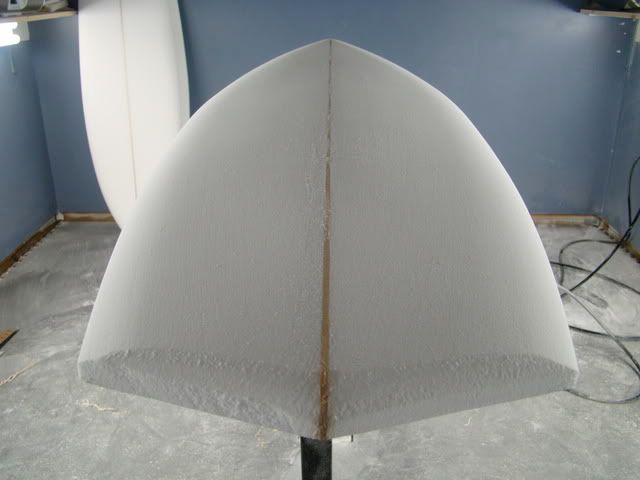
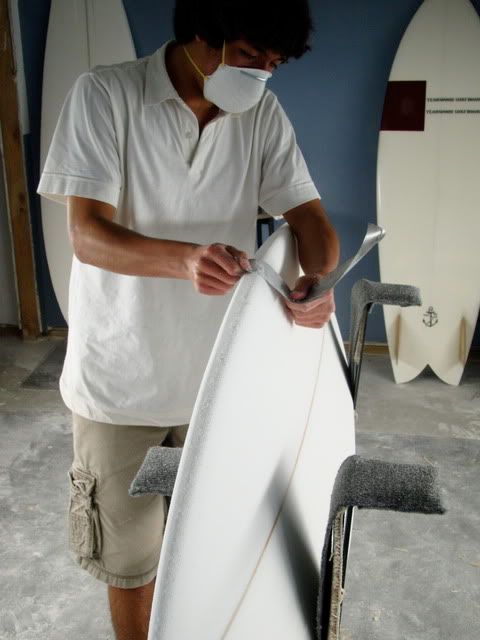
After a good three hours of intense learning under Dave Yearwood's teachings, We've come to this. My template wasn't perfect so he fixed up the lines and set a good solid foundation to start shaping with. This way we could take a look at the lines and make sure everything is perfect before we commit. Then we measured the end of the tail's width, and the width a foot from the nose, as well as the widest point that we wanted. As of now my dimensions are 5'7" x 19.75 x 2.75. After trimming the stringer with a block plane, he showed me a certain technique for planing the bottom of the board and let me plane the majority of the bottom. He told me that it's easiest to open it up all the way, probably because you don't have to worry too much about accidently easing off or on. His advice was to keep the planer close to the body and walk with it, don't let it get too far away from you (don't be lazy). Also, make sure that the front platform of the planer rests on the uncut foam so that the cut is flat every time. My lines may have been zig-zaggy, but it turns out the bottom was pretty much perfectly flat, don't let the planer marks fool you.
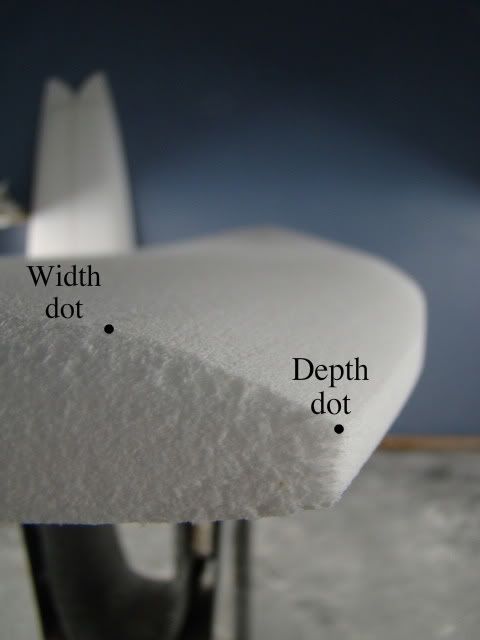
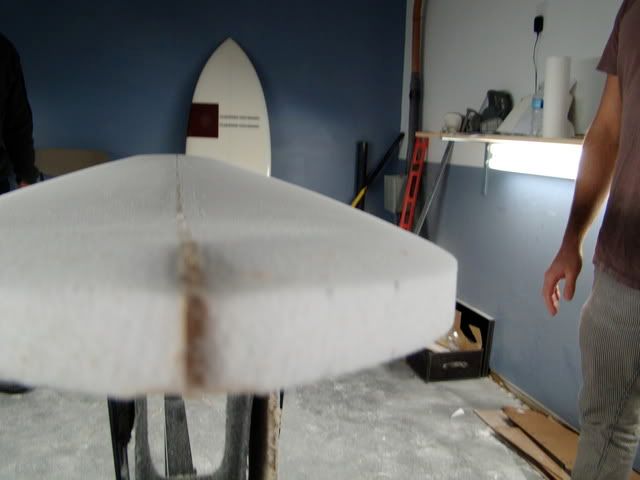
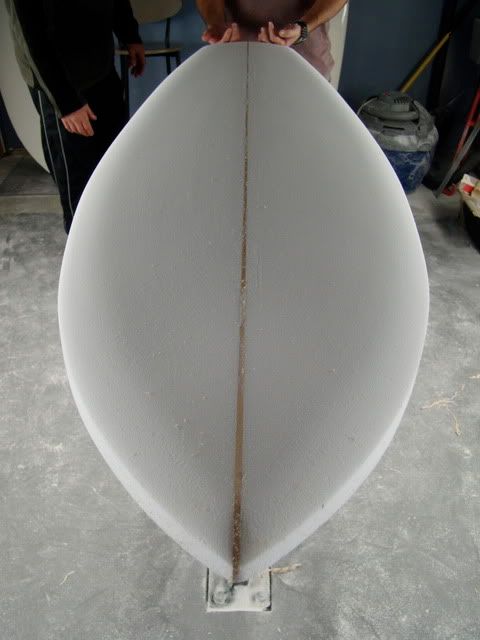
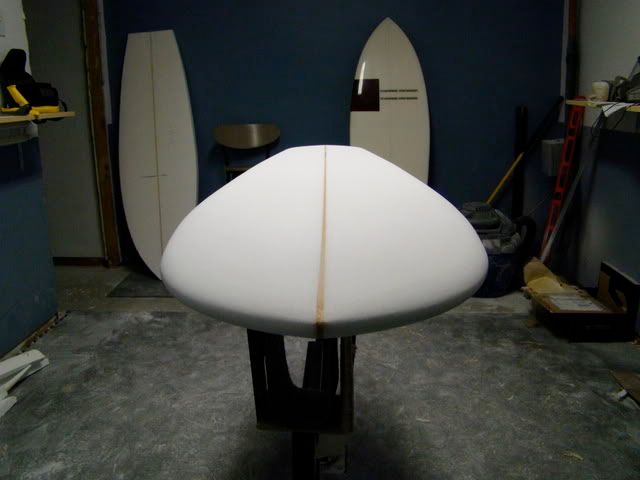
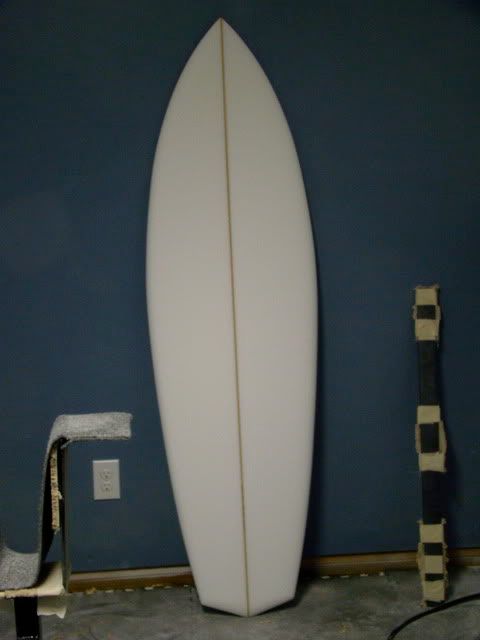
After getting the thickness down to what we wanted using the planer (measure thickness with calipers), we took our measurements that we had from earlier and marked the points on the foam (foot from nose, tail and widepoint). For the wide point, we put three dots at the same distance from the stringer and drew a line parallel to the stringer going through them. Using three dots lets you know if you measure wrong, because all of them can't line up if you mess up. The reason we drew a line was that we weren't sure where the exact wide point would fall, so that leaves room for variation. Then, using his quarter templates, he got the outline to pass through all the points marked on the foam so that our outline is pretty much what it was to begin with. We had to do all of this mainly because my tamplate wasn't perfect, and we needed to remove any bumps or weird curves from the original template.