Project Frog (*warning 56K...lots of pictures)

Awesome Salty. Glad to see it pulled you out of the woodwork…or glasswork I might say. This whole process really is not that bad at all. After it is all said and done, I will go back through and add detail to my descriptions and make things a little more clear and presentable. I want people to be able to read the thread step for step and end up with a beautiful completed board. i’ve been lucky to have someone with experience to take me through the process so I figured I would take advantage of that by concentrating on documenting the whole process. Not to mention I can go back and remember what I did so I can do it again! I will keep the pictures/descriptions coming. As soon as we setup time to do the fins, I will get it all up on the thread.

I’m very stoked as to how light the board still is with all the added weight. But I still have a ways to go. Hope everyone finds the thread helpful and glad to see you’re part of the swaylock’s community now!

Here’s a pic I took of my girlfriend the other night out on the beach after a storm passed. I thought it was really cool b/c the lightning lit up the whole ocean!

Why did you decide to lay a layer of cloth, glass that and then lay another 2 layers on top of the first one? Why didn’t you just lay all three layers of cloth at once. Were you worried about wrapping the rails with that much cloth? Thanks for the pics and descriptions this was just something that has been bugging me and I was wondering about.

hi mate !

Any more photos to add ?

I’m enjoying the documentation …

keep the photos coming …there’s been waaay too many “academic” bullshit threads going on here lately , I’m wondering if any of those guys even surf , or make boards .

I only look at photos nowadays , couldn’t be bothered with pseudo science crap.

cheers

ben

I just started a project just like this but a 5’3" fish with the exact same type of foam. My first question is for the stringer what size balsa did you use? Next, did you spackel the entire board? or just certain parts of it because I can see that this foam is going to be messy. Also when you glassed the butt crack of the fish it looked like it the resin and cloth didnt really get in there is there any tips for getting it better?

thanks

Hey Figure 8,

Thx for the warm welcome party:)

I went surfing the entire weekend, with a friend. We planed on sleeping in the truck…and that we did. Pulled a dawn-patrol on sat. morning…waves not to bad. But today they crapped out, so we headed home alittle early. no problem though…we stopped at his mother’s house and had an awsome breakfest. …help settle all the damn saltwater I drank…hehe.

Met afew guys, while my partner slept in the truck(other surfer’s of course)…so all-n-all…not bad!

Anyway I could hardly contain myself. I wanted to come home and see if you made any more progress on your board. One of the guys that I met of this weekend is thinking about the same thing…building a board that is.

I hooked him up with your thread, so don’t be suprised to another new face around here.

Alright man…hopefully you’ll find the time soon.

Salty

Hey Everyone-

Hunter (aka “theboys”) is now a father as of this weekend. He had a baby surfer girl! He’s gotta be stoked. He’s been super busy with the baby but as soon as he has a moment to get away, we are gonna cut the fins and glass them and hopefully glass them to the board. Not too much further so keep checkin back.

As far as the stringer, I used a 1/4" thick balsa stringer. I did in fact spackle the entire board. I was careful to spread it evenly and scrape up as much excess as I could to keep it light. If you decide to tint your board and you do not completly fill in all of the small indentions, you will get colored speckles that gives the board a marbled look.

As far as the butt crack, it was tough covering it with glass. I am going to experiment and cut a small diamond shaped piece of glass to cover the area, just for good measure. I will let you know how it works out. If I find a way to improve it, I definitly will and I am always open for suggestions.

I forgot to mention that the foam really wasn’t that messy. When I was shaping it with the sur form, it grinded away into little pieces, but never had any chunks come out of the board. After grinding it down, going over it with sandpaper made it super smooth again. I really enjoyed working with b/c it was super easy to shape and sand. Easy to fine tune it.

I will update the thread with some more pics as soon as we get going. Hopefully very soon!

I laid the first layer of cloth first because I did a blue tint. If I did all three layers with tint, the color would have covered over the rails around to the bottom of the board…covering up the green rails. So I did the first layer as an inlay because it was blue in color. After that was ready, I used the last two layers to cover the entire top of the board, over the rails, and under to the bottom side and covered them with clear resin. Does this help?

EDIT: 8/24/06

Well I know its been awhile but I’ve been super busy. Anyway me and theboys decided to trace out the fin design and cut em out. Going with the Twinzer setup. Pretty straight forward. I traced and scanned the actual fins.

http://i32.photobucket.com/albums/d49/W8kbrder/Surfing/My%20Surfboard%20Project/FinTemplate.jpg

You can just print out the template and use it. I’m not sure if a scanner changes the aspect of the picture or it keeps it identical so i’ll post it up anyway. If its not the right size, go by the shape on the template and compare it to my aspects below.

Large Fin Aspect: 6 1/2" top (part connecting to board) to bottom (tip away from board) and 7 1/2" front (facing nose) to back (facing tail).

Small Fin Aspect: 4 1/4" top to bottom and 4 1/2" front to back.

Here’s the process:

The good times vintage cooler saw horse…

We used your basic jigsaw to cut the wood…or top of the line heavy duty Dewalt jigsaw…whichever you prefer. Either way don’t try cutting wood like this at home. Hunter is a highly skilled professional in using sharp powertools in close proximity to his fingers. :slight_smile:

**One side of the wood will come out splintered along the edge. That will be the side we foil (make smooth and rounded off). The other side will stay flat.

Decided to go the extra mile and make a cutaway style fin. Should be cool…

I took some pictures of a couple of Hunter’s boards from his quiver. Here are a few that he made. Pretty sick. Got a shot of what style fin setup we were going for (light blue board).

This was a setup he did with a balsa inlay that I thought was pretty awesome too…

I’m heading back to SC for the weekend so hopefully we will be able to foil the fins sometime next week and definitly by next weekend. Theboys is pretty busy with the new baby in the house. Hopefully these pics will hold you over. :slight_smile:

-Nick

thanks a lot nick the knife ! [‘the knife’ + ‘the boys’ = “nick”/s , for sure !]

Please keep the photo threads coming guys ,

they are a breath of fresh air in amongst all the pseudo “science” wank threads that have been floating around here like week [weak] old turds lately.

photos matter , the rest is just filler / empty words. I wish those “academia head” guys would just go surfing and shut the fuck up.

cheers mate !

 ben

Ben:

I’m sorry, but its not clear to me how you feel about the theoretical threads. Tell us your true feelings please.

Check this out:

This is Ava doing a soul arch. Stoked.

hunter

Hey man! DEWALT don’t make no danged basic jigsaw. That there’s a heavy duty tool son! Bite your tongue boy!

Quote:

This is Ava doing a soul arch. Stoked.

hunter

he’s throwing up his / her / its hands in surrender …

“oh shit , put me back, put me B-A-A-A-C-C-K-K-K !!! …I don’t want THIS for a dad , can I choose ANOTHER one please …what’s that smell??? …dad , where’s MY respirator??”

[you could have at least stopped glassing your board in the delivery room for a FEW minutes , while it was born , you know , hunter ! ]

Quote:

Chip…does the toilet flush counter-clockwise in Australia? Just a debate that every American has argued about at some point in their lifespan.

Ahhaaaaaa… all will be revealed… I am now understanding the term “seppo”…

LOL!!

NO PICTURES of this one please, that goes for you too chip!!!

Quote:

Hey man! DEWALT don’t make no danged basic jigsaw. That there’s a heavy duty tool son! Bite your tongue boy!

Sorry man! I did a little correction on the thread. You will be much more pleased with the changes!

EDIT: 8/29/06

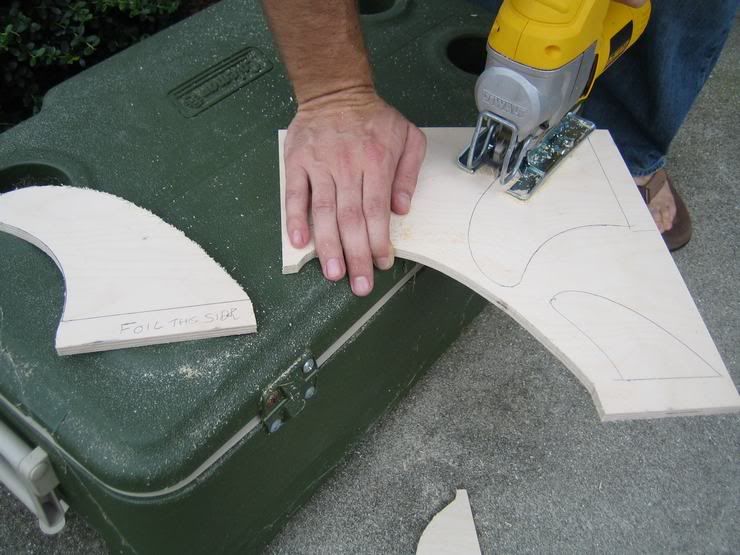
So tonight we foiled the fins.

Tools Used: 80 grit sandpaper, Grinder, Hand Saw, Spring Loaded Hand Clamps, Vise Grip

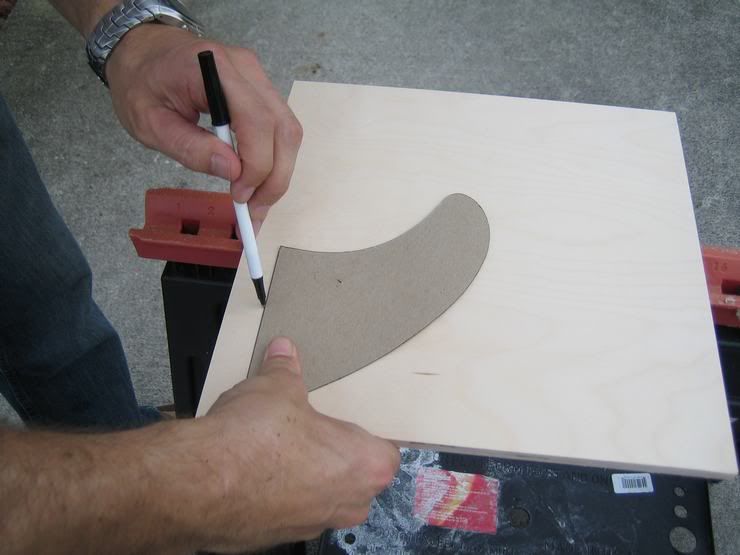
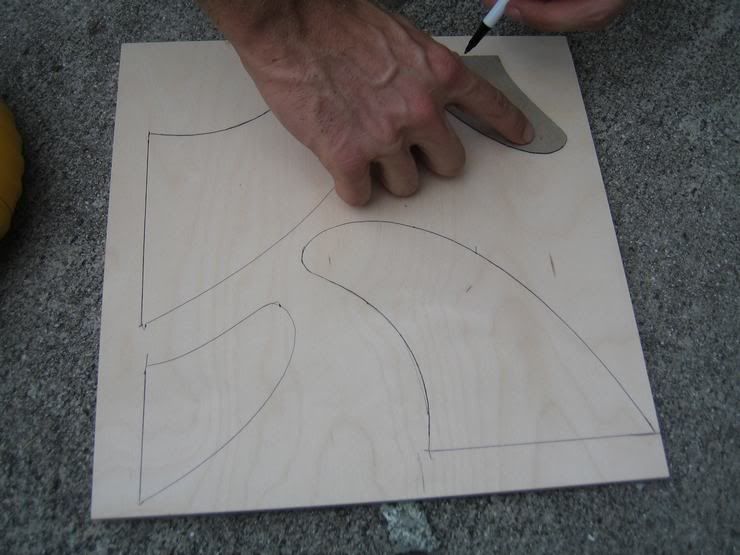
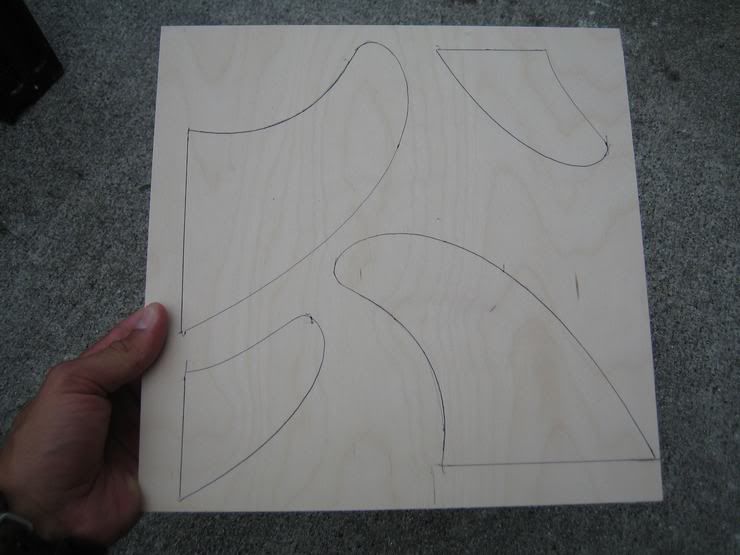
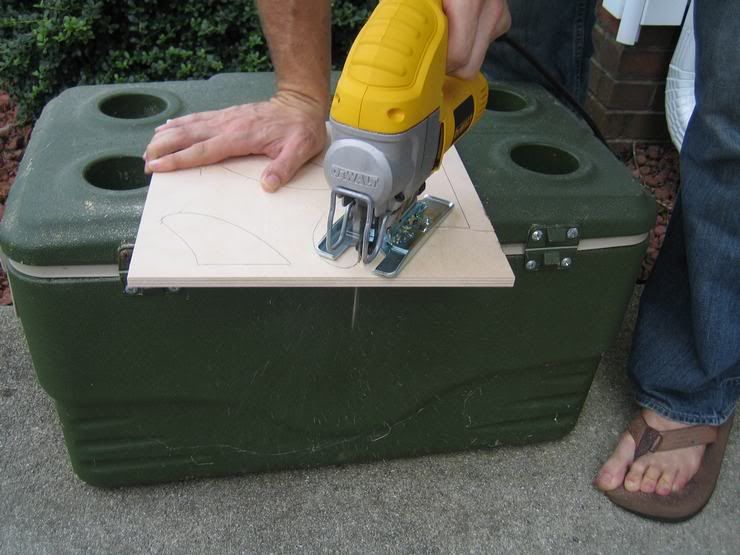
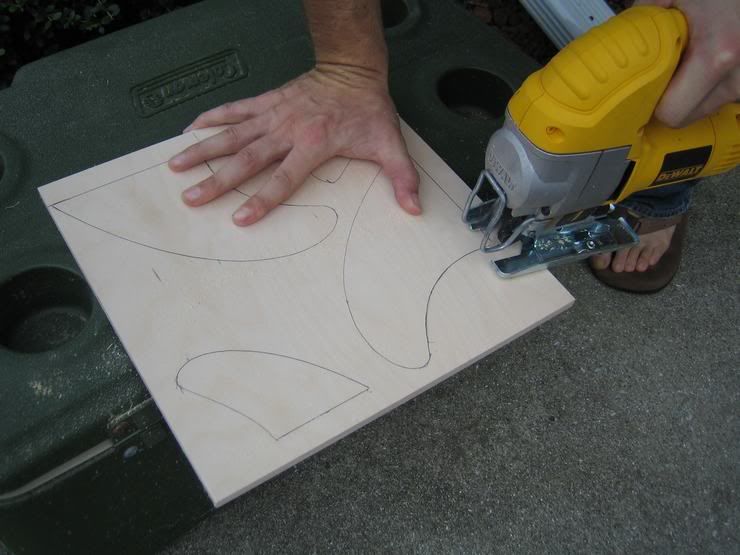
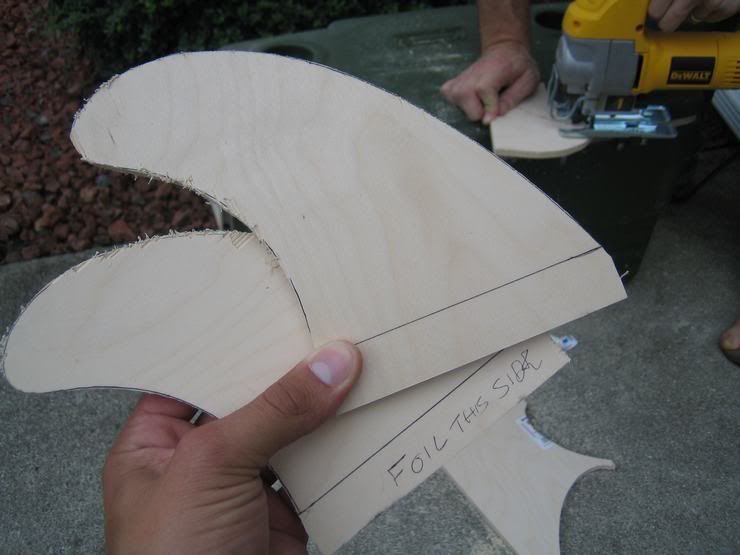
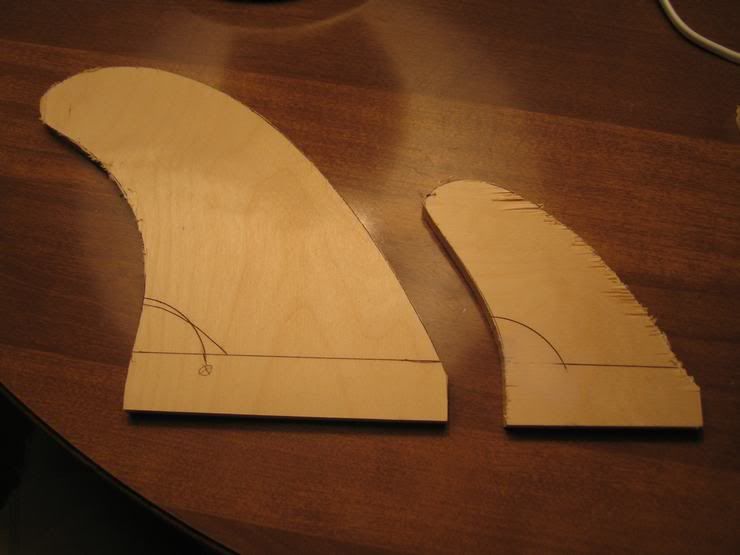
After I cut the shape of the fins, I clamped two like fins together (clamped the two small fins together and two big fins together) using some spring loaded hand clamps, and “trued” up the edges (basically sanded them until even) making sure they were flush and equal all the way around the fin. After each fin matched its twin perfectly, we foiled one fin at a time. Using a vise grip and a hand grinder/sander, we started grinding away at the fin ever so lightly. Hunter has unprecedented skills when it comes to foiling…just look at that craftsmanship!

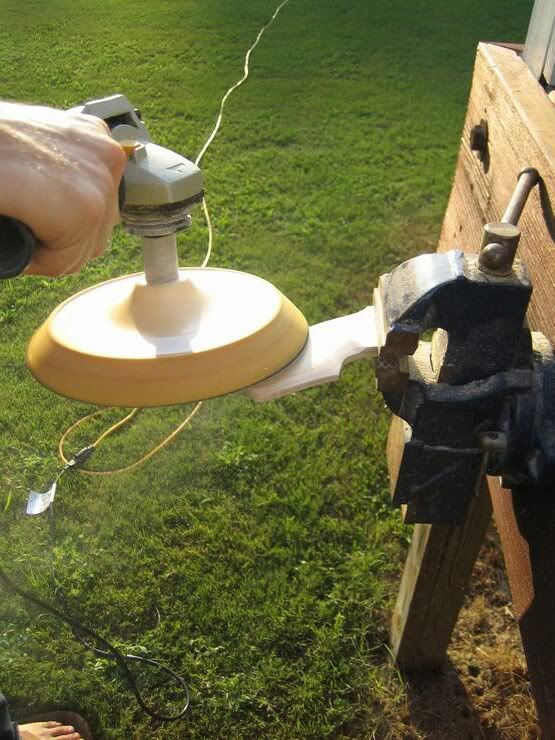
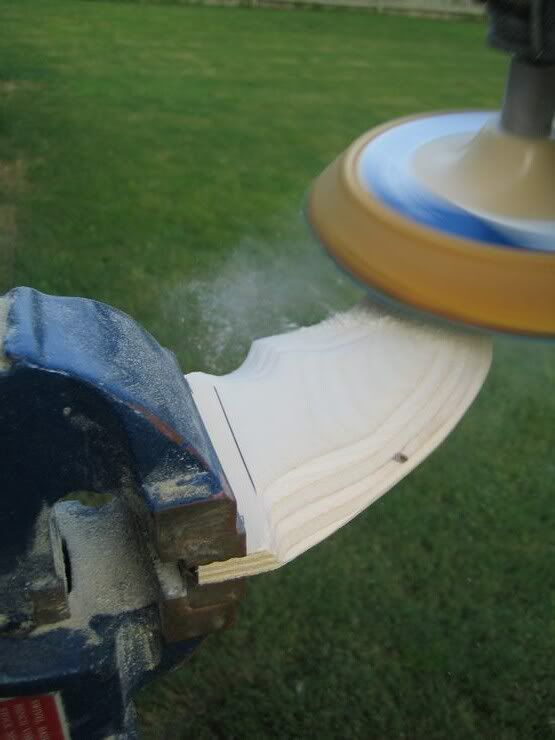
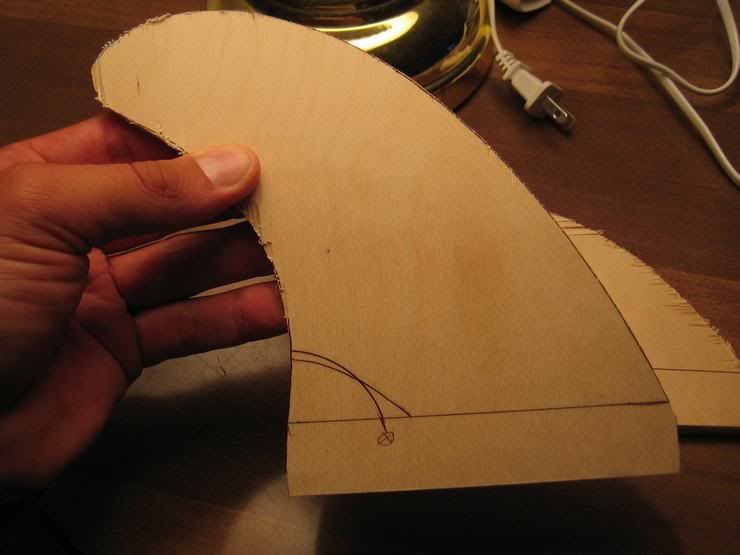
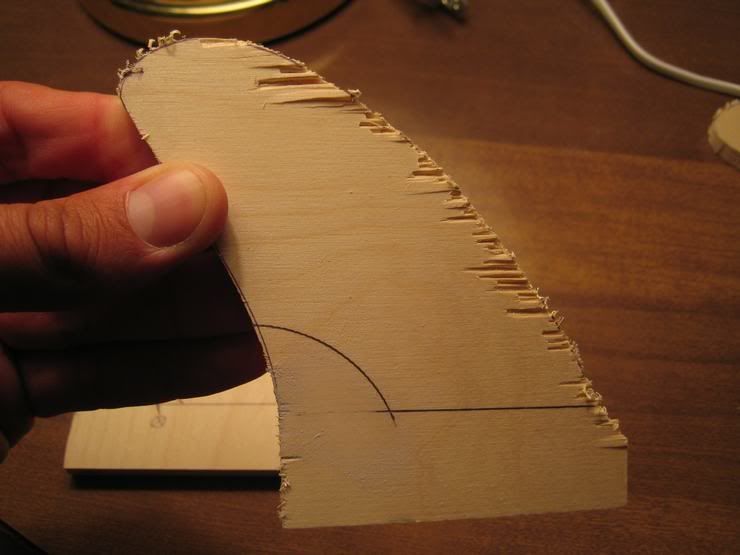
During this part, you basically want to pull the trigger and let go. As the paper is spinning, you apply the spinning grinder to the fin in short bursts. Never hold down the trigger because the slightest pressure can grind right through it and break it off. Take your time. This is the part that you need to be very detail oriented about. Keep pulling the trigger in small bursts and sanding little scuffs at a time. Since this is all done by “feel”, it may take a few times to get it right.

**Please Note: Make sure you foil the correct side of each fin. You want two fins (one big and one small since I have a Twinzer) with the foiled side facing outward to the left of the board and two fins (one big and one small) with the foiled side facing the right of the board. If you screw up, you have to re-cut a fin and true it up again. Just save yourself the time and make sure you do it right the first time!

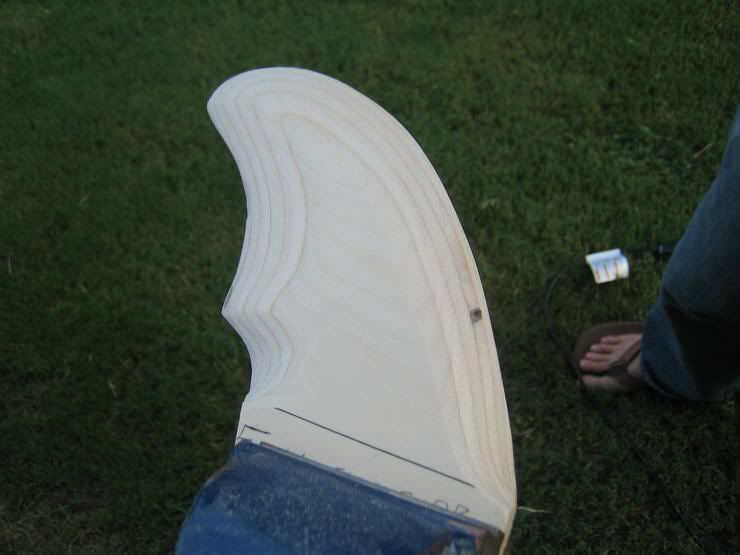
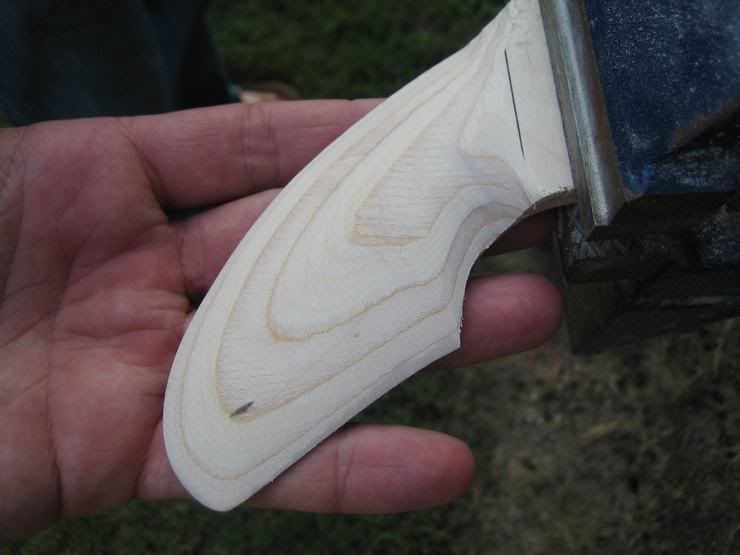
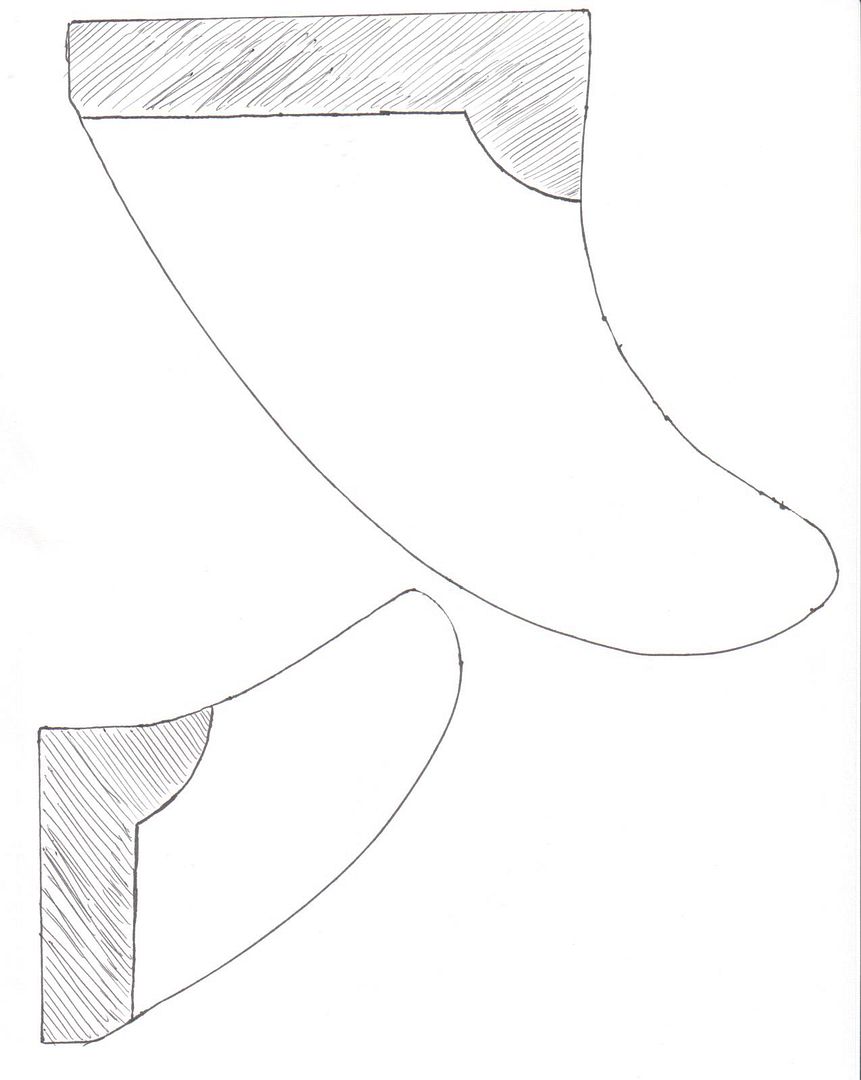
After the fin is grinded to the desired width/thickness, hand sand the fin from this point forward. That way you won’t break it since it becomes more fragile as it gets thinner. Once the fins are completed, we took a saw and cut off the base. This was also a judgement call. There is no certain area that needs to be cut so you will have to feel your way on this one as well. Hopefully the pictures can help!

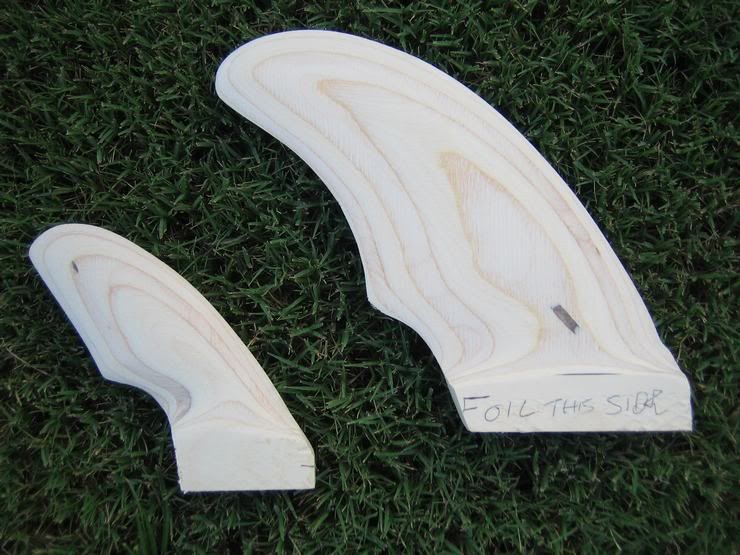
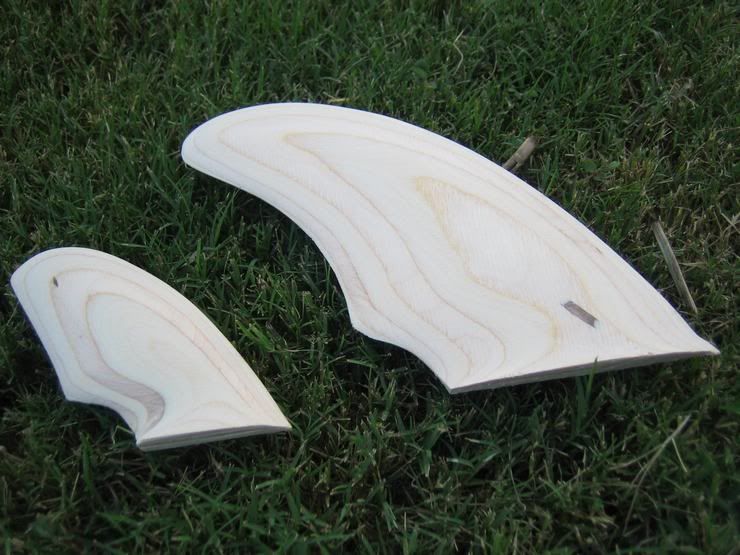
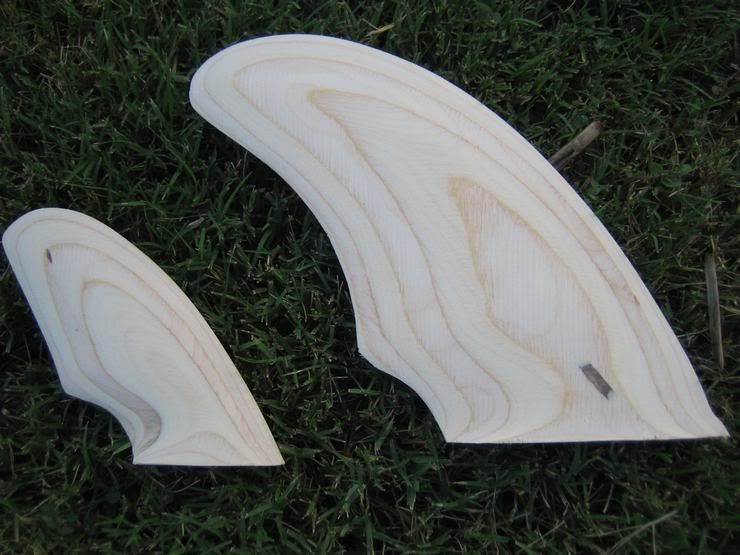
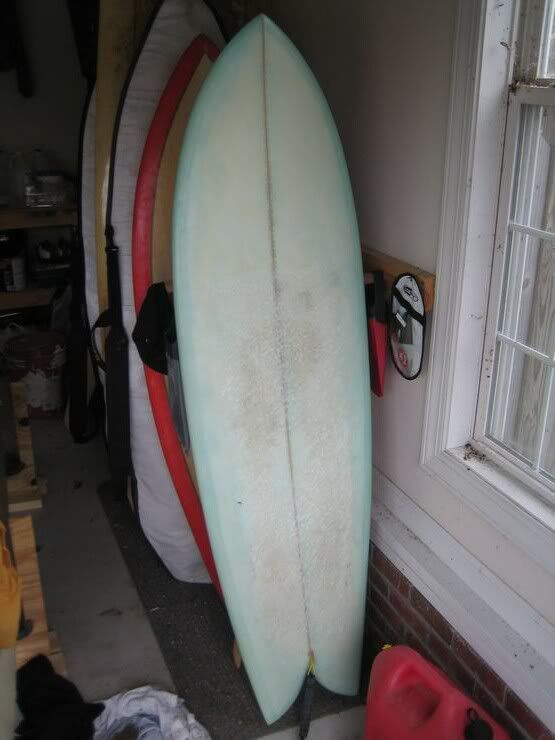
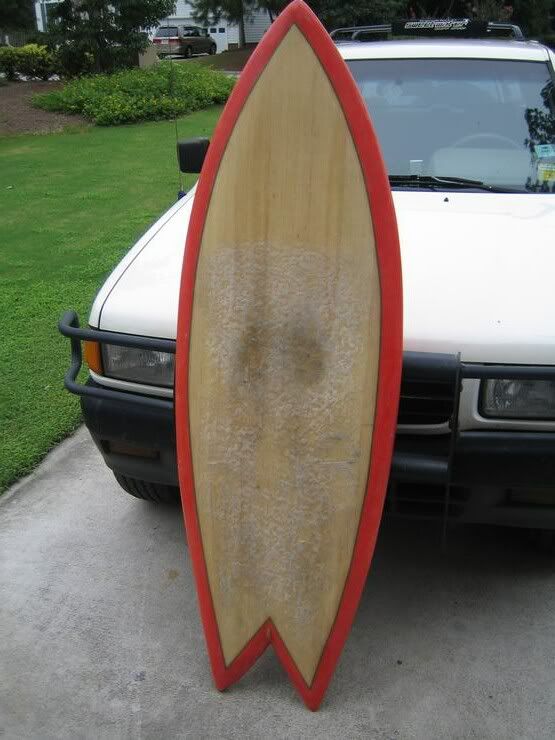
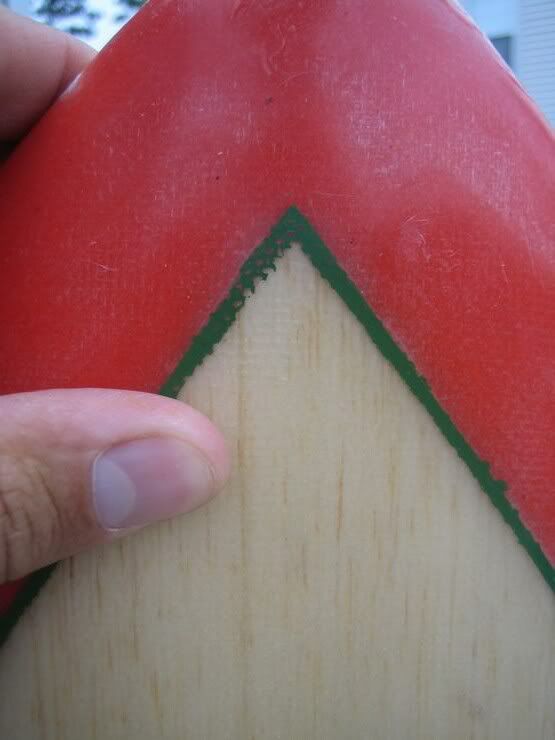
Here are the end results. I believe the subtle “cutaway” in the fins looks really cool and hopefully will give it the magic touch. I’ve experimented with everything else…why not the fins! Hopefully we will have them glassed within the week and then glassed to the board.

Since we have a hurricane (well actually a tropical storm that could be a hurricane) heading up this way from Florida, I’m stoked that we might get some good waves! Too bad the board isn’t quite done. :frowning:

More pics to come so stay tuned!

Hey, I wanted to let everybody know that a friend and I put up a site profiling some of my creations. We created a forum on the site too, not as an alternative to sways but more as a way for me to document my projects, be ridiculous, and get peer review on ground that has been covered here time and time again. I’m working on a board right now–a twin pin D fin-- for a friend and am going to do a step by step there. Basically, I’m trying to do a pictoral guide for newbies in the realm of conventional poly construction with epoxy glassing. I don’t feel like its appropriate for sways in that, well, its been done a number of times here. I just thought it would be fun. Note: I am not selling anything, just trying to be creative and have fun.

It’s www.hoharlabs.com. I let chip check it out. He made fun on me about it, and so should you.

“be ridiculous”

he ain’t kidding !!!

check the photos of “the boys” !! [I hope you kept them there , mr. henky !]

Chip, what would be a fair halfway point between WOZ and NC? We should meet there and fight.

I guess your spaceship would have to fly to my planet first ??

If you will recall, I am an honorary wozzie. I will do whatever it takes.