Proper repair for this longboard rail ding?

Hi all,
I have this ding that I’m planning to repair it myself. Want it to be as neat and proper as possible. I have some experience repairing but need opinion on how to do this one properly.

Questions :

  1. What type of cloth do i need and how many layer? Since the damage is on the longboard’s rail in the middle of the board and pierced through the foam, I want to make sure that the repair will strong enough to withstand the flex.

  2. With a ding this size, is it overkill to fill the void with a piece of PU foam or just put q-cell in there is enough? Any pro and con?

  3. As for color matching, should it be resin tint when lay up the first layer cloth or airbrush before hot coat?

I would mix cabosil or chopped glass and blue pigment to fill it. Sand and put a small patch of glass over. If the color matched well you can use clear resin with the glass patch, or add pigment if you’re trying to improve the color match. Sand and finish as usual.

I think airbrush can produce a more invisible patch if that’s important to you, it isn’t to me.

1 Like

Remove, pry out and cut off any loose glass. Cutting out a chunk of foam will be harder to disguise. Fill the ding with Q-cell, sand and cover with a piece of 6oz and a layer of 4oz. To color the ding use Jamaican Blue pigment in the final layer of 4oz. Hot coat and sand. Premix your pigment and resin in a Dixie cup to match before you apply it.

1 Like

The pigment I refer to is Duratec “Jamaican Blue”. A little White added to the Jamaican Blue gives you almost any shade in that color range. It is a tint or an Opaque based on how much colorant you add to you quantity of resin. The same shade of blue is sold under a variety of names by different manufacturers and supply shops.

Awright, lets do this the damn near invisible way.

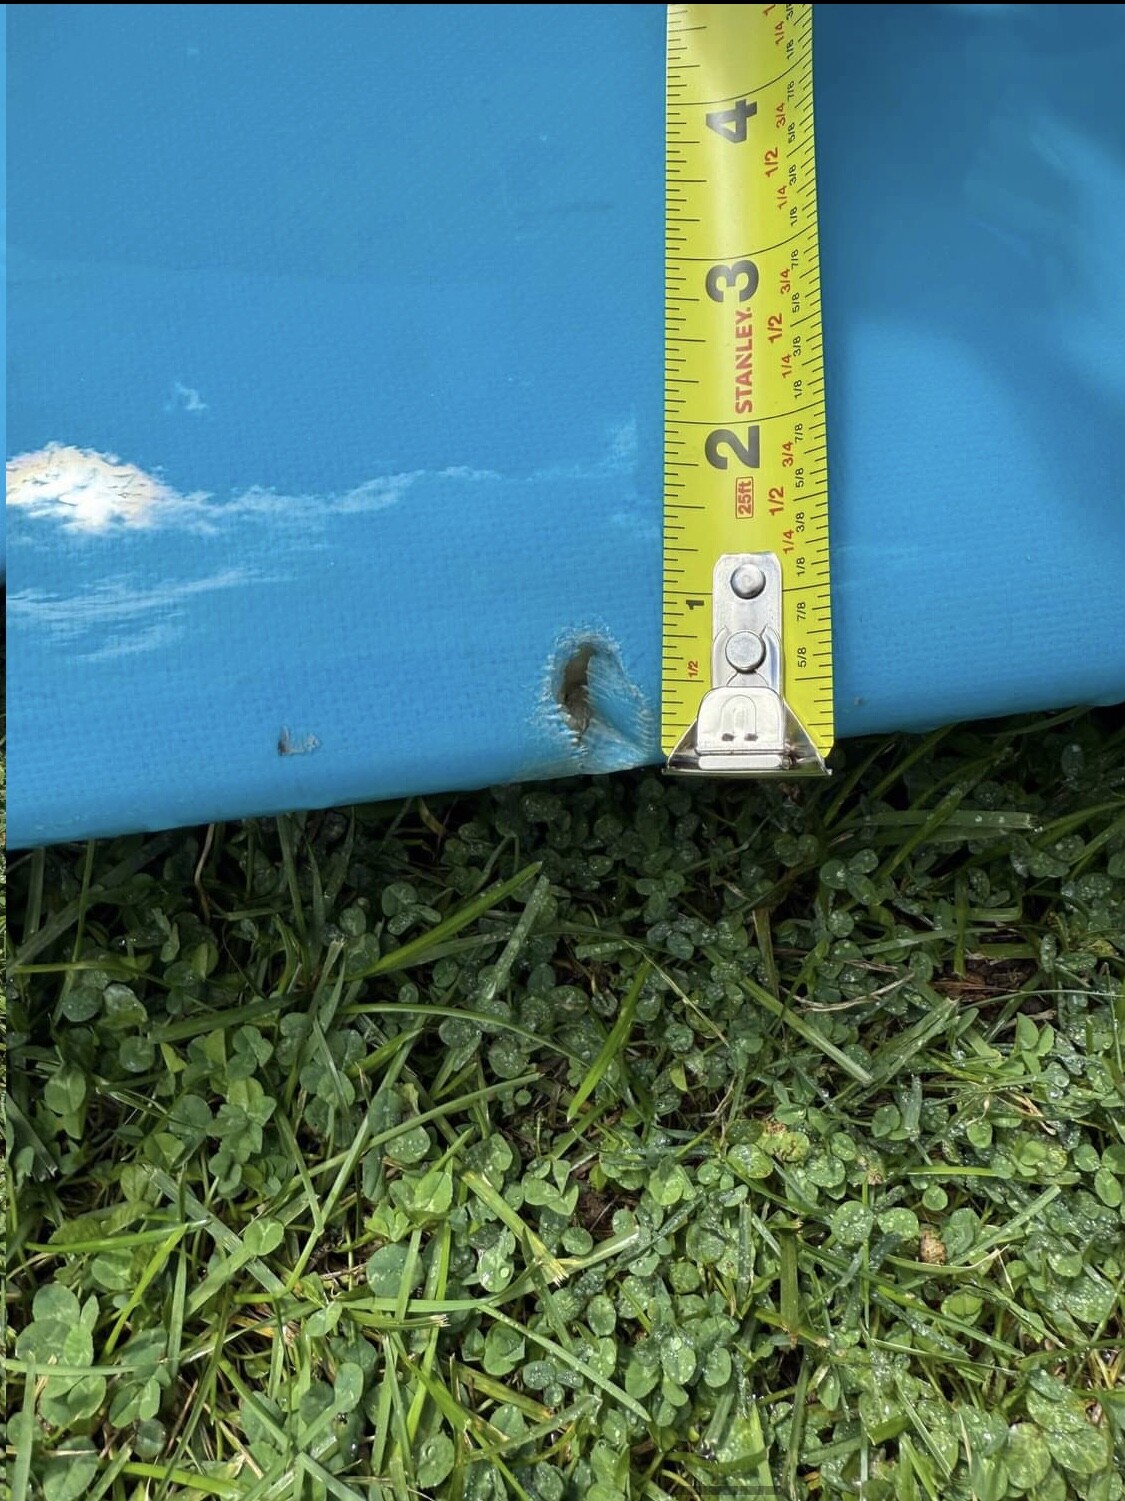
Carefully, with an x-acto knife* or better yet one of those dental-pick-like tools they have at good hardware stores, pry the crunched in glass away from the foam and just get the bends out of it. Do NOT go nuts with a saw or knife or similar foolishness, think plastic surgeon, not lumberjack. Save as much as you can of that original glass, it’s your friend.

Now, said glass will come pretty close to its original shape. That’s good.

Next step:Fuc# Cabosil-

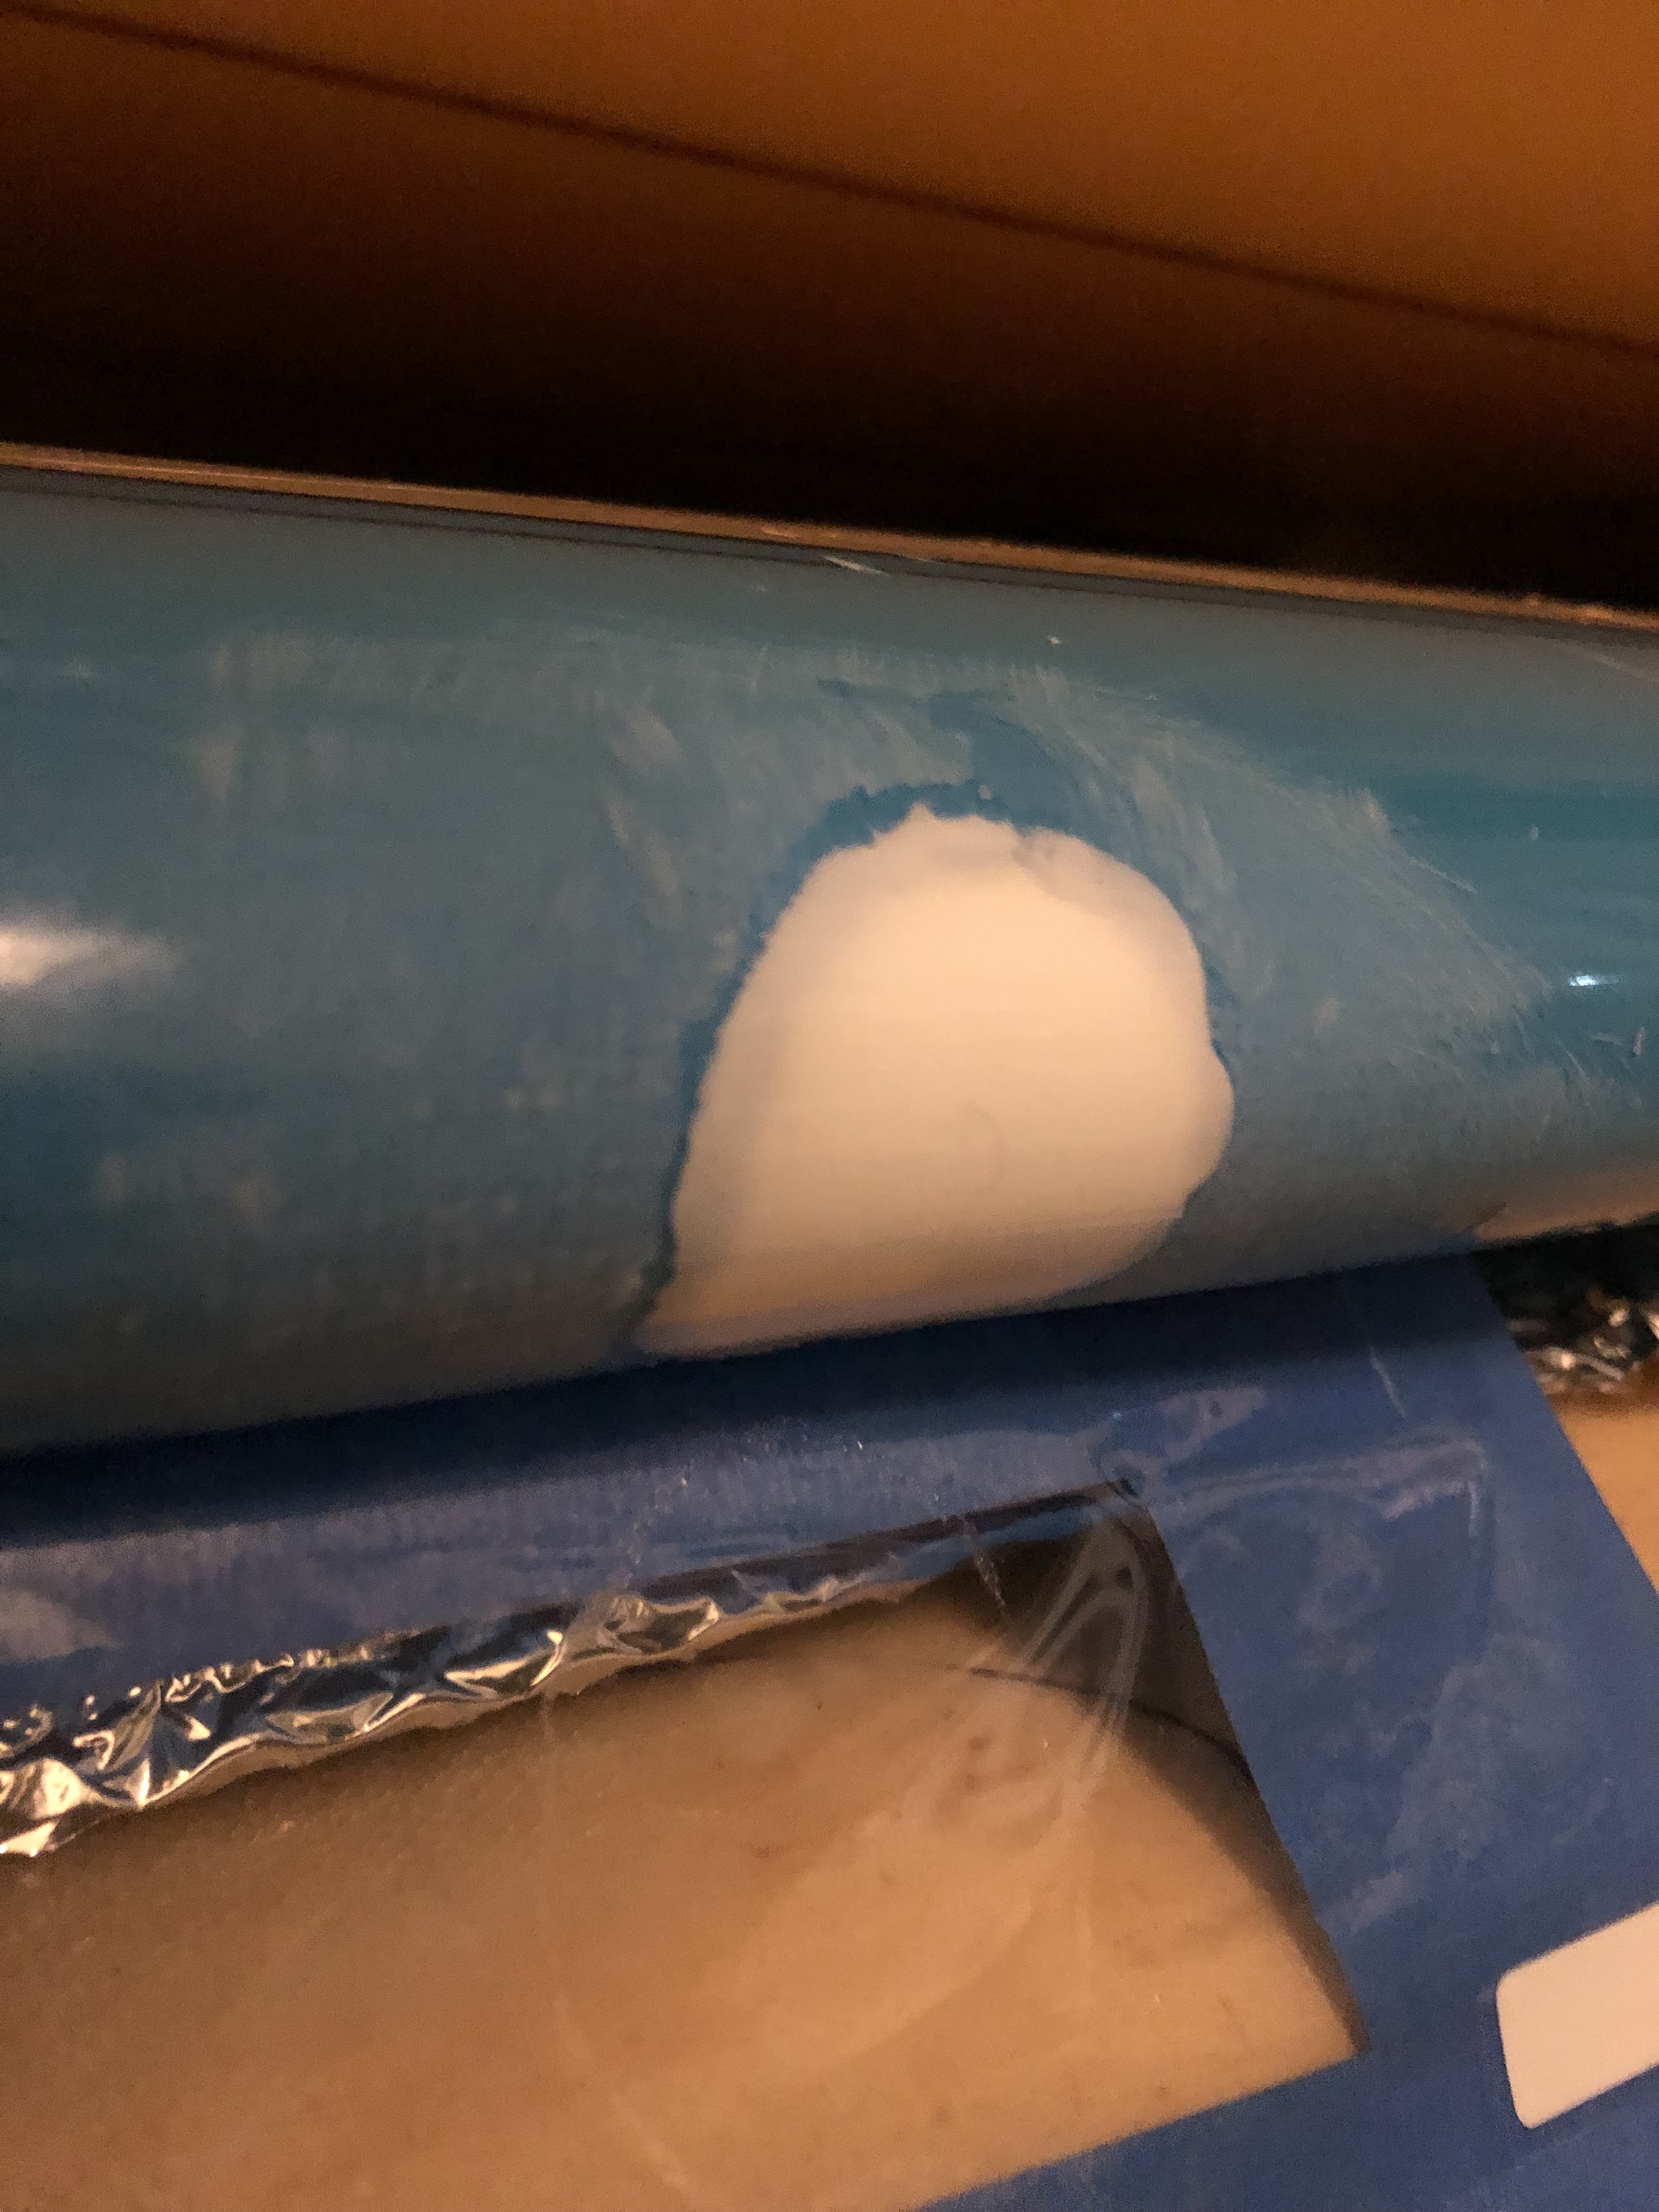
Behind that cloth, squirt a little bit of fresh water, let it drain out, then squirt some White Gorilla glue, Amazon has it**. It expands nicely, but tape your crunched glass over it. Said glue will foam and expand about 3x the original volume. And look just like the original foam.

Or, do it the hard way, don’t tape the crunched glass over it, sand the foam to shape, then stick the glass on it. I warned ya.

Lightly sand. If you weren’t a cut-crazy idiot, at worst you may see a little white in a crack or two, you can live with that.

Next step - glassing.

Make two patches, 4 oz cloth will do, one bigger than the other. Apply using a chip brush and clear sanding resin.

Fuc# pigment, dyes and such aggravation. Nobody ever gets a perfect match, especially when you are putting pigmented glass over original pigmented glass. I sure as fuc# didn’t in over 50 years at it.

On the other hand, your original glass is the perfect color, right? Use it. Clear glass over. Sand lightly, combined hotcoat/gloss, wet sand, polish, call it a day.

Remember, plastic surgeon, not lumberjack.

hope that’s of use

doc…

*Use a new x-acto knife blade. Any rust on an old one will come off in your repair and look like hell.

**Gorilla glue is water-catalysed, the moisture in the air that gets sucked back into the bottle after you squeeze some glue out will make it go off and make it into a paperweight. squeeze all the air out before replacing the cap, you may get a second use out of said bottle.

good luck.

Thank you for the pointer. I was trying to find it.

Thanks a lot for taking the time to write such a detailed and helpful reply. I really appreciate the effort and insight.

Too bad that I saw this too late. Just had a big operation today with cutting, digging and sanding. Now, I have this big white patch to deal with. :weary:

At first I was thinking about saving the glass and stuff something inside but didn’t know about the gorilla glue. So, I really didn’t know what to use to fill the hole through very small incision.

I will definitely try your method for the next ding. Hopefully, not any time soon.

Sorry about that, I only look in now and then.

And hey, it could be worse. I mentioned ‘don’t use a saw’ - I’ve seen great chunks cut out with saws or worse still, routers resulting in absolute bloody nightmares, fixable but the results …well, the cliche ‘this can’t turn out well’ really applies.

But, how we gonna deal with this? The problem with pigmented or tinted glass or worse, pigmented filler, is that the thicker it is the deeper the color is. You get a kinda piebald repair, especially if it overlaps stuff that already has color.

So, I would try a single layer of light cloth, with pigment, squeegeed or put on with a chip brush and minimum resin to get it a uniform thickness as best you can. Make it slightly larger than your filler, then lightly feather the edges to blend.

Don’t worry about strength on this layer, you’re not tying it into the rest of the glass, just shoot for as invisible as you can make it. Then, go with a layer of clear glass on top that laps out onto the board to tie it together, feather the edges (sanding carefully) before giving it a combined hotcoat/gloss.

I’ll note a couple of things-

Yes, I’m a big fan of the white gorilla glue for new-ish boards, makes a white foam filler that doesn’t trap air bubbles that expand and crack the repair. Easy to sand (at least compared to resin plus powder fillers) to shape. It’s expensive, perhaps, compared to resin plus thixotropic fillers, but the time saved and the good results justify it. For older boards with sun-browned foam standard gorilla glue matches up pretty good.

I try to get a fairly dry minimum resin lamination. Squeegee the bigger ones to get out the excess resin, a nice trick for smaller ones is to take a chip brush and shorten the bristles so they’re stiffer, they’ll press down the cloth and again, get rid of excess resin.

hope that helps

doc…

Go to Home Depot and get a sample jar of flat house paint to match. Paint the white spot. Let it dry 24 hrs and and glass over. Or do as I prescribed in my first post. Jamaican Blue is the easiest color to match. The best ding repair guy on the Island of Maui did it the way I described. If you take your time you can match it.

If I paint over the Q-cell area with house paint, will it compromise the bond when I glass over?

I glass, hotcoat, sand smooth, then airbrush a flat water-based house paint on, finish with an airbrushed low-gloss urethane finish similar to a car top coat. Anyone else use this method? Sometimes I find paint below the fiberglass coat problematic with bonding.

Oil-based house paint under epoxy? Very bad idea.

If you use a FLAT house paint and let it dry throughly, NO problem. The key words are dry, flat and throughly… if you have problems with glassing over a painted board or repair, you have done one of the above wrong.

1 Like

Foamagedden. Short answer; No.

Too bad. This is a simple repair that at its worst could be made hardly noticeable. Or at its best undetectable. This is your normal, average, run of the mill, everyday ding repair that you see in a ding repair shop all the time. Swaylocks over kill. Think it to death.

Questions about pigment.

Do you think the Dura Tec blue with a white are siffice to achive this color matching? Just try to figure how many color do i need, so i can order all at once. Shipping are expensive.

How well the pigment work with sanding resin? I don’t have laminate resin. Only have the blue Ding All which I use with every step of my repair.

I’m no surfboard coloring/painting pro Lowel. I’d be concerned oil-based paint would be soluble in resin.
Out of curiosity, why not water-based acrylic.
For rice paper laminates, I was taught water-based inks should be used to avoid ink running due to solubility in resin.

Yes and Yes. When you get your color match in a cup; catalyze you resin with minimal MEK so that you have more time to work with the cloth/pigmented resin. Put the cloth on with your pigmented resin. Squeegee excess resin off. Watch you color and repair as it cures/hardens. If you don’t like the match, simply peel the piece of cloth off before it sets completely. Clean the ding up with a little Acetone and start over. Best bet is to get it right in the cup. Laminate and hot coat. When your mixing/matching in your cup you can put a drop or smear a little resin on the the rail to check your match. Jamaican Blue as I said is one of the easiest colors to match. Go easy on the white and better to go closer to opaque rather that transparent tint. I never use sanding resin to laminate. I would be concerned that my cloth might separate some time later after I have have finished . IE Delam. Sanding resin doesn’t stick.