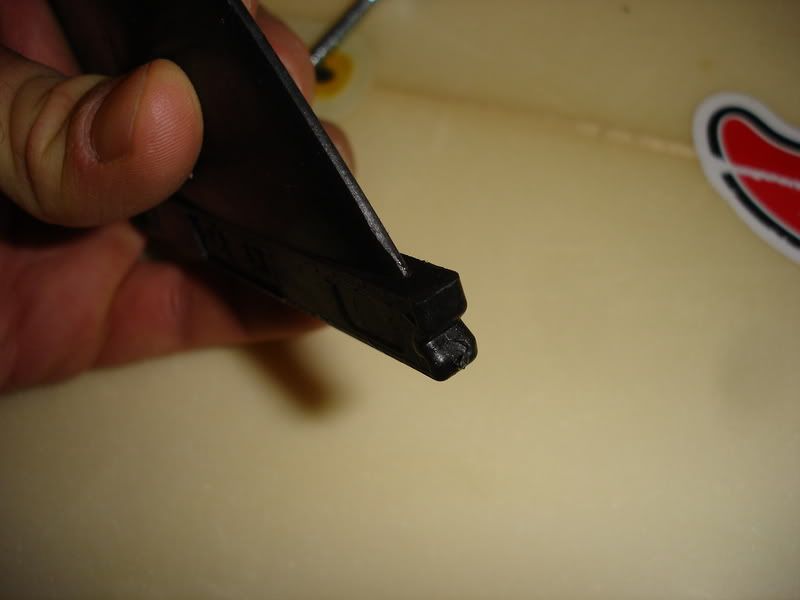
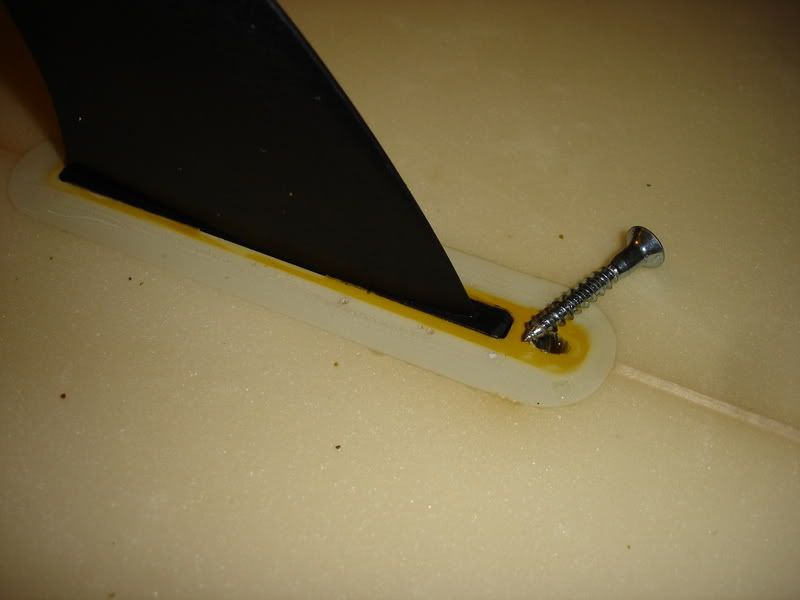
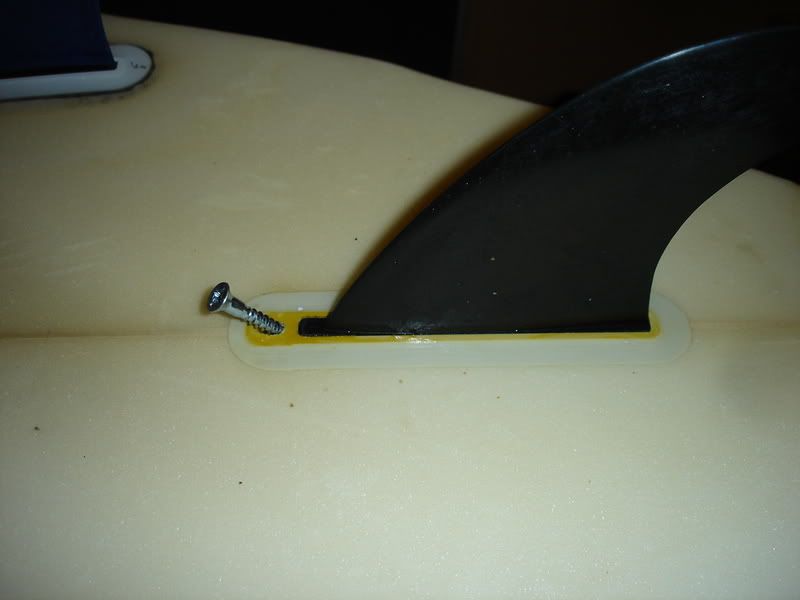
Does anyone have any suggestions on how to fix a stripped screw hole in the fin box?? It won’t tighten down on the fin. The next largest hex screw is too big for the fin box.
Or, can anyone suggest a repair shop in S. Fla for this fix?? I checked the local shops and no one seems to know how to fix this w/o replacing the fin box.
Mix up some 5 min. epoxy and apply a sufficent amount onto the original screw(apply an even,thin coat of hot parafin wax onto the screw before applying the glue).Now put it back in the hole.When it dries completely,remove /un-screw in normal fashion and sand off any remains on the top of the plug.
Thanks Herb! Your suggestion sounds much easier than what I found for fixing a similar problem with Future’s Fins:
DIRECTIONS FOR FIXING A SCREW HOLE.
Step 1: Level board so the resin doesn’t run out the top of the screw hole.
Step 2: Clean the box in question with a little fresh water to remove any
sand or grit and make sure the screw hole and work area are clean and dry.
Step 3: When dry, use masking tape to cover the screw hole on the inside
cavity of the box so the resin doesn't run out the bottom of the hole.
Step 4: Prepare the epoxy by following the instructions on the back of the
                   package. Fill the screw hole with the five minute epoxy. NOTE: Leave a

                   little void at the top of the screw hole, to allow the drill to be started

                   easier. Allow the epoxy to dry for a few hours.
Step 5: Use the #21 drill bit to drill a hole through the epoxy following
angle of the original screw hole.
Step 6: Now use the 10/32 tap to re-tap the drilled hole following the angle
Would a helicoil work? I used to use them all the time for stripped threads, but I’m not sure how well they would work in this scenario (in plastic). They are plenty strong, though, and would replace the weak plastic threads with metal ones.
Some “cut and paste” on similar issues: again from the westsystem website…
Advanced fastener bonding
For greater strength and stability, drill oversized holes to increase the exposed substrate area and the amount of epoxy around the fastener. If the fastener/hardware can be clamped by other means, the oversized hole can be extended to the end of the fastener.
1. Drill oversized holes 2/3-3/4 the depth of the fastener. The diameter may be up to twice the fastener diameter (Figure 16a).
Drill a normal sized pilot hole at the bottom of the oversized hole to the full length of the fastener. The normal sized pilot hole serves to hold or clamp the hardware in position until the epoxy cures.
Wet out the holes and the fastener with epoxy. Allow the epoxy to thoroughly soak into the exposed end grain of the wood.
Fill the hole with thickened epoxy/adhesive filler. Use 404 High-density (preferred) or 406 Colloidal Silica.
Install the fasteners with just enough force to hold the hardware in place. Allow the epoxy to cure thoroughly before applying load to the hardware (Figure 16b).
Bonding hardware
Bonding hardware goes a step beyond bonding the fasteners only. By bonding the hardware base directly to the surface you further increase hardware load capacity and provide a solid bearing surface for the hardware. It also seals the wood underneath, and is a stronger, longer lasting attachment than bonding the fasteners only. It is especially useful to mount hardware on curved, uneven or unlevel surfaces.
1. Prepare the mounting surface and the hardware base for good adhesion.
Wet out the oversized hole with epoxy. Allow the epoxy to soak into the exposed end grain of the wood (as with faster bonding).
Coat the bottom contact surface of the hardware with unthickened epoxy. Wire brush or sand the wet epoxy into the surface with 50-grit sandpaper.
Inject a non-sagging epoxy/404 or 406 mixture into the hole. Use enough mixture so there are no voids in the hole after inserting the fastener. Coat the bottom of the hardware and the fastener threads with thickened epoxy (Figure 17).
Place the hardware in position. Insert and tighten fasteners until a small amount of the mixture squeezes out of the joint (Figure 18).
Remove excess epoxy or shape into a fillet. Allow the epoxy to cure at least 24 hours before applying load to the hardware. Allow more time in cool weather.
Taping the inner hole is a good idea for those who haven’t done this before.I just wait until the glue starts setting up before applying(thickens).Also,I use a longer hex-cylinder head for the set screw and drive it past the inner hole. Epoxy is not the only thing you can use for a medium,marine epoxy putty,shoegoo,poly resin,and superglue are just a few.
If you don’t have any wax or pam ,veggie oil or any kind of oil will work as well as most surfie waxes.Herb
Would a helicoil work? I used to use them all the time for stripped threads, but I’m not sure how well they would work in this scenario (in plastic). They are plenty strong, though, and would replace the weak plastic threads with metal ones.
JSS
Yes,more work, but better , that is if the coil is installed properly.
Another question / observation. Since the plastic composition of the fin box is most certainly different than that of the epoxy resin, then I would imagine the mix needs to be spot on. Too brittle and it could crack, separate from the box, no?
Does anyone have any suggestions on how to fix a stripped screw hole in the fin box?? It won’t tighten down on the fin. The next largest hex screw is too big for the fin box.
Or, can anyone suggest a repair shop in S. Fla for this fix?? I checked the local shops and no one seems to know how to fix this w/o replacing the fin box.
Doesn’t FCS have oversize screws for stripped holes? (Future does.) If not, why not just get .5mm or 1mm larger diameter shank. That’s what I do. I think at one time FCS recomended it on their website.