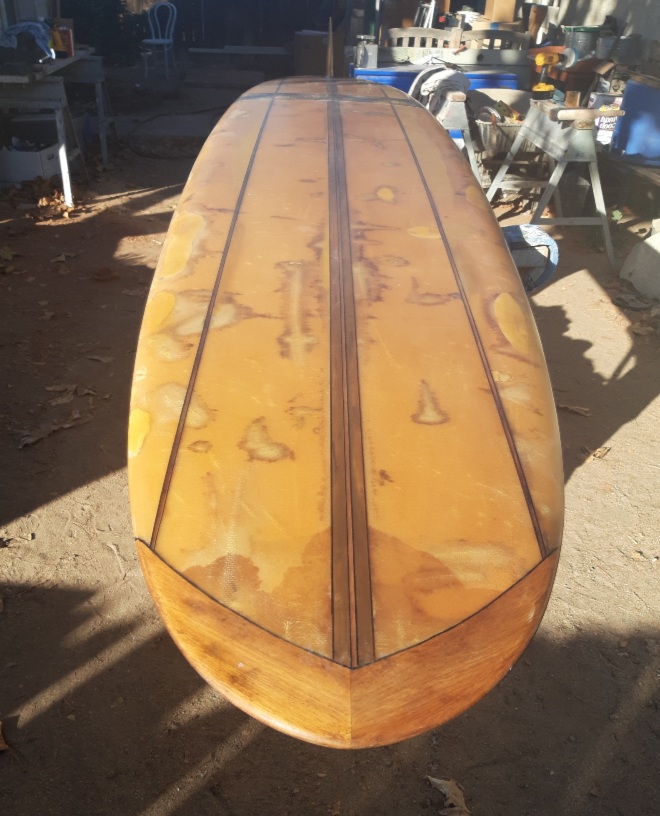
Phebus - because I opted to keep the old discolored look, pretty much everything I do on the board requires mixing tints and pigments to match as best I could. Whether I was filling a ding, glassing the fin, hotcoating, anything and everything involving resin requires adding some color. Only the final very thin gloss coat is clear resin.
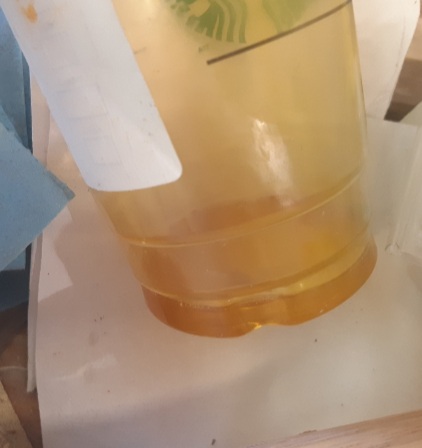
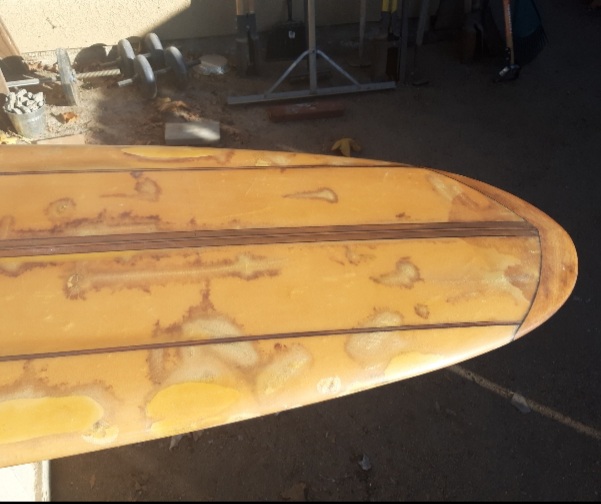
The color is tricky to match, and I struggled throughout the project. It lies somewhere between honey, maple syrup, pumpkin latte, and tobacco stains, and its a little different at every point on the board. Mix it to match perfect here, its a little off there. For the most part, I found a mix of orange tint, yellow tint, purple tint, and forest green tint worked pretty well. Then I could tweak it with a bit of black, brown, champagne (tan), white, etc etc. Adding solid pigment can work if there is another transparent coat going over it, or if you keep the amount down it will make the resin a little cloudy but not opaque. Next time I may mix up a batch of colored resin (no hardener) and set it aside, then every time I have to use resin I have a base color to start from, and I can tweak it a little from there as needed, vs. having to mix from scratch every time like I did on this one.
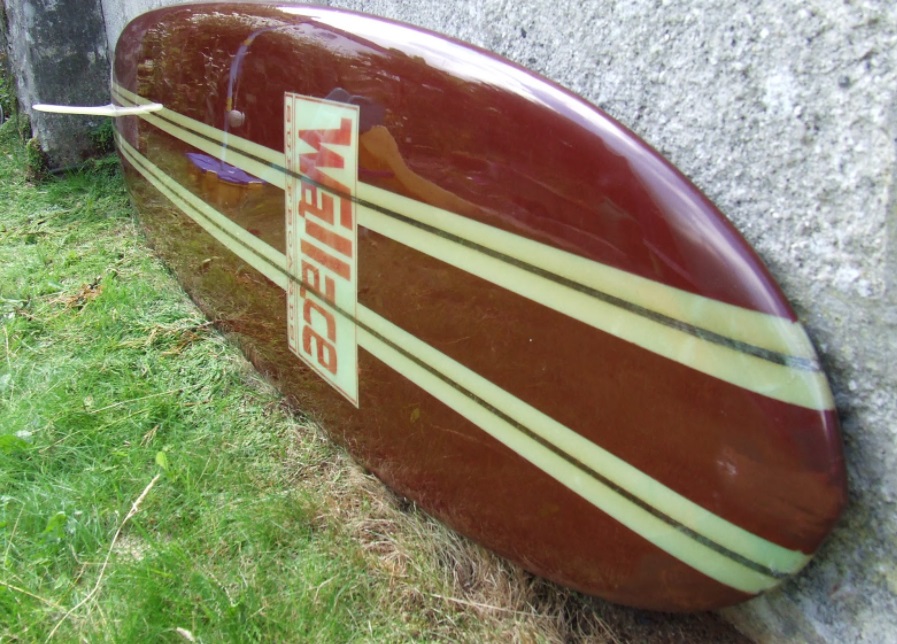
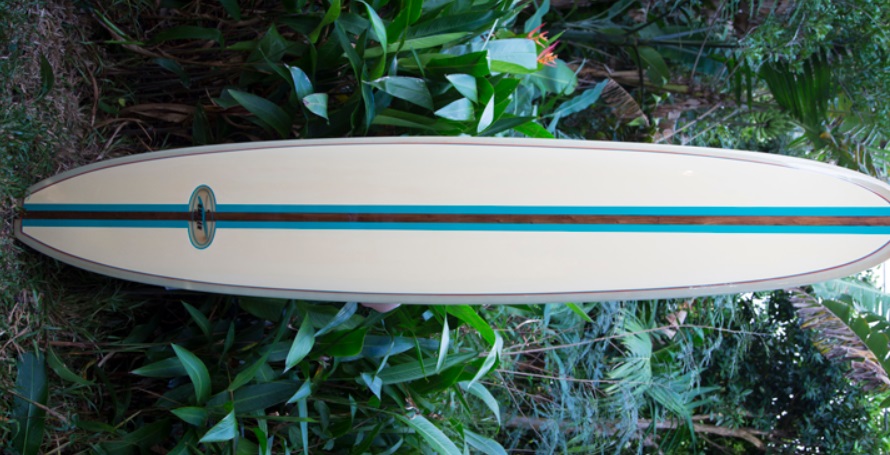
Guys who restore old boards with solid pigment colors don’t have this struggle, everything gets covered up. Every patch and mismatch I did shows, the work is much more transparent because the finish is. I learned a lot, and hopefully will continue to improve. But in the end, in spite of the extra hassle, I do like the old discolored look better than the “covered over with solid color” look (see pics) that I see on most old board restorations. Its a personal preference.
During the 90’s and early 2000 thru 2010 when their were a fair number of garage finds of old boards and the collectors interested in buying them; there were two schools of thought. One was to cover it up. The other was to restore the board (with minimal cover up) as close to the orignal as possible. Obviously it took more time and ability to do the latter.
Since my goal is to return the board to riding condition, but not restore it as a collectible, Im in a third category.
I want to clean it up & make it look presentable, but not necessarily trying to return it to original condition.
I want to respect the history of the board in the work that I do on it, and leave its age & battle scars to tell their story, so to speak. I find a certain beauty in that, which is a different aesthetic standard than the beatuy of a solid color with a glossy finish.
Not saying one way is right or wrong, but its just a little different mindset.
Yeah not making a proclamation; just saying that during that time frame those were the two schools of thought . What you are referring to is what people called “original ride condition”. Which usually meant nothing more than fixing the dings and applying wax. I’ve said it before and been criticized by those who know and love him (no disrespect meant); But the “Cover- up” method of restoration became known as “Brawnerized”. Two of the all time best at “real” restoration have always been Randy Rarrick and Mike Janich (aka the original “Dr. Ding”). They don’t do ding repair, they do “commissioned art”. Lowel
I’ll continue the thread with other ongoing projects. I realize not all these projects are really “worth the effort”, but I got all these boards pretty cheap, if I get them rideable I can definitely recover my costs (but not my labor, which is OK, as I said at the outset this is an area I want to push my own limits on for learning purposes).
The work done on the Challenger was pretty challenging (pun intended), but I definitely have learned some stuff, and I have 2 more boards that are going to take a comparable amount of work. I actually have 7 longboards right now in various stages of repair, that all need more than just standard ding patching, and a few shortboards I don’t know if I even care to tackle, I’m still thinking about. Might make a wall-hanger art or something creative out of those.
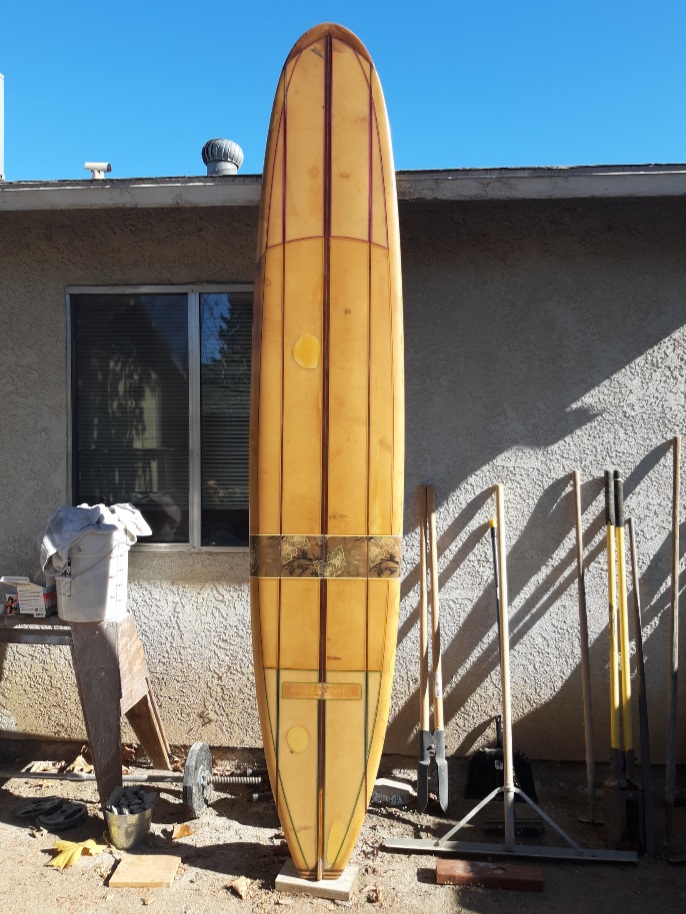
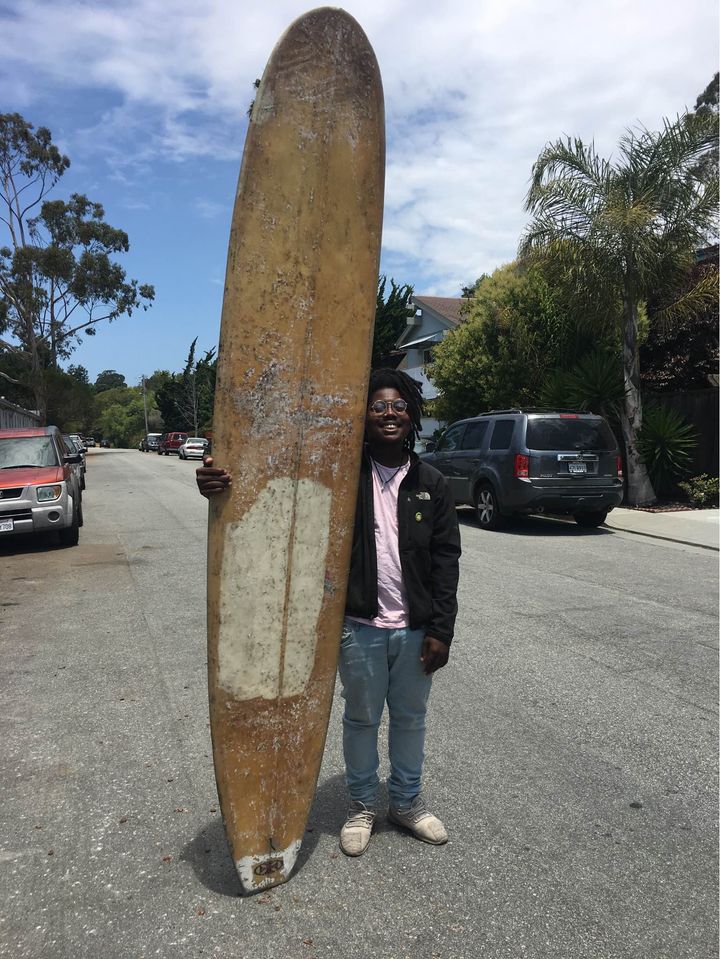
This is one of the worst of the longboard bunch. The deck has a huge delam repair that is very ugly. There are still areas on the deck that are de-lammed and need to be addressed. The nose foam is shrunken in, I guess from age / heat. The bottom was spray painted and took a lot to strip, and below the paint was a badly rippled surface, again I assume from age / heat. Post #49 on page 5 of this thread has pics of the bottom. The board has a decent fin, so I could keep the fin and ditch the board and call it even.
But I’m up for another challenge, so this one is in the roster to get some TLC and see if it might make a decent board again.
I am going to be down that way in a week or so for a week or so. I still have a lot of that old foam, which due to it’s off color would be a closer match for some of your repairs. You’re welcome to a couple of 11’ers if you want them. Lowel
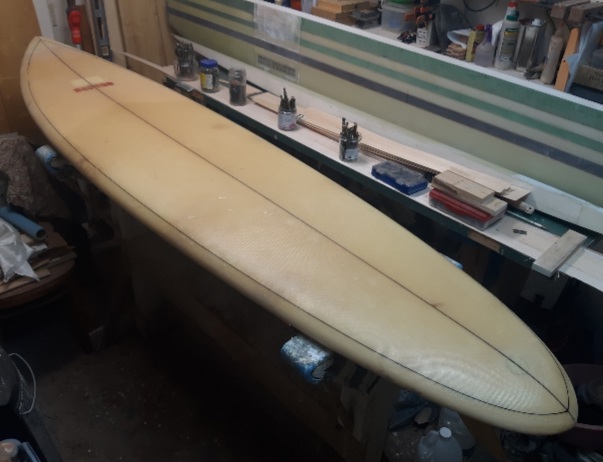
The midlength Hansen SuperLight is cleaning up nice. Masked off & repainted the black pinline this afternoon & put a layer of 6 oz. on the deck to fill in the countless dimples, will sand a lot of it off.
All those dimples are a good sign, tells me somebody spent some time in the water with this board, maybe 40 - 50 years ago.
As suggested to me gonna try to make my own fin - I have ordered a phenolic panel to see if I can fabricate a fin base for the Ventral box, so I can try a different fin shape & have a backup fin. We’ll see how that goes.
You can also see in the background I have begun cutting the 10 - 6 Challenger into lengthwise sections for chambering. At 35 lbs felt like I didnt have much choice if I’m ever gonna paddle it out. Will be doing things a little differently this time, as I’m learning what not to do, but still fighting the learning curve.