remedial work on old / used boards

Thnx

For the leash plug filler I used a small piece of foam with an actual stringer, and matched the resin tint as closely as I could. I ended up painting the wood tho cuz it wasn’t dark enough to match.

I used resin with thickener on the nose, & there was about 3" in the very tip (along the top) that the wood was gone, so I painted the stringer back in for that little 3" strip.

Burnt umber acrylic artists paint from a tube.

Good ol’ “Burnt Umber”, Raw Sienna, and a few others.

Thanks, is that acrylic paint water based? I have used water based acrylic (from AC Moore) with no problem, but I’m always scared it will screw up. As long as it dries for at least 24 hours, it seems to work after a light sanding. I know some guys use Posca pens for pin lines and whatnot, and on the Posca website they say it’s a “water soluble paint”, so maybe water based/soluble is okay??? 

Yes

mad skills, mate!

Thnx!

A few more pics of this transition era midlength 


Tried to color match the fin to the board. Got it close but the color was a little too bright. Added just a touch of brown pigment to the resin on my next layer of glass & it brought it much closer.


Aloha Huck,

The finished fin is a masterpiece !        Well done.

Thnx Bill! Its really not completely finished but I’ll take the compliment anyway  :slight_smile:

Here’s a beater definitely not worth the time & effort I’m gonna put into it, but thats the price of my tuition. 

3 coats of industrial grade epoxy paint (had to be) took awhile to get it off, down to the rippled cratered fiberglass, which I have twice so far floated with a thick resin slurry & it will need at least one more just to level out the surface.

The deck has an ugly delam repair & 2 other de-lam areas not yet addressed, plus sunken cratered foam at the nose.


Here’s a delam I tried the cut it & re-glue it method but despite my clamping & weighting efforts I still  have a couple areas that didnt stay down. It was really bad tho, not just a delam, the foam in this area had turned to mush.


Still a ways to go on this, but I feel like I rounded a corner today. Nose & tail blocks are on & shaped, & I bleached some fabric for the inlays I have planned.

Need to pick up some resin but I’m finally heading into the home stretch. Which is good, as this is actually the first board I bought for this purpose. 


Huck, you’re an inspiration!

It’s nice to see repairs that improve the look of the board. Good job. 

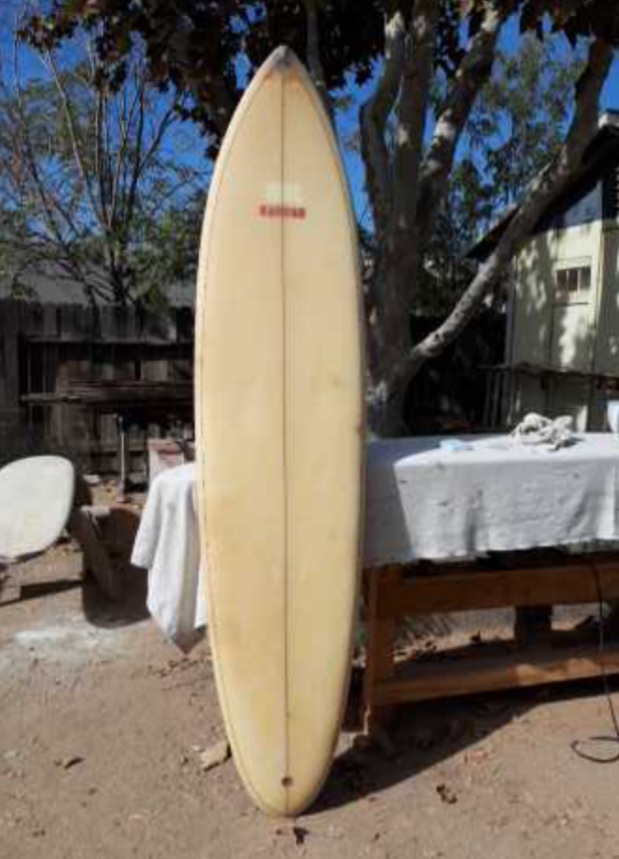
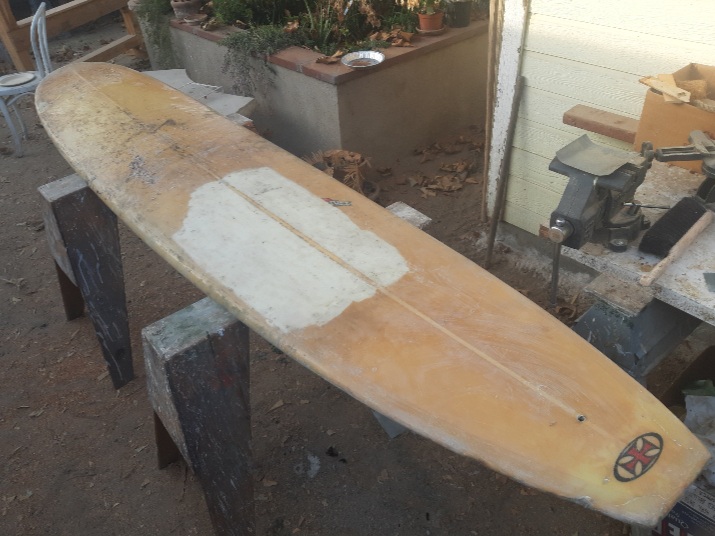
I bought this old beater to fix up and ride, tackling a project that most discouraged me from attempting.  Impossible, impractical, time consuming, etc. Not worth the trouble.  But for me it was an education in surfboard repair, and a few other things.  Definitely gotten better at color matching resin repairs, but as you can see, nothing near invisible.  Which is OK with me.

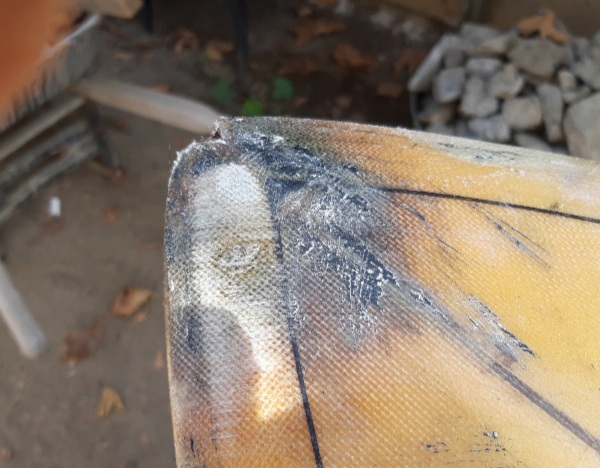
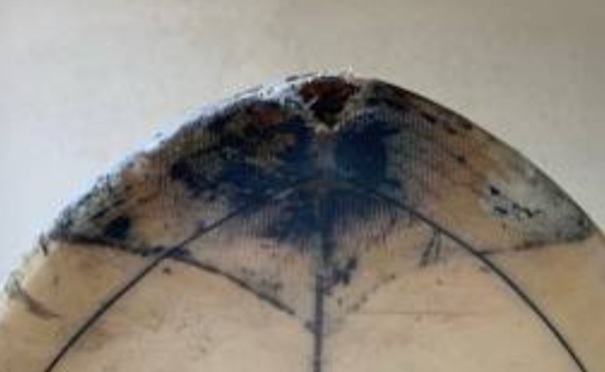
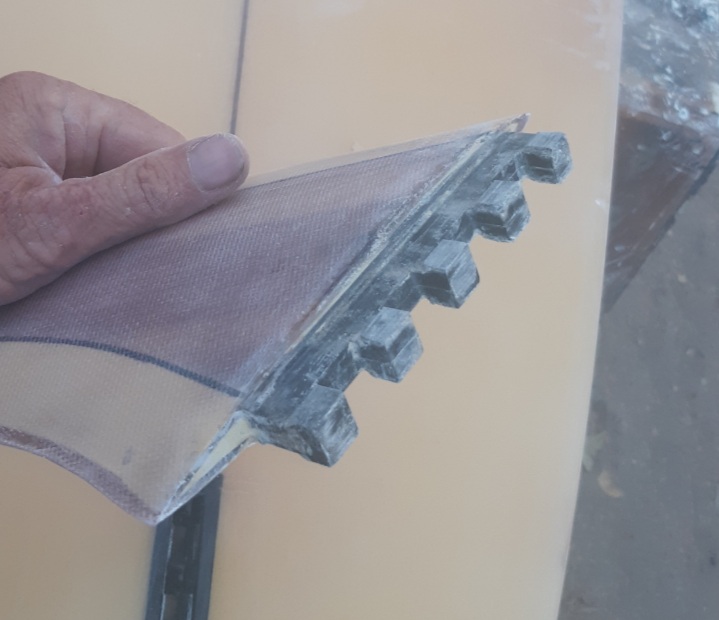
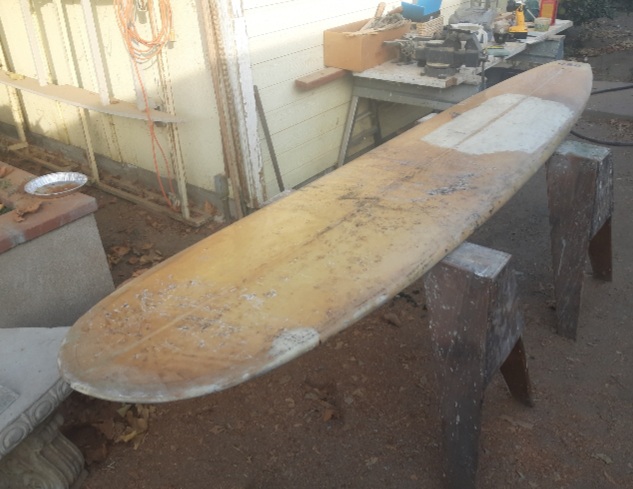
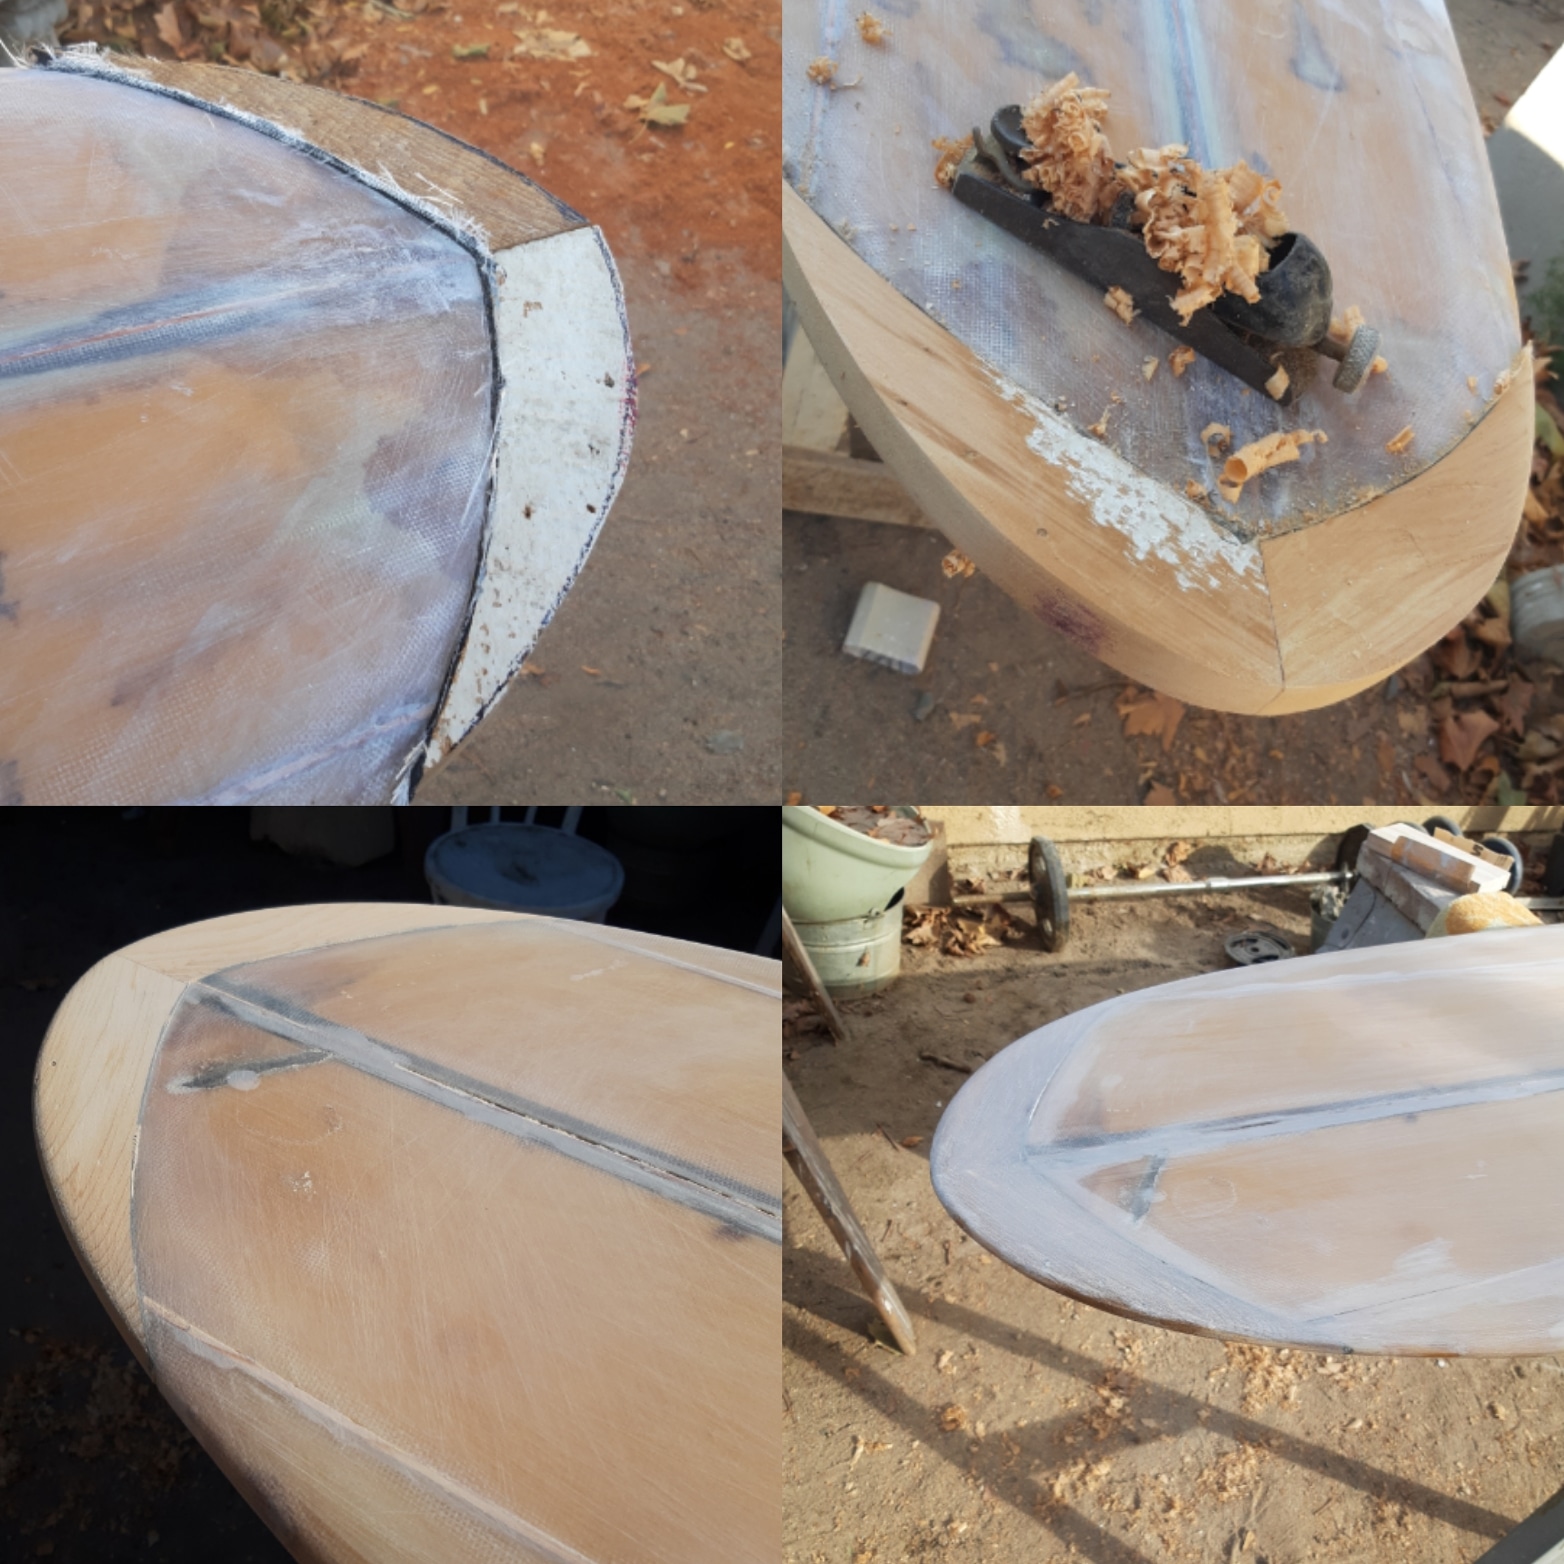
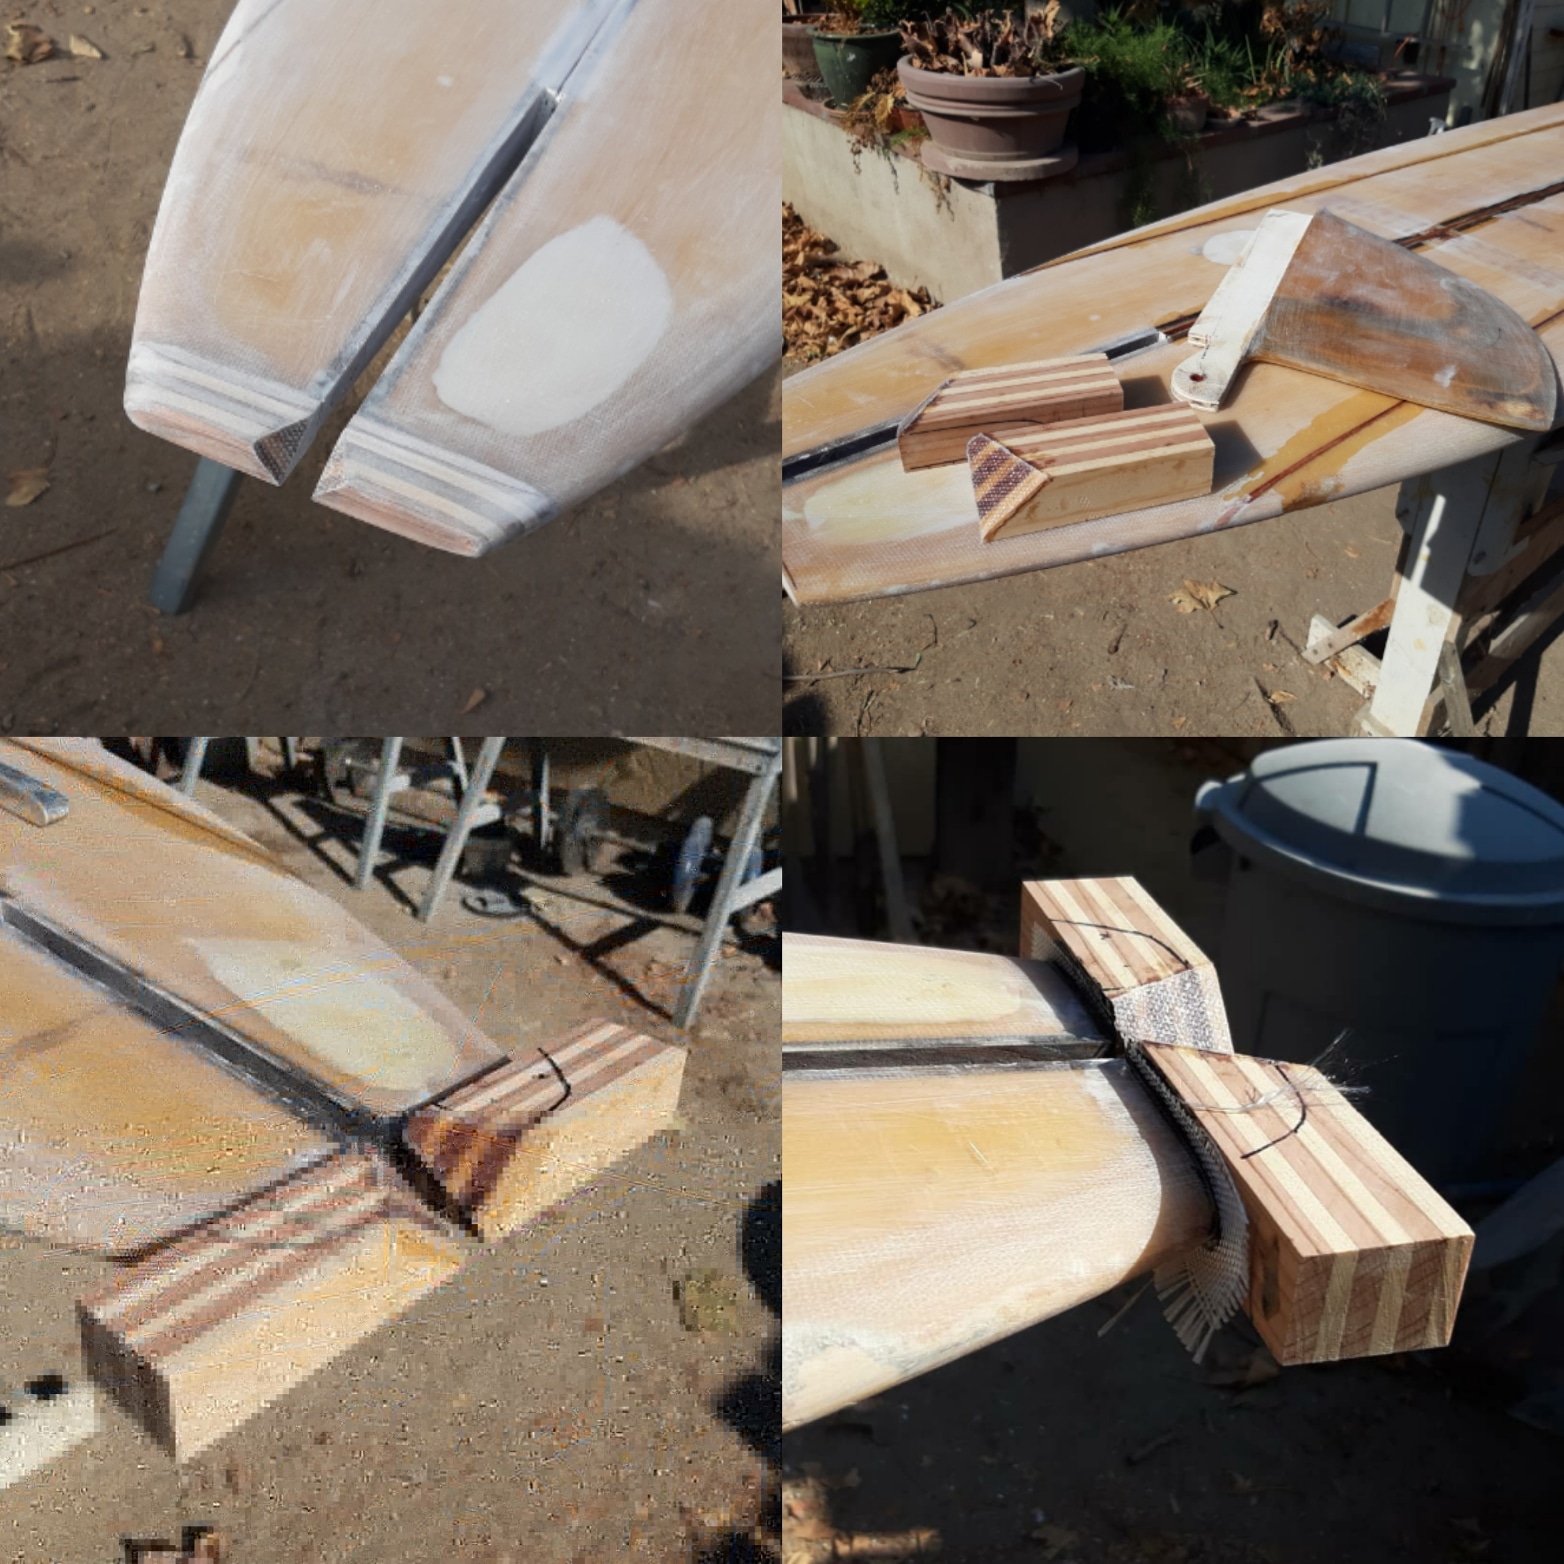
I spent a few days patching dings.  Then I cut off the rotted and delaminated nose, and poured resin between the foam and the delaminated glass that didn’t get cut off.  I figured on a nose block, but the delam was big, and you can only go so big on a nose block before it doesn’t look right.

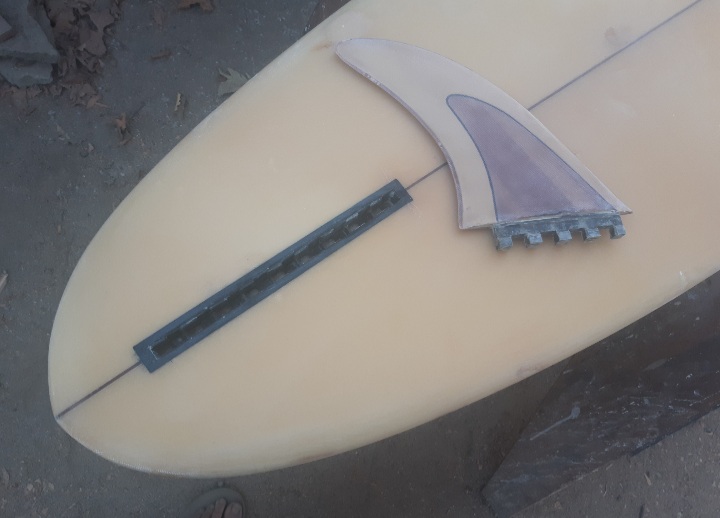
I cut off the tail block and the damaged fin.

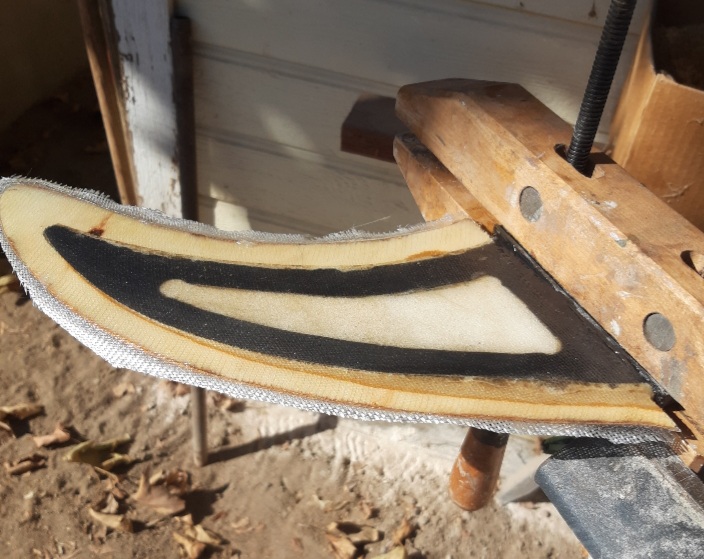
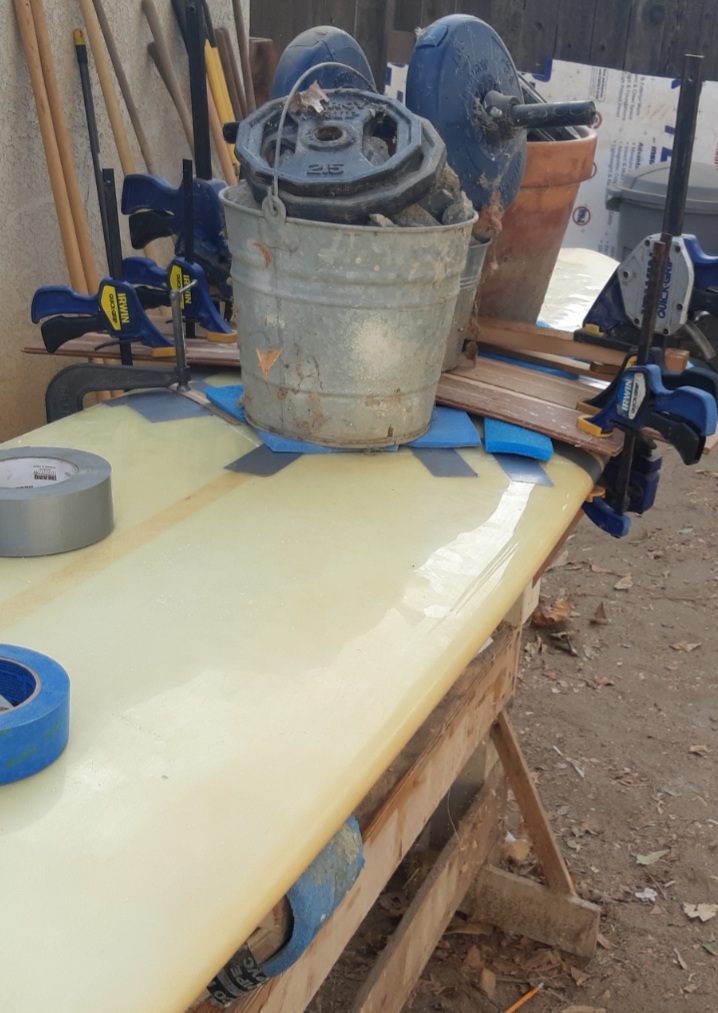
I cut the board lengthwise into 4 pieces, hollowed them out (chambered) and filled with lightweight foam glued in with gorilla glue.

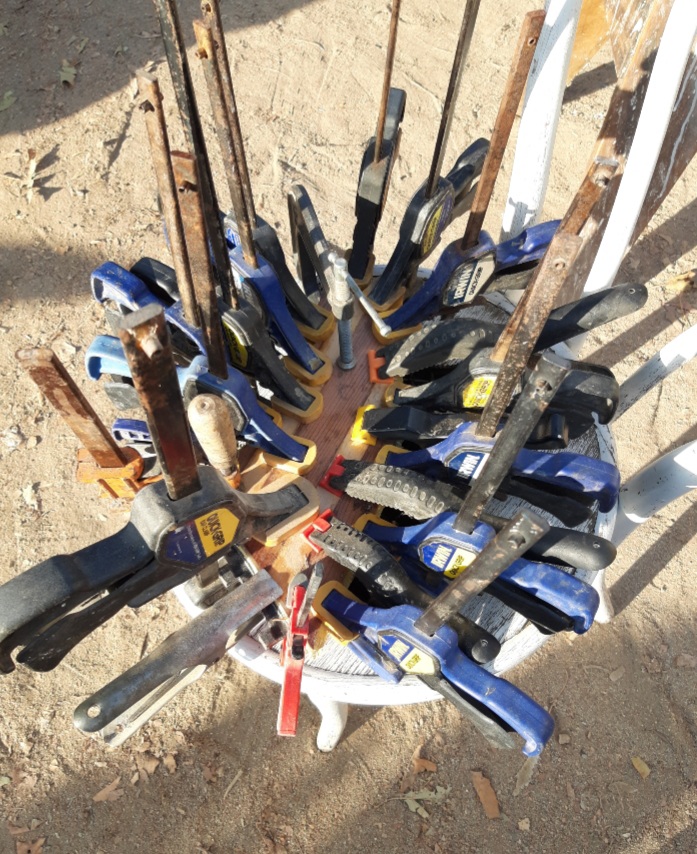
I made up some stringers from 1/8" thick by 1 1/2" wide strips of redwood ripped on a table saw, and glued the sections back together with the new stringers to compensate for the width of the cut.

There was some unanticipated distortion, maybe from the expanding gorilla glue, or maybe from other reasons, and the pieces didn’t fit back together just right.  Extra work with sandpaper and filler, or fiberglass strips as filler in some cases.  Pain in the butt, but I got through it.

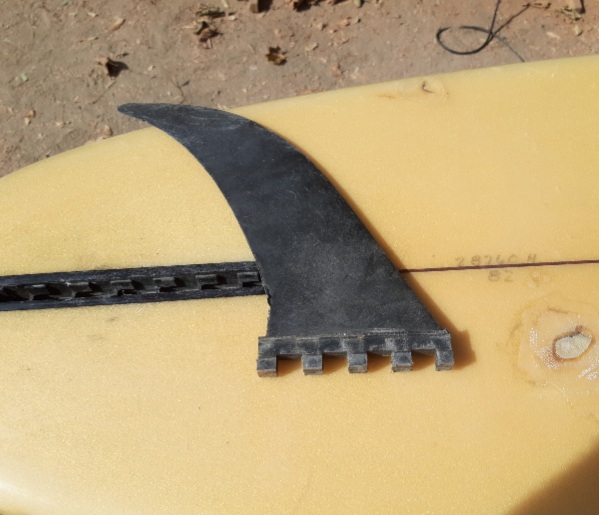
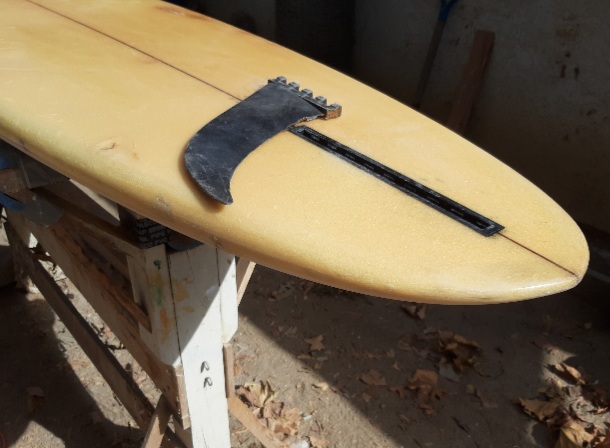
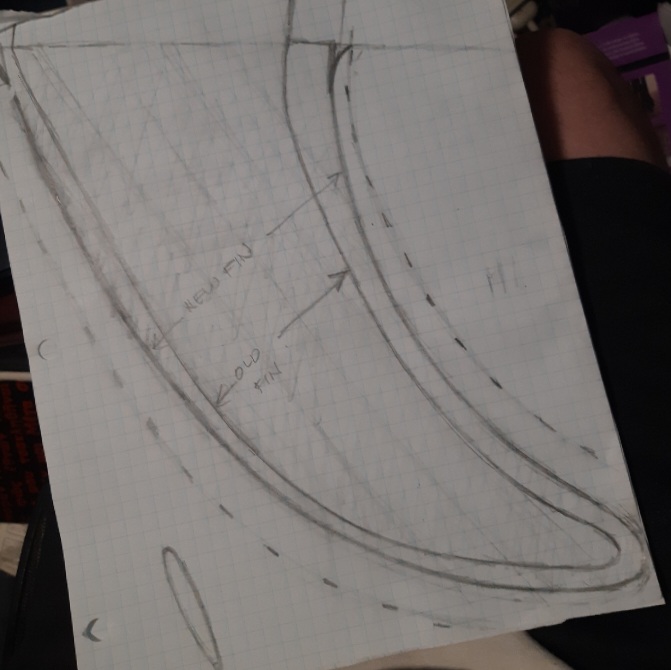
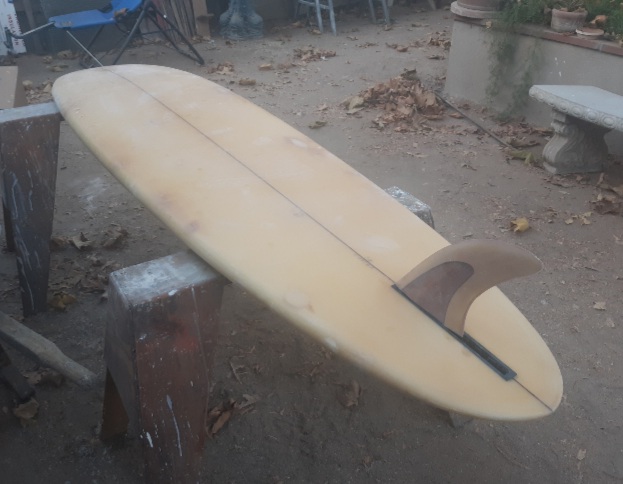
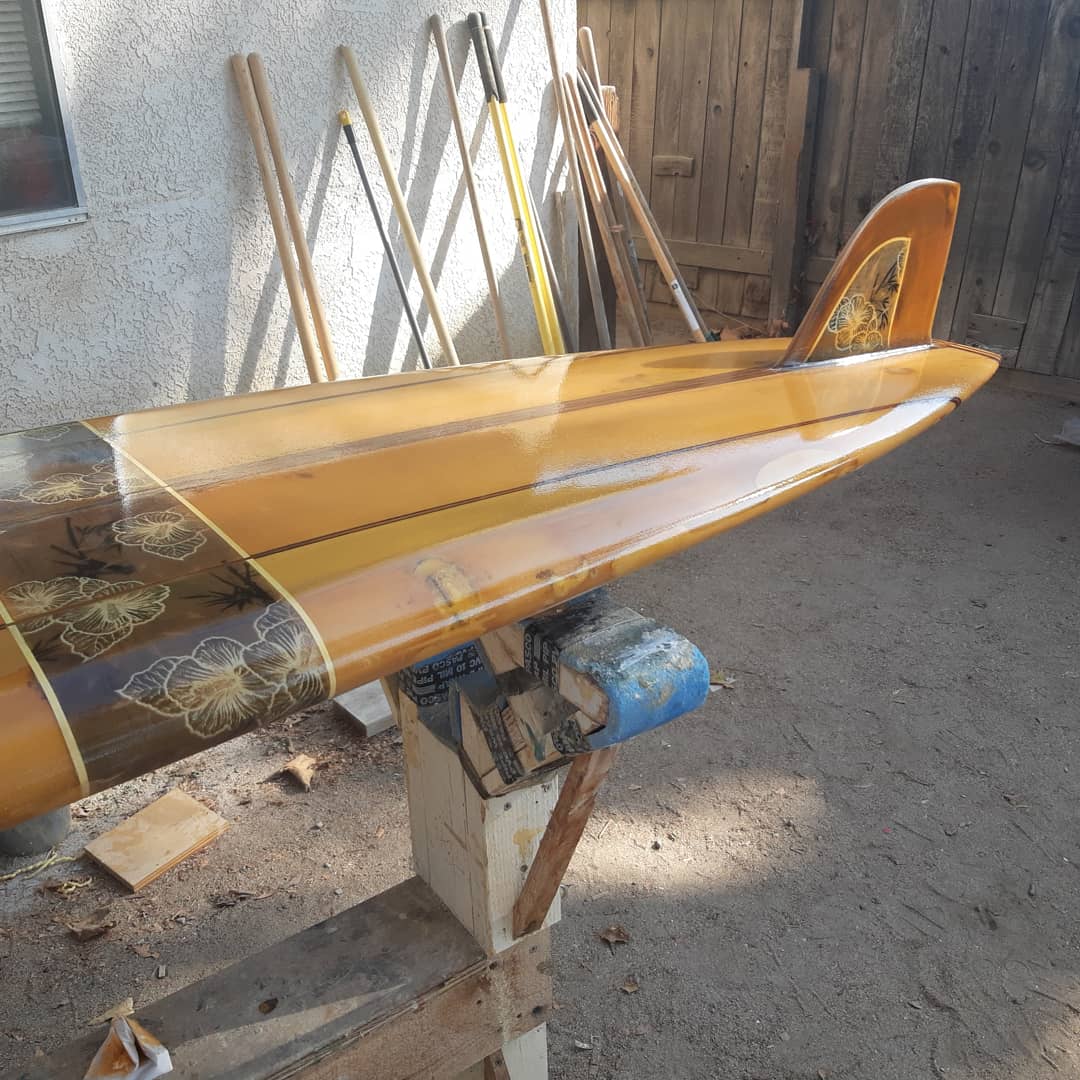
Built a new fin from plywood, with a wood leash loop attached.  Built a new tail block.  Built a wood nose block.  The leash loop is not period correct, but could be cut off, along with the tail block, and a new tail block added easily enough.  Or the old one could be put back, I still have it.

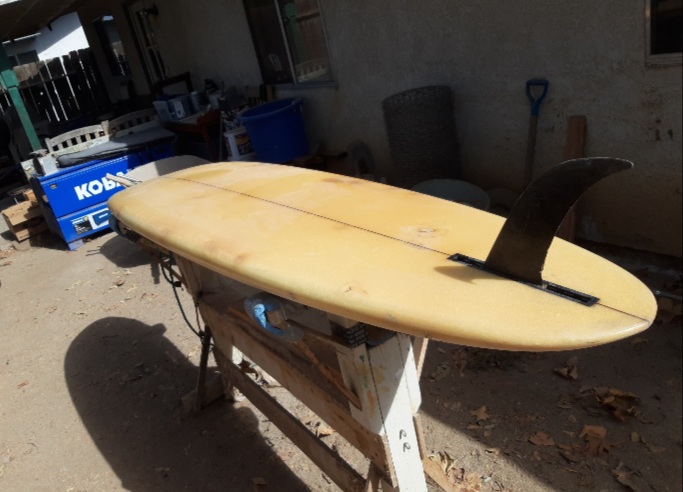
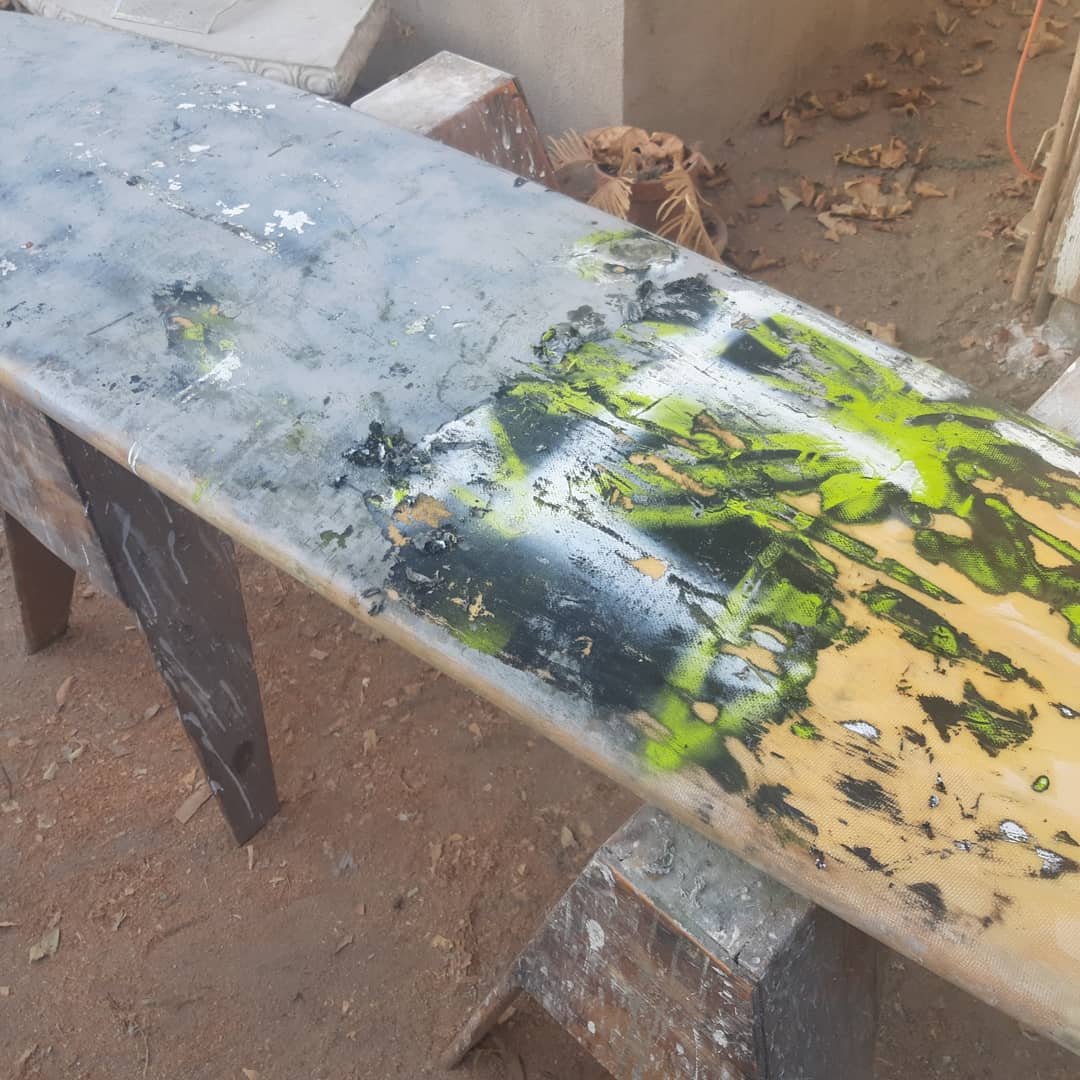
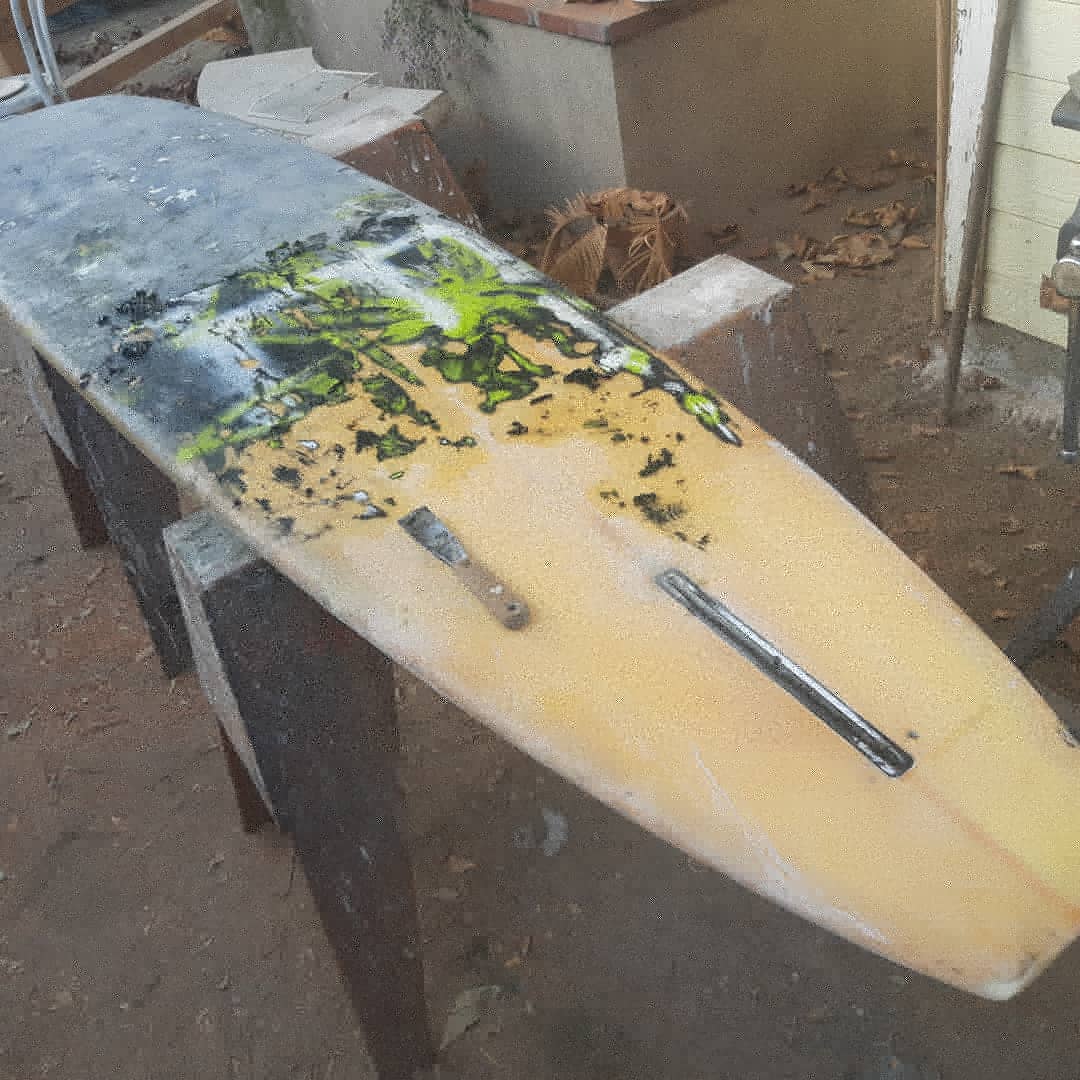
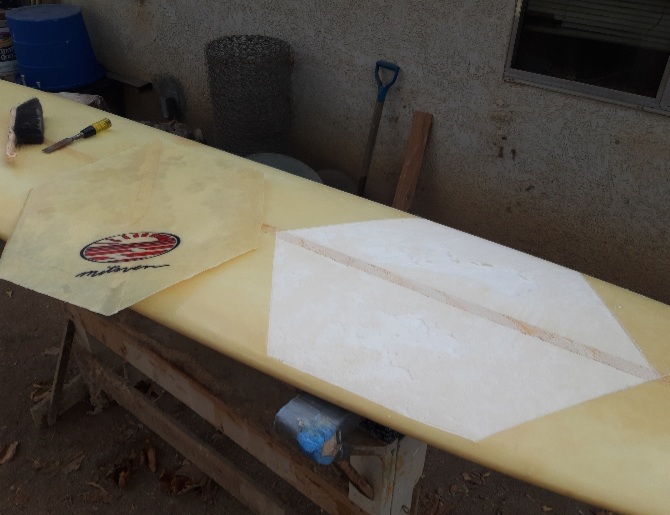
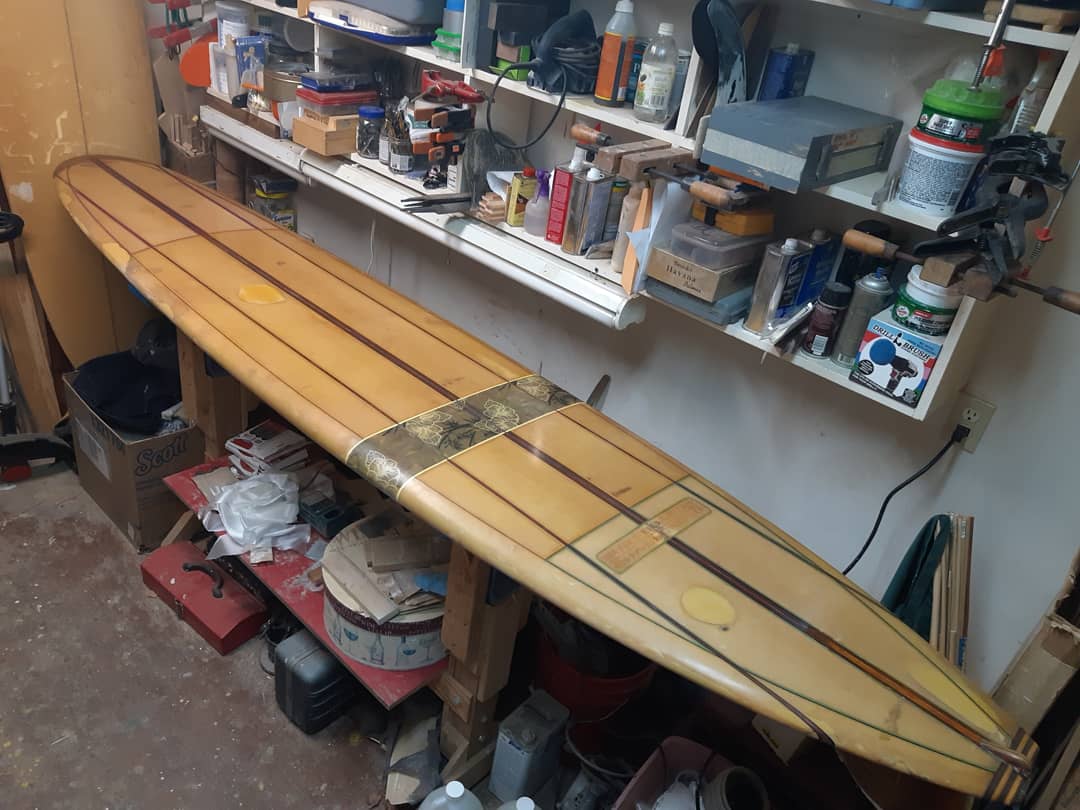
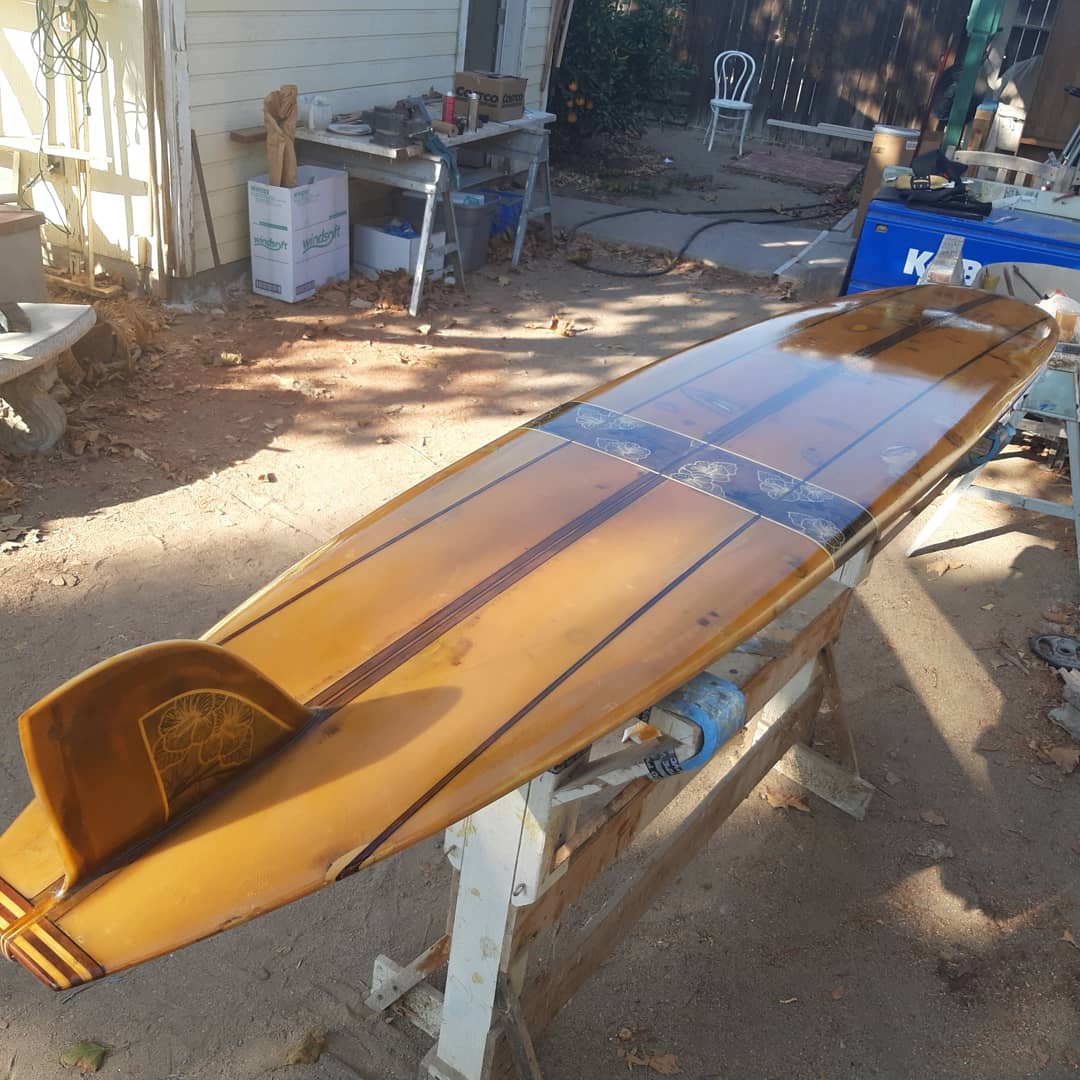
Sanded everything again, lots of sanding, and added painted pin stripes.  Then glassed with 4 oz. glass and epoxy resin.  My aesthetic tenets were to preserve the orginal patina as much as possible, whenever possible.  No solid pigment (or paint) panels or rails.  I added a band where there originally had been a band, although mine was fabric inlay and the original likely was painted.  I made an effort to keep my fin, nose block, and tail block from looking too new, I wanted them, like my ding repairs, to blend in.

The board came to me heavy, at 30 lbs.  I figured to add at least 2 - 3 lbs. with all the repairs and the re-glassing it needed.  So without chambering I figured to end up at 32 - 33 lbs.  With chambering, and lots of sanding, I am on track to finish up at 27 lbs., a period correct final weight.  Still heavy, but better than 32 lbs.  So 3 lbs. lighter than I started with, and about 5 lbs. lighter than if I hadn’t chambered.

I don’t recommend chambering to lose weight on an old foam board, because its lots of work, its tricky, and the weight loss isn’t great.  But having said that, I do plan on doing it to at least 2 more old boards that were headed for the landfill or the garage rafters, that I bought just for this purpose. Hoping to learn more, to get better at it, to see if I can lose more weight, and get two more very old boards back into rideable condition. To me, the weight loss from chambering is the key to the whole process, without it I wouldn’t attempt to make the boards rideable, because they would be too heavy for me to enjoy riding.  

Hoping to get this finished up and into the surf this week if all goes well.  And will post up some better pics once its completed.                        


Epic! The ultimate in eco friendly. Keep good shapes from the landfil. I have a quiver of 10 to 30 year old riders/semi beaters. If they ride good they should be kept alive!

To get the twist out I take 2 8’ 2x4’s and cut 2 1/2’ off each of them. Then line up the short pieces with the end of the long pieces and crill through holes at the end of each short piece. Use 8" carraige bolts and wing nuts to clamp the pieces on the board, using carpet or heavy foam to pad.  Put 5 gallon buckets on the end of each long 2x4 and add how ever much weight you need to get the twist out.  Leave in a hot area for a couple of days. I used an attic at work. Some of the twist comes back out so you need to overtwist to get it to where you want it.

Who made those boards in your last pics?

2 pics of the same board, before & after. Surfboards by Challenger (Bobby Challenger Thomas).

Thnx evening glass thats definitely a keeper!

hotcoating the bottom…


Huck, did you add tint to your hotcoat? Beautiful honey color on the board.