I got two new blanks from Ken at Segway… yes, afoaf, partially CNC shaped. #1 was supposed to replace a snapped Griffinesque 5 fin (The “Red Snapper”). Since I successfully repaired that one I wanted to do something different. Unfortunately I (unknowingly, afoaf, unknowingly) got the bank cut to the same outline. So I decided to trim it down, pull in the tail a bit, thin out the rails. Now, wIth all this talk about flex, I wanted a board that would flex, but I’ve never had luck with boards 2-1/4" or less in thickness (except Shwuz’s demo board- that one rocks). I like a bit of float (I’m a 48 yr old weekend warrior). So I thought I’d try to “Pendoflex” the board. Keep volume in the middle and get flex in the tail. I have no idea how Steve Pendarvis does his so I’m just going by intuition. Right off the bat I’ll say his boards are the inspiration. I even asked his permission before posting anything here, warning him of industry lurkers (piss off ya wankers!). He just said, "Do whatever it is you do.
So here’s what I’m doing on board #1-
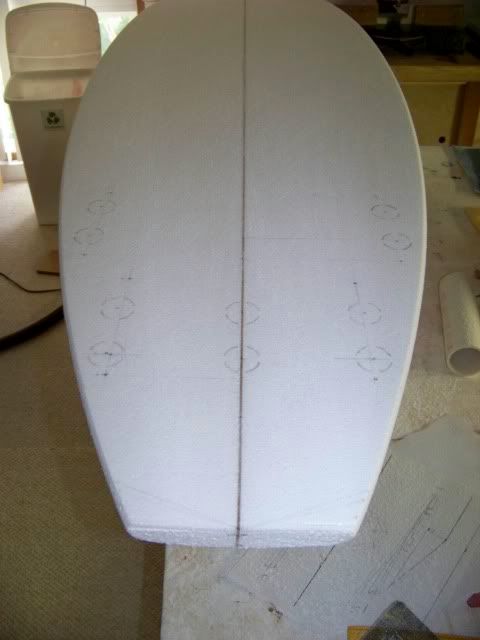
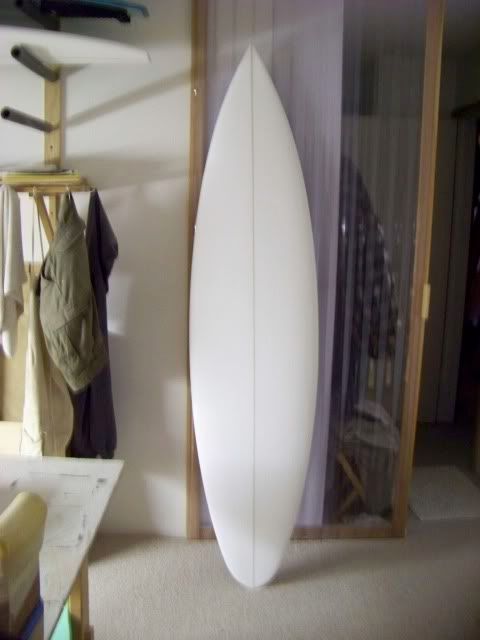
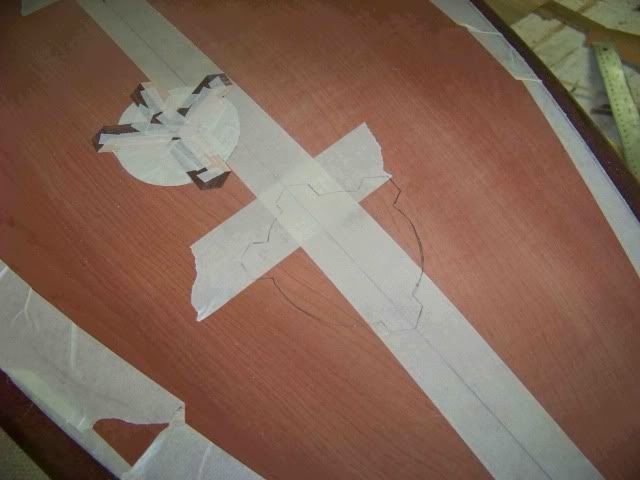
5 fin set up from Greg Griffin. I’m thinking of going with a diamond tail. This one is 2" longer than the snapper, but a diamond would shorten the rail line.
Routed to the depth of the rear, center fin plug (that is, to leave enough foam to install the rear plugs)-
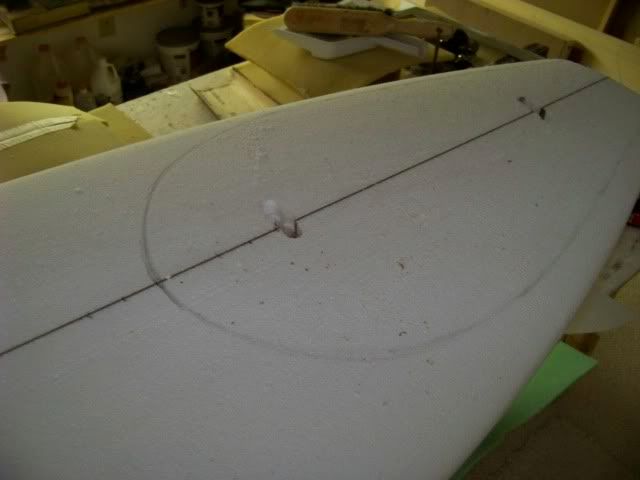
Second routed hole to the depth of max EVA foam thickness (1")-
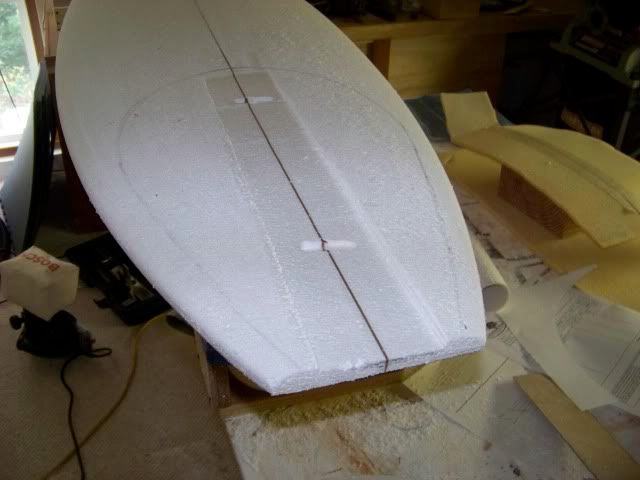
Two passes with planer at max depth-
tool of choice for scooping-
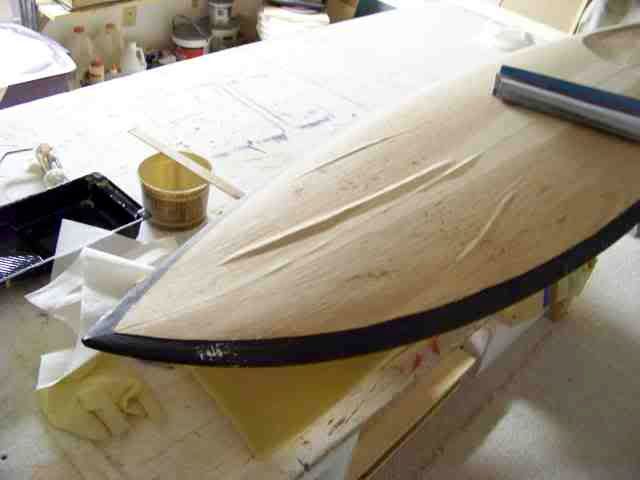
Scooped-
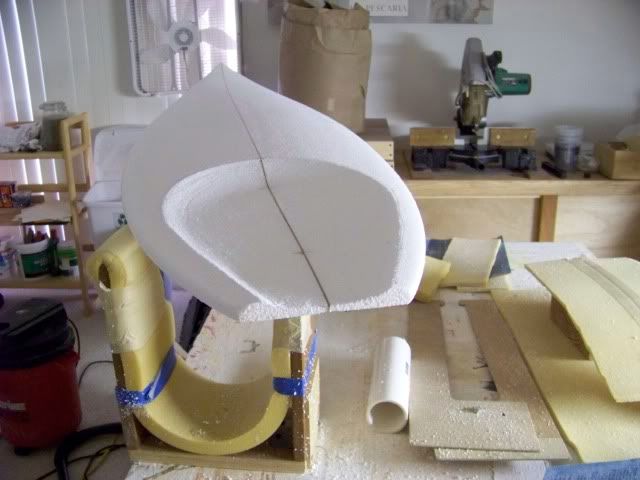
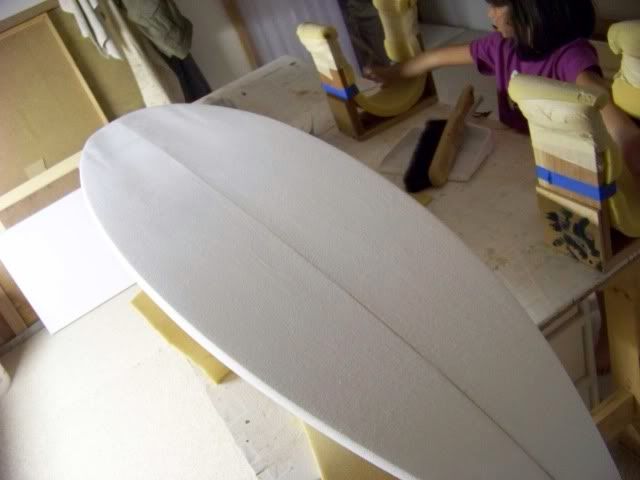
The board is maybe a1/4" thick at the stringer at the tail. Feels really flexy. Of course I’m going with a “timberflex” build. that will stiffen it up a bit but it still should be a lot flexier than the normal build. The stringer is 1" where I put the second routed hole at 20" up. So the last 20" of the tail have been really thinned out. We’ll see…
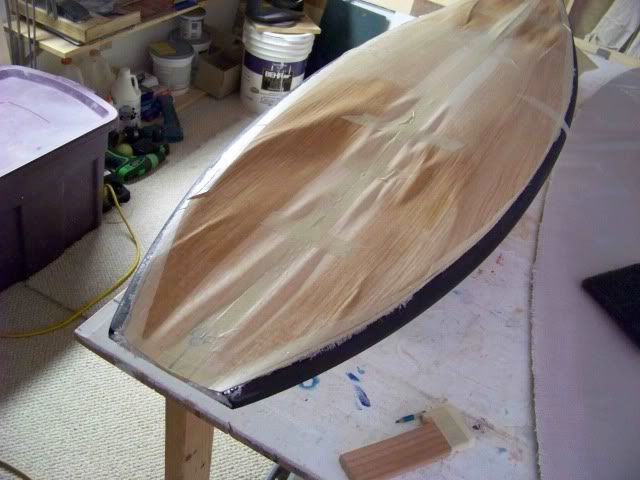
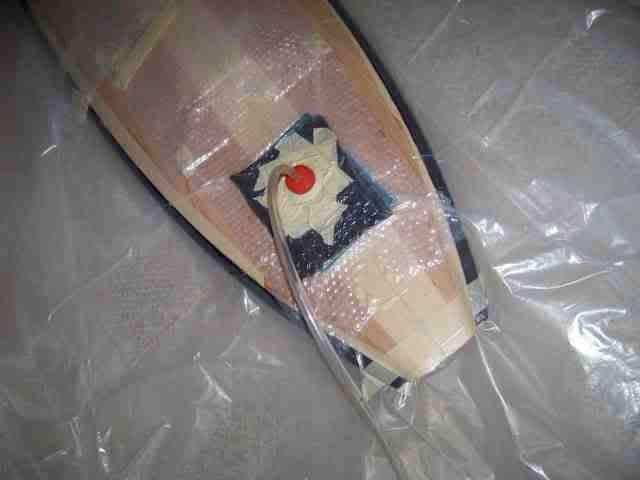
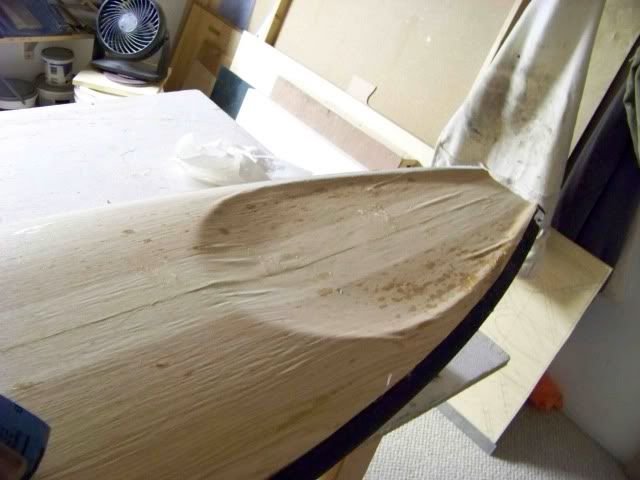
I bought some veneer softener and figured I’d pre-form the top skin on the scoop tail since there were some pretty hard edges. I sprayed the stuff on and popped it in the bag with no resin. I also sprayed some softener near the nose where the compound curves are, not because I’ve ever had any problems in that area, but I could feel the tension there, and so I figured I spray it and see what happens. Here are the results.
I don’t think I’ll be using the veneer softener again.
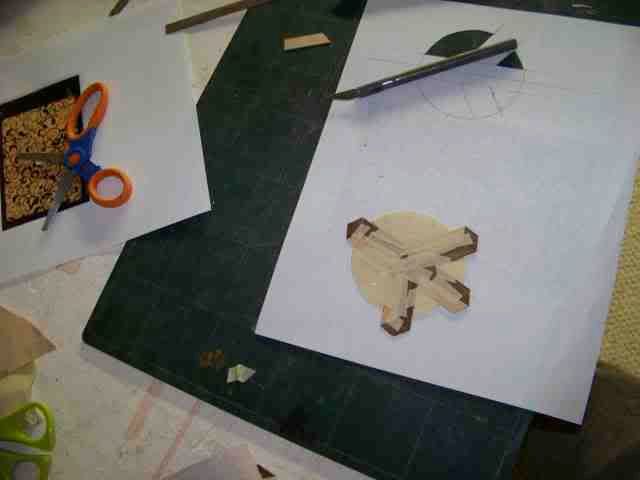
I doubt I’ll ever be able to sell my boards. How many board builders spend over an hour just to make their logos?
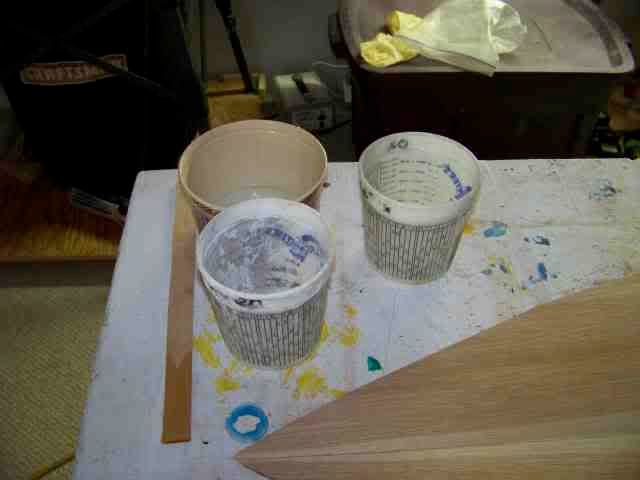
This photo’s for Stingray- 10 board old mixing cups…still going strong…
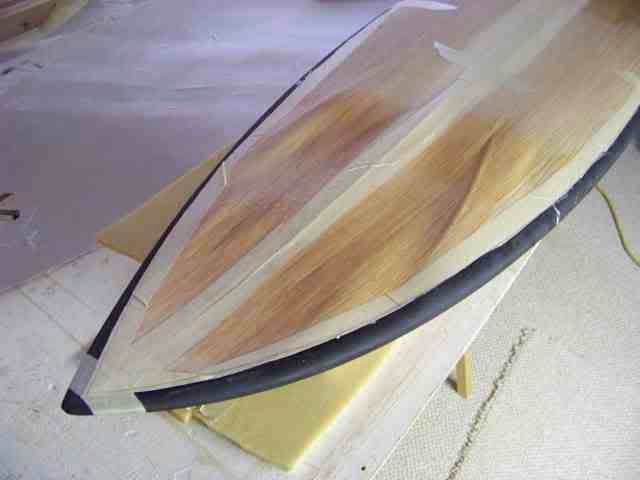
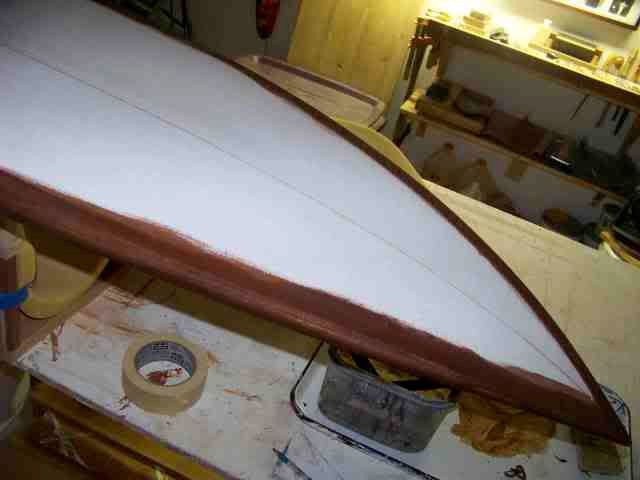
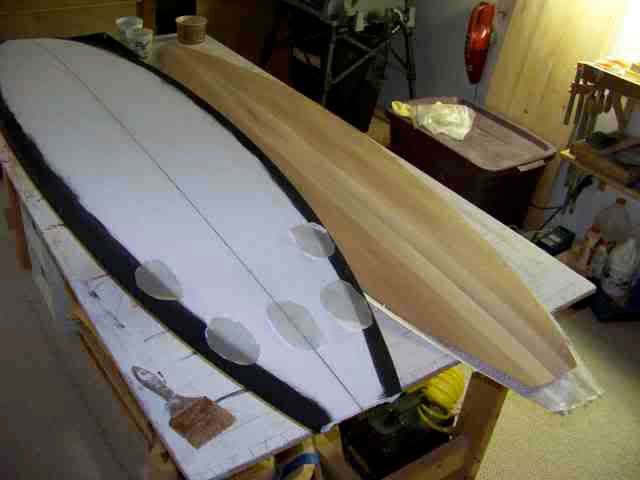
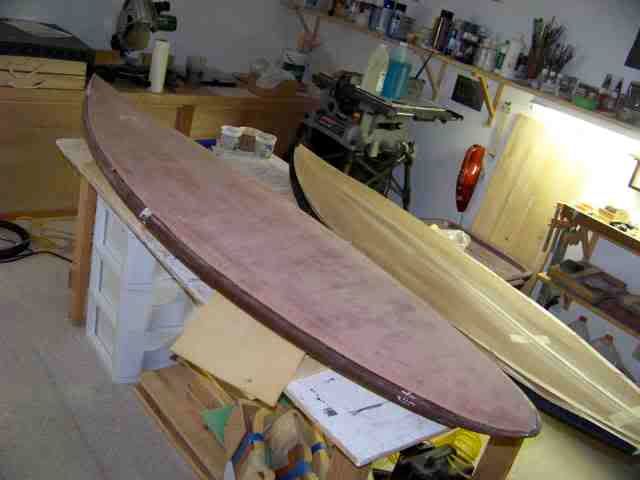
I painted the rails of both boards before bagging skins…
As you can see I don’t plan on doing that again. The tape pulled the color…
The concaves looks good…
I presanded the edges, I post sanded the edges, and still decided to spackle the joint before repainting.
The scoop is in the bag as I write, hoping those wrinkles will flatten down…
My home depot bag and glue bottle attachment. The last bag lasted 6 boards. This is the second bag from a roll of 6 mil polyethelene sheeting and masking tape. Low tech.
lillibel. Thats not how you use veneer softener. you spray both sides of the veneer, put the veneer between blotting paper then beteween 2 cauls then press it over night . Then change the blotting paper and press again. You want all the moisture out. When done right the veneer is dry, flat, and very flexibal and will stay that way for a couple days or a week depending on the veneer. For glueing veneer to glass cloth. Stretch the cloth on a work bench and staple it down to keep it stretched. spray your adhesive onto the cloth,let it tack and then drop your veneer onto the cloth , If you spray the veneer it may warp the veneer. Ahui hou !
i’ve never had alot of success vacuuming skins over concaves with sharp transitions versus convex surfaces
i had the same wrinkle issue vacuuming the woven bamboo on the bottom of my latest gemini because i didn’t use a call form. is hould’ve used soft 1/16 balsa
for concaves i like to vacuum a call form out of foam to push the skin into the concave
on dome decks i like to use a piece of bubble wrap a tghick bretaher would work as well
whant happens is the rails pinch off first cause the center wrinkle so you need to push from the center of the deck out constantly with your hands during the pull. not using anything to hold down the top sheet also helps. But you probably knew all that already.
another techinque is using 2oz glass(saturated on plastic sheet first) on the inside and outside of the veneer while bagging with perf ply on the outside.
super slow curing epoxy helps as well like system3 super slow.
awesome!!! glad to see the trick in practice. looks like you had a good weekend!
My question about the veneer softener is what exactly is it, and does
it kill the mechanical properties of the veneer? How does it work to
“soften” the veneer? If anyone has any ideas or knowledge to share im all ears.
usually veneer softener has a glycerin component like dish soap that is supposed to “relax” the wood fibers. Don’t know if hair straightening is something similar
usually feels oily which is why you want to blot it out after applying it
if you apply it to taped up panels of veneer your tape will all come off no matter how strong.
1) On the deck wrinkles... I just split then with a razor blade, inject them with epoxy, put tape over them to keep the epoxy from running out....throw back in bag and vac down. Pull out and sand smooth. That is as long as that ridge isn't filled with epoxy?
2) Also the laying of glass on to the wood should be pretty easy? Roll the glass out on to the veneer. Best is to keep the glass on the huge roll and it will act like a steam roller. If not keep the glass on a old christmas paper roller......your glass should be rolled up anyway...right?
3) spackle your edges.......errr? Didn't you push the edges with a screen roller? If not, do that next time and also lightly prep the edges with some 100 grit. It should be flush enough to get a tight bubble free lamination, and no spackle involved?