@stoneburner All the best for your upcoming build.

2 Likes
Thanks Jim.
That’s great!
1 Like
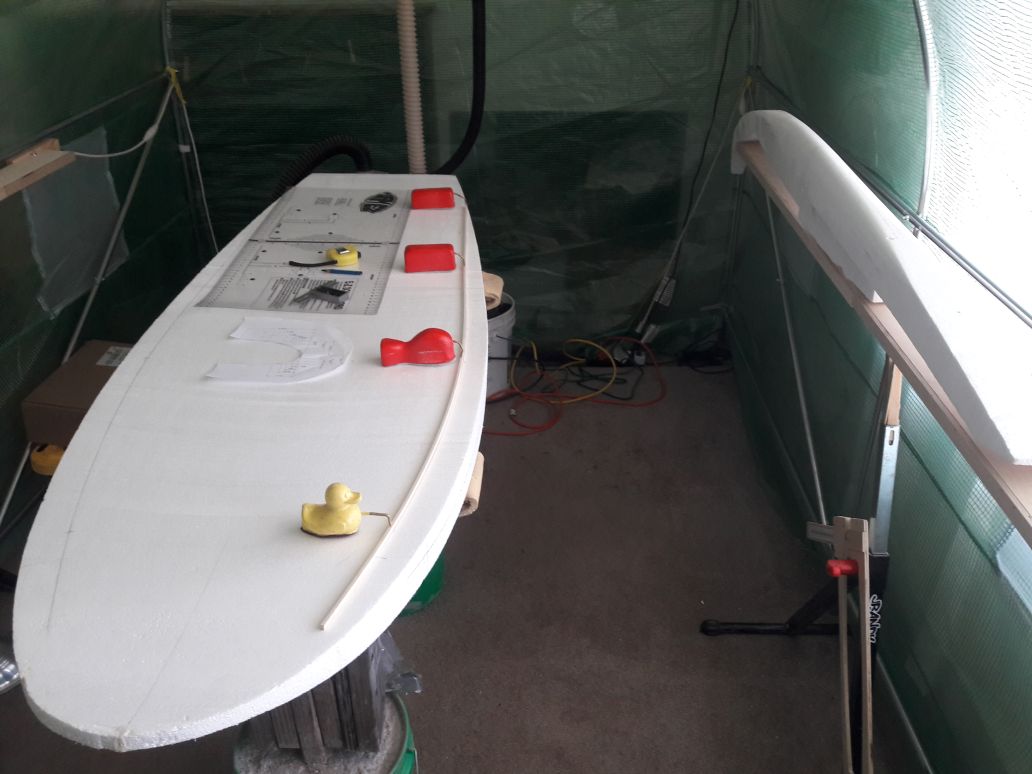
Received my custom, close-tolerance EPS slab blank from Greenlight Surf Supply on Monday. Ordered 12/11/24. Arrived 12/16/24. Well packed and looks good.
Shout out to Brian at Greenlight Surf Supply for great customer service and good communications. His useful input helped reduce shipping cost by 73%.
Should have my templates soon. Then the build challenge begins…

1 Like
It’s been a while since I worked on a board. I got a notion to try making one of these for myself after being a part of the team that realized the design. I needed to work my way down into a block of EPS for a different longboard blank I wanted and had enough foam for one of these.
I am using the latest channel design. I have a slight modification to the nose rocker (natural+) and the tail is a hair wider overall. By the time I get done, the tail will be close to nominal. Foam is 1.5 PCF, profile was hot wired to Masonite sled templates. The outline was templated with paper plots taped together, hand-sawn and hand-sanded.
Channel attempted via CNC. I say attempted as it was not 100% successful. The overall length and depth of the channel exceeds my small CNC’s working limits. I still decided to try removing the main bulk with the CNC and leaving the first 4.5" long of channel entry as a hand-sanded feature. The machine tripped the Z limit switches both up and down, losing Z position and nicking the blank…but with some filler and sanding it should play. There are also few good hot wire ‘twangs’ that will need attention as well. I did not cut the blank to allow a global sanding of all my hot wire misdemeanors so they will get spackled or glass micro-spheres and epoxy towards the end…
My current trepidation is how to band the rails and deck, especially as they head toward the channel/tail. I am looking forward to having fun with the color work on this one and stoked to see where @stoneburner takes his shape.


4 Likes
Love it Jim. Stoked.
And I look forward to seeing your final interpretation.
Winter’s first severe storm targeted my region — my build journey will likely be prolonged.
1 Like
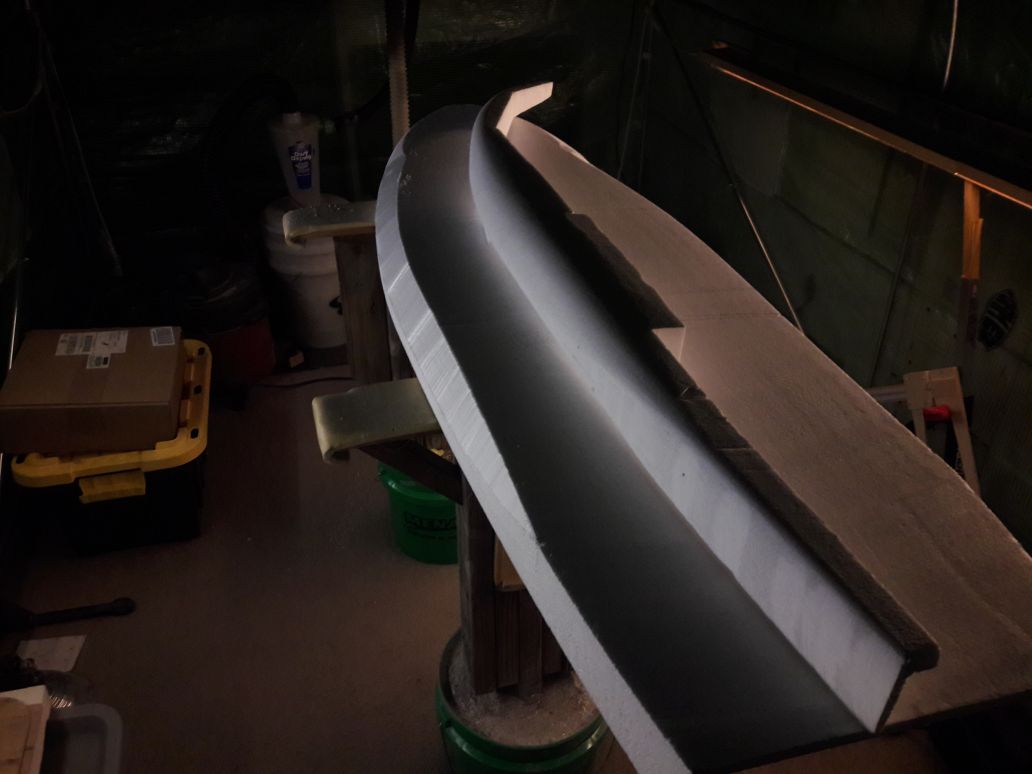
I don’t like flesh-piercing points and corners.
So my plan is to round the bottom corners of the channel exit (image below).

I don’t fully understand where is it but if it’s water exit place you probably should keep an hard edge no?

I think he is meaning the faces in red (board is upside down this view).
The face in blue could also be rounded.
There may need to be a little attention to the edges in yellow as well, if the concern is more to reduce sharp edges than to maximize water release.
Jrandy is correct about everything except the long, vertical yellow edge — after glassing those sections, the edges won’t be that hard. Hans has mentioned in the past that the sharp trailing edge of a fin doesn’t need to be razor thin since fluid separation has begun before it reaches that final edge. BTW Very nice figure Jim.
All of those other corners/edges jrandy indicated with yellow and blue could make for a nasty gash if your body made hard, sudden impact with them. IMO the drag from the rounded red red face would be insignificant and the injury potential would be high. The rounded red faces would not be much different from the rounded tips of fins.
Hans post 19 regarding the long, yellow, trailing vertical edge:
Ok i understand.
1 Like
Got these PET templates at the end of December (precision made by jrandy and friend).
BTW I designed all of the curves for this Surfcraft — planshape, rails, rocker, Coanda channel — with math equations (fluid dynamics and geometry).


1 Like
Thomas did a nice job with the design, I let him know. I just fanned out the sections/slices for review.
1 Like
I’d say you did an excellent job of combining my rocker and planshape curves math into a CAD file usable for cutting/shaping Jim.
Thomas Vilmin did an outstanding job of adding my rail curve profile to your work and converting the combined work into Shape3D and IGES files.
If a person can think it, then convert thoughts into math equations and have CAD files made, it can be created with accuracy and replicated with precision.
It took 3 of us to make the physical reality of this particular Surfcraft possible.
1 Like
For this board, I am using a modified version of the elliptical rail profile method (below), that I worked on close to 10 years ago, and merging it with fluid dynamics based design. Using quarter ellipses helps simplifiy the design process and template creation/print-out.
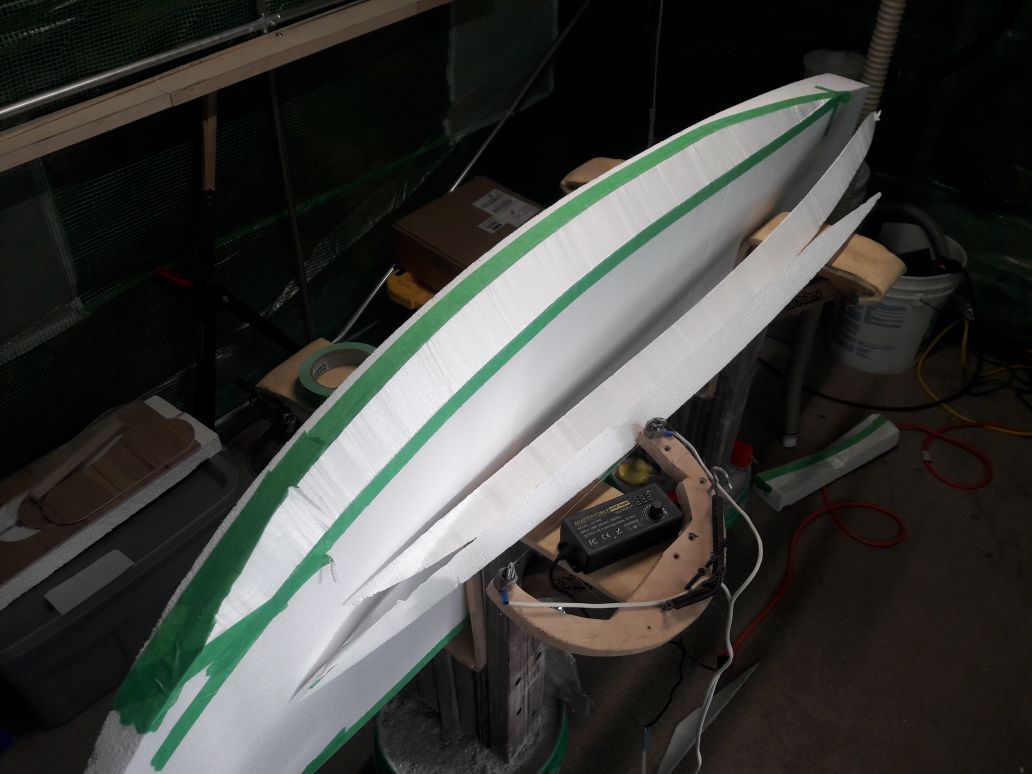
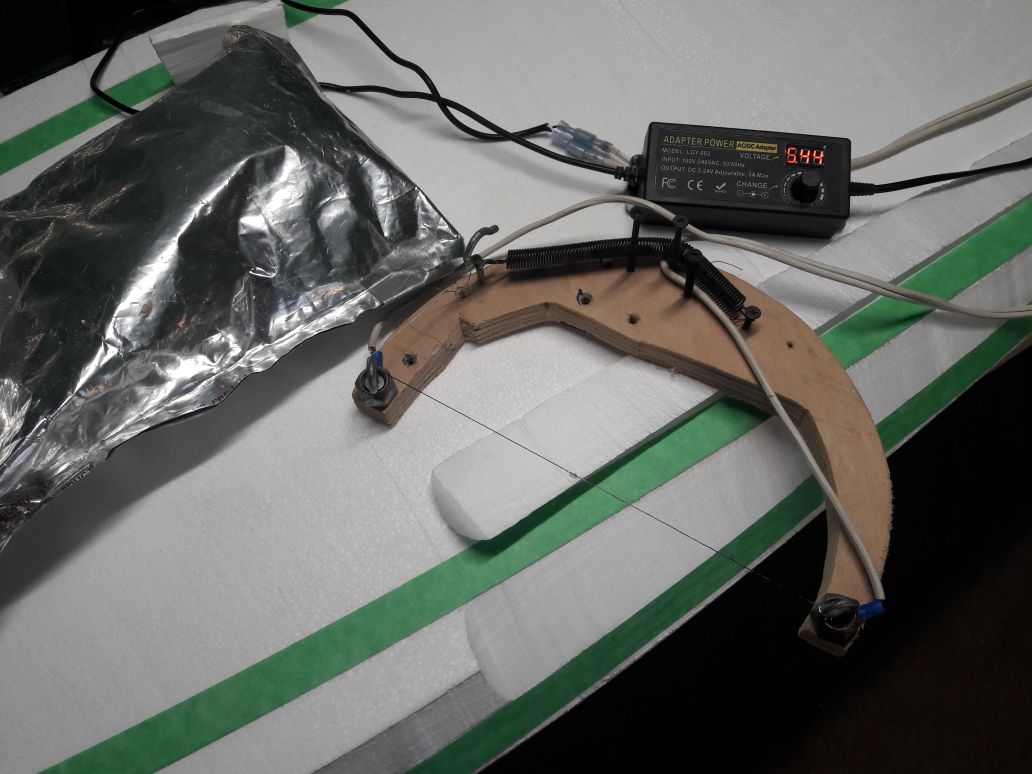
I put the first band on the deck on mine with the old hot wire and tape trick. I am thinking two more bands on the deck (probably with the planer) and then tucking the bottom rail with a ‘Fred’ type tool. I have a ways to go to get it looking like the practice piece.
1 Like
What is the tape technique?
What is the tape technique?
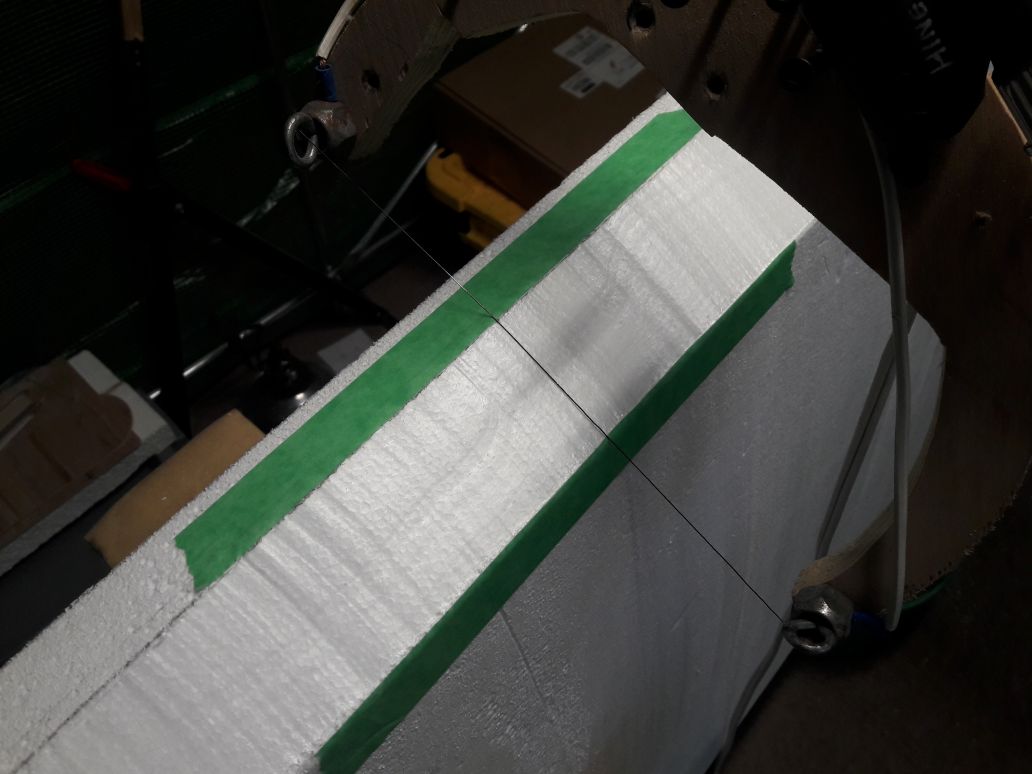
- Mark EPS blank with pencil where it should be cut
- Pull (apply) masking tape along pencil line with excess away from area to be cut
- Hot wire cut between the tape edges, along the pencil line. The tape resists being cut by the hot wire provided the wire is not set too hot or ran too long outside of foam before commencing cut
- Repeat on other rail
1 Like
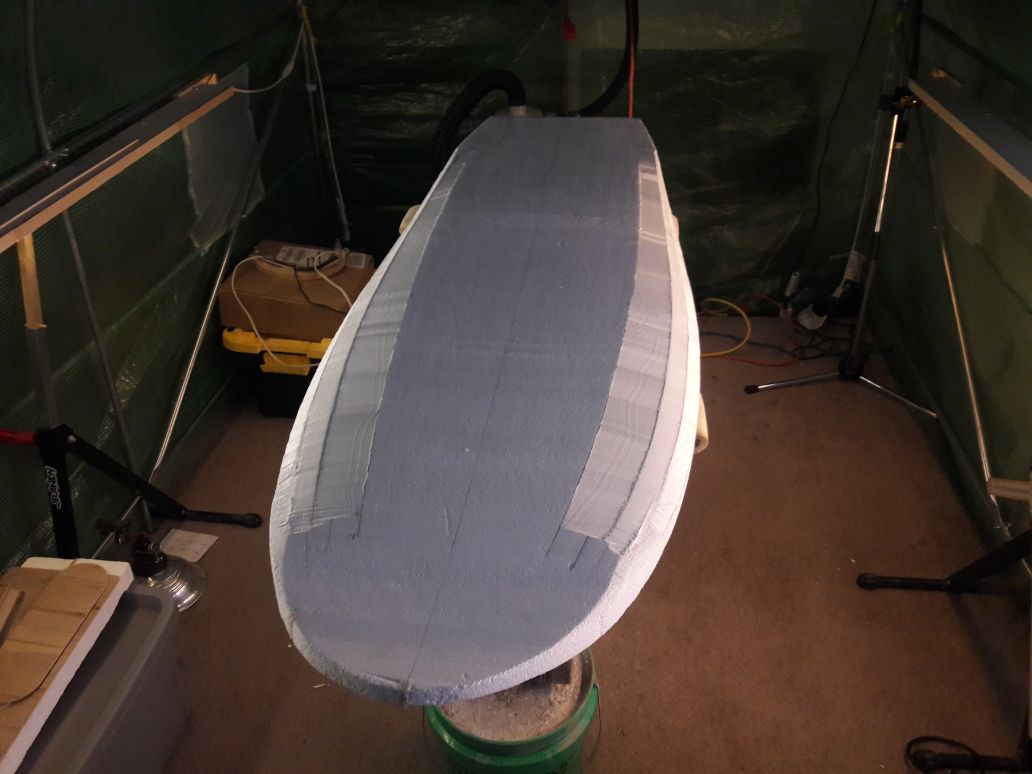
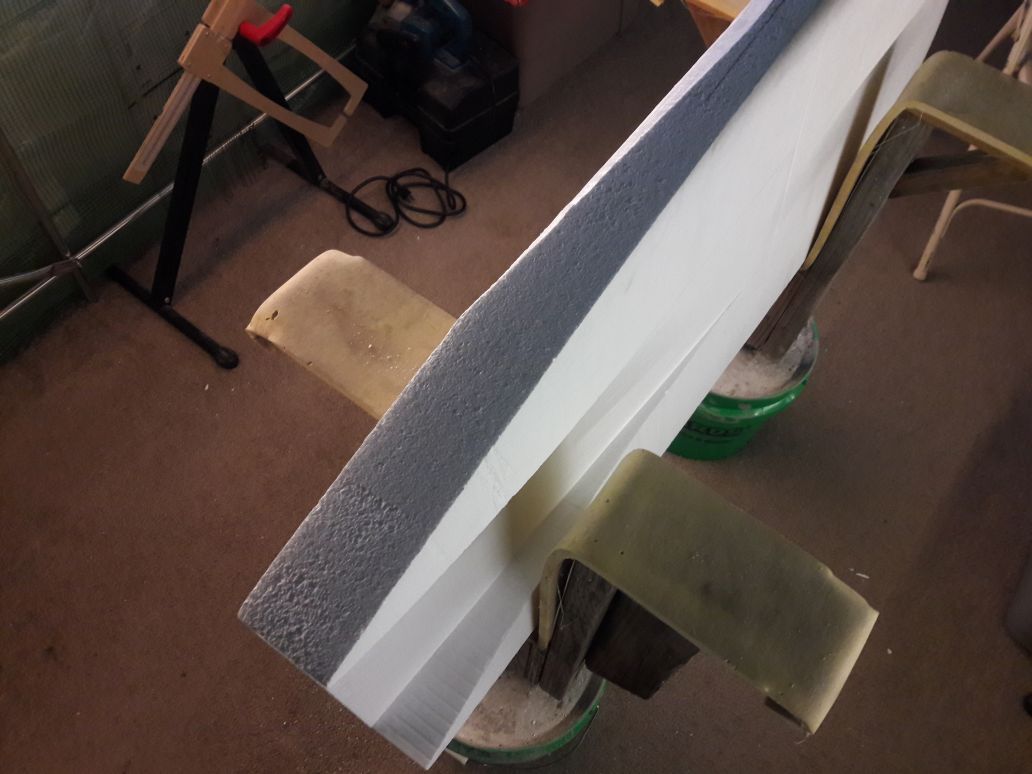
I decided to do the 2nd and 3rd bands as tape and hotwire since I was set up and that it would be good to practice the technique.
It worked better to start in the middle and cut towards the ends.
It also helped to cut a small piece of foam off a scrap chunk to cool the wire before going into the band. The second cut per band was started by cooling the wire and skimming the wire on the tape an inch or so before it needed to cut.
Has there been discussion on how to handle the tail end of the board?
I am imagining the tuck becoming a hard edge somewhere back there, but not sure whether to use an old standard like 18" from the tail or start more towards the nose in relationship to the start of the channel?
1 Like
Because of the channel walls at the exit, a hard edge at the tail will not function the same as it does for a standard surfboard tail.
IMO it will be more about drag and less about rail (profile) hydrodynamic foil effect. It is an unknown variable. The channel bottom and walls combined serve a different function than the traditional tail rail.
Go with your gestalt/gut/intuition/feel as you look at it (shape it slowly by hand).
IMO the tail rails, formed by the channel walls and outer rails, will function like vertical foils into turns. My gestalt is as the channel gets deeper the rail should become harder — outer rail edge getting much harder at around 16” from the tail for this channel length.
1 Like