Hell has frozen over

Well… it’s happened.  I finally scraped some cash together and made an order to Greenlight last week, and today, I officially started shaping my first board.  Boy oh boy, was I excited! Got two blanks, a 510 fish and a 64 shortboard, with enough glass for the both of them.  Gonna be ordering Solarez resin tomorrow, hope to get on my first shape by next week.  


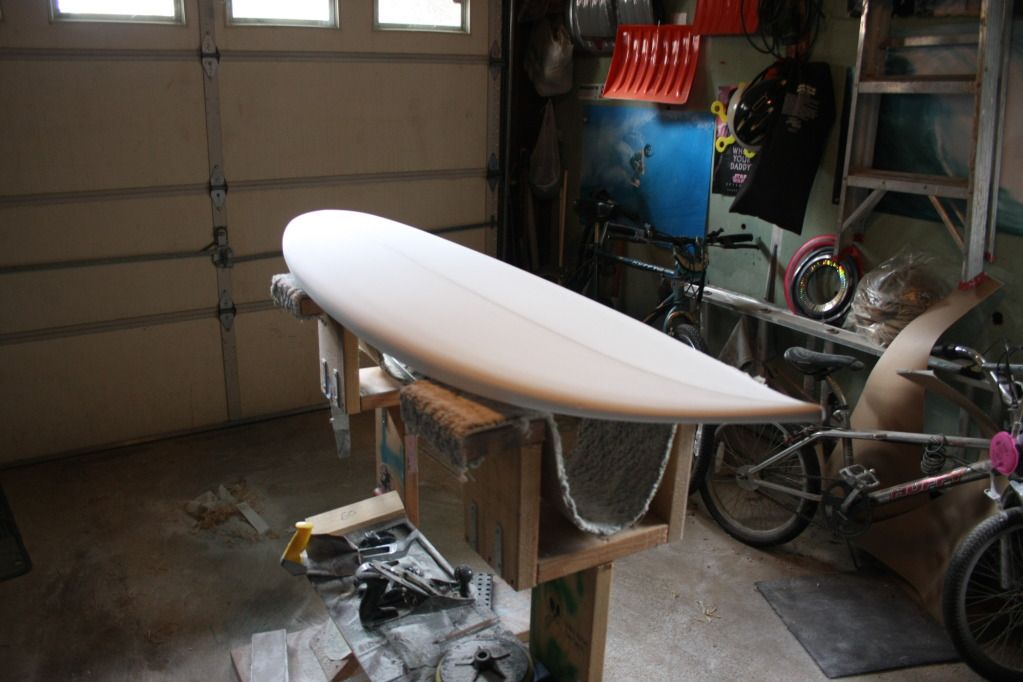
Here’s a little photo diary of day 1.
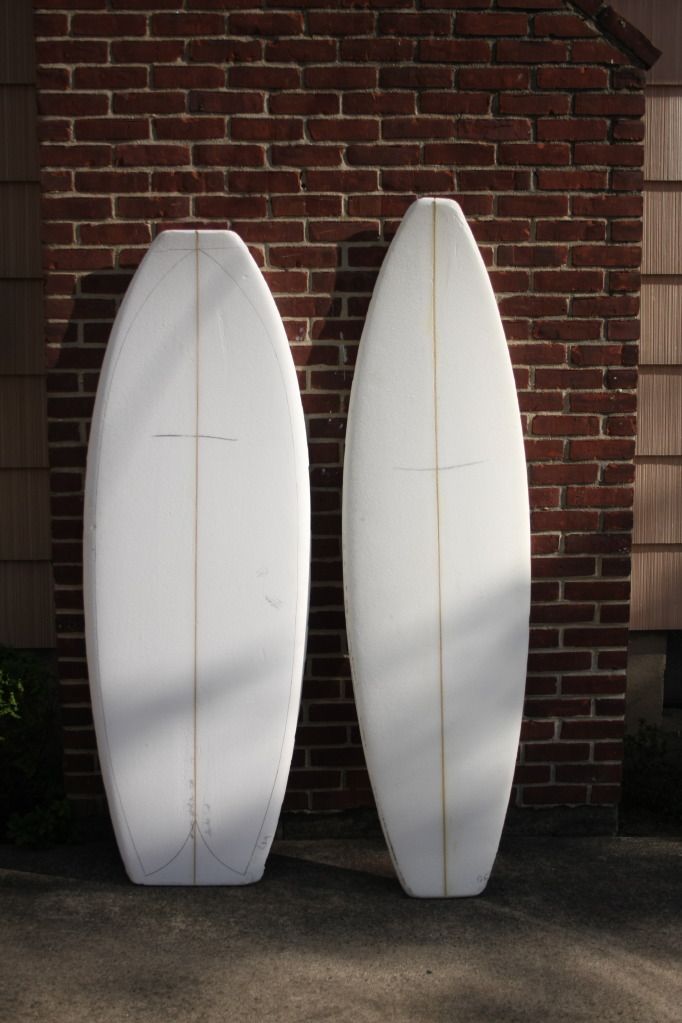
 

510 and 64 slugs.
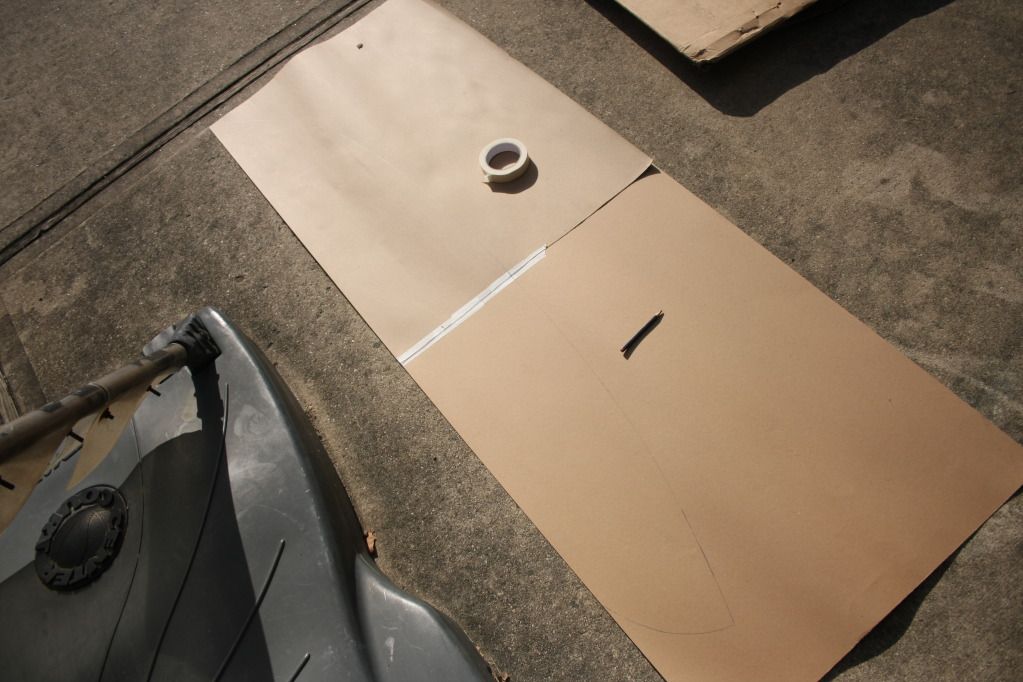
 

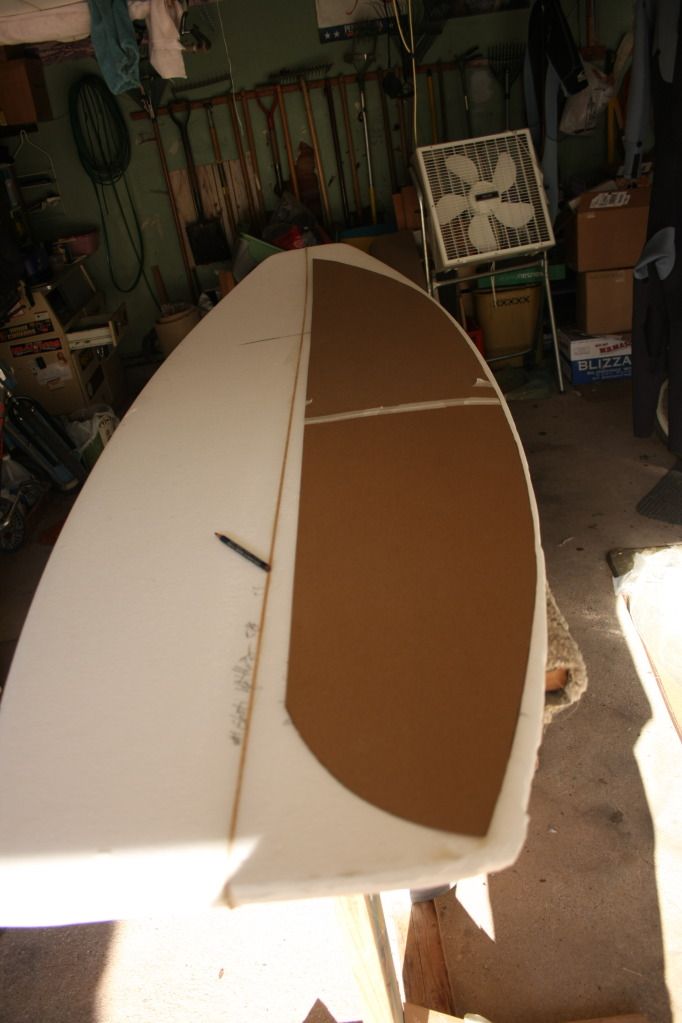
I was going to go to Home Depot for a sheet of masonite to make a nice template, but the 10 foot box my blanks were delivered in took up all the room in my mom’s van.  So, I got resourceful with some old cardboard and made a temporary template (ha).  The design was originally printed on plotter paper, after I designed it on Illustrator.  Original dimensions were 5’8" x 22".
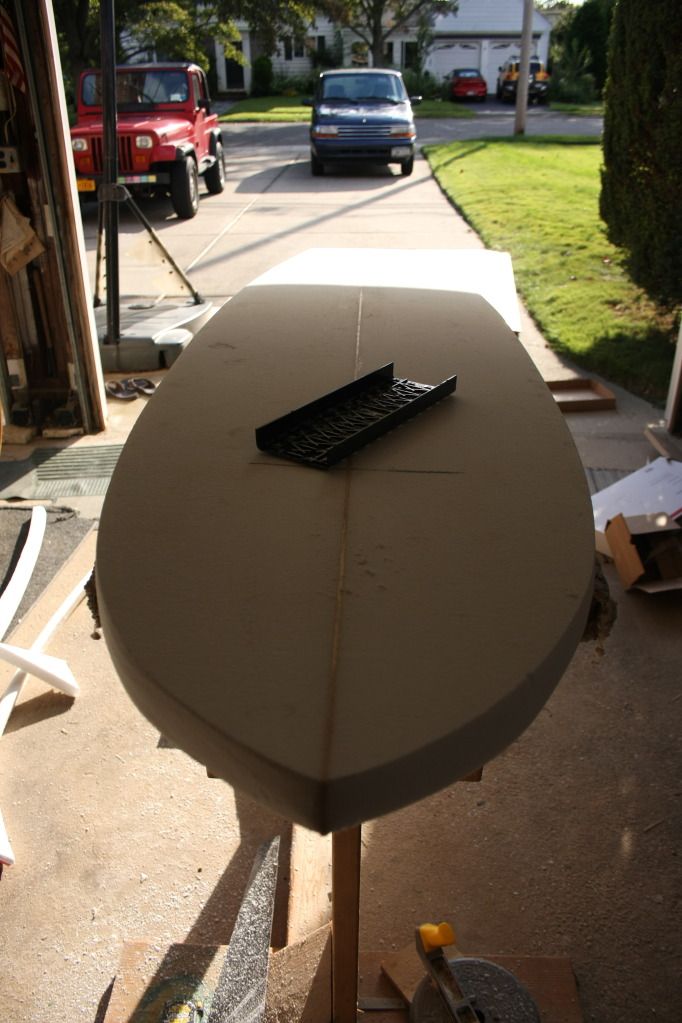
Cut the ouline with an old cross cut saw. Saw a Terry Martin interview a few months back saying that dull saws cut better, doesn’t tear the foam.  This saw was about halfway dull, so, it was a nice smooth cut.  Few tears here and there though.  True the outline with Greenlight G Rasp poly carb. Nice little tool.
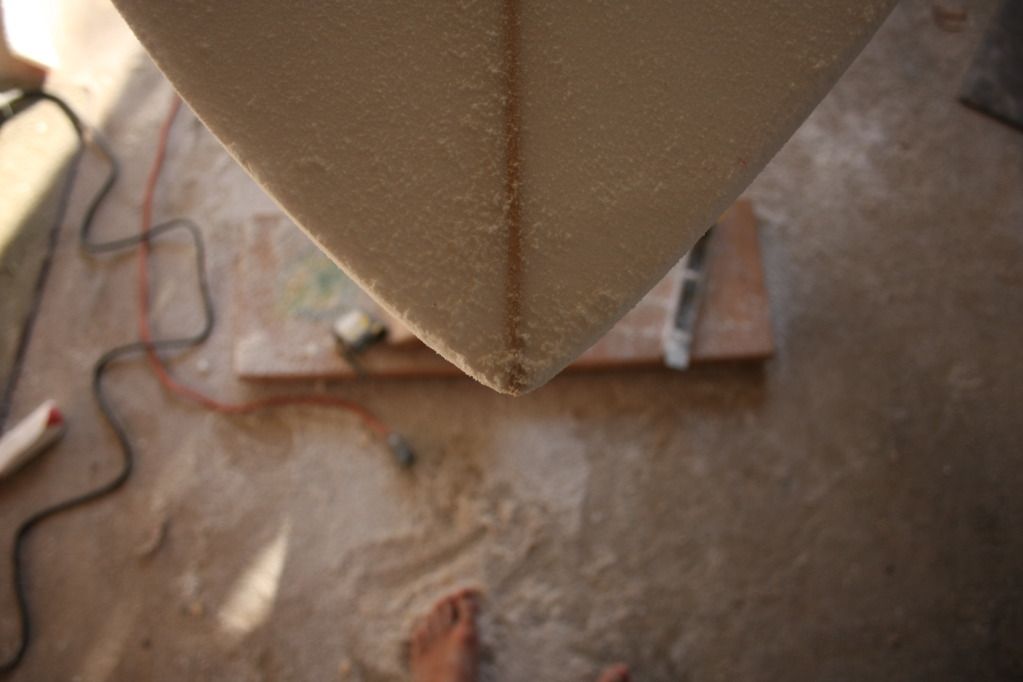
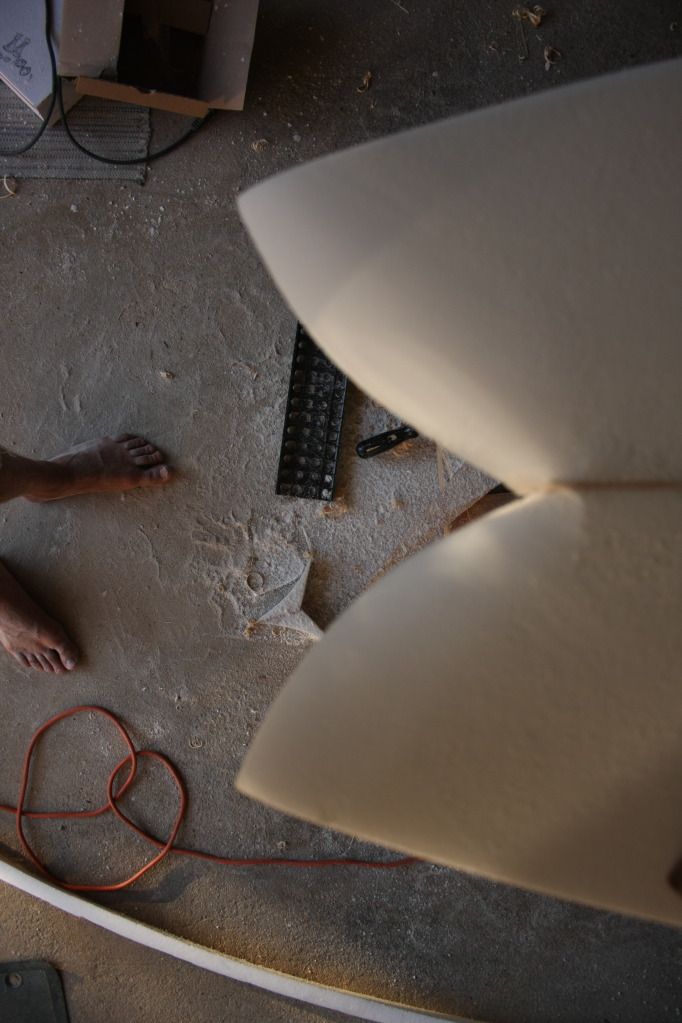
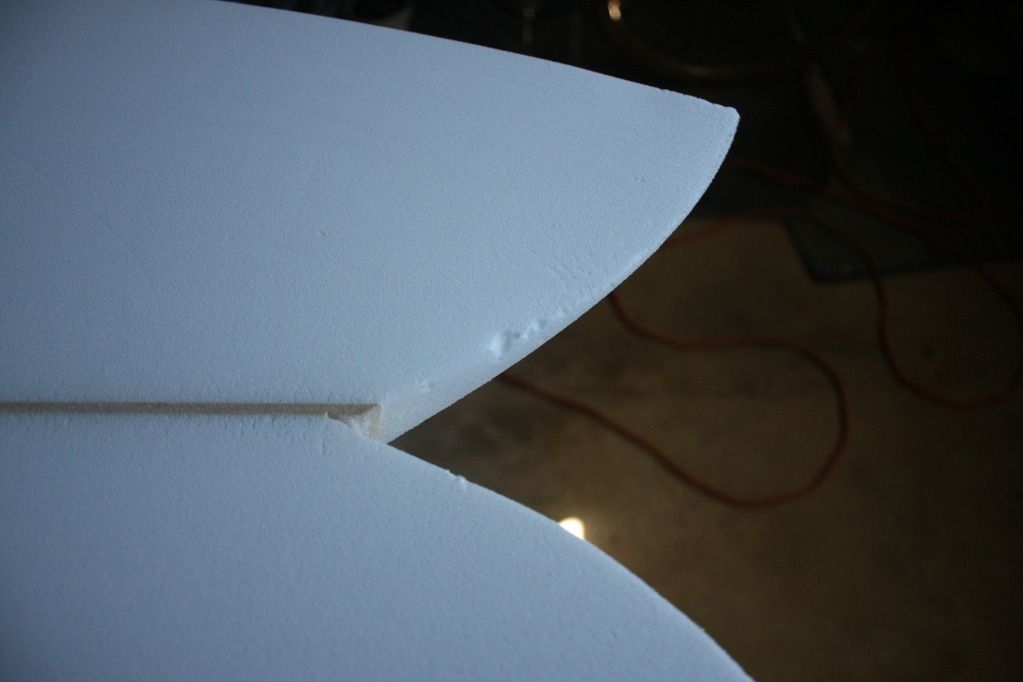
I have always hated cutting swallow tails (on hand planes, which I have done too many), because there’s little room to fix it up. So I try to be precise, and of course, it always ends up like garbage.  Cut with a jigsaw and surformed to [proper(ish)] dimensions.
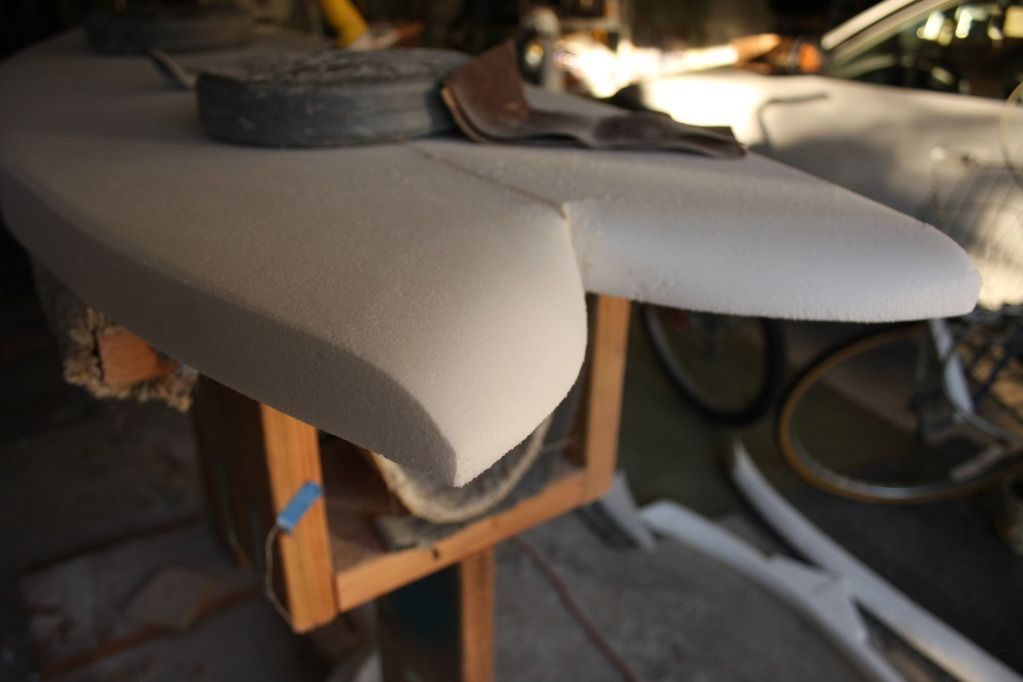
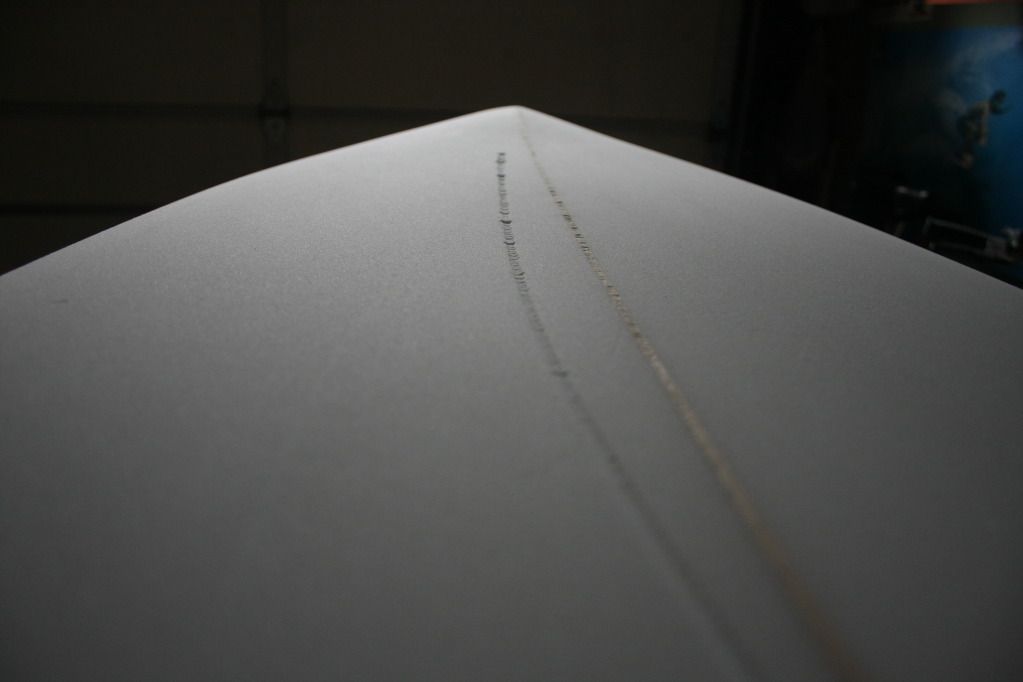
Did a double concave underfoot. Yes, I PURPOSELY put a double concave on my first board, even though everyone said keep it simple.  But the G Rasp and a mini jack plane made quick work of it, and it turned out pretty nicely.  Working on a concave deck to keep me locked in, Ryan Burch style.
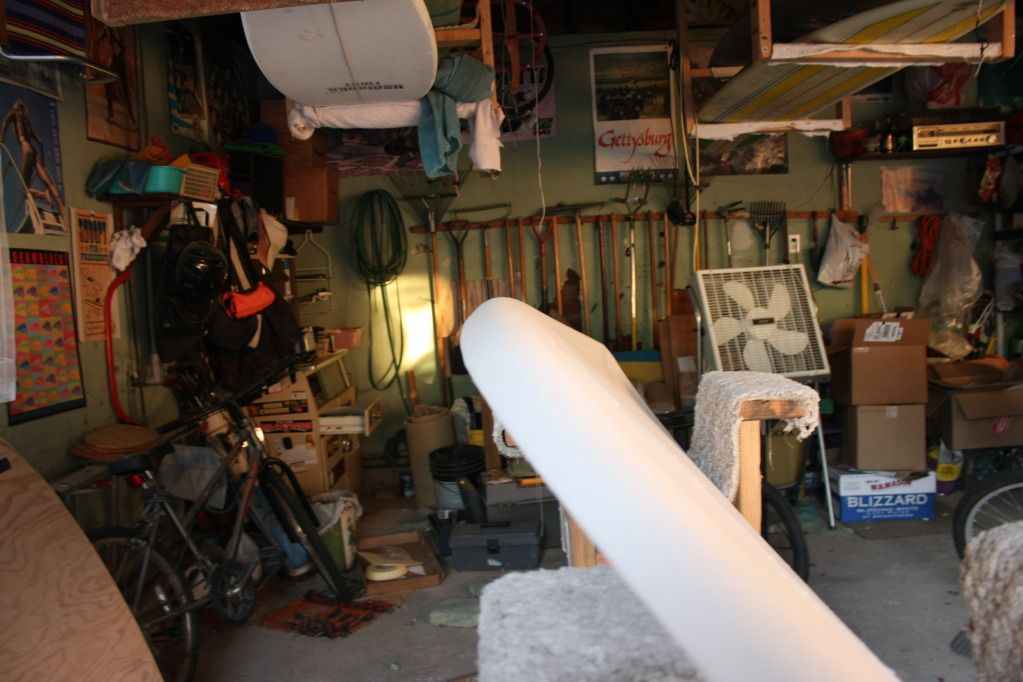
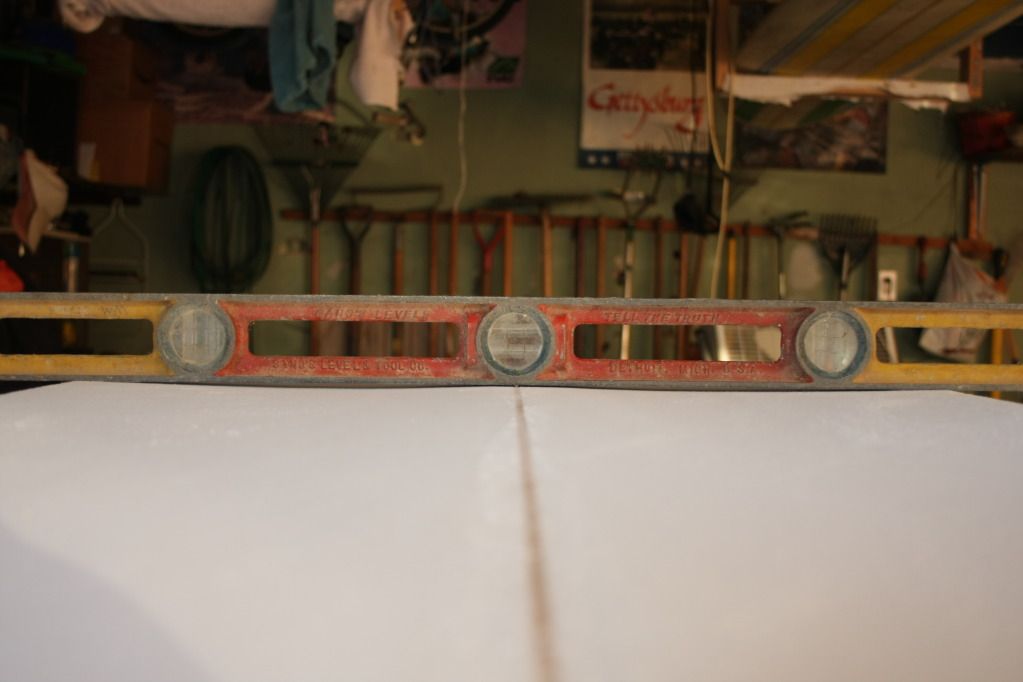
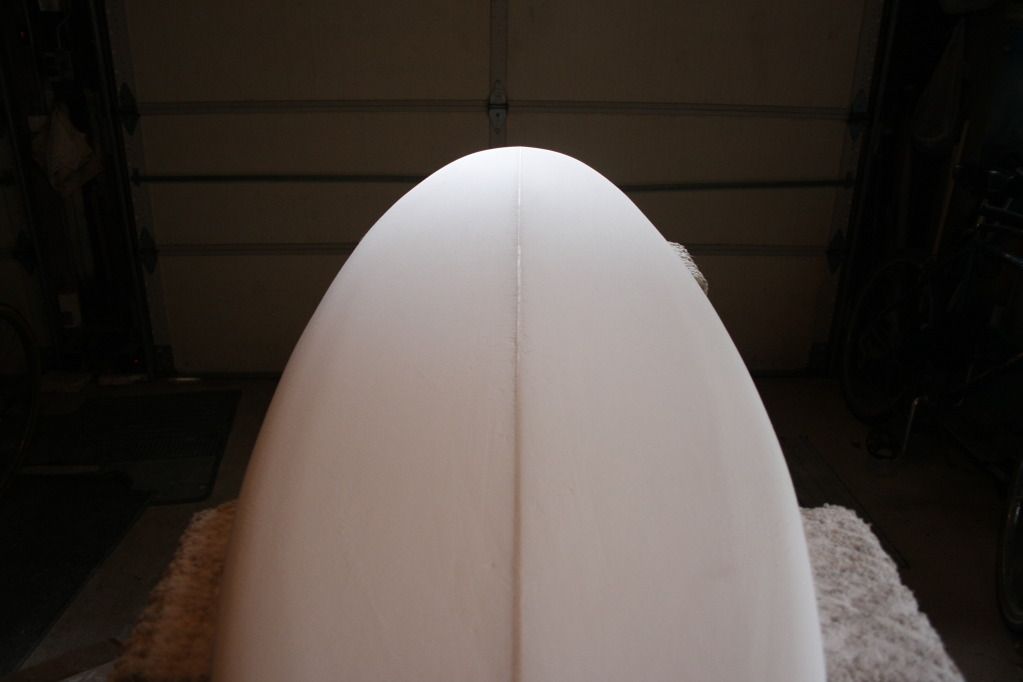
Did one full rail today, and the bottom of the other.  Other rail will be done tomorrow and then finishing touches, and I suppose it’s glass time.  Can’t really tell in this photo, but the rail turned out realllly nice.  I was kinda worried about that part the most, but it was fine.
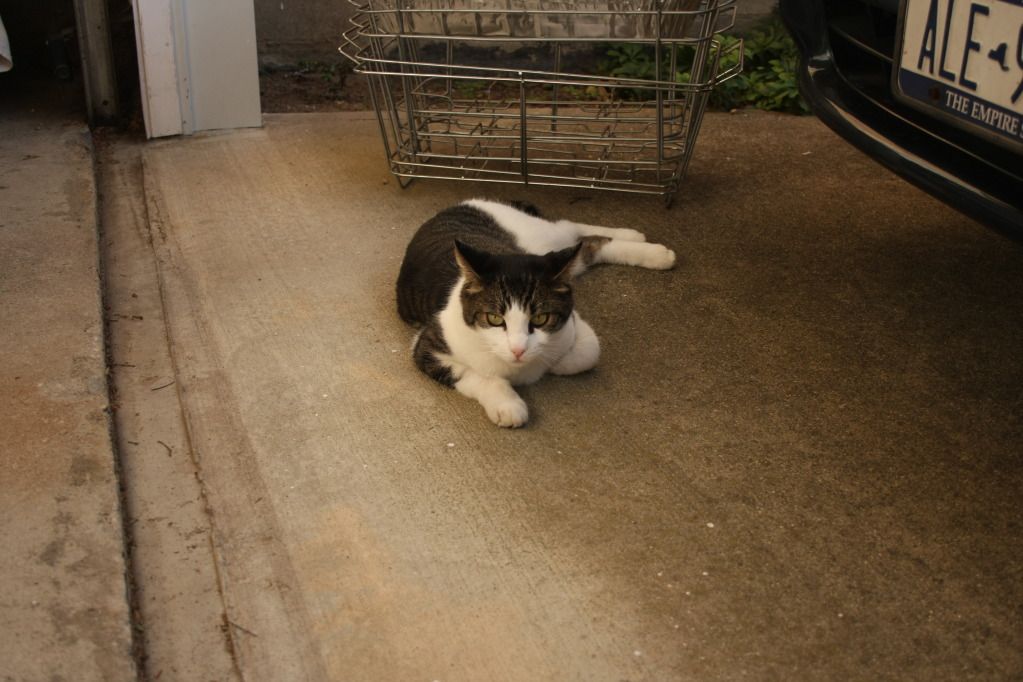
Some shapers have dogs (Lovelace), I have a cat.
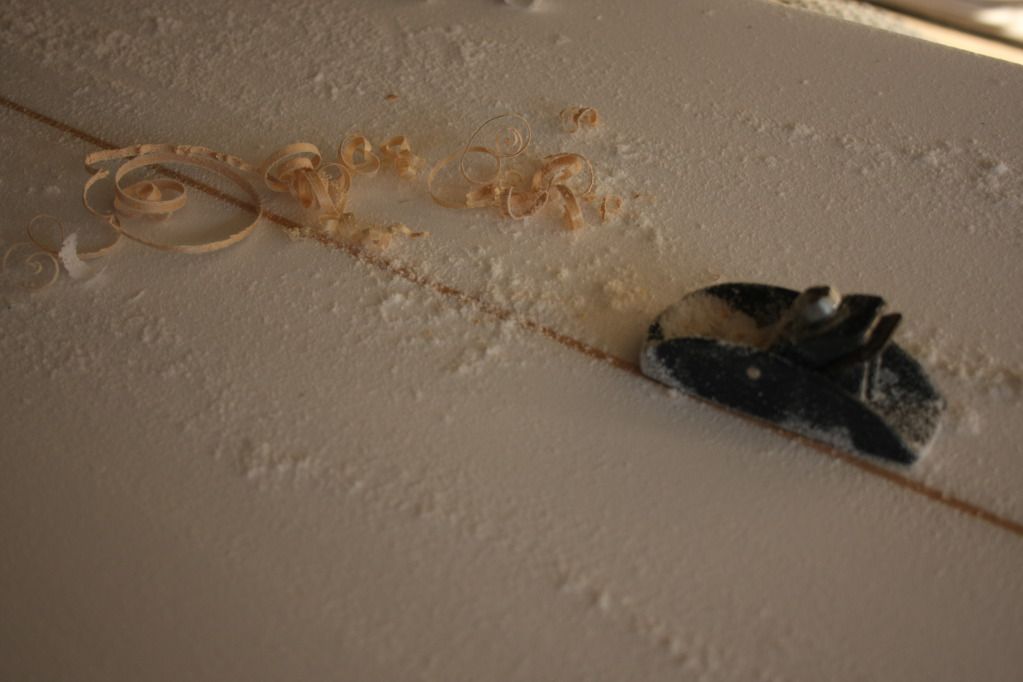
My little plane that did a lot more work than I thought it would. I always loved that tool.


So that’s day one.  Hope you guys enjoy my work.  Feedback, criticism, tips, whatever, is all appreciated.  Thank’ee.
So far so good.  Keep going.  You seem to have a good eye for what you want.  You might want to work the rail some more to get a rounder apex and 99% of first boards seem to be a little heavy in the nose and tail foils.  .  

COOL!

You’re stoked!

GO DADDY GO!

…ambrose…

GO DADDY GO!

…ambrose…

looking good

G-Dad is steering you straight. Good advice.
Keep going!

First off, the good stuff. Looks like you did a pretty good job on outline, cut-out, and trueing up. Swallow looks good, except for you need a round surform to get the stringer/crotch/crack down. That's usually the first step.

But it's not a good idea to do one rail at a time. Hopefully you've read the railband thread (it's in the ''read first'' sticky at top); in it you'll learn that when you get to deckside rail bands you should cut primary bands on both sides and match them before moving to secondary bands. The bands and the light/shadows allow you to ''read'' the rail and get both sides same before you move on to blending/finishing. 

I have the feeling you're not really taking any of the thickness out of the blank either. Those blanks are designed for machine use, they have considerable extra meat in them, particularly at the tips.

But, that said, it's probably going to come out better than my first board lol. Good writing also....

GOOD job on your 'first board' !

[I WAS a bit confused by the statement that you have shaped lots of swallow tails before ...were they OTHER'S  boards , then ?]


 I will be following this build with interest , as my 'bushfire fish' is 5'8 x 21 1/2" , so close to your dimensions....  what is the nose and tail width , 12" down and 12" up , please ?


  And , WILL you thin it out a fair bit more , do you think ?


 I like the outline .... my first board was bloody AWFUL !


your number plate is " ALE  " ??     .... You'd get on well with 'beerfan' here , then , I'm guessing ....


  cheers !


  ben

gdaddy, you’re amazing.  Thank you for the awesome tips.  I AM doing opaque though… so is the cutlap going to be 100% necessary? Or can I get away with the free lap?

Money is low, and I’m getting antsy.  I just want to surf the damn little thing before the water gets too cold!  But I do understand the necessity of doing things right.  I’ve ruined many things before because I’ve rushed into them.  Gonna print out your tips and plaster them on my garage walls.

We’ll see what happens when the resin and fins get here.  In retrospect, I should foiled my own pair, but doing singles can get aggravating enough.  Matching keels would have made me mad…

I like learning!

Sorry for the delay in posts guys… I’m been doing some other non-surfboard related stuff, so I procrastianted on the uploading.

Anyway, thank you all for the kind word and good advice.


gdaddy, I wound up thinning out the nose a bit more, as per your suggestion, but I have an interesting story to tell later on in this post.


Mike Daniel, ermmmmm… mighta skipped that post.  I did, however, look back on it after your suggestion.  Seems to make enough sesne… I tryed that on my second board [keep reading]. Worked on that crack, too.


Thank you, fins! I was referring to swallow tails on hand planes, which i HATE HATE HATE. Same thing on foam… As per my license plate, that was just luck of the draw.  Thank you, New York State! Took a bit more thickness out overall, but not too much, as I like my boards chunky.


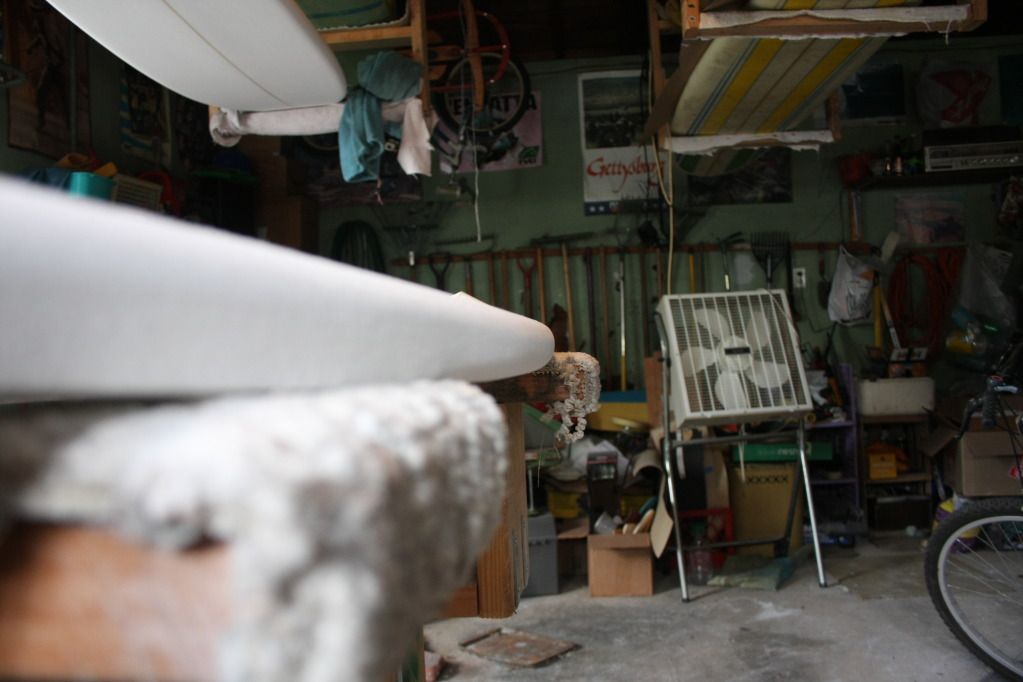
I ordered a set on glass on twins from Foam EZ, hopefully they’ll be here soon. Also got an EZ Square to help me with fin placement.  I’m sure I’ll be all over the archives looking for tips.  Oh, and let me say now, I hope you aren’t all jealous of my ultra modern shaping bay.  It’s the best money can buy.


Didn’t take too many photos post tune-ups, but here’s two.

Bit more rounded rails.

Please ignore the asym stringer in the swallow. I TOLD YOU I HATE CUTTING THESE THINGS.  Anyway, a few chucks kinda tore out.  What do I do here? Just glass over it and pretend it’s not there?

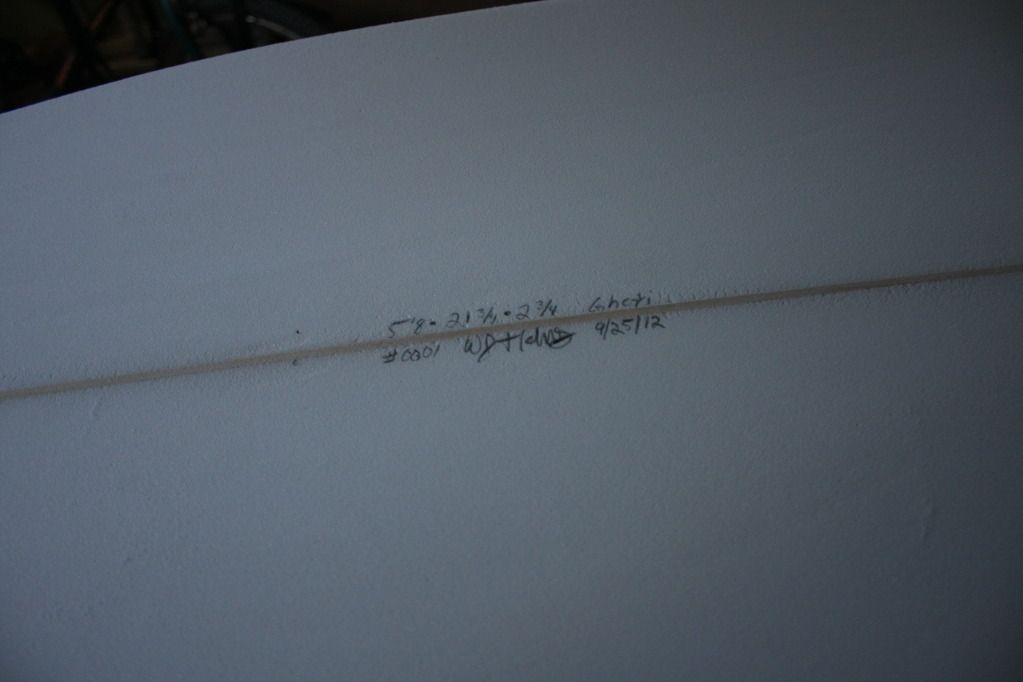
Signed and numbered.  For the history books!


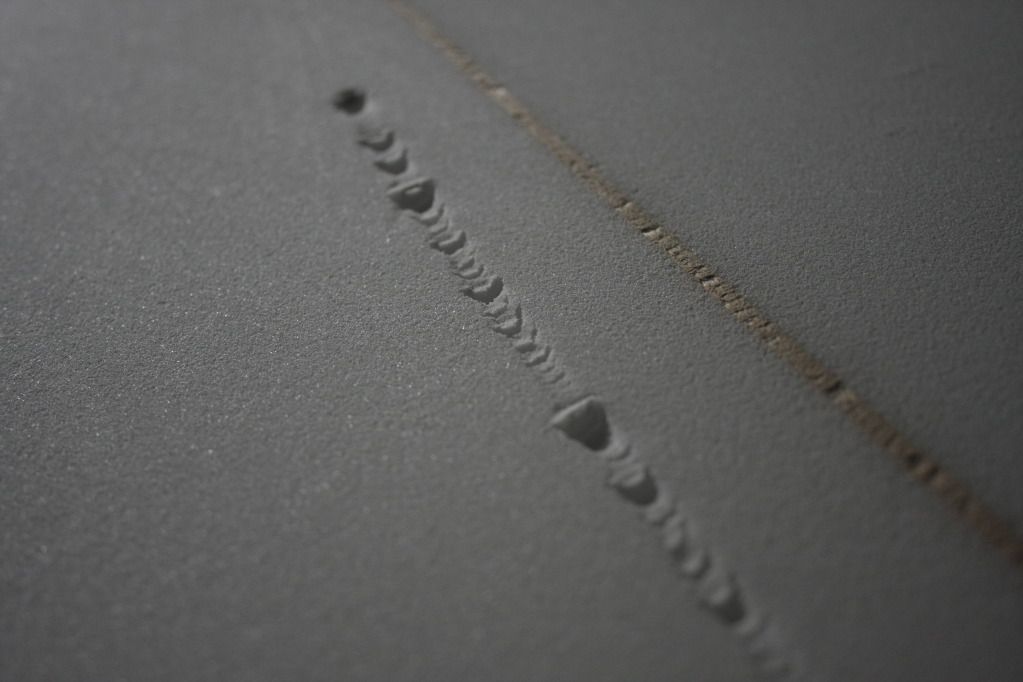
Okay, so now onto the second part of this post, which is a bit… erm… idk. upsetting at least, on my end.  After I finsihed up the fish, I made another template for a short, wide shortboard, cause, well… that’s how I like them.  Only problem was the blank was just a hair to narrow for the tempalte, so I had to pull in the tail a bit.  Not a problem.  Than, thinking about how everyone said I need to get some more meat off the blank, I kinda went surform/g rasp/sanding block happy.  I miiiiiiight have taken a bit too much off. Like a lot a bit.  I don’t have calipers, but when i measured the rail, it was 1 3/4". F%@$!  I know there’s a little dome in it, but still.  I wanted to cry.  So, I banded the rails [AS PER THE RAIL BAND THREAD! YAY PROGRESS!], and kept them kinda boxy (which I also happen to like), and hopefully kept as much volume in there as possiible. 

So, kinda took a step back and sighed, and learned from my mistake. 

To Do: calipers and planer.

Finished dimensions on this is 6’ x 19 3/4" x idk, nor do I want to.


Looking back, did I do the right thing with boxier rails? Or should I just sell it to a little kid?


Thanks for reading everyone. Sorry for the lack of photos on board 2.


Oh, also forgot to mention.  I got these leash plugs. Don’t have a hole saw to put them in. They’re pretty small though. Can I just drill into the blan on the fish, blank/stringer on the shorty? and obviously, reinforce with MEKP’d Solarez.  Post glassing, I’m assuming? Or not?  Suggestions rule!

You can fix the swallow tail chunky-bit-fall-outs by filling them with; spakle or bondo or baking soda/resin mix or diaper filler/resin mix OR…

You can fix the asymetrical cut and chunky-bit-fall-outs in one fell swoop by re-templating the swallow and cutting it out again.  Really won’t affect the ride at all.

I cut my swallows at the very end of the shaping process, literally just before glassing to avoid inevitable breakage…

I hope you aren’t going to glass with a tube of Solareze?!!!???

Thanks for those tips, LeeV.  I’m gonna need them, especially after my dad did this number on my fish’s deck when he hastily put the short board on top of it, so he could pull my ssters Jeep in for 30 seconds of drizzle. Ouch.

I’m jsut concerned with filling them in, not making them pretty, because I’m doing a free lap kinda pigement on the front half of the board, so the ugliness will be covered up.  Was planning on doing that BEFORE it was scarred. Dear old dad…

And what? A tube of Solarez won’t cover it? Should I have oredered 2? 

Hahaha, no, not a tube of solarez putty! I got a gallon of the dual cure poly stuff.

http://www.solarez.com/productsnew/lowvocgall.html


And I forgot the link for the leash plugs. http://greenlightsurfsupply.com/bio-plasticleashplug.aspx


So yeah, any tips on those gouges would be helpful, as my resin is due to arrive shortly, I hope…

just glass it.

just like that

you can put a dotted pinline over the top of it 

and dedicate it to the aniversary of your dads

mis-approp you will look fondly on it for years

to come . you could even use it for gettin

a set wave from him almost weekly

for we all will know it’s his contribution

to the perpetuation of physical evidence

of the human flaw.


…ambrose…

rule # 1. as soon as you finish

shaping put on a side of glass.

the cat in the jeep is next

foam is great for scratching.

We always tell virgins like you to avoid resin tints and opaques on your first board because it’s a fair bit harder than you think to get the results you want (even in the flats).    Of course, most people ignore that advice and do it anyway.  That being the case I would like to point out that the “resined freelap” look is probably the most difficult techique to do as cleanly as Moonlight and Lovelace and others have been doing.  Based on what you did with the leashplug it’s a fair assumption that you will not get what they’re getting with their resined freelaps.    


If you’re going to do a resin tint then the smarter thing to do is a cutlap.   It’ll probably still look rough 'cause after all this is your first attempt.  The trick with getting a clean lapline is to:

 - blow off your blank  to get it as dust free as possible.  if you leave a lot of dust on the blank that will make it impossible to get a good seal.  Wiping it down won’t do it, not by a long shot.  If you don’t have an air compressor you can use a can of the compressed air they use for computers.  

 - use good tape.   The only tape available at the local hardware store that will come close is the green high adhesive painter’s tape.  DO NOT lap lines with any of the others there.  You can use the cheaper stuff for the 2-3 passes you overlay to the inside but even then you have to be careful 'cause the stuff mostly doesn’t want to stick.  

  • for curves you can slit the tape lengthways with a razorblade so you’re only trying to stretch 1/2 the width around those curves.  You can lay the outline with one half and overlap it with the other half.  

 - press the tape tightly against the blank to get the resin-proof seal.  You can use the flat of a razor blade or even your thumbnail.  You want it tight and completely adhered but just short of denting the foam.  Start light and work your way into it until you get a feel for the technique.

 - lay a double layer of tape at the lapline itself to get the nice raised edge for when you trim it.  Remember, cleanliness counts.  


You seem to have an eye for the curve so you get extra points if you can get either or both sides to cleanly parralel the outside template.  Most people can’t pull that off on their first couple tries.  I sure didn’t.   I didn’t come up with any of the above tips on my own, either.  


Okay, so I’m hoping my stuff comes in the mail today (that is, my gallon of Solarez plus a set of glass glass-on keels and a measuring square so I can find my proper fin placement).  That being said, tomorrow is gonna be glassing day. 

This morning, I set my leash plugs in both blanks.  Picked up a forstner set yesterday at Harbor Freight, and went to work when I got home.  Mixed results on the drilling.  Kinda shipped a bit omn the fish and… ugh… slipped off the stringer on the short board, causing some bearable damage.  Should of heeded those words of advice on pre-drilling holes on the stringer.  Learning from my mistakes.

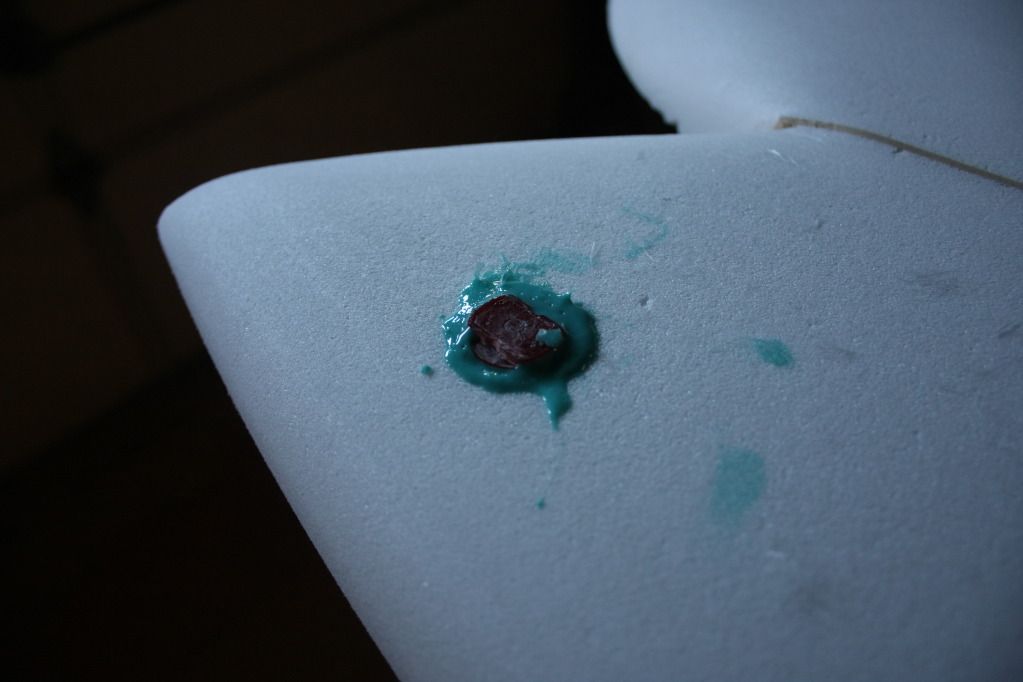
Anyways, set the plugs off with MEKP’d UV resin that I had around, tinted teal (because I didn’t have white… and because I think it will look kinda cool…) like the fish will be in the nose.  Reinforced the holes with some chopped strands on the bottom and sides.  Not sure if I had to do that, but it couldn’t hurt.  Also, poked some holes in the side of the forstner cut out so resin could seep in, giving it more of a hold (thanks, archives!).  It could’ve gone better, but at least it didn’t go worse.

I know there’s extra resin around the top, but that will be sanded away in good time, I presume.  These are the red Greenlight bio plugs. 

On the shortboard, I’m planning on just filling in the divot i made with resin then putting a rice paper over it, or maybe just spray painting the tail to hide ugliness. Or maybe i could do a teal pigment in the back… Hmmmmmm…

Anyways, that was this morning.  Hope it went well.

Thanks for reading.

Also, let the record show I’m an advocate of the whole ‘purposely messy’ look, so I wasn’t too concerned with the neatness of the plug, especially since it’s going to be on the white section of the board, making the red and teal pop out more. 

Then again, it could look like shit…

If you put them in after you hotcoat, then no colored resin seeps into the foam, and you sand down with no worries about hitting foam while sanding. 

I don't put them into raw foam like that, but if I did, I would mask the whole area off first.

Just saying.

I would use lightweight spackle, the kind painters use, on the gouge.

I wouldn't say I'm into the "purposely messy" look, but I am an advocate of embracing the imperfections in a hand-made object.  My father was a perfectionist, so I learned at an early age how that philosophy creates stress and makes it difficult for others to be around you when you're working lol.

Yeah, I think I’m going to do them after hotcoats now (even though I’ve never done a hotcoat… yet!).  It just seems like it would be easier.  I’m assuming forstners wouldn’t have trouble with that?

I think I have some spackle laying around… if not, I’m gonna try the baking soda/resin thing.

And blieve me, I know the beauty of something perfectly done.  I’m not saying I’m never going to shoot for perfection, because believe me, I am.  It’s just since it’s my first board, I’m going to go with the whole freelap/messy resin look that I learned to love from people like Lovelace and Bexon beacuse, simply put, it’s easier and less prone to UNpurposely making it look bad…Does that philsophy make sense? lolol