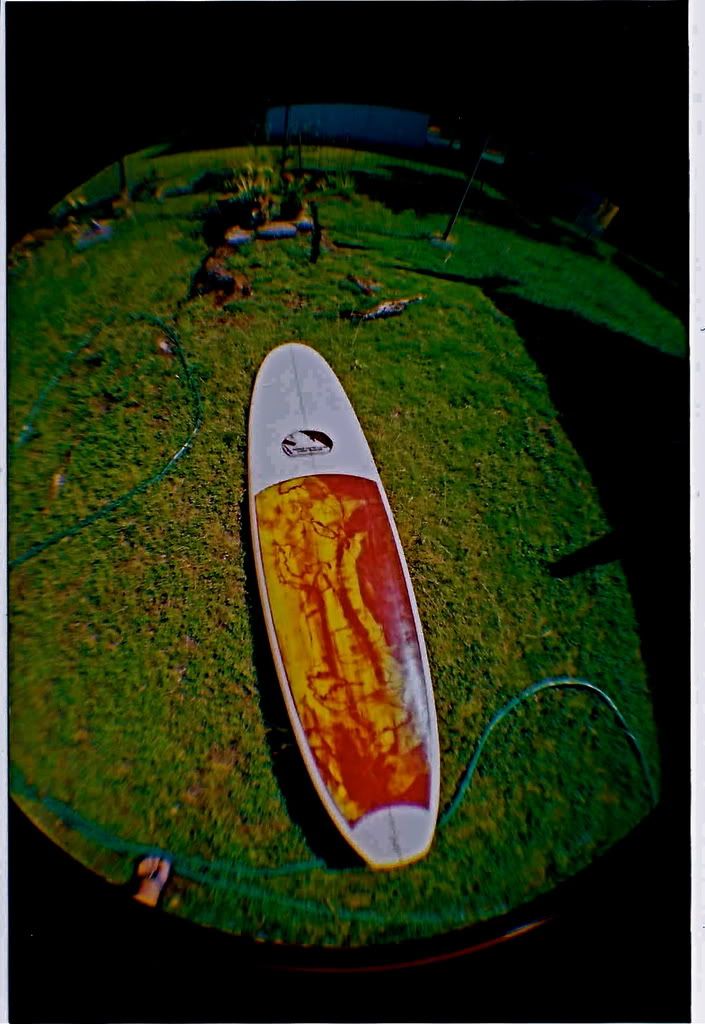
im with you there obiwan. good start paul but a ways to go yet… polish is looking good… should take a about 30-40 minutes from cut back to chamois dry…
Here’s an inlay on a board I did for a friend. If I remember correctly, it was 7’8" x 22 x 3 tri fin, single concave under the feet to slight rolled vee, and a very hard tucked-under edge all the way up to the nose. Wide point 2" behind center with an arc tail. Made for south shore surf. He says this nose rides better than his 9’0", go figure. Pardon the crappy picture.

hey obiwon the green is most likely 6 oz jps industries and the orange is 4 oz
it is possible the 6 oz is colan glass
the orange is tighter weave and looks better
i think it kicked a bit slower on the green
ive gone through the rest of thread and i can see simlar on all the closeups
like this one here

prolly coulda kicked it at 2 percent but i have had some 2 percent clears go nuts in this heat
thanks for the compliments btw
will get tested by an 8 year old at mahia for the week
Go to: youtube.com and check out the glassing. It shows resin swirls being laid down right in front of your eyes. If they can do it so can you, but there is a learning curve. They say you have to shape a 100 boards before you know whats up. I wonder how many boards you need to glass to fiqure it out? Good luck to all. Hans
well to answer your question about is it standard to see weave like that, no its definatley not. sometimes on color work it will happen on certain parts. notice next to the blue part where it drained the red on the tail didnt, that comes from not being able to really work the resin around and pinning that lap in one shot…followed by a clear cheater/ fill in coat. we try and let that not happen, but sometimes there so much going on shit happens.
on regular solid colors (tints/ opaques) it is easy to not have that happen. its all in the timing of how efficient you work and how hot you set it off, and how much pressure you are using. you can also save a little for a cheater/ fill in coat of the same color…enough to fill in the drained weave on the bottom and rails.
to me it looks like you did a nice job on the lamination of the green, it just drained out a little…minor adjustments would solve that + a little back fill of the same color will do till you figure out what works for you so you dont need that backfill coat!
cheers obiwon
good advice
in my opinion
to compare 7 color artsy fartsy layups to single color tints is apples and oranges.
in terms of seen voids between the cloth means its dry and unless back filled with the same color will have the checker look.
and if dry on a airbrush will cause crystalization. backfilling is a sure way to get an even tint or opaque.
abstracts you wont get the same results cause you have to use clear and with all the colors your bound to get some checkers of clear if its a tight glass job.
my advice is to back fill until you have it down till you no longer need to backfill.
obiwon, wasnt backfilling the first thing you had me do when i was learning? lol
V
I think the checkered cloth looks cool
Ive had people say “Wow how’d you do that?”
I tell the the lam drained and they say “Cool!”
???
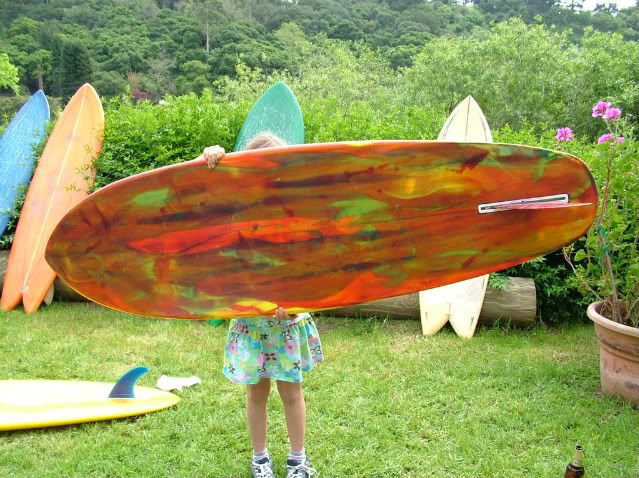
here is a side i did the other day it was a little experiment. it didnt come out like i had hoped but its cool, hopefully ill get the deck done soon.


all with help from the masters at SCBBG

post some of your recent stuff!


My new 6’7" single fin retro made for me by Steve Friedman.


huie told me that its not air or draining
he said it was loose weave and the glass is treated in some way and is more apparent on dark tints
those weave photos were taken with a macro lense.
i dont know, ive only done a couple and am self taught. doing it to try and improve on some cosmetics for epoxy work
im goin back to epox/wood soon
the polys look nice but fall apart and are heavy
Even the walls have geometrics :>)
just finished, my first foray into colored resin (pigmented lam), acrylic pin line & glass ons


Bud - looks great, welcome to the dark side, eer, the colorful side!!
Right on, Bud! I echo Keith’s sentiments…
Did you use your normal UV poly? If so, tell me about catalyzing it – how much resin, how much catalyst, etc. Or was the sun enough with the light colors?
Thanks guys, I be feeling plenty insecure posting in this thread full of so much amazing work/talent
Did you use your normal UV poly? If so, tell me about catalyzing it – how much resin, how much catalyst, etc. Or was the sun enough with the light colors?
Yeah, a UV poly lam, this board 5’9x18-3/8. for most cases I under catalyze and just eyeball the hardener since I’m using the sun for full cure … for this my first colored one, the main batch of yellow (around 14oz) I eyeballed/squeezed out probably 10-15 drops of cat; then to about 3oz of red pigmented resin around 6-8 drops. It was a hot sunny day and in my shed was pretty warm, this lam did start to kick in about 15min. Luckily I was already done, with no boxes, taped cutlap and no logos it went quickly.
That came out great, Bud. Here’s one of mine from a couple of years ago. Now that I can post ph otos. Mike