We want LOTS and LOTS of pictures of this one!
OK , now the fun starts. Two secret sauce blanks- one perimeter stringered from Segway (the black spot near the nose is some color experiment I did), one XPS railed from Surfding. Surfding also helped me with the CNC cut. Thanks Surfding! The other one I will mangle the old fashioned way-
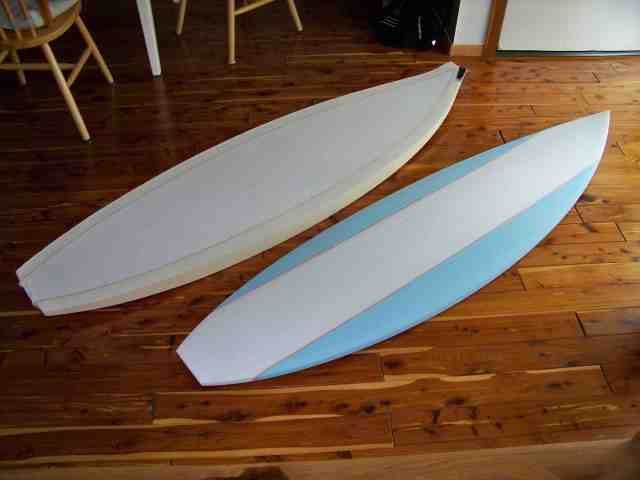
Today I will scrub the milled blank ( hell yes I call that shaping…it will probably take me three and a half hours!). Then I will do some more tests with some ultra secret high tech cloths (AKA skinz and innegra). This evening I will work on the outline for the hand shaped blank on AKU. FOr the hand shaping purists who pooh pooh computer shaping, let me tell you- you can make some BAD shapes with a computer.
Lurkers, trolls and all knowing professionals beware- I am a hack, home builder, hobbyist and my work has no application in any production style setting. I just do it for fun, hoping to make a strong, light surfboard. Just thought I’d say that to clear the air of bad vibes and negativity… take my efforts for what they are…
School must be out for summer!
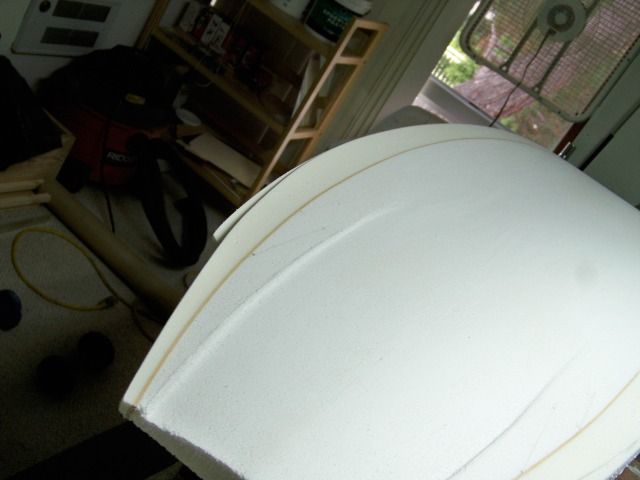
Cleaning up the shape. You can see the bump from the stringer. Thanks for the masking tip Mark. That pretty much solved the problem. It (the bump) is still there but I doubt any one but myself and other anal retentive board builders will notice.
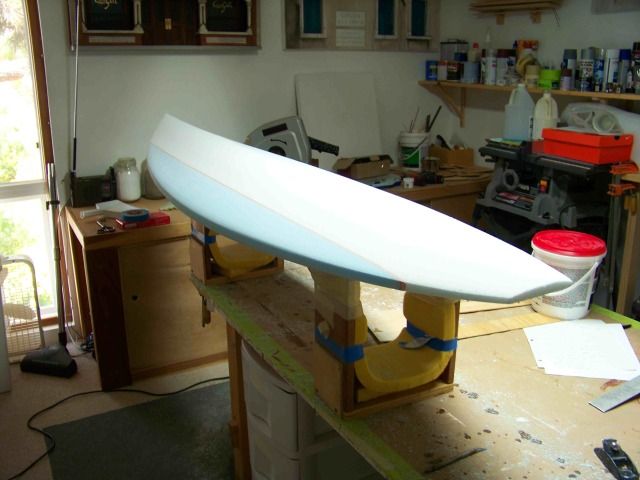
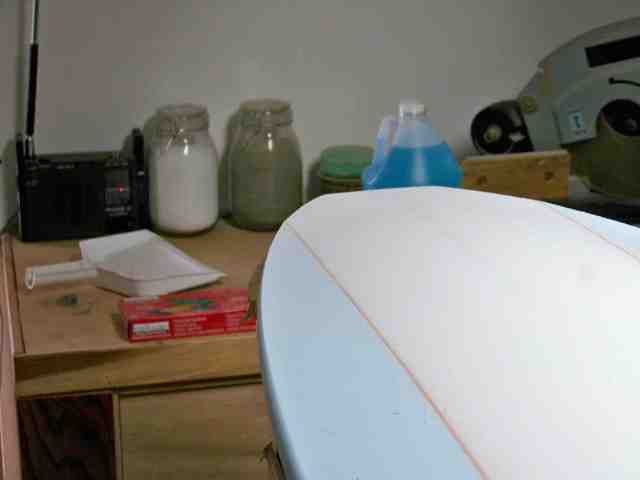
And now prepping some more test panels. I don’t know what information I can really get from these. I get a chance to work with the material to see how they lay and how they absorb resin, how they sand, etc. Then I will give them the infamous “thumb test.” Maybe try peeling them apart. That’s about it.
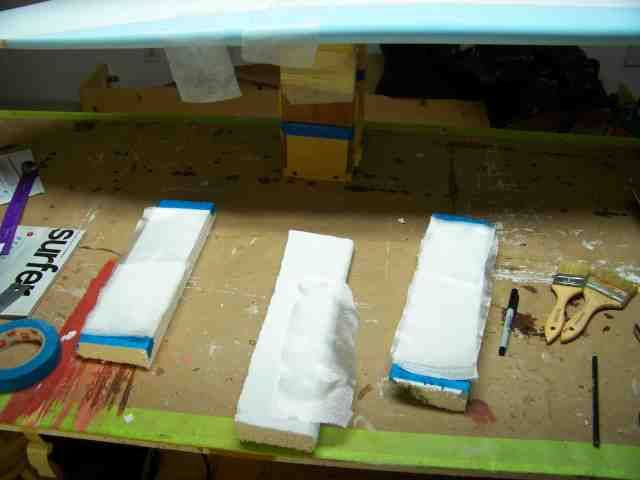
This is my proposed deck schedule - skinz-2oz innegra-4oz S glass-skinz. I have it next to two layers of 4 oz S glass on a piece of homedepot 1lb EPS.

Lunch break…time to load pics.
So I templated the Twinzer blank. I decide to do a different tail. I’ve done so many swallows I just wanted to change. I don’t know what you call this- an arc tail? Moon tail? Crescent tail? Anyways I was looking around the house for something that had a symetrical curve with about the right radius and found this-
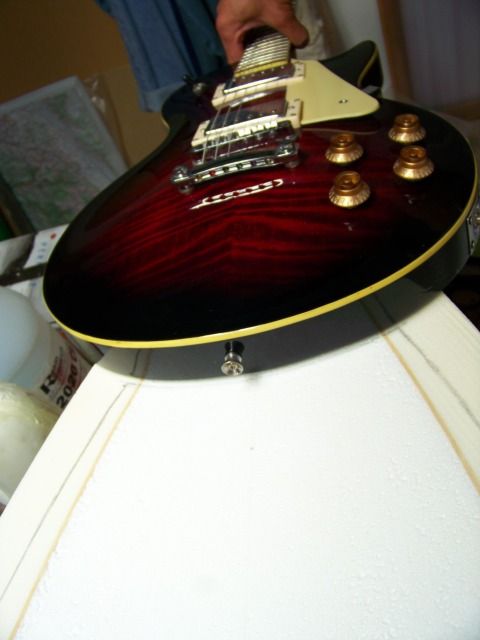
Looks about right yeah?
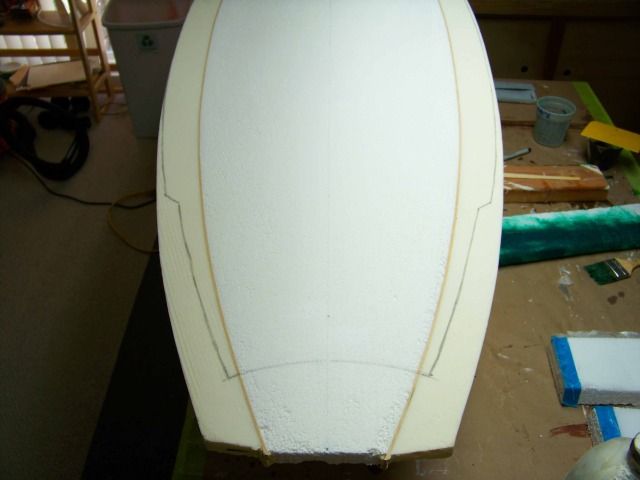
I’m done scrubbing the CNC shaped blank and yes, it did take over three hours. When I was all done and I was marking fin positions I discovered that one mark was 1/4" from the stringer and the other was over 1/2". Damn! I thought these computer shapes were perfect! Now, I have to go back and take off a 1/4" and actually shape the rail! No biggie. Just a few dots left in the wrong places…
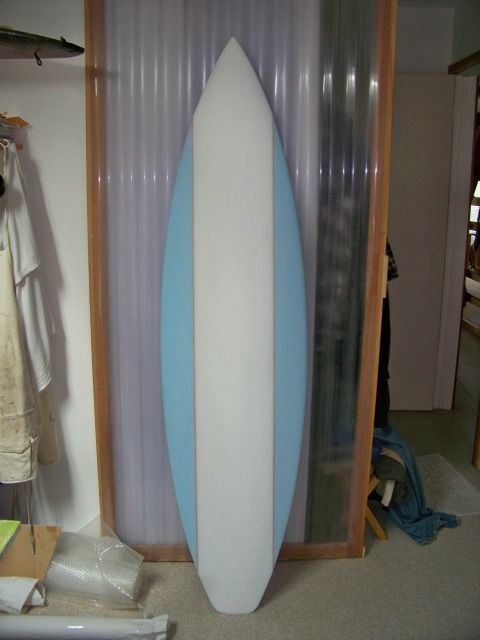
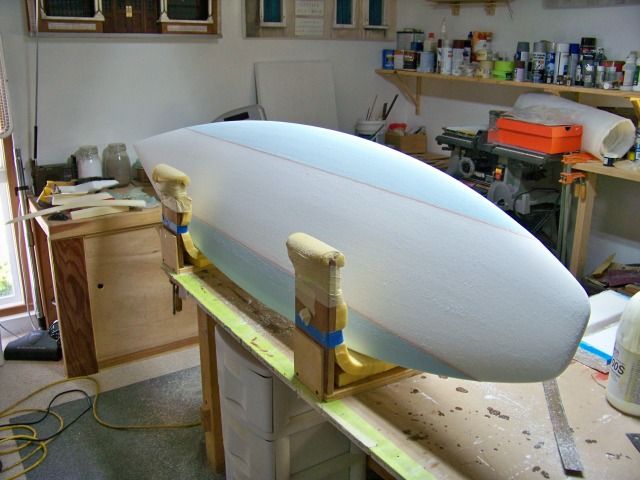
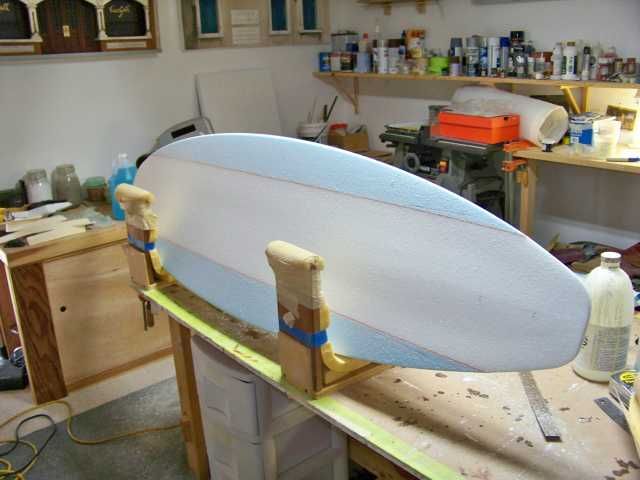
Now I have to figure out how to shape the twinzer. I want to do e wings like G Daddy’s board, AND a couple of channels, AND, possible scoop out the tail ala Steve Pendarvis… Just to make my chances of messing up the glassing with all the fancy schmancy cloths that much greater. FUNFUNFUN…
Dinner break, more photos.
This WMD board will have all the bells and whistles.
First, channels. I’ ve been follwowing pretty closely the twinzer threads at erBB. I saw many variations of the channels. I asked questions about the different effects of the channel variations but got no answers. I drew straight channels first, figuring since I’ve NEVER done channels before, maybe I better stick with the easiest version. But it just looked wrong. I can’t explain it, like the channels were too far from the rails?? I don’t know.
When I first saw Russ Hoyte’s curved channels I thought they looked wrong, like reverse toe in. But so many people like them. And when I drew them on the board they looked right, so curved it is. I used my template to determine the curve and then sought the appropriate tool. Settled on a rat tail file. Like I said , I’ve never done this and didn’t take time to do a search…
Tentative start…
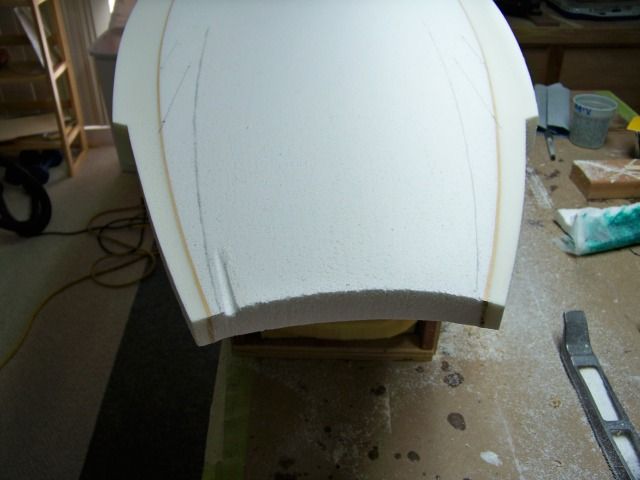
Then went to town…
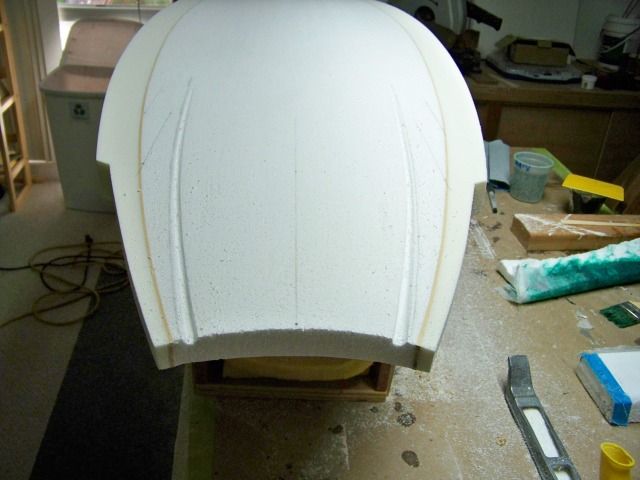
Used the surform to rough shape it…
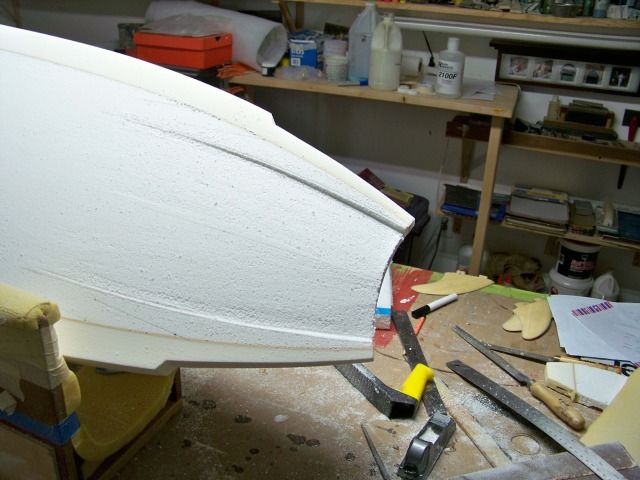
Finished. I actually found my finger with sand paper was the best tool to finish the radius…
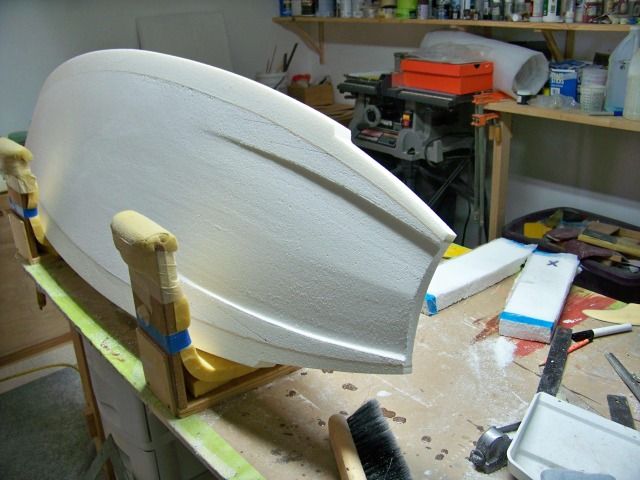
Next the e wing. I thought about it for a while and decided that I had to do the top bands first because they are continuous. I marked about where I thought the rail apex should be and then started cutting. I was doing everything bass ackwards- doing the top bands first ( I usually do the bottom first) and on the deck I worked from the deck down (instead of working from the apex up). Once I got into it it made sense. One rail band ends on the inside of the wing. The next band ends on the outside of the wing, if that makes sense. Hopefully you can see it in the photo-
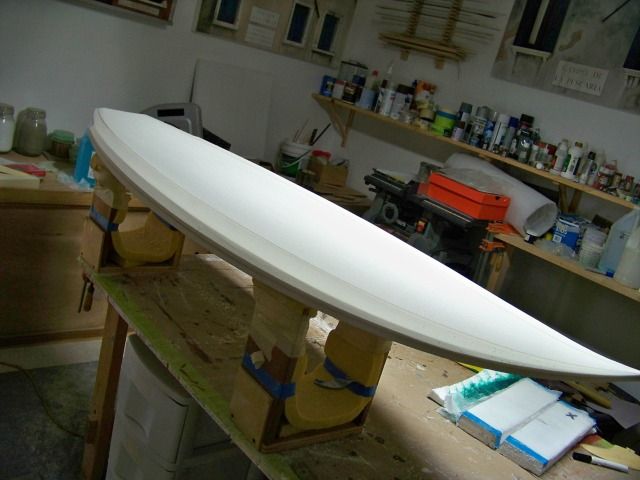
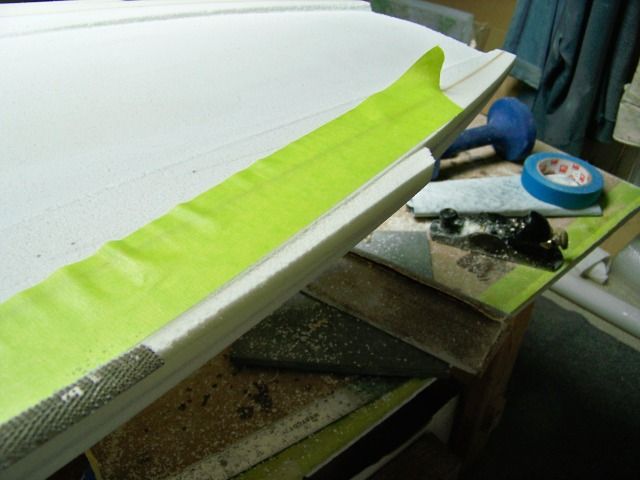
Then the delicate part. I decided to use a rasp.
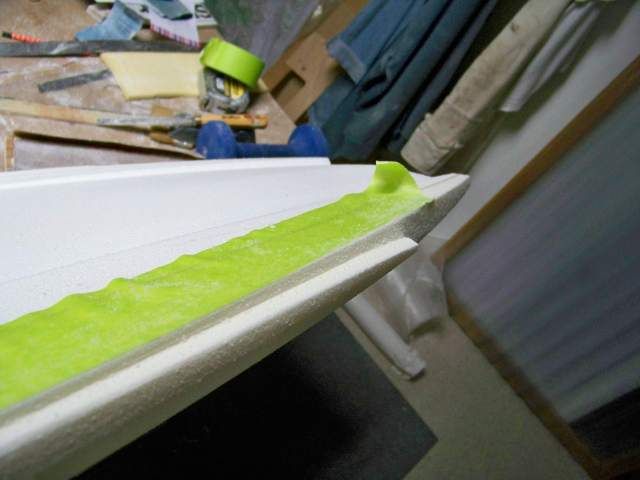
There’s a lot going on, but looking at it it made sense, The channel and the wing seemed to line up and accelerate the rocker in unison. Hopefully they will kind of work together to tighten the turning redius when needed.
hi lillibel
i love the build thread
the only reasons i can think of for that weird concave in the back are to get some direction back into the twin fin set up, by both a redirection of water coming off the fins,as well as water redirected that never touched the fins. but we dont know how water flows do we?
i am also hoping you are going to glass em pretty good, i dont want to see more of your builds broken! especially this one.
what about fins?
wouter
Thanks for this build thread and especially the pics!
Board 2 shaped. I might have to do some spackle because I had some tearing of the EPS when planing the wood stringers. I don’t know how I’m going to finish the tail yet.
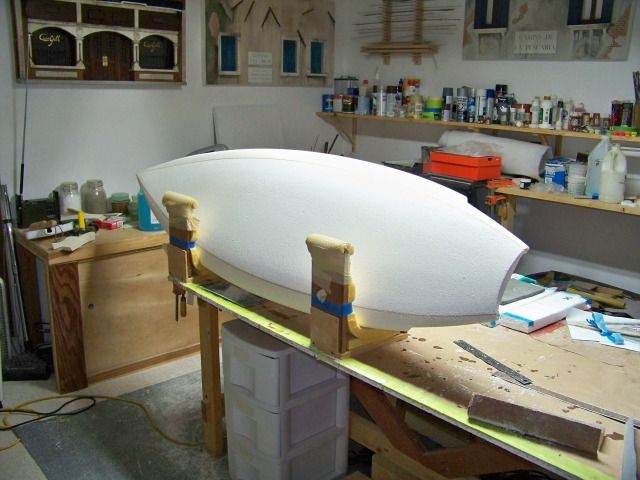
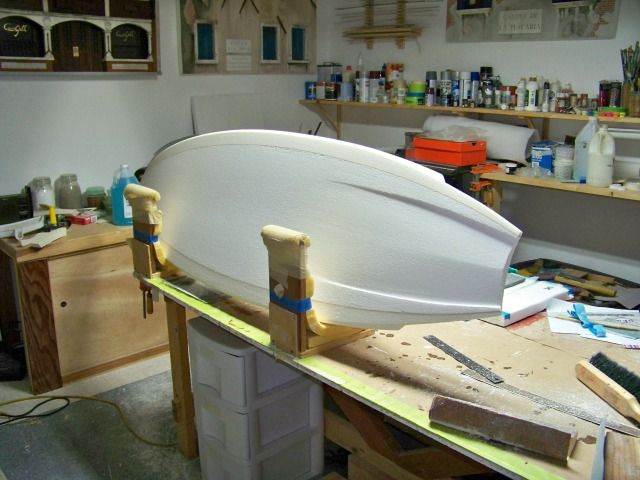
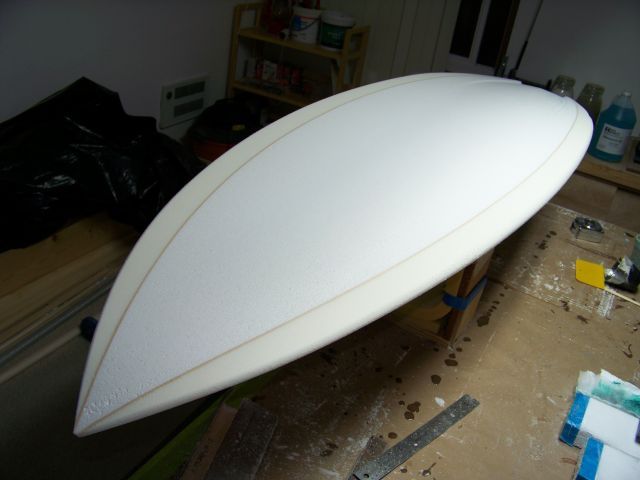
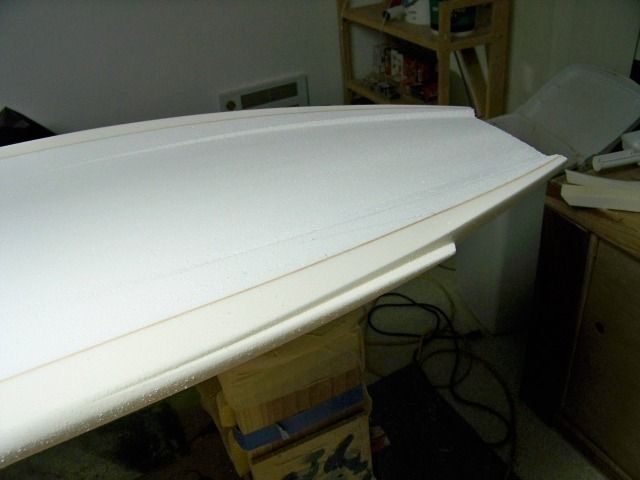
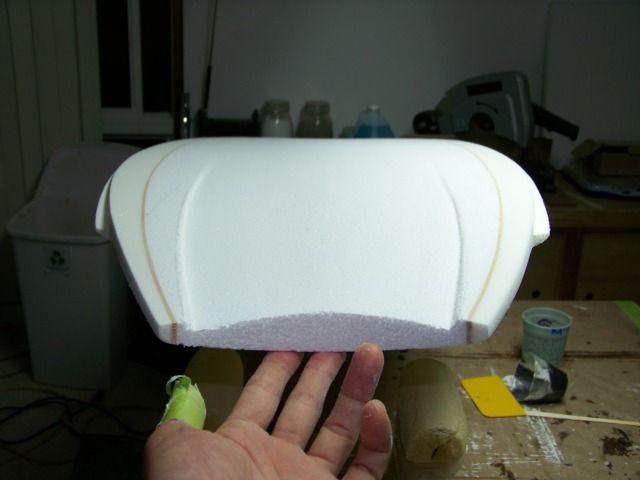
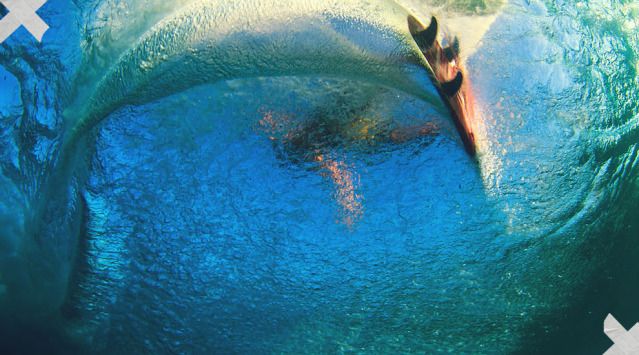
Gratuitous photo. I like looking at this photo when trying to visualize what the board will be doing…
Both boards look awesome. I think you’ll like the twinzer / e-wing combo.
Thanks Gdaddy. I imagine you’re speaking from experience. I really liked the board you did with the bamboo scraps.
I got fin placement numbers from Knowaloha. I wouldn’t mind knowing where you put yours if you care to share…
Any tips for glassing around those buggers? And to think I picked THIS board for my first attempt at vacuum bagging a lamination!!! This might just turn into one of those- “OK now how do I fix this?” kind of threads.
I wonder if the pros are like eating popcorn and waiting for the crash scene…or if they’ll chime in and either tell me not to do it or better yet give me tips…
The way I did mine was glass, hotcoat and rough sand the board without the fins and then do a rout-in install on the fins. I routed both sets of holes and set the mains first and cleaned up around that before setting the leaders. That minimizes the awkwardness of trying to work around the overlap. If I was doing glass-ons I’d still do the mains first and finish them before doing the leaders.
For placement I went with 7" from the rear on the mains and 1/4" overlap for the leaders. That’s further back than most people (other than GG and Bud) set their twins. In your case you’ve already cut the wings in so you’re kinda committed to that placement.
I also set the leaders with a little more cant than the mains. As I made my own fins out of ply I simply left the tang on and sunk that into the foam. They’re not going anywhere and with the bamboo patches I don’t think the foam is gonna go anywhere either.
I surfed the board yesterday and it surprised me with how quickly it came around on a backside snap. I got some extra rotation in there that I wasn’t expecting; broke the fins free like the young guyz. If I surf the board off the tail like I’m supposed to it’s very agile, moreso than me, anyway.
I was talking to Rob Royal at the AB3 last week and he gave me a tip for glassing around the wings. He brushes a cheater coat on the foam ahead of time so the lam has a bit more to stick to. Probably everyone knows that trick, but not me. I wasn’t so slick; I used a little spray adhesive. Then again, my glassing sux.
Lillibel,
Just lam the twinzer 34oz epoxy deck and 24oz bottom with 4*4 on the rails!
You dont have a rocker bed, so with vacuum it is going to distort a bit. You prolly gonna do it anyhow, so use peel-ply and resin catcher behind it with minimal vacuum pressure.
You could glass 4oz first, before adding layers with vacuum. That way the board keeps it initial shape.
Good luck!
Will the shrink wrap peel away cleanly from the cured epoxy? I have never worked with it before. Thanks for the tips!
I love build threads! Nice work, llilibel03. Keep posting…
Jeff, just a clarification, Don’t wrap the board in shrinkwrap, drape the shrinkwrap lengthwise on the top only, Home depot has the 20" wide rolls in the packaging/ moving supplies section.
Easiest release there is. Just lifts right off.
How does the air get out? Does it ever just attach in one section and not suck down at other locations? I will be bagging tomorrow and need to know! I did some test panels. I will post pics. Lots of wrinkles. How meticulous are you when working out the wrinkles? I guess that’s why you recommended I use RR SLOW…
Oh , Wouter, both blanks have double stringers so I’m hoping that holds the rocker. One of the reason I wnated to try a non timber build is because timber in the bag always changes the rocker (at least for this hack it has). And I just watched an interview of Jim the Genius- rocker is the most important design element…
Back to the bay, or in my case, the ex-bedroom…
It could take you a helper. The key is not letting it wrinkle as you pull it off the roll. Helper at one end of the board, pull out the wrap. Keep it tight, but don’t stretch it, or it will retract/recover when you lay it down. No tension on it.
Lay it down from stringer to rail. Then you have to work out the bubbles. Big bubble in center? just prick it with a pin. Tape over it to keep the epoxy in. Little bubble at edge? squeegee to the side. Just don’t tension it, or it will pull back, and bring the cloth with it. Then do the other stringer to rail. Make sure you overlap. The key is to keep the epoxy in, to be absorbed into the Nylon surface veil. That makes your hot coat/cheater coat. Shrinkwrap is hard to cut with scissors. It wants to bunch up if you do. Sharp razor is easier.
Little wrinkles? Don’t matter. The plastic is so thin, the vacuum pushes it flat. Just little micro ridges to sand out.
Pictures please!
Llilibell03,
One last thing. You are mentioning you are using RR epoxy. I have never used RR. I always use Fiberglass Hawaii. It might be less viscous than RR. Also I don’t know RR pot life, cure times. I just know FH.
Jeff, here is a quick data point for you. One of the WMD bamboos I just build has come back with a 12 inch diameter delam. Brand new. Not delaming under foot, but near the nose. I believe I was too lean on the resin. I was shooting for a ligher board and had never had that trouble before. I’m thinking that there just wasn’t enough resin between the bamboo skin and the foam to achieve a good bond. Live and learn. Hopefully.
Loving this thread. You and Surfding are just rising above it all.
Did you have glass under the bamboo?
I just got a PM from someone who used a WMD blank and said to make sure I spackle because the eps drank resin and the board got heavy. Seems like saturated glass under the bamboo should have held the resin???
I think you have to push it to the limit and then reverse engineer from there. Who was it that went to the extreme of a light bamboo build and buckled after a couple surf “Boardzilla” or someone with a name like that. I forget what his schedule was. I should look it up and that could be a baseline.