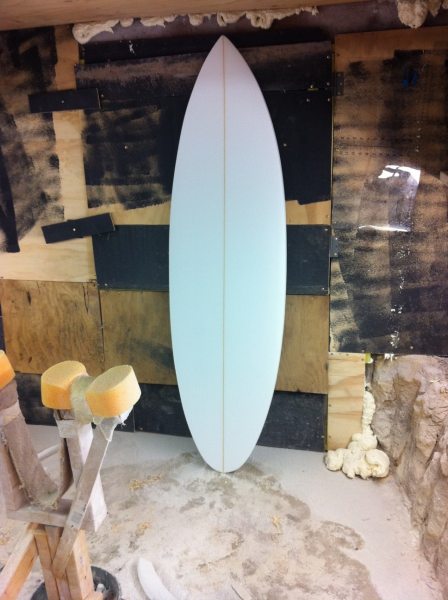
Well, heres my shaping room It’s a 12’x 25’ Tough shed large enough to
net me 9’6"x 15’ shaping bay with a back staroge room. By the way I’ll
shape anybody a board for cost + $125.00


First post here and completely dumbstruck by the quality that you guys are producing.
i have a huge respect for anyone that takes the time to craft anything themselves and seeing what you are producing has inspired me to get into it, and get back into my surfing.
my question is about room size.
i have a 15ft by 11.5ft room that i am going to turn into a shaping room. what i am wondering is if it is better to have a larger shaping room then clean it down and glass in the same room, or 2 smaller rooms using some sort of devider. having one for shaping and one for glassing?
that would leave me with 2 rooms 11.5ft by 7.5ft. is this ok? or better just with the one room?
any help would be hugely appreciated, hopefully i will be able to post some pictures of the first boards over the coming weeks.
Jim-----------Welcome to Sways. The 15x11.5 would be perfect for a shaping bay. Cutting it in half is going to limit your ability to shape and do a variety of differant things 11.5 is good for sidelights and gives you good room and access around the blank. 15' length gives you room enought to shape a 12 footer so the length is good. Do like a lot of guys here do and shape up a couple of blanks, clean out and blow out your room and start glassing.
I have a small single garage - barely big enough for a small car to open a door inside...I started off blowing it out after shaping but now it resembles versuvius - post erruption. It's a hell hole. I'm sure it's going to kill me one day. I do the whole lot in there and once in a while I sweep her out wearing an industrial strength dust mask. BUT when I see a newly finished board on the stands I look around in amazment at the mess that surrounds it and wonder how something so beautiful and perfect can arise from the chaos that is my little slice of escapism...
So on that note I'd say keep your space as big as possible and revel in the mess that you'll create...
Cheers
Rich
if you are doing mostly shortboards, then my vote would be to divide it in half like you are proposing. Then you can shape and glass at the same time. There is a lot of down time in glassing so it is nice to be able to work on other projects while you are waiting for your glassing to cure for the next step. If you are doing mostly big boards, then may be better to keep it one room, although you can shape a 10’ in an 11.5’ room. I have even done a 11’ and 11.5’ SUP in my 11.5’ x7’ room - just have to open the door at the end haha.
Two rooms are great for ongoing surf board projects but…
Will you be doing anything else?
Surfboards - double room.
Surfboards and…keep it a single room.
2 rooms.I shape in an 8x12,it only gets crowded when doing a longboard,I dont do many longboards though.Its way better to shape it and blow the dust off,then walk into a clean room and put the board on clean glassing stands and roll out clean glass and get resin out of clean jugs and…well you get my point.My shaping bay never gets clean enough to glass in really.
the Cave…

Just finished building my shaping bay in my garage (all the pics were really helpful), and gonna start shaping my first board! Had to put it right in the middle of my mini ramp though, so i guess that won't be in use for a while. Oh well, probably get hurt anyways! .


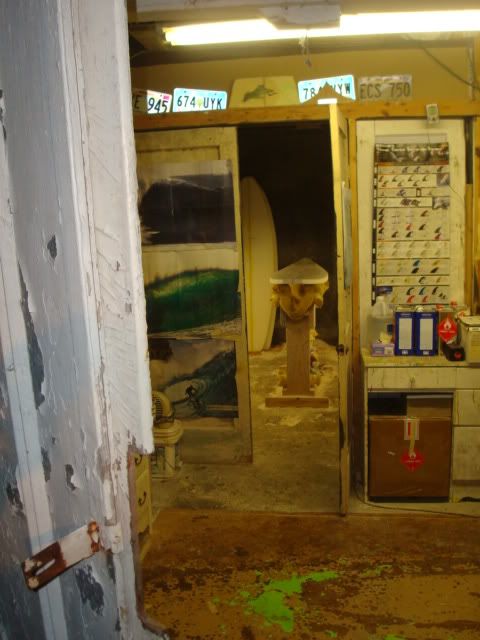
Been a slog to get it to this point but here is the studio.
This is a shotgun space that features the milling area (table saw, radial arm saw, planer, drill/mill, router, etc.) up front and the rocker/vac/shaping/assembly area in back.
[img_assist|nid=1057966|title=Cat 6 Surf - SKA (Small Kraft Advisory) Studio|desc=|link=none|align=left|width=640|height=480]
The table in the front houses the table saw with router, integrated dust collection and attachable hot wire boom. The right-hand side (currently covered in crap) folds down to form an island work table and becomes a strongback anchor point. Stock may be fed straight off of the delivery van across the equiipment for preperation and stocked on the far table, inventoried, run out the double doors in back then put up in storage.
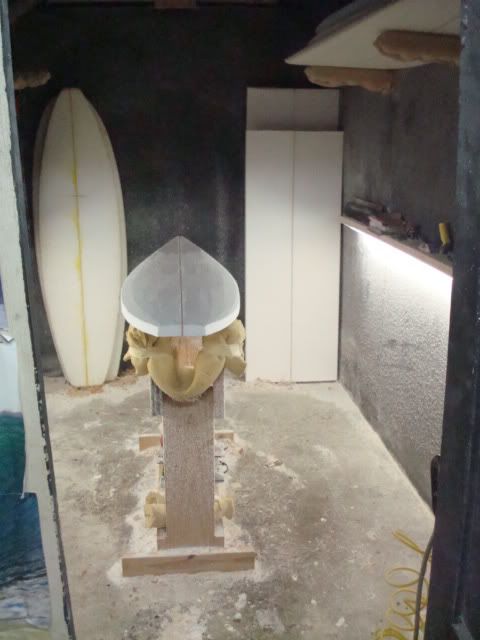
[img_assist|nid=1057967|title=The Variable Rocker/Vacuum Forming/Shaping table with integrated dust collection|desc=|link=none|align=left|width=640|height=480]
The back area is for moulding, shaping and assembly of forms and craft up to 16’ long. When a vac port strongback is joined to the front tool island hulls 4-1/2’ high by 6’ wide by 23’ long may be put up. The shotgun approach allows for the seperate construction of main hulls and ama’s for monohulls, cats and tris to be built and run out the back for final assembly.
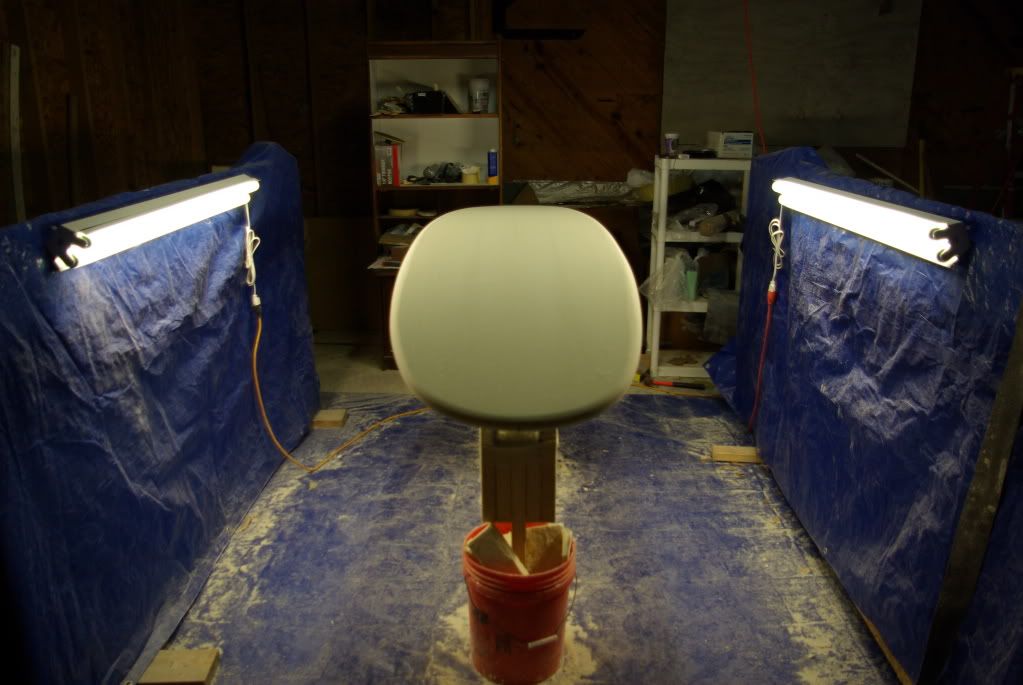
[img_assist|nid=1057968|title=Studio Priorities|desc=|link=none|align=left|width=640|height=480]
Sharp pointy things and fluids from the fridge in the side storage/work room attached to the studio keep operations tracking and work is thankfully starting to pile up.
Doesn’t look like your typical board shaping/glassing shop but then it’s not just a board shaping/glassing shop.
This is deliberatly labled a studio for many reasons not the least of which is to avoid regulatory hassle but it really is my play space that can be used for proof of concepts that may then be moved to the factory space now in planning. That may not show up till next winter at the earliest economy permitting.
Dungeon of Doom. Wanted to test out go pro Timelapse photos.


Nice lighting.
Here is my shaping shack. It’s 15x8 and was made entirely
from recycled materials from a re-model project including all the floor framing
and sheeting, all the wall framing and even the windows. The walls and roof were also tar papered with leftover rolls from the job! The siding was done
with scrap pieces from the same re-model and the roofing metal was also scrap.
Total cost for shed $0.00

My portable “bay”'.
I'm in the process of setting up my space at the moment and have a bit of a dilemma.
it's an area under the house that used to be used for graden tool storage etc, being under the house the floor has been dug out of sandstone, so there is about 1.5 ft high sandstone ledge around the room. and then brick wall with engaged piers for the 2 side walls. currently as as its a bit messy but i get about 8.5ft wide from wall to wall and about 7ft at the base of the ledge. I was planning on framing and sheeting the walls, but that will mean i will only have 7ft wide minus shelf space.
What would you do, keep the 8.5ft and messy side walls, or reduce it to 7 and have nice neet sheeted walls on the sides. the end walls need to be sheeted regardless.
i was shaping in about 8ft x 4 ft with no lights before, so 7 ft will be luxury anyway!
only do shortboards also.
here's the space btw. still cleaning it out from all the old junk that was in there. as you can see if i were to frame up from the floor, i loose close to 2ft than if i leave the stone exposed, but it will never be as clean.
oh the floor slightly slopes upwards also as you can see (about 4 inches over 10ft). Am i best to cut the high rack short to make the board level, or leave the racks on the same slope as the floor so my planer stays at the same height on my body?