Thought about pics of the sheet layup, but didn’t get the phone/camera out before getting in/out of the flow…
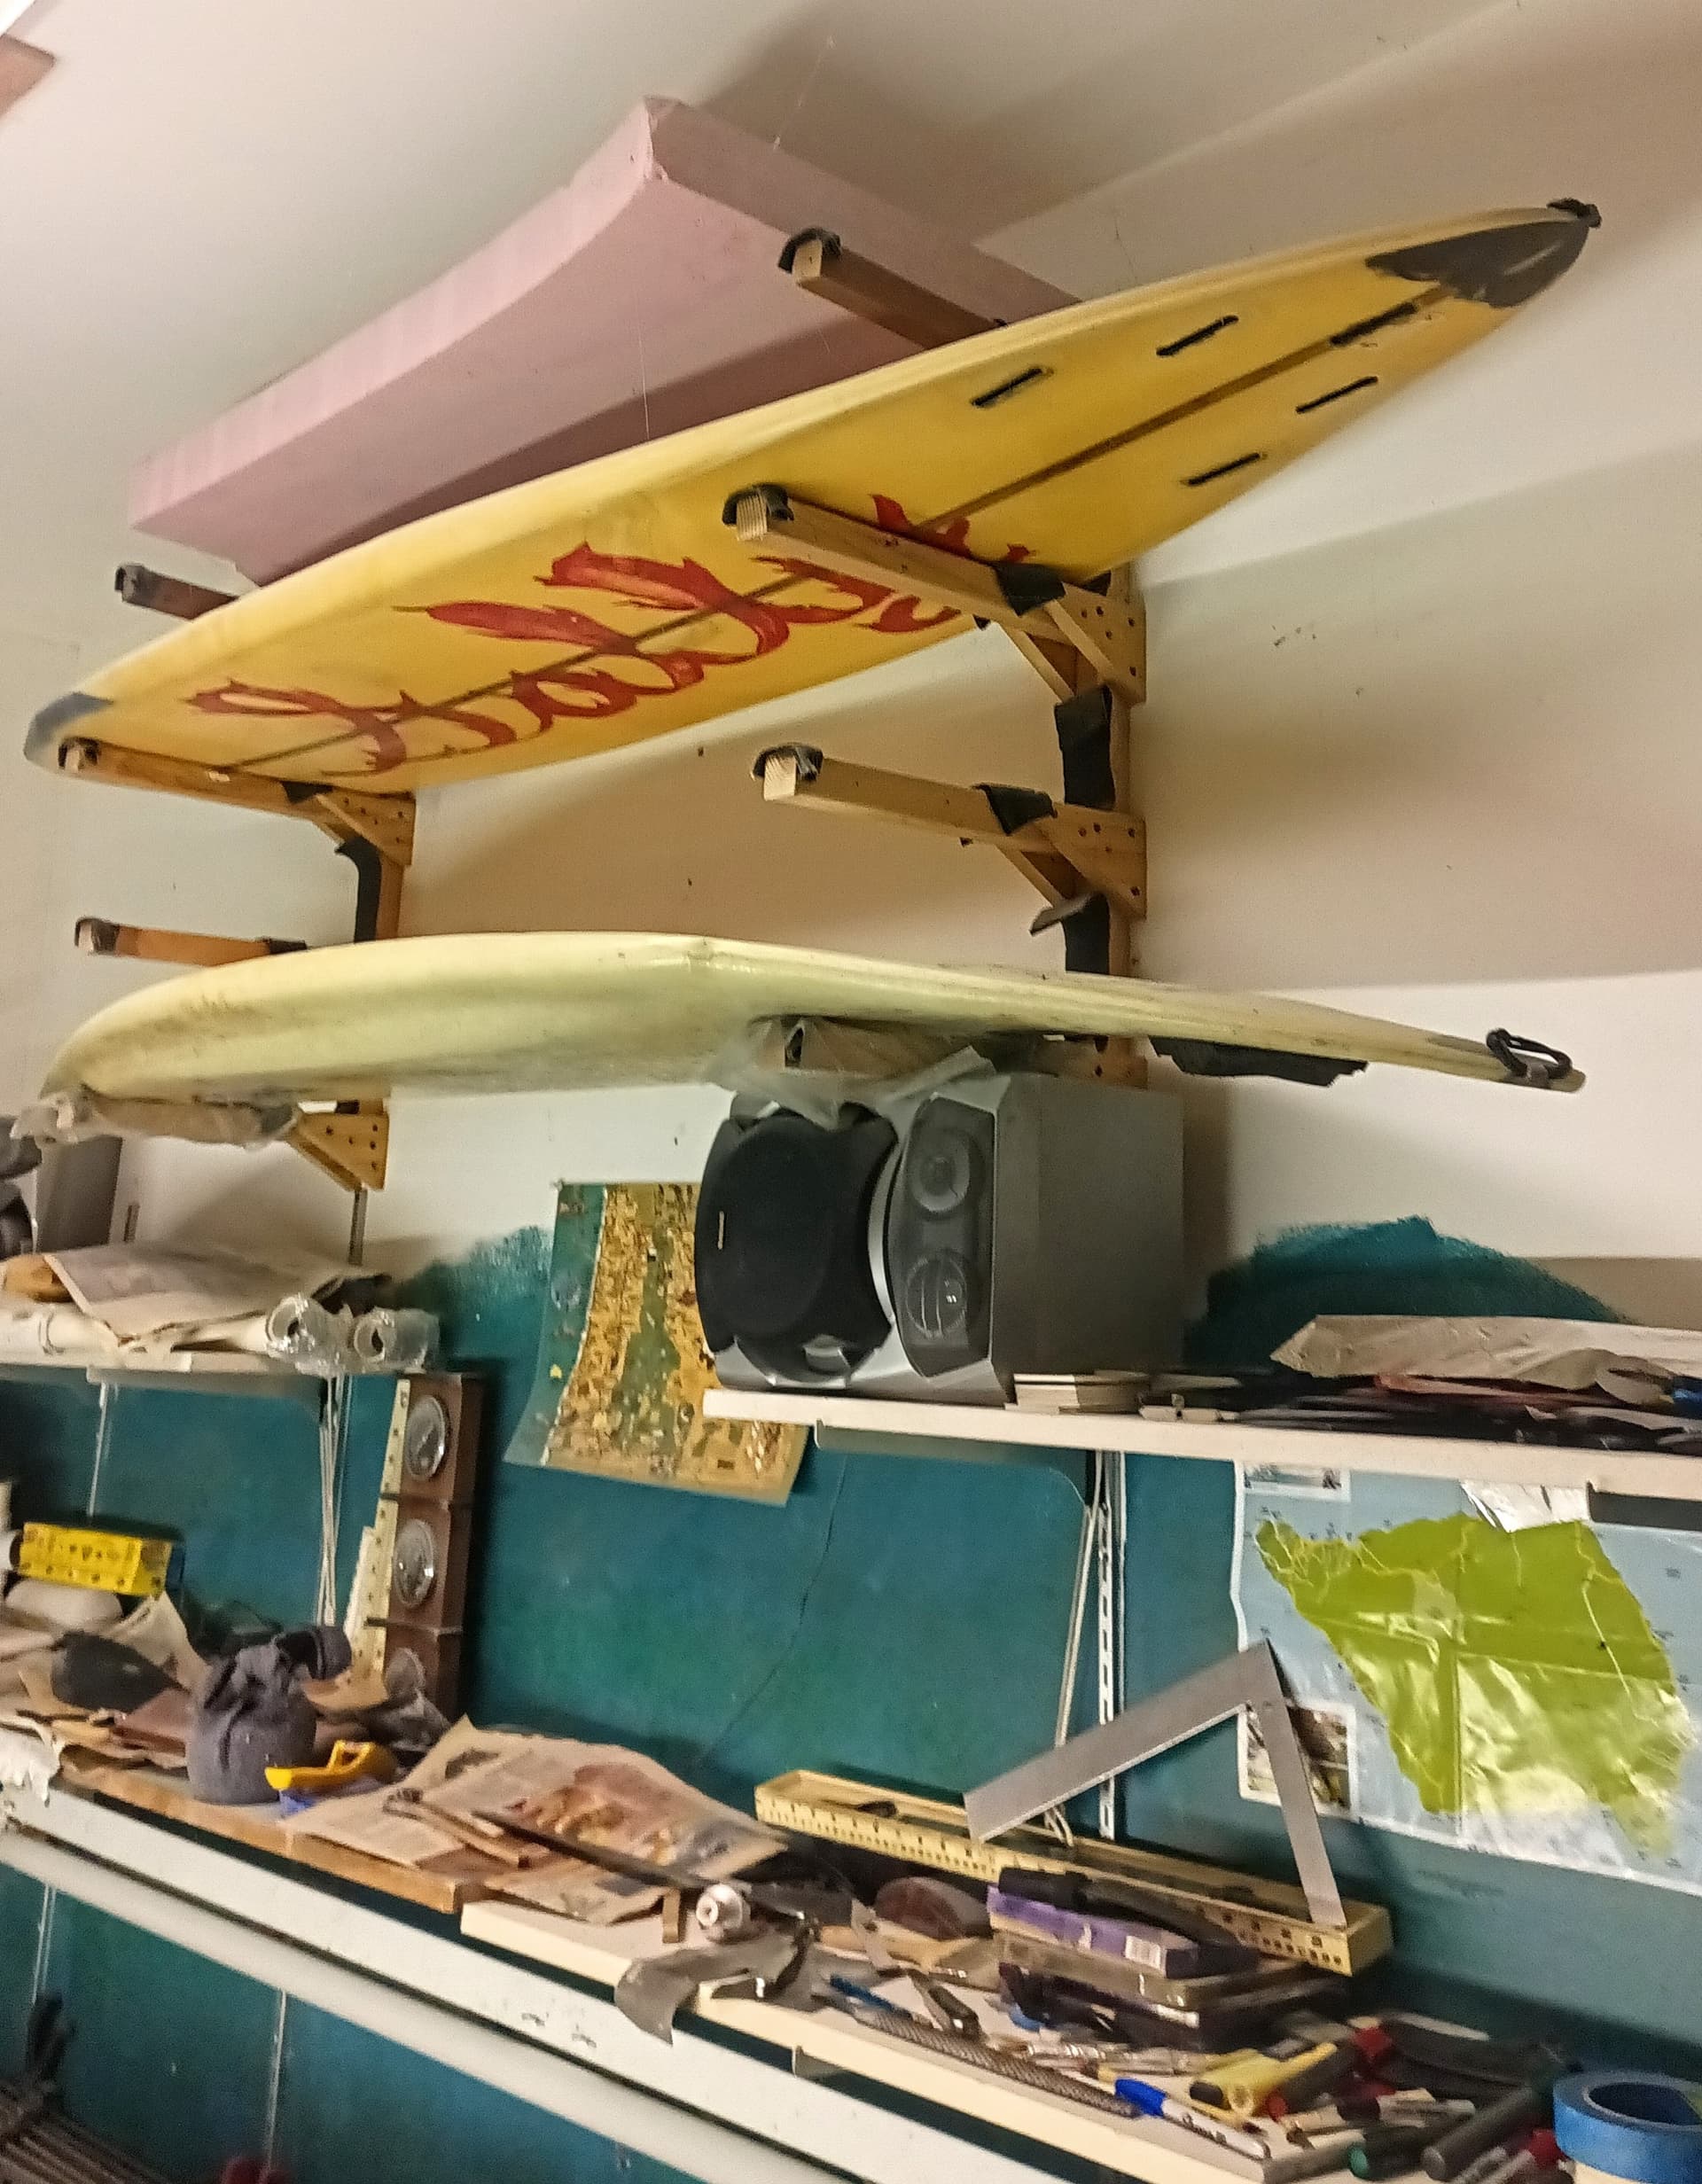
The middle outline is from the S7, which I’ve updated, but wanted to leave it with the thickness and rocker profile which is right on to me…
Took two sheetz and drew a broad layout on them, sanded the skin, perforated with the micro perforating roller Mr burner turned me on to, science you know, cut the tail and nose kick pieces. Then it made up a fairly loose micro bead and epoxy slurry to glue it all together under the weight of sandbags and cinder blocks.
Next I will make the outline pretty tight, and then hot wire in the basic bottom rocker. Then I’ll hand shape the tail contours, and a little bit of power planer to get the rails started and the nose belly. Then, to keep the integrity of the foam, I putty and glass the bottom. Then it’s nice and stiff to shape the deck, also I’ll put in the fin plugs prior to glassing the bottom. And I’ll take more pictures as I go along.
All this in case there’s another, yet younger, wild, do it yourselfer out there who might benefit from, you know, some of the tips I picked up back in the day. You can do whatever you want, as it’s been said years ago, we’re just making pool toys!
The S7 is better than ever, and I’m thinking it’s probably the 250, it’s the same Foamular XPS as ever, save the scores they put in the 4’ sheets - as far as I could tell the only ones available, at least around here…
Taylor,
You’ve got such nice clean sanding seams where the sheets of XPS are glued together.
What are using to glue the XPS sheets/layers together?
Bill
Well you know - “TAP Microspheres • Glass Spheres…”
Which, by the way, if anyone wants some, pm me and we’ll “talk” about me hooking you up, as I’ve got about 12 gallons, and will probably not use 'em all in my life time… Ha!
Happened to inherit this from my maternal grandfather about 20 years ago. Turned out to be very handy. (Designed/layed out/built the jig around it and the boxes… Ha!)