I had some rail pieces cut and sitting around my little shaping shack for some time. I also found a stringer to go with them, cut from 3/16" balsa ply from Home Despot. So I set my step deck aside (in the background of the 2nd pic) for awhile, and decided to do something with these before I lost 'em or forgot what they were. The template is the same as my green egg,
but I modified it just a little, to round the tail, and pull the width in a bit. That shortened it from 7-4 to 7-3, and narrowed it from 21 to 20 1/2". I glued it up, and set it aside for awhile. It did twist a little, but since I hadn't started shaping yet, that was OK, as long as I made a mental note to compensate.
Next, I built a quickie router sled for the rocker. I've built a few of this plan shape before, but without the benefit of the router sled. Now I'm set up, if I build another. Its a shape I like, so I probably will.
With the router sled, I shaped the rocker into the bottom of the rails. The top of the rails are just visually rough-shaped, leaving enough meat to allow me to foil / shape the rails later.
Now I had to try to come up with a design for the build. I had some ideas that had been rattling around for awhile, so I figured I'd try something different. I settled on a gridwork type build, which reminded me of a shoji screen. So I decided to go with the Japanese theme all the way.
I like the simplicity and directness of Japanese interiors with shoji, and drew my inspiration from there. I know that handmade Japanese architecture, while appearing simple to the eye, is very labor intensive, so I didn't shy away from choosing a method that I know would tax my patience and perseverance.
Using a sanding wheel (very carefully) on a 4" angle grinder, and following up with an orbital grinding ball in a portable drill, and a bit of hand sanding, I hollowed out the rails as best I could. Again, trying to leave enough meat to allow me to shape the rails later.
I hollowed out the stringer, and put it in. I didn't check, and found out later that I had cut this stringer thinner to allow for the planking and the cross-members, so I'm going to end up with the board being 2 1/2" thick overall, instead of 2 3/4" - 3", but I'm OK with that, I kinda like the thinner profile, and it'll be a chance for me to compare the effect. I like the thinner rails that resulted.
The frame is still pretty crude, but its so flimsy I can't clean it up yet. As I add cross-members, it begins to stiffen. Once I get all the bottom cross members in, I can clean up the outline more.
Am I to assume you’re only going to install the wooden slats in the footbed and finbox area and the rest is going to be transparent glass skin??
If so it sounds great…!
And if so, have you considered using a similarly shaped board to lay up pre-cured transparent glass skins on then glue them on the frame and perhaps seal it all up with a final thin wet layer of 3 or 4oz…?
The construction is based on a double layer 2" grid of overlapping 3/8" by 3/16" (doubled, so 3/8" by 3/8") members running at right angles. The idea is to reproduce the same pattern top and bottom, with a vertical support at each intersection. I have no idea what to expect weight wise, but I'll be very happy if I can come in around 10 lbs. when its all done. Of course, I've yet to have a wood board come in at what I hoped for LOL.
Am I to assume you're only going to install the wooden slats in the footbed and finbox area and the rest is going to be transparent glass skin??
If so it sounds great...!
And if so, have you considered using a similarly shaped board to lay up pre-cured transparent glass skins on then glue them on the frame and perhaps seal it all up with a final thin wet layer of 3 or 4oz...?
Have you got a vac. pump or fridge compressor...
If this is your intent, disregard my babble...
Nice work....")
[/quote]
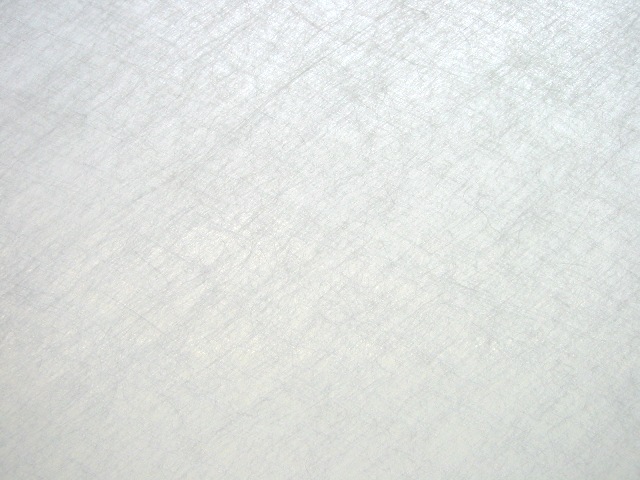
Thanks, not really fully decided on the grid covering. Would like to do silk first then fiberglass, but its kinda spendy and I'm kinda broke, so maybe silkspan tissue? I guess I'll cross that bridge when I get to it, as they say. If I'm in a position to do it, I'm pretty sure white silk would be my first choice. I'll have to do a test sample, and see how it glasses over.
The dome of the deck is determined by the height of the stringer and the spring angle of the rails. So clamping a test piece across the top in various spots, I foiled the rails. I won't round them until the end, 'tho.
With all the little pieces, things tend to get a bit wavy, unintentionally. So when I clamp the top chord into its slot, I use a clamping caul on the bottom. Then I clamp the doublers to the caul as I glue them in, so it tends to straighten things back again.
I had an idea of the construction, but am kinda working the sequencing and details out as I go, just no way to pre-plan the whole thing. If I do another this way, it'll go faster I suspect.
I cut the top pieces a few inches long, so I have something to clamp on the ends. Then I leave it long, until I router for the next piece, as it gives a stabilizing reference for the router base to set on.
Mostly I'm using redwood, but I found some model airplane balsa at a yard sale for cheap, so I'm using that where I can.
I used to build radio controlled airplanes with my Dad back in the late 60’s… We used a tissue form of silkspan to cover the ribs of the wing and horizontal / vertical stabilizers… Unfortunately, the fabric tends to take the shortest route to the ribs or in your case the 3/8" grid supports… Leaving flat or slightly hollow bridge sections between the wooden grid… That is the only reason I suggested pre-laminated glass skins that would resist these hollow flat spots but would retain a nice smooth curve on both the deck and bottom…
You’d be surprised how opaque multiple layers of glass can be… You could add a very small amount of white pigment and I think you could easily fake the silk thing…
I’m enjoying this build … Perhaps you missed your calling…
Are you planning on tinting the sections in red as shown on your computer plans? That would look really cool…
Yeah, I'm aware of the shrink-tight effect on a curved surface, one reason I chose such a tight grid (the holes are about 1.5" square). I guess I'll live with whatever results I get, the board is experimental. Shoot, if I get a bit of dimpling on the bottom, I can say its the latest hydro technology LOL! I'm guessing it'll be minimal on the bottom, and the deck doesn't have to be hydrodynamic.
I'm not opposed to your suggestion, just have no idea how I'd go about it. And I think silkspan or silk under fiberglass would be stronger. But until I do some testing, I just won't know. I've also thought about filling the voids with foam.
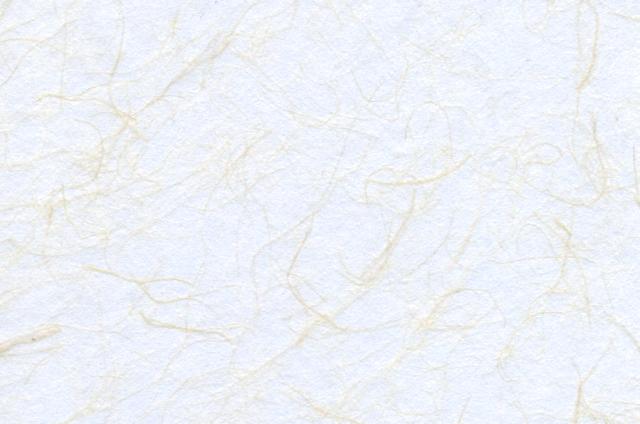
Lotsa options, part of the fun of making boards! I haven't ruled out the possibilty of using actual shoji rice paper, either. Have to get some samples, and see how it handles resin. There are synthetic versions that are allegedly very strong.
Are you planning on tinting the sections in red as shown on your computer plans? That would look really cool...
[/quote]
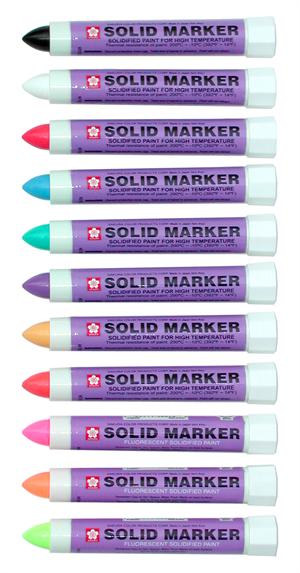
Thanks - the red is to designate the areas that will receive some color / graphics. Again, undecided on treatment, I'm thinking resin tint, acrylic paint, Sakura Solid Markers, maybe even attempt some sumi-e. I'm also attracted to Japanese graphic prints. Or calligraphy? All I know for sure is I don't want to go with the obvious cliche that everyone thinks of when they think of Japanese wave art, LOL.