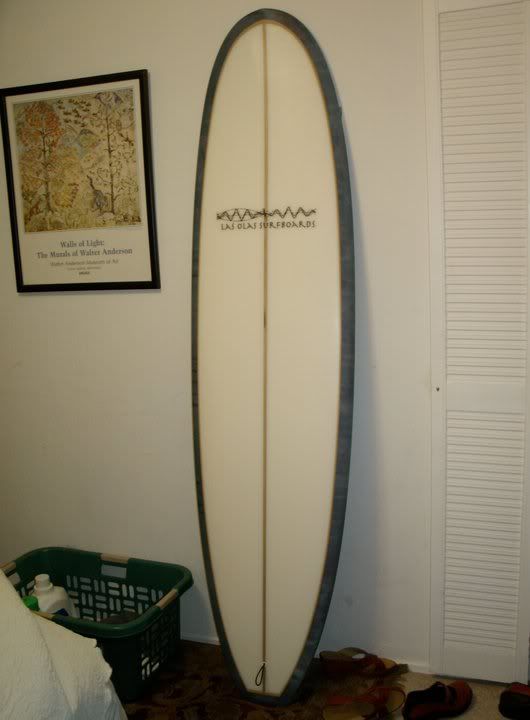
yah AV, i'm liking that one
[quote="$1"]
Look at this huge fish...
[/quote]
SUP? I saw something similar in wood http://www.grainsurf.com/forum/viewtopic.php?f=11&t=3007&start=120
First day , first post. I can see why you’d want to share that. Nice work!
Nice!!
I’d call that a whale Tail.
SUP?
Yip looks like a nice controlled tint, unlike my one below!
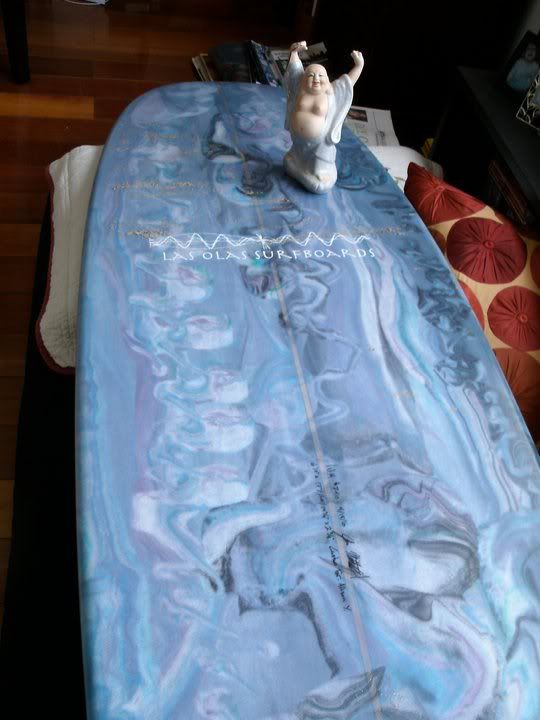
I was going to tape this tint off but decided to just go for it and see how abstract it would come out, kinda wish id taped it now not too sure on the smudgy bits … oh well
been busy today, finished one board and hotcoated this one, 6’0" x 21" Fun Fish Quad, just gluing fin plugs in now for some Butterfly quads I bought:
you need to pour where you want colour. if you drag mixed colour across dry foam it will win. if you already had clear on the foam it wouldnt have smudged
Clean squeegees
[quote="$1"]
Look at this huge fish...
[/quote]
Dang that is one big fish!!!
youl win the jackpot for sure,
you look awefully familiar,,,,,,,Hmmmmmm!,,,, I wonder,,,
There is no need to tape off anything to get good seperation. Your board looks like the one i posted on here a bit earlier and I did not tape anything (except the cut-lap of course). Also, laying down clear first will not completley prevent the colors from smearing together like someone said before. It will stop it from mudding out as bad as it did but not totally prevent it. There are many techniques for getting good color seperation and preventing mudding but practice makes perfect, I think you’re on the right track.
here is a new one. 6’10 super mini. the acid splash got a little washed out, i am a little bummed on how it turned out but the customer was stoked so i shouldn’t complain. some pictures taken by the new owner:


hey nocean what ever colour hits first wins . so if you have a lighter or less intense colour and then darker or muddied colour runs over the top of it then it will look smudged so for clear areas you have to make sure that its fully covered with clear resin and you are not draggin mud colour over the top of it… so for your board i would have pulled all that colour off at the rail and not touched it again. basically the more resin you use the better the swirl as all you are doing then is removing the excess resin and filling a few gaps . it pays to plan it out a bit and 1 liter and a half is not to much resin to use on a complex swirl . cobalt will give good colour seperation but you have to be careful as it reacts with some tints and can kick things very quickly. i have a green tint that goes 3 minutes faster then anything else at 1 percent catylyst with no cobalt yet some of the reds and browns can take up to an hour to kick at the same amount of catylist. so with taking notes and practice you can think about adding cobalt to some of the slow colours and under catylizing other colours.
some of the swirl colours may only need 1 drop of cat if they contain cobalt and then the cat from your base colour will kick off the swirl colour
i can see that the smudge area there is a crisp area. the crisp area is where the clear resin was poured and the smudged area is where the clear and colour were squeegeed and mixed together.
**cobalt wouldnt have made any difference to your pattern. what was required was a few spare squeegees and more resin and technique
**
Hi, Thanks for the tips guys, I definitely think preparation is the key , next time some extra squeeges and more resin before I attempt another one like this!
Las Olas, thats a real nice tint kinda what I was after but rushed into it too much… bit of a lesson.
That is a very red board.
How?
…hello man,
not so good to put the leash plug closer to one rail because the leash rail saver will not perform well and then you ll cry a lot…
I see this practice in several shops, plus, put the plug with the rod parallel to the stringer…
nocean, you dont need to use more resin to accomplish those swirls and abstracts, you just need to use it more strategically. The board with the stripes was epoxy and i used 21 oz of resin per side, and its 5’9" with double 6 oz glass top and bottom.
Hi Las,
Cheers, yes im almost ready to attempt another soon so ill see if ive learned something!
Really like the look of that board above by the way, not just the tint but the outline and general shape looks awesome.
Hi Reverb
I usually place the leash plug in the center with the rod parallel to the stringer on regular tails (squash, round…) however on the moon tail i prefer placing the plug on the side, I have done this plenty of times before and surfed with most of the boards and never found it to be a problem, the rod is placed parallel to the tail and not the center so the leash doesnt interfere with the waves and has the grip on the board so it doesnt interfere with your feet… I have tried placing the plug in the center as you suggested but feel it is to close to the end of the board.
Hi Greg,
Yes it is very red, however i wish it would of been a bit redder, I use a bit of white to get the red to be more full and just use a lot of red pigment, in all stages of the glassing (red lam, red hotcoat, another red hotcoat, clear glass)
I like using black in my red instead of white.
…Hi Abens,
seems that I wrote wrong the sentence
I tried to say that “they put…” so is not ok to put the rod parallel to the stringer.
-I tell ya you ll see what the plugs should be in the center in the wide tails or swallow tails or alike


