I have been having a lot of fun doing abstract resin work on the glass, and then gloss coating over them. I like all my boards really heavy so that’s never an issue for me. I mix 3-4 different colors and drizzle lots of squiggly lines with a tongue depressor until most of the taped off area is covered. Then I pull a 3” brush lightly across the area one time. At first you will get a neat looking swirl, then the colors start to “bloom” as the resin gels.
Thats some heavy duty next level tintage right there… i FEEL THE URGE TO TINT SOMETHING NOW.
[img_assist|nid=1061634|title=SUP|desc=|link=none|align=left|width=732|height=566]
[img_assist|nid=1061640|title=swirl|desc=|link=none|align=left|width=640|height=480] first try at swirlin, loved the colour mix. Wish i had came across this thread a couple of weeks earlier tho
Thanks Thedoad!
This is a more isolated and time consuming approach, but it rewards you in the end. Paneling different shapes is the next step to bring together the many abstract themes possible. The result is better when you spend time working small areas. Give it a try; it's a hell of a lot of fun. You can also tape off patterns and pull the tape to get cool effects.
[quote="$1"]
Thanks Thedoad!
This is a more isolated and time consuming approach, but it rewards you in the end. Paneling different shapes is the next step to bring together the many abstract themes possible. The result is better when you spend time working small areas. Give it a try; it's a hell of a lot of fun. You can also tape off patterns and pull the tape to get cool effects.
[/quote]
Hey Mudster
Ive also been contemplating color patches cut in the glass job.
Is that peace sign a foam stain or the cut glass stye your refering to?
looks way cool
WOW !
Some GREAT stuff there , bob ['mudybeach'] , and ken !
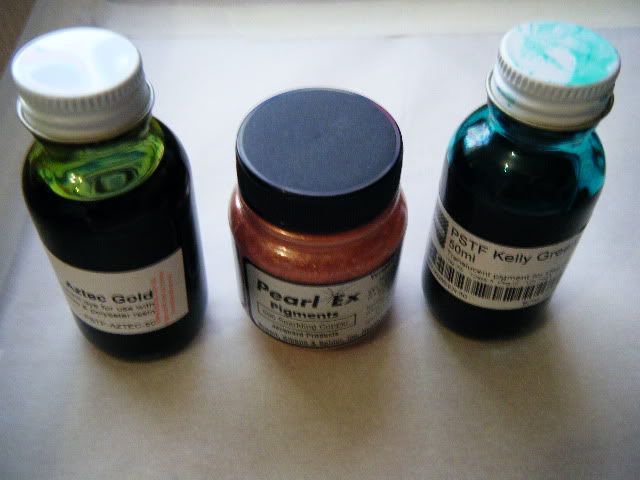
Well, I just got some more new tints today ....
I'm looking forward to trying them out in a few fin panels in the days / weeks / ? months ? to come !!
l to r : 'aztec gold' , 'copper' , 'kelly green' ....
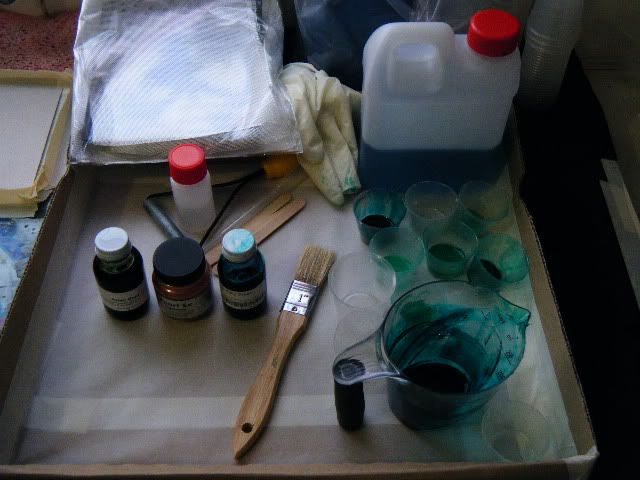
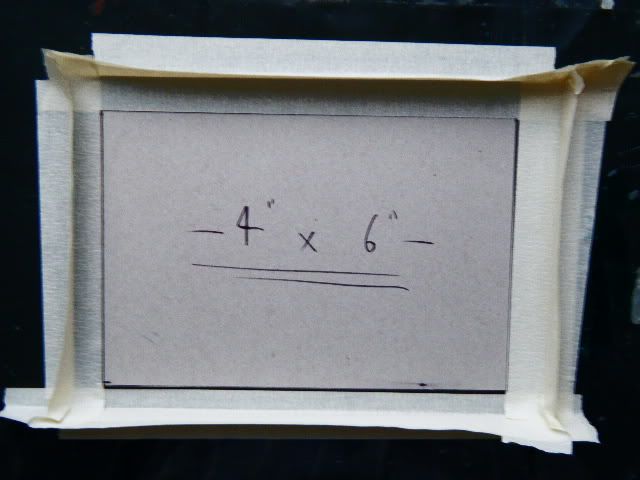
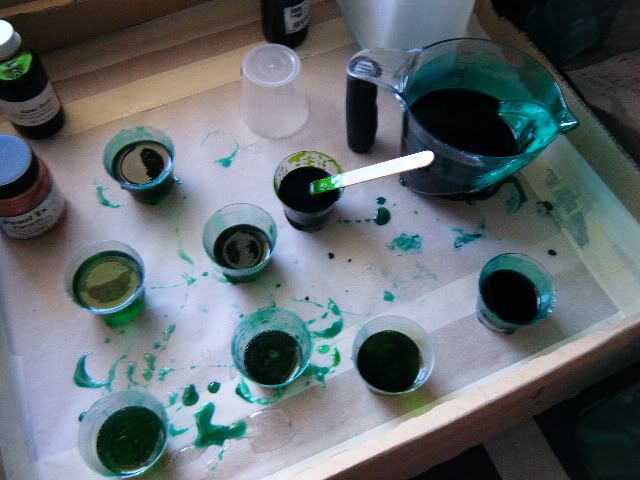
..... this one is for YOU , for 'ColinIG' !! These are just some 'tools' I use, for my [fin panel making ] shenanigans ...
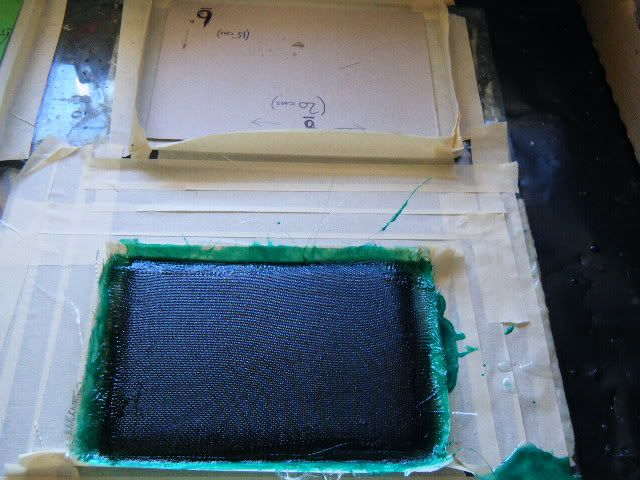
And , THIS is the result of 31 layers of green tint , over two layers of [ ....YOURS , 'Brumstar' ! ....THANKS very much !] carbon fibre ....
cheers !
ben
"Hey Mudster
Ive also been contemplating color patches cut in the glass job.
Is that peace sign a foam stain or the cut glass stye your refering to?
looks way cool"
Ken
Thank you kindly Ken. The peace sign was done directly on the glass after the hot coat. First I taped off the peace sign, then drizzled red, green, yellow and then pulled the brush through one time. Then I pulled the tape and had a cold beer watching the colors merge… I have taped "star bursts" patterns, then drizzled some yellow/red colors and pulled the tape. It can really give some cool effects incorporating taped designs. It’s a really easy way to get great detail on things like deck patches, fin patches, or the entire bottom of a board. I seem to get more detail using this method then swirling on the foam.
Thanks Ben! I am trying to keep up with you and your last sick fin swirl...I look forward to seeing more from the mad scientists lab.. Especially how the copper tint comes out...
well i thanks to mudy i now have to shape another board and try something new again! hahah I love inspiration!
Go for it a2tall!
If you don’t like the first outcome, scrape it off after it gels and try again. It’s really simple to get great detail as long as you work smaller areas. I usually mix 4 different colors ( 4-6 ozs each), strain them and shoot them of at about 5cc’s. You have plenty of time to lay down a cool design before the resin starts to gel. Remember to drizzle ALOTof thin lines and pull the brush ONE time( very important!). Find colors that work well together concentrating on using lighter colors in higher quantities than dark. Use black in minuscule portions as it will dominate and destroy detail. Practice on a piece of scrap wood or plywood. It not hard at all…
Here are a couple more projects that I dripped directly on the glass. The burgundy rails where taped off at the decks cut lap line and at the apex of the rail line. I brushed of a thin coat of burgundy and then did a couple of laps around the board slinging thin resin lines with a tongue depressor. It kind of melted together and made a very detailed rail line.
I wasn’t happy with the bottom swirl on the orange board so I taped off an area and did a basic abstract pull with yellow as the base that came out ok. The top is a combination of fabric, resin swirls on the glass, and resin pin lines. When glassing the bottom I refrained from taping a cut-lap line on the deck. The result pulled orange sporadically on to the deck which made a cool effect under fabric.
hey Mud
so thats colored gloss resin over the sand coat?
do you add another gloss coat?
pull tape on the colored resin when jelled?
sand lightly and clear gloss after???
Yes you can do the swirls/tint work in the lam Paul as I have done many times in the past. You can control the detail much more by doing them individually. In the case of both the orange board and the burgundy railed board, I was not content with the outcome in the tint work during the lam process which made me trick it up after the fact. I have seen a lot or rail lines muddied up doing Mexican blanket styled pours This is not to say they still don’t look spectacular and cool. This is a clean way to get great detail. Preference I guess. Bottom line, I just love experimenting in different ways to blow up psychedelic color schemes.
I think it has its purpus
definetly another trick up the sleeve
The purpose of them is to cover mistakes that’s what glass shops use gloss panels for!
If you can’t do that type of detail in the lam you need to practise more!
It has taken me years to get my tints right to a standard where other glassers admire them and I want to put boards through shops.
I’ve got to watch and work with the best guys around for this type of work and learned a few tricks along the way
Muddy, Mexican blankets are easy to keep clean the trick is with every stroke you clean your squeegee its the same for all abstracts just keep cleaning the squeegee and the less you play with it the better the detail !
I’ve been on this thread from day one, and I’ve seen my tints get better with each page all the info is there you just have to take note of what the guys who can do this type of stuff are saying and practise
Sorry to come across a bit bitchy :o)
There is no right way to do anything in surfboard building. Everyone had their tricks, everyone does different things. Noone is right and noone is wrong. which is what makes it awesome!
Wrong right there there is a right way to do everything in surfboard building, there are no shortcuts!!
Especially with doing tints
if you aren’t getting detail work out why you aren’t getting detail
If you get mud clean your squeegee theres a tip! :o)
There are no tricks with tints it’s just practise.
But what if you wanted mud?
=)
Mud,
Great lookin burgundy tint !!! I love the detail in small areas.
Paul maybe right in some respect’s, tho the detail in yours is different !!!
Clean squeegee’s ,or multiple squeegee’s seem to be key.
Thats some careful sanding man !!!
It’s funny with tints everyone is looking for a shortcut to get good results the amount of people I sell materials too that want do tints straight away on there first board, all I say is get your clears right first!
Hey silverbak you would need alot of squeegees for a full Mexican blanket!
I just have a bucket of acetone and some paper towels ready!


